

This Indigo GameCube was sent in along with a Nintendo 64 ( https://jeffsretrogaming.com/blog-co-99441/ ) for a simple refurbishment job. Nothing out of the ordinary with this one, and at this point I feel like I could do GameCube in my sleep 😆
They did want a full service cleaning so started with teardown and wash of the shell and all plastic parts, then set aside to dry and set about polishing the top shell jewel. For this process I just use Polywatch which comes in a small tube, about 4 or 5 drops, work it in with the cloth in a circular motion consistently around the jewel being sure to hit all parts of the center and edges. Usually, 2 or 3 rounds will do the trick. It doesn’t have to be perfect as many deep scratches are beyond buffing but the before and after can be huge! Once that’s done I give the jewel another rinse and put it with the other plastic parts for drying!

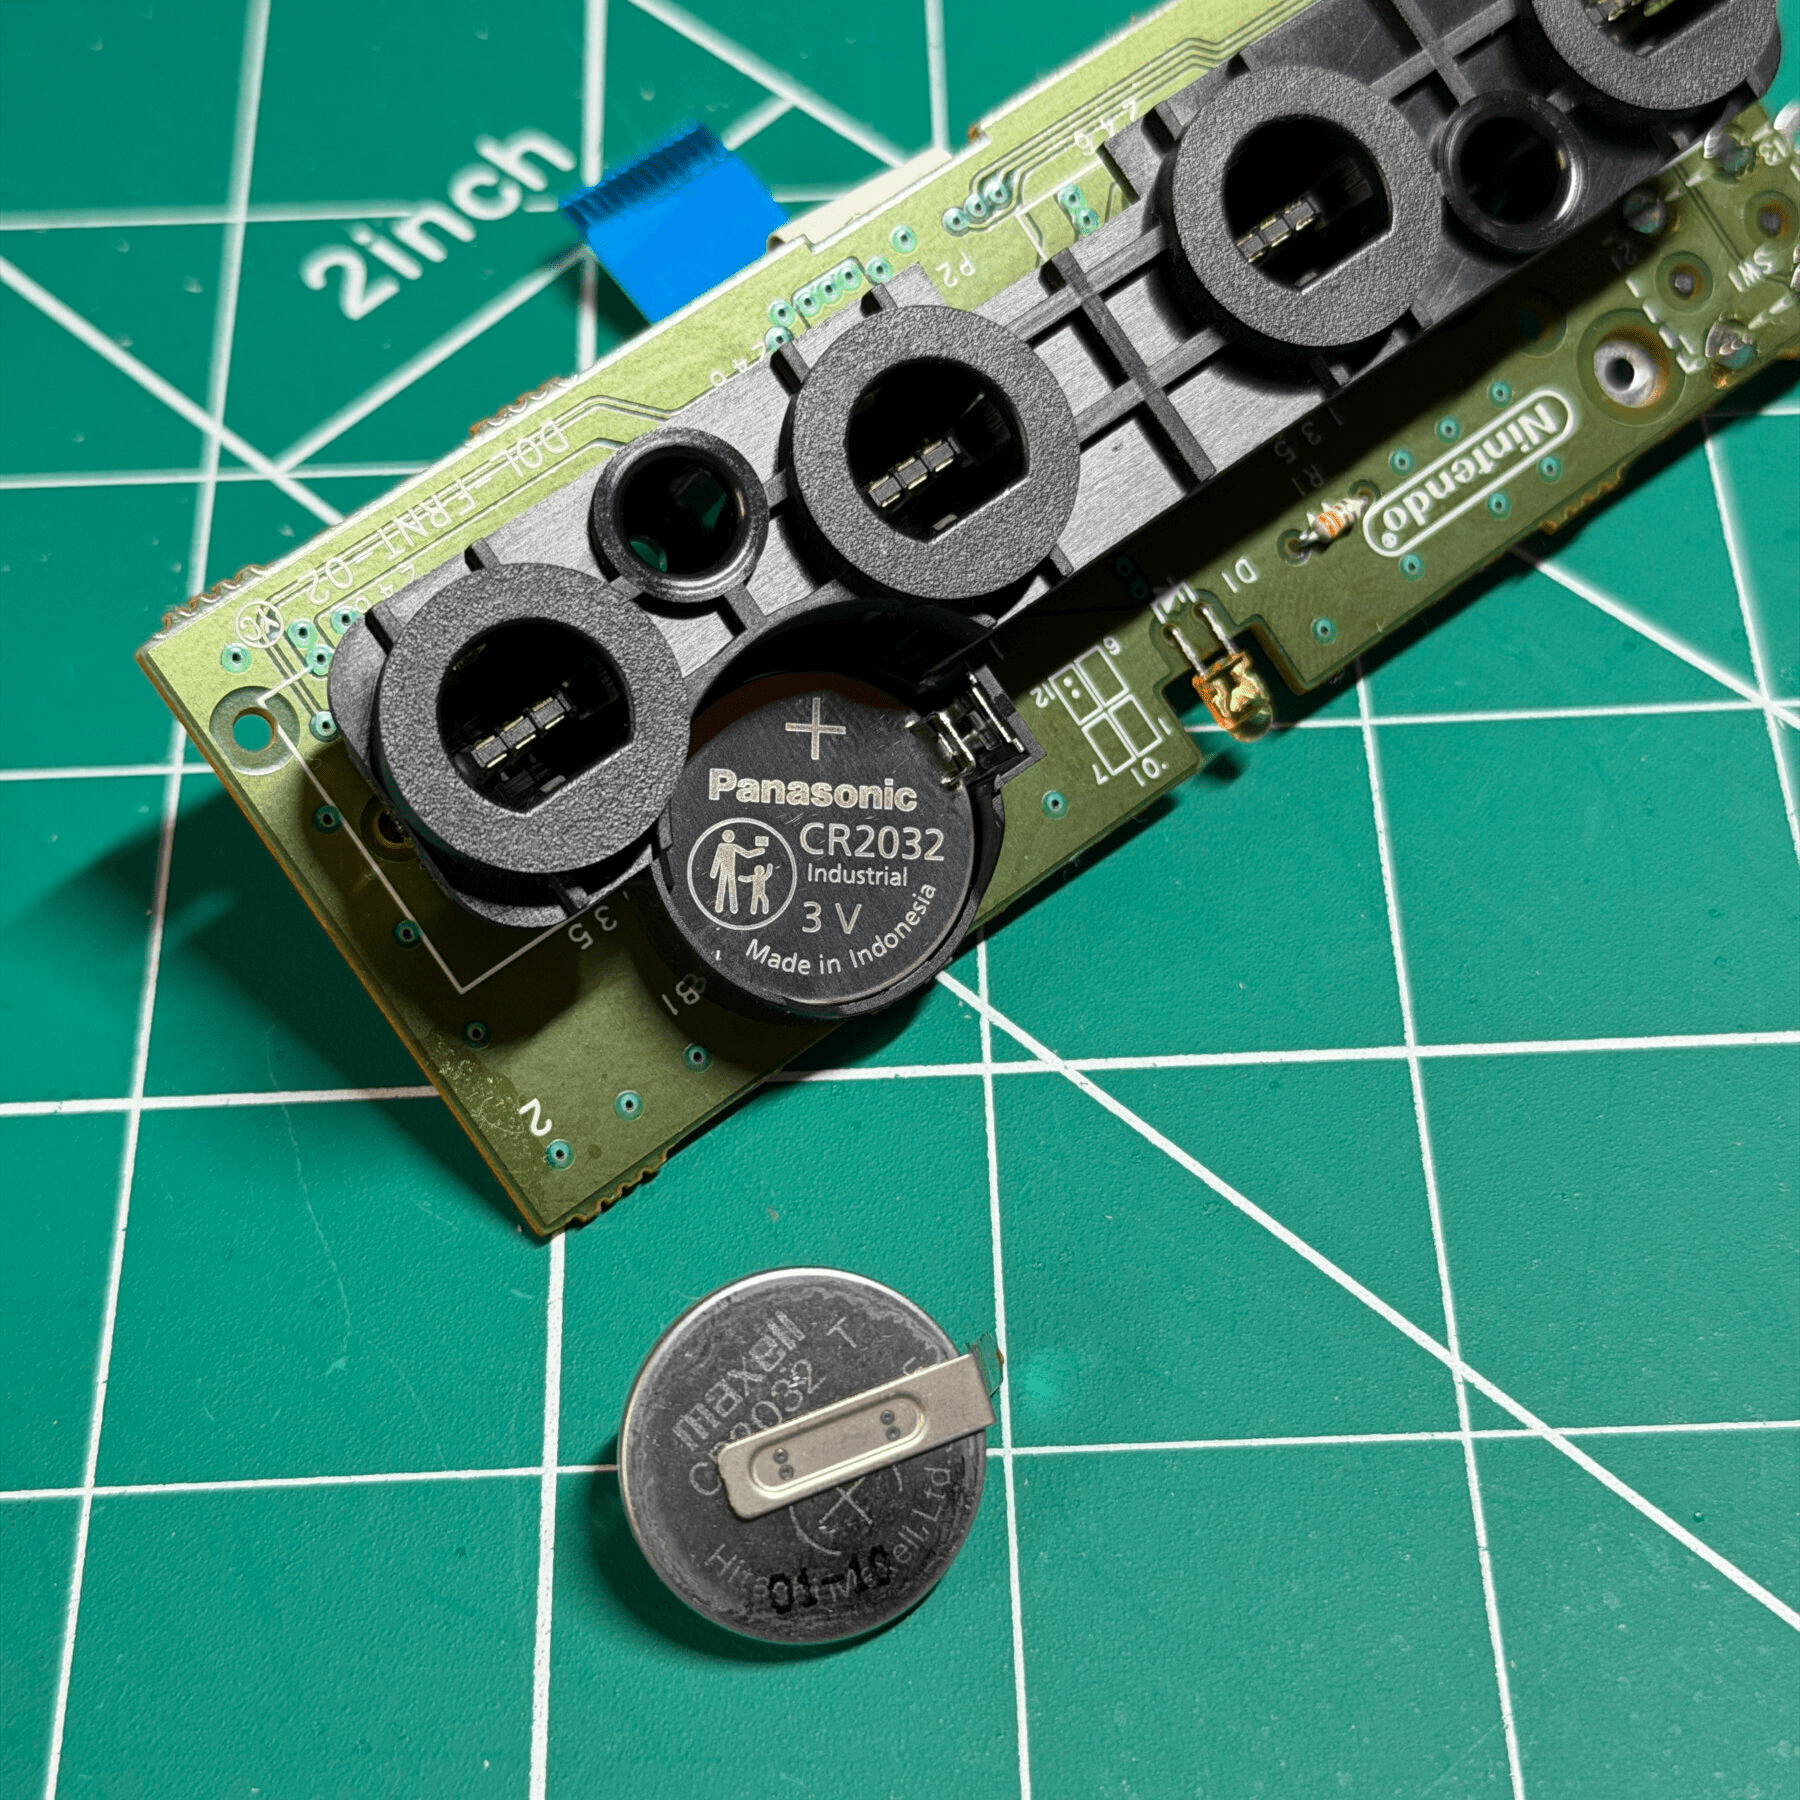
Like always, since the GameCube is so modular I like to work on each board/section as I work through disassembling the internals so I always start with the controller port board which in this case is getting a new battery and socket. Easy process, just heat up one leg of the stock battery and pry out from the plated through hole, then repeat on other side so it falls out. Quick touch up with some desoldering braid will clean it up, then wipe area with ISO and insert new horizontal CR2032 holder and solder in place, making sure the positive side (touches top of battery) is facing IN towards center of the board. Pop in a brand new CR2032 and that board is done until reassembly!
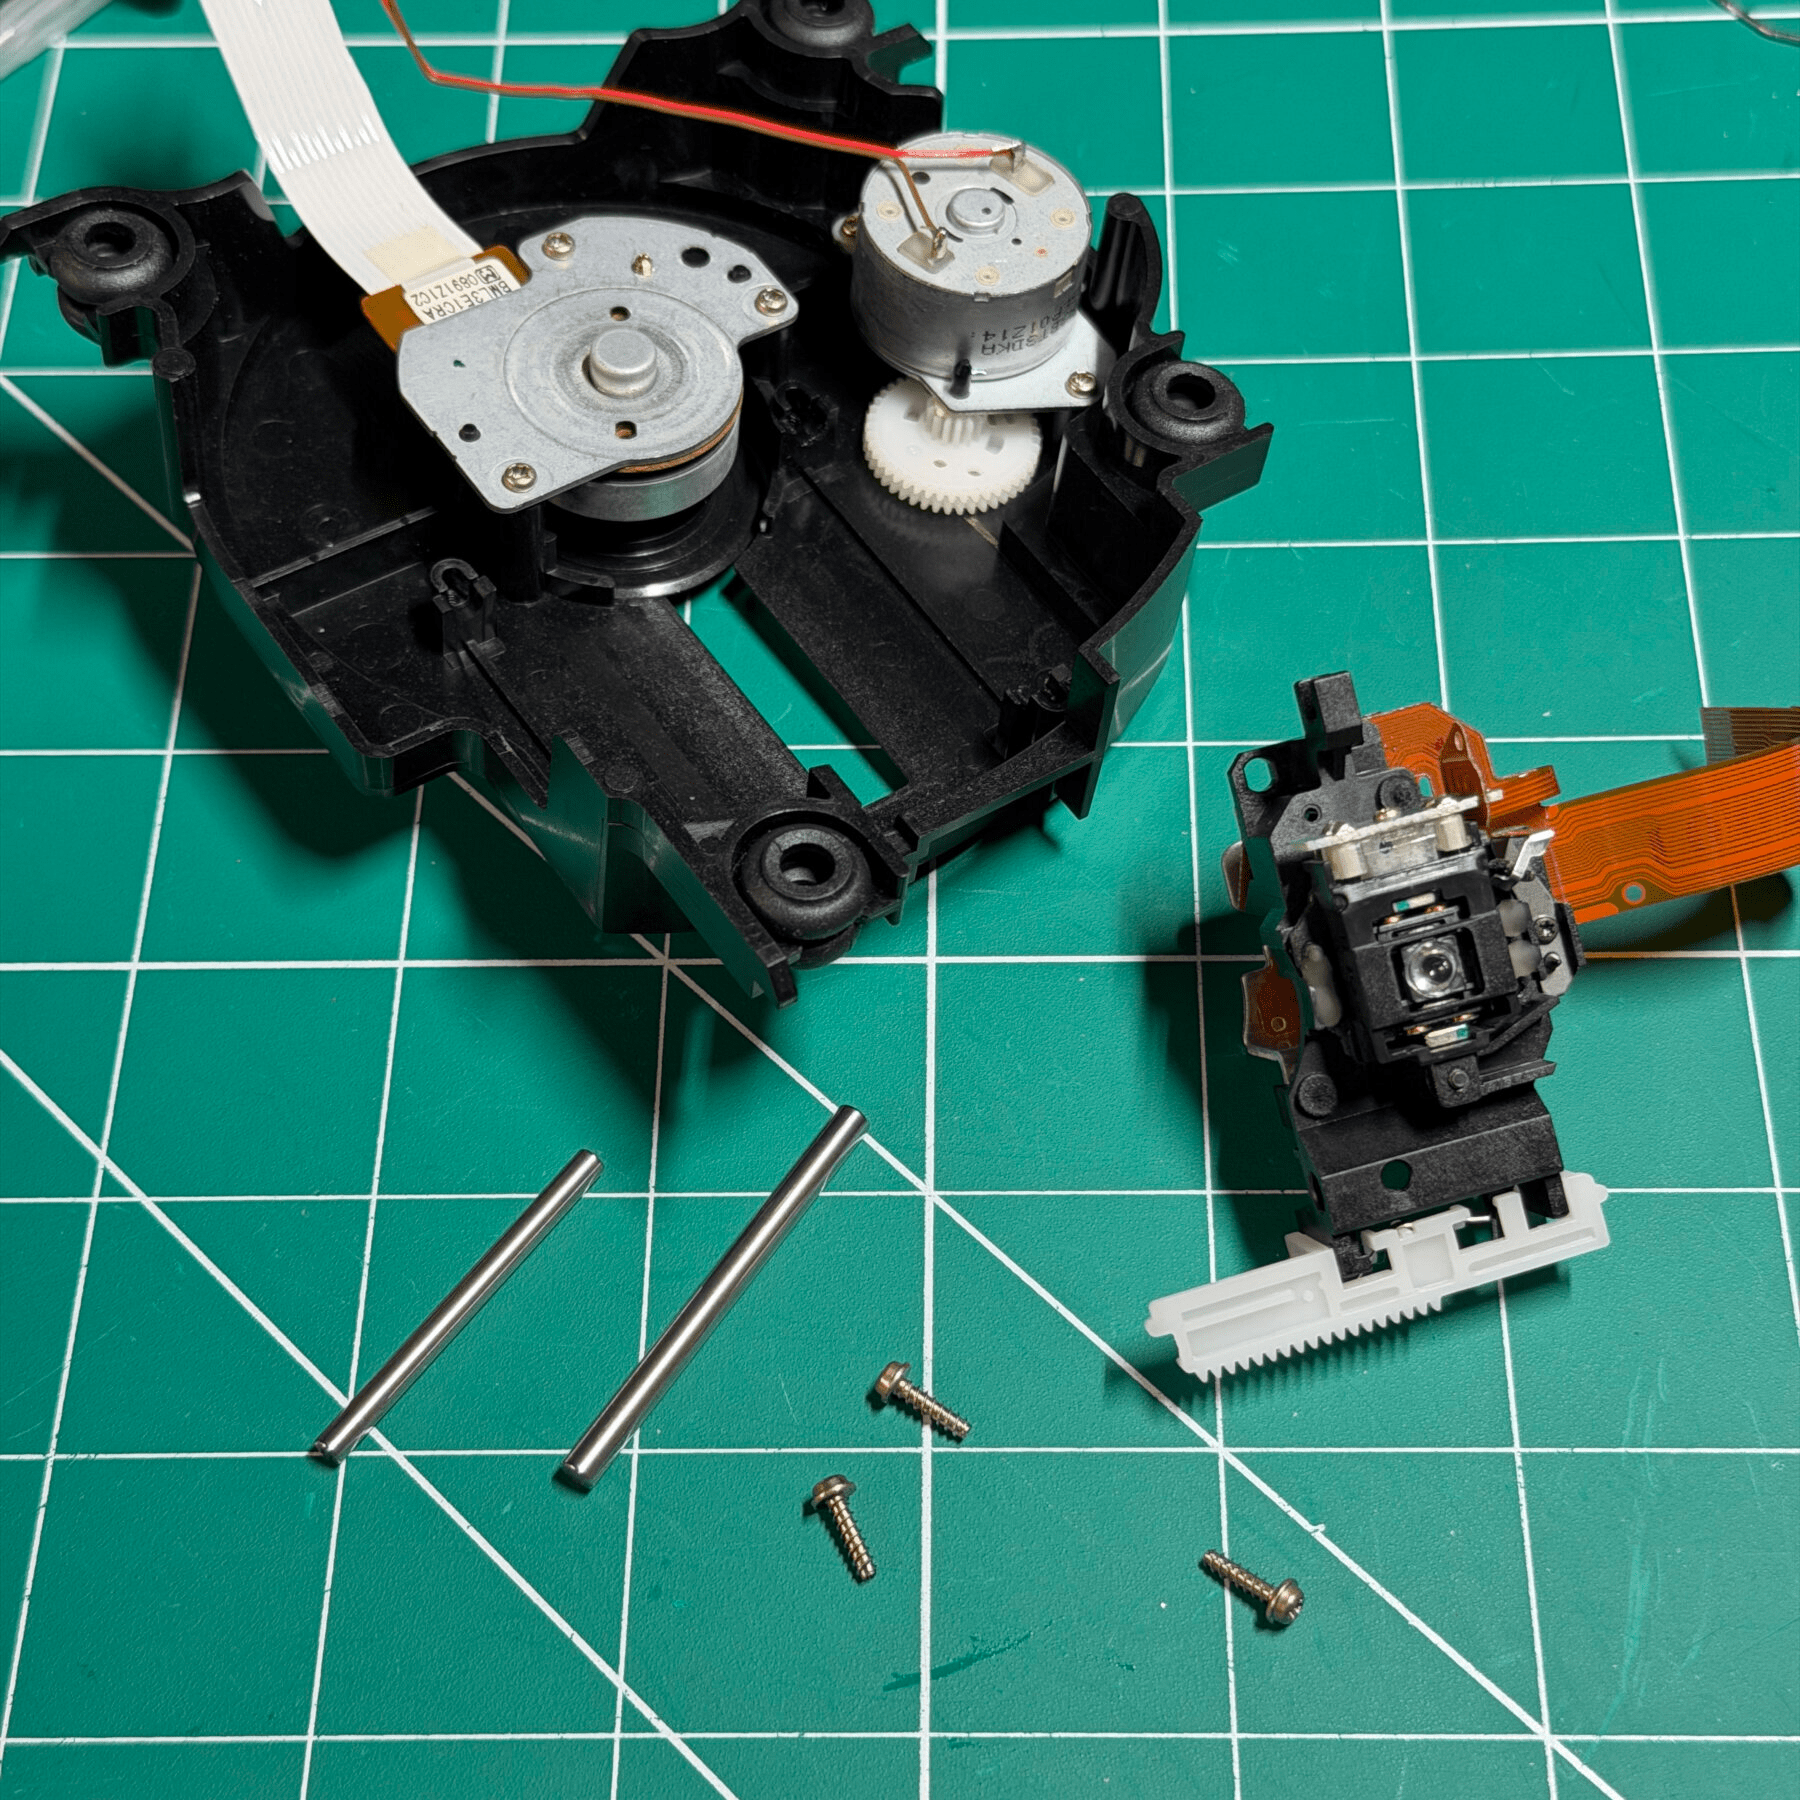
Next up it was time to completely disassemble the optical drive PCB and laser for recap and cleaning. 6 screws on the underside of the shielding lets you remove the optical drive assembly, then another 4 plus unplugging some wires and flexes with get you to the PCB inside, which has 10 SMD capacitors needing replacing. These almost universally fail so if you have an untouched GameCube I would consider their replacement the bare minimum at this point!
I also removed the top laser assembly and wiped down the rails and gears, applied fresh grease and cleaned the laser lens itself, then reassembled the entire optical drive and shield so it’s ready for reinstallation.
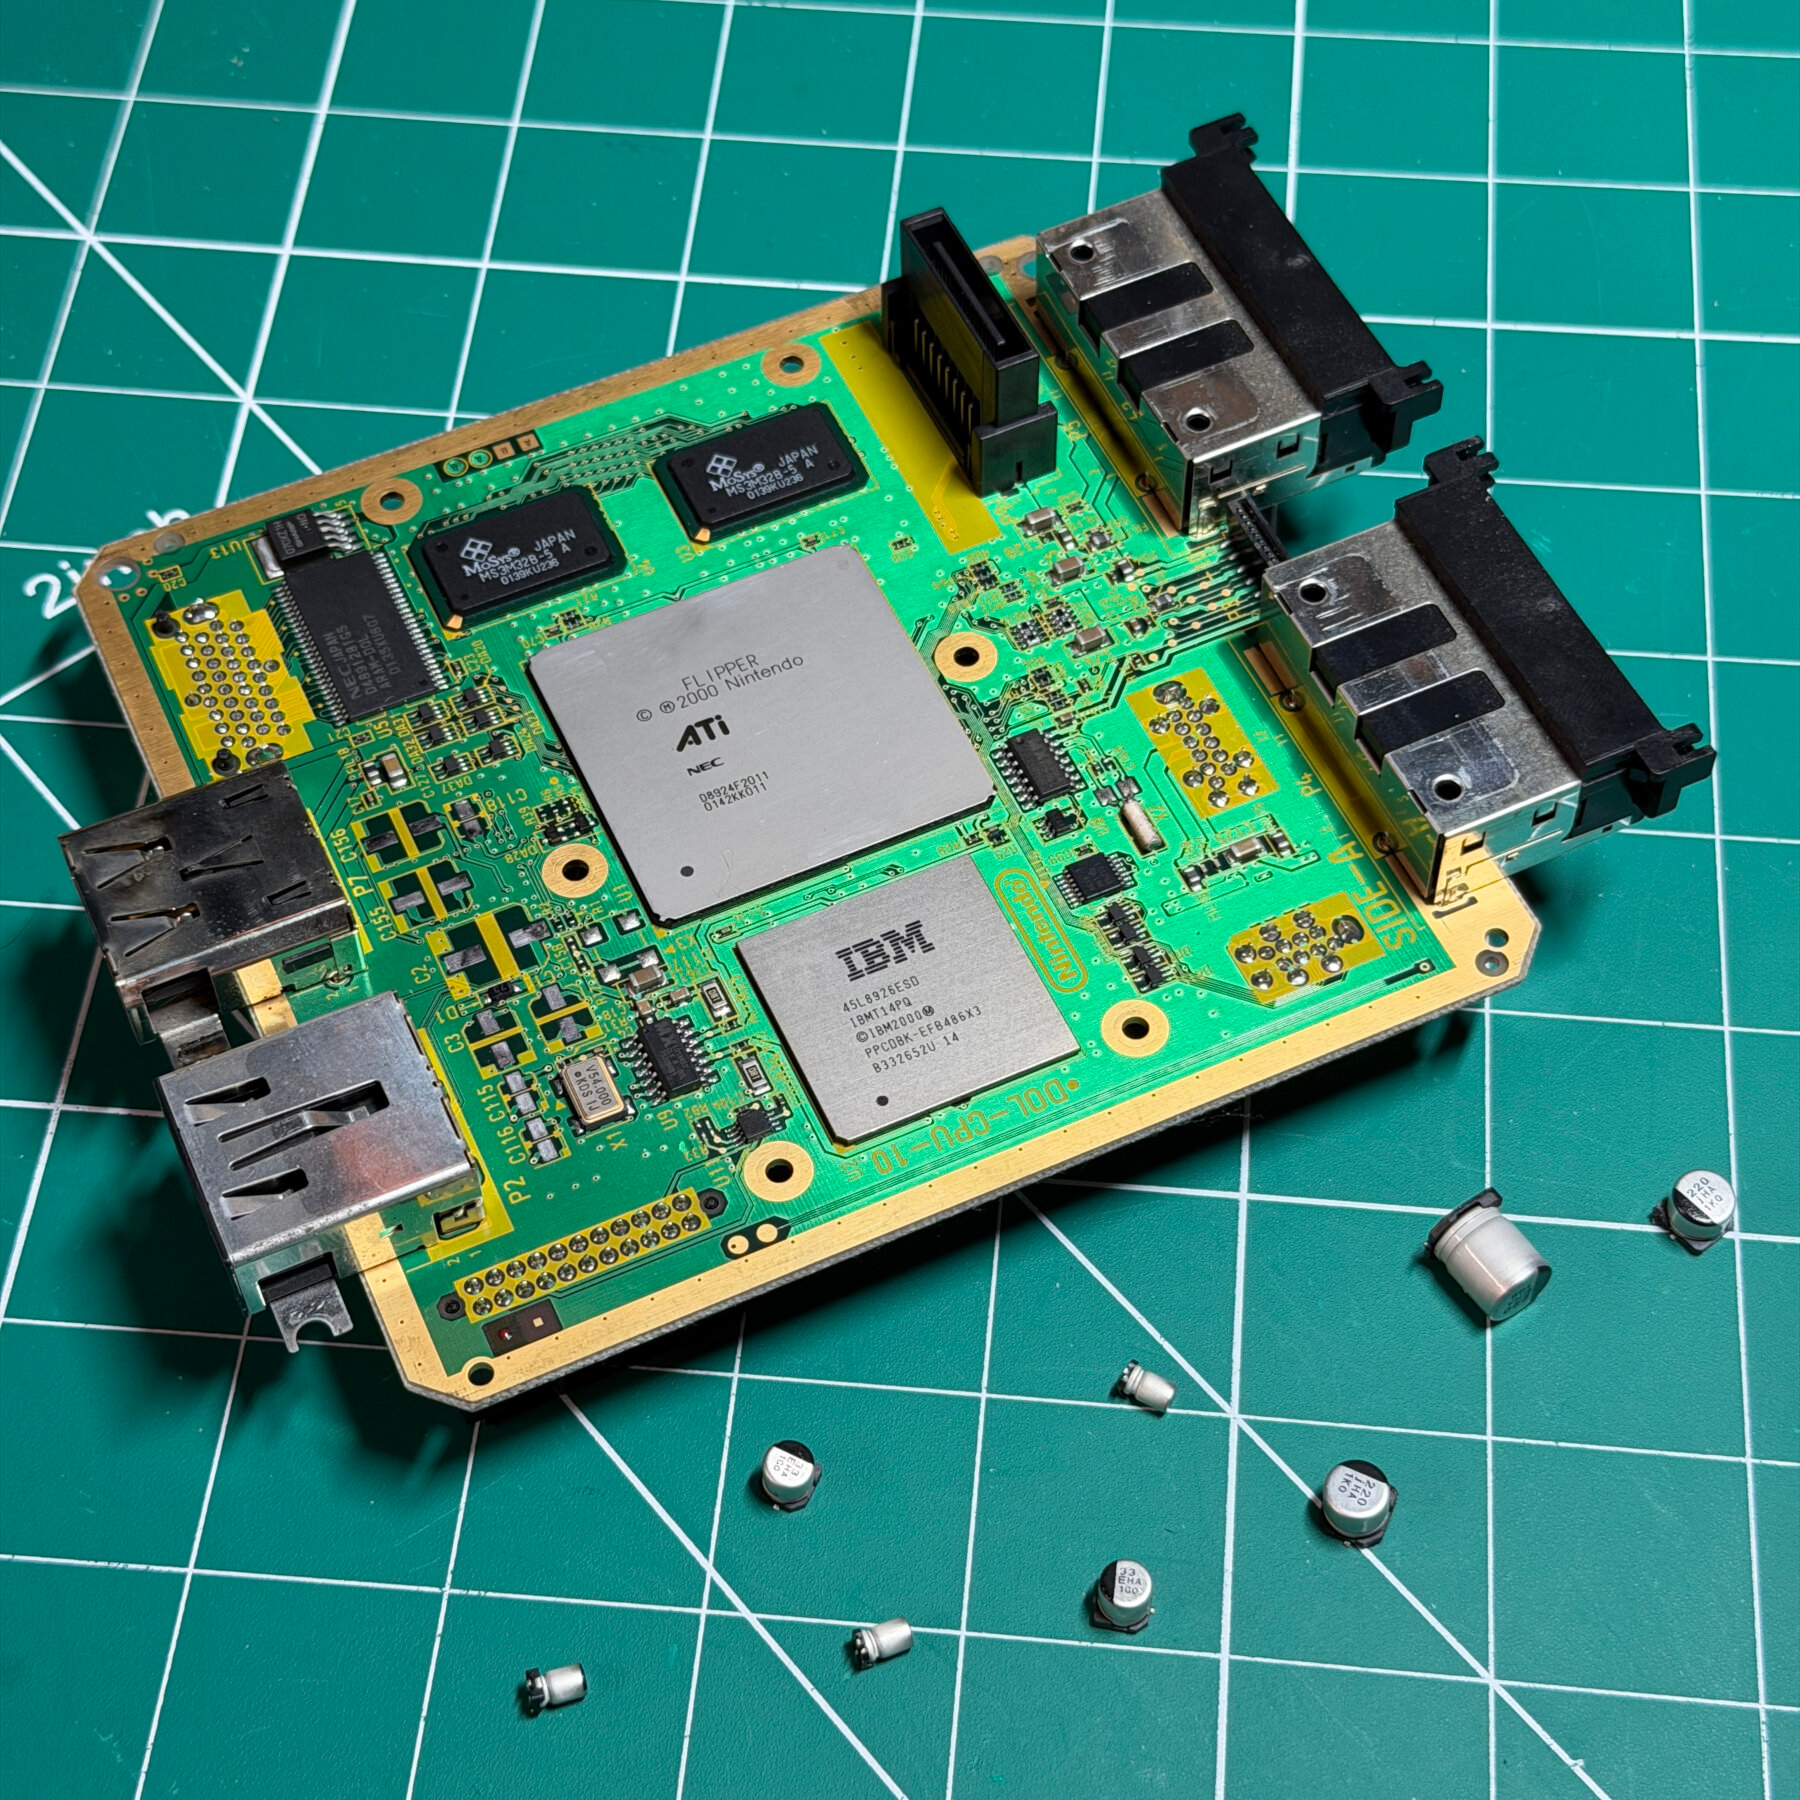
I can usually make pretty quick work of the mainboard. With my hot air station at 200C / air level 30 I just run it over the heatsink evenly for about 30 seconds then start gently rocking back and forth until it pops right off. I would recommend using pliers or grips to wiggle and pull on the heatsink or some kind of glove as it gets quite hot to the touch! I then removed old thermals and cleaned the heatsinks and chips of any old residue with ISO and cloth.
Recap is quick as its only 8-10 caps depending on revision, that was a first revision DOL-001 so 8 to be exact. Console5 cap kits come with tantalums for the 10uF caps giving you lots of extra room to work with and a quicker install in my opinion. With all new caps on and board cleaned it was time to cut and install new thermal pads, remove top plastic then carefully push the cleaned heatsink on top in place aligned with the screw holes.


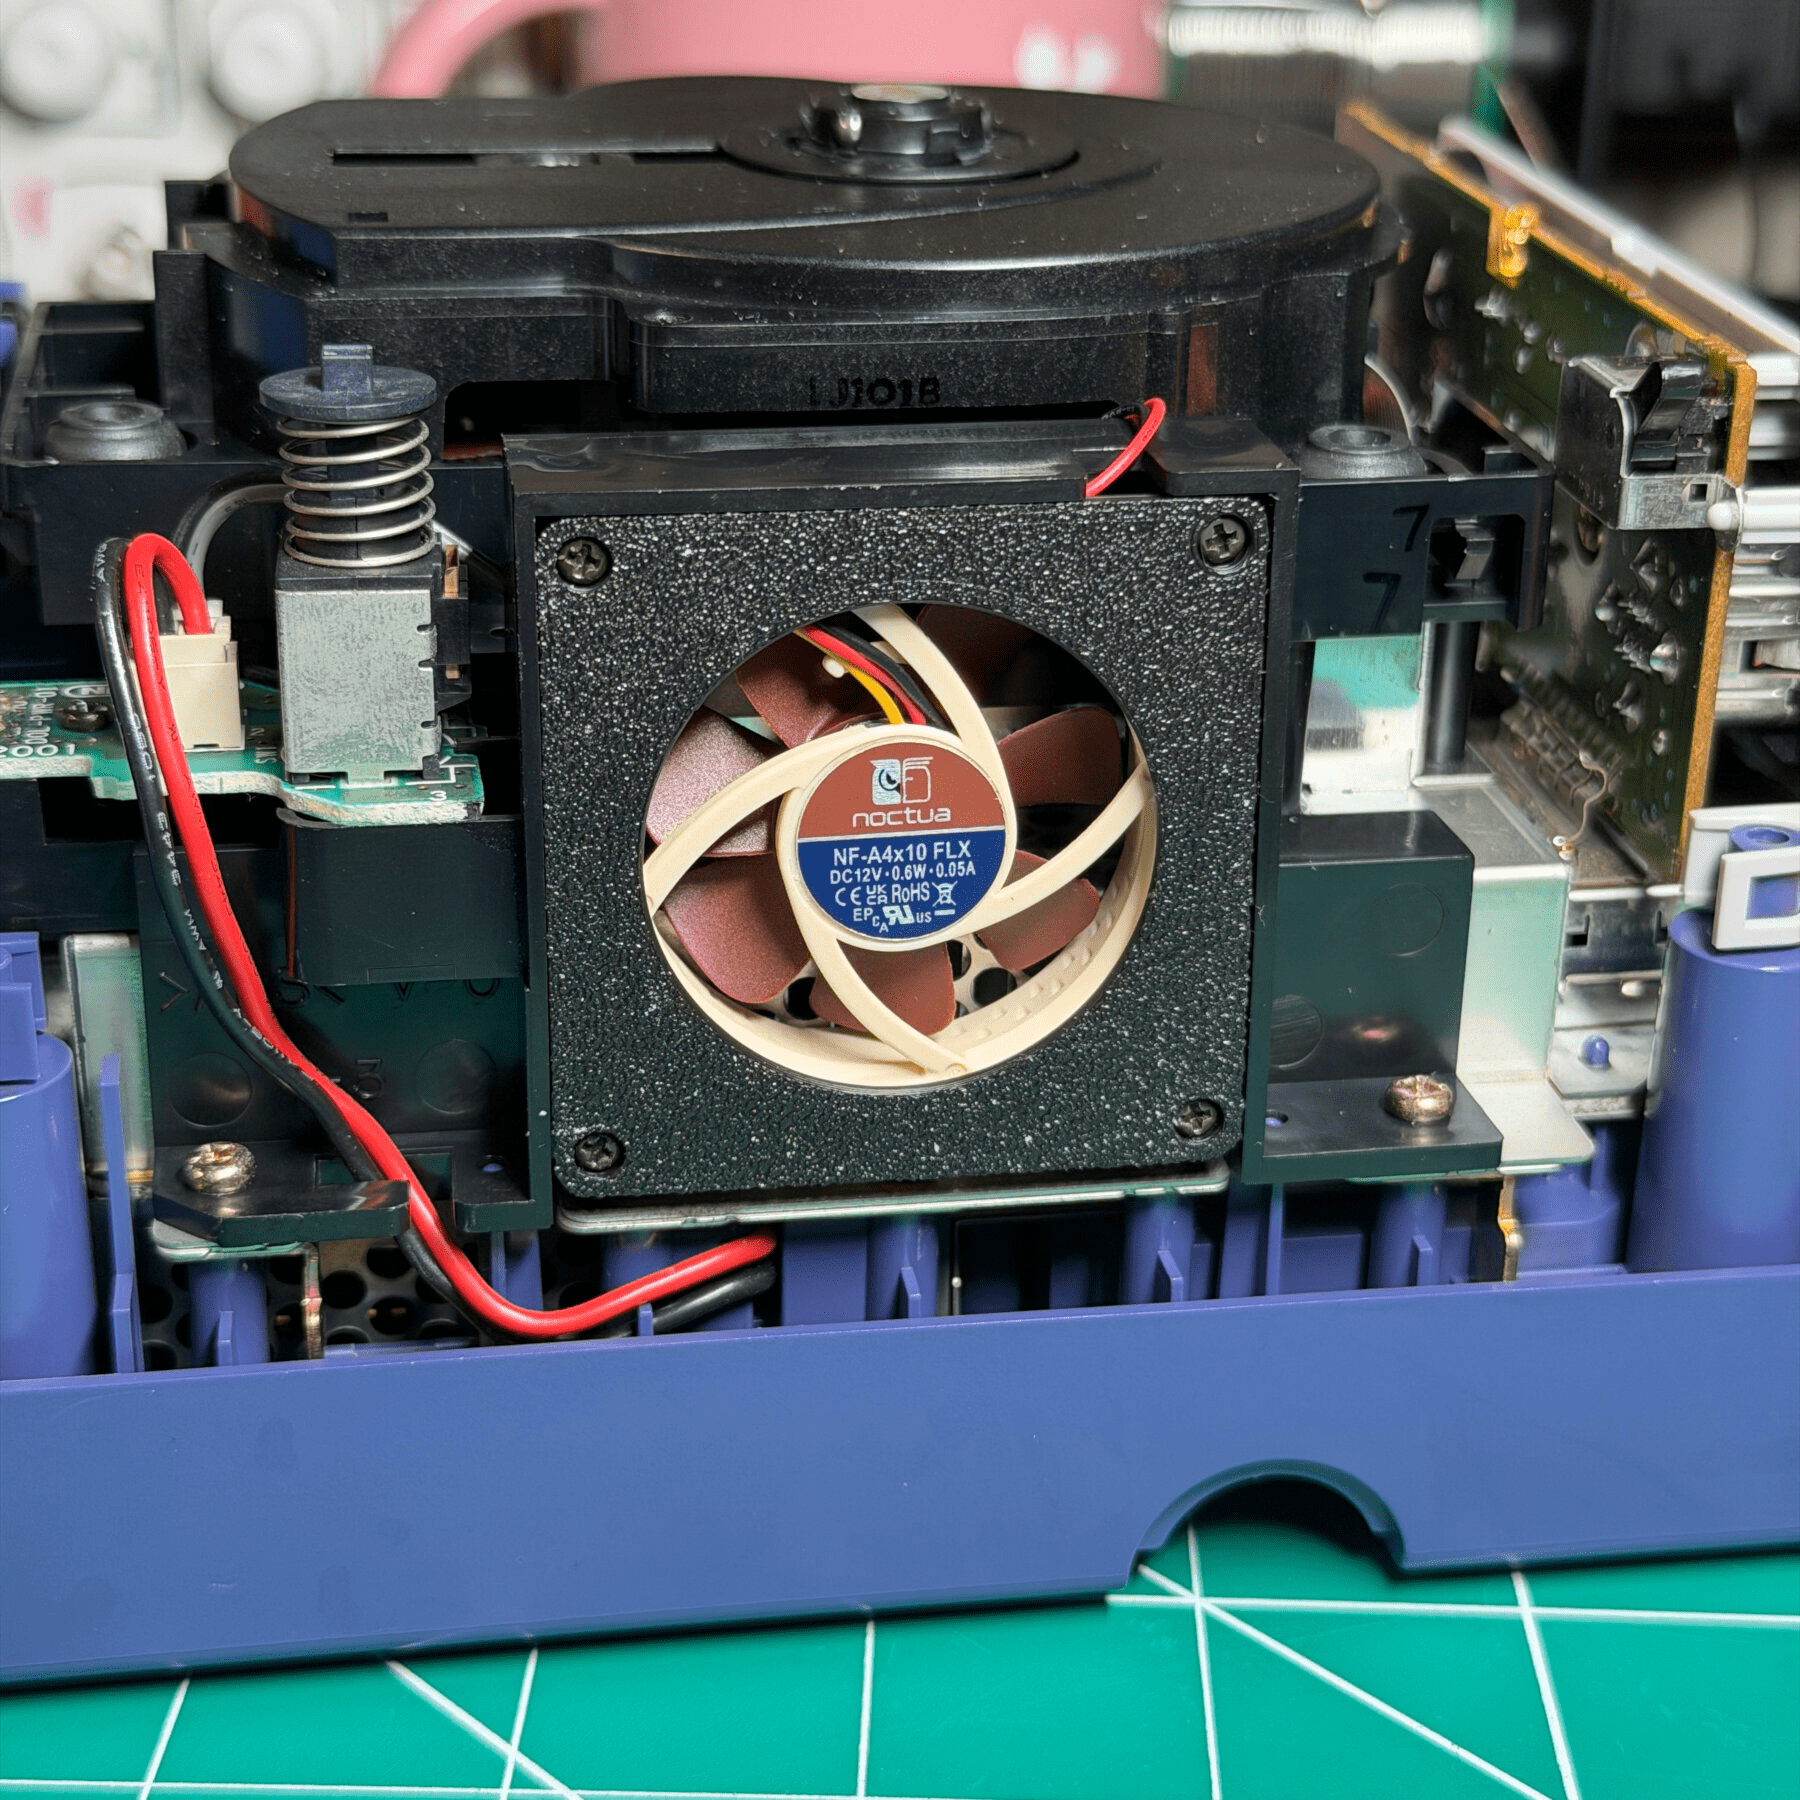
Since the recap is done and shell is cleaned, I began the reassembly process working from the bottom up. Once all parts are reinstalled including the optical drive, I do the Noctua fan upgrade before snapping the front and back panels on and of course the top shell.
For the noctua fan, a clip on mount is available on Printables from RetroFrog ( https://www.printables.com/model/118034-gamecube-40mm-screwless-fan-adapter ) which offers a sleek way to mount it into the stock shroud without any extra screws (besides the 4 that screw into shroud itself). These Noctua fans come with a silent adapter which just adds a 100ohm resistor in line but since I have to splice the Noctua fan to the original 2 pin connector, I have the fan mounted and 2 pin plug connected to power board, then overlap and mark where they will meet in the middle and cut both ends, splice black to black and red to gray, with the 100ohm resistor in line on the red/gray wire. Heatshrink tubing will protect the splices and keep everything looking nice and tidy!

With the fan done, final assembly was completed including reinstalling all top shell and lid parts and securing the console from the underside. Be sure the top lid is in OPEN position when seating top shell down (same with taking it off) or you can break the tray lid switches!
Fired up the console, set the time and date and shut off then unplugged for a while, booted back up and confirmed time held so battery was working, then let it run on the bench with a game for a few hours as a burn-in test, played some Burnout and we have another GameCube done!