
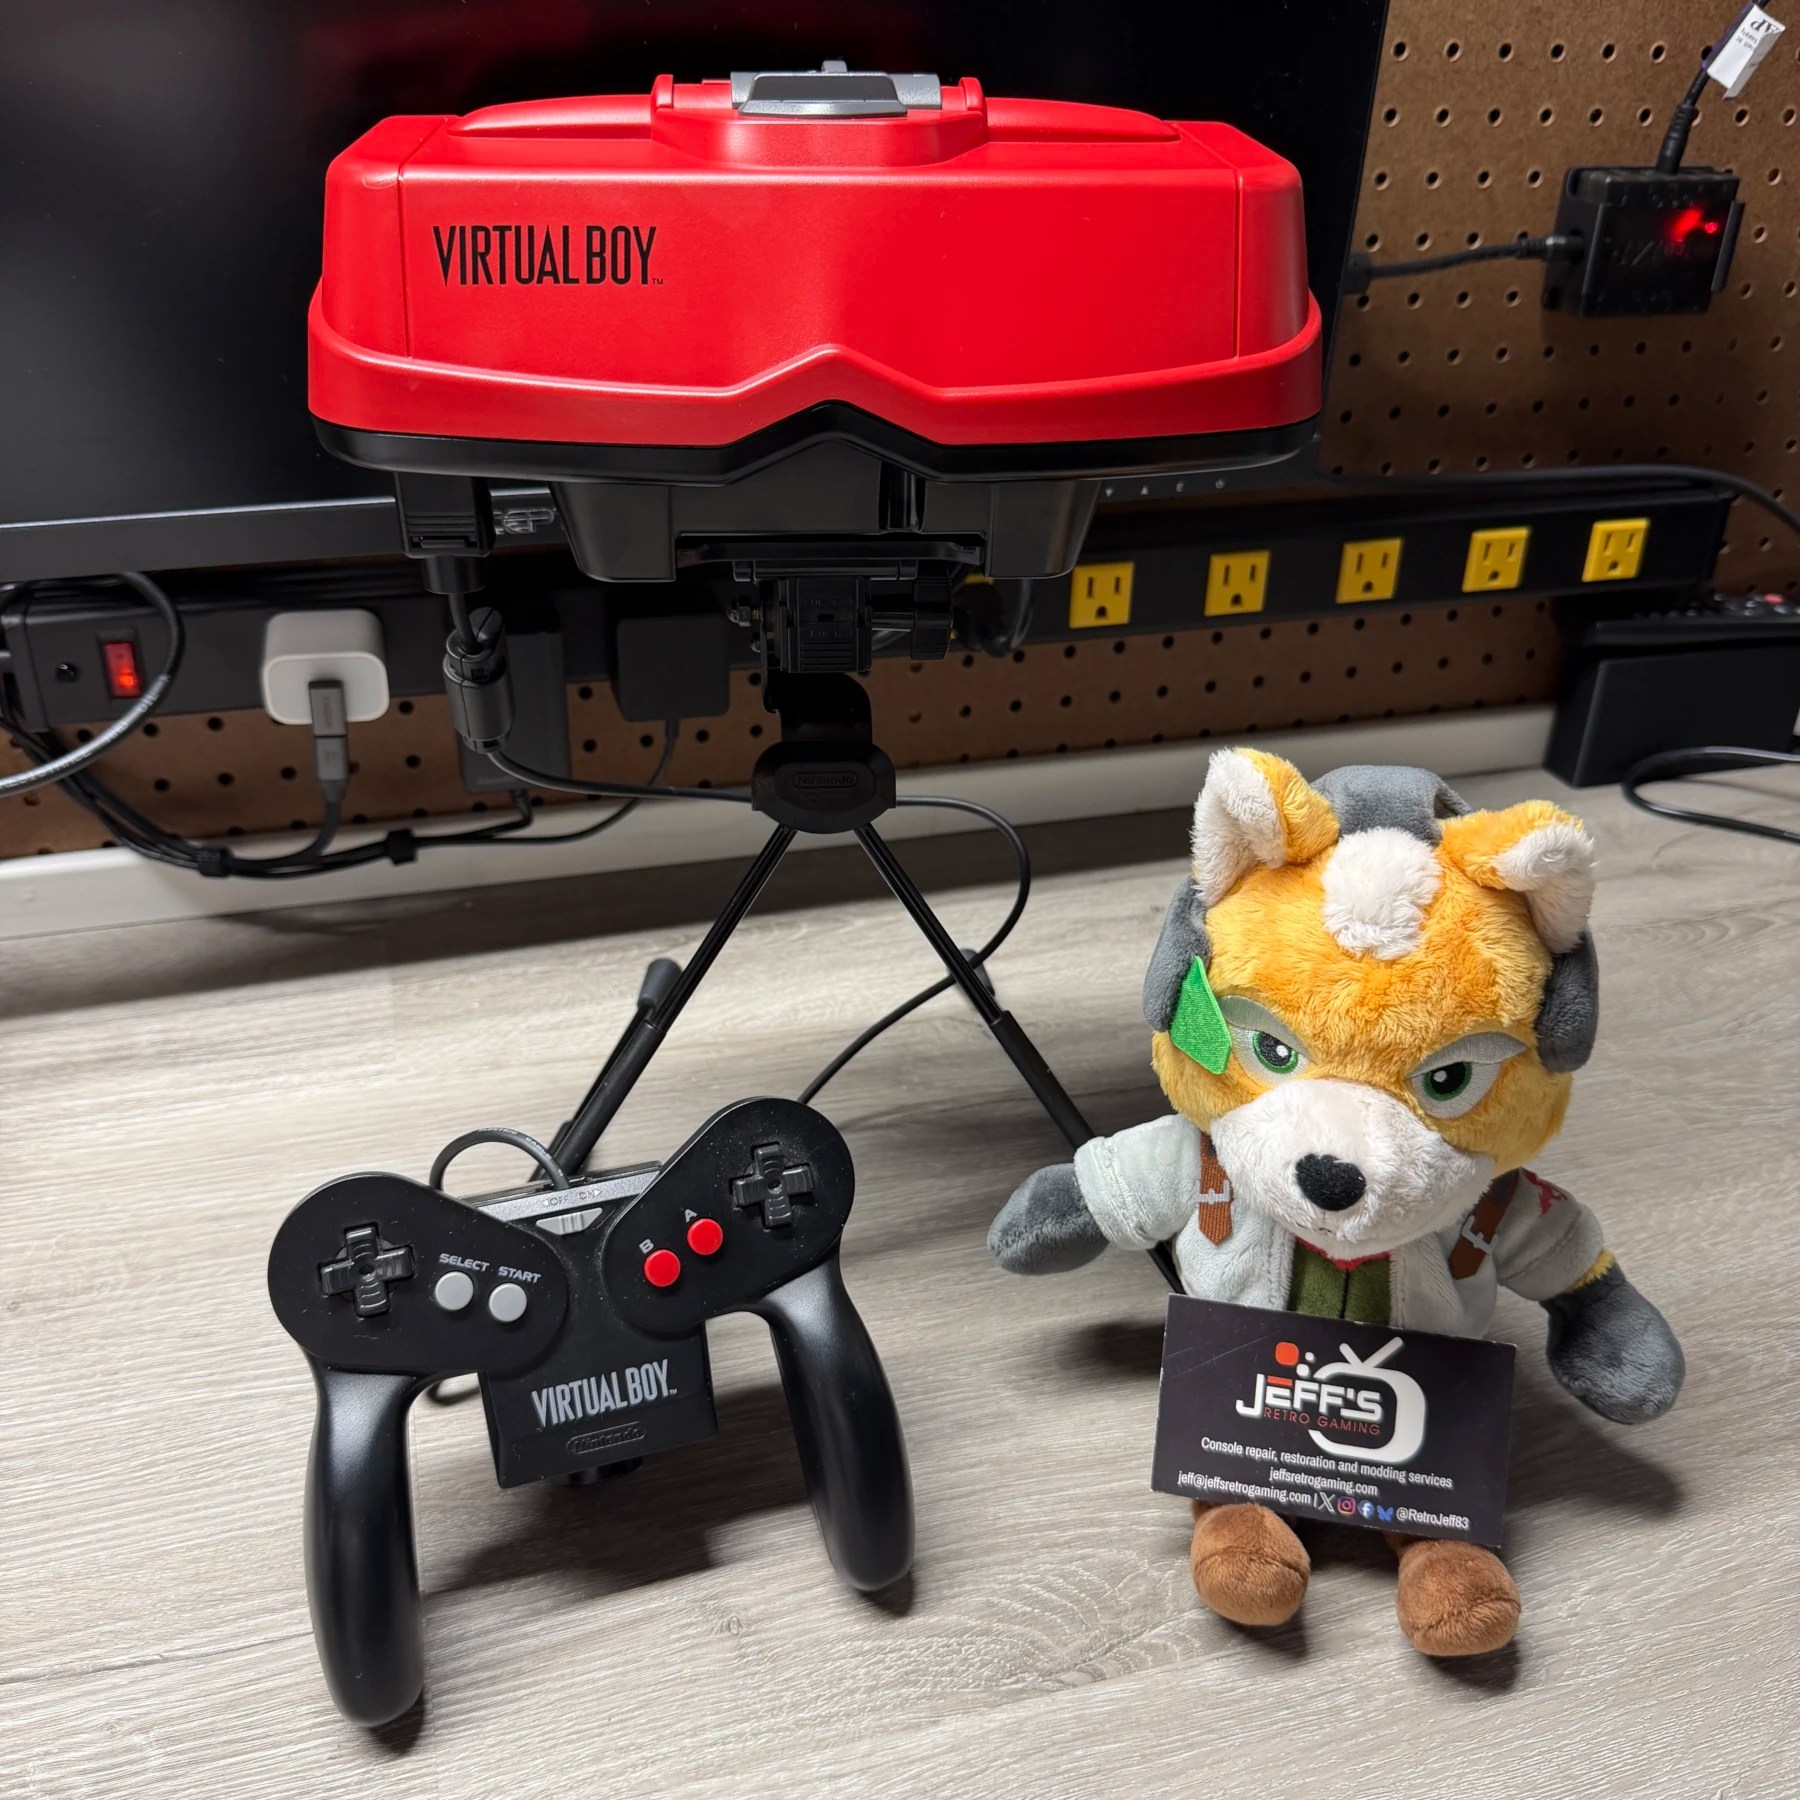
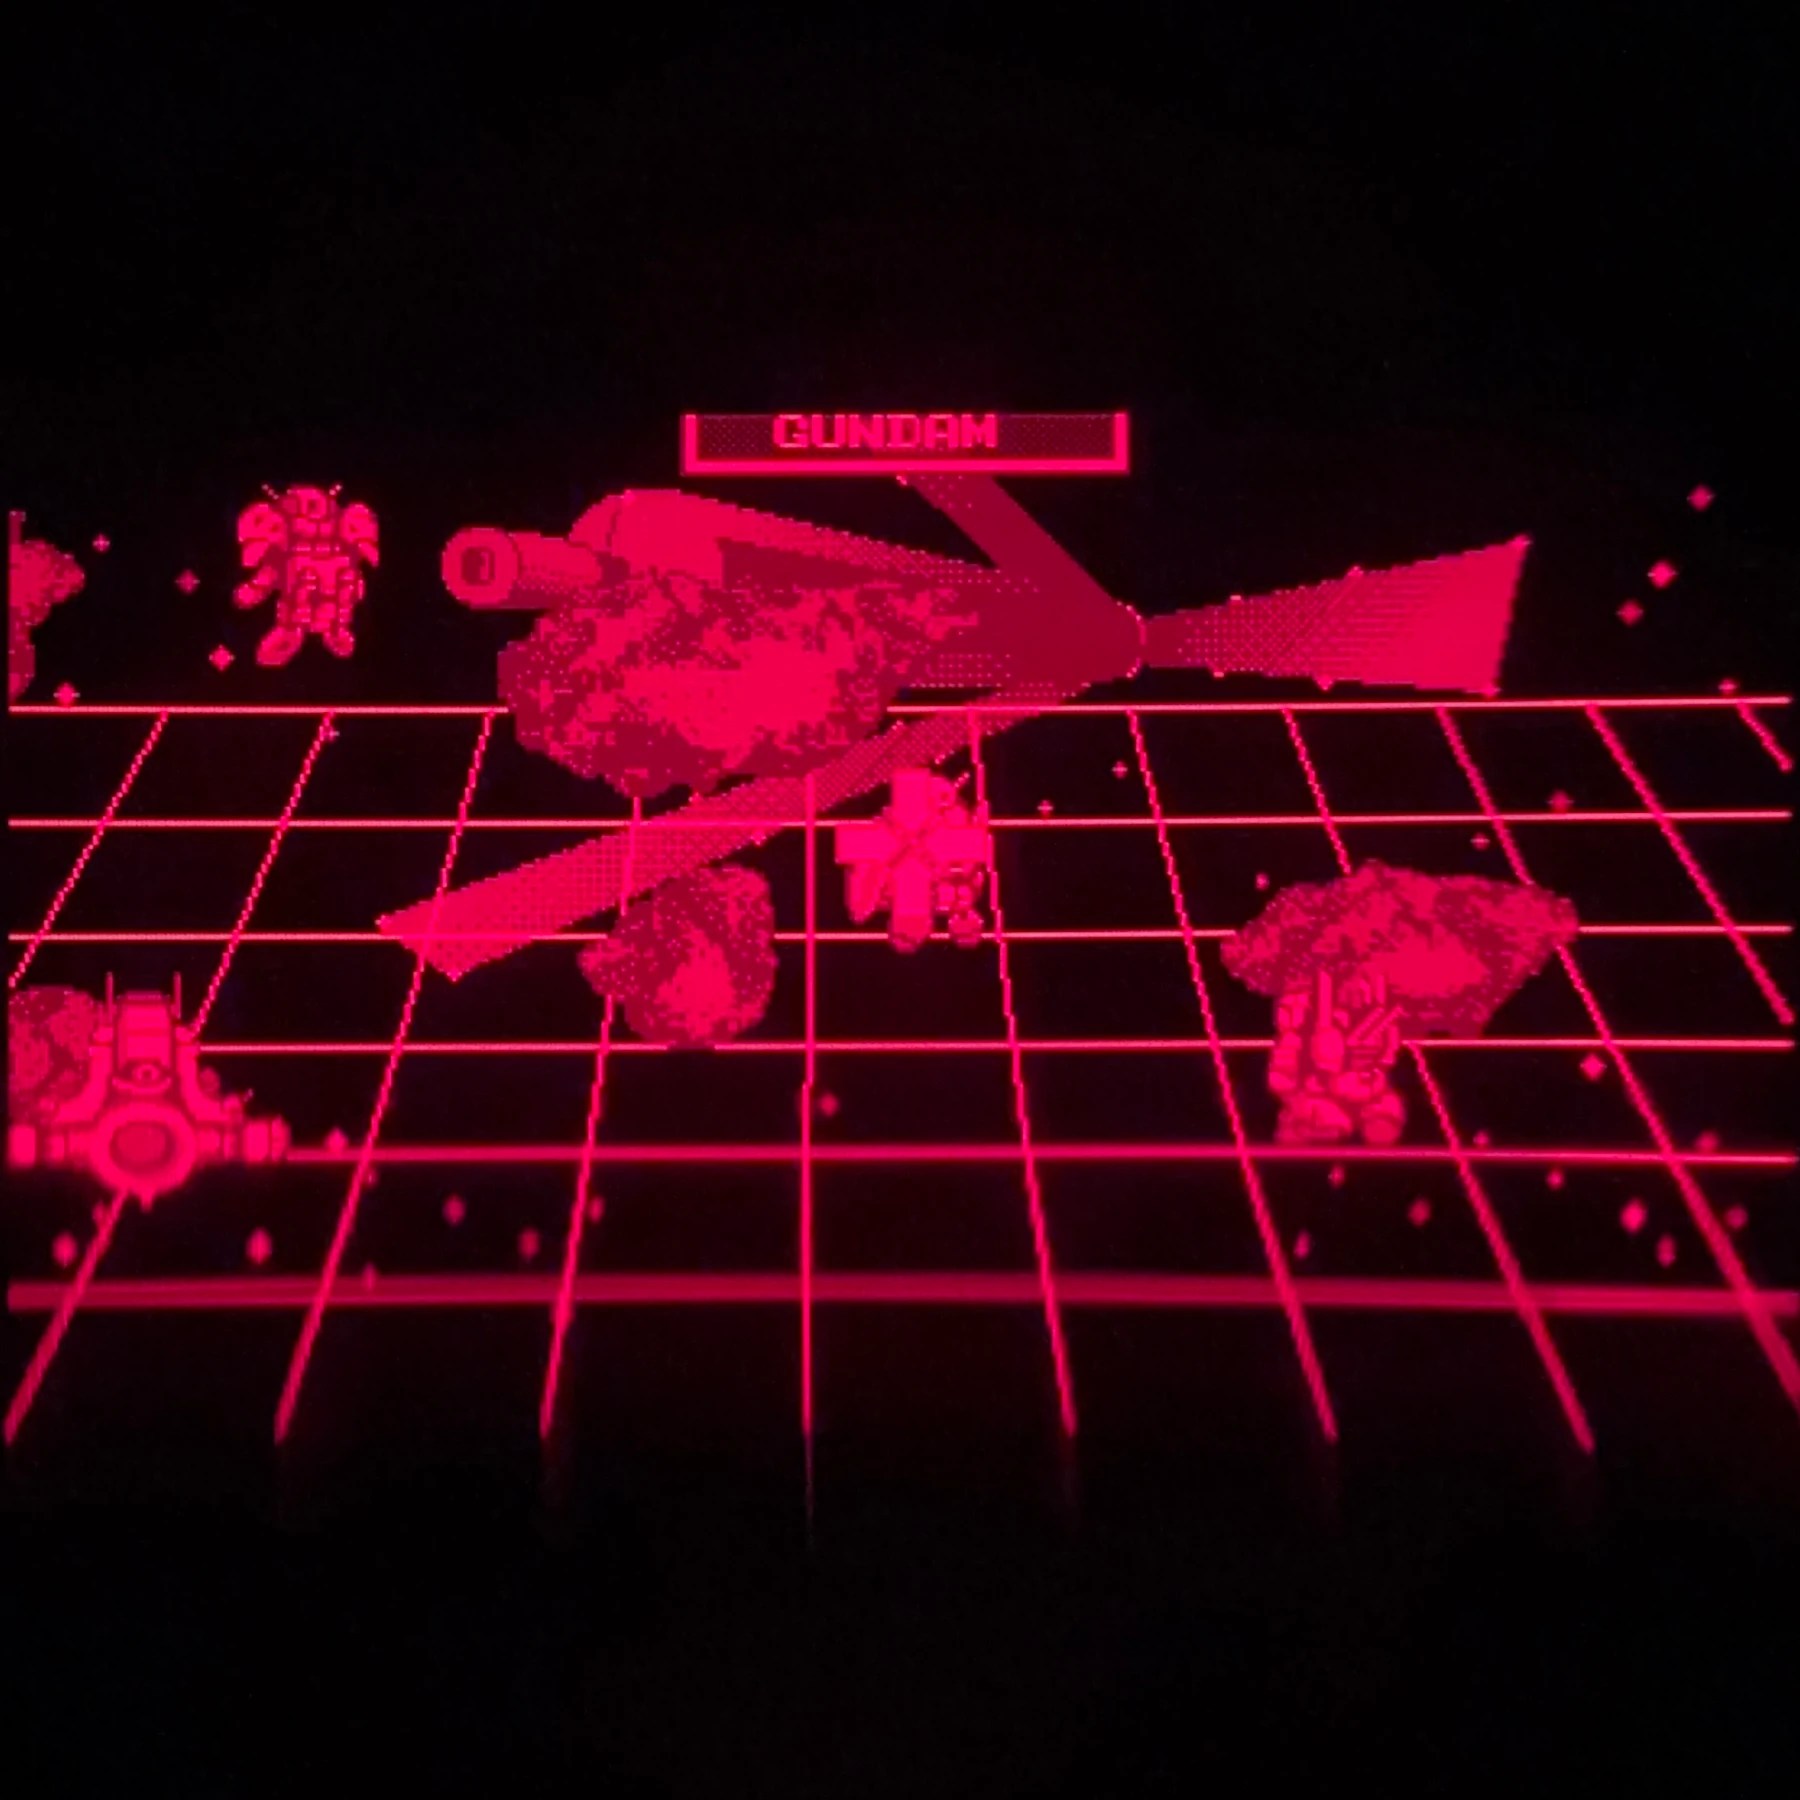
While 99% of the Virtual Boys that come into this shop are already showing degraded output to one or both lenses, occasionally you still get one that’s fully working and that poor 30+ year old glue is likely hanging on for dear life 😄
This unit was sent in for preventative maintenance which depending on the console can be more urgent than others. While some eyes can still be working these days I would consider the lens ribbon replacement a mandatory maintenance event for VB owners as at some point that glue will fail and leave you with a non-functional unit.
They had also selected the Full-Service Cleaning and Full Recap Service so… on to the work!
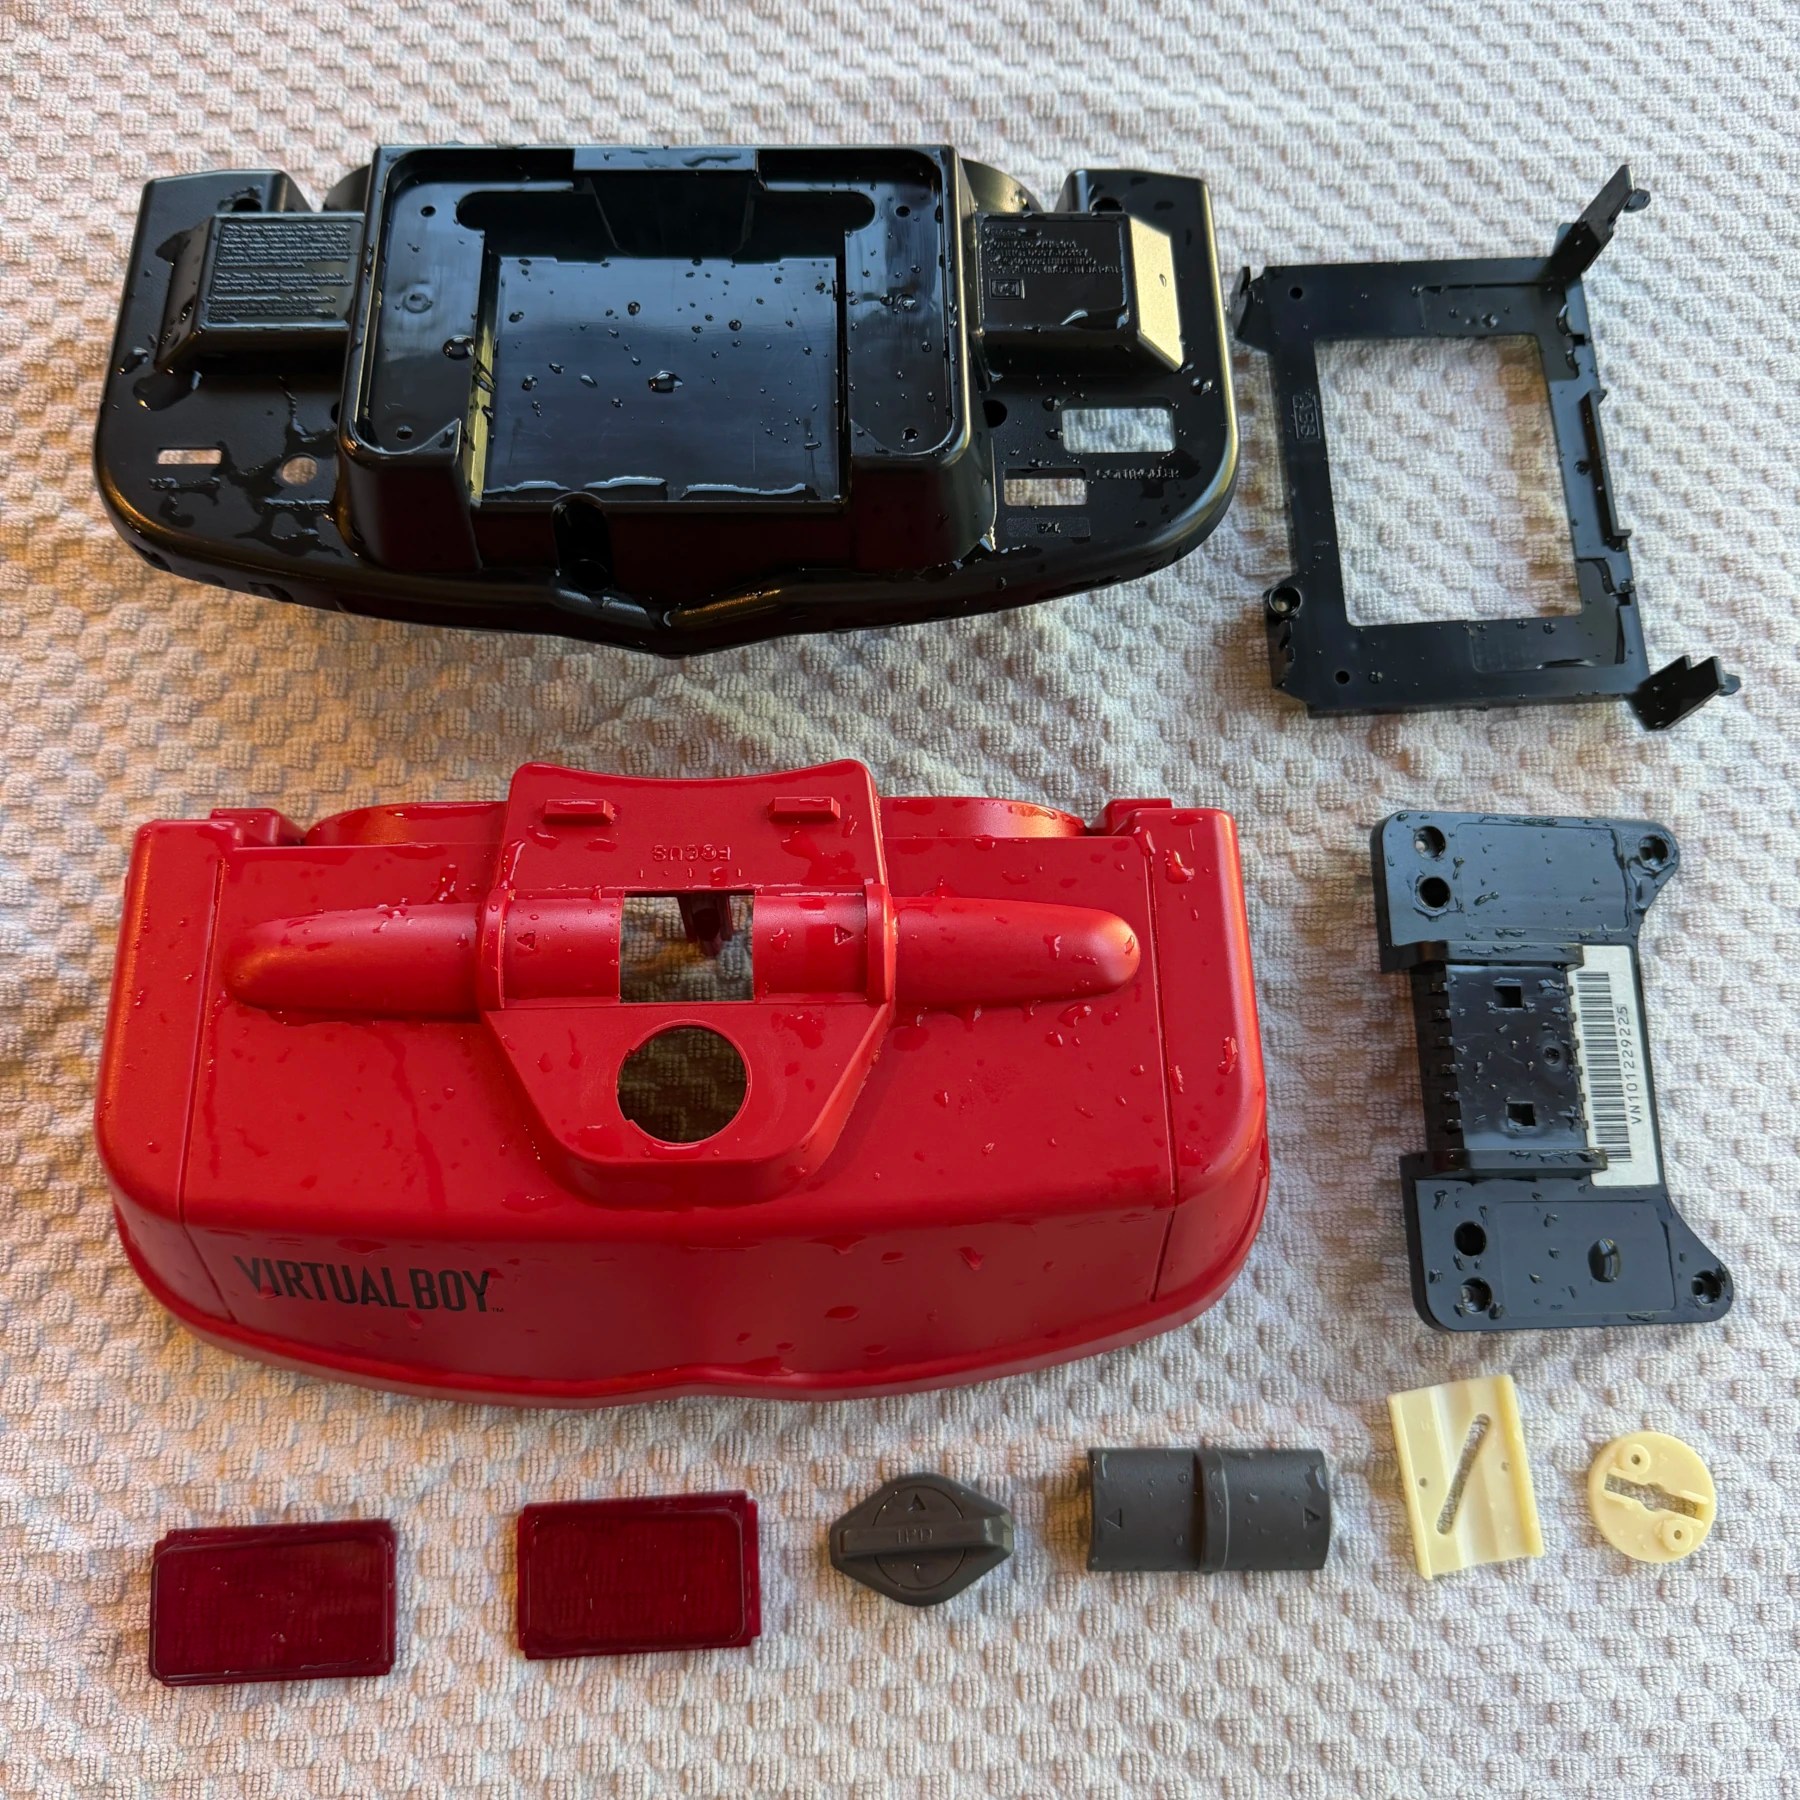
Since cleaning service was selected I tore the console down to the last part including the IPS and focus sliders and then put all shell and plastic parts into the wash bin for a soak, scrub, rinse and overnight dry!
If these lenses are heavily scratched I can sometimes buff them out a bit with some Polywatch but these ones were in good shape so just needed a cleaning. With all the plastic parts removed I then also needed to separate both lens ribbons from the main module, the 3 boards and disconnect both speaker pieces so I could tackle the rest of the job in sections. Next up will be the recap and reflow…
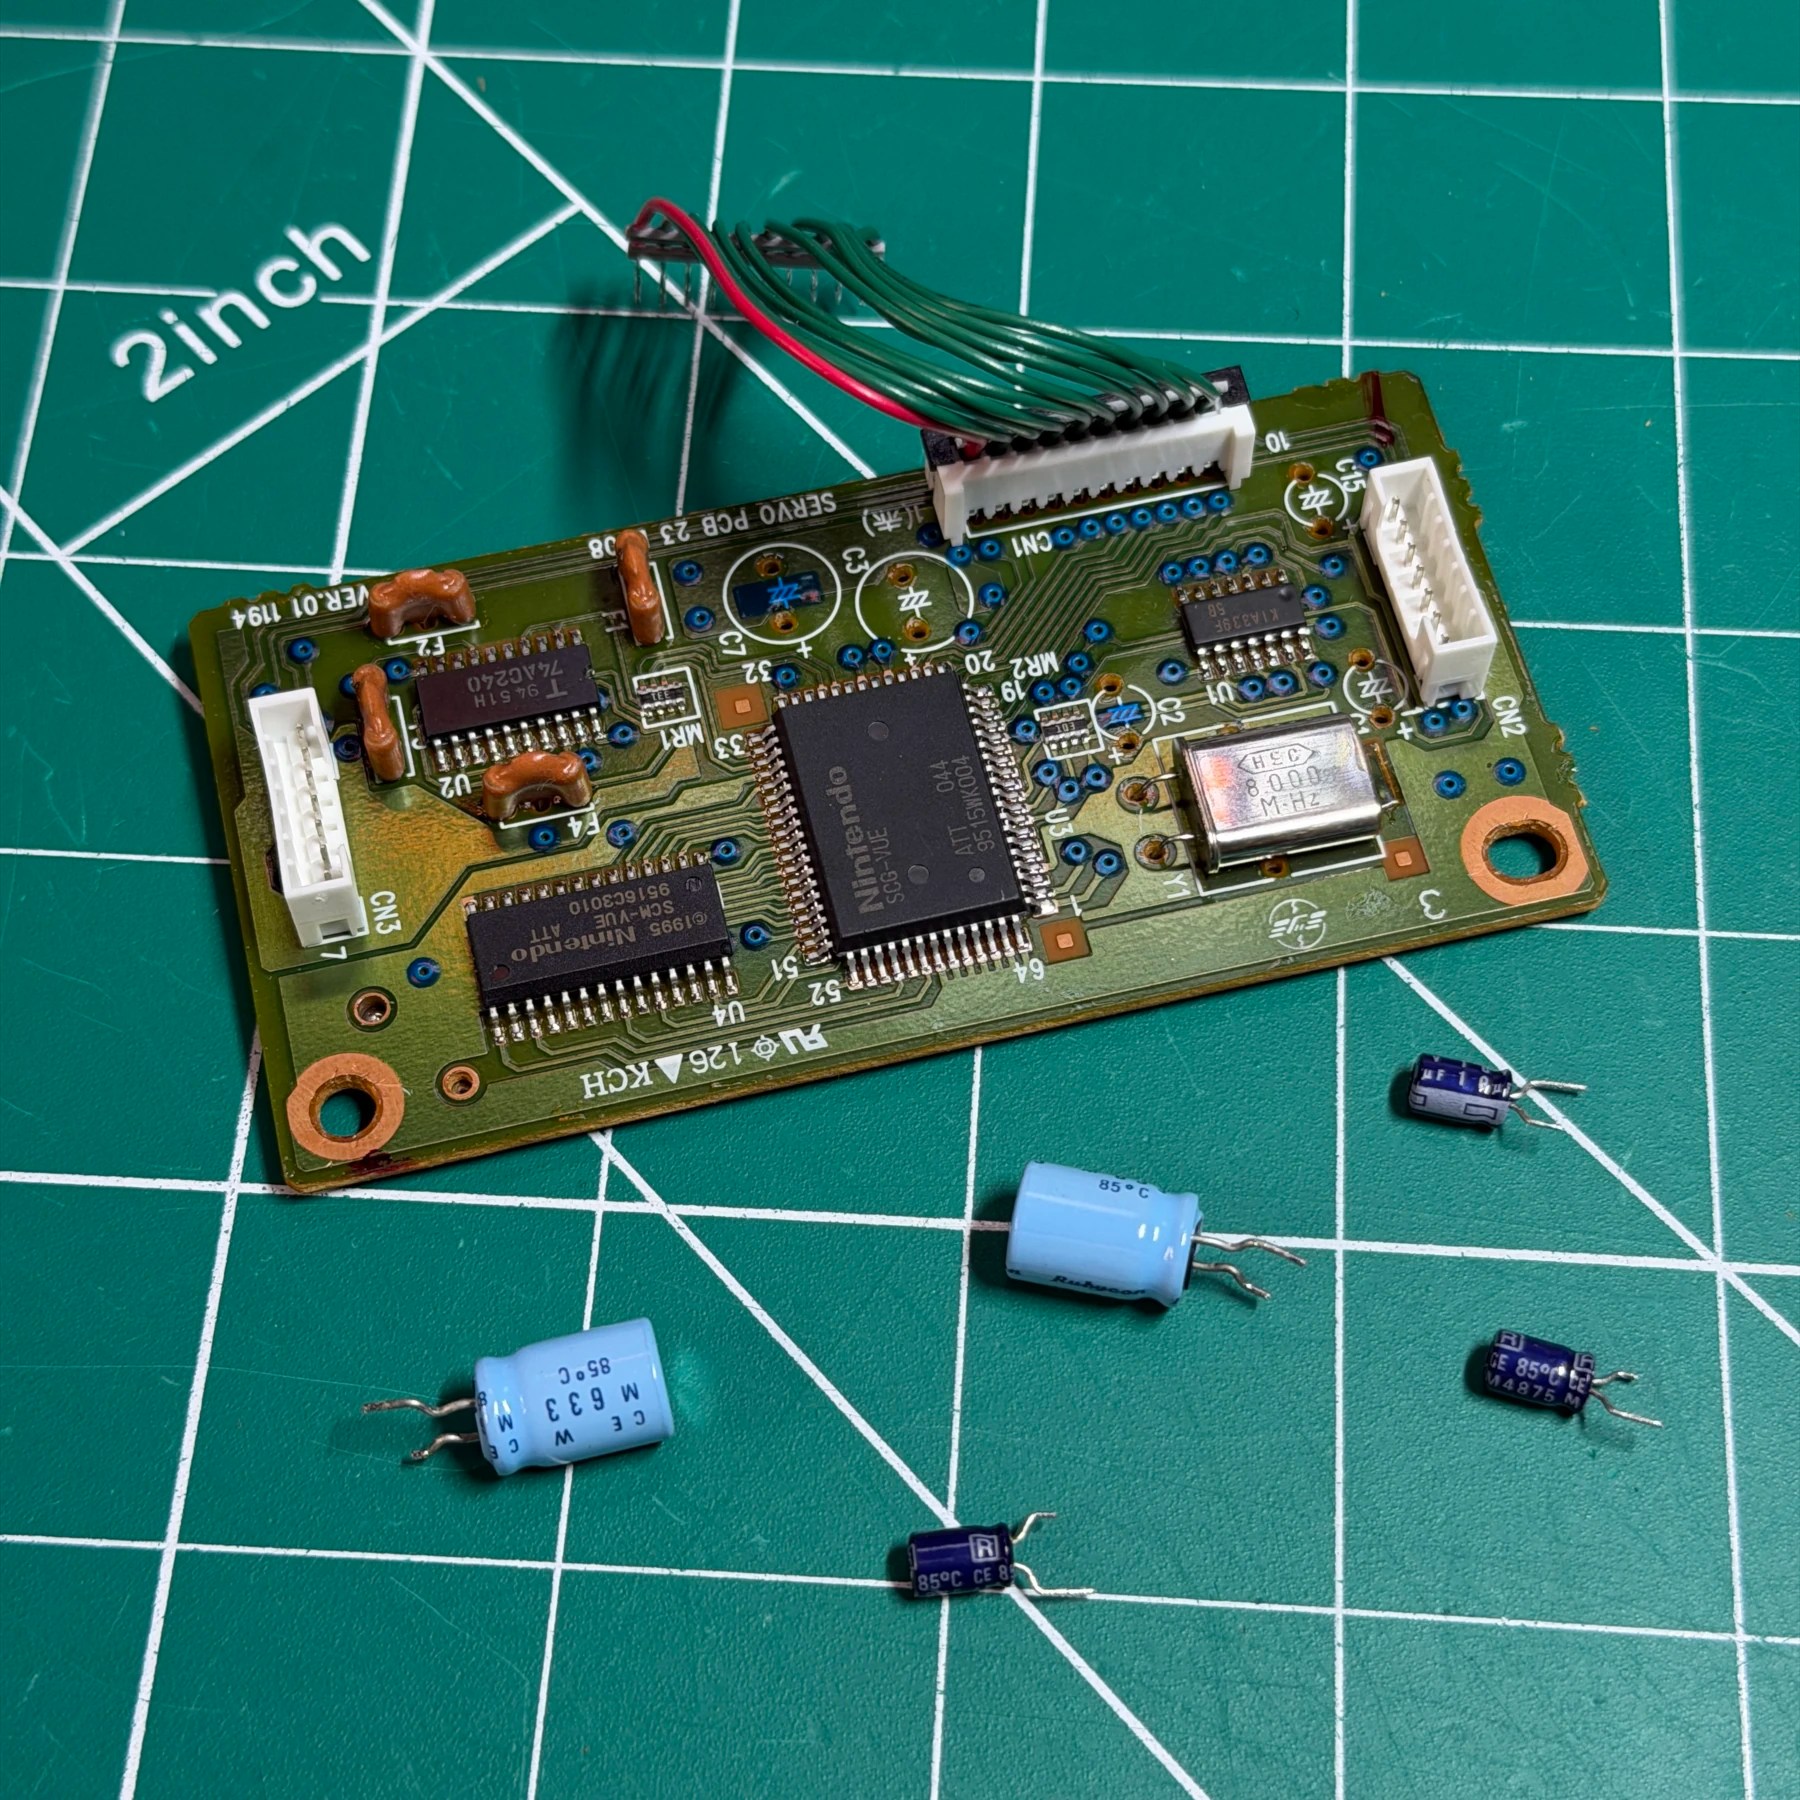
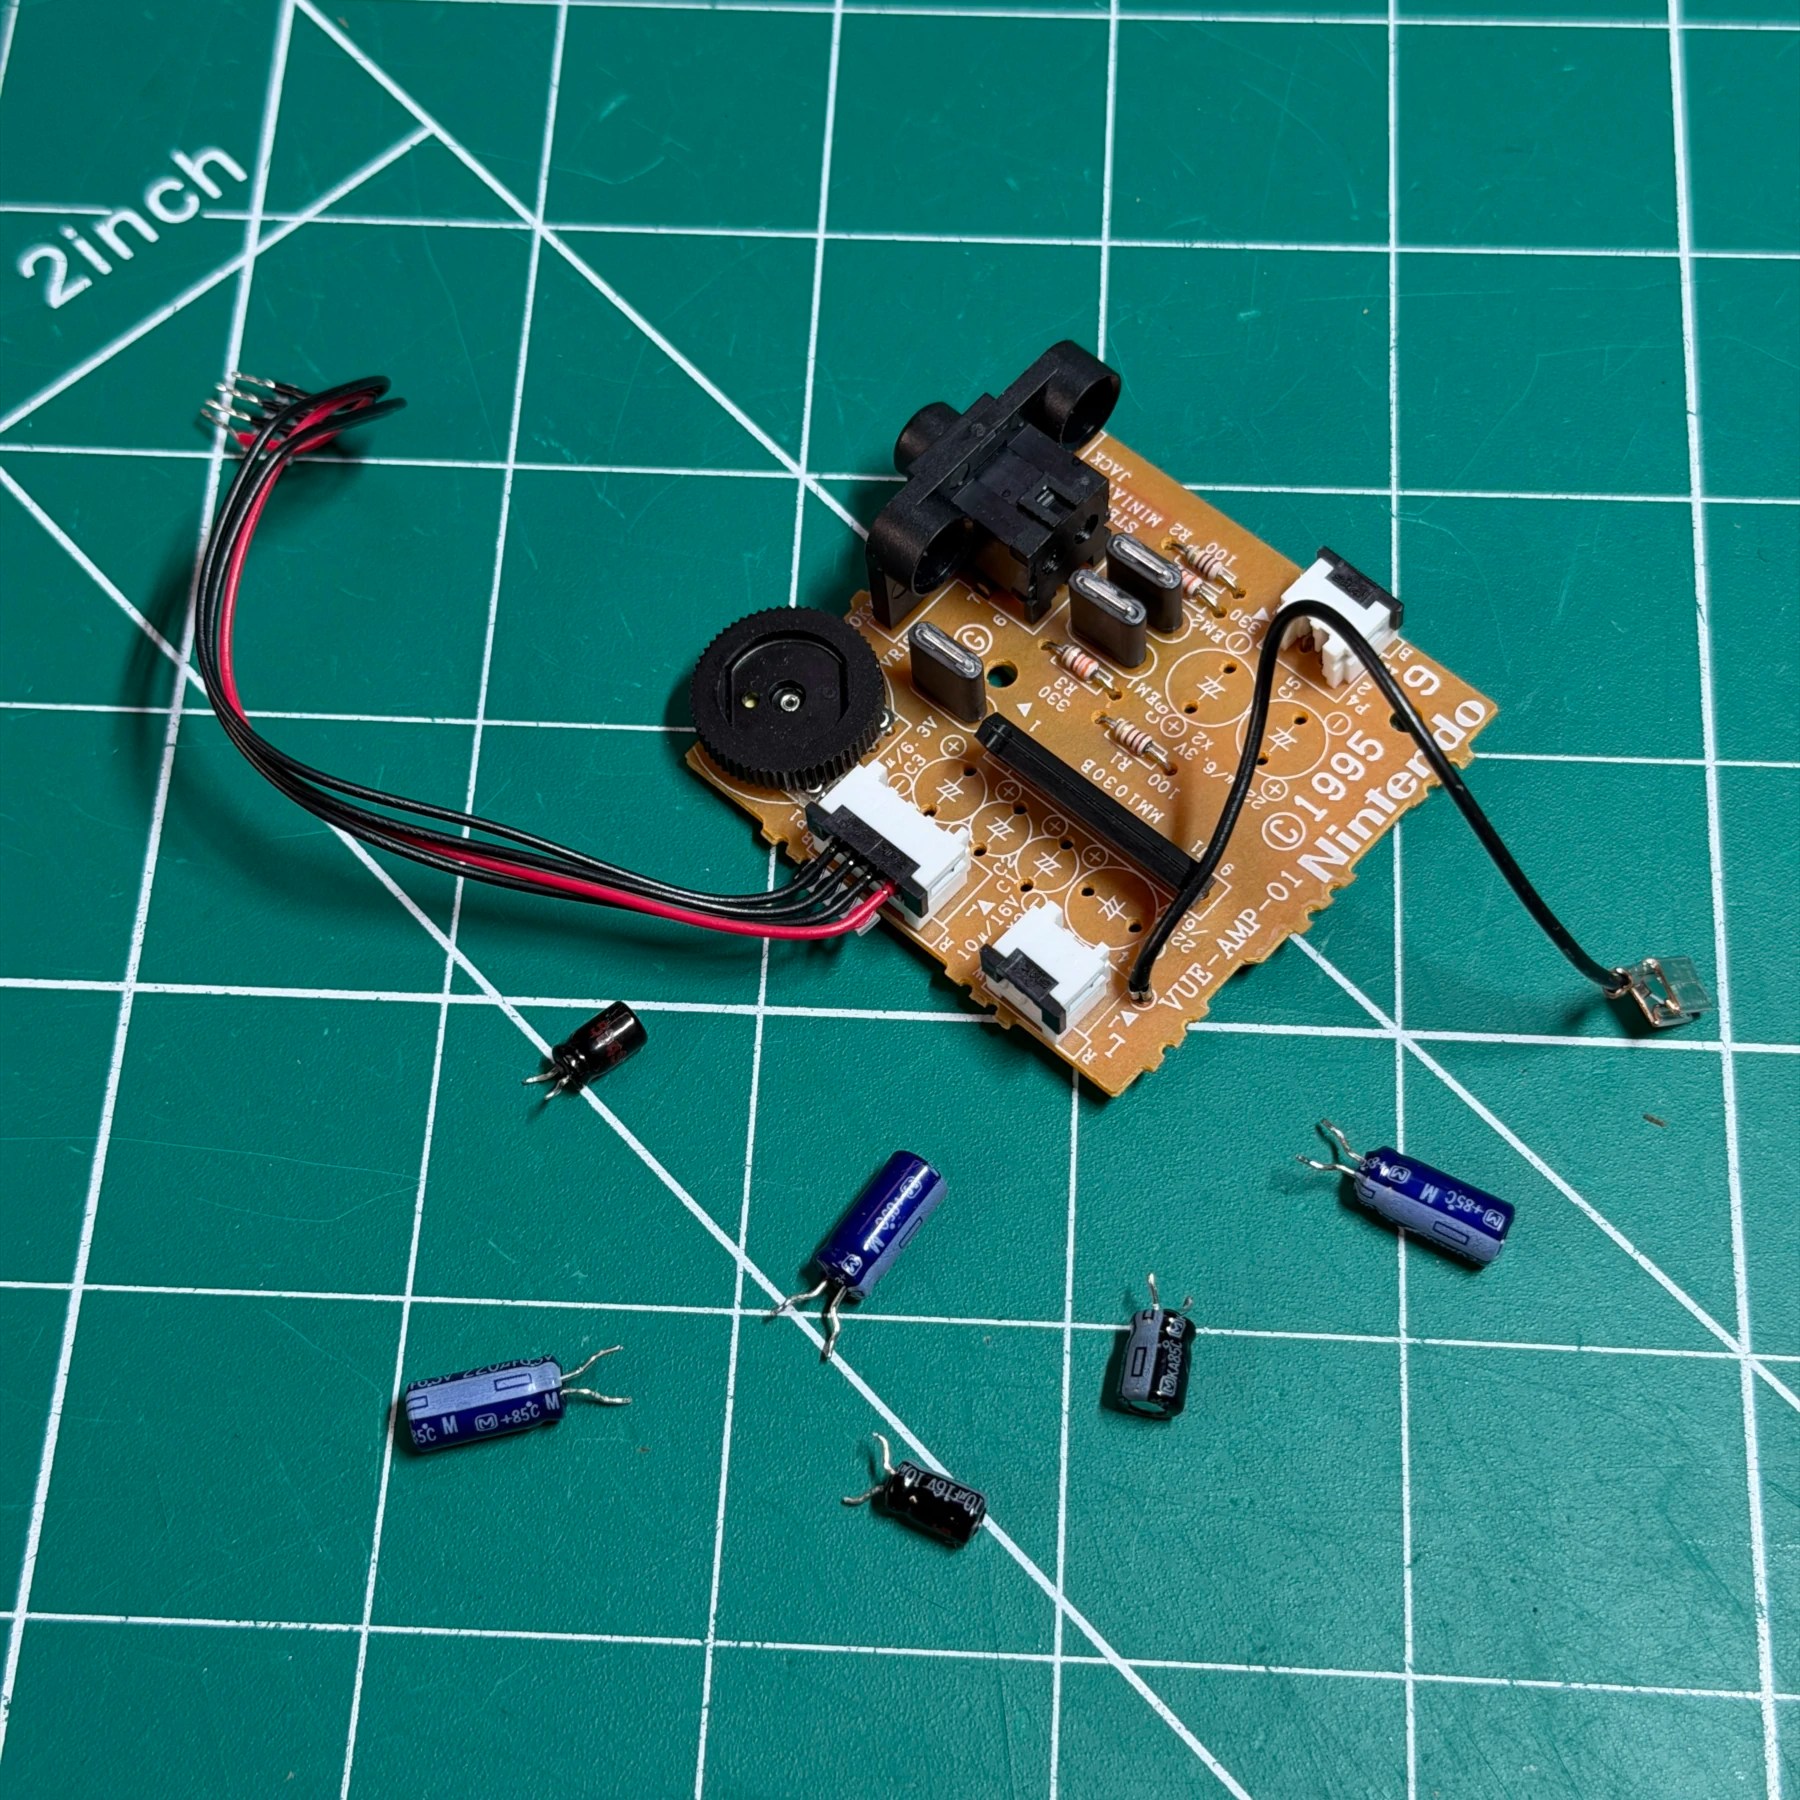
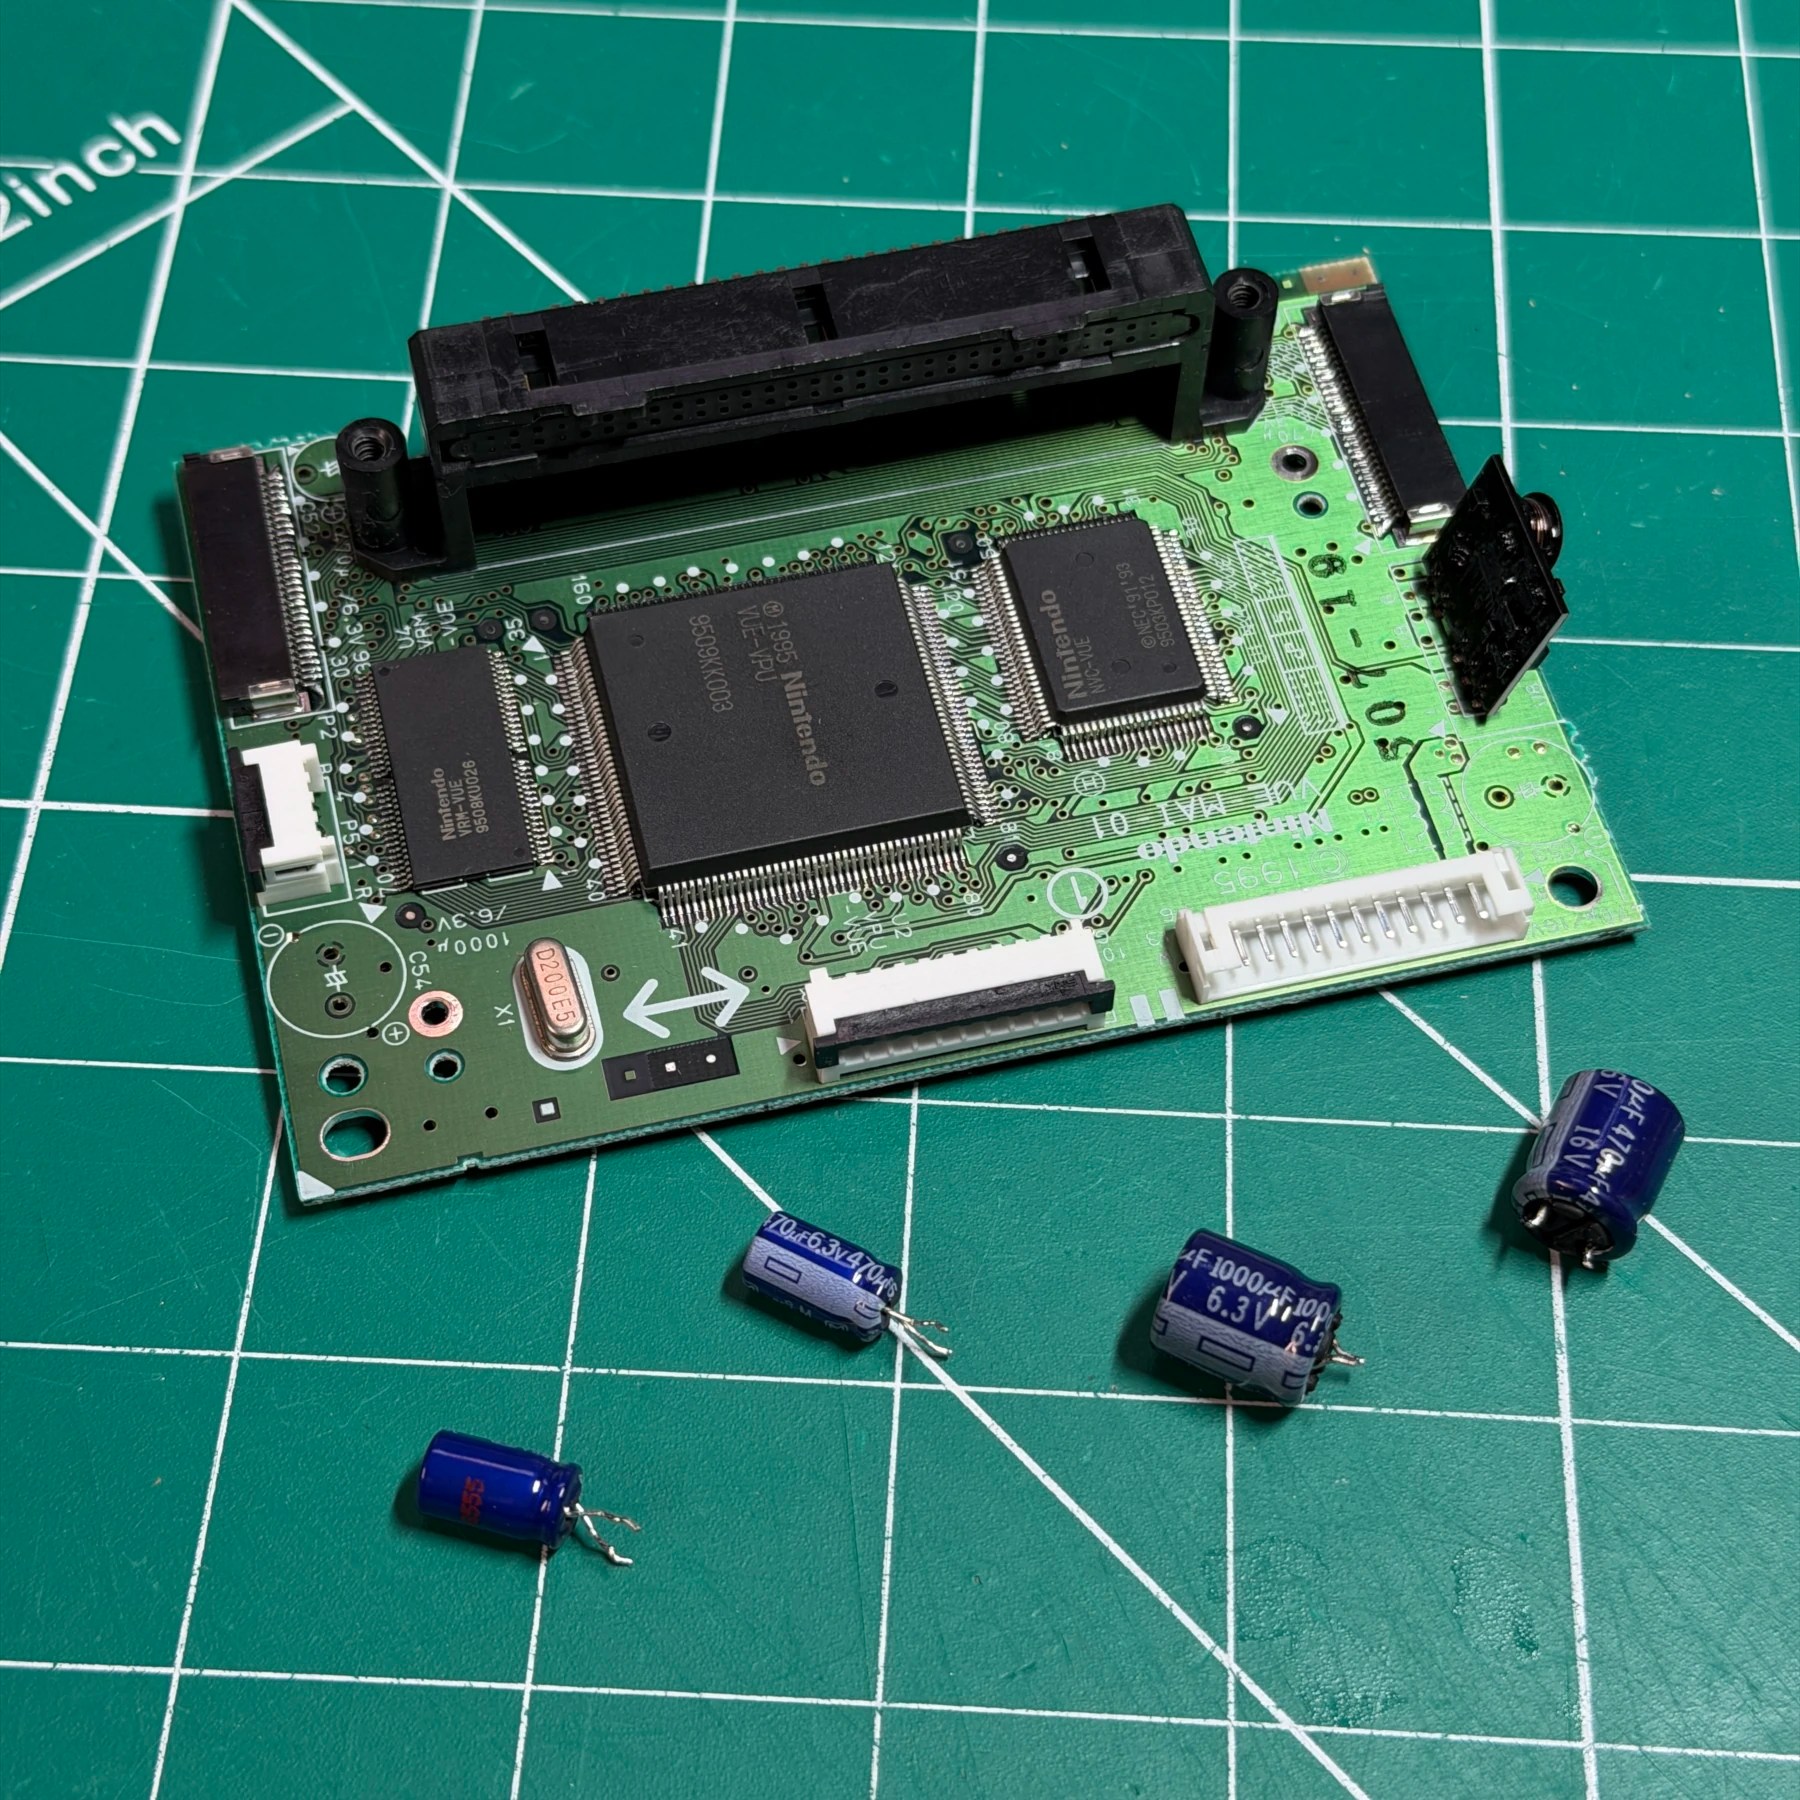
I like to start with the AMP board as it has the most caps and also needs a proactive (or reactive – if there are audio issues) reflow. For some reason on this board the speaker wire joints are susceptible to developing cracks and can lead to low, distorted or absent audio. I desoldered all the original caps, reflowed the speaker connections then inserted the new TH caps from Console5 and soldered in then cleaned any residue left on the board.
Next up is the Servo board which has only 5 caps and the VUE board with only 4. Like with the AMP board I make quick work of them with my Hakko gun and then install the rest of the Console5 kit, snip the leads and clean up top and bottom side of the boards. Recap done, now these get set to the side and it’s time to tackle the main task…
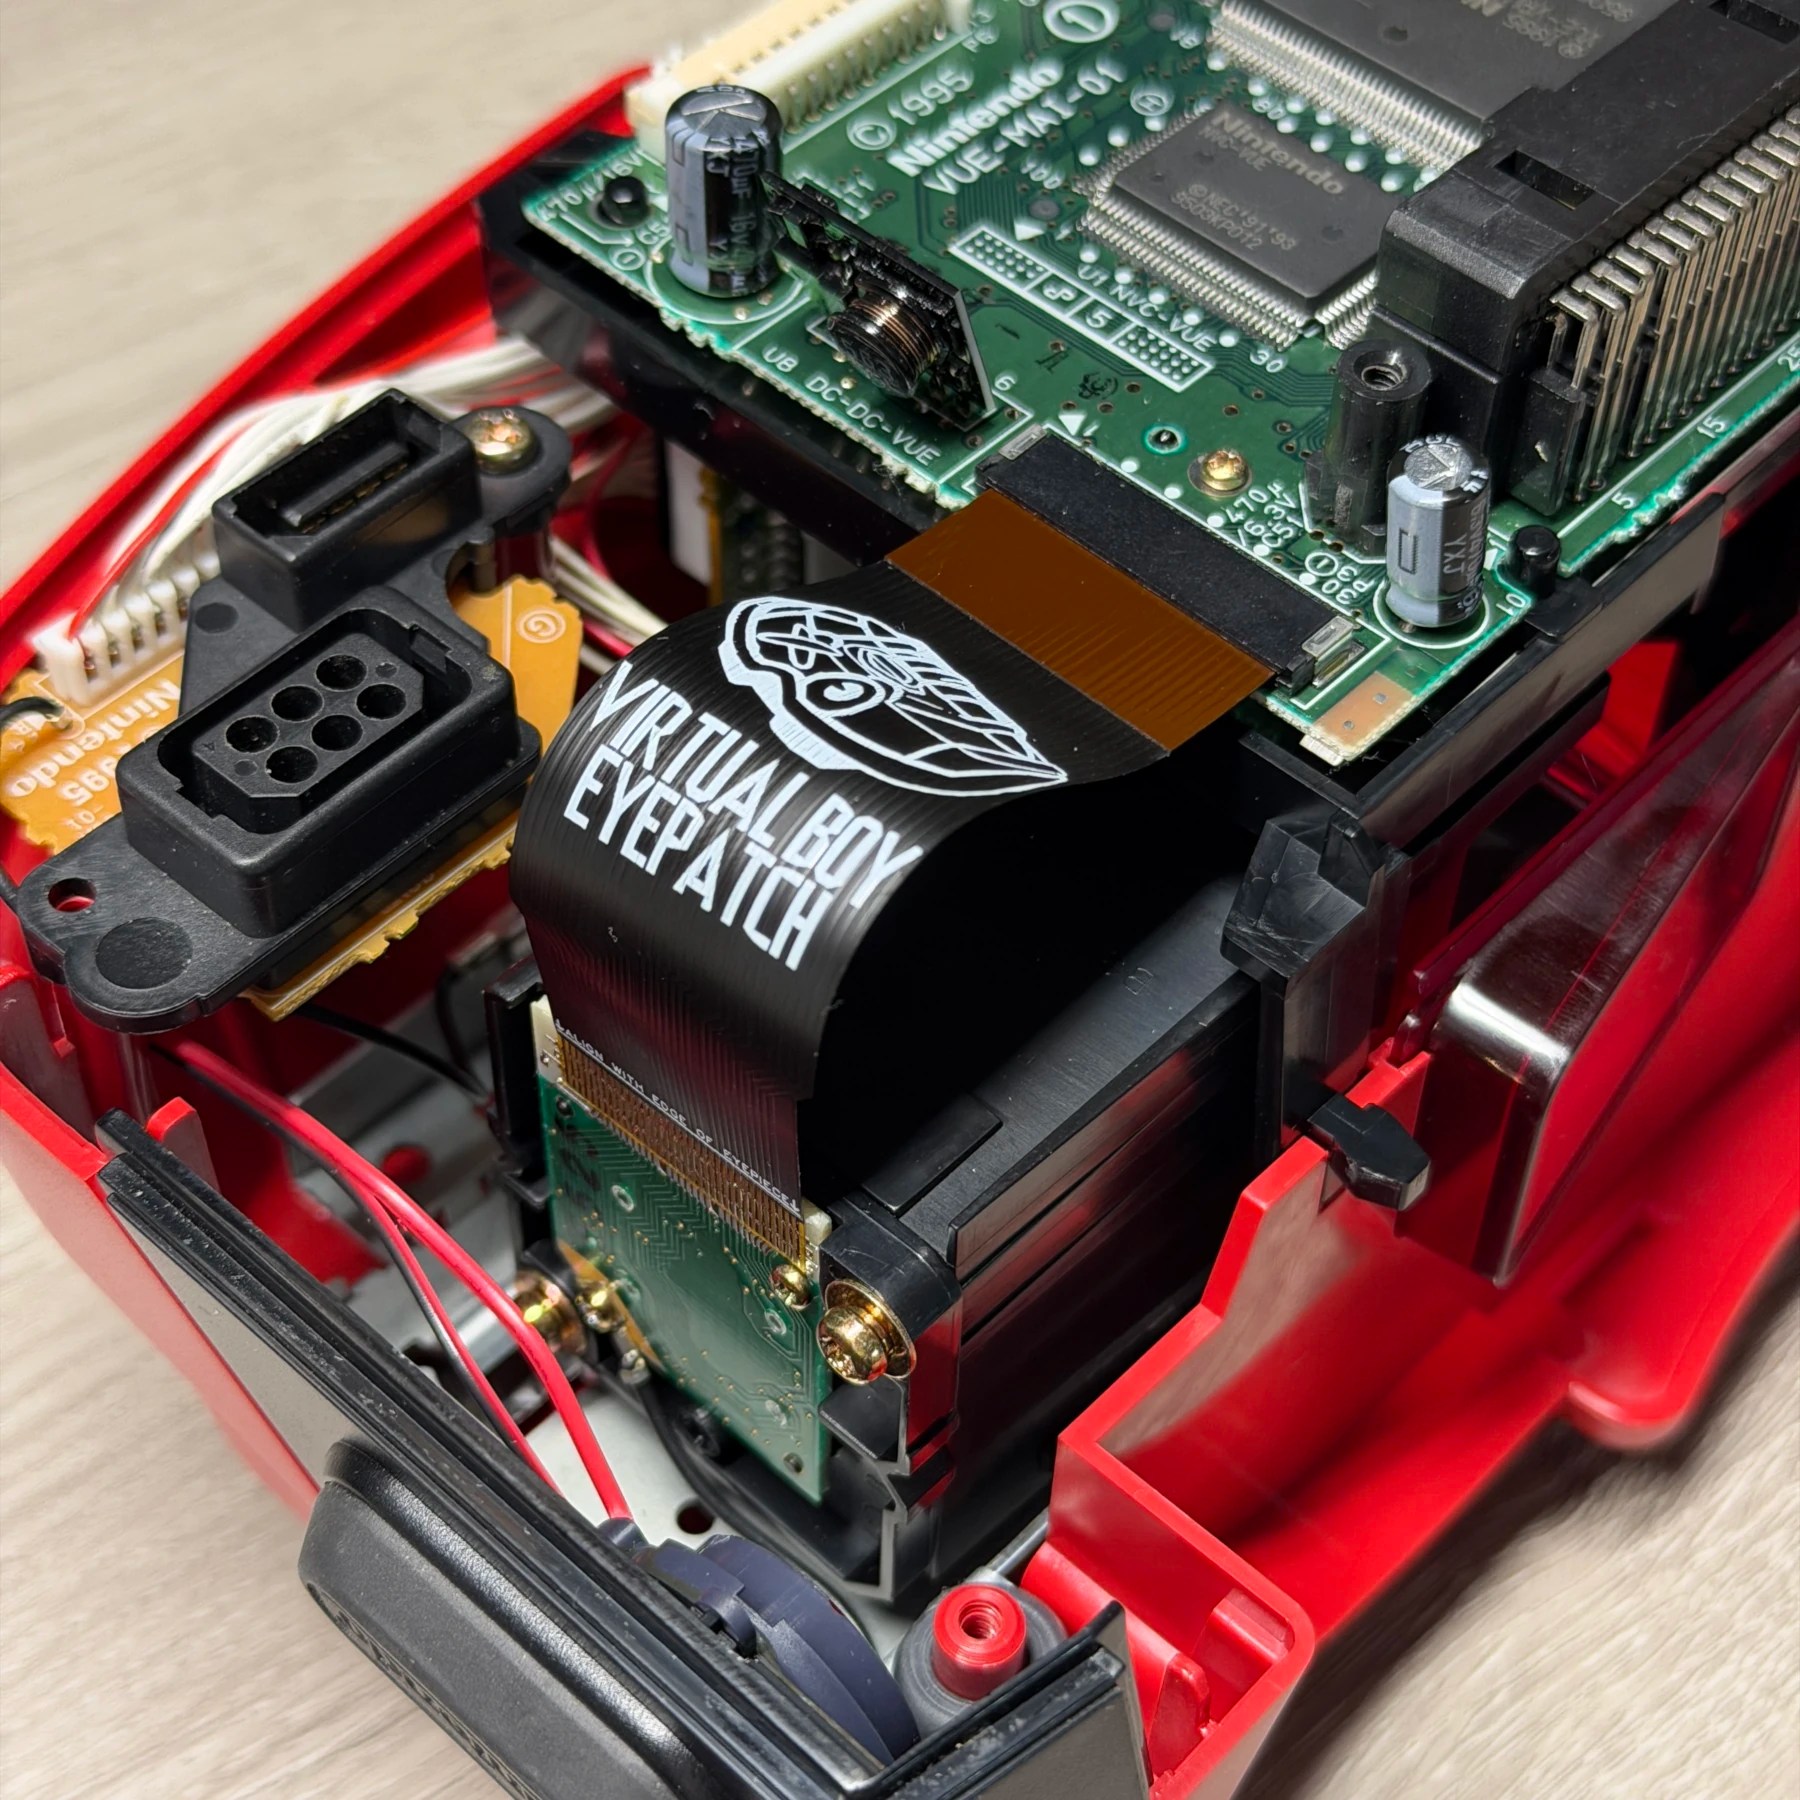
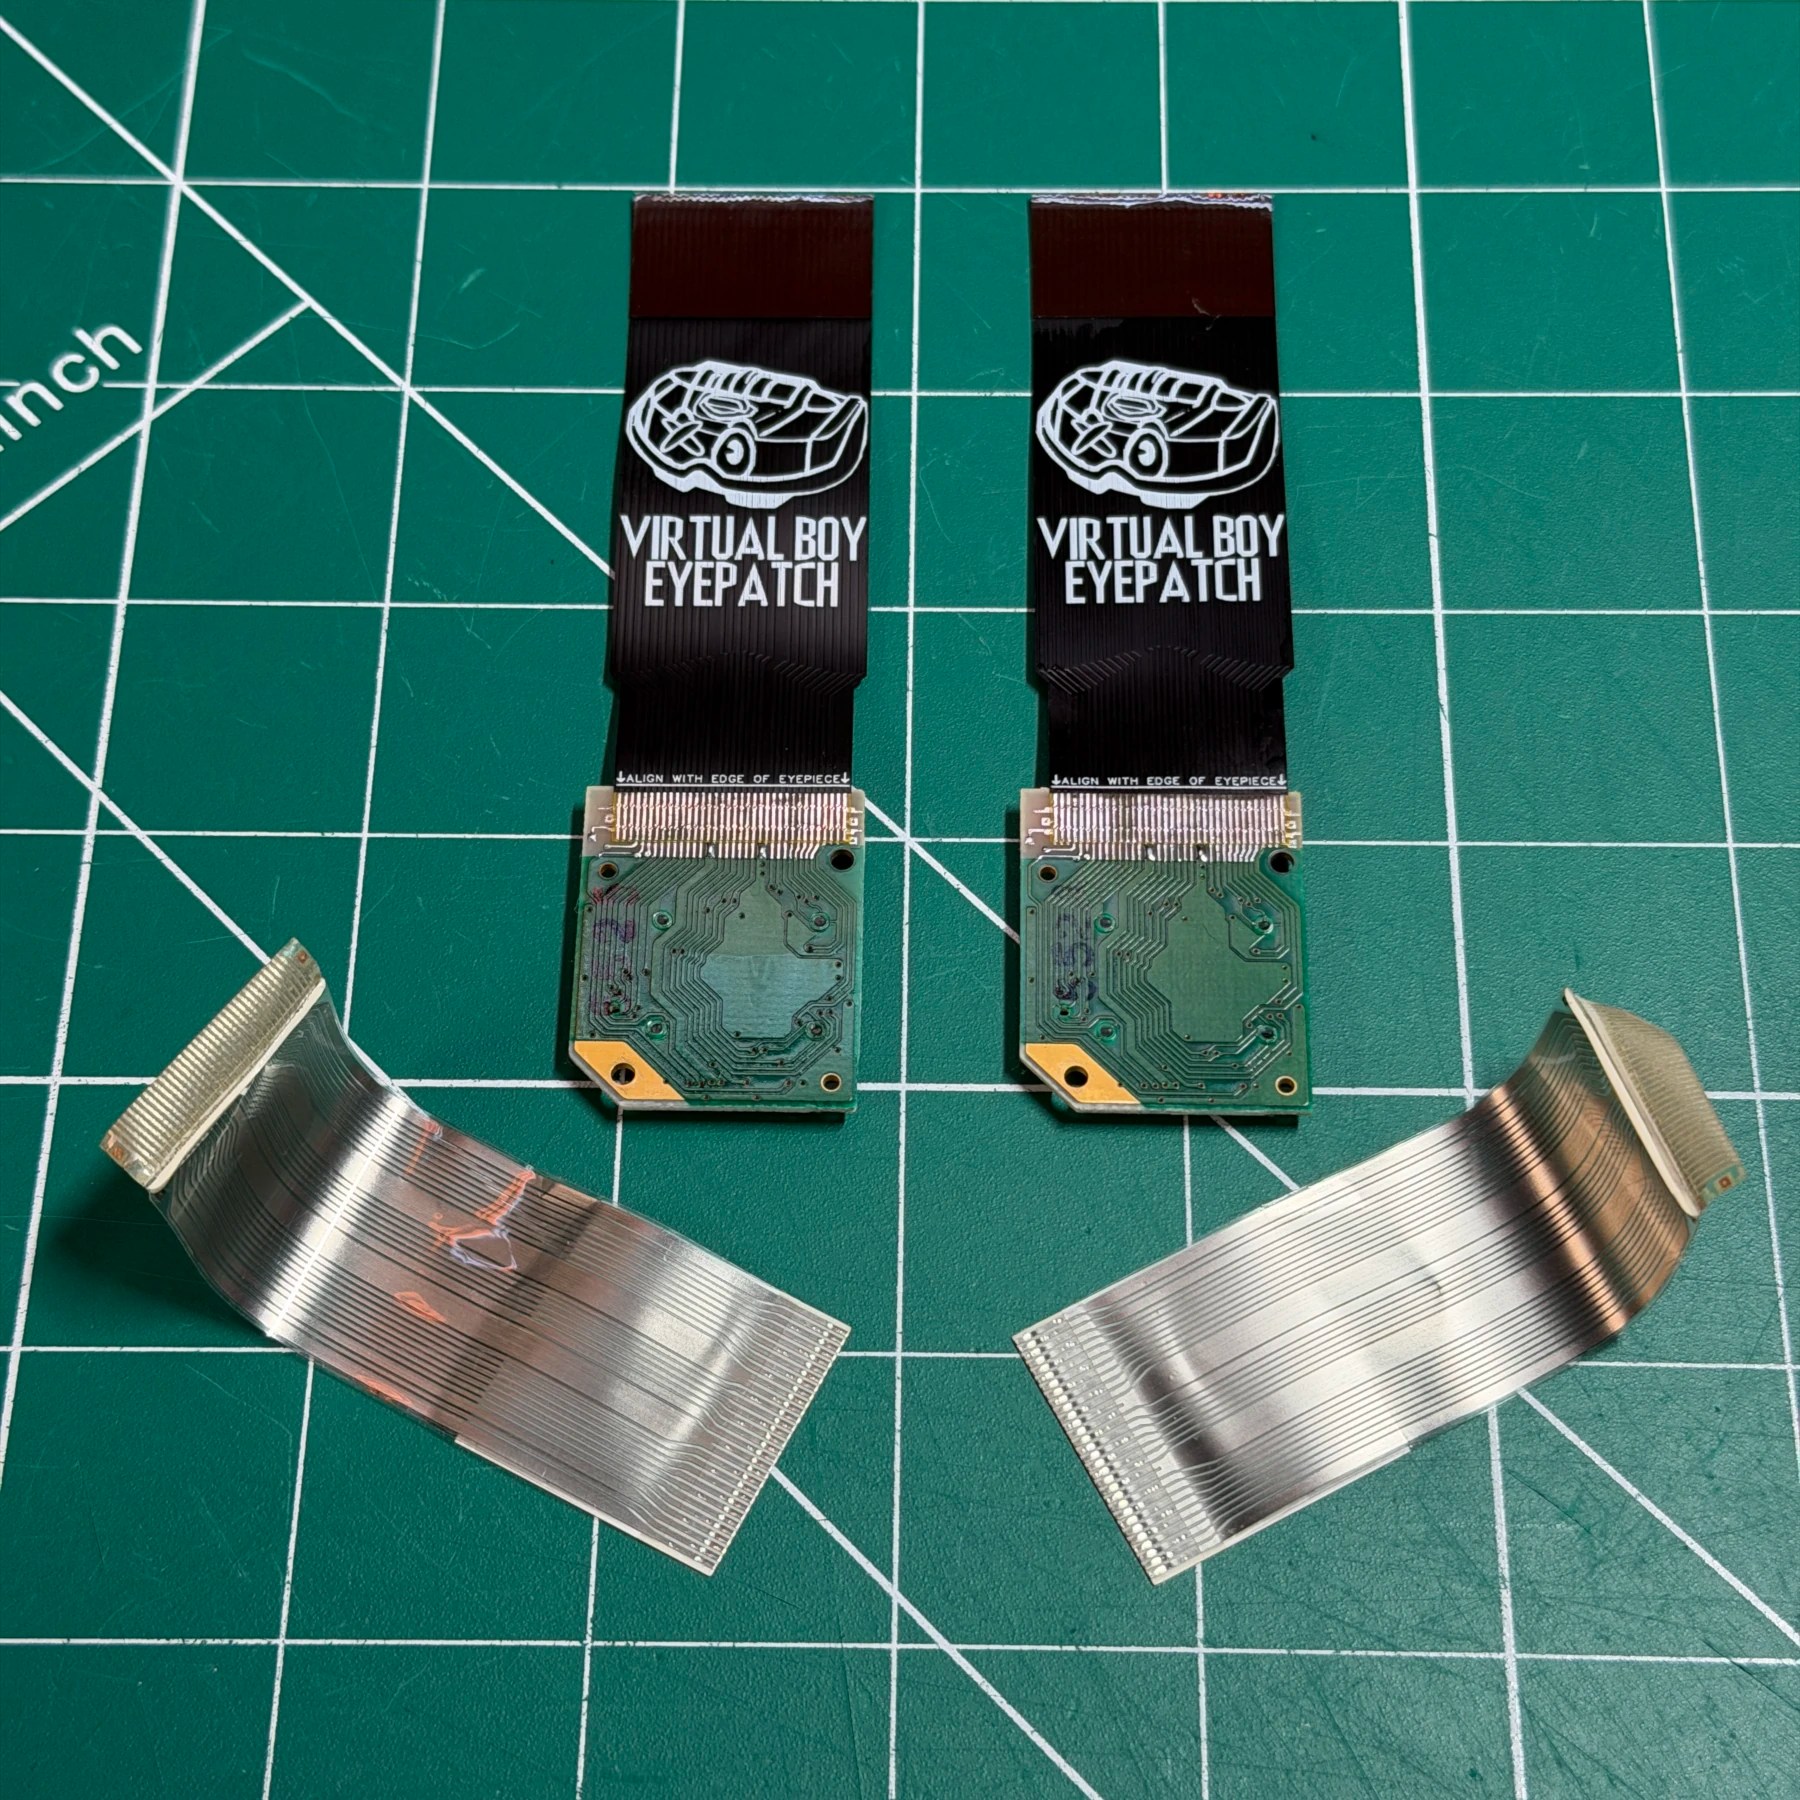
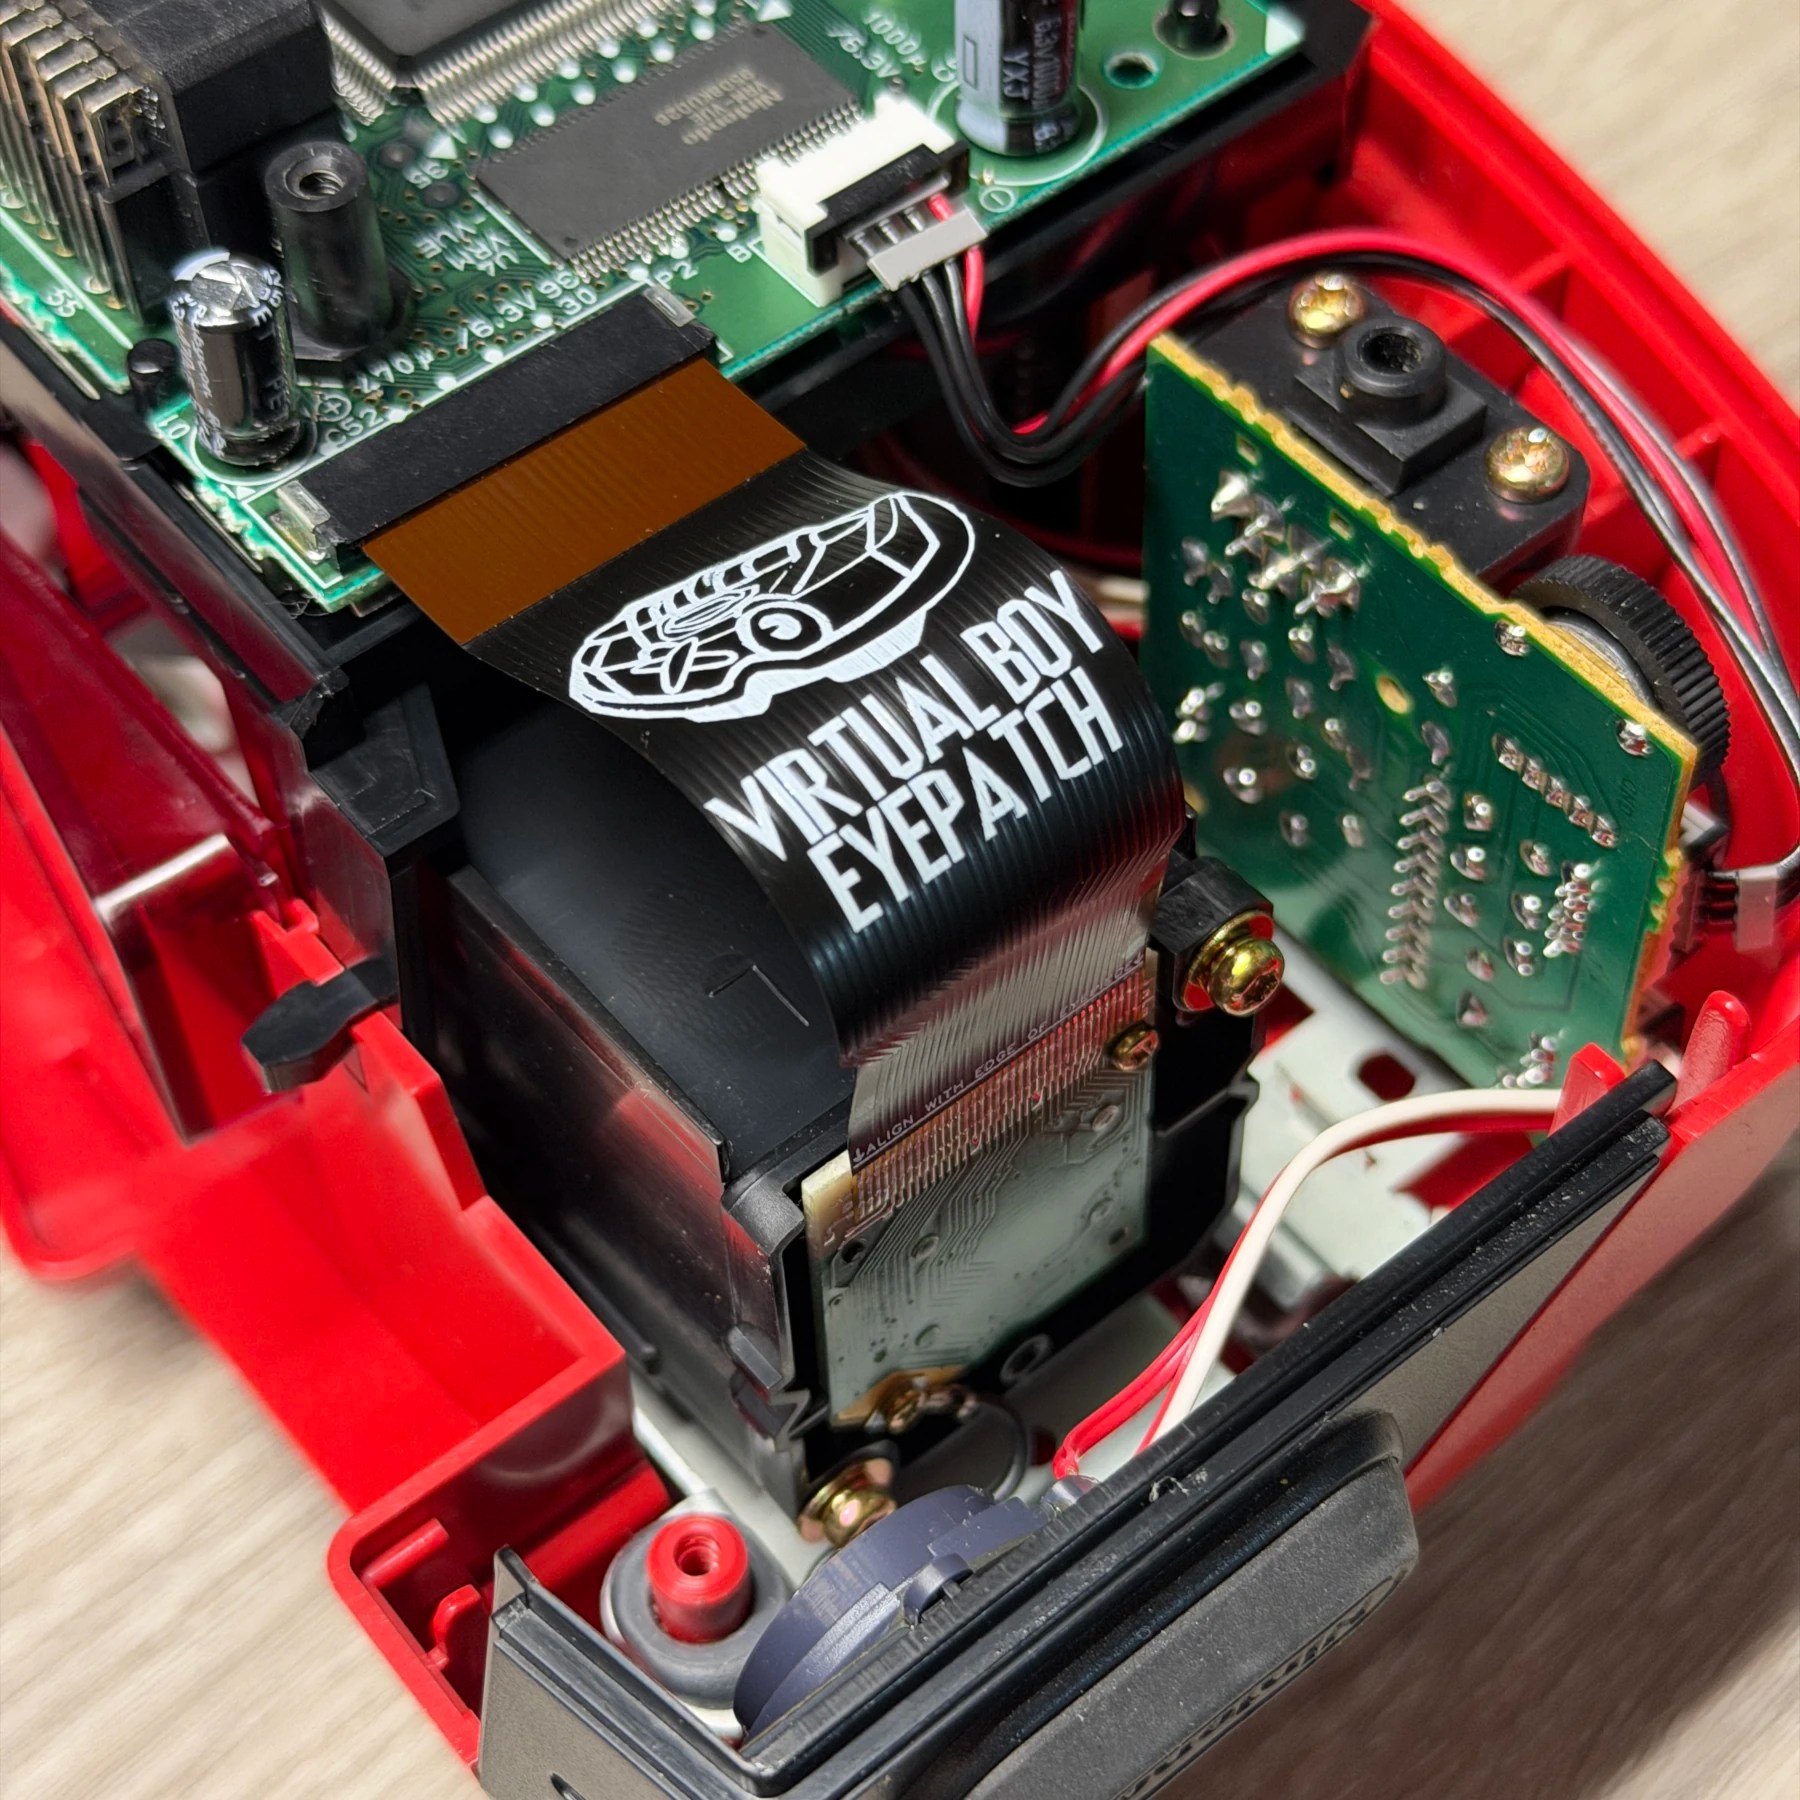
Outside of one unit I worked on a few months ago I have been able to restore or retain the output to both eyes every single time with these Cardosi ribbons (there are a small amount of them with actual failing/dead lines of pixels in the lens itself which is not repairable unfortunately). I used to have links to multiple kits and have the customer pick then send in along with the VB but honestly having worked on more of these than 99% of other modders I would wager… The VB EyePatch is the only worthy replacement on the market. I straight up refuse to install SSF ribbons I think the design is garbage and way more work for absolutely no benefit or reason. Because I chose this one kit I was able to buy them in bulk (100+) and offer them as part of the service for a fee that is not only reasonable, but still cheaper than many other modders offering replacement or repair.
Anyways, the process for installing the Cardosi ribbons is easy… Just make a small incision in the glue where it meets the board, then peel back carefully. Sometimes they practically fall right off sometimes there is a slight bit of hold left. Once removed, I use a K tip for this and at 325C introduce a large blob of solder and work it up and down the fingers to melt off the old residue and tin the pads at the same time. Ill usually add one extra blob of flux and drag solder one final time to ensure even distribution then drag solder on the eyepatch itself (with flux of course!) so both sides that will mate are tinned.
I use a small strip of Kapton tape over the center and bring it in with the most perfect alignment I can get and tape it down, then add more flux and tack down both ends of the ribbon, remove the Kapton and finish the entire stretch by dragging my K tip back and forth. It’s really a quick and easy process probably about 10-15 mins for both eyes? Anyways now that the eyes are done and I cleaned them up with some ISO, on to the final step – re-assembly!
When putting the Virtual Boy back together I always test both sliders for noise. Often, they have developed loud squeaks on the rails especially the focus slider that moves side to side. In this case I observed quite a bit of noise so I strategically introduced some grease to the metal and plastic mating surface joints and worked it in repeatedly for a few minutes until it was much quieter.
I then reinstalled the plastic parts, boards and reconnected the wires by working my way up from the top of the headset (with it upside down on my bench) until I had everything but the bottom black plastic shell piece on. This allowed me to hook it up to power and test a cart and confirm audio and both eyes are working before closing it up and in this case everything looked and sounded great!
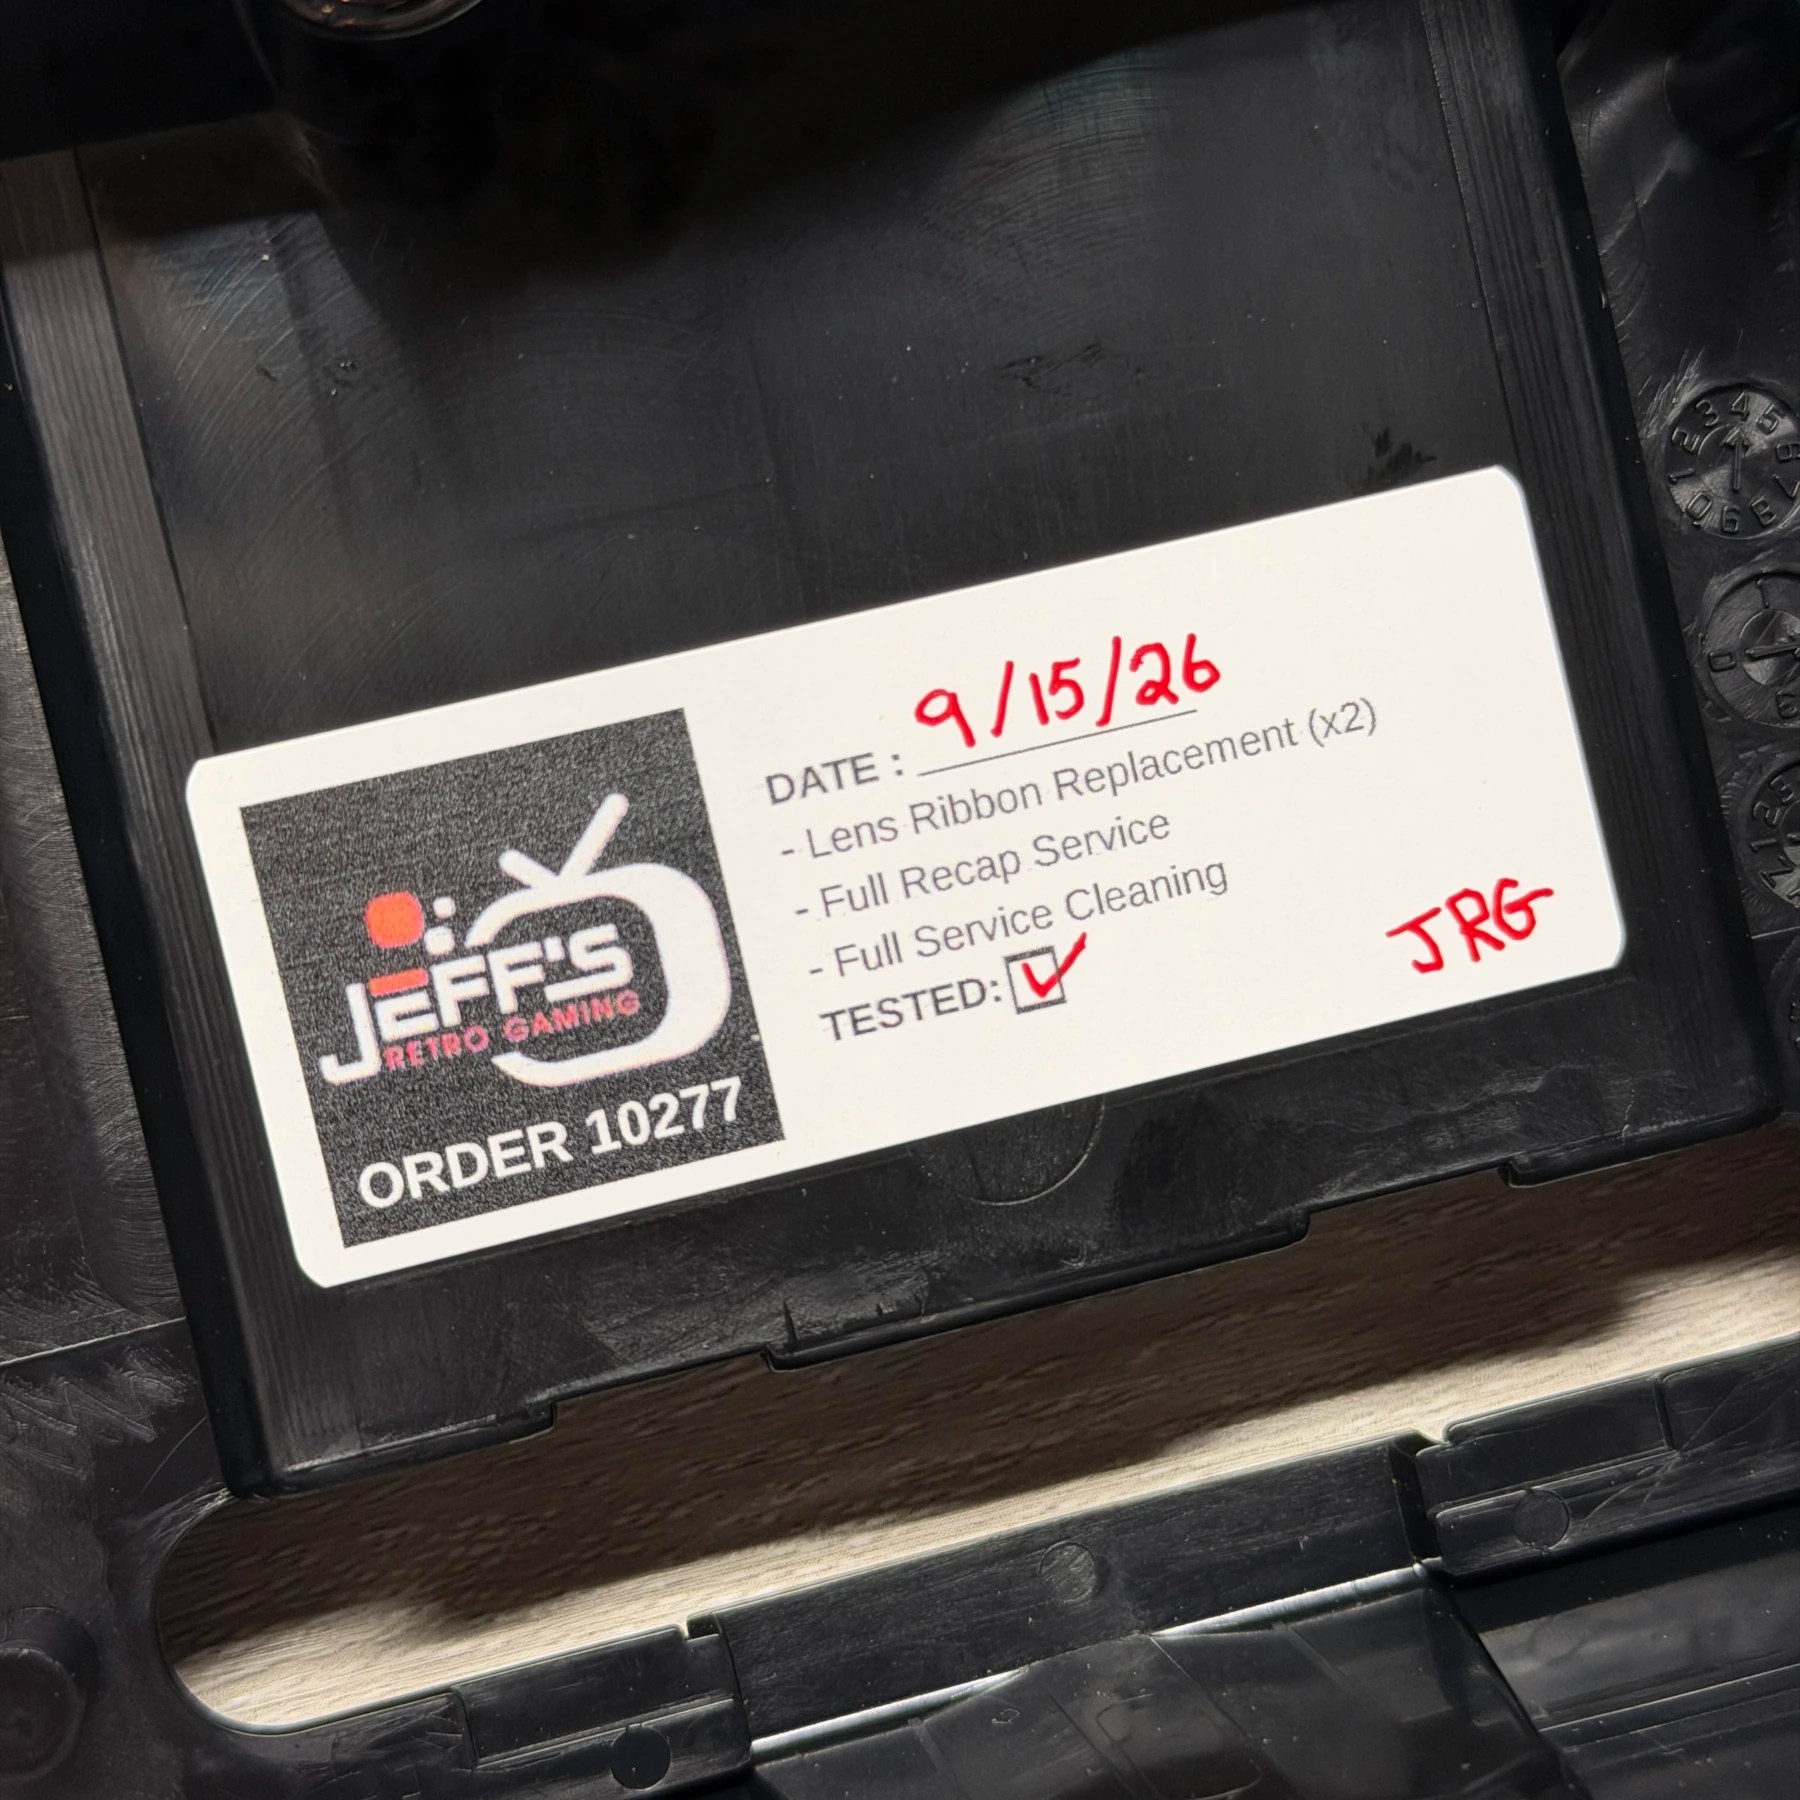
I then added my JRG service sticker and closed it up for a staged shot and packaging to return home. I have saved/preserved so many Virtual Boys this year alone and looks like we are continuing the tradition 🙏