
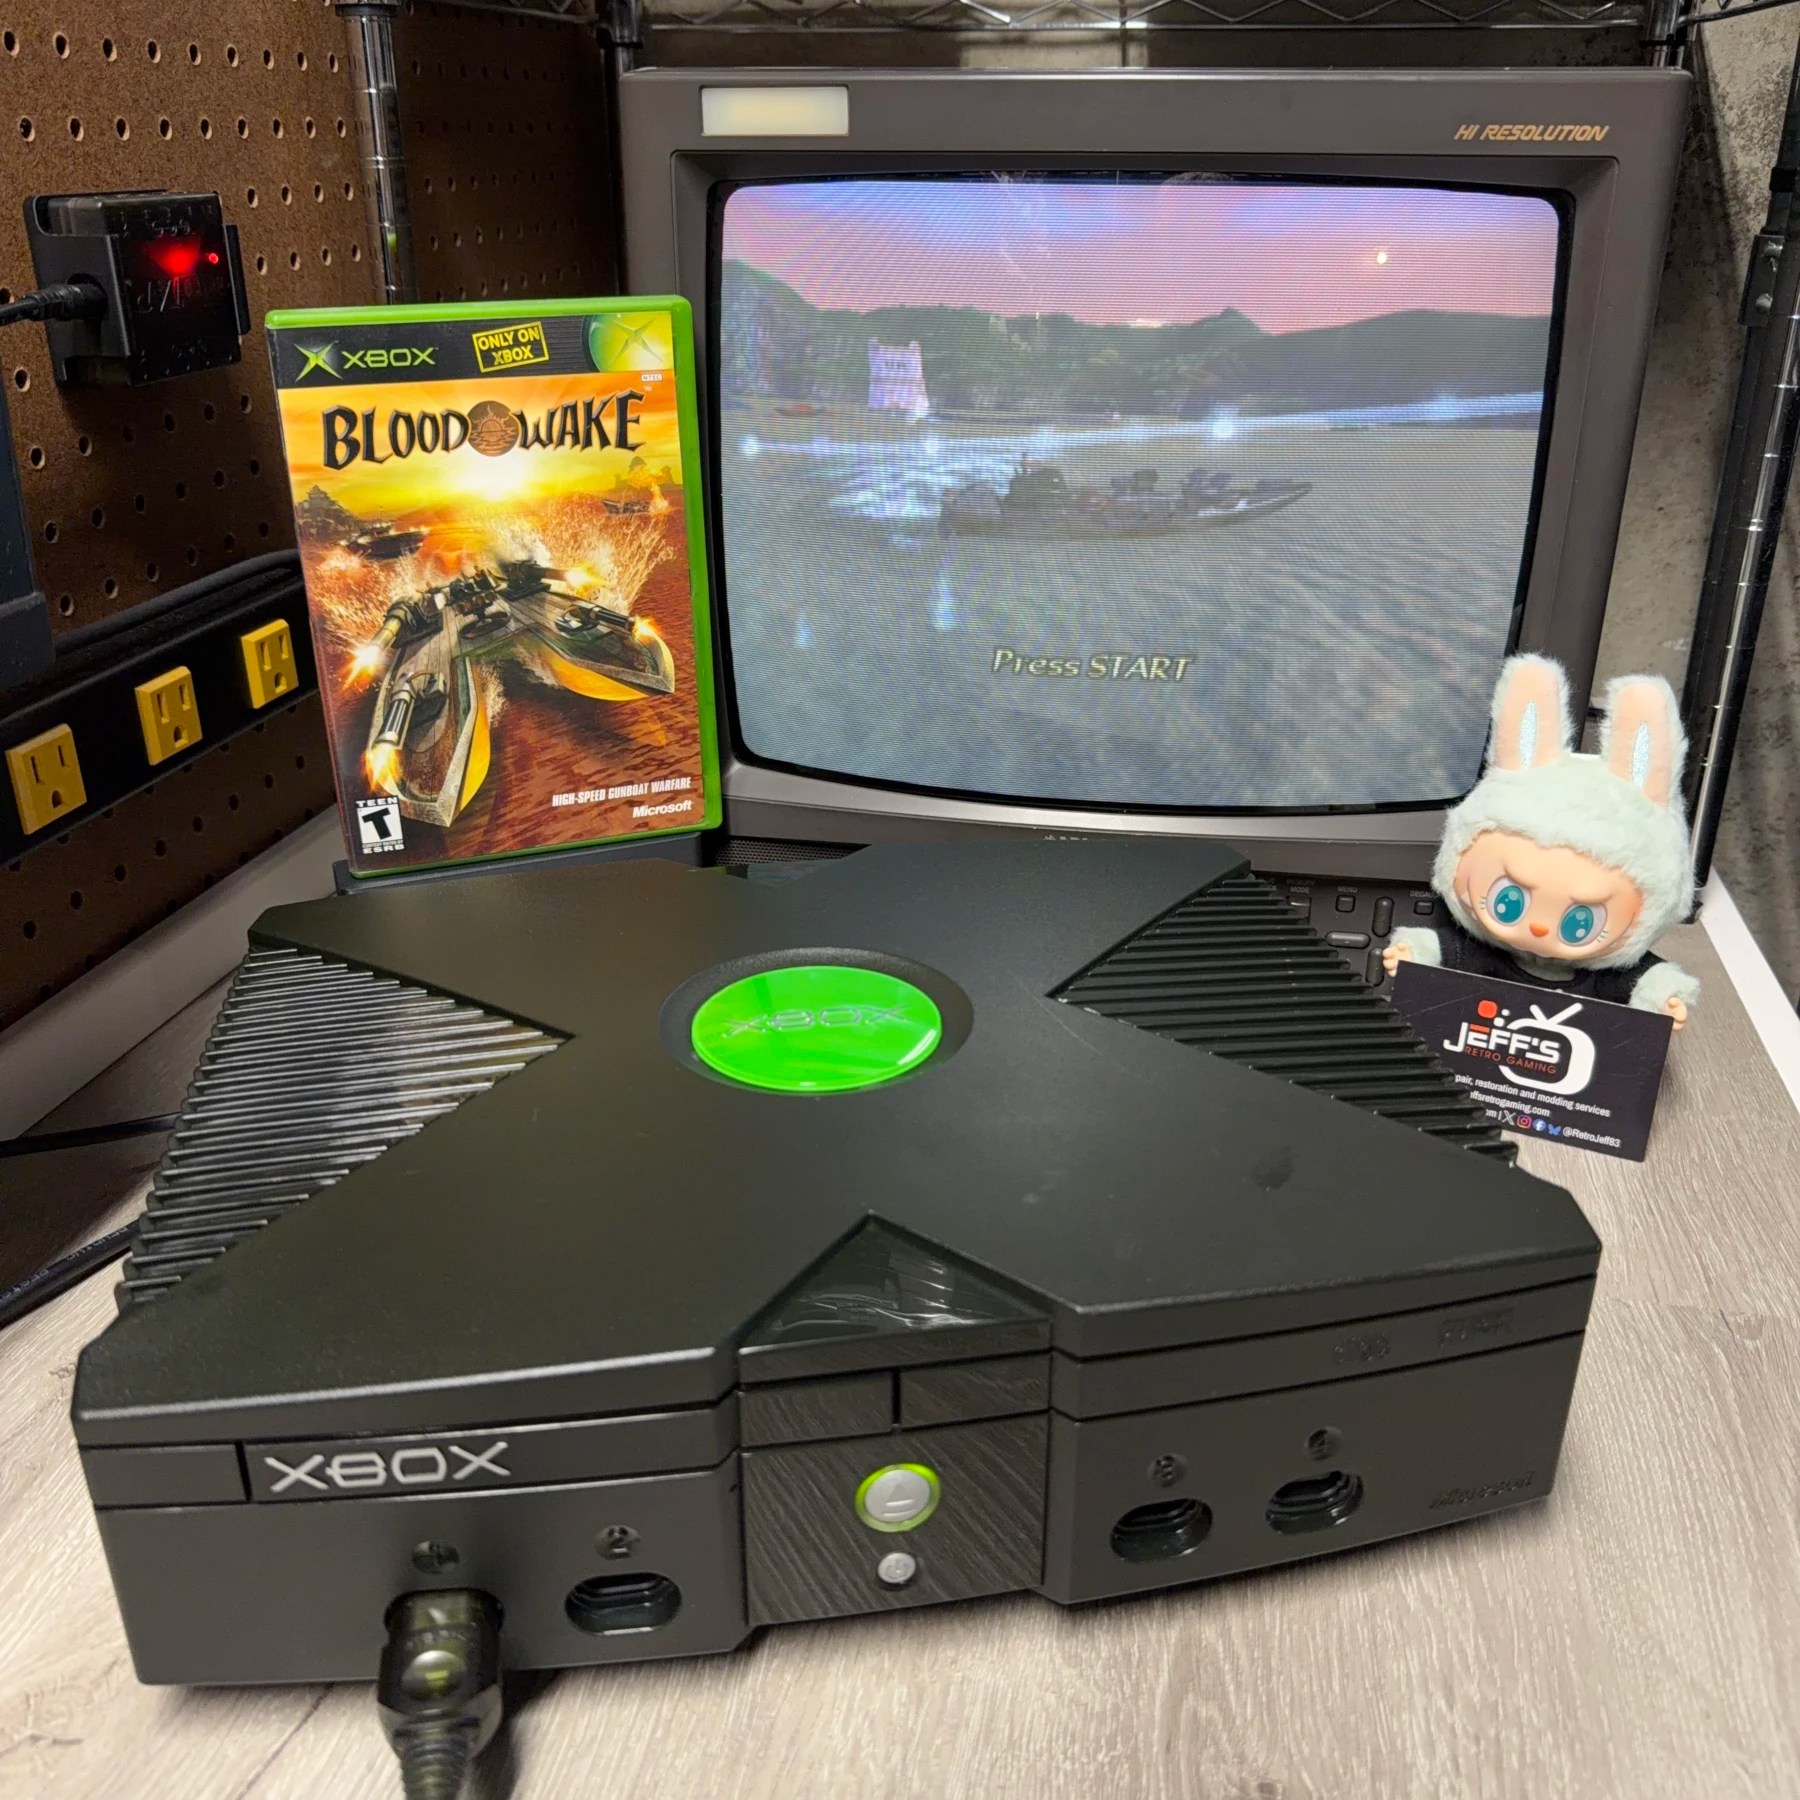
Got sent this 1.0 XBOX from a friend who runs a retro shop selling games and consoles (check them out on Instagram – https://www.instagram.com/retro_gaming_revival_/) to be completely refurbished for use testing XBOX games for sale! No fancy bells and whistles or mods, just needed to ensure the console is running and readings discs reliably so a Full Recap, Cleaning, new drive belt, etc.
Read on for this straightforward (but as always – time consuming) refurbishment! These XBOX consoles have LOTS of caps 😮💨
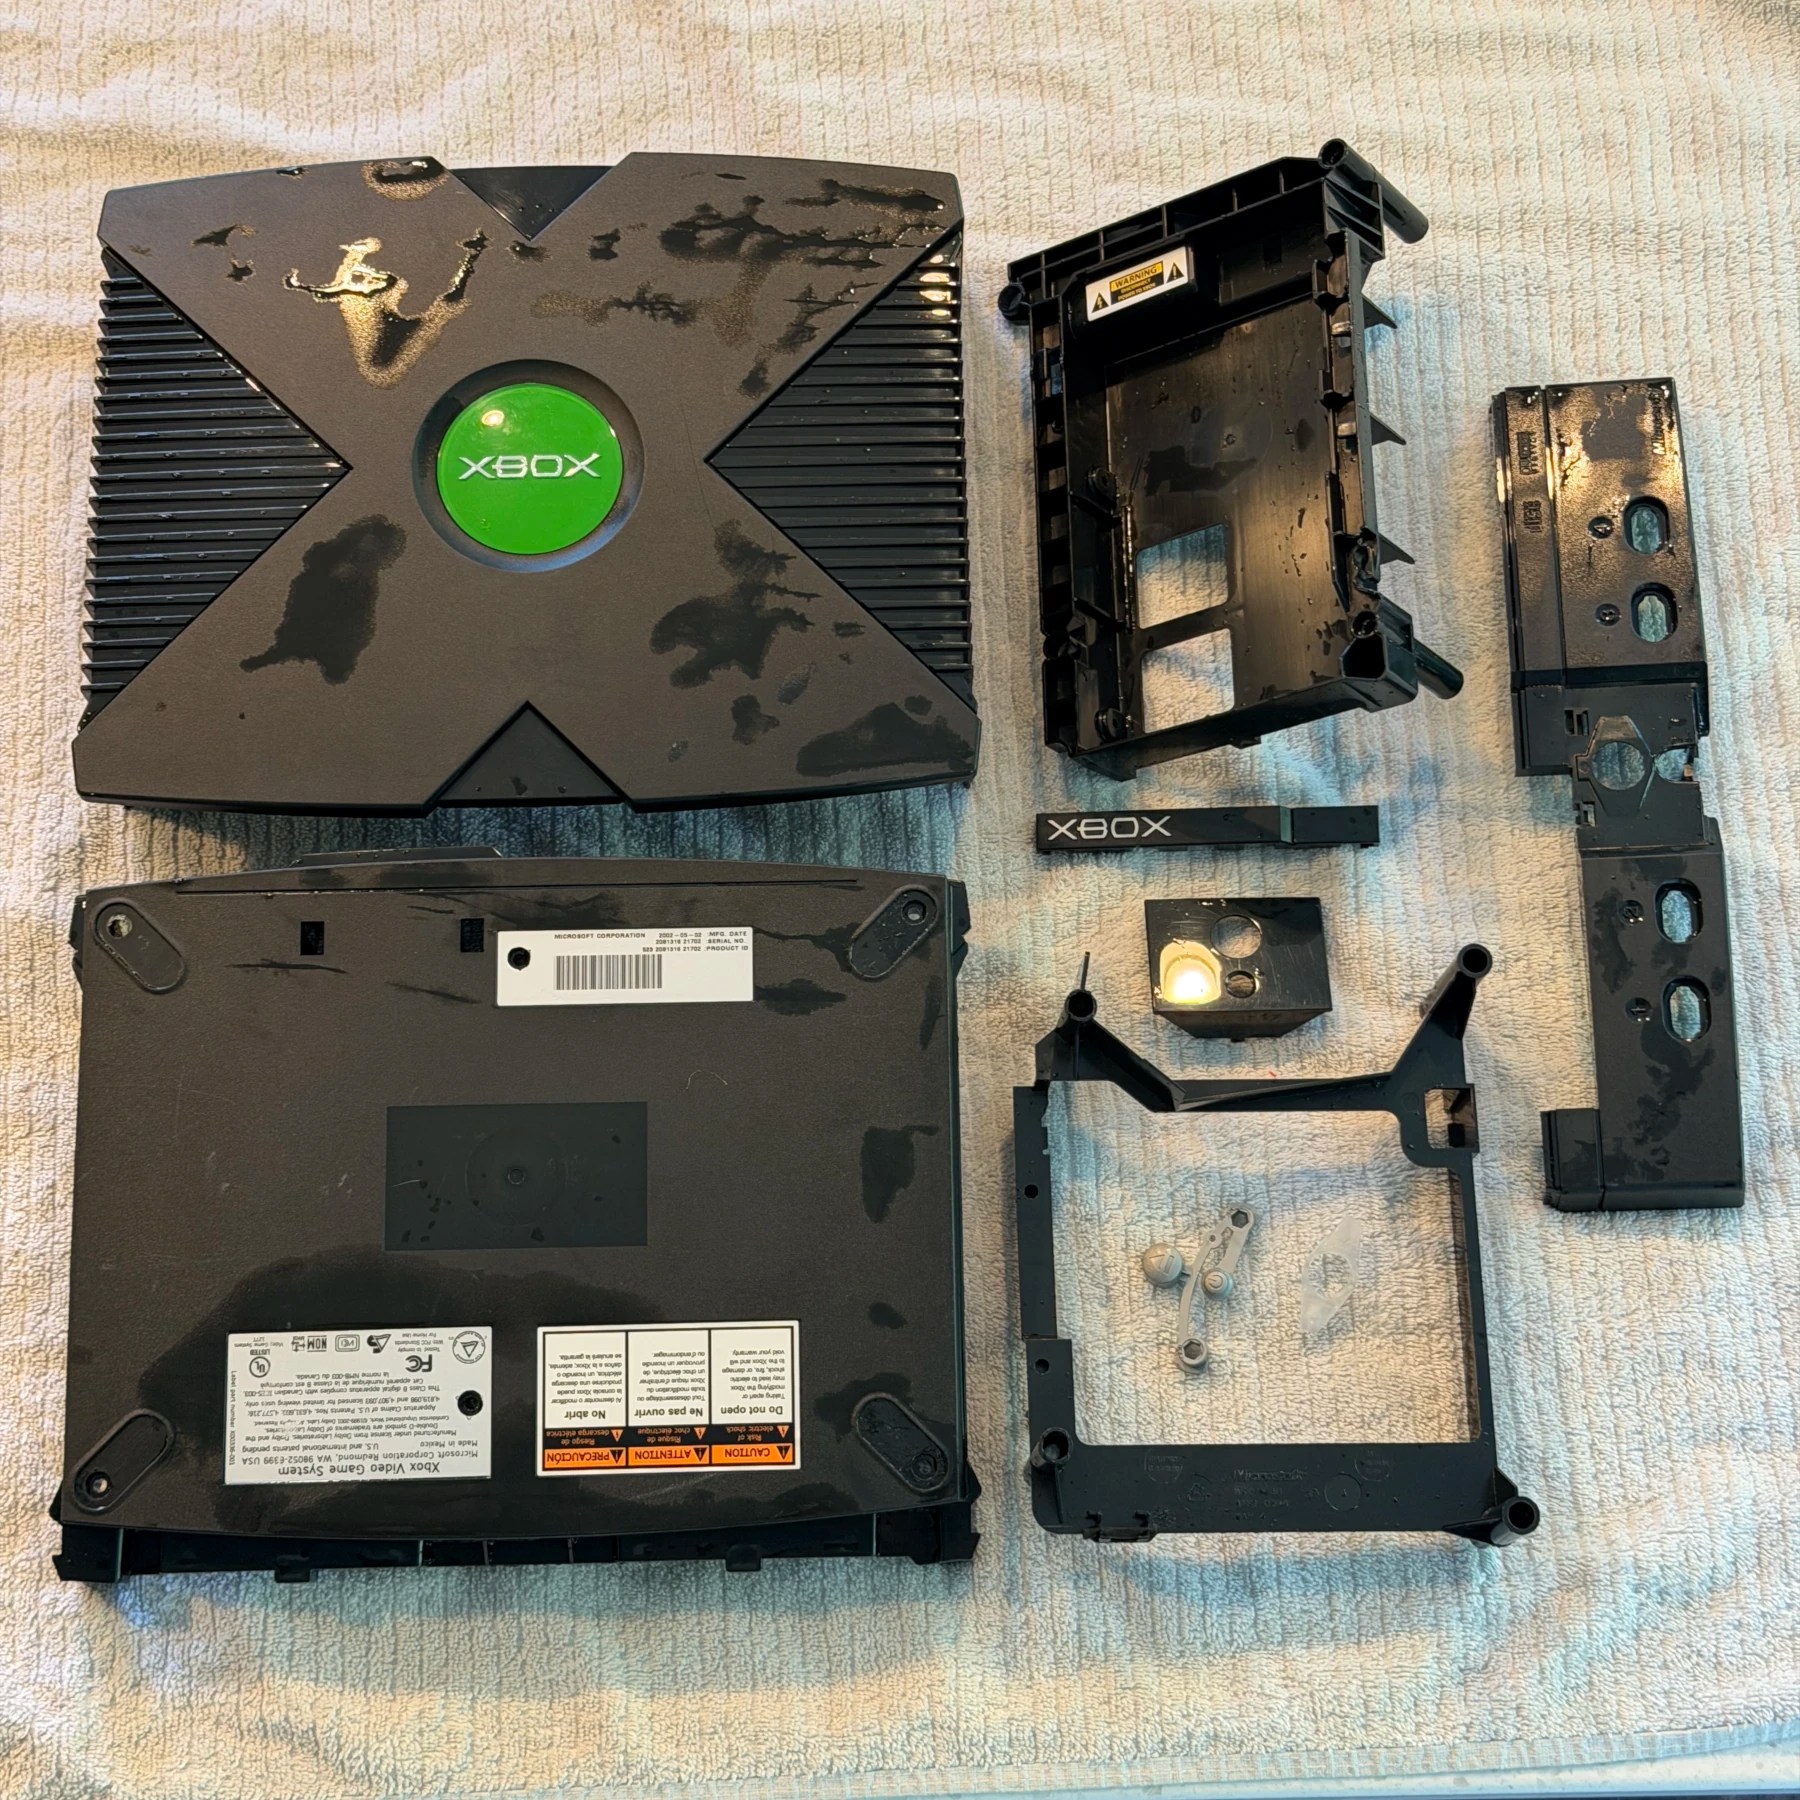
Starting off the with the teardown, it’s pretty easy to get the outer shell off but you have to gently pry all these metal prongs off the top shell piece to remove the shielding and also the front panel can be a PITA to remove! I find what works best is to tilt the XBOX on its side, take a very sturdy spudger and pry one end while working from bottom to top and getting these 3 plastic clips up and over the edge of the main shell portion so that side of the front panel is released. Once its free, you can then push in on the clips along the front and work your way to the opposite side while pushing the clips out to release it!
Then it’s just a matter of taking the front button panel apart so those pieces can be cleaned, unscrewing the PSU and mainboard to take those then the bottom shield out and the shell is free! I also disassemble and wash the HDD and DVD drive brackets as they can get dirty, and the DVD drive faceplate too.
With all the parts removed I let it soak for a bit then scrubbed with warm soapy water, rinsed and set out to dry overnight next to my dehumidifier. On to the recap process…
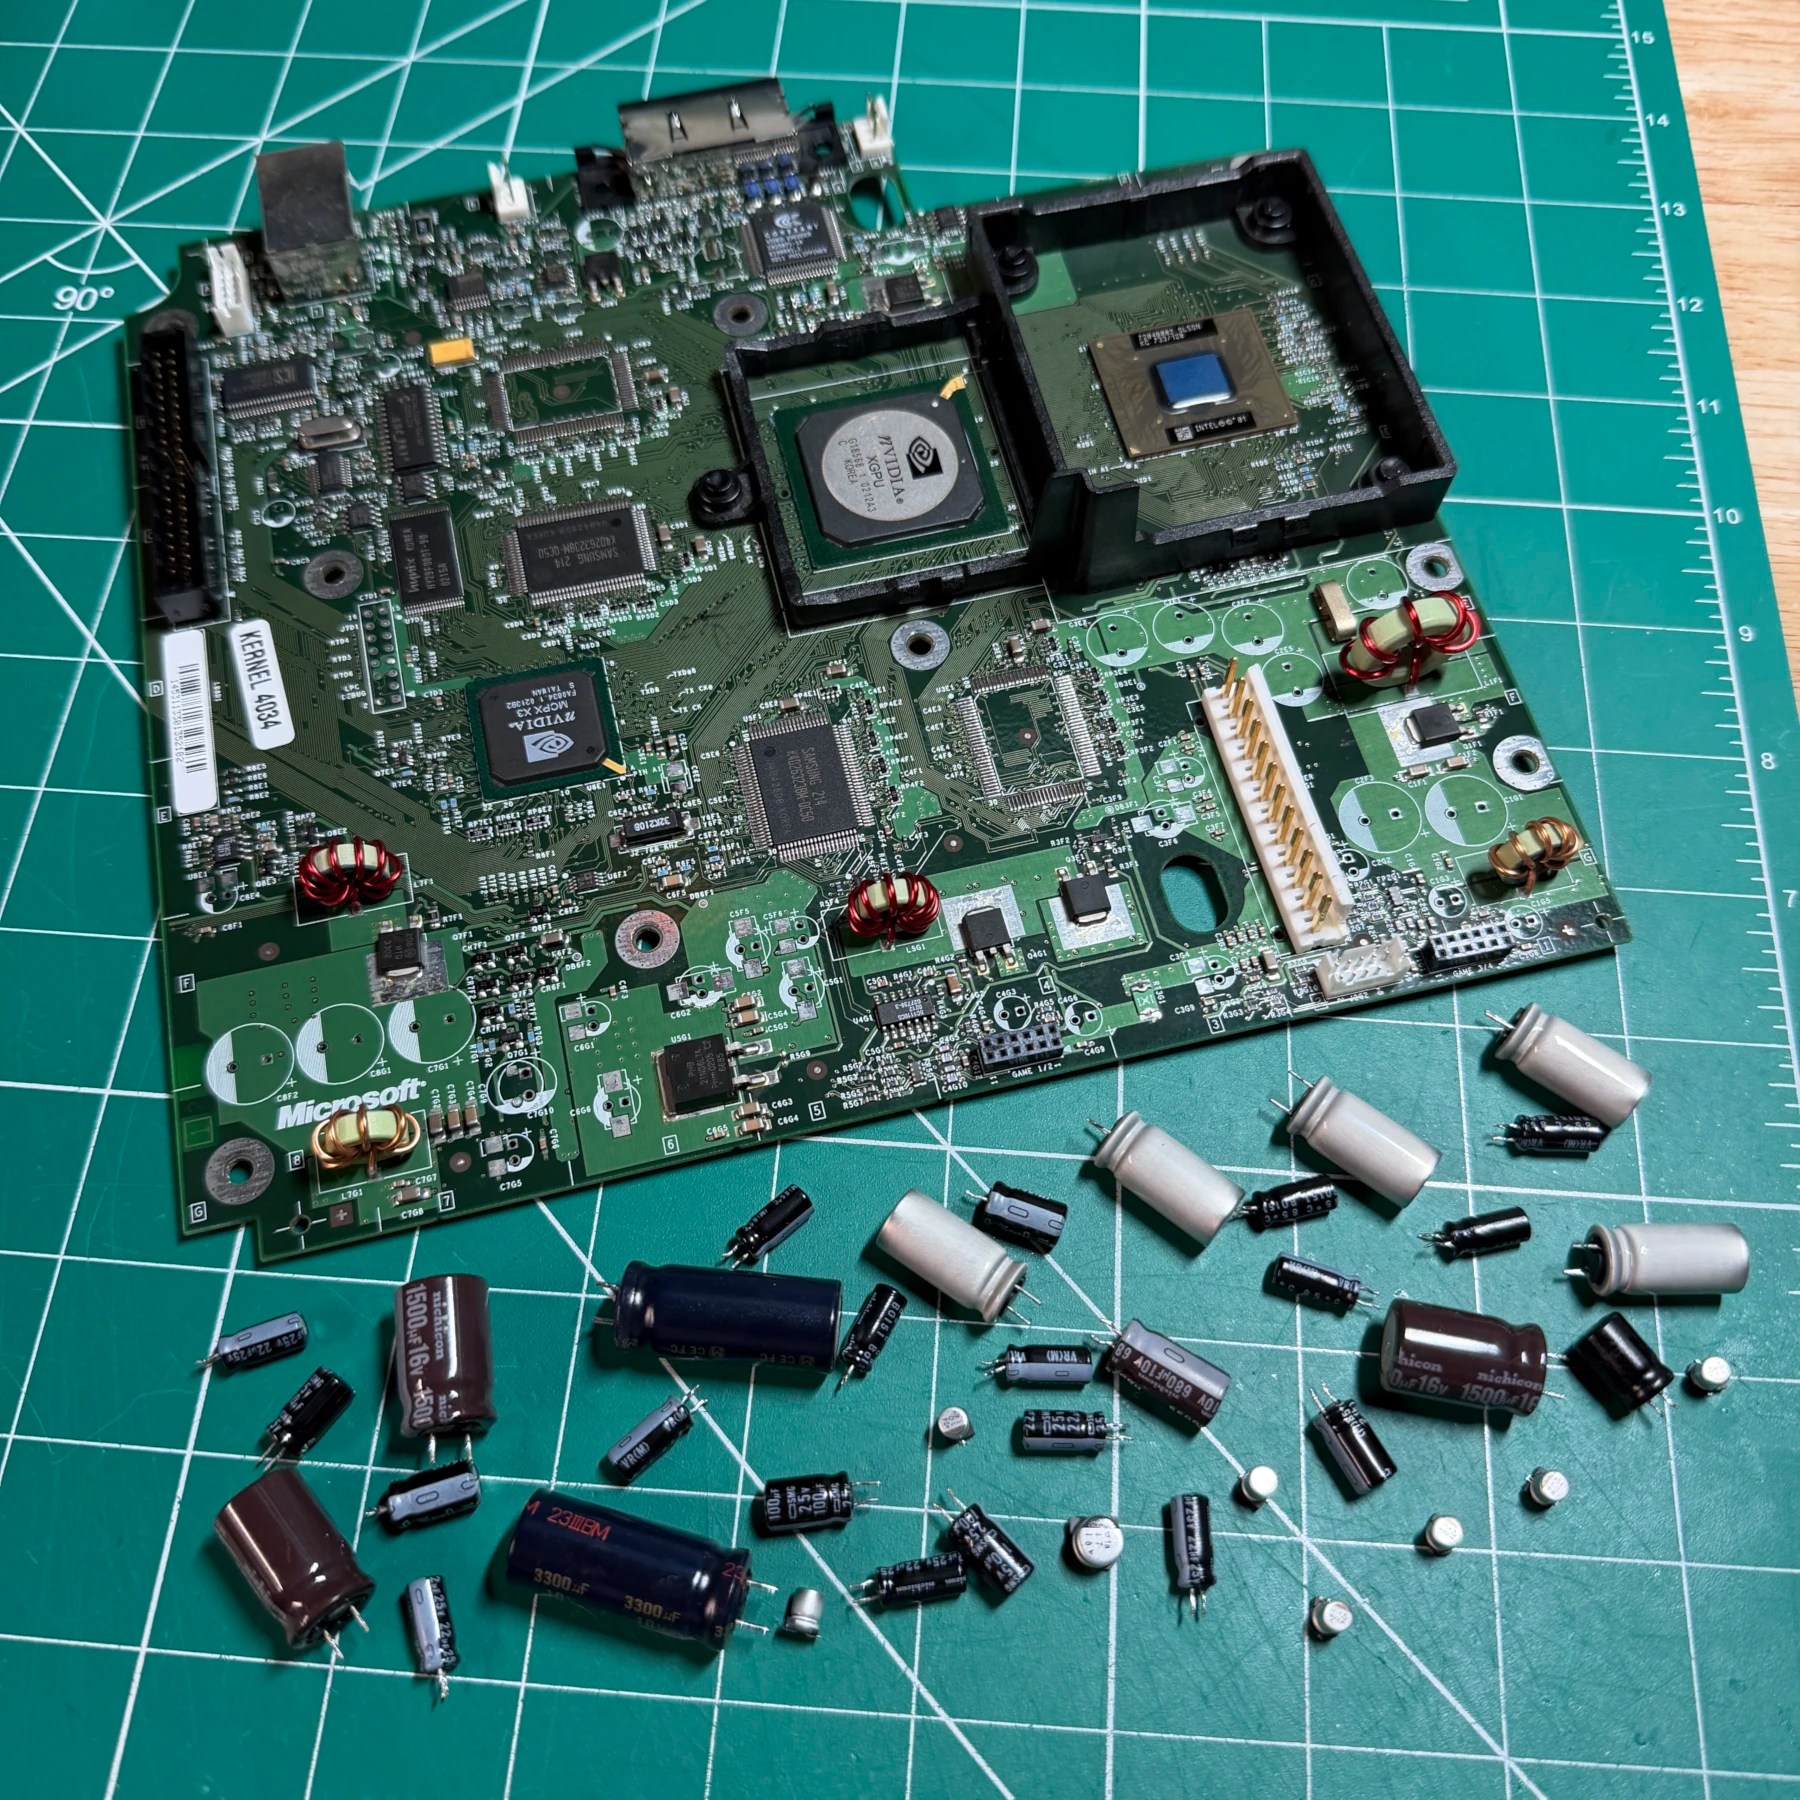
Like all other consoles that are inherently modular I like to work one portion at a time, usually in order the components will be reinstalled back into the XBOX shell, so I can work in reverse order when done. In this case… Motherboard up first!
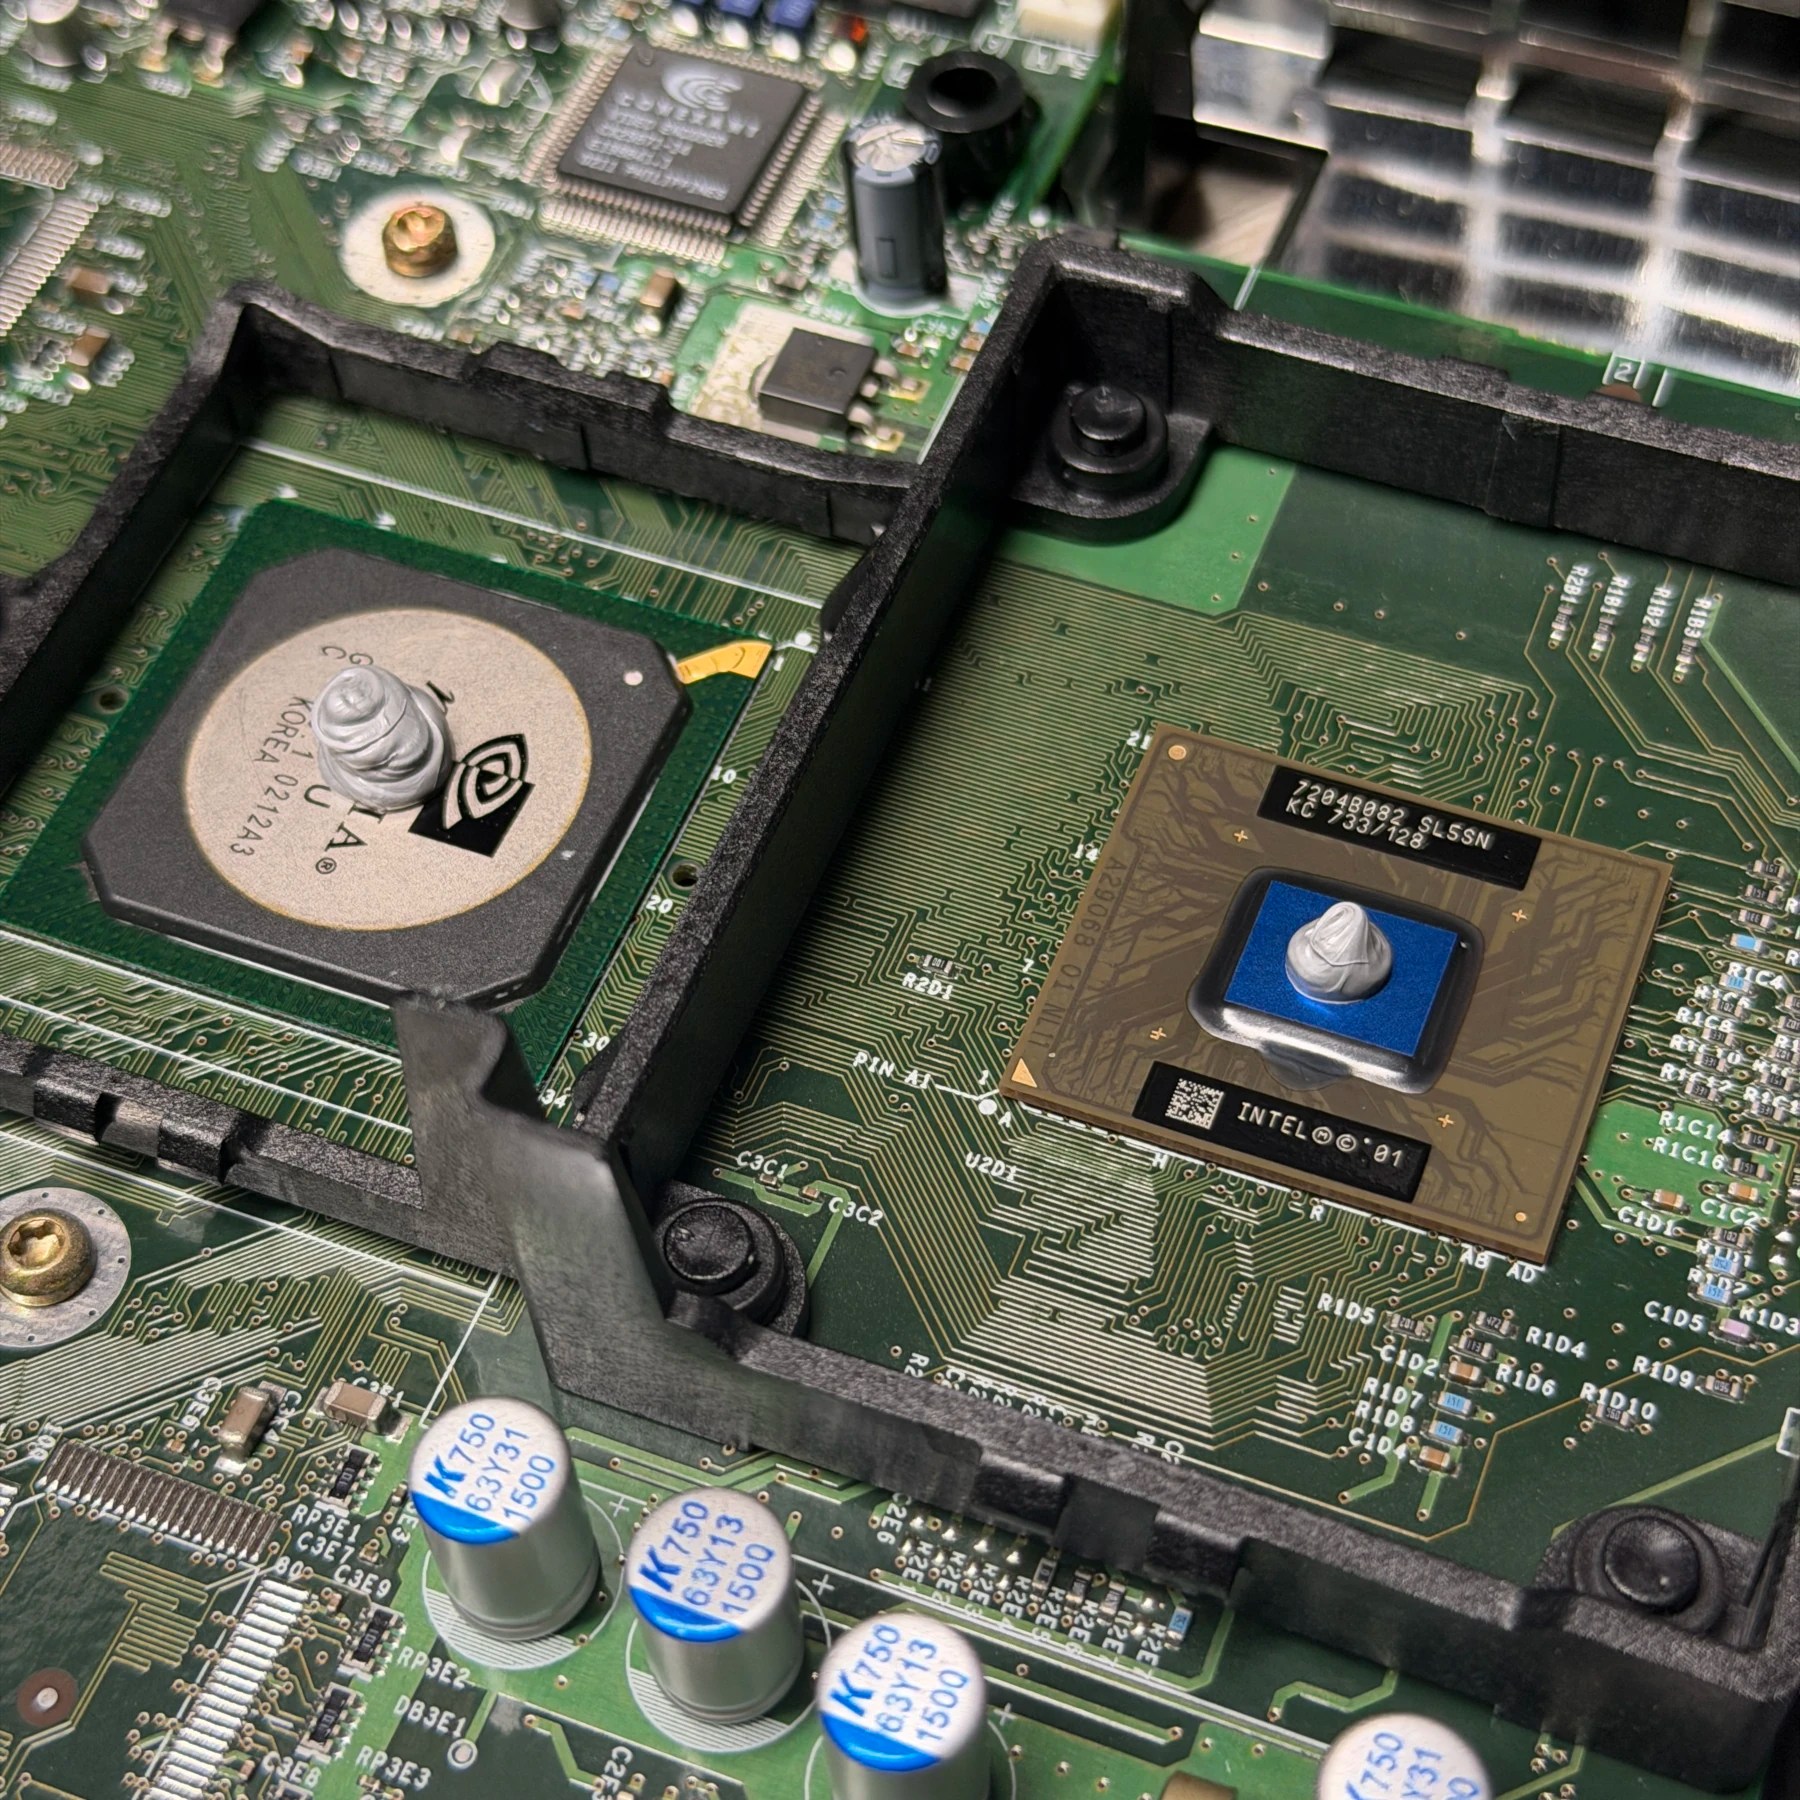
Step 1 is to remove the GPU fan (since this is a 1.0 after all) and set to the side, then bring in some 250C heat and work both those heatsinks up and wiggle gently till they come off. I let them cool down then use some Goo Gone on the bottom to remove old thermal residue and deep clean both and set aside. I also use Goo Gone on the board to remove the residue there and clean.
For the recap process, 80% of them are through-hole so I fire up my Hakko gun and remove them all (I use warmer setting on XBOX due to large ground planes – 375C here) and finish with my hot tweezers to remove the small group of SMD caps in encoder chip area. With all caps removed I then deep clean the board top and bottom and grab the Console5 kit and pull up the map. All pads are cleaned and fluxed and then I install SMD caps first in case any TH would be close and make it tougher to work in that area then insert all TH caps, bend legs, solder and snip then clean unspent flux. Tedious but all done!
One other area of attention here is where the clock cap was. To the surprise of nobody it had leaked and made the surrounding area quite nasty. That area was soaked in cleaning vinegar solution then completely flooded and rinsed out with 99% ISO a half dozen times or so until all joints were nice and clean then I reflowed a few SMD components to make sure everything was solid and would not fall off later. You don’t HAVE to put a clock cap back (except on the 1.6) but I always do on these as it was part of the original board circuit and modern caps are much higher quality. For only an extra 99 cents it seems silly not to!
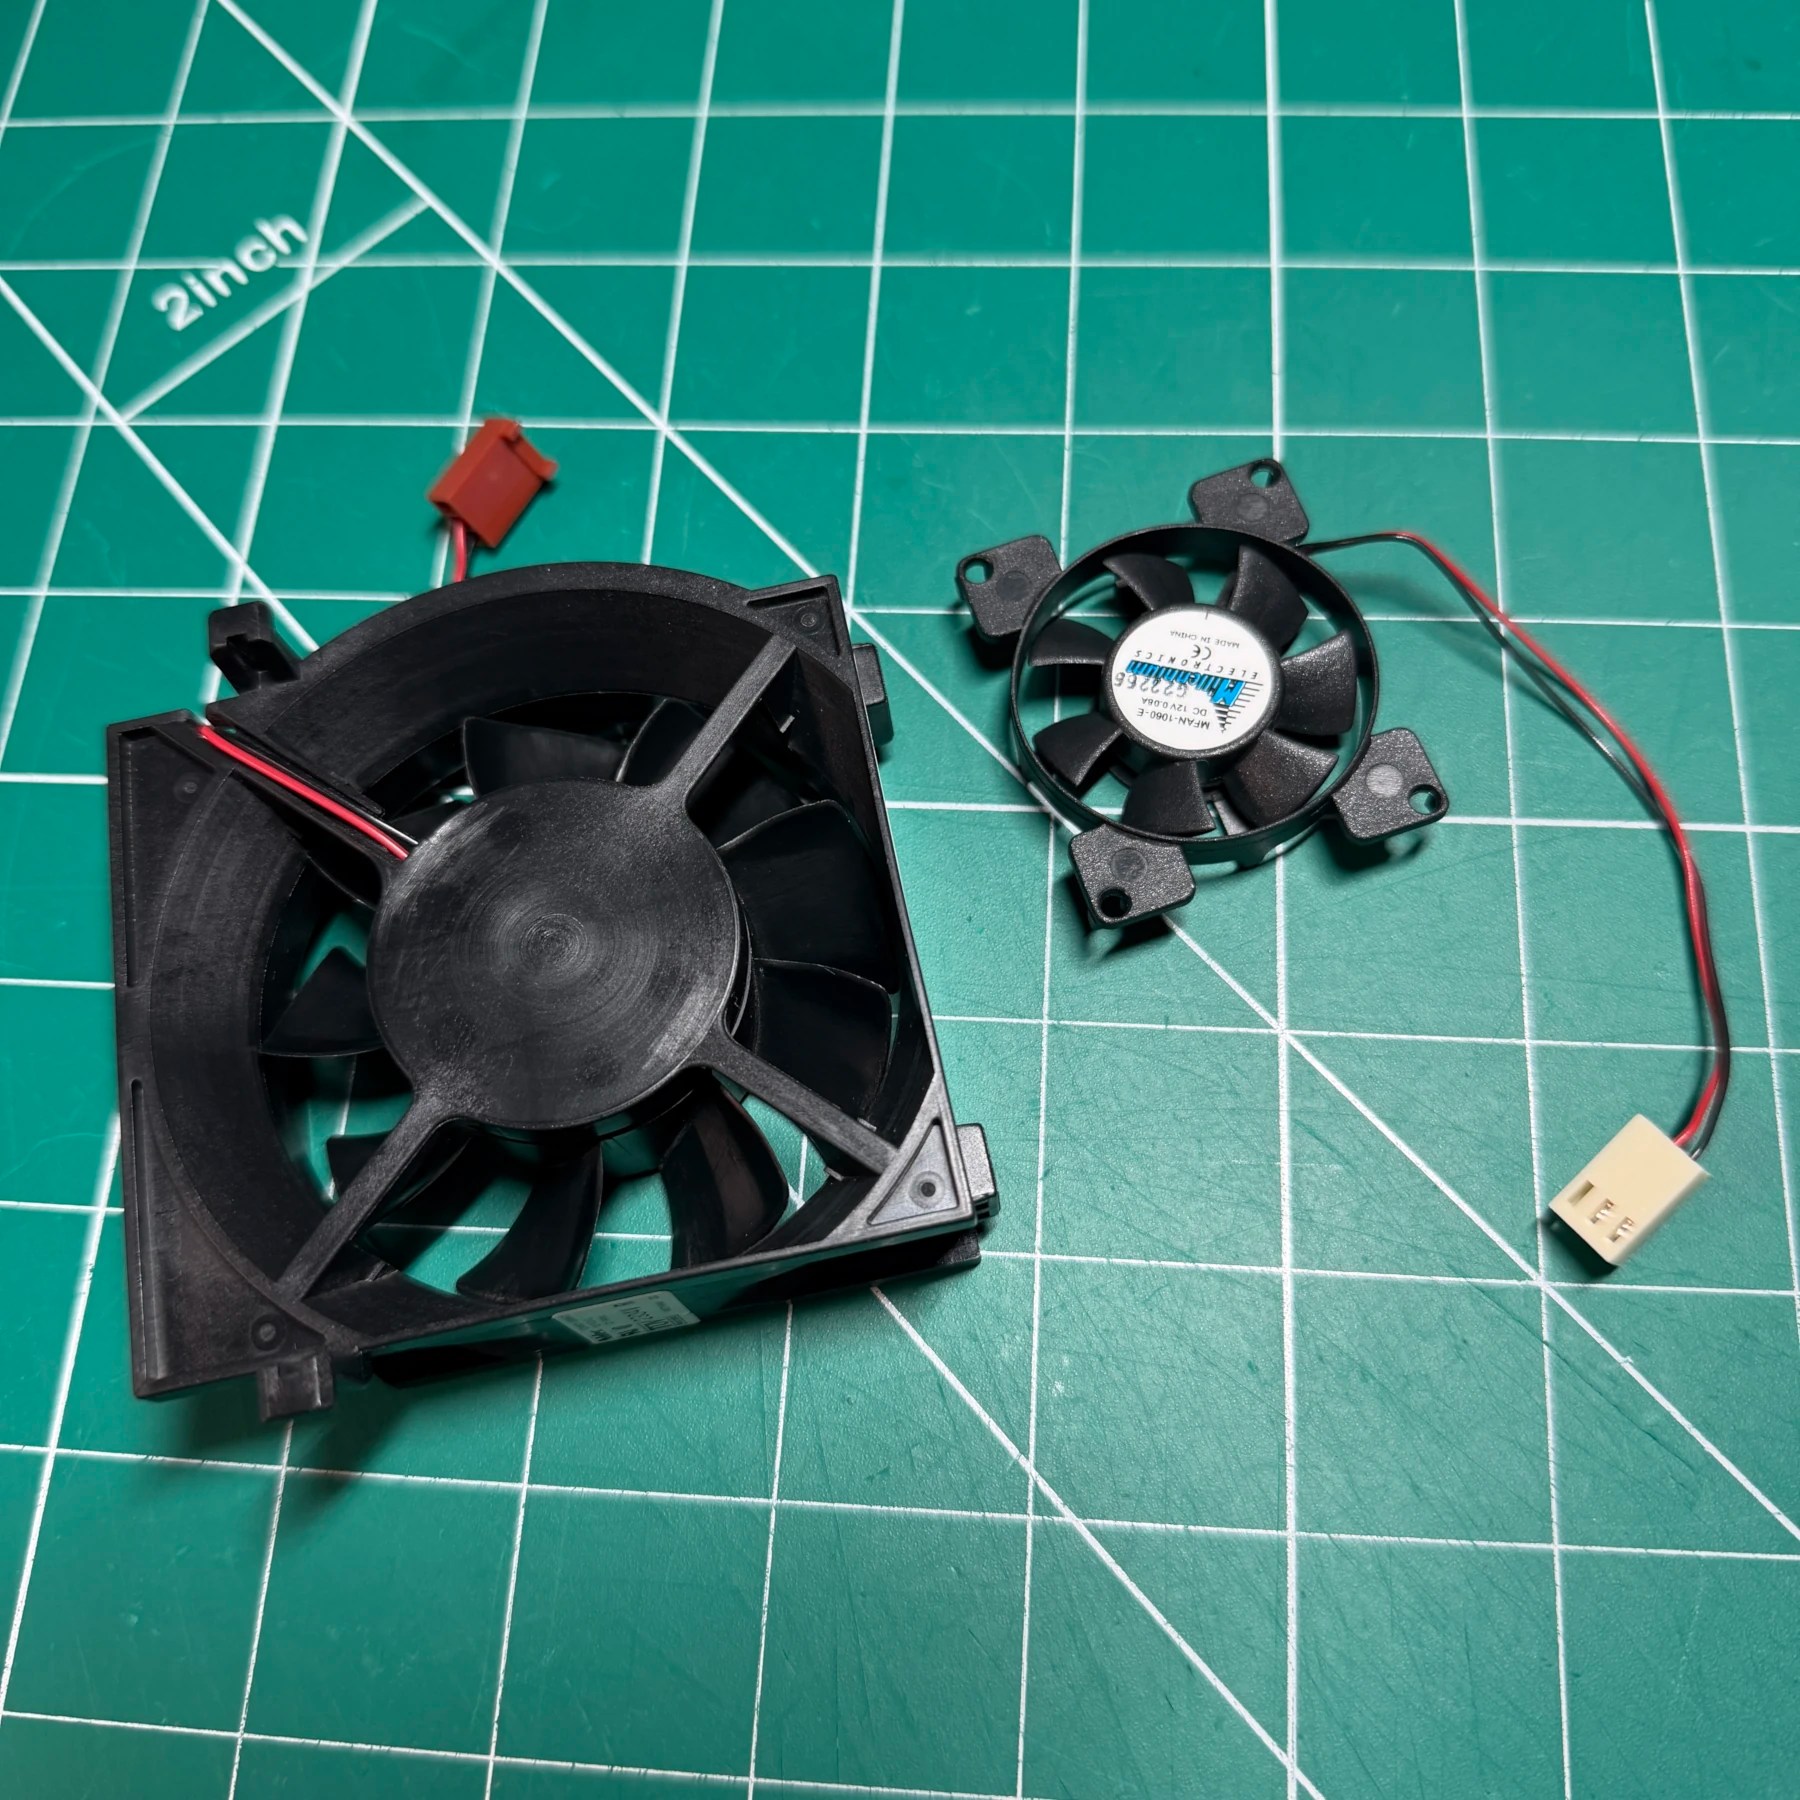
Since by now the shell was dry and mainboard done, I then added fresh blobs of high-quality Arctic MX paste and put the cleaned heatsinks back on. I then seated the motherboard and cleaned up lower shield back into the dry shell and secured it. Next up was the fan cleaning so I worked the loose debris and dust layer off with a brush, blasted the fan off and then deep cleaned both sides of the frame and every blade with Q-Tip’s and 99% ISO. With the fans done, those both got snapped into place and connected to mainboard. You don’t want to assume you will remember to hook fans up later and forget, only to find out after you reassembled!
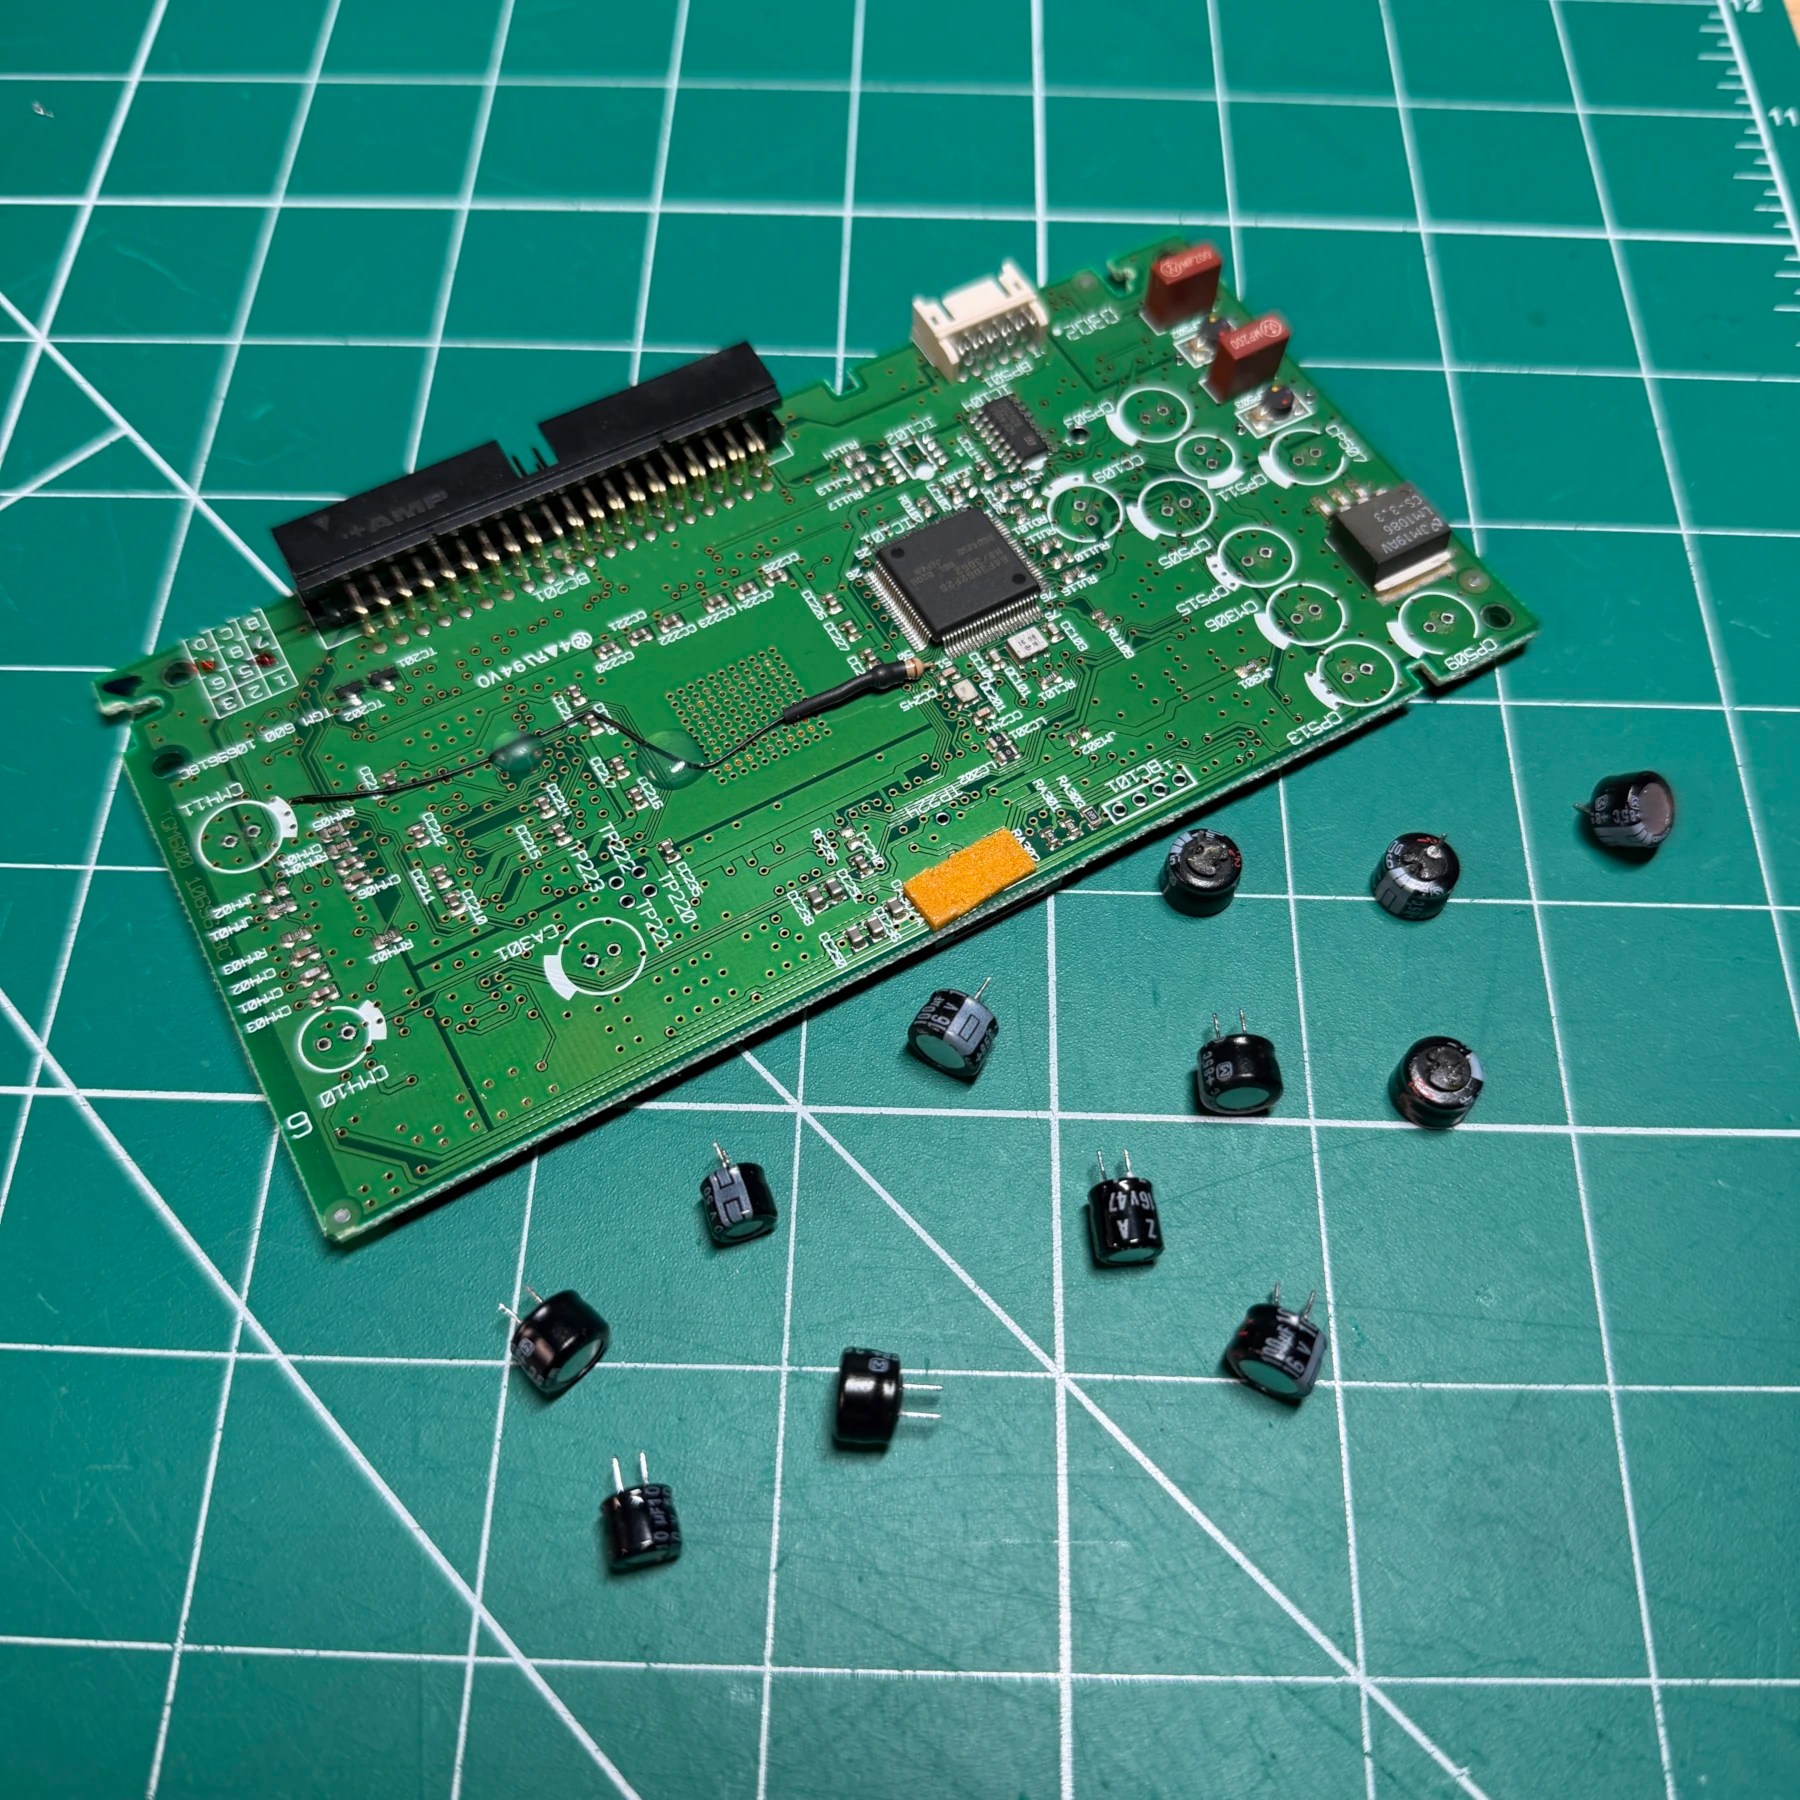
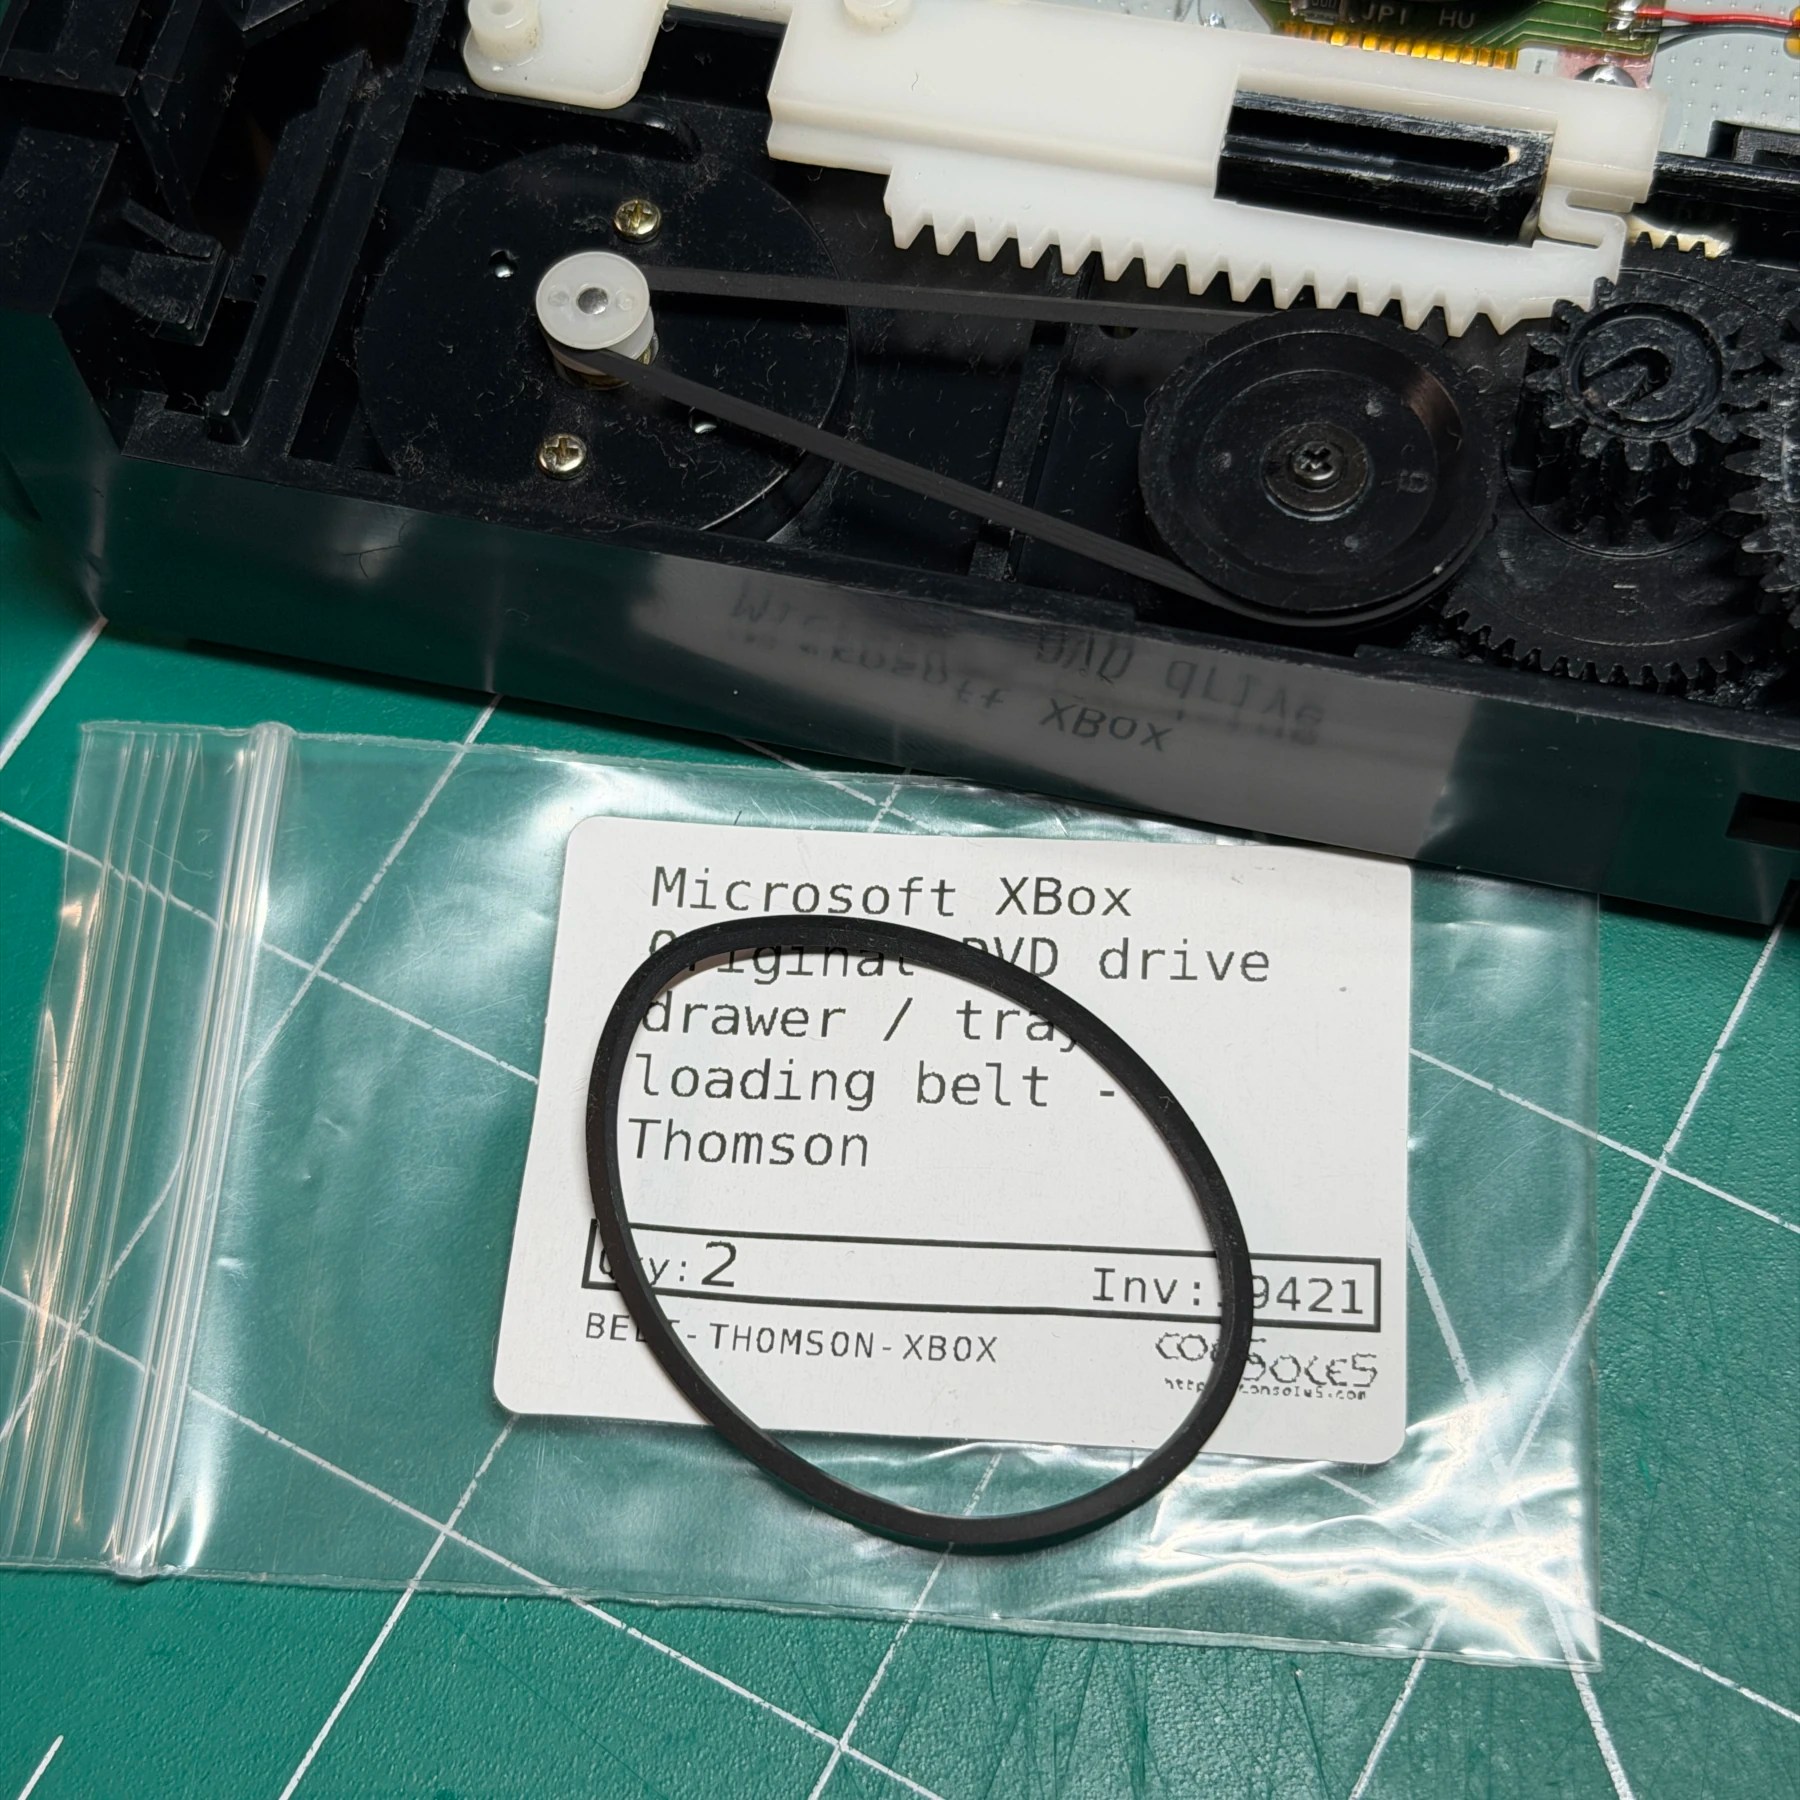
Next up was the DVD Drive. For this, the top and bottom panels come out quite easily, then you carefully disconnect some wires and flex and get to the drive PCB. Once accessible, this revision uses all through-hole so nice and easy to work through them with my Hakko gun! All new caps from the Console5 kit installed and then I worked through the drive itself and cleaned up all hair and debris and added some fresh grease, cleaned the tray and lens itself and installed the drive belt to ensure smooth operation. Quick reassembly and DVD drive is done, then installed back in the cleaned bracket and fitted back into the XBOX!
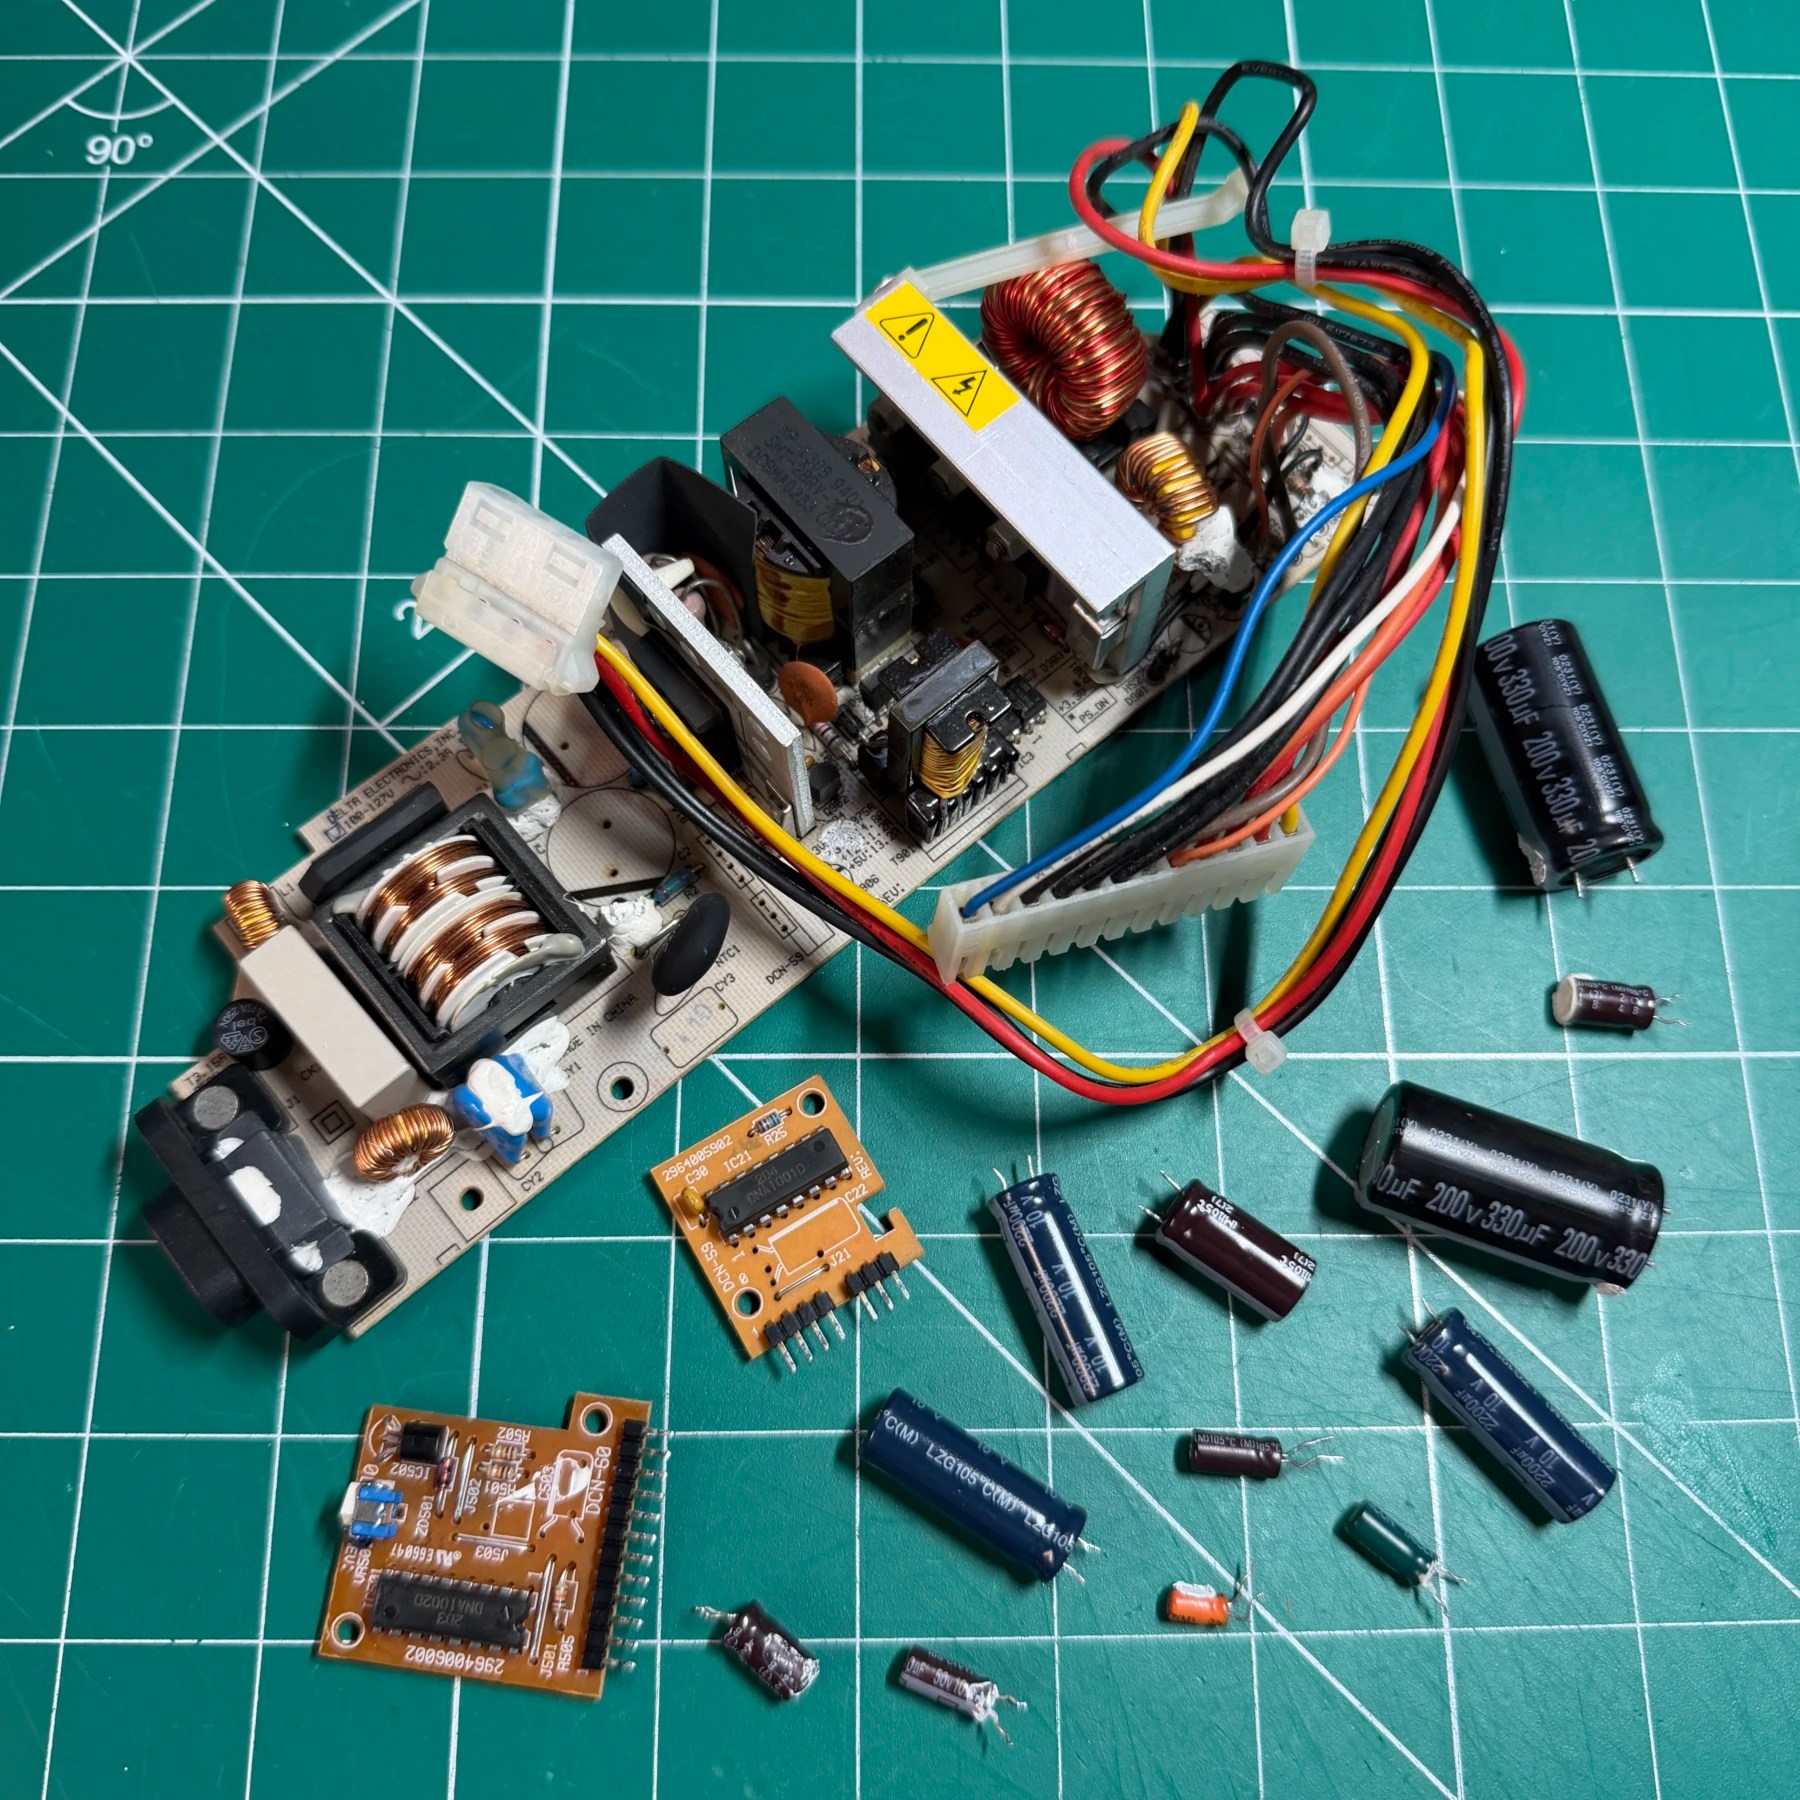
Last recap job was the 1.0 PSU. Decent amount of caps here, several daughter boards and annoying epoxy to contend with. I cut the epoxy out carefully with an Xacto knife, remove all caps with Hakko gun and clean both sides of PSU board before installing all new caps from the Console5 kit! With the PSU done its time to reinstall and test…
After it was reinstalled I pressed the power button and… nothing. Long story short, the fuse in the PSU had popped for some reason. Not sure if it was marginal and final plug in just killed it but it was dead for sure, multimeter test confirmed no continuity. I looked over the PSU again with a fine-tooth comb and saw no reason or signs of issue so I got another new fuse and swapped it in… fired right up! Let it run for many hours over the next few days to ensure it was operating fine and outside of the usual loud noise you get on these 1.0 units thanks to the dual fans it was running as well as could be. Seems like an unfortunate fluke but luckily it’s a super cheap and easy part to replace, so only a minor speed bump!
Once I knew it was running well I then inserted some discs and started testing those, both DVD movies and games and both worked great. No hesitation, skipping or other signs of a marginal or failing DVD drive. Lucky as these are becoming harder and harder to find these days!
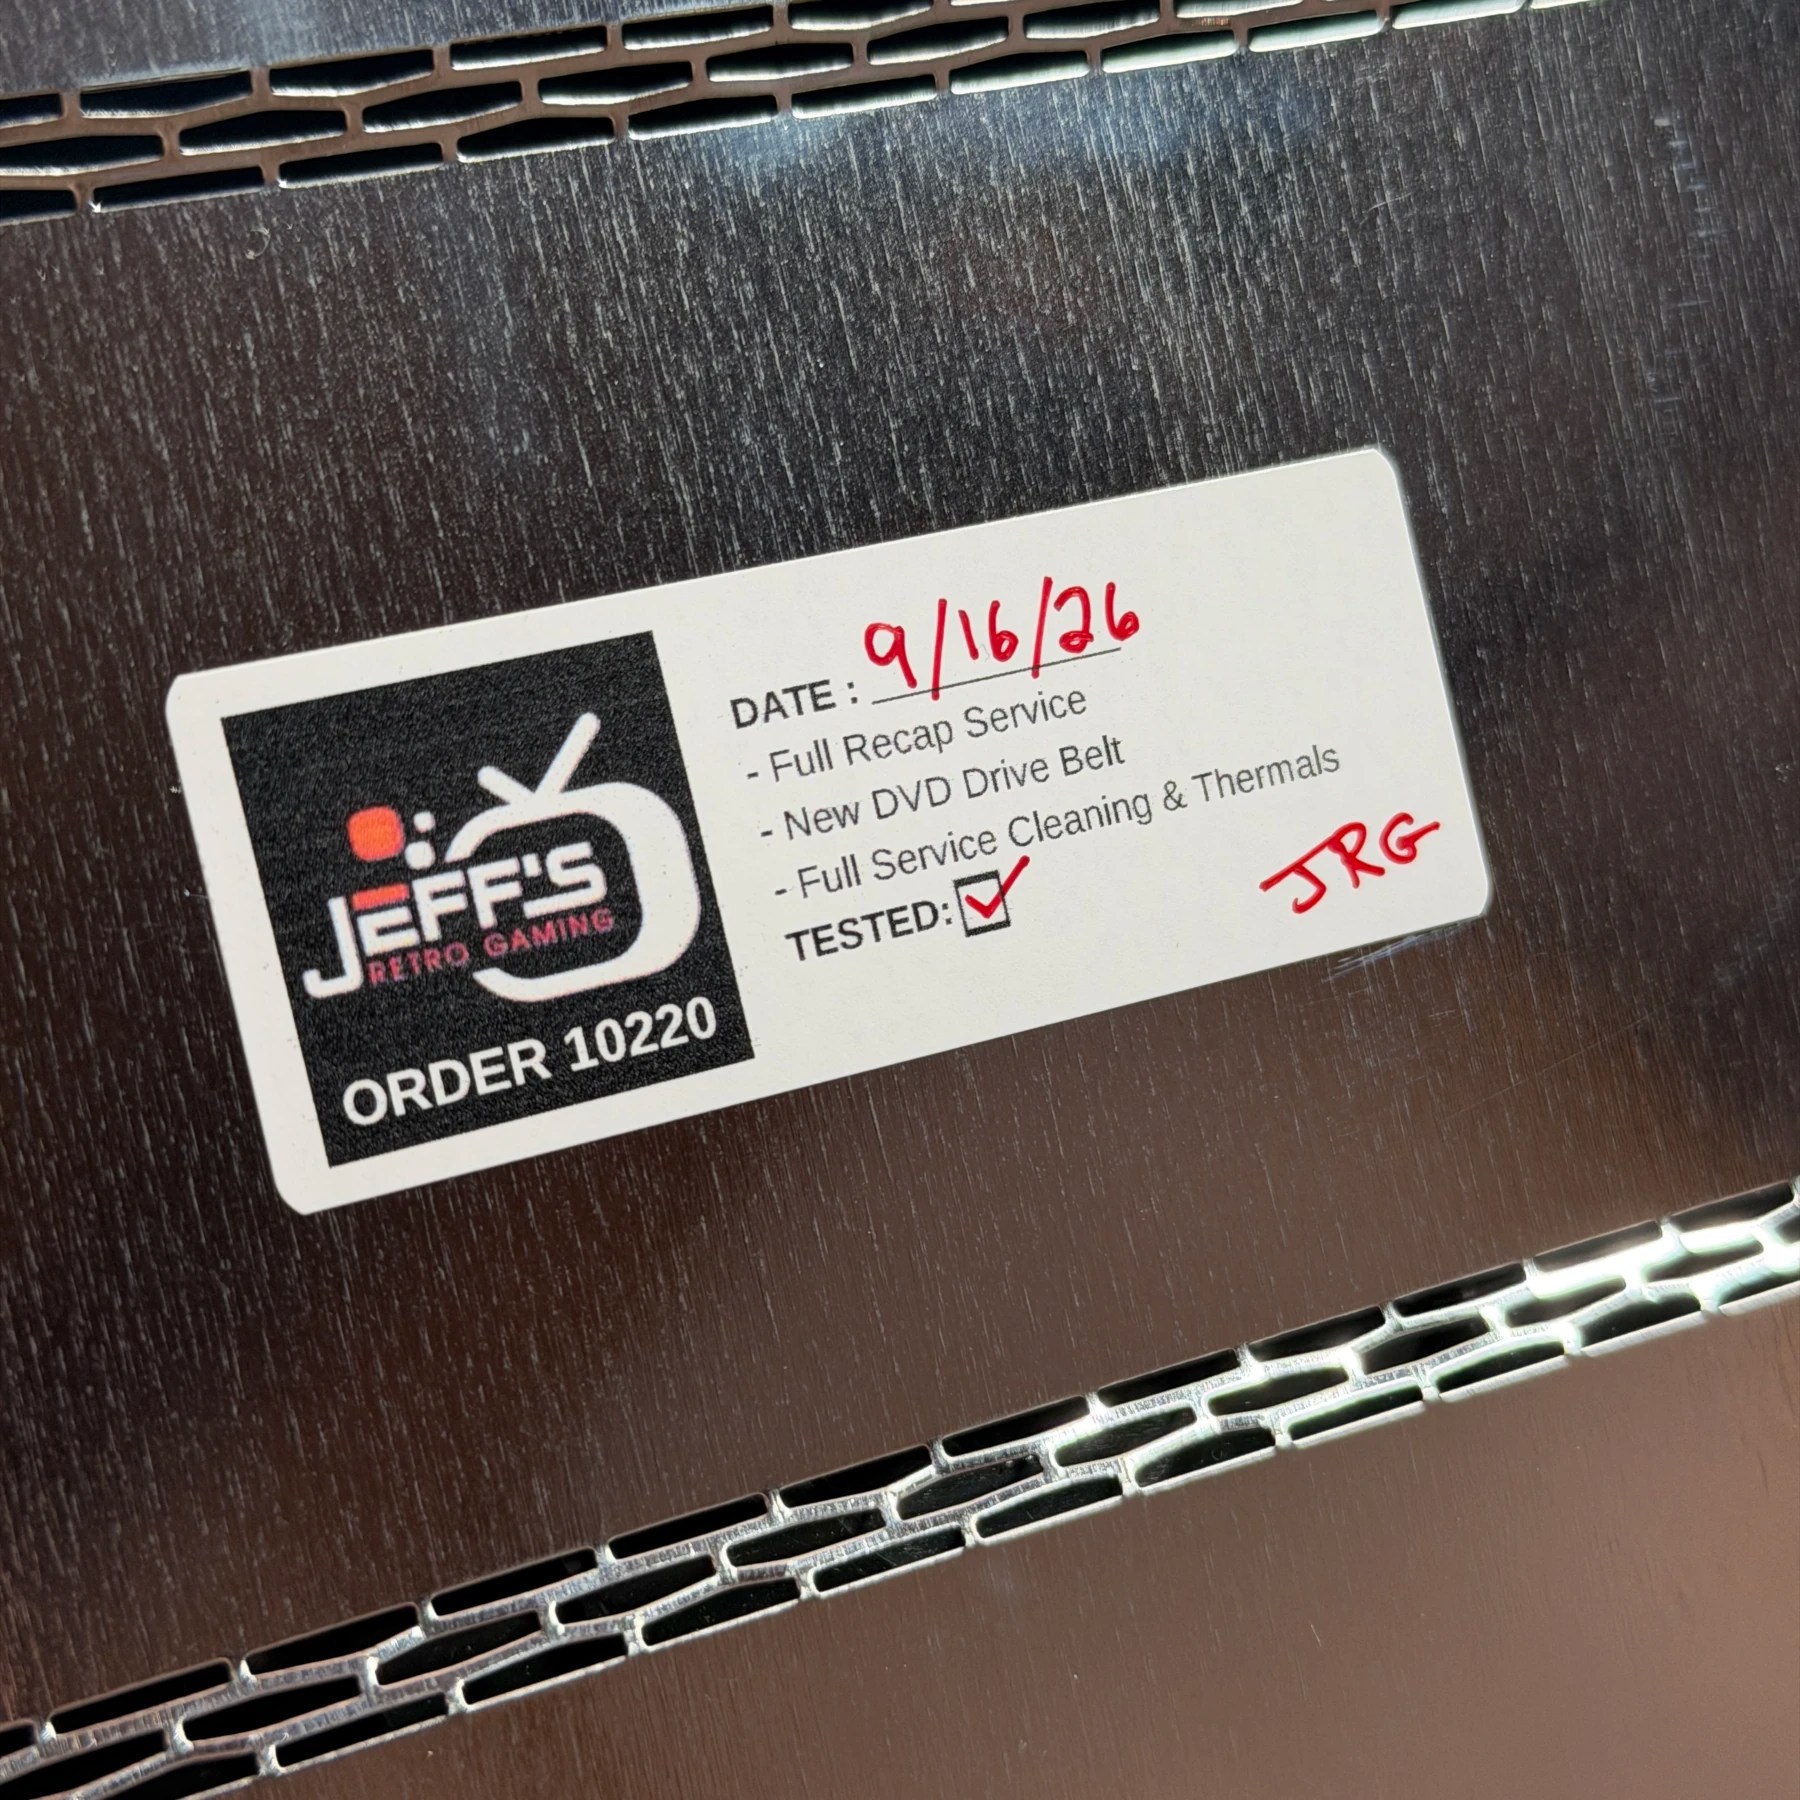
With all the testing done I then added my sticker, closed up the top shell and put the cleaned-up rubber feet back on with some new tape and this XBOX is headed home looking sharp and ready to play some games!