
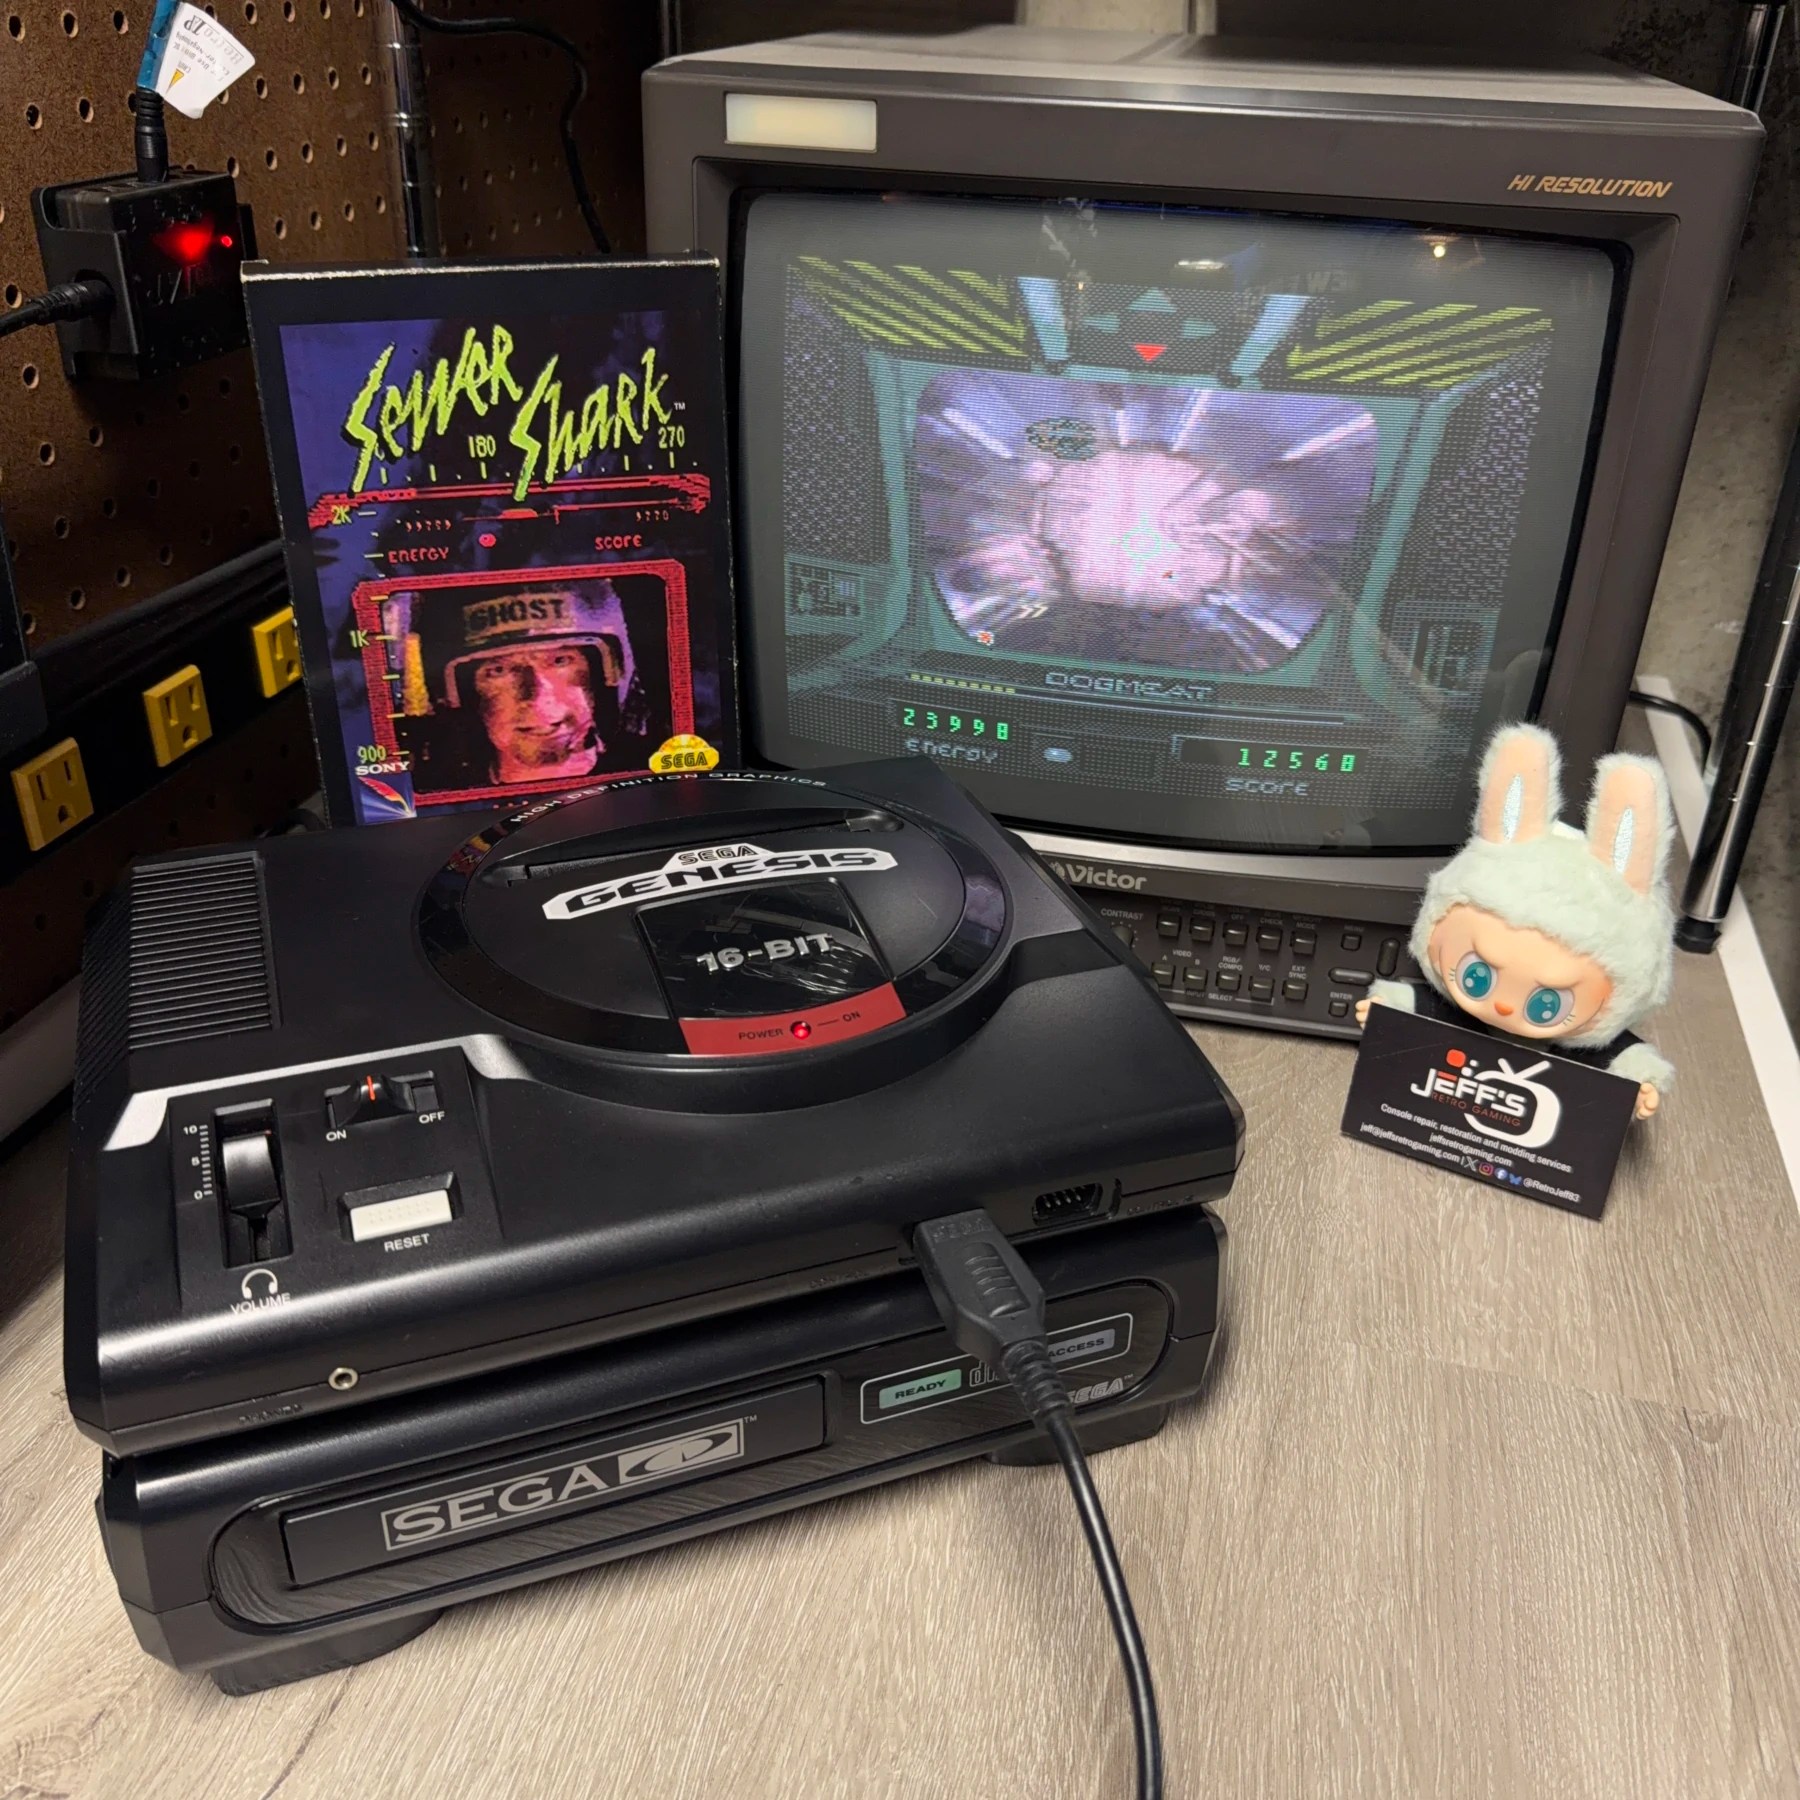
While I’ve seen a ton of CDX action this year, it’s been a hot minute since a Model 1 (or 2 for that matter) Sega CD arrived in the shop for some work. This one was sent my way because the CDROM tray was not operating properly, stuck and unable to open/close so the drive could not be reliably operated or tested but it otherwise was functional.
Since every single one of these HAVE to be recapped at this point, while the drive issue was priority #1 the customer agreed a recap would be done and decided we should also do a FRAM upgrade and Region-Free BIOS Install as well. Honestly with how fragile these things are, if you are going to ship them it makes sense to get everything done you can/want to in one shot 👍
First up was taking a look at what was going on with the CDROM drive. After opening it I found 2 issues (oh and a copy of Final Fight CD which will be making a safe return home to owner!) the first was a belt that was clearly worn/loose. I also discovered the helix gear that lifts the tray was stuck because the main gear was on the wrong side of the limit switch for the tray closing sensor. This can happen if something is stuck or not moving and tray is forced, and it causes it to catch on that switch and jam up.
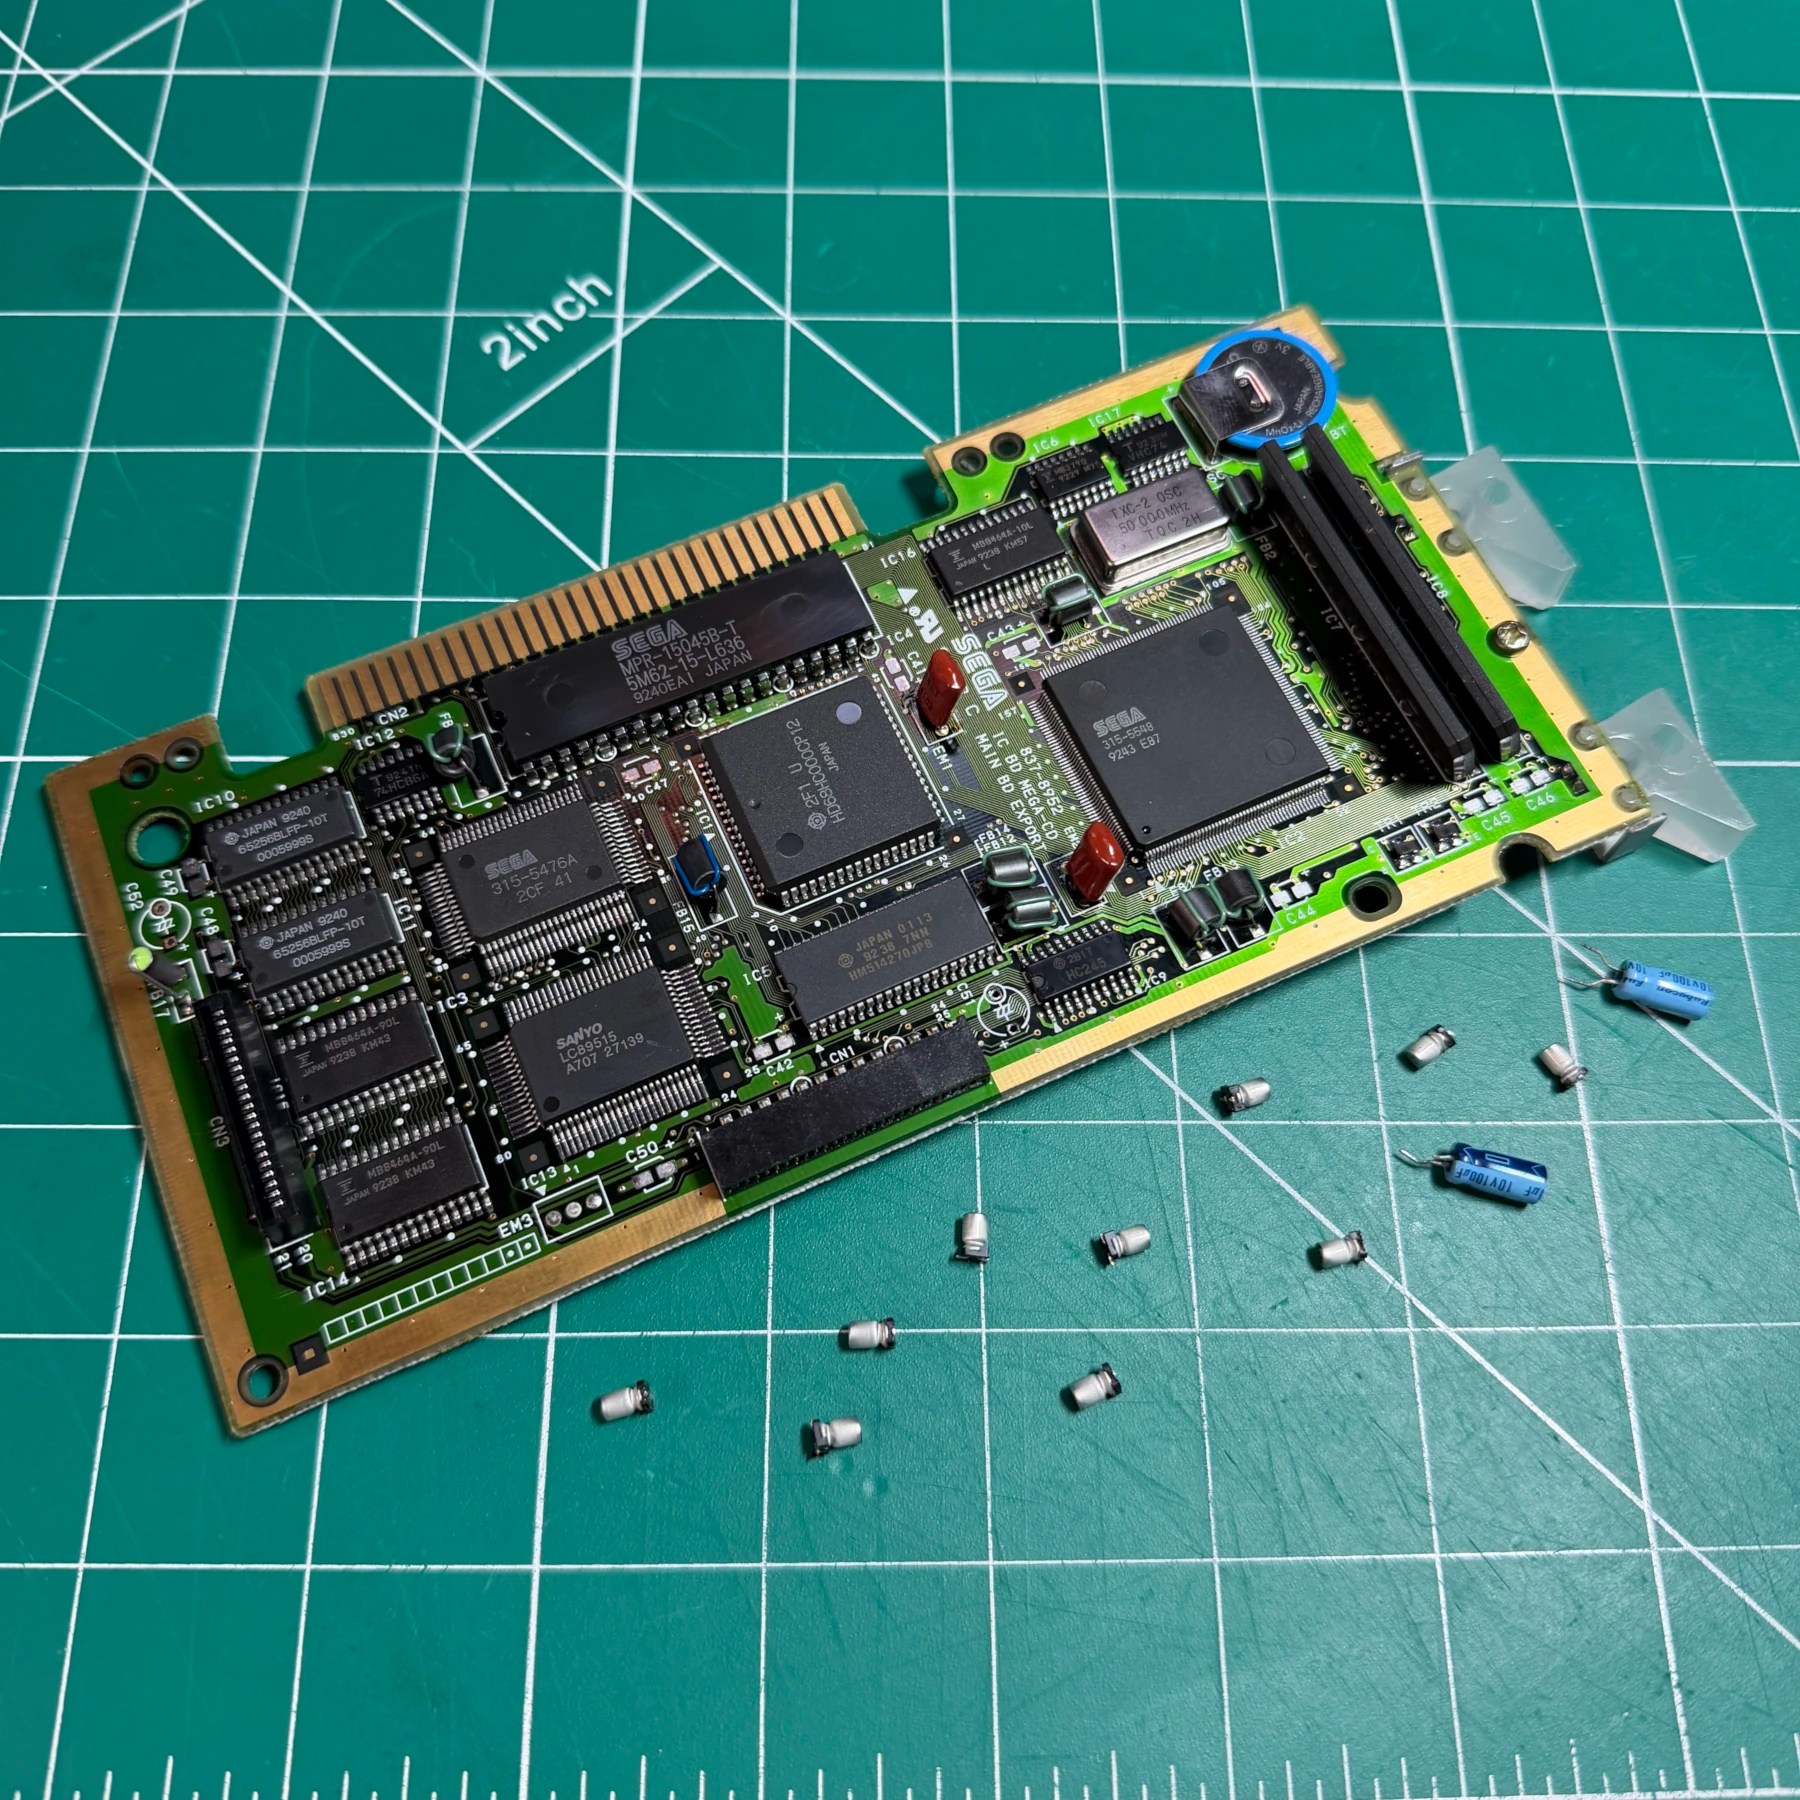
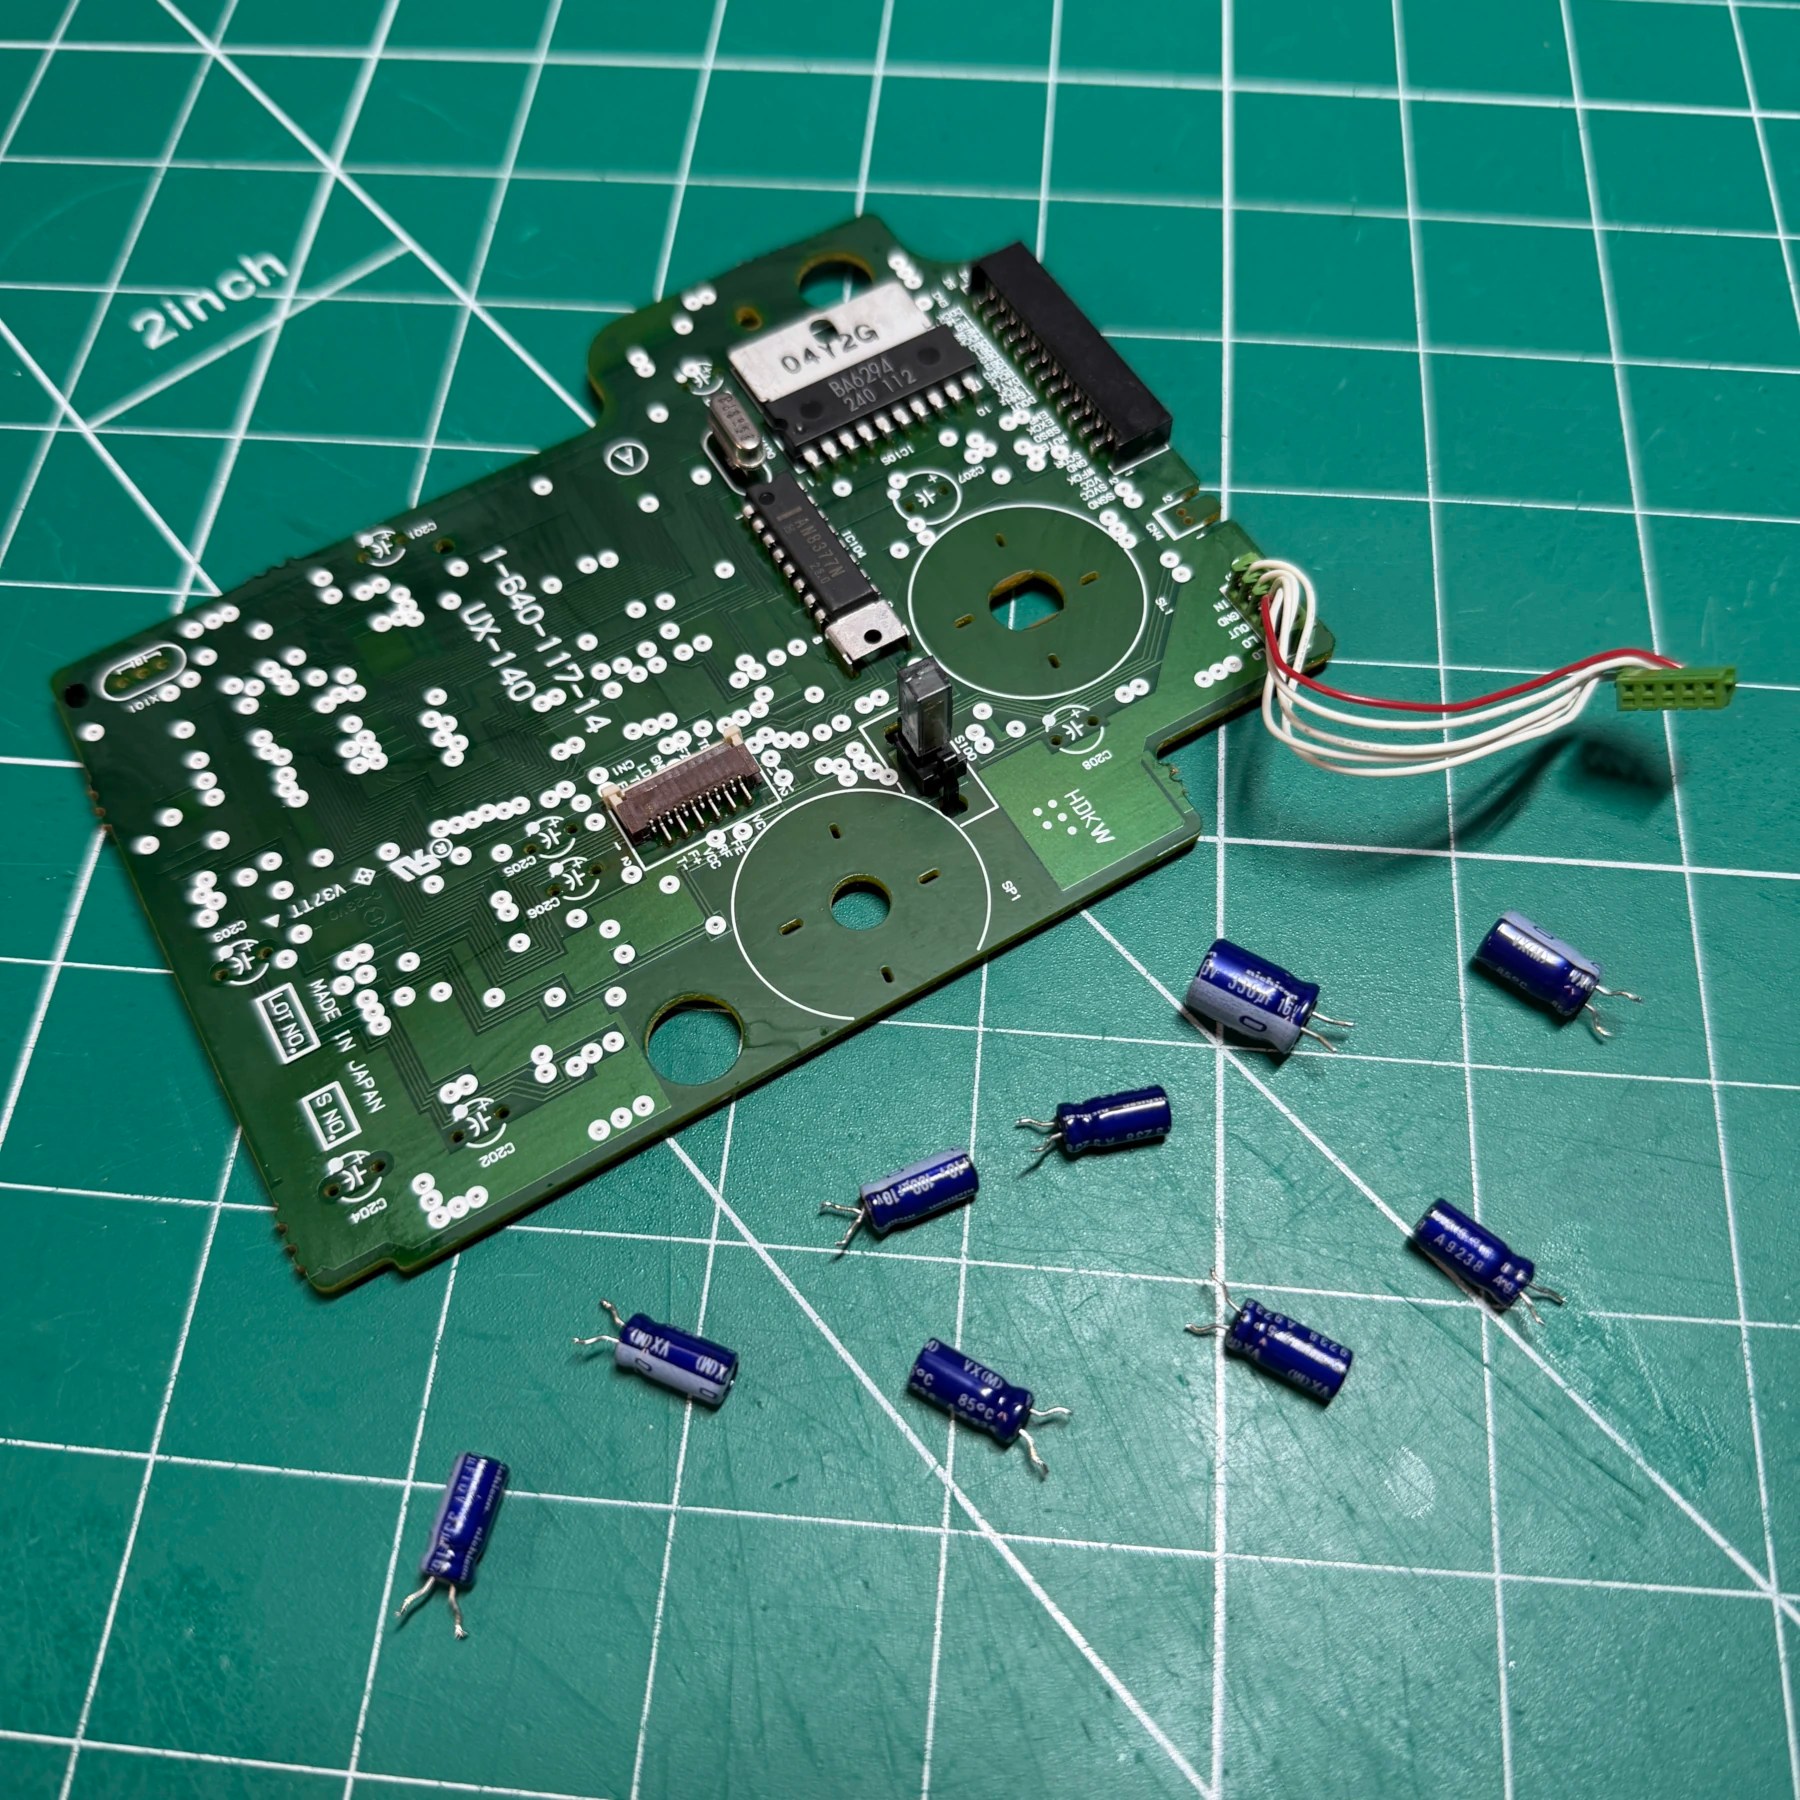
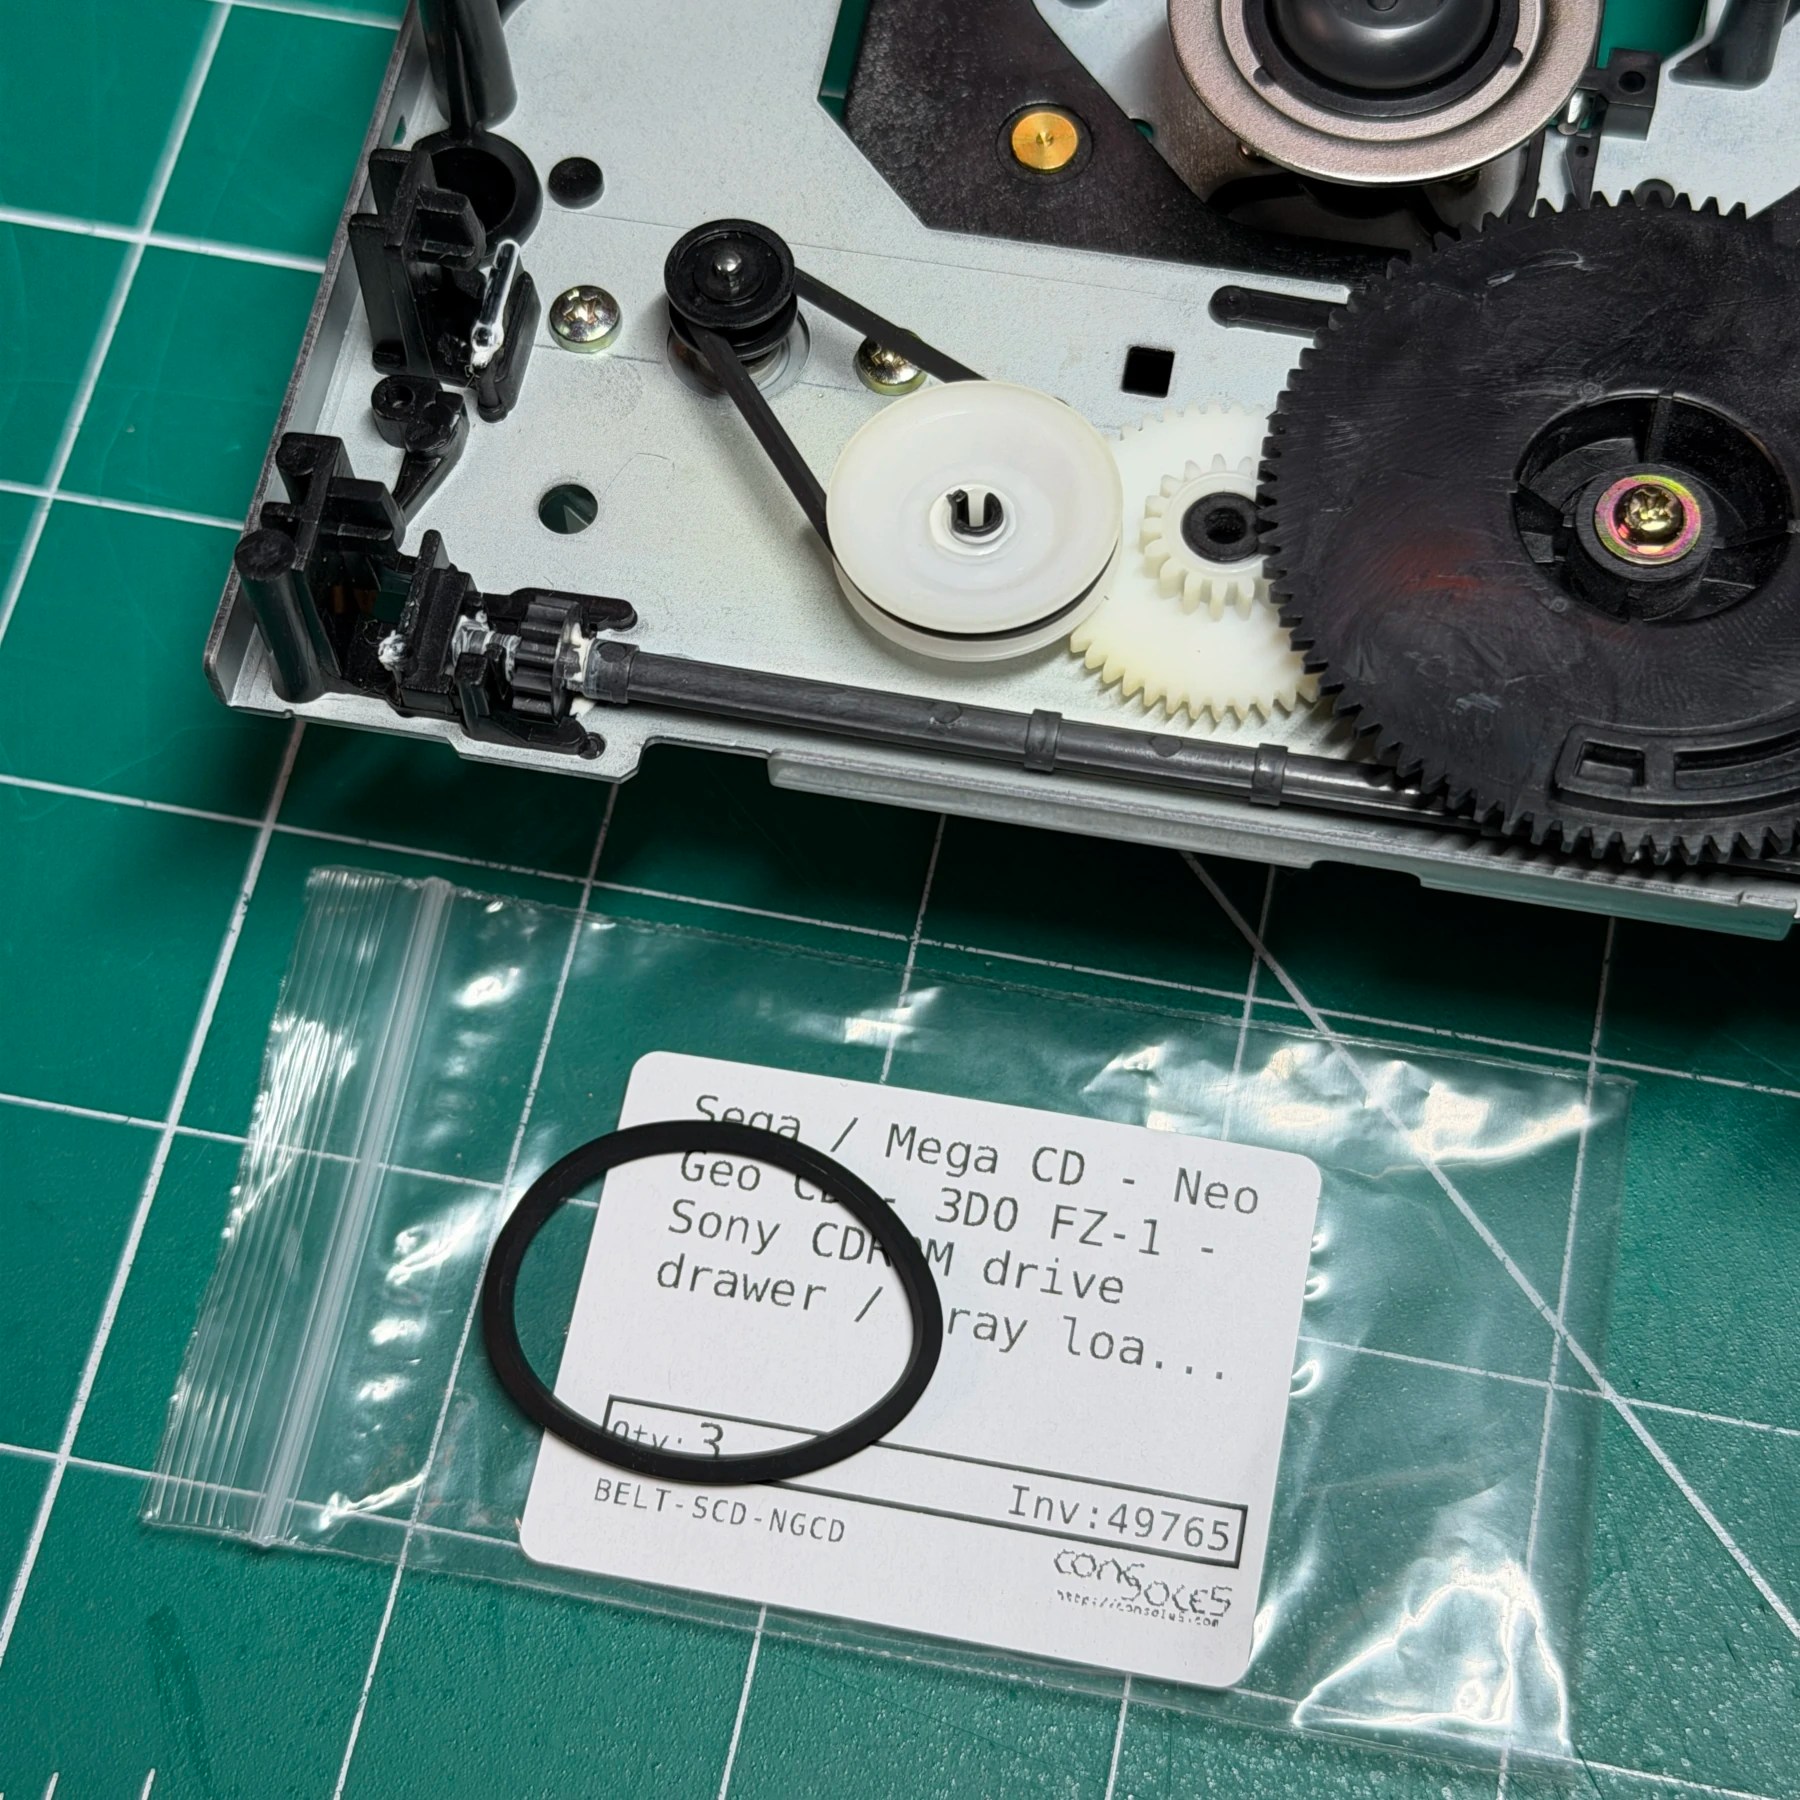
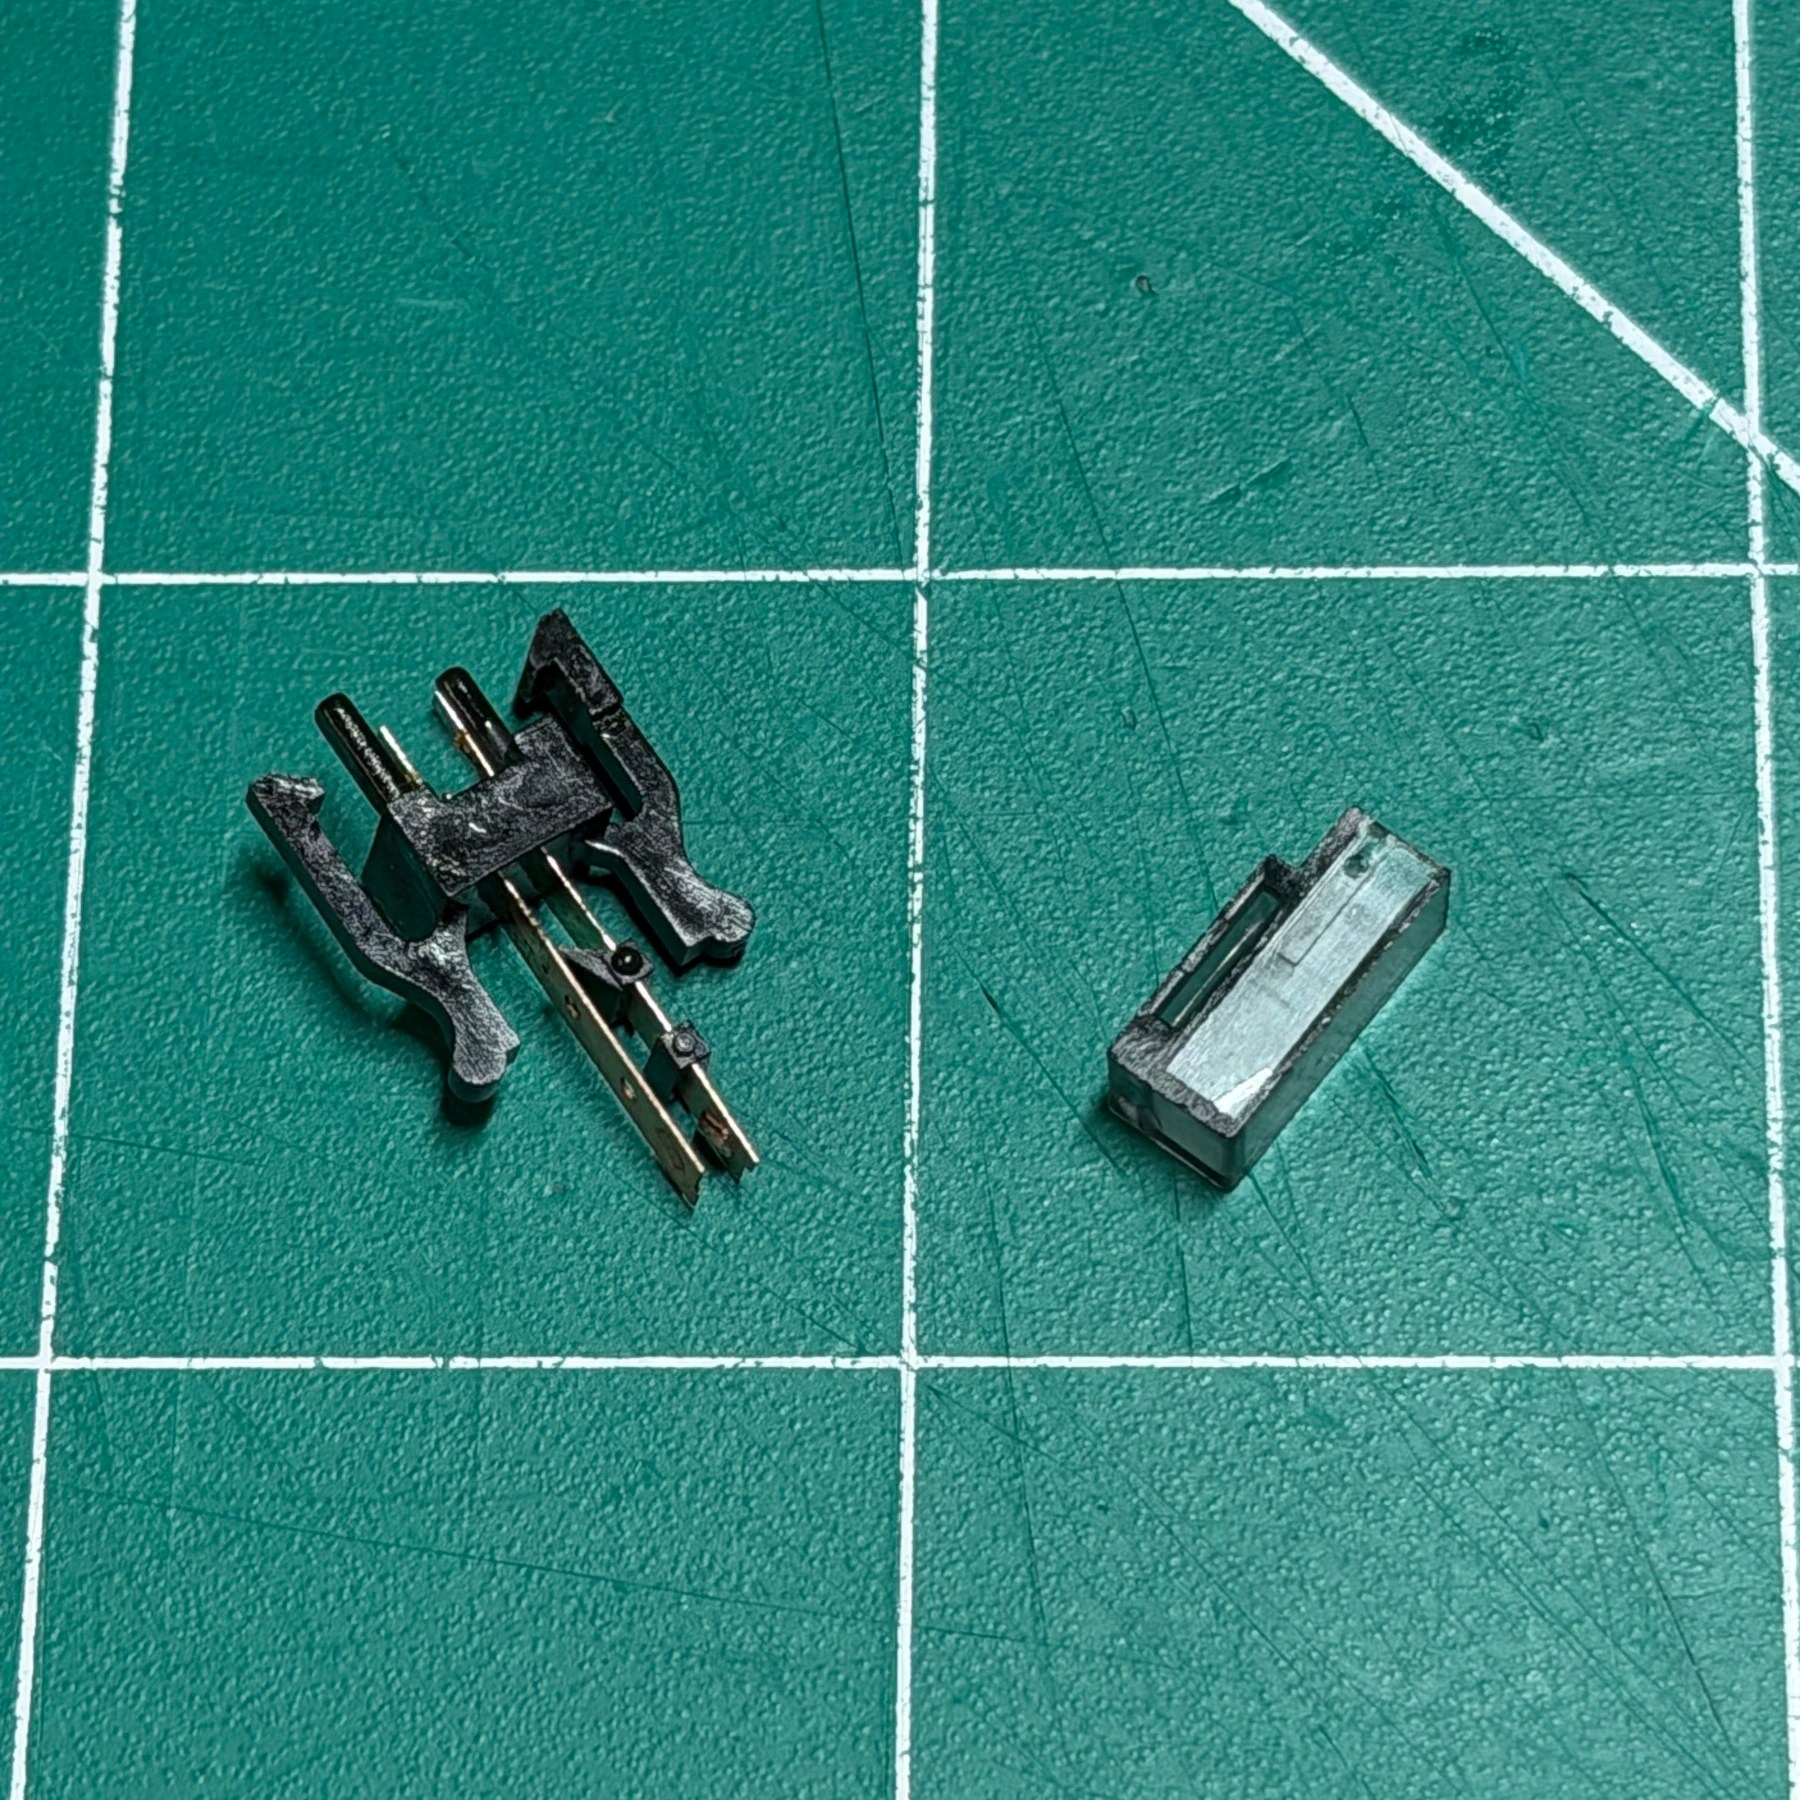
Since a full recap was in order I desoldered and removed the PCB and then very carefully took off all the original caps. These CD boards are SUPER delicate so my Hakko gun goes on the lowest setting and you have to be quick but gentle. Once all the caps were removed, board cleaned and new caps soldered on I set the board to the side and then removed the limit switch board. With that removed I took the covers off all 3 switches and soaked them in DeOxit and deep cleaned them then gave them a very fine film-like coat and snapped the caps back on. With those switches out of the way I was able to force the drive open manually, remove tray and install a brand-new drive belt from Console5 then clean and grease the full assembly.
Lastly, I pushed the drive most of the way closed and inserted the limit switch board and made sure gear nub was on correct side before closing the rest of the way and tested both opening and closing switches by moving drive back and forth (this also helped work new grease in). Knowing the drive was working I then cleaned the laser lens and put the PCB back together with the drive and set the entire unit to the side and out of the way.
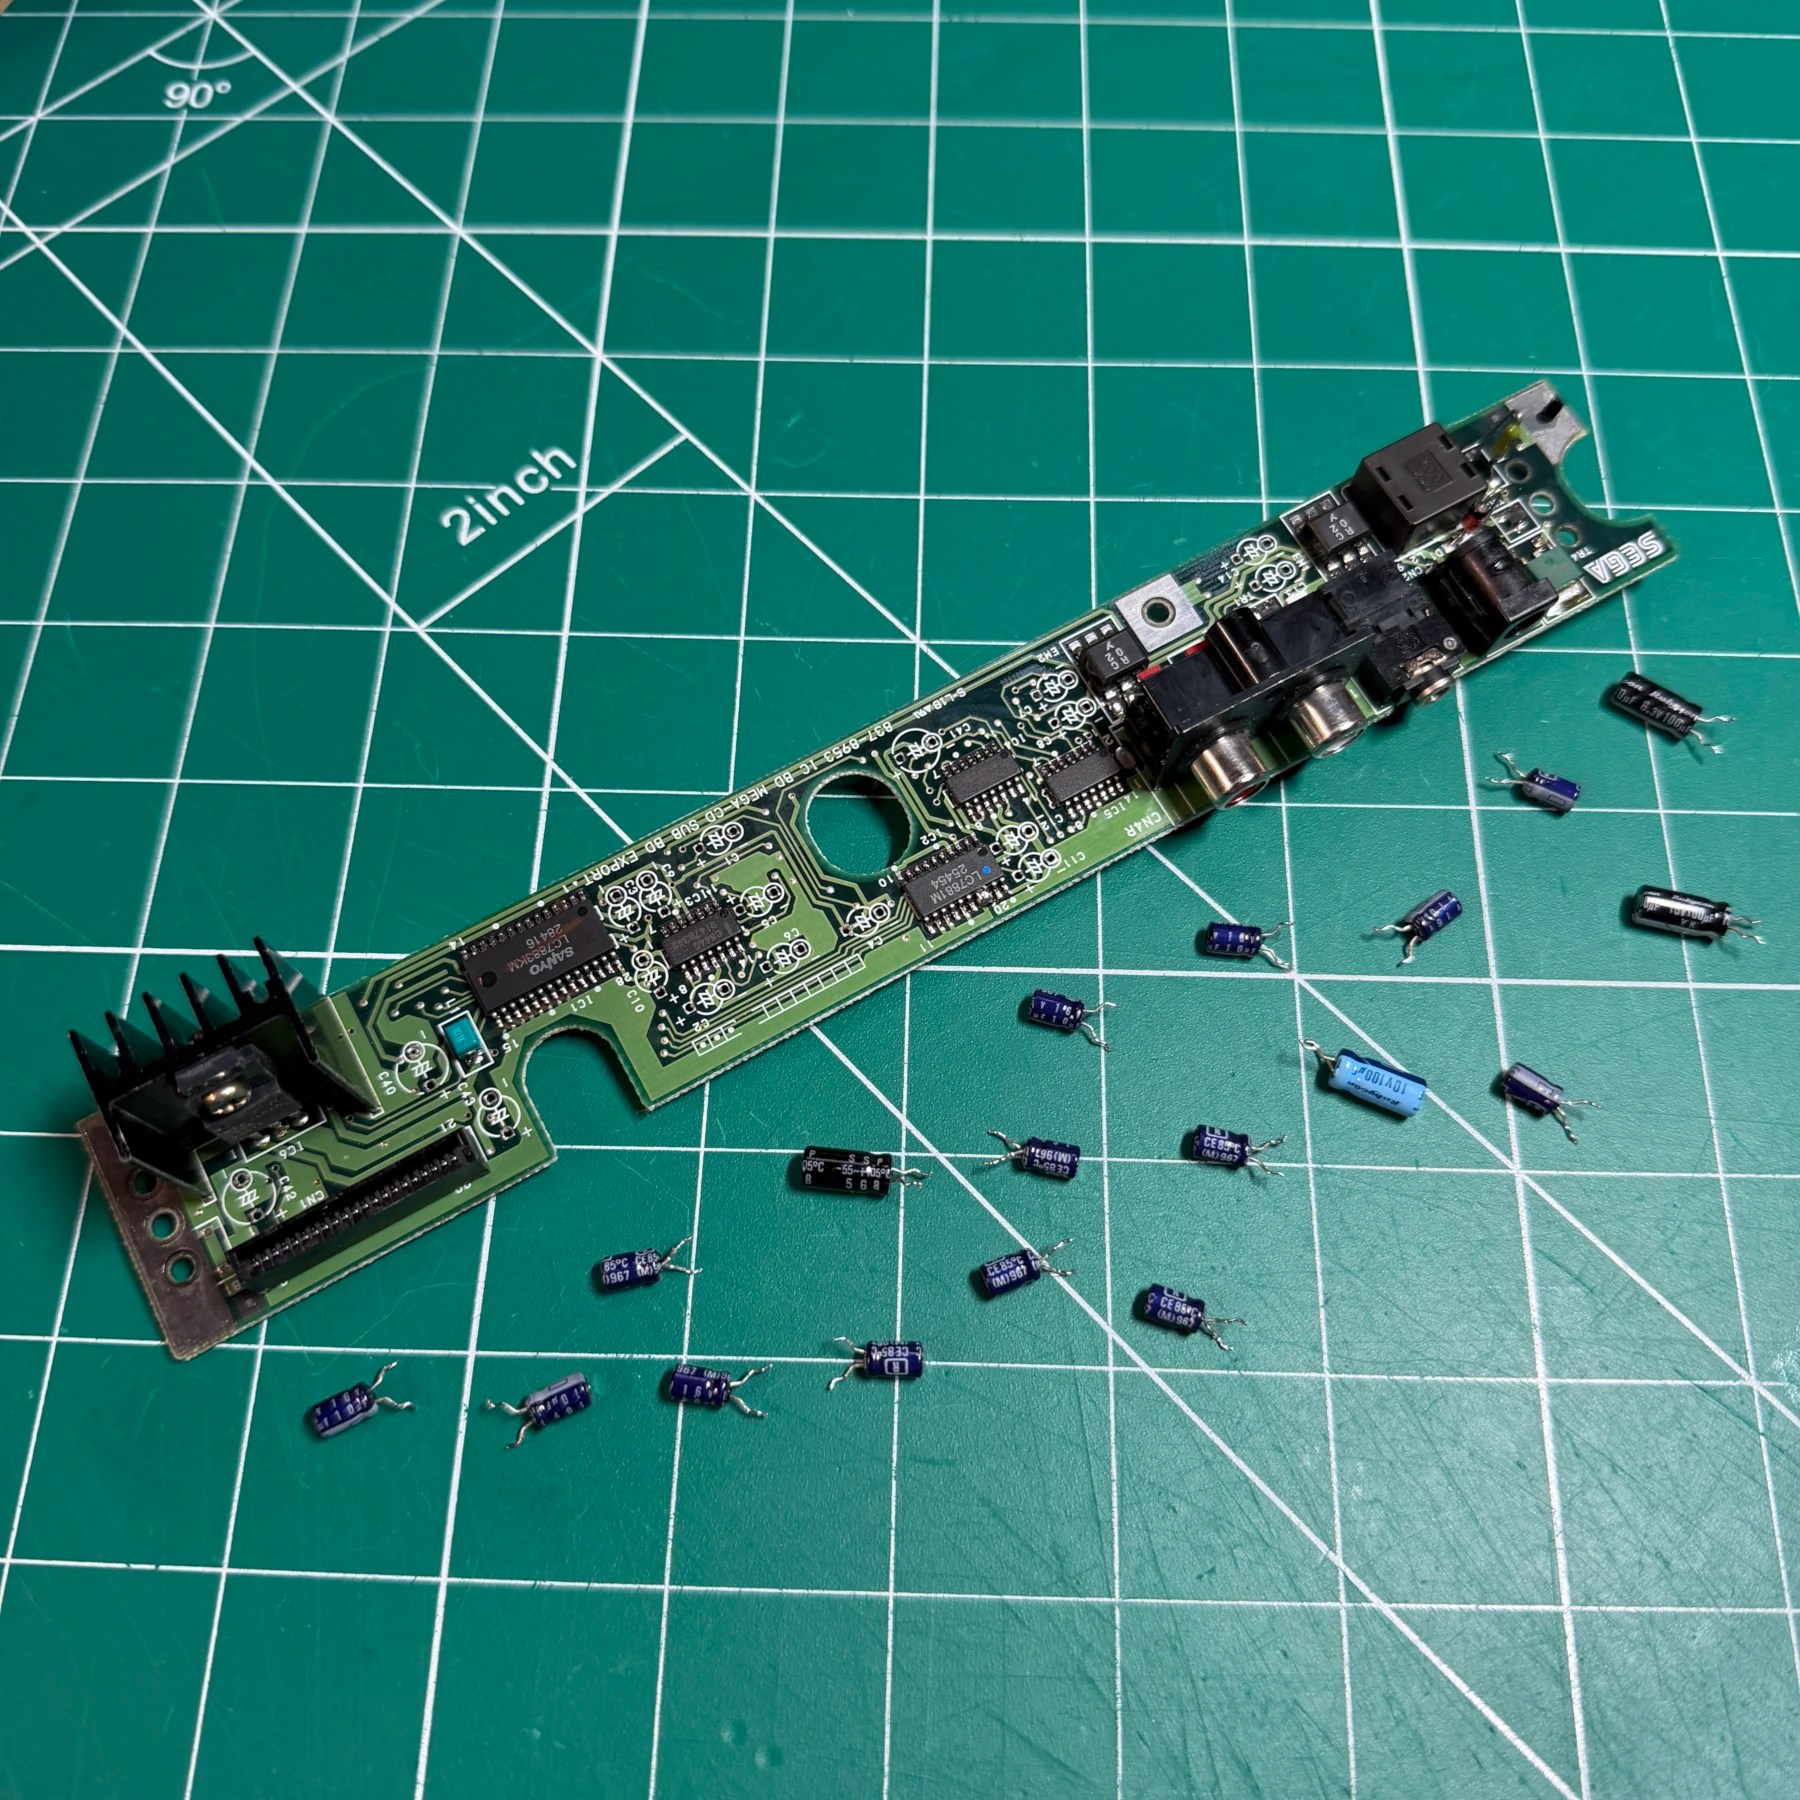
Next up was the recap of the other 2 boards. The Power and AV board has more caps but they are through hole and outside of stubborn solder on these usually only the 100uF caps near regulator leak so its usually pretty straightforward. I reflowed all the joints with fresh leaded solder then used my Hakko gun to clear all the legs out, remove the caps and clean top and bottom of the board. I installed all the new Console5 caps and then just checked over the regulator, TR4 transistor and fuse while looking at the board, and set aside once all looked good.
On to the mainboard and here is where you usually see most of the carnage but surprisingly the board was in very excellent shape. Some minor leakage causing cloudy/dull joints but no apparent damage to the traces or vias on the board or nearby IC’s.
I quickly removed the 2 through-hole caps and then the SMD with my hot tweezers. Since it’s much easier to get to a few of the SMD pads for installation I actually like to remove the BIOS and FRAM/Battery and then install the new caps while the board is depopulated
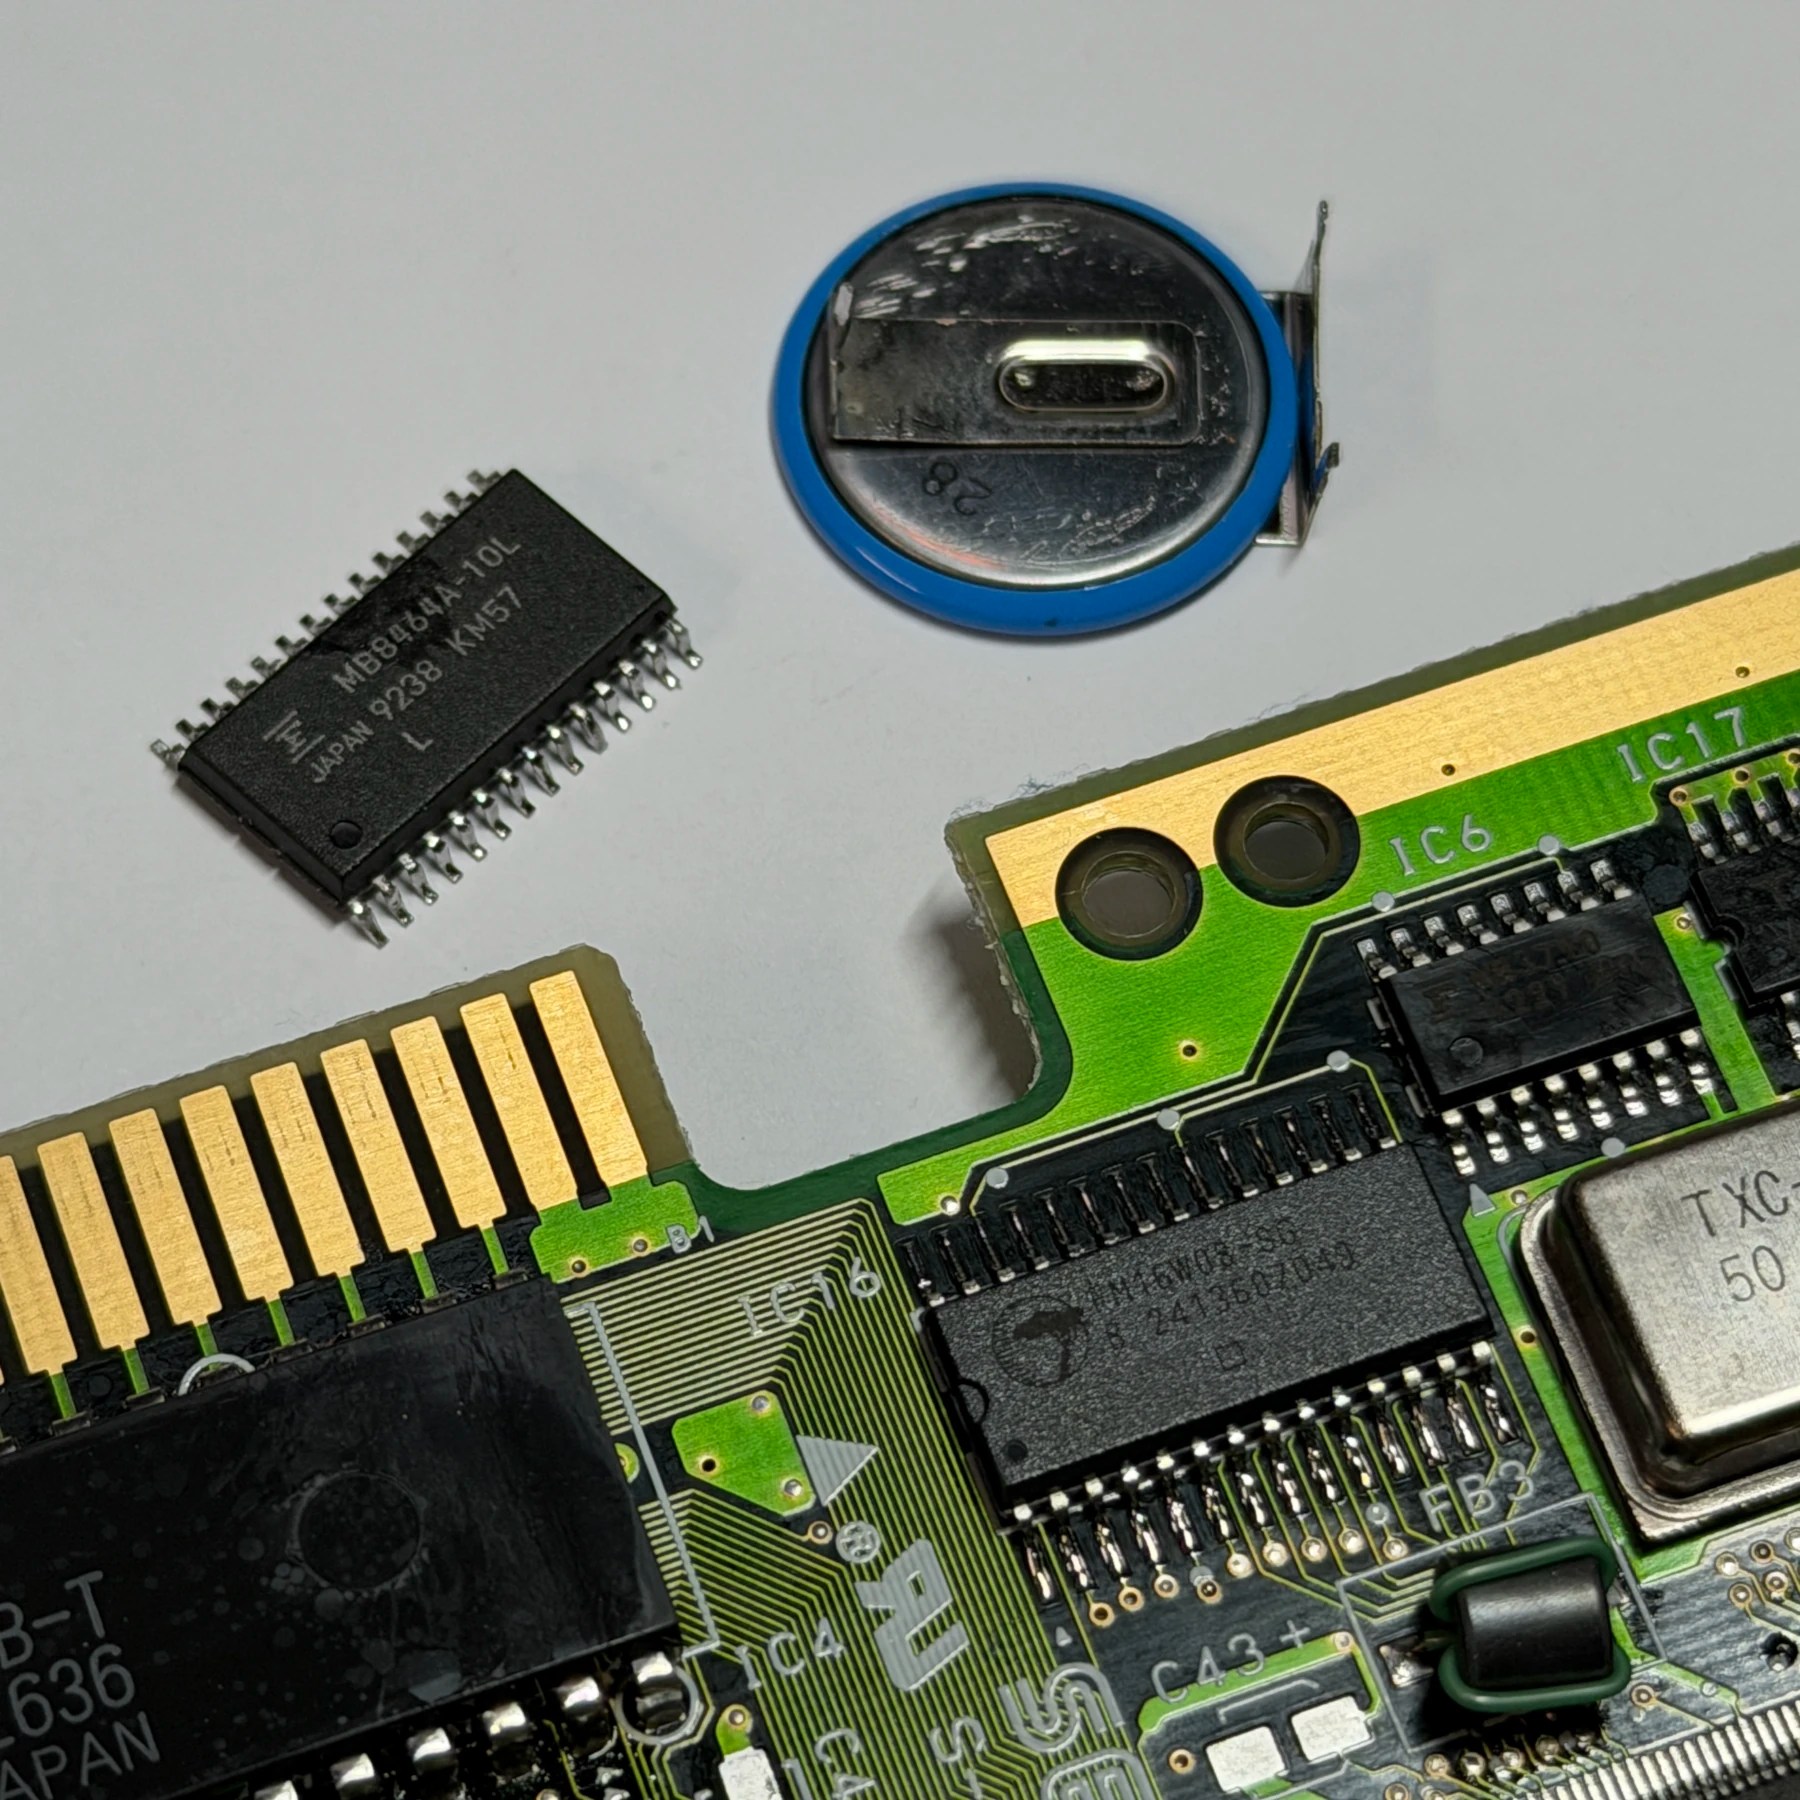
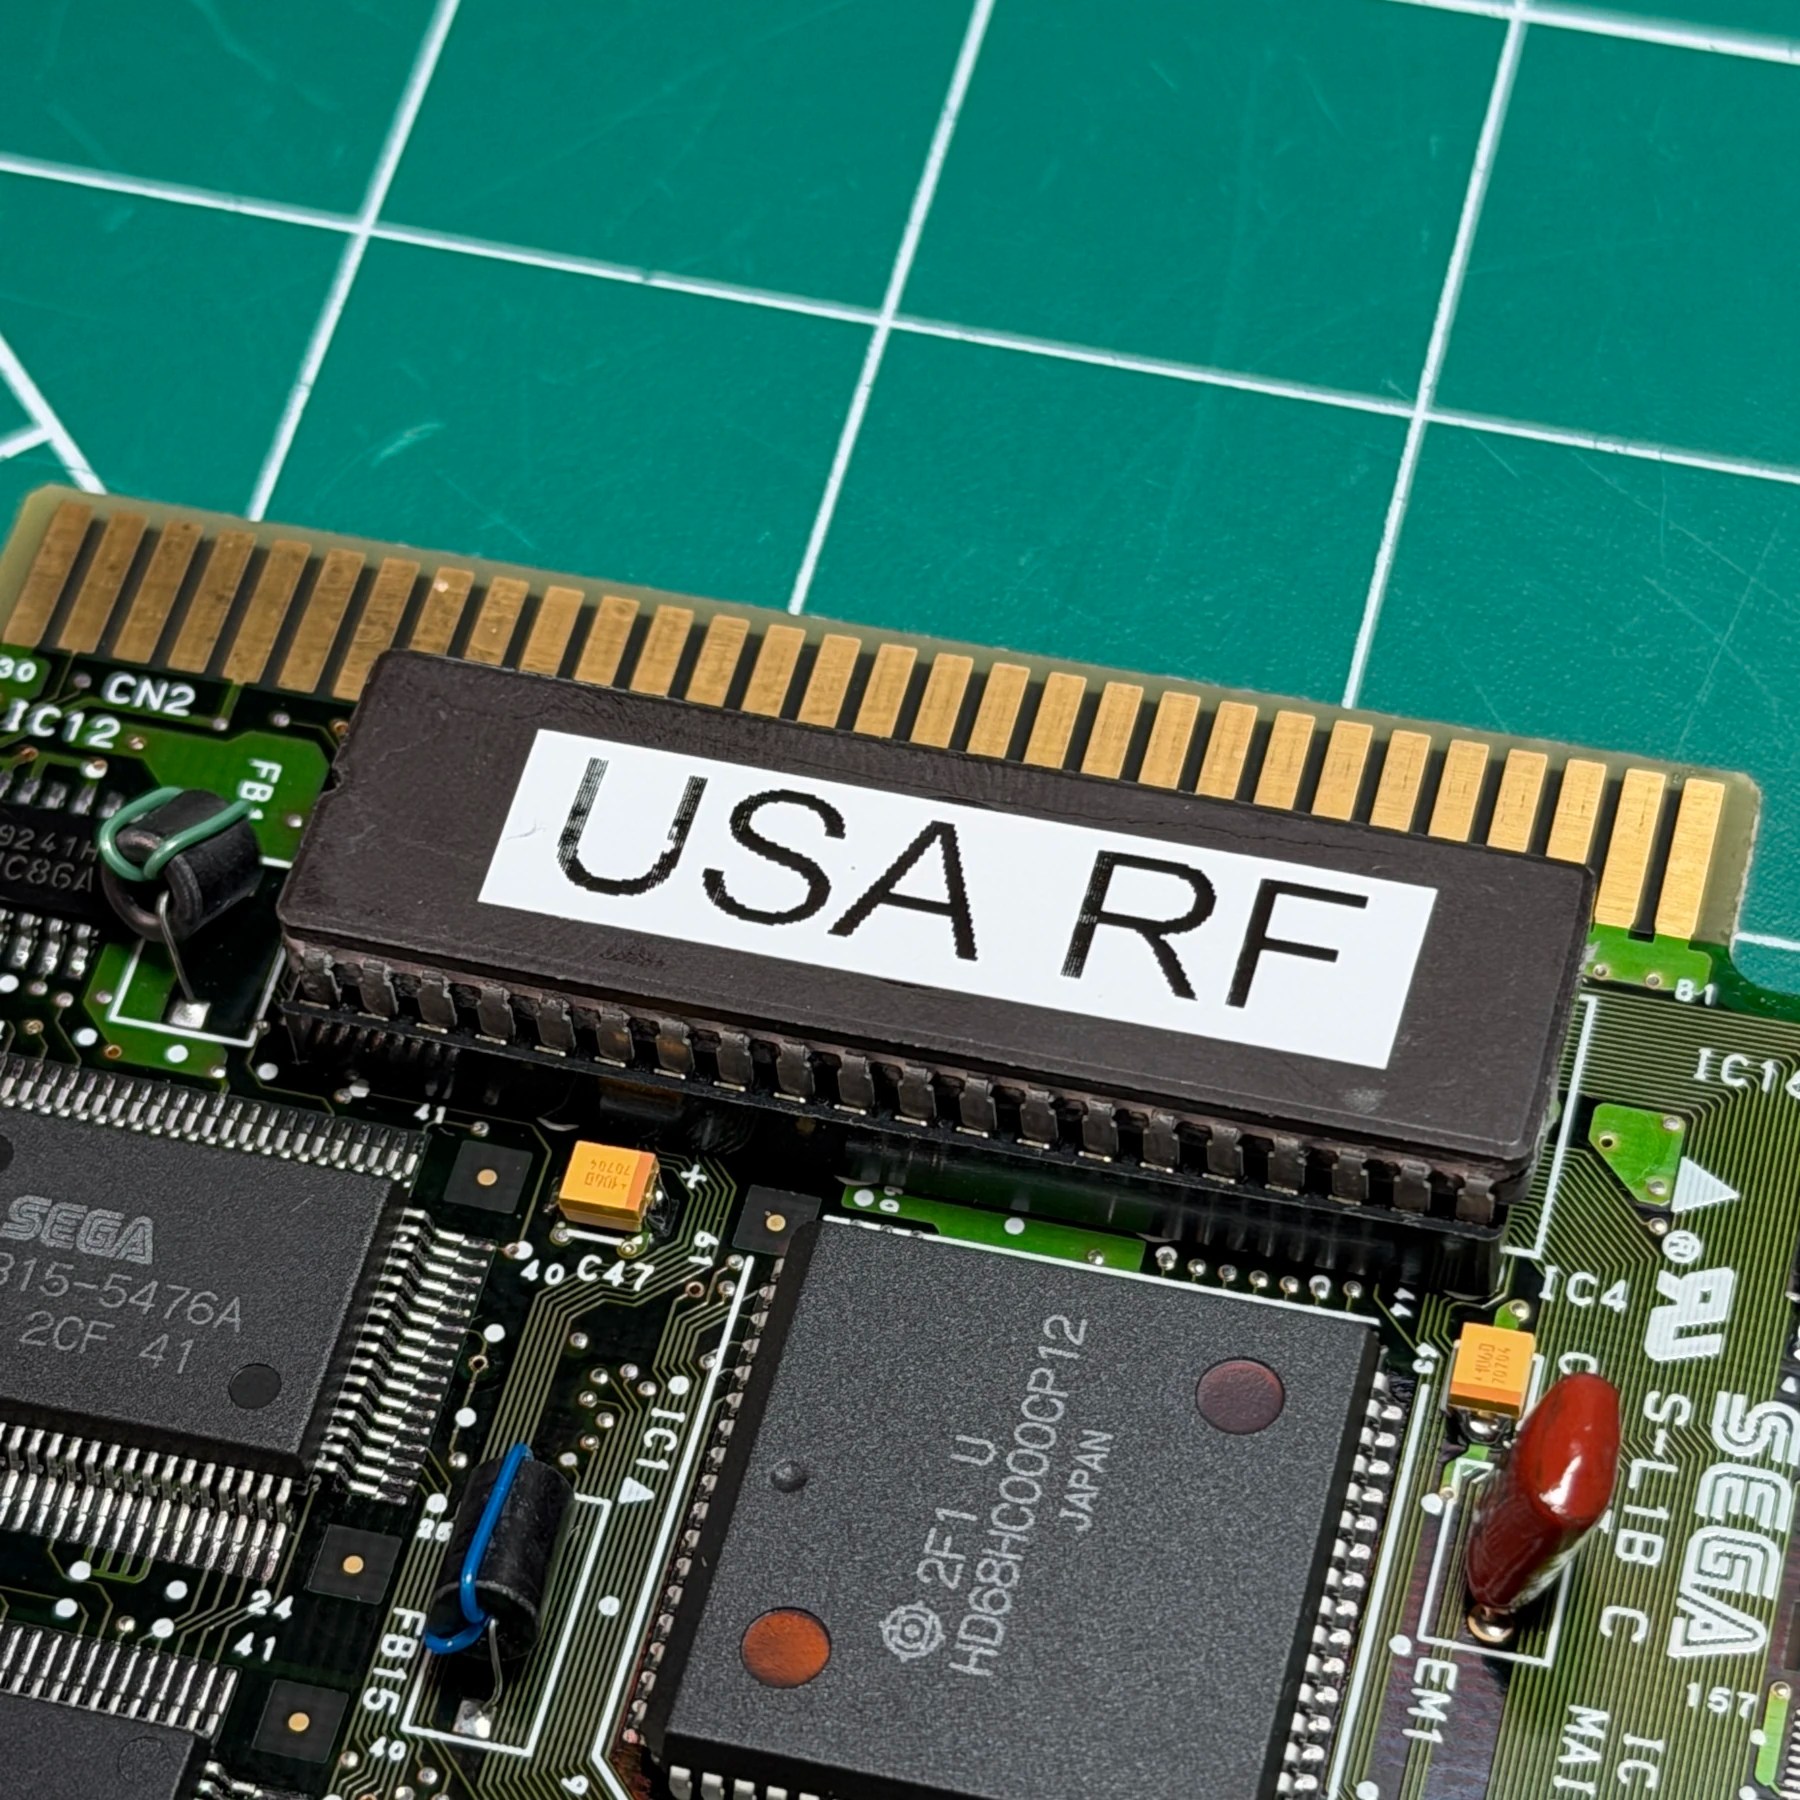
For the FRAM upgrade it’s really quick to heat up the 3 battery legs and pop that off, then I just use some flux and my hot air station at 300C to warm and pop the SRAM IC off the board. I clean up the pads and then move focus to the BIOS. Here, patience is key as these legs are VERY hard to clear so I find a healthy reflow with new leaded solder and work it in, then carefully work down the 40 pins with my desoldering gun clearing and confirming each one is cleared one at a time. A few of the ground legs can be really stubborn so I’ll leave those few connected and then add some low melt solder and quick pass with heat gun to warm the stock chip until it literally falls right out of the holes.
Once any residual solder is cleared from the bios area I then install all the new SMD and TH caps and clean the entire board, then install a 40 pin socket. The socket allows easy install of the new BIOS plus hot swapping capability if something ever happens to the chip or customer wants to change startup, etc.
Lastly the FRAM chip is soldered on but it’s easy on these as unlike the Saturn, no wires just a drop-in replacement!
With the recap, drive work and FRAM/BIOS done it’s just a matter of reassembling and testing. Unfortunately to safely prop the Genesis up on top you have to get this thing fully put together (you can leave shell screws out though) so if there is an issue its kind of a PITA to get back into the console.
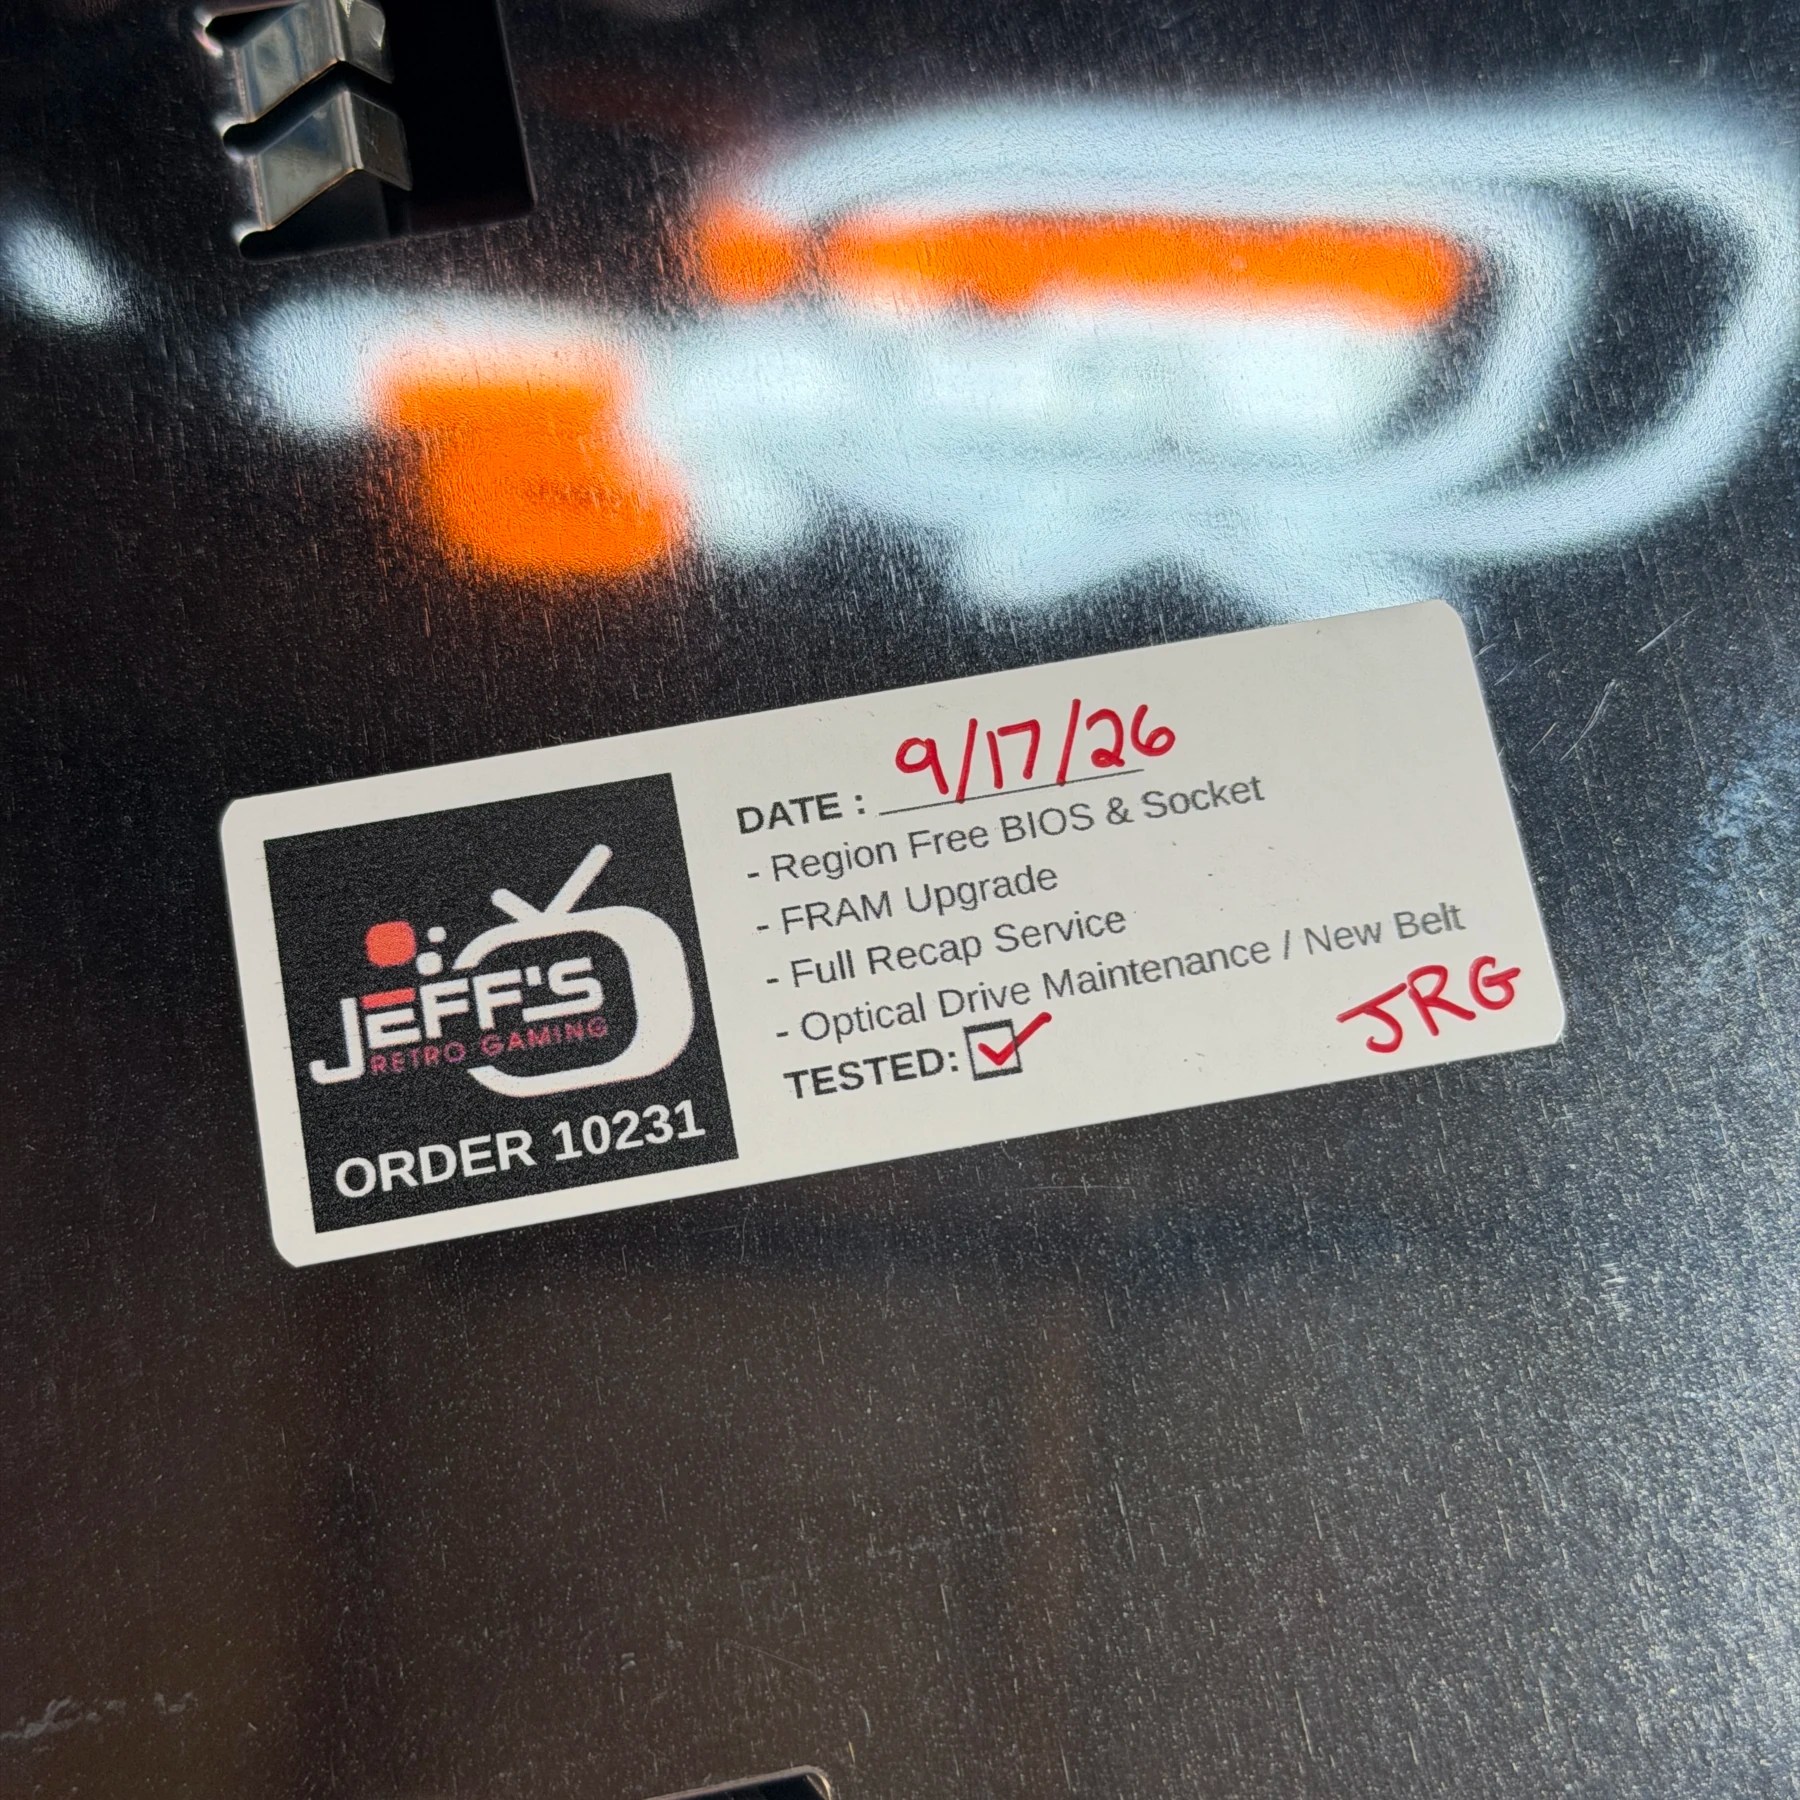
Luckily in this case it fired right up, I was able to format FRAM and I tested with Sonic CD then also confirmed the drive opened and closed without issue, no grinding either! I popped top off and put my sticker on it, then closed it up and fired it up on the bench for a longer bench test run of multiple discs, confirming CD audio was playing and no skipping or grinding/sticking of the tray. All worked great over that period and so I staged a shot with some Sewer Shark (that I recently acquired at the Retro World Expo!) and got this thing packed up for a safe return home!