
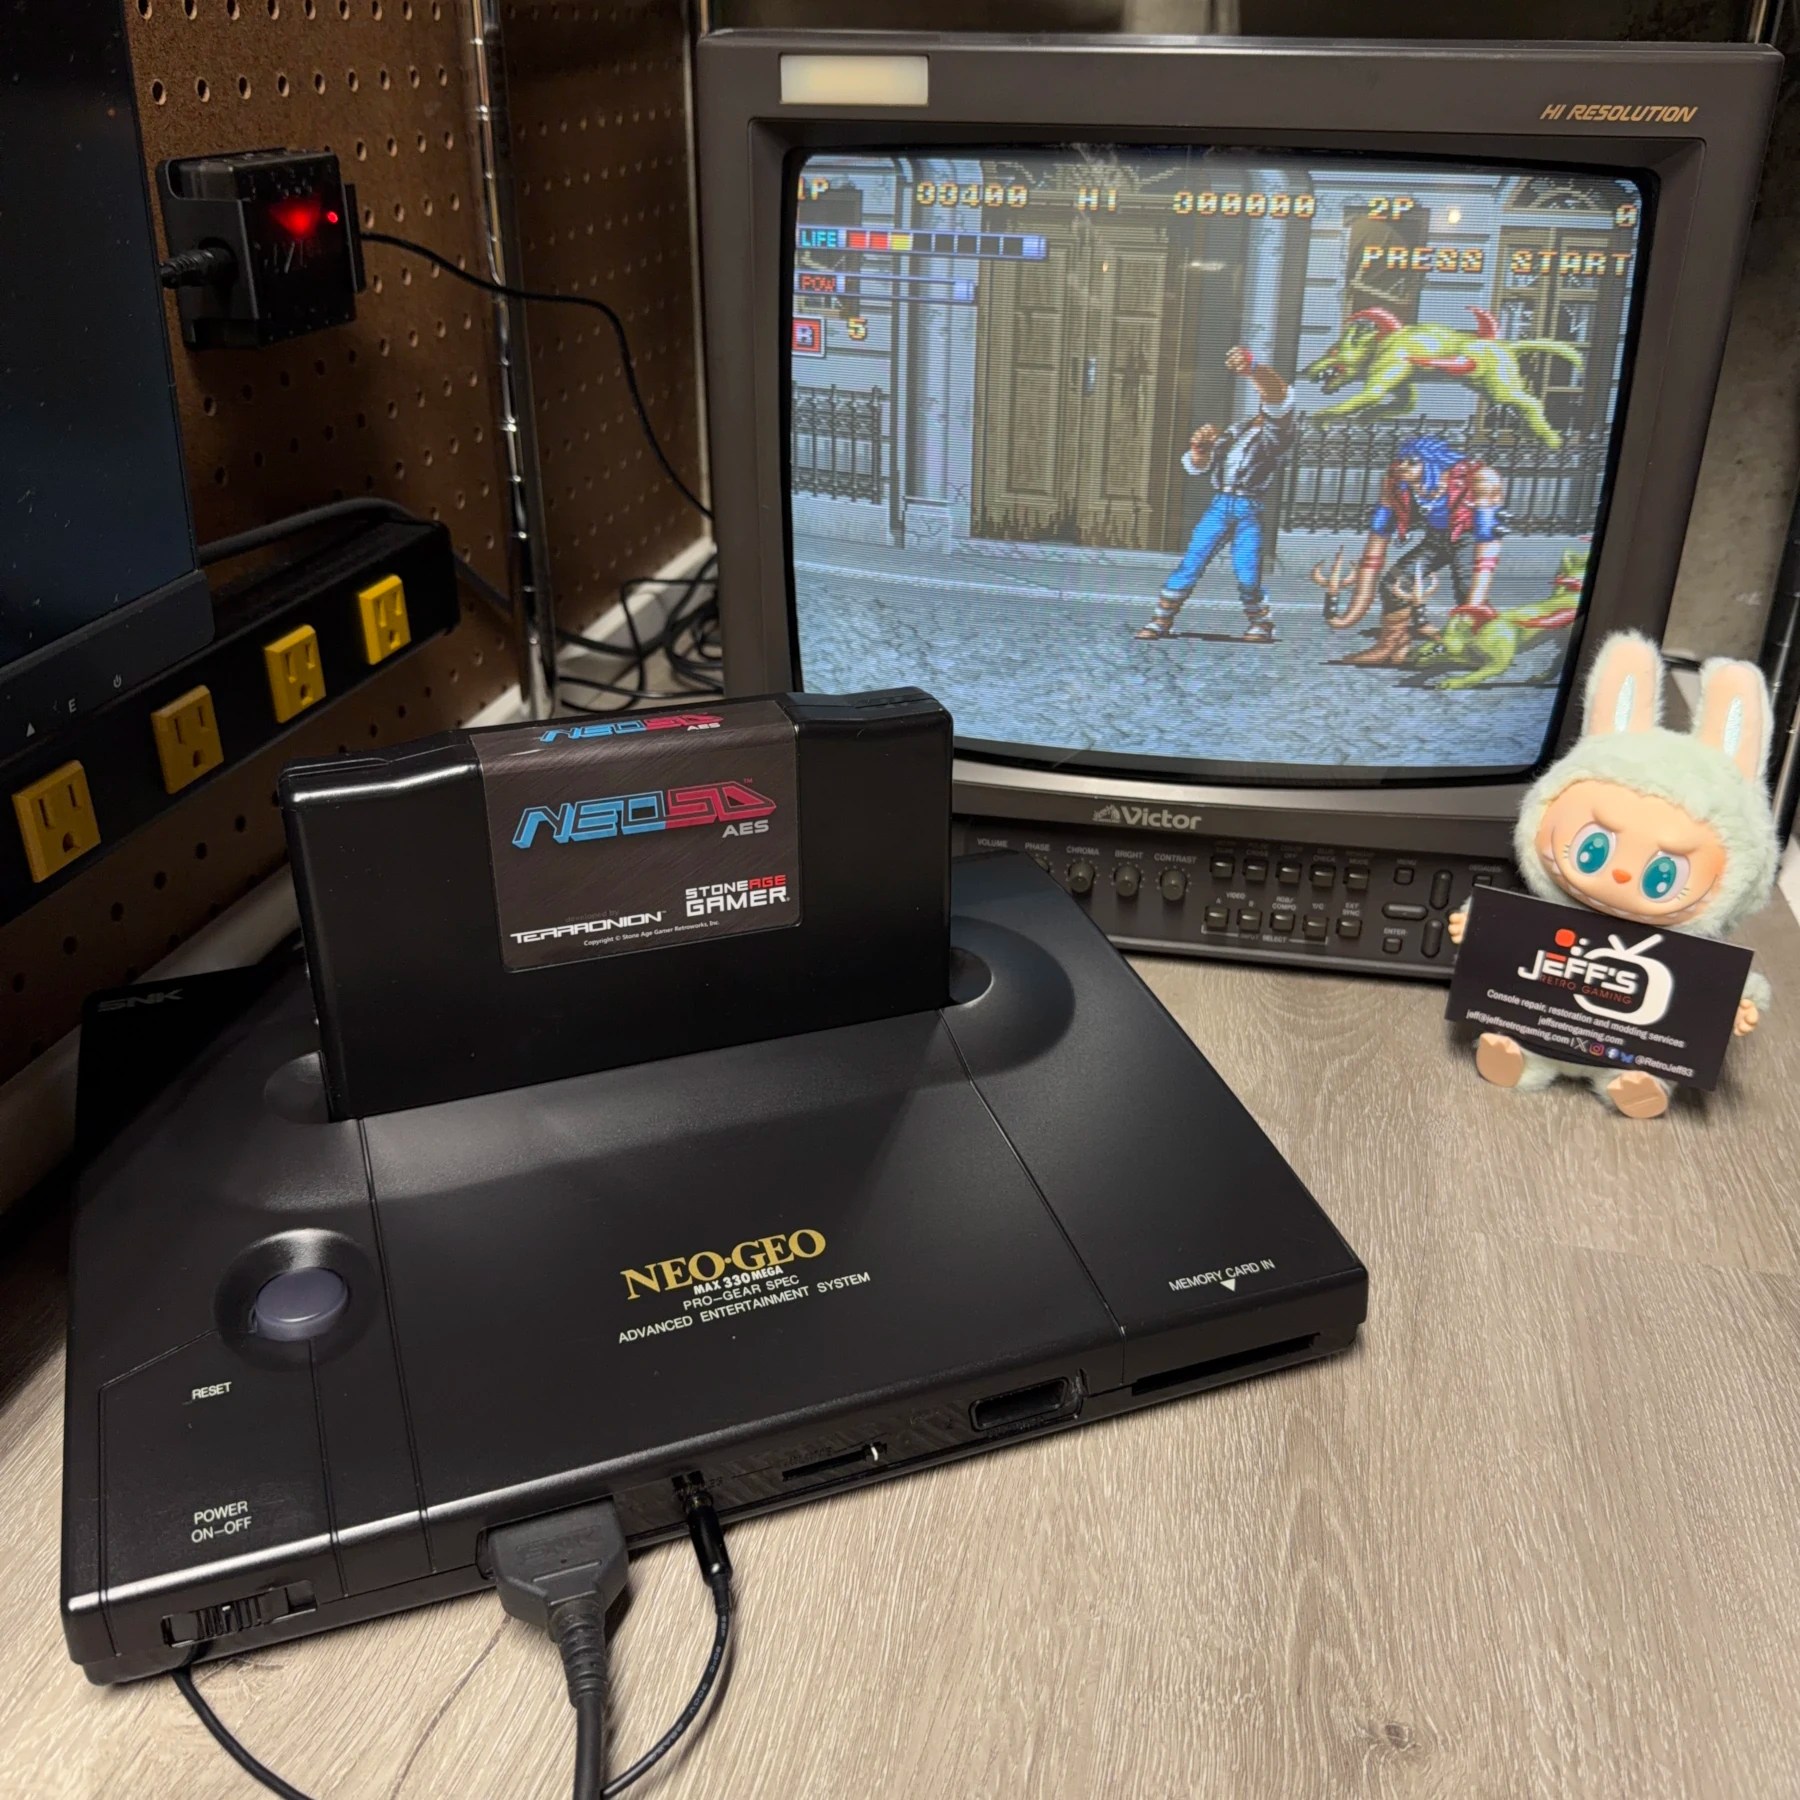
Had a multiple console order come in for a simple refurbishment (recap and cleaning) including this early revision NeoGeo AES, aka the 3-1. Historically these revisions have been sought after more for their superior RGB output though with a bypass mod you can make the later 3-5 and 3-6 look just as good. Since I always test inbound consoles before starting work I noticed a weird issue with this one… the video kept dropping sync and having messed up colors/sprites depending on how the cable was inserted or supported. I knew immediately this was something with the AV DIN and hoped it was a bad joint issue as I didn’t happen to have any spare NeoGeo 8 pin dins on hand.
Read on to see if that was the case…
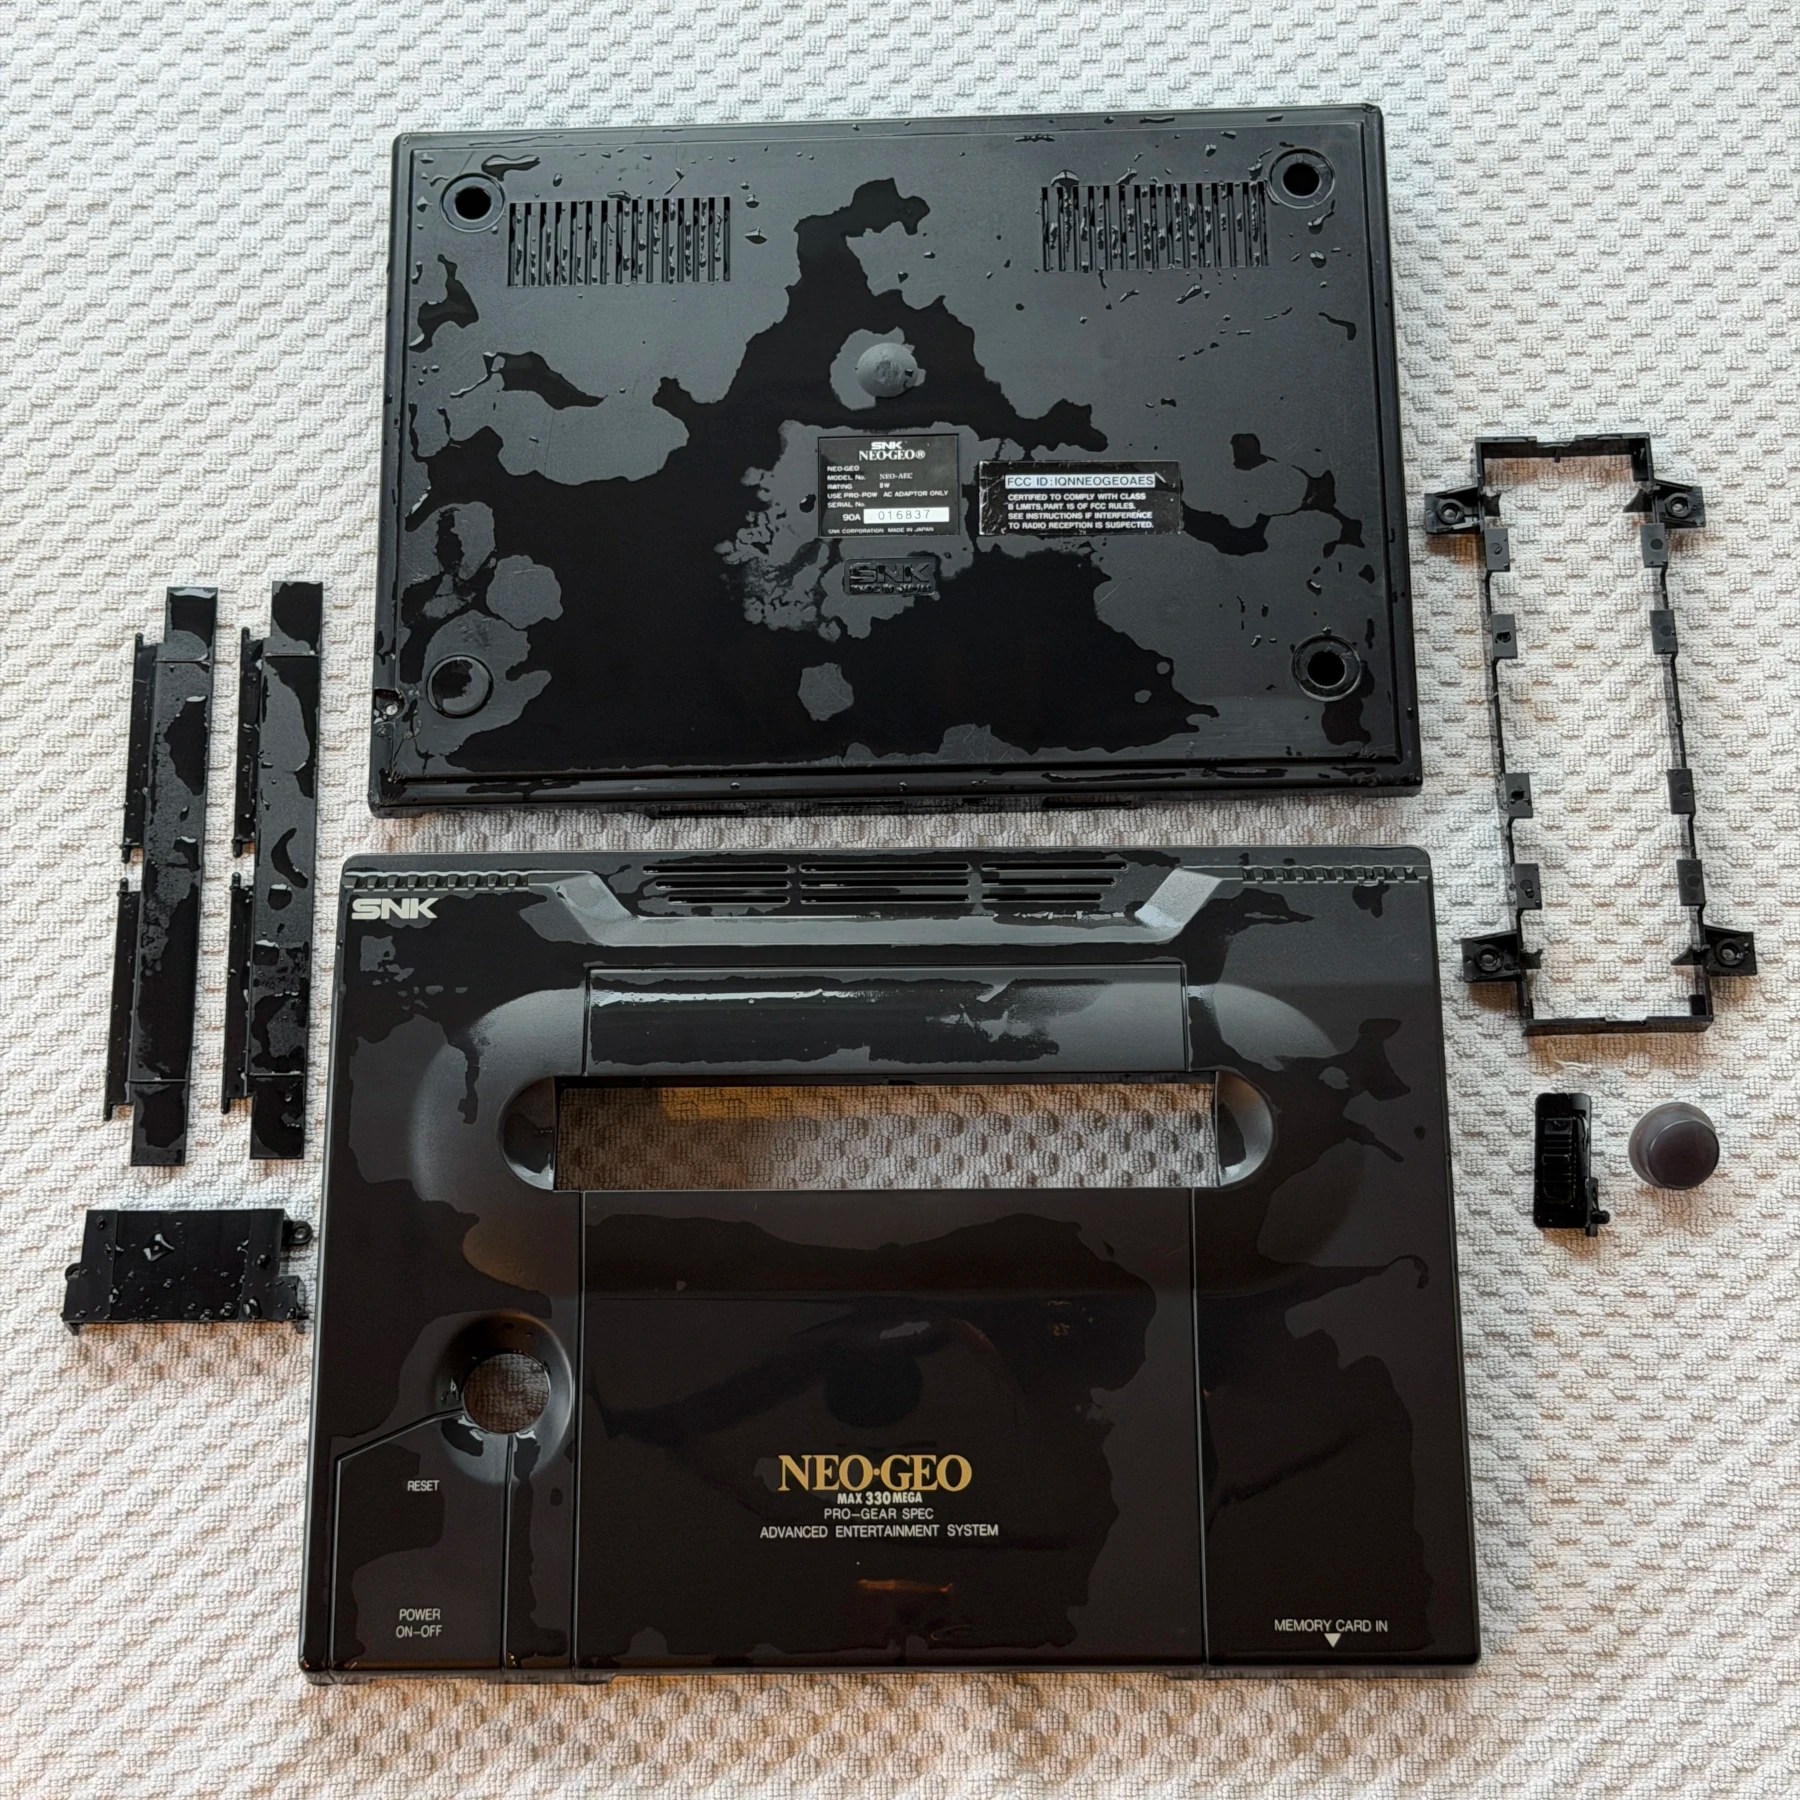
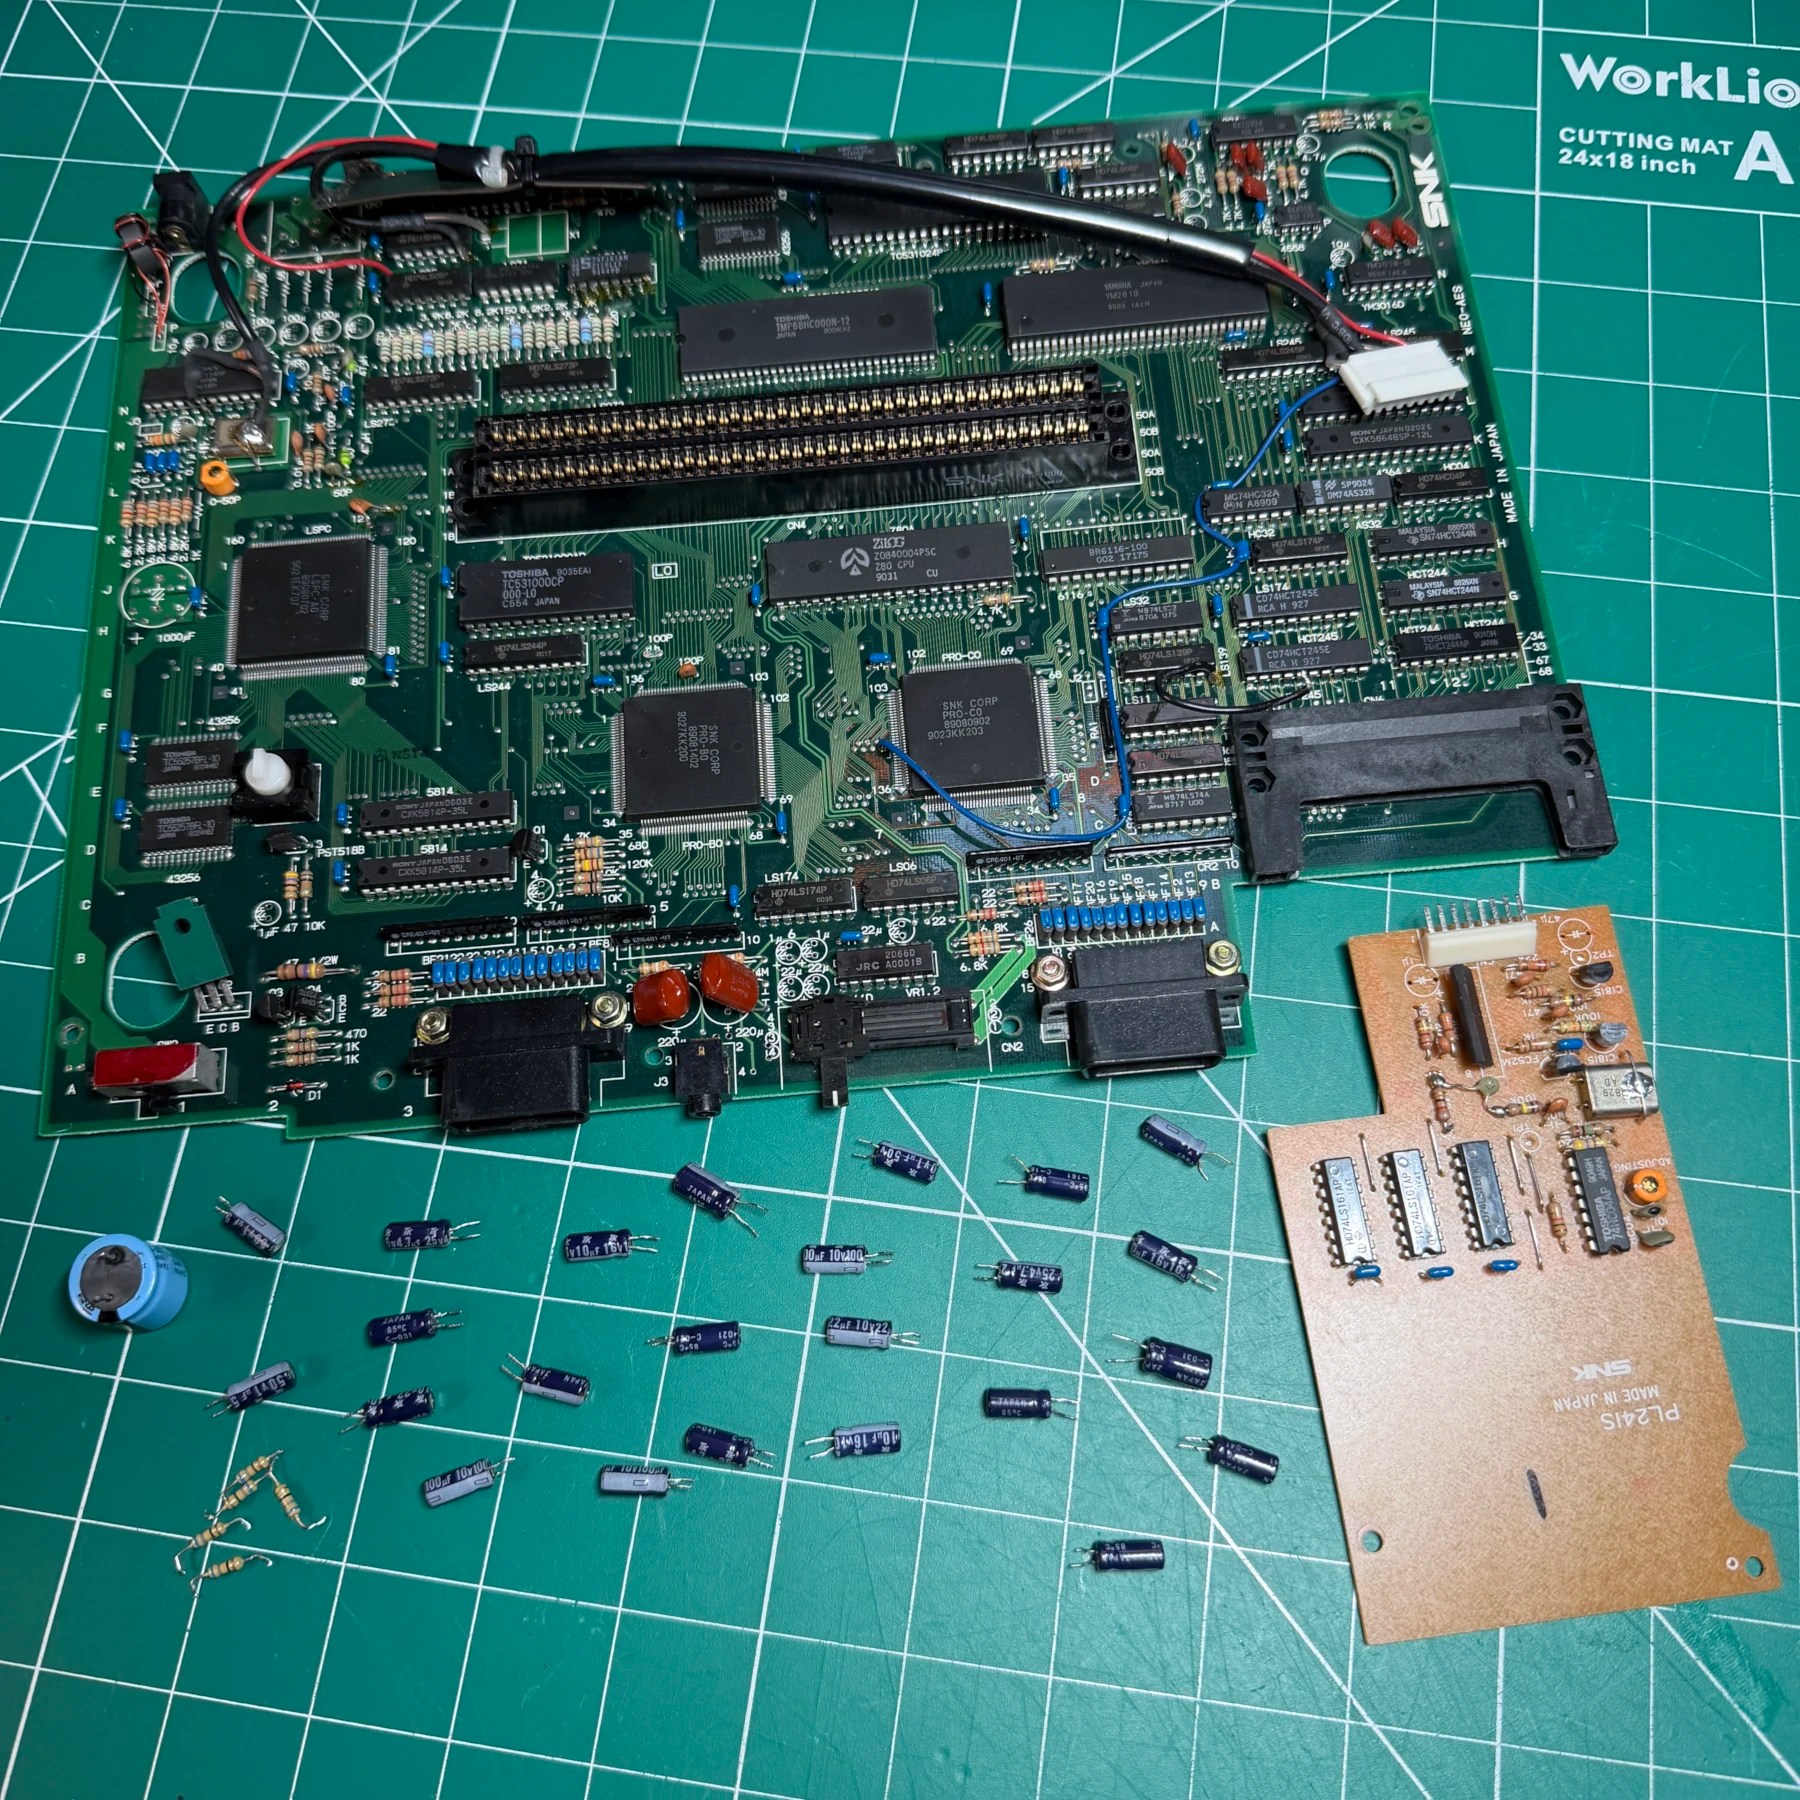
Since cleaning service was selected I began by tearing down the shell and removing all internal components so the outer shell, cart slot flaps and power/reset parts could all be washed. There is more to taking apart a US model AES as they have metal shielding on the top and bottom plus GND wire connecting the mainboard. Likewise on certain earlier revision AES there is a daughterboard wired up and secured above the memory card slot that you need to carefully remove for a recap.
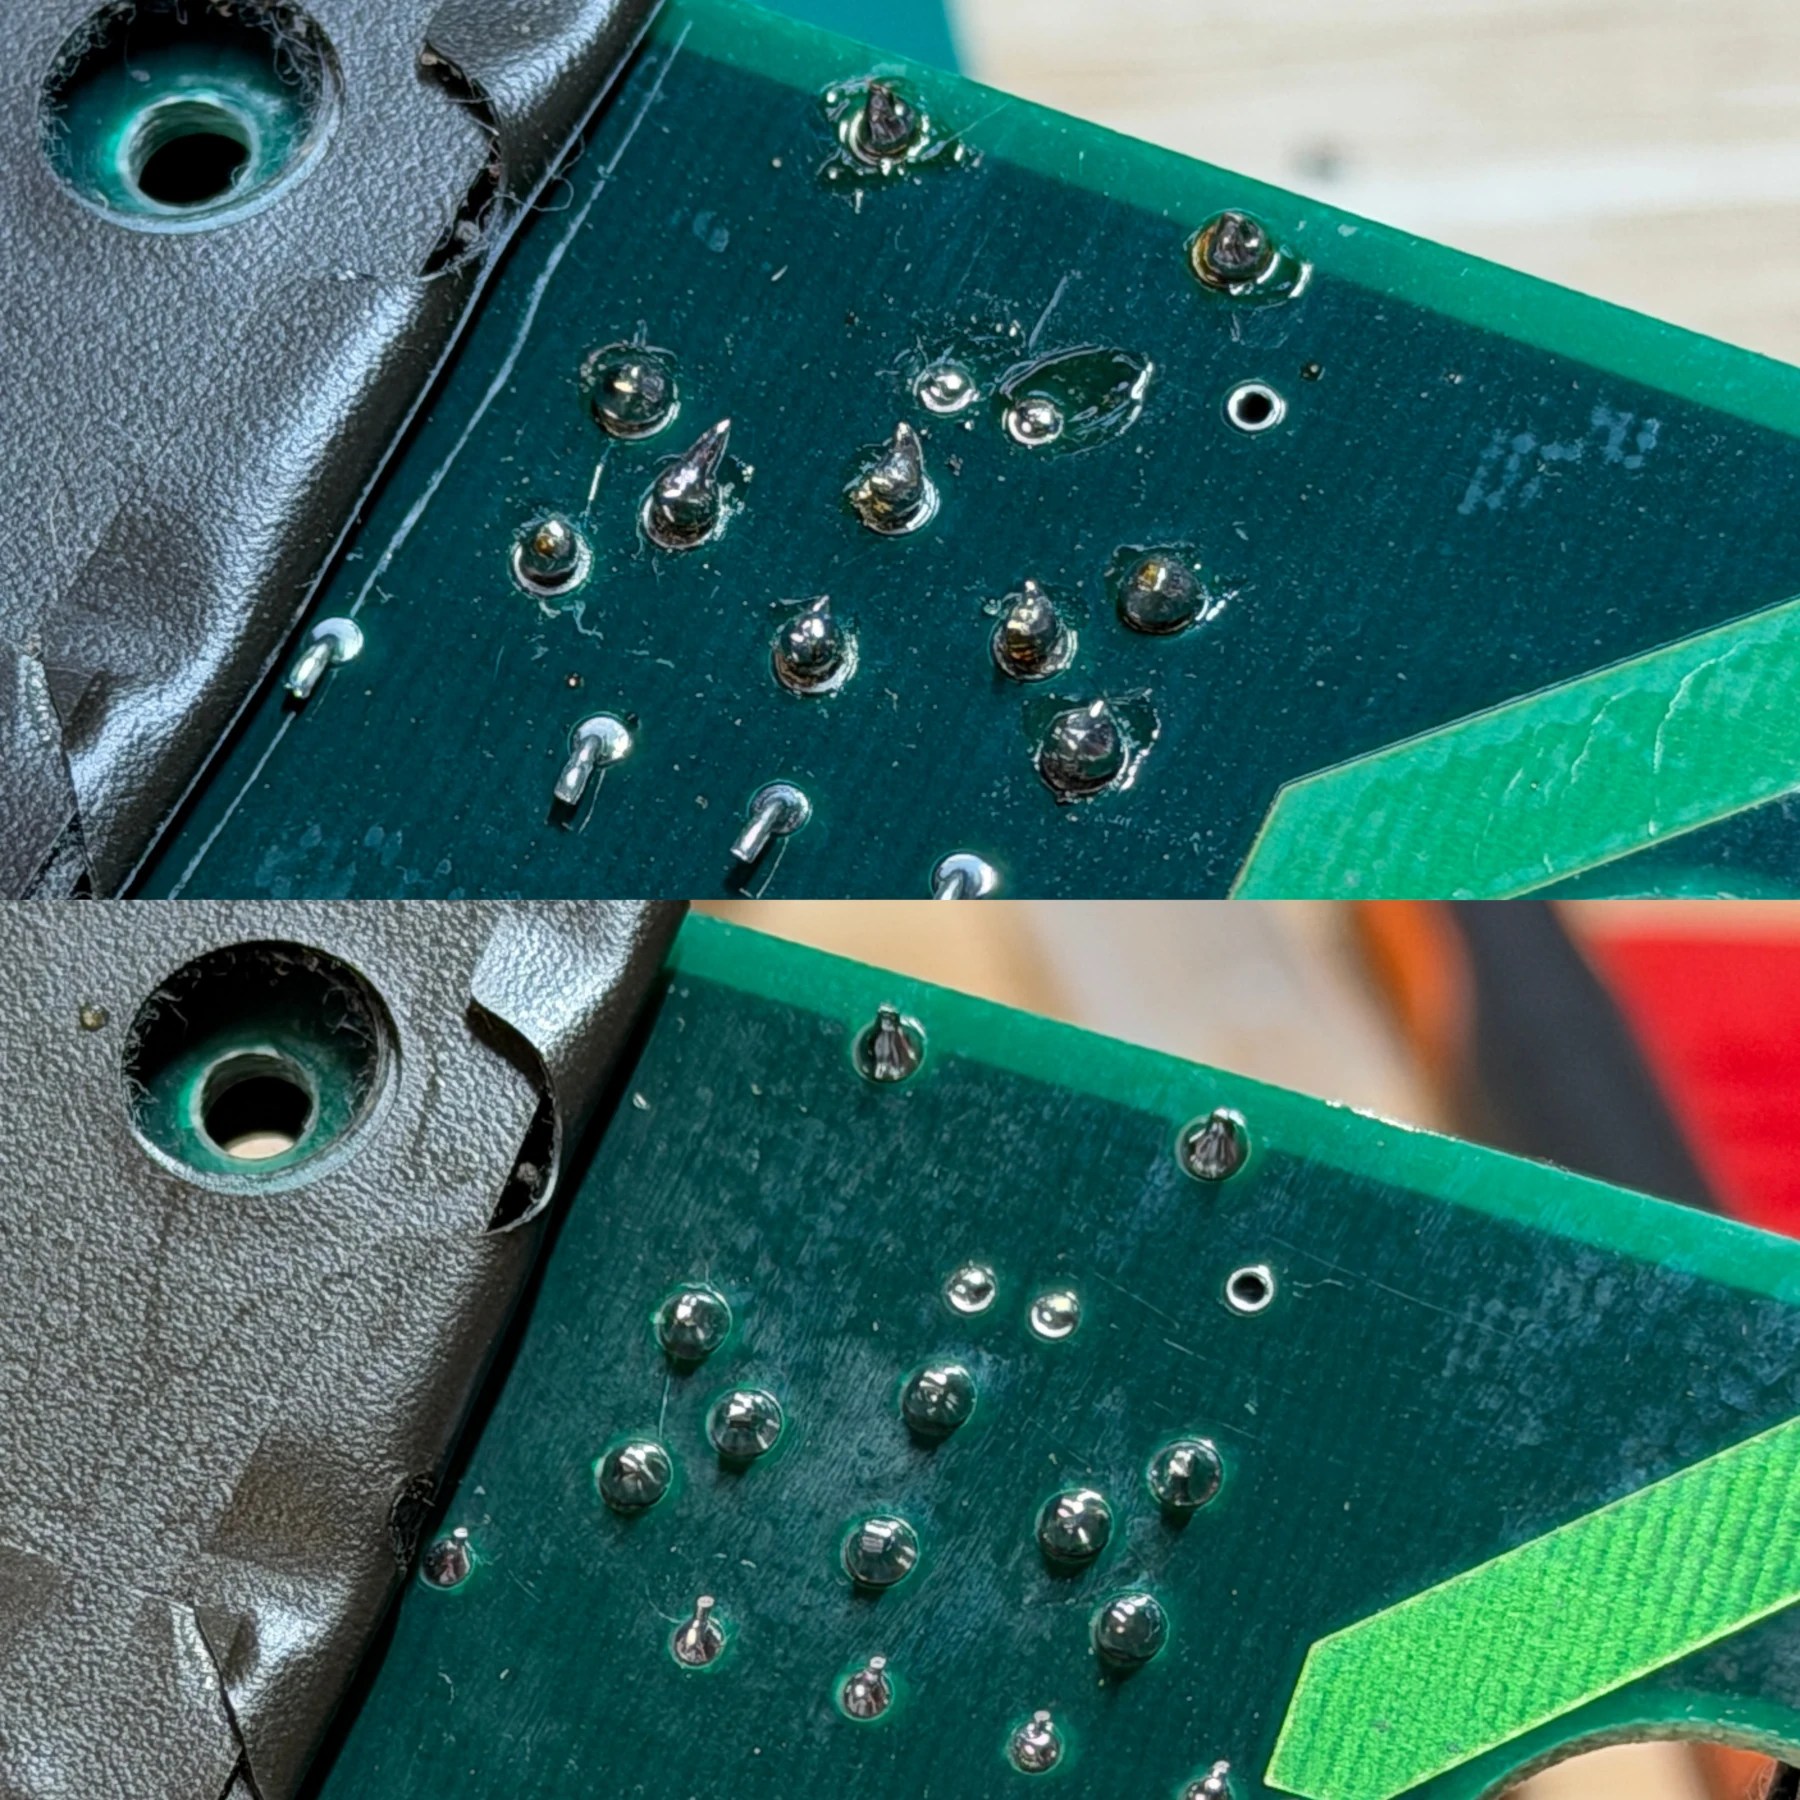
Once the plastic parts were fully removed I then soaked, washed and set to dry overnight and first decided to take a look at the AV DIN situation… and sure enough I immediately saw multiple suspect joints (see above) so I decided to desolder the port fully, remove and clean the board and then reinstall and form solid joints for all the pins. With that out of the way, on to the recap.
I removed all the capacitors with my Hakko gun and also 5 resistors near the AV DIN port. This is because on the early 3-1 revisions the Console5 kit comes with new value resistors and caps in that area to improve the RGB image output even further. With all of the components removed I deep cleaned the board then installed all the new caps across both boards and the 5 75ohm resistors from the kit.
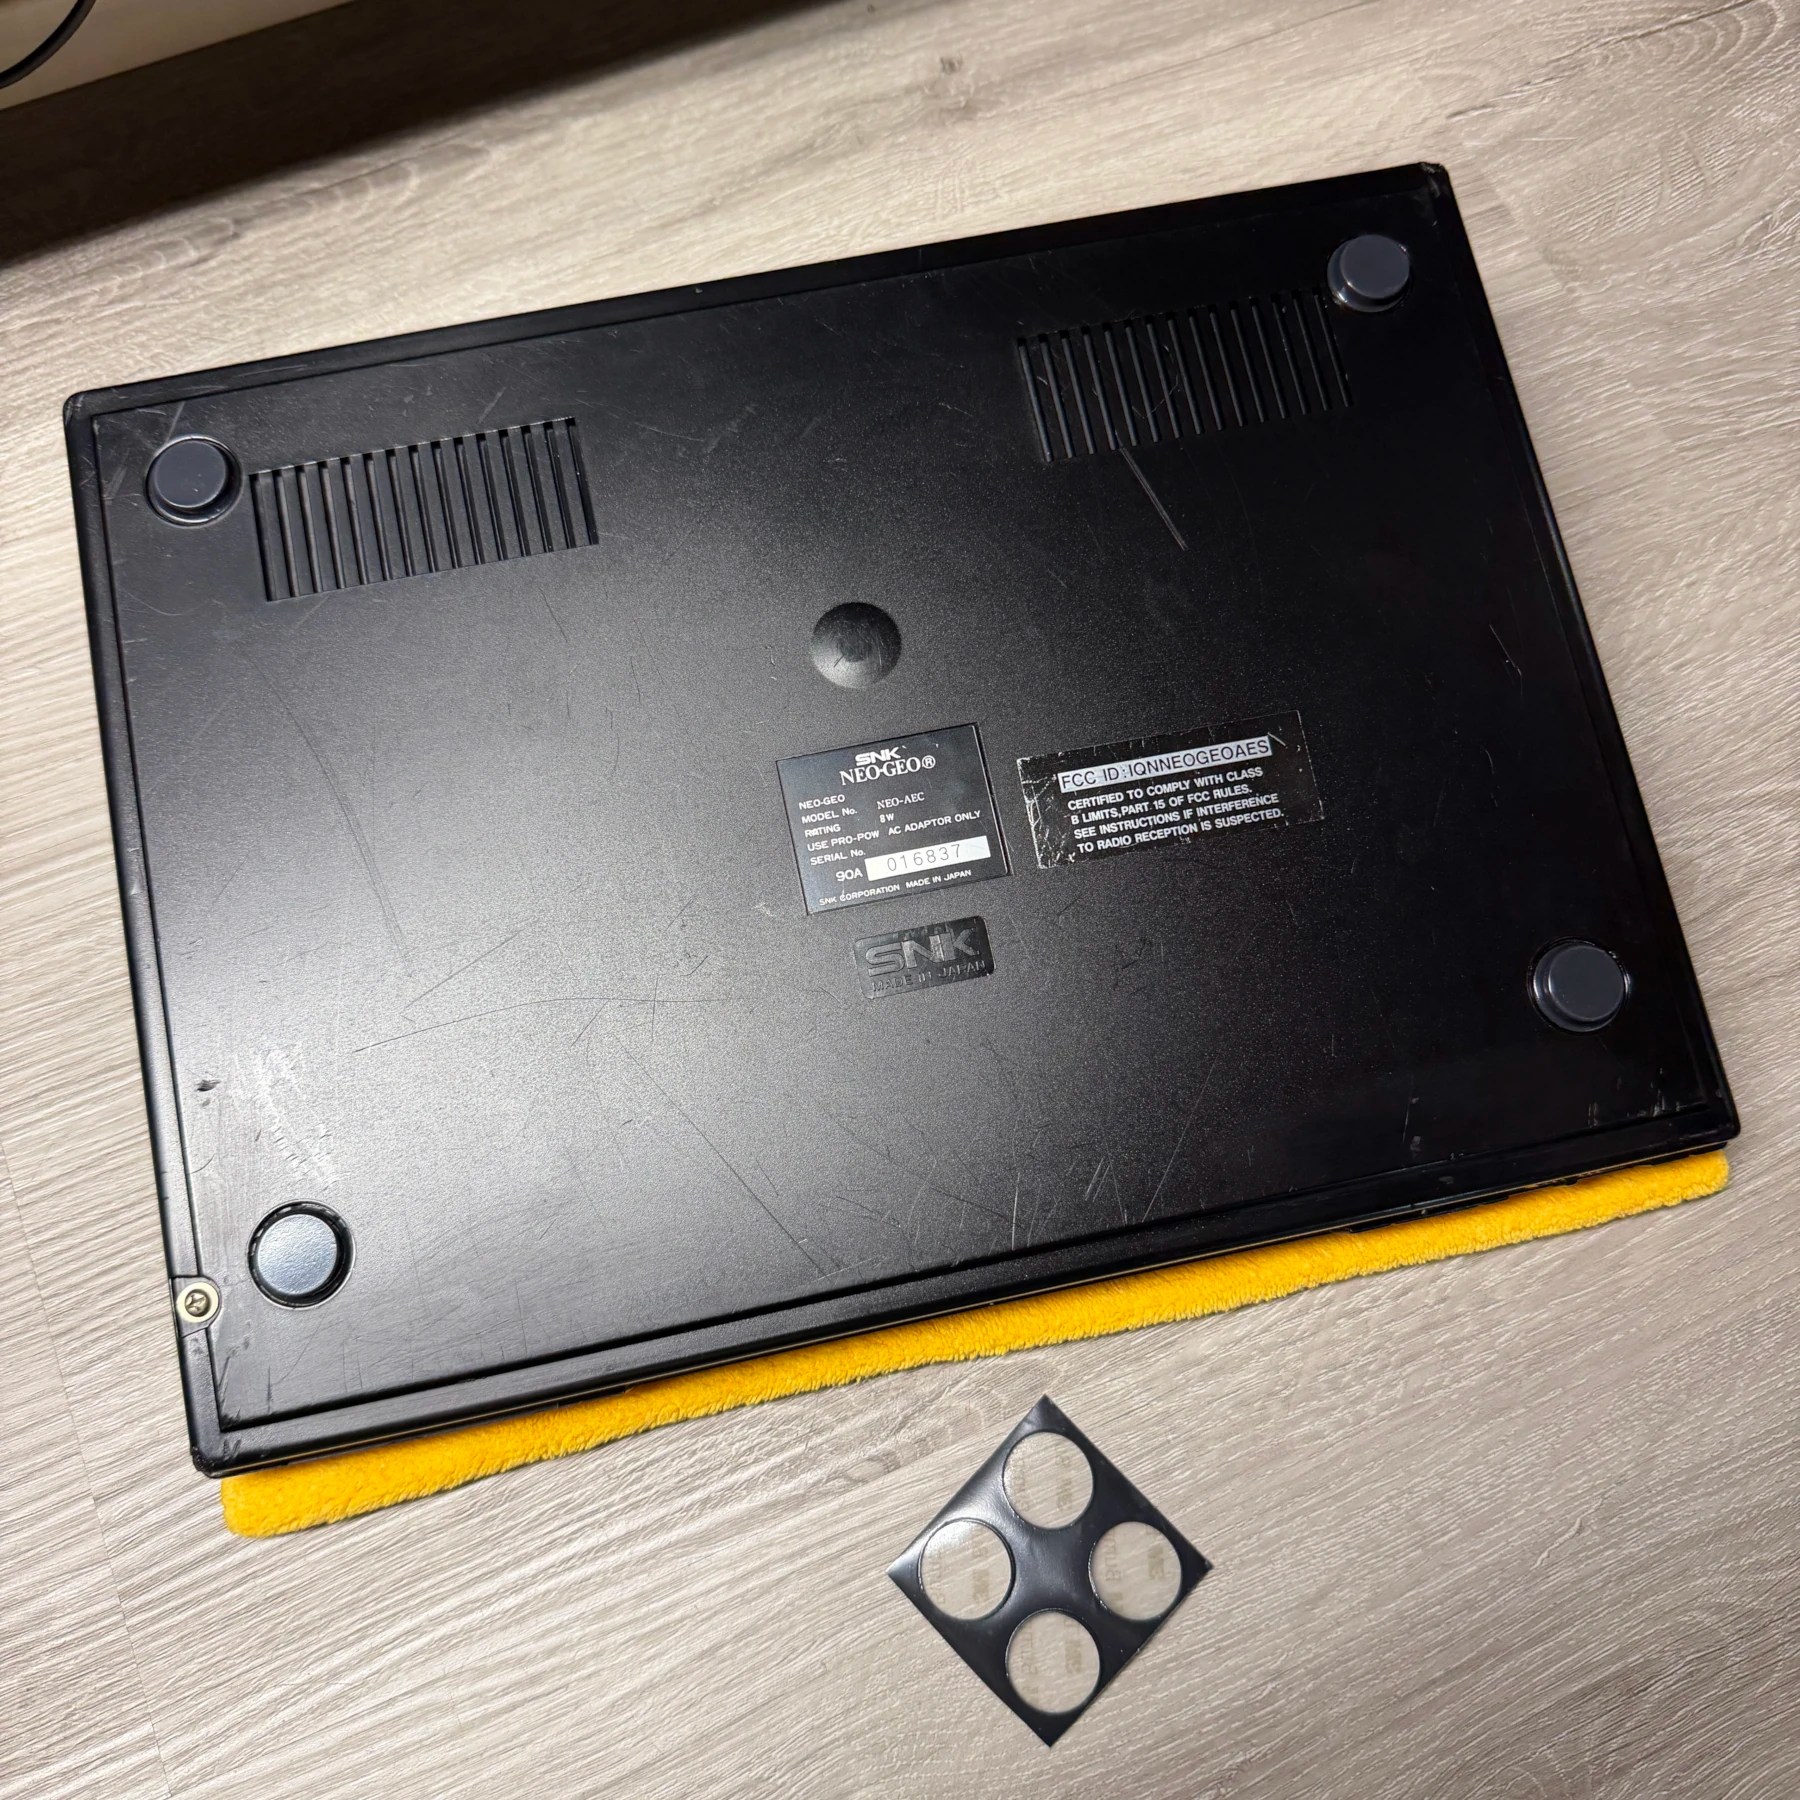
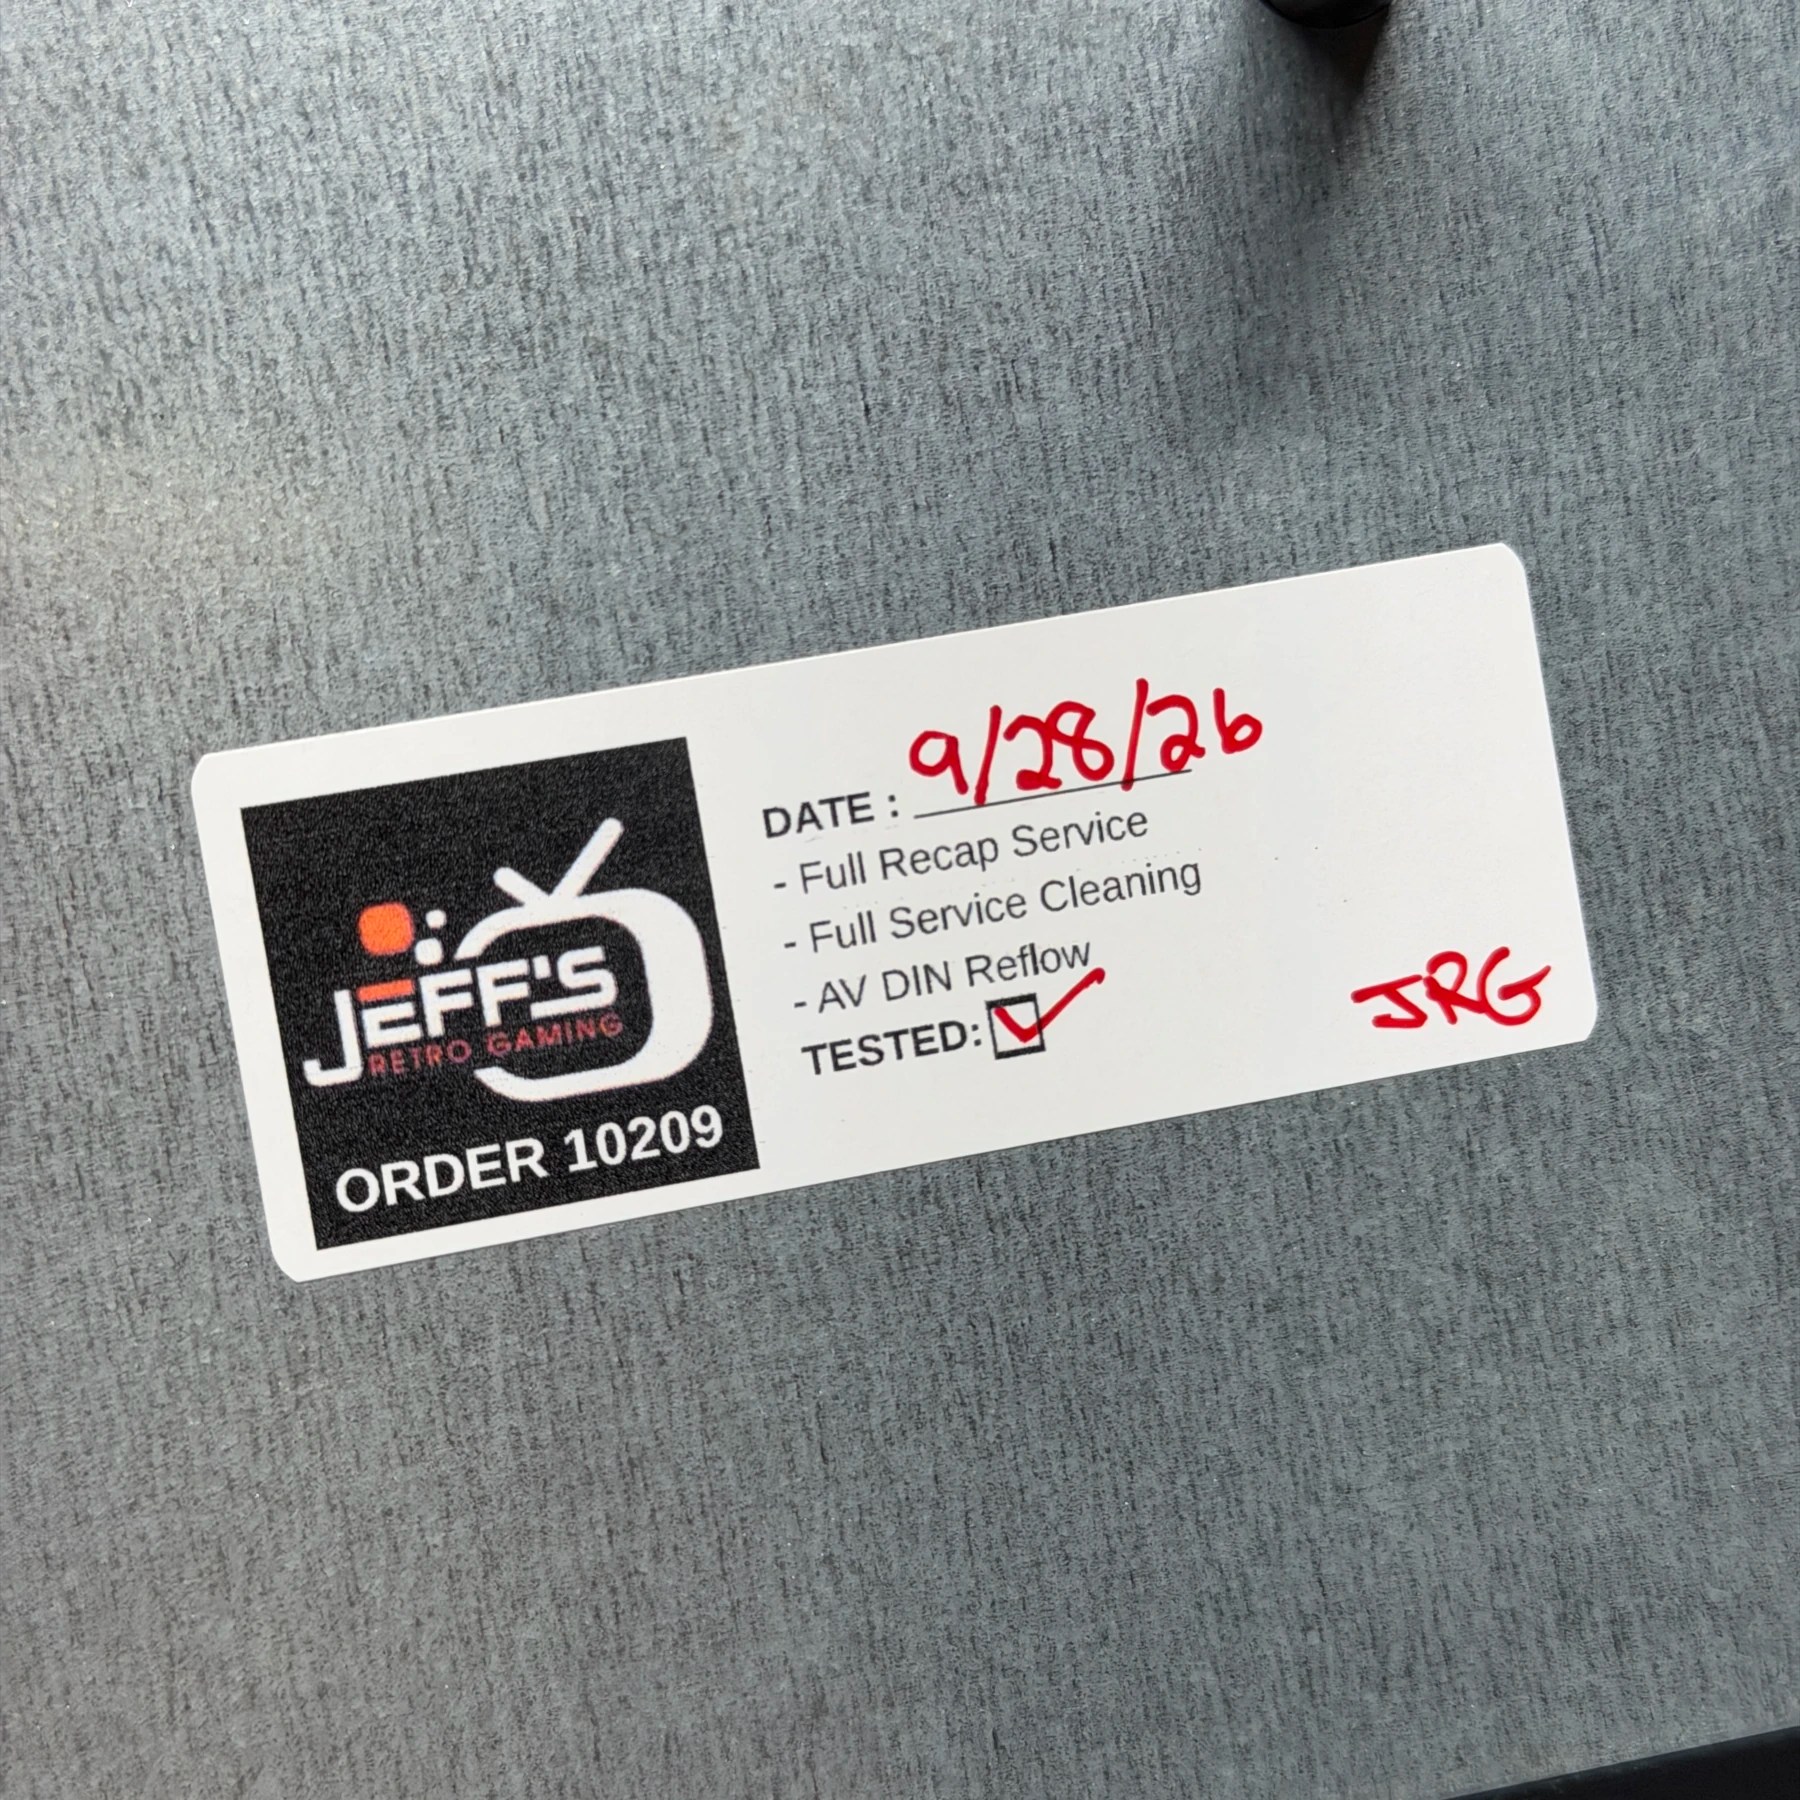
With the shell dry and AV DIN reflow and recap done, it was time for final re-assembly and testing. I did also give the stereo audio slider a good clean and the cart slot for good measure. With the system back together minus the outer shell screws (so I could easily re-open and put my sticker inside) I fired it up on the testing PVM and not only did it boot right up but the image was perfect and no amount of wiggling caused the picture to drop out or distort so we know the reflow was the fix!
With that confirmed I then put my approval sticker on the shield of the top shell and closed it up for good along with some new premium rubber feet (also from Console5) and this AES is returning to its owner working better than ever!