
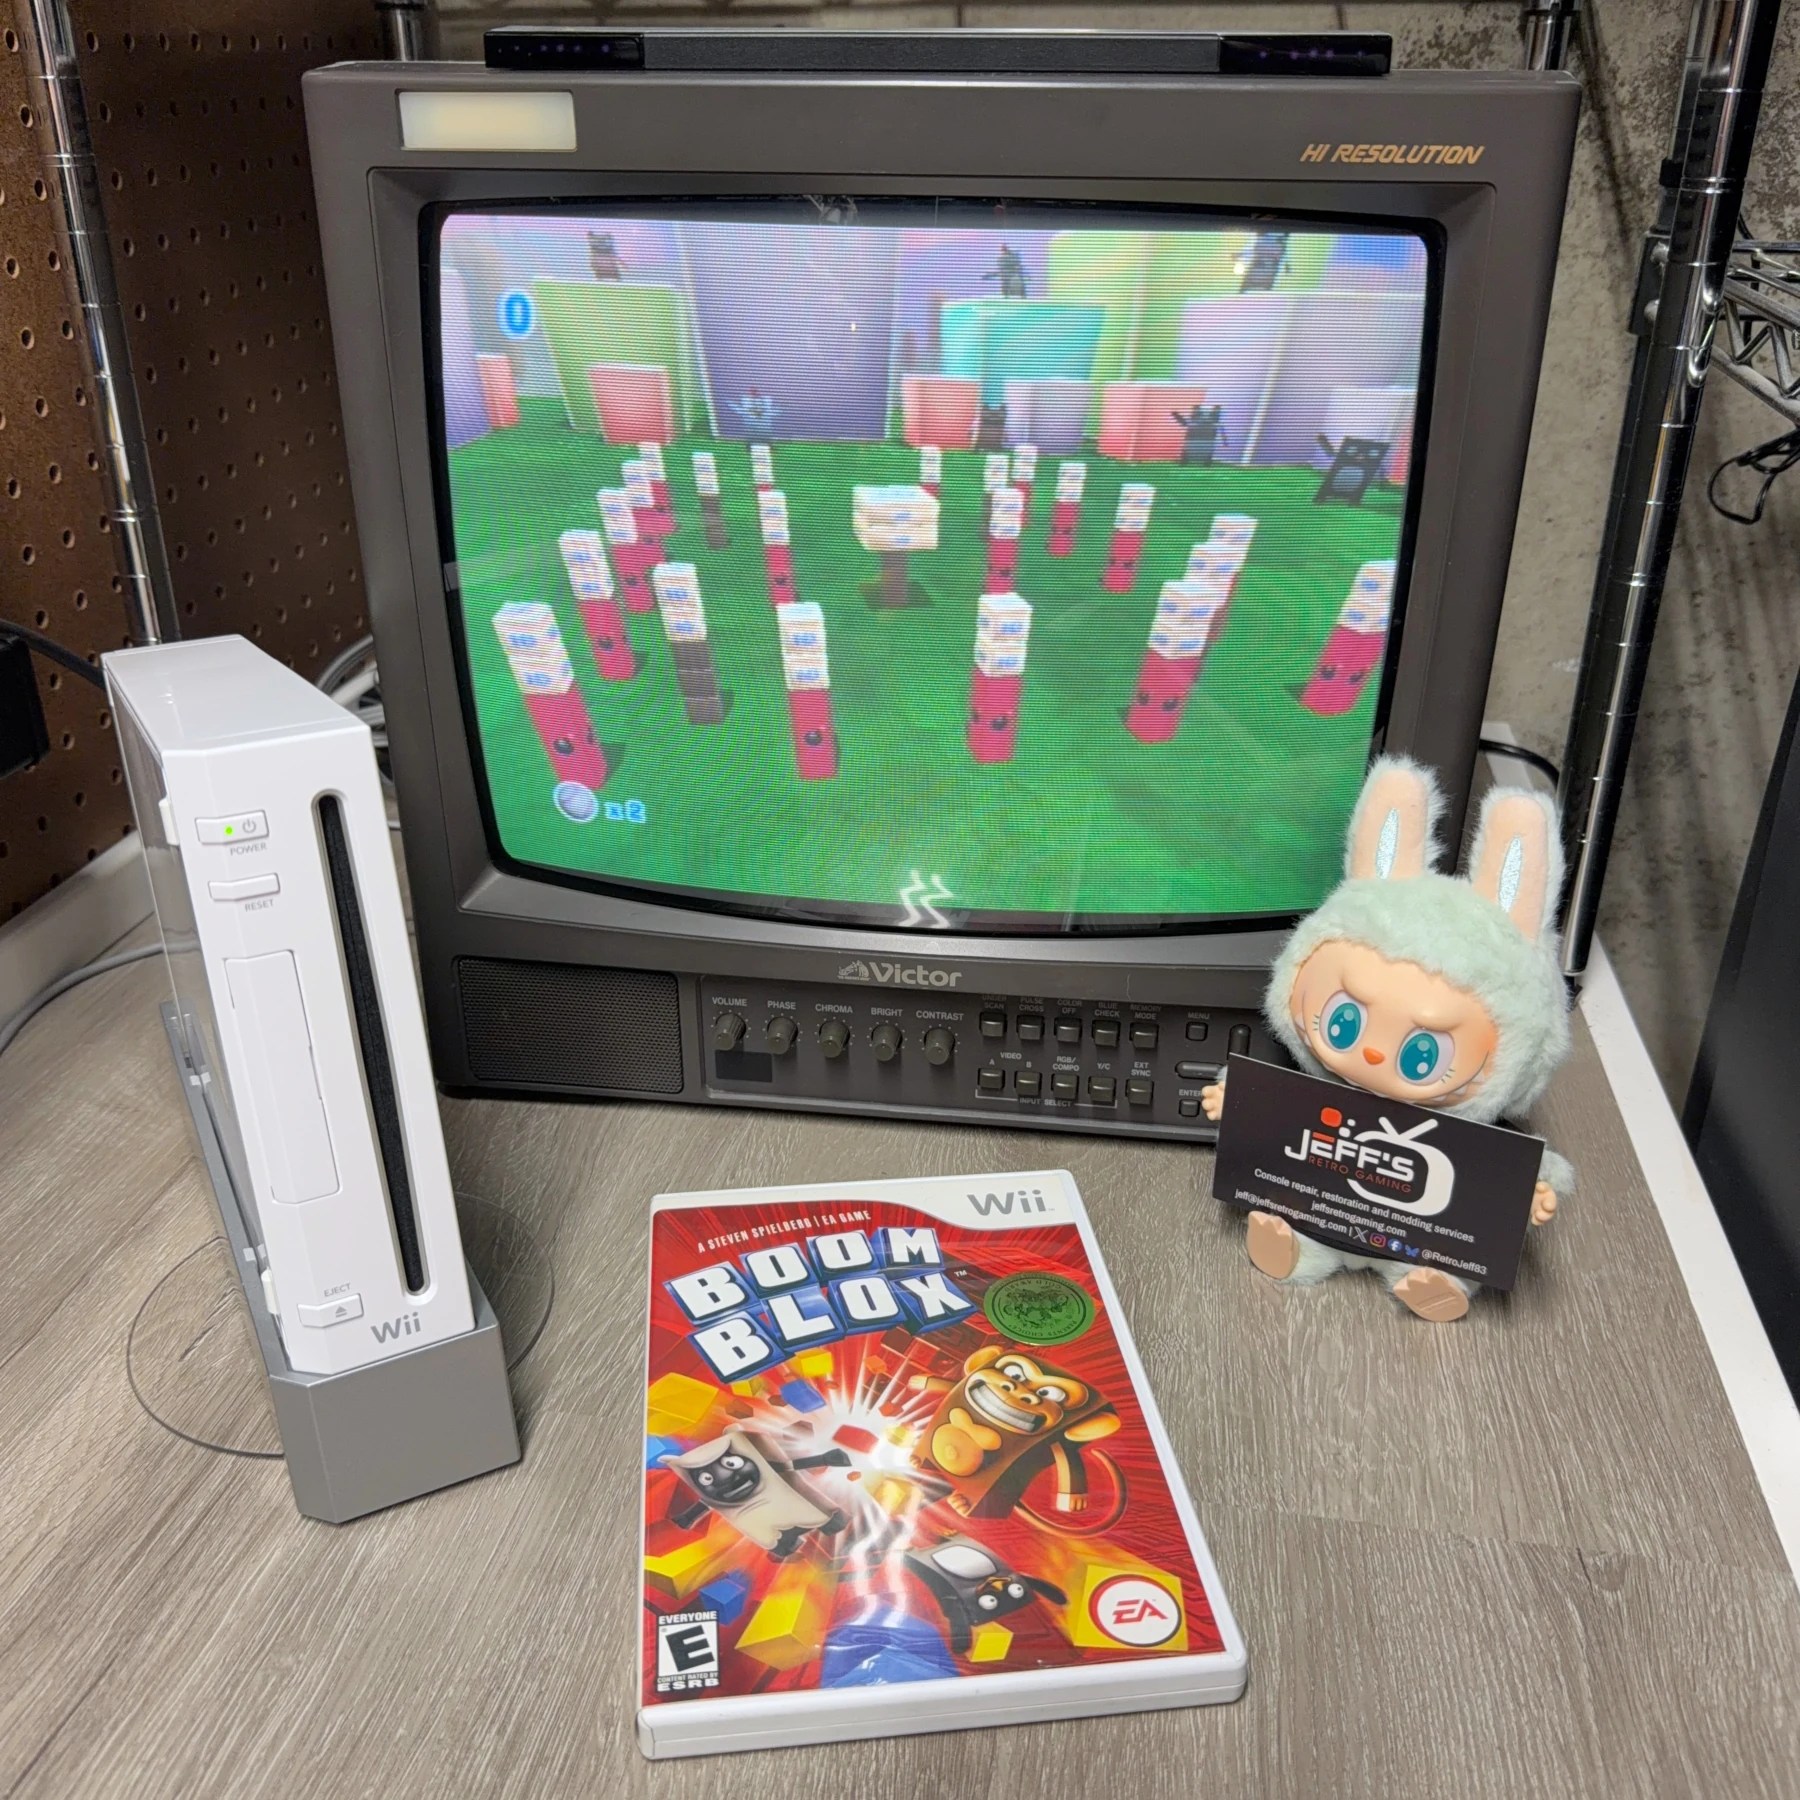
Part 2 of this order was for a refurbishment of a Nintendo Wii. Compared to the last one I did which was all the same work plus an HDMI mod and internal NVME drive I knew this would be pretty quick and easy. Prior to the work it tested fine and was reading discs so this seemed to be more for preventative maintenance and cleaning.
I’ve worked on enough Wii’s recently that I have the teardown and assembly process down quite well and don’t even have to pull up screw charts or guides at this point 😆
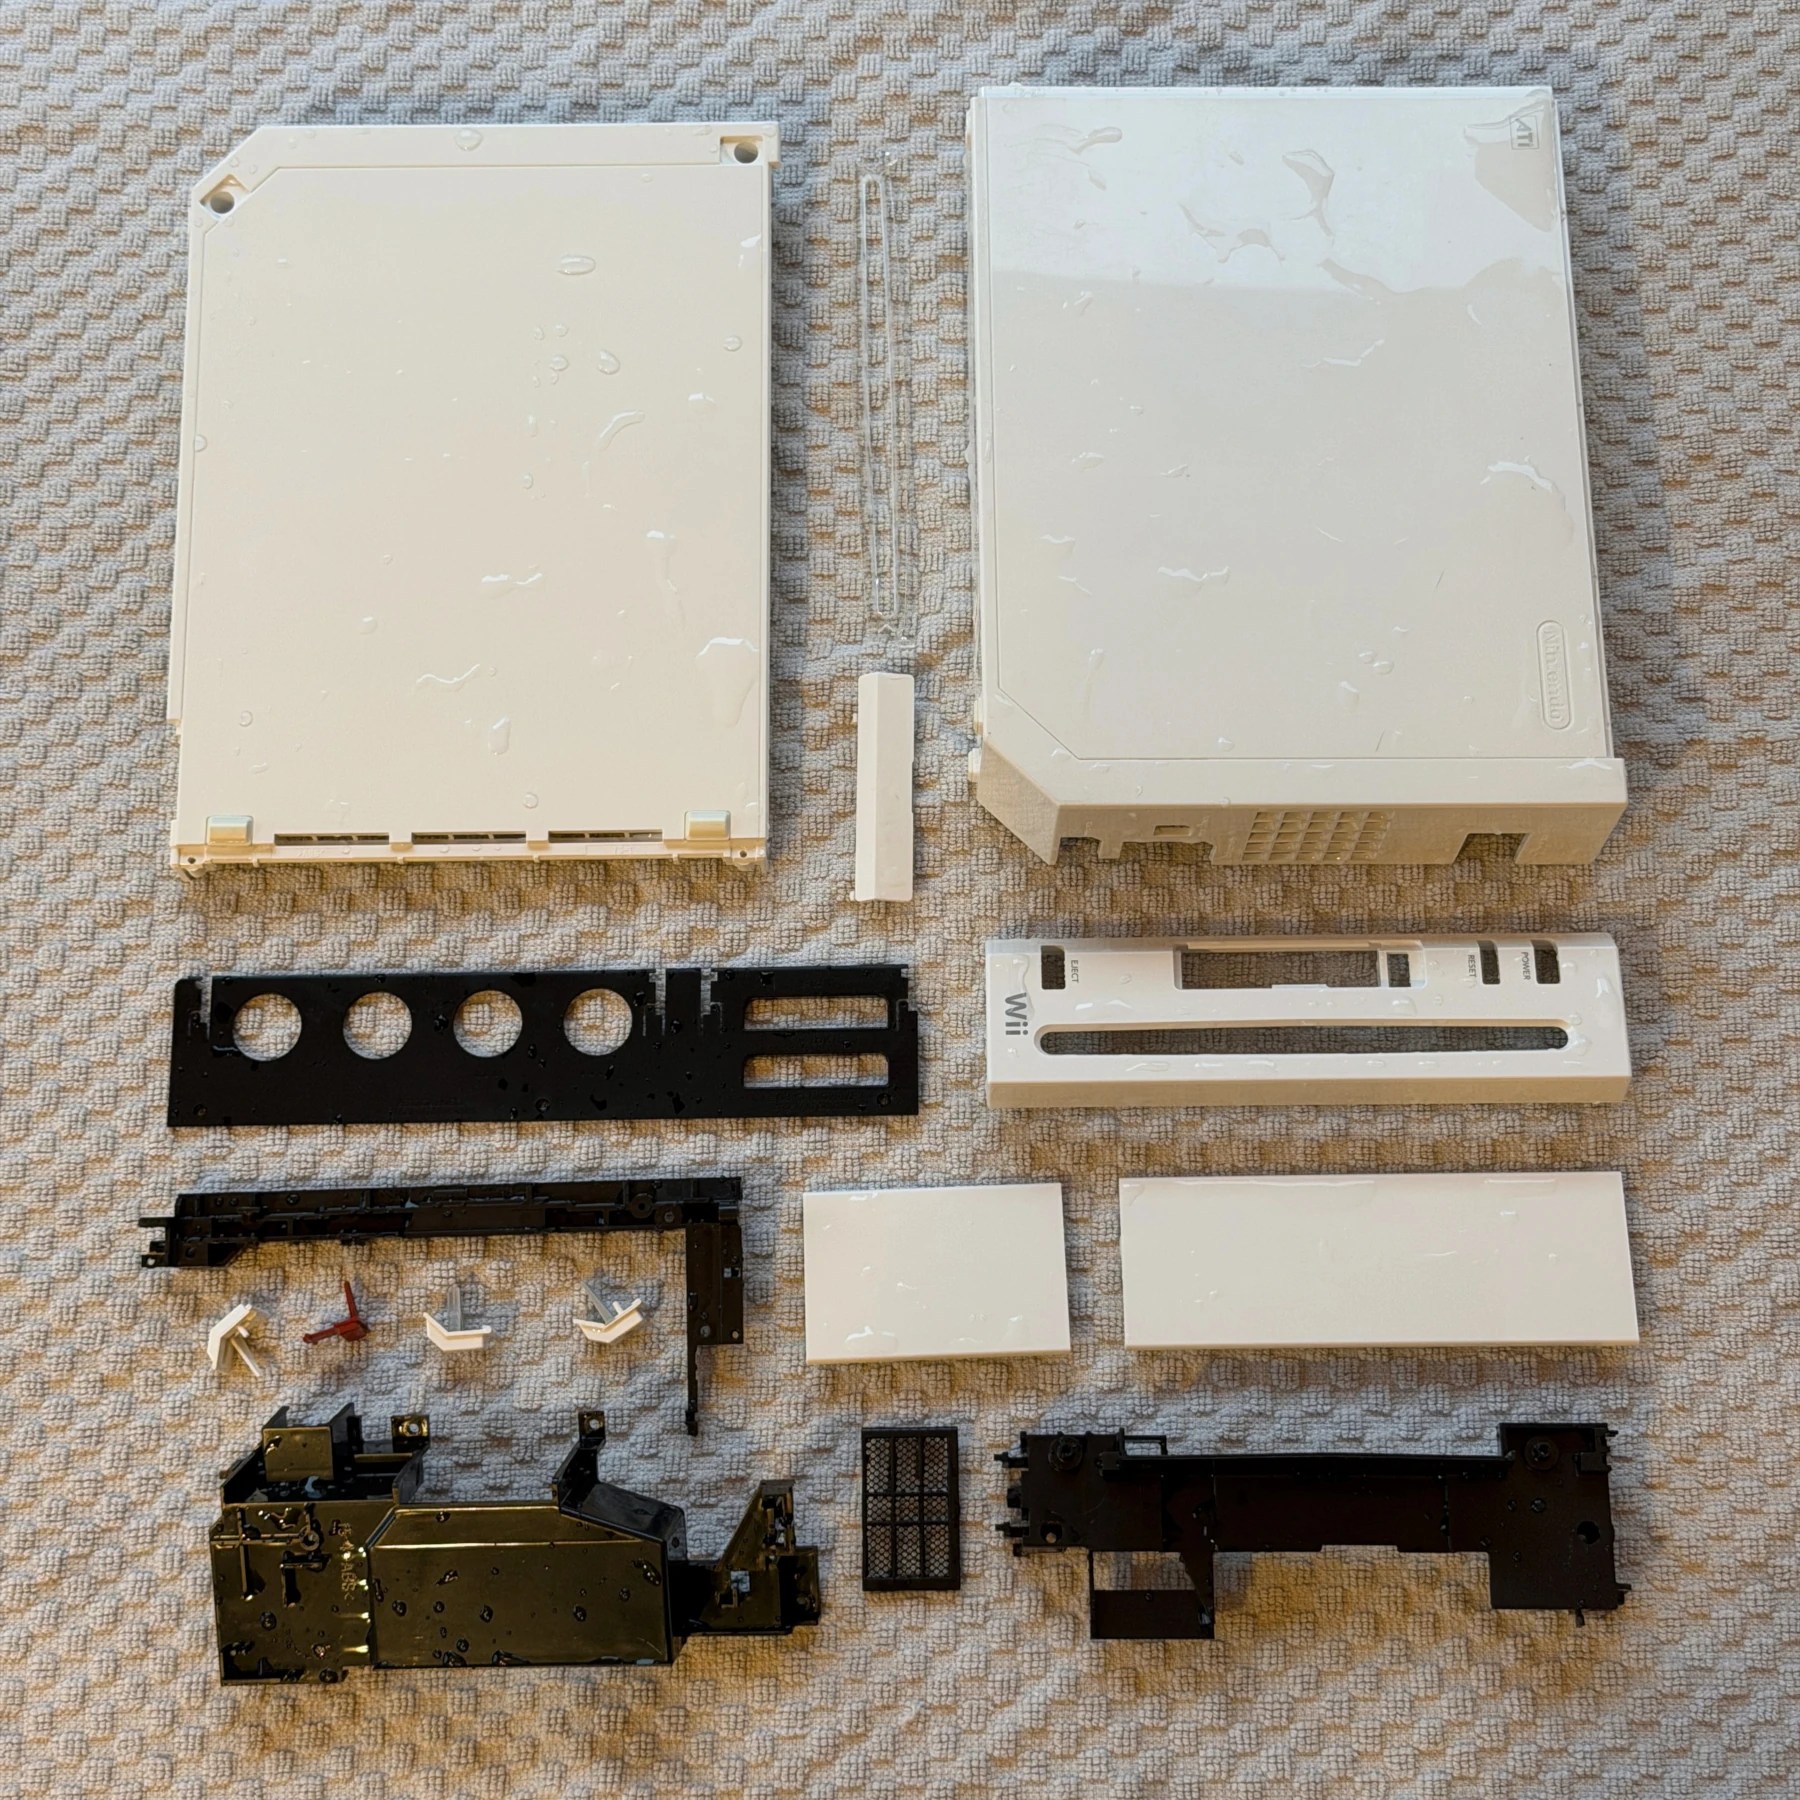
First I got the shell and plastic trim pieces all taken apart and soaked, washed and set aside to dry overnight. This included the vent screen which was pretty dirty and all the front panel components/buttons.
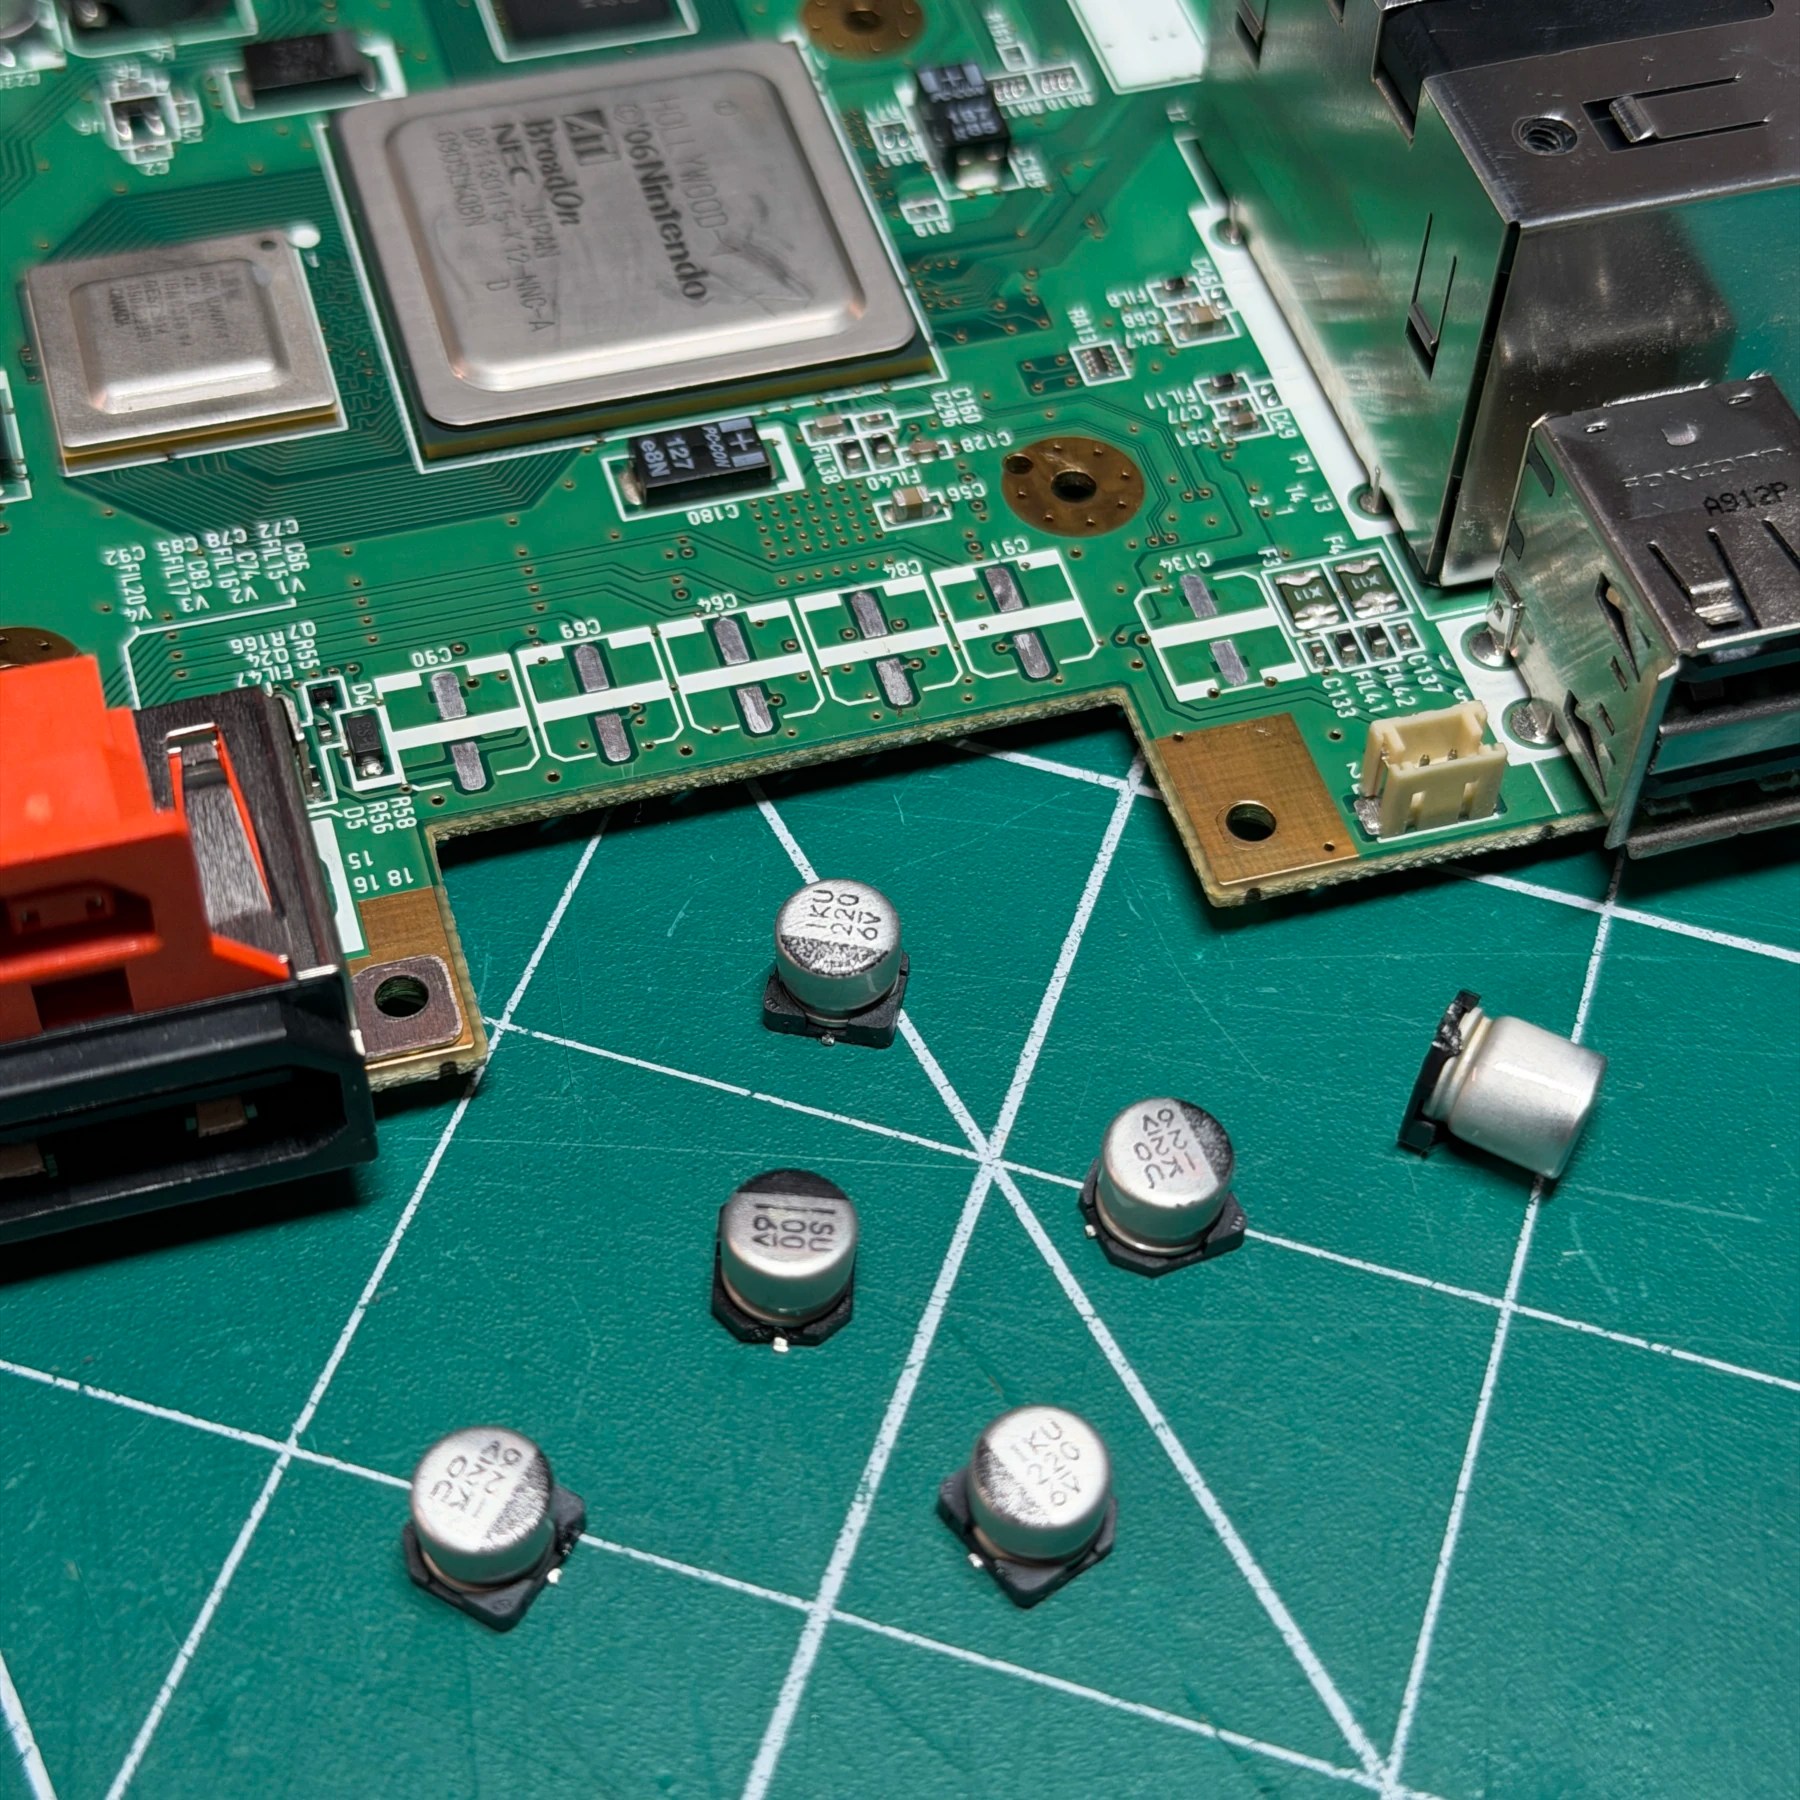
With those pieces all out of the way I then fired up my hot tweezers and removed the 6 electrolytic capacitors near the CPU/GPU for replacement. I cleaned the pads up with some wick and wiped the board down thoroughly then cleaned up the heatsink by removing the stuck thermal pads and cleaning in between the fins.
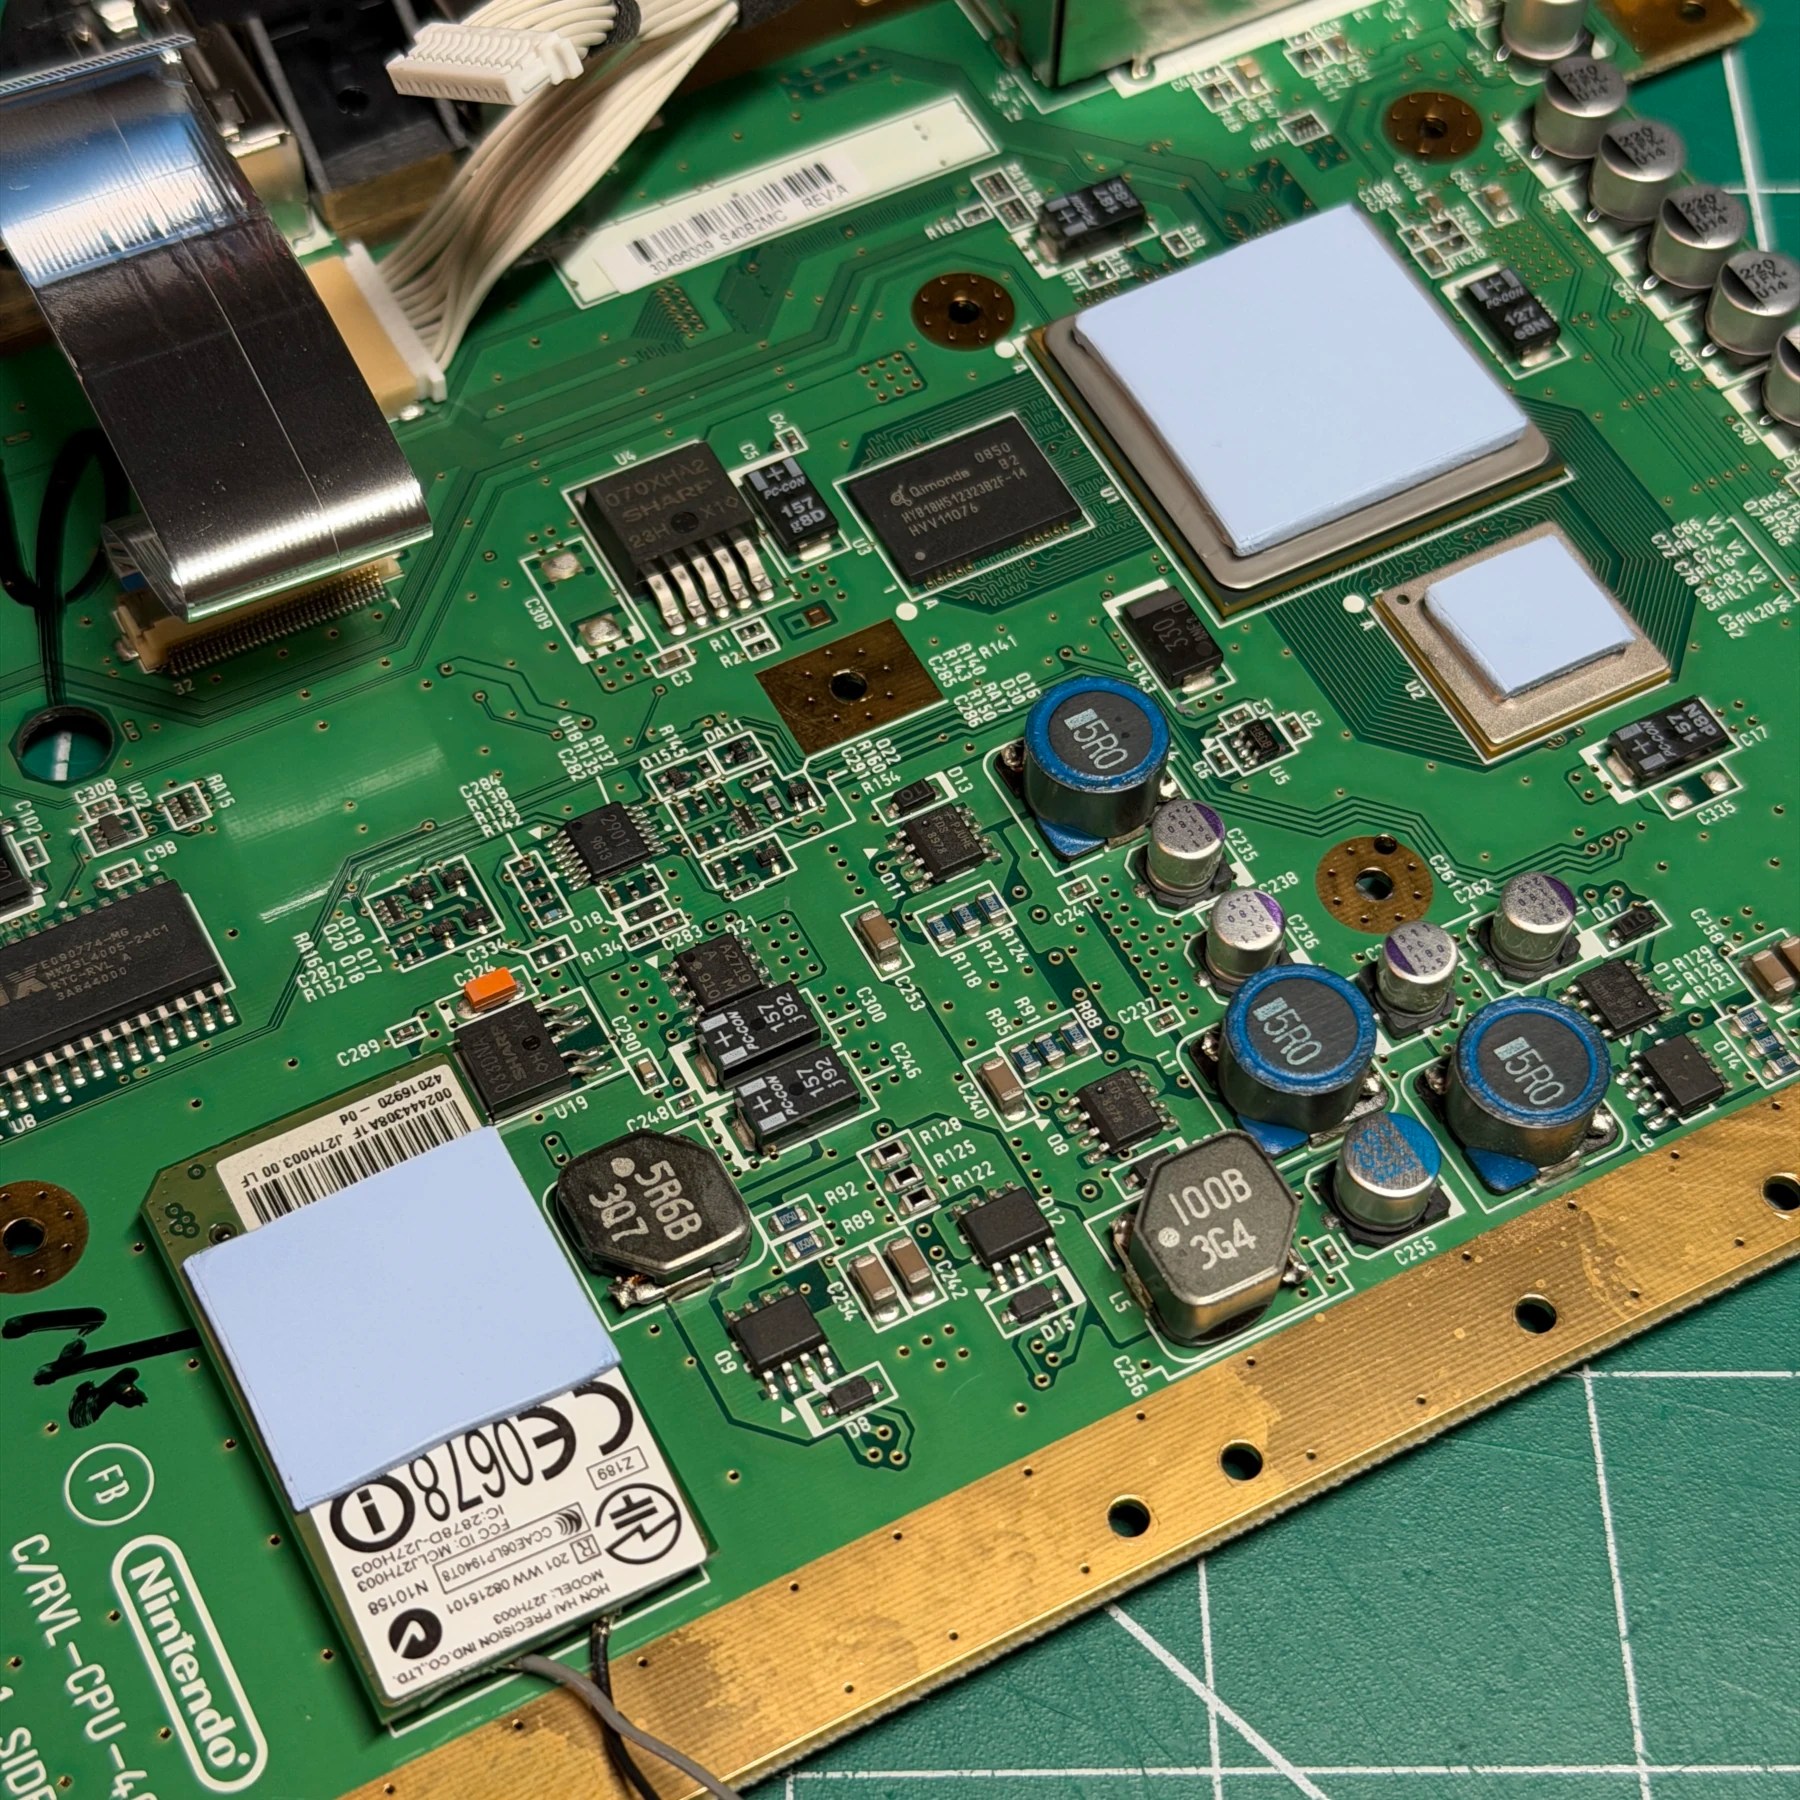
With a Console5 kit at the ready I soldered on the 6 new caps then cleaned up my flux and the recap process was done! Before putting the heatsink back on I cut some new pads using my Arctic MX sheet and stuck them to both the CPU and GPU. A third pad is then cut and affixed to the wireless chip and the reassembly can begin!
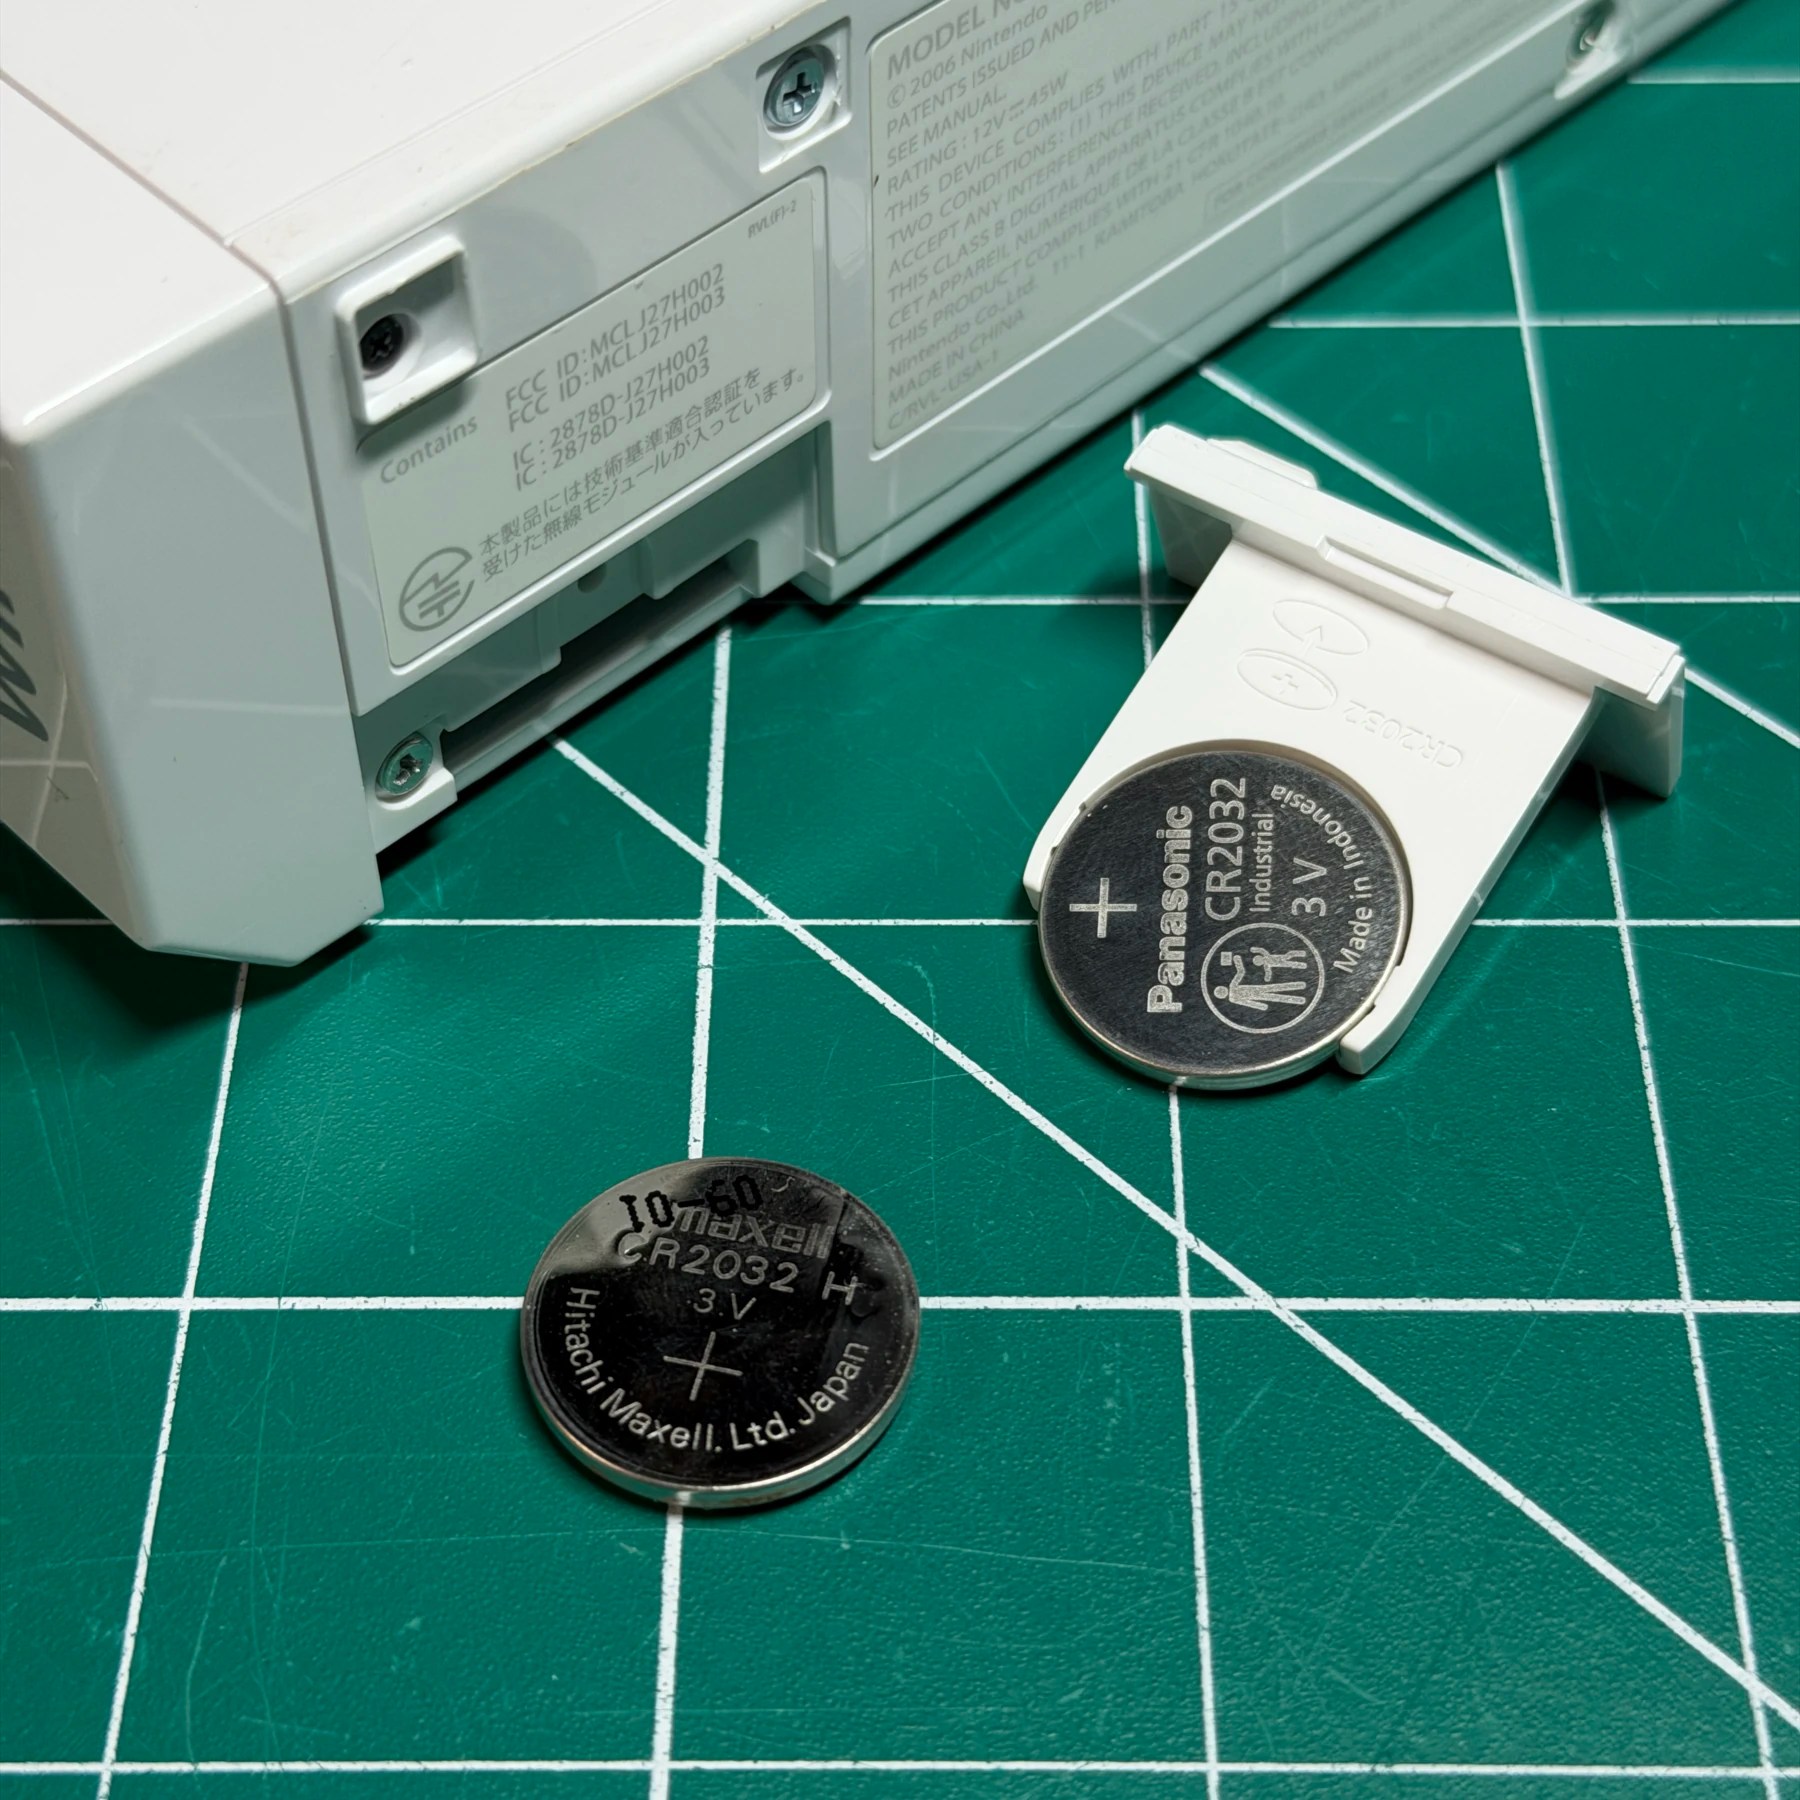
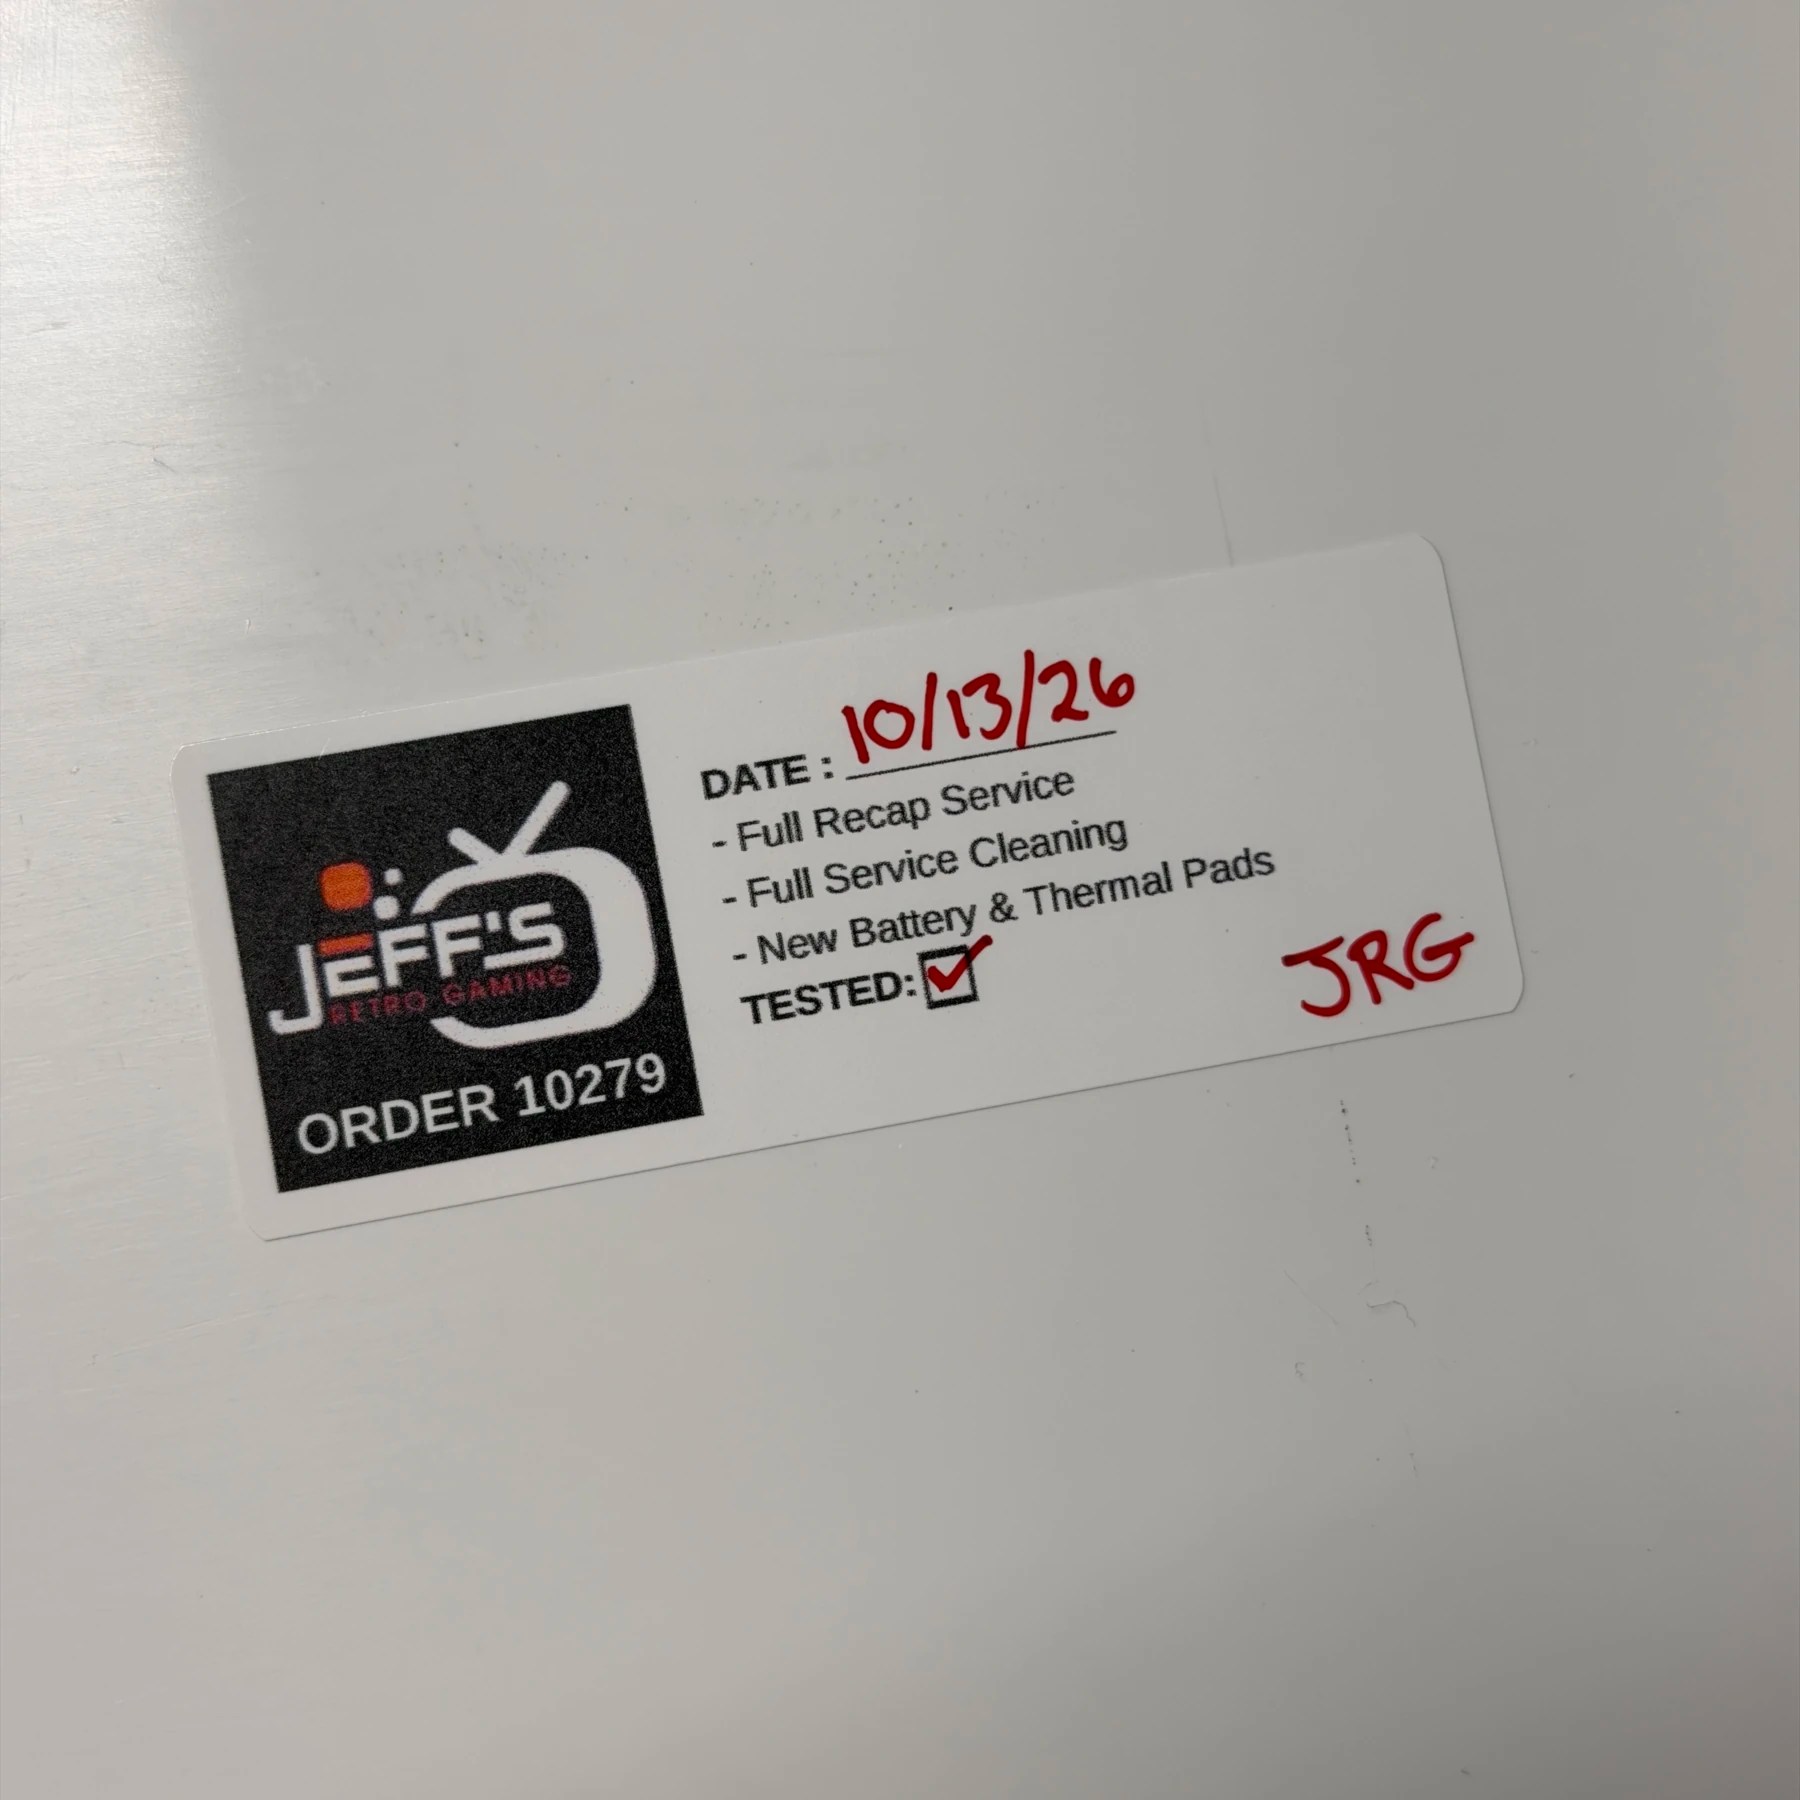
After attaching the mainboard and shielding back to the bottom shell piece I deep clean the fan which was also quite dirty and attach that, then just work my way up with the rest of the metal shielding to the optical drive assembly being reattached. My goal here is to reassembly to all but the top shell and test operation before closing it up. I do socket in a new CR2032 (used for date/time) that way the customer wont have to worry about battery life for quite some time.
Testing goes well as soon as I pair my spare Wiimote and access the menu, confirm games are booting up and video/audio look fine. I then put my sticker on the inner top shell piece and close the system up for good (don’t lose track of those rubber feet and screw hole stickers!)
With it on the bench I fire it up and let it run at the menu and then in-game for a few hours to ensure its running and cooling ok. After playing Boom Blox for a while (that game is ADDICTIVE!) I consider it a wrap and get ready to close up another order 👍