I’ve done tons of Triple Bypass installs over the years but switchless region mods (or the more basic switched region mods) are not very common here. Unlike in PAL territory where many games were hampered with awful 50hz versions the USA NTSC Genesis is superior for all but the few worthwhile PAL exclusives. Most people don’t care enough to check them out but for anyone that wants the ability to play every Genesis/MegaDrive game with no compromises this is the best way to do it!
I have installed kits from ConsolesUnleashed in the past but I had a great experience installing a Delta Island PS1 modchip and when this customer reached out looking for the work I didn’t hesitate to offer to grab one of these Mega SmartDrive kits to check it out. End result is fantastic and I plan to offer this as my go-to region mod and stock the kits going forward so if you are maybe interested, consider joining the waitlist and reach out!
On to the work…
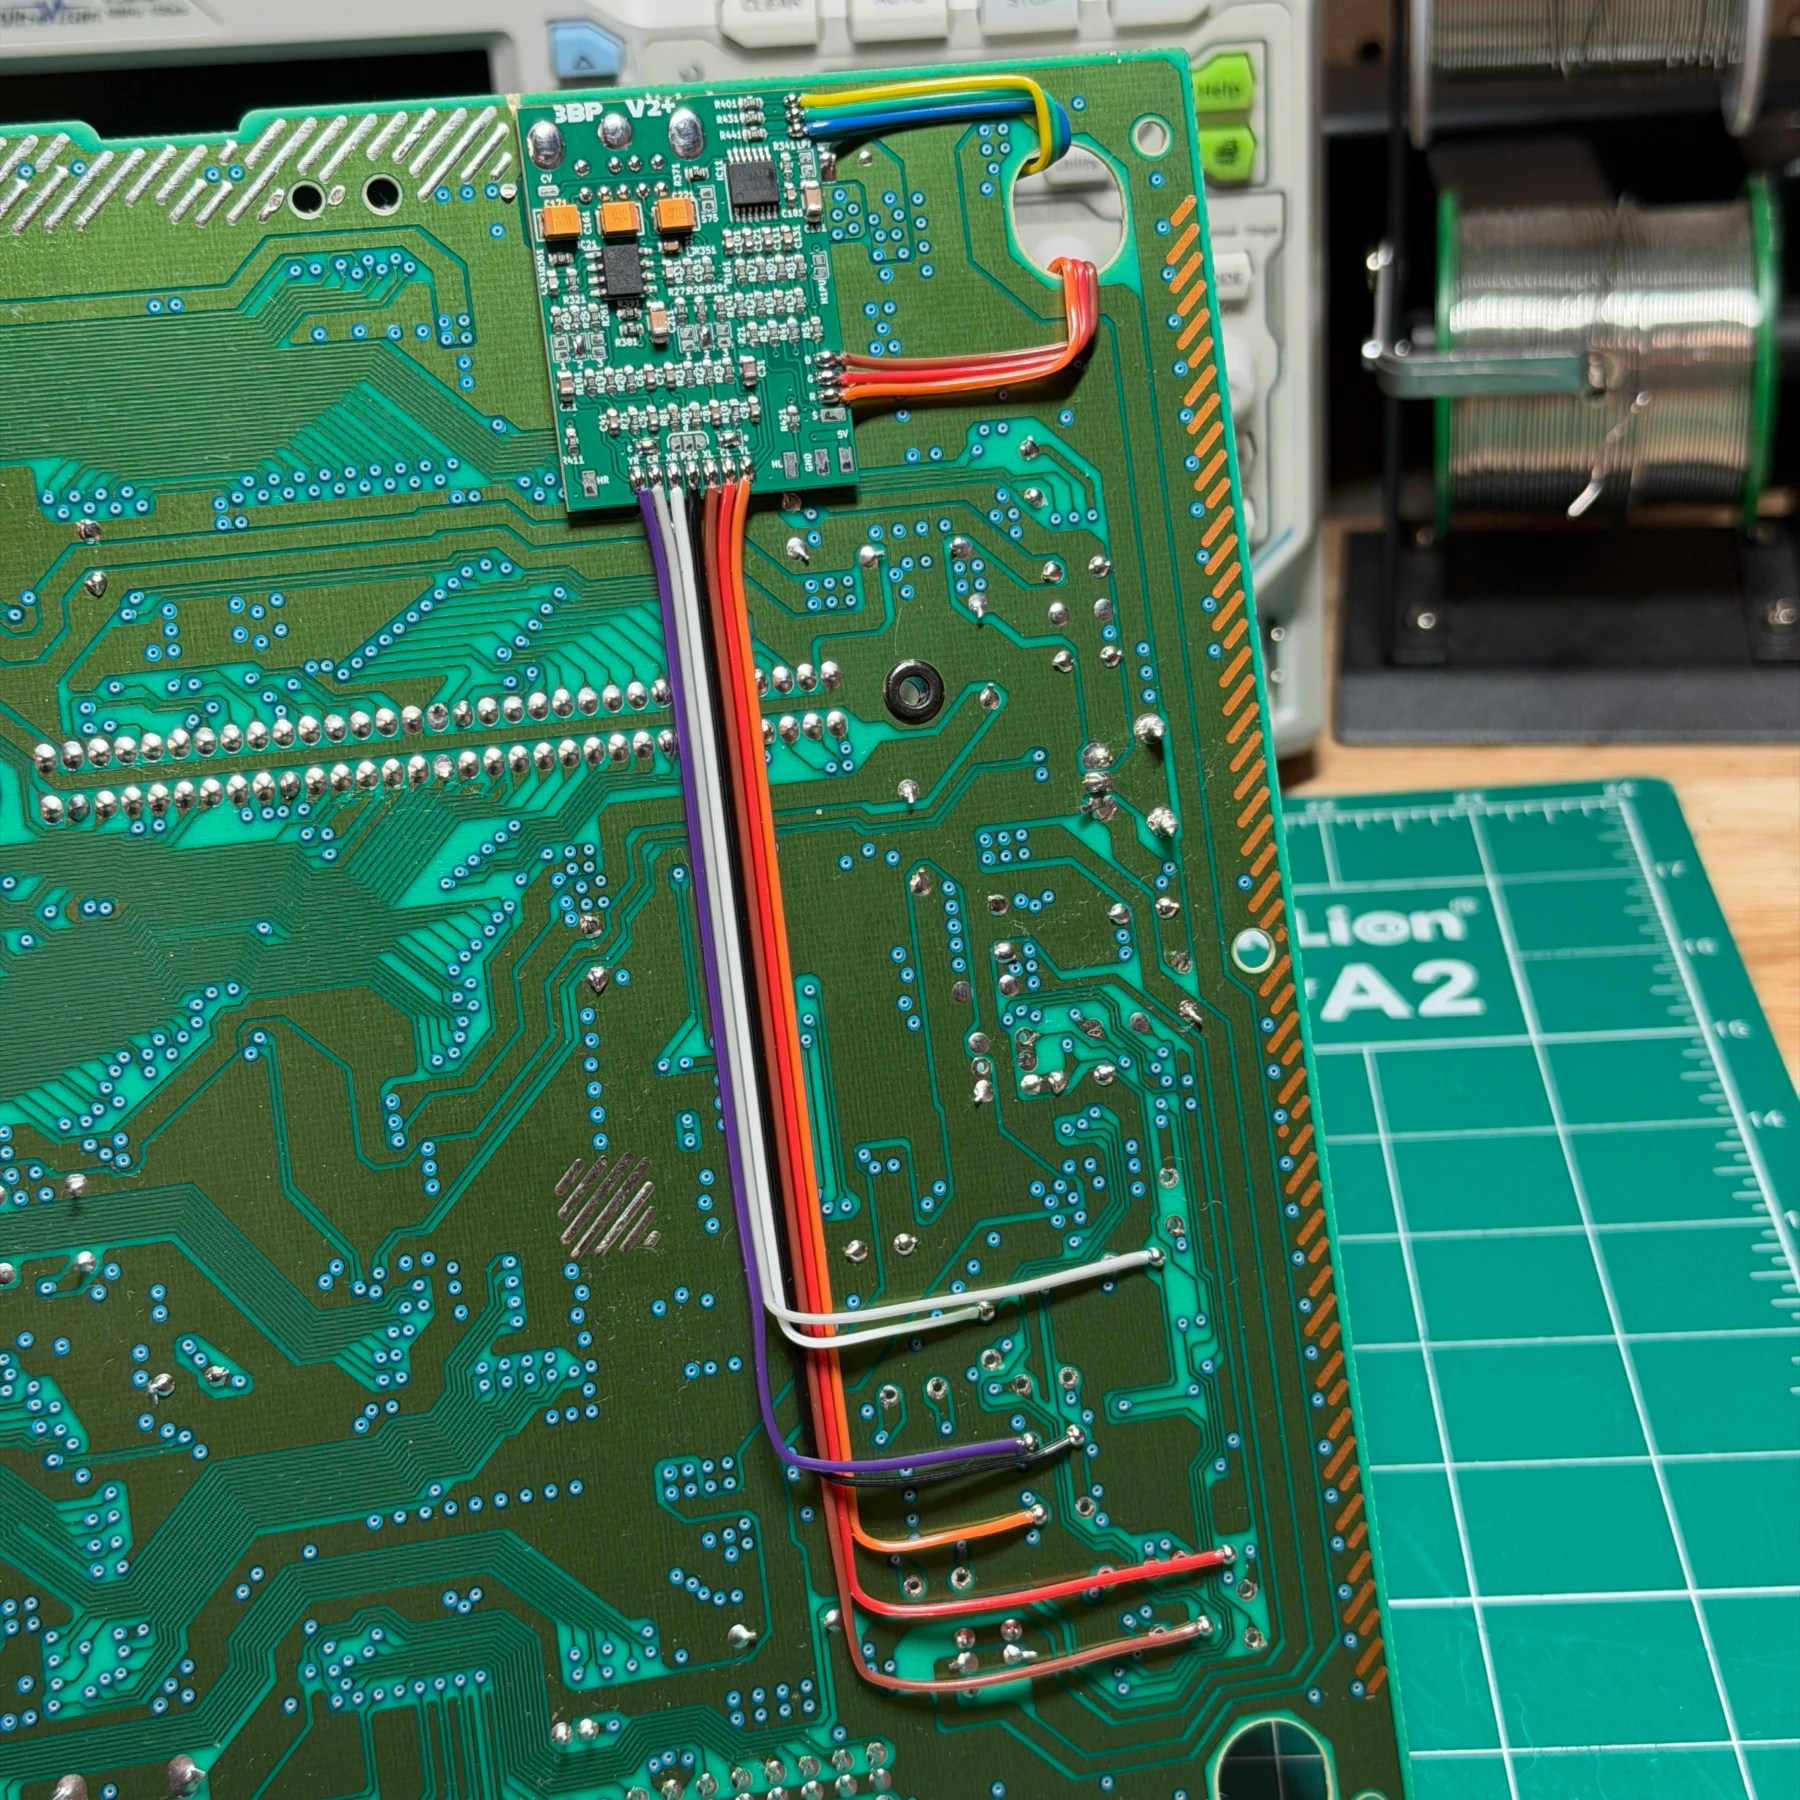
The key to planning multiple mod installs on a console (as well as a recap) is figuring out any overlap or considerations/conflicts. I read on the Delta Island forums that the OSD should work even with a video bypass, but other than that none of the wiring should conflict. Many caps are left off from a Triple Bypass Install in the audio section so it makes sense to clean and recap the board first while leaving off the ones that will just be removed anyways.
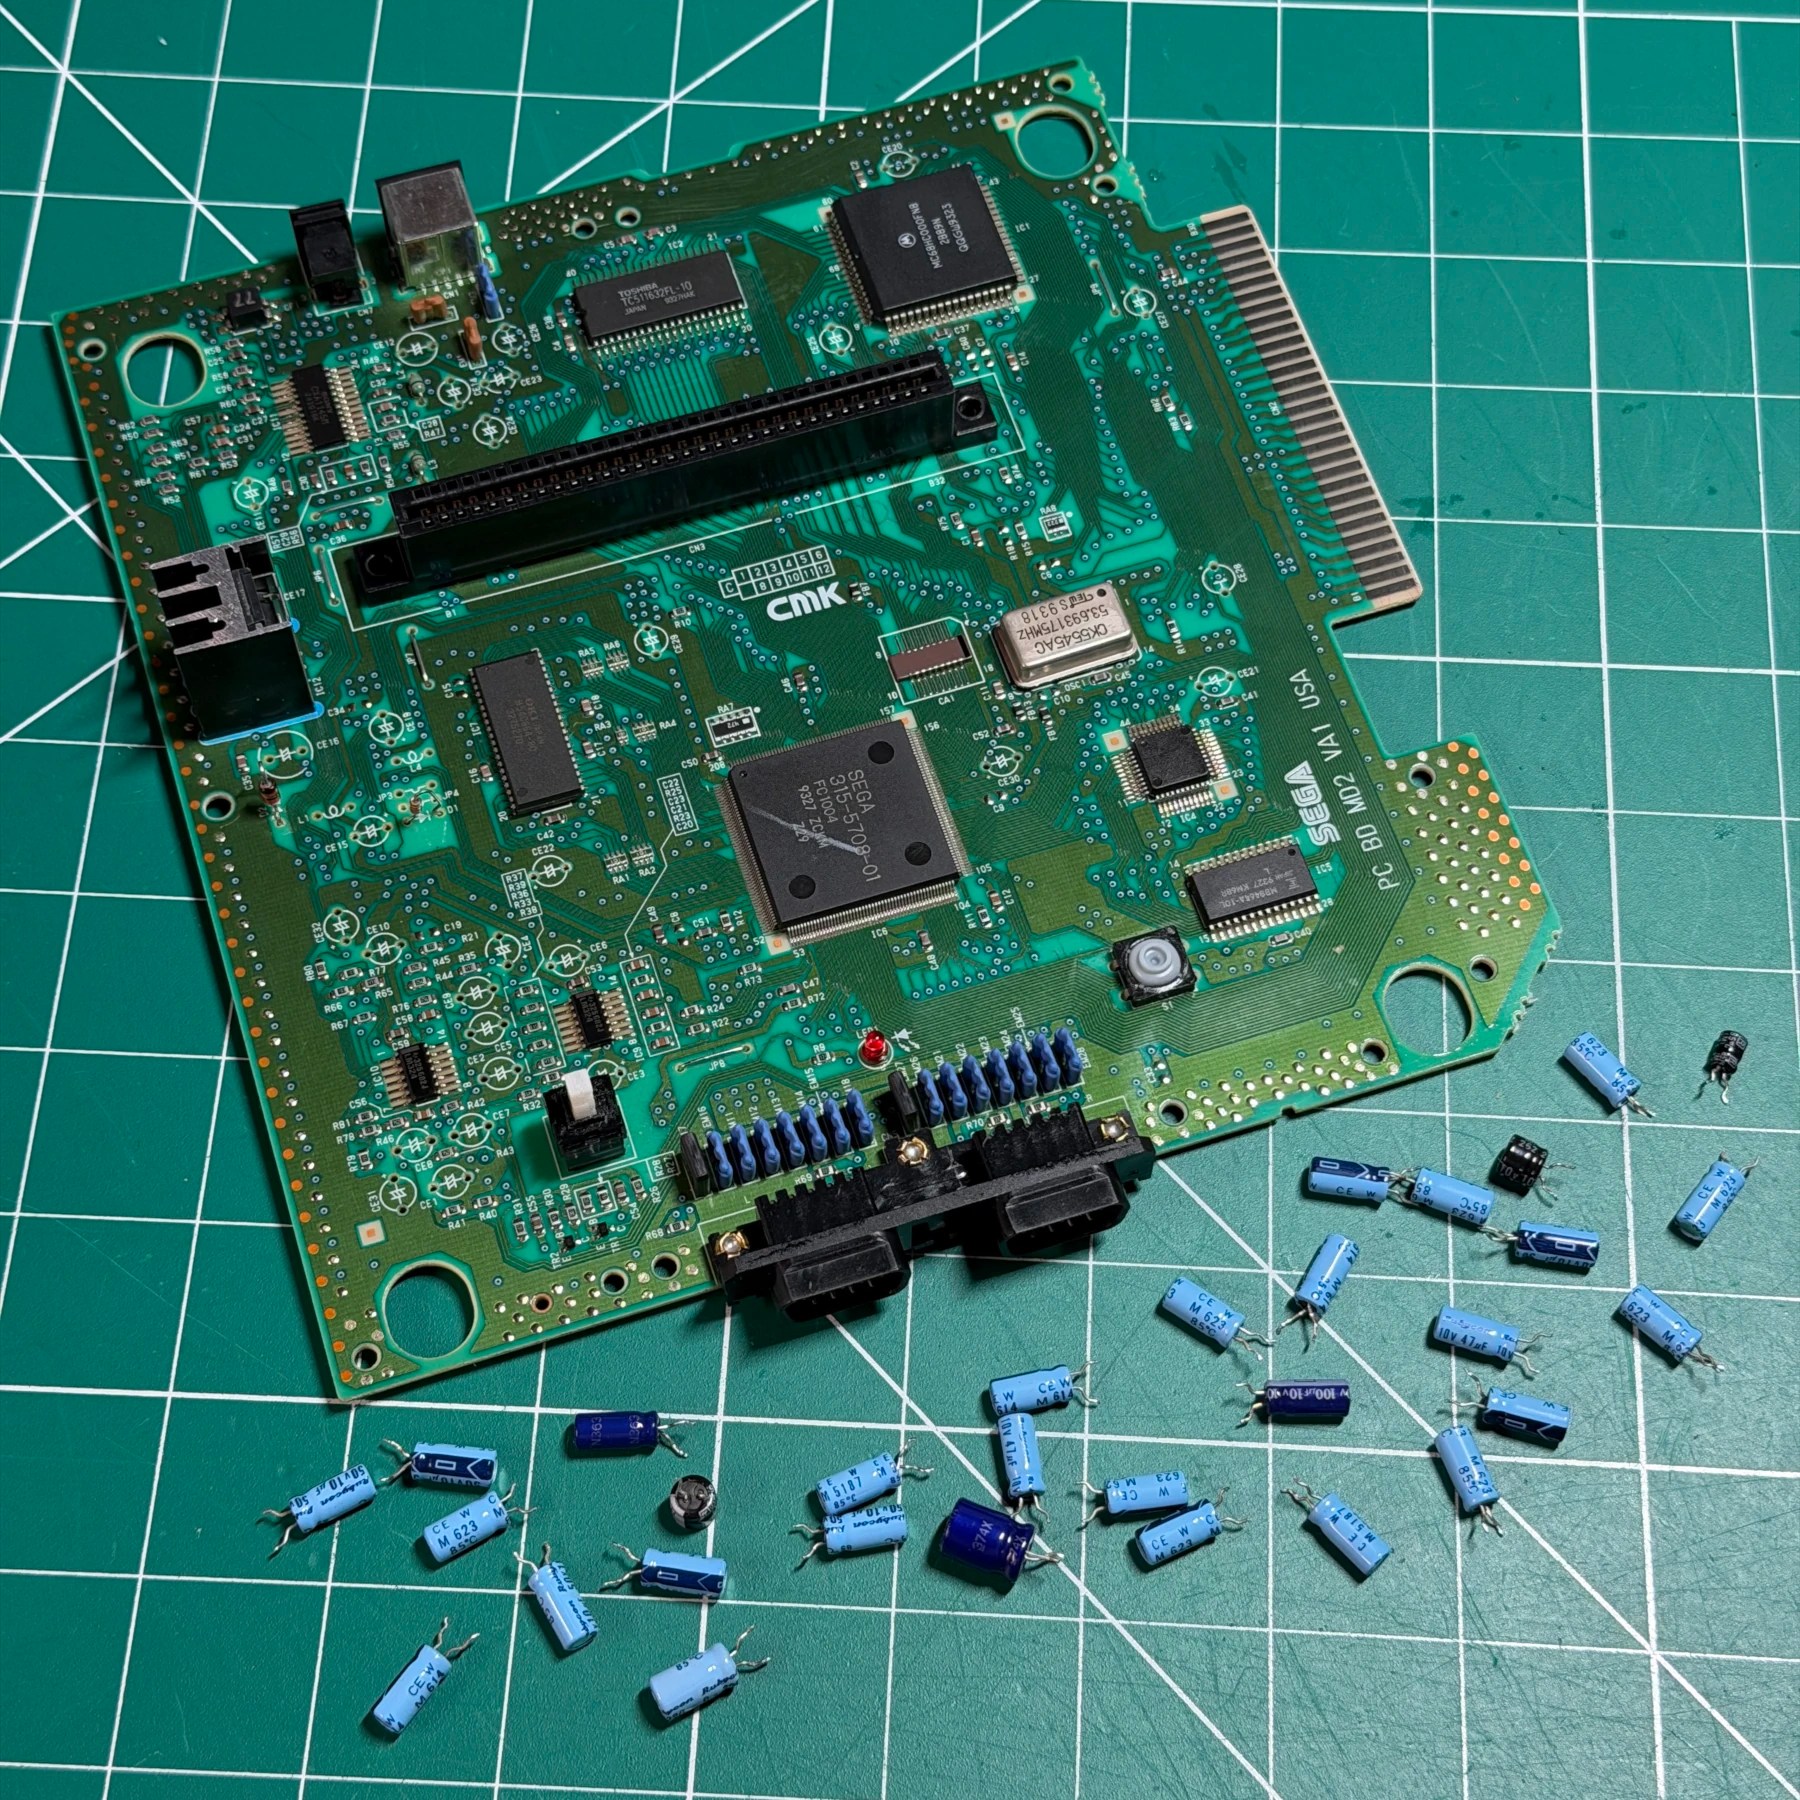
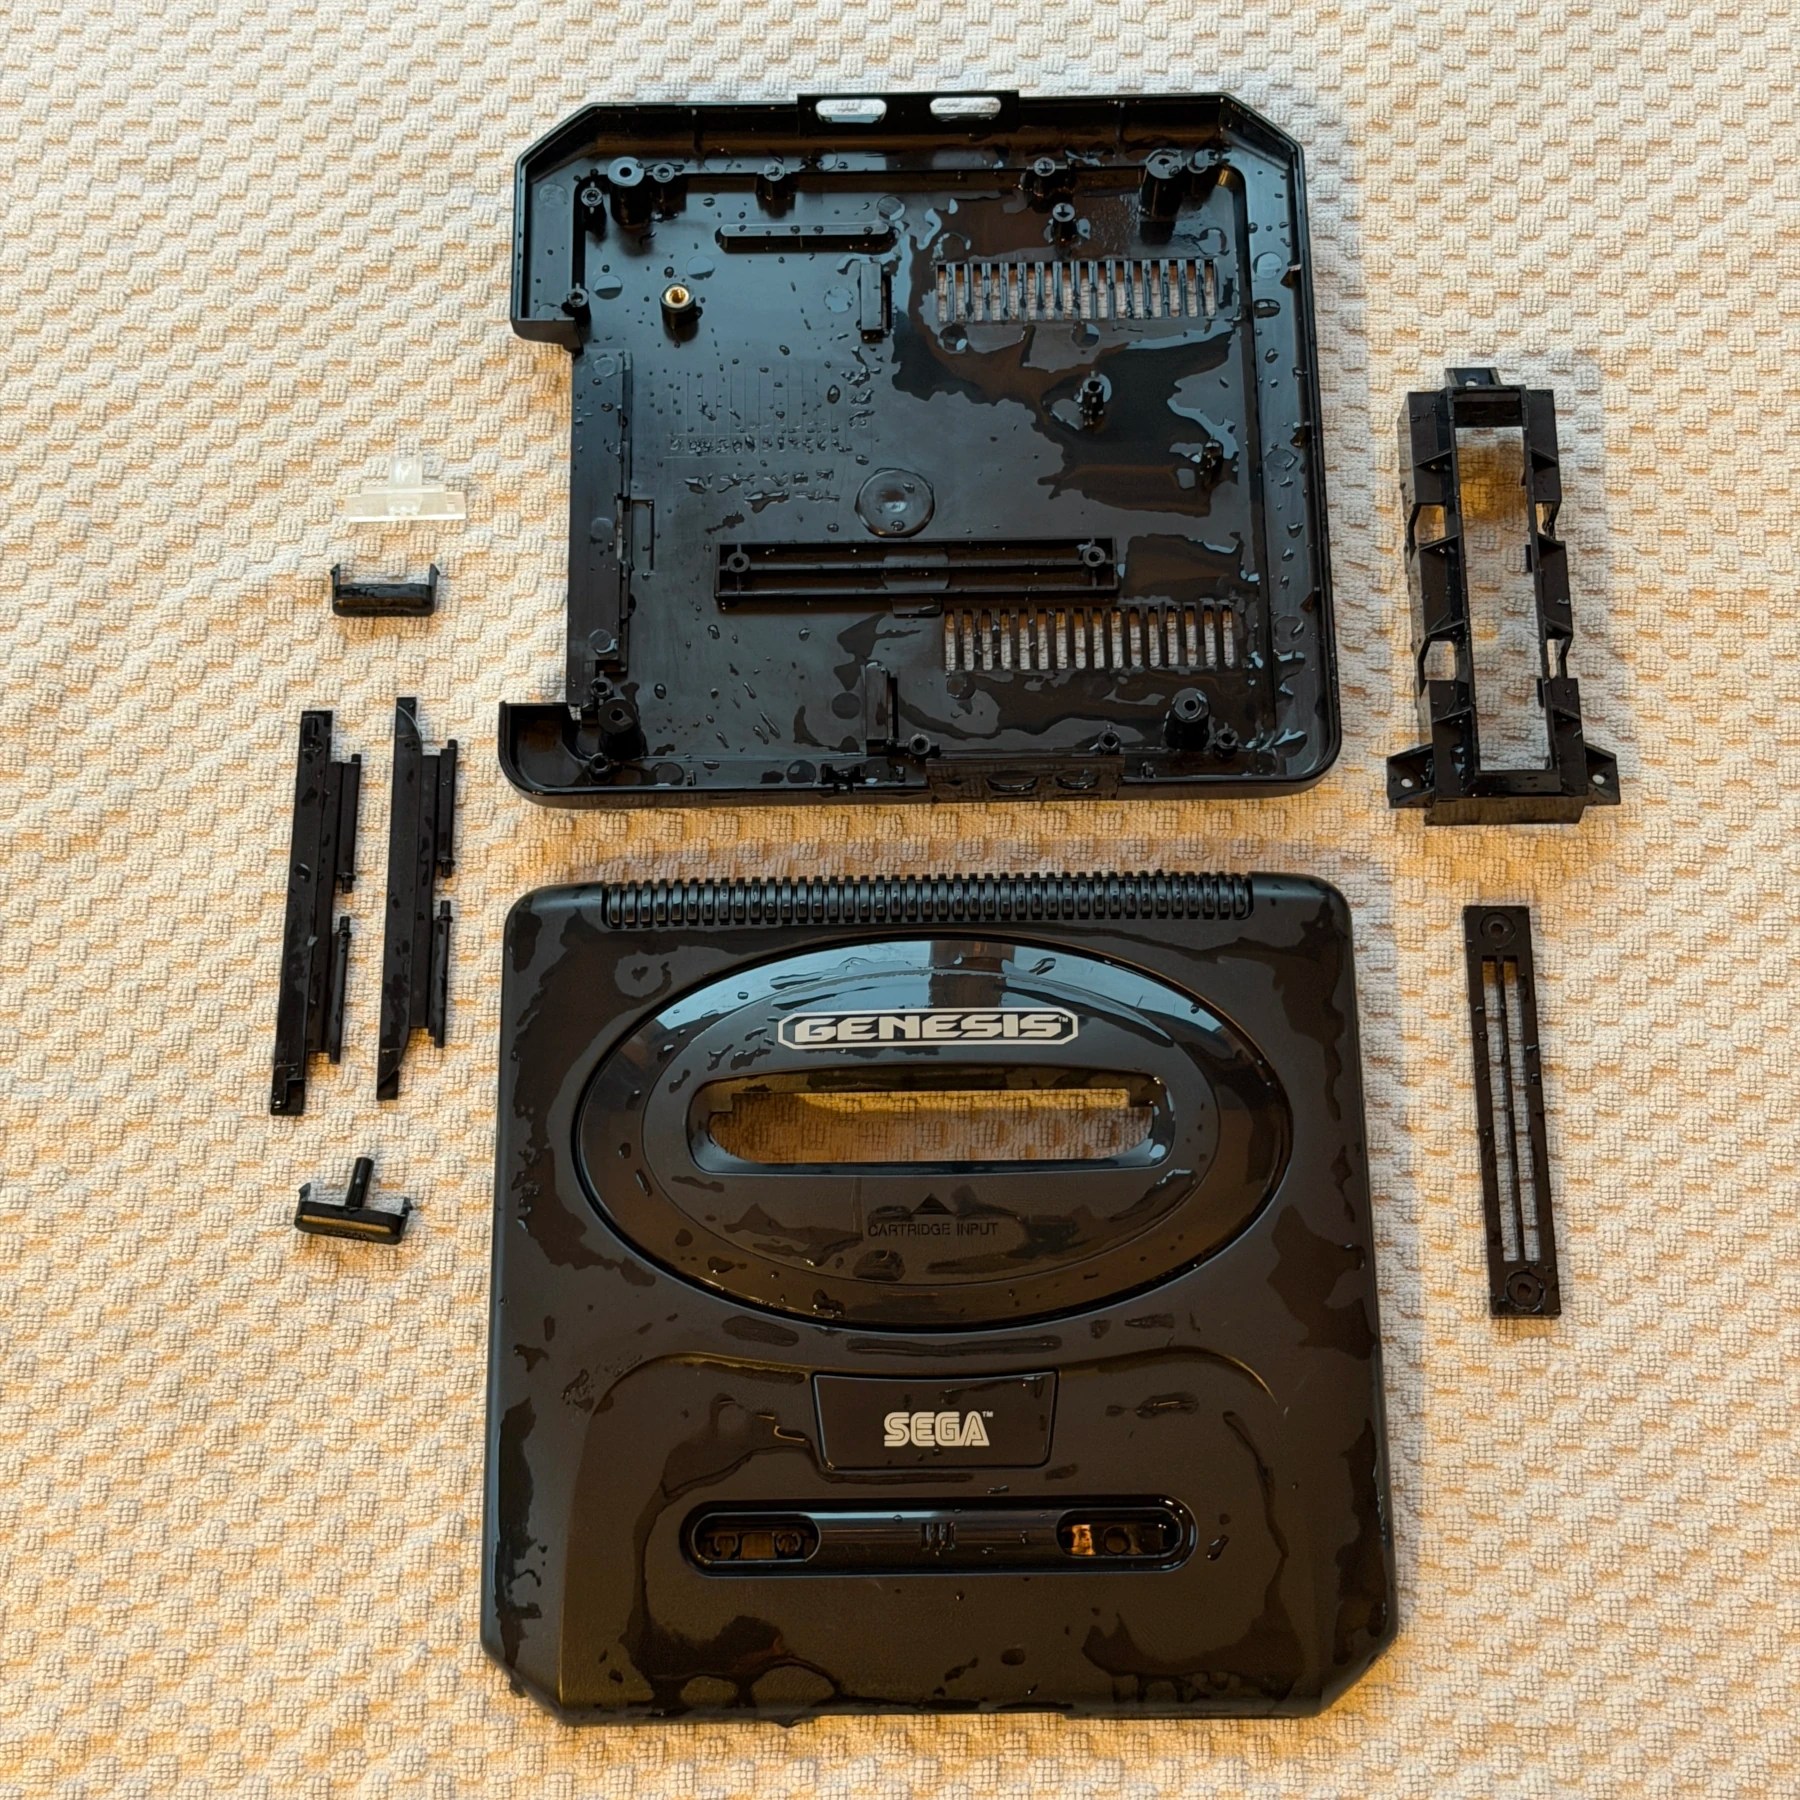
Cleaning services were selected so I disassembled the outer shell, soaked and washed all plastic parts and set to dry overnight. I then removed all the caps with my Hakko gun and cleaned the topside of the board. With a capacitor map in hand (with markings to show caps NOT to install back on) I proceeded to solder on all the replacements from Console5, snip the leads then clean the underside of the board.
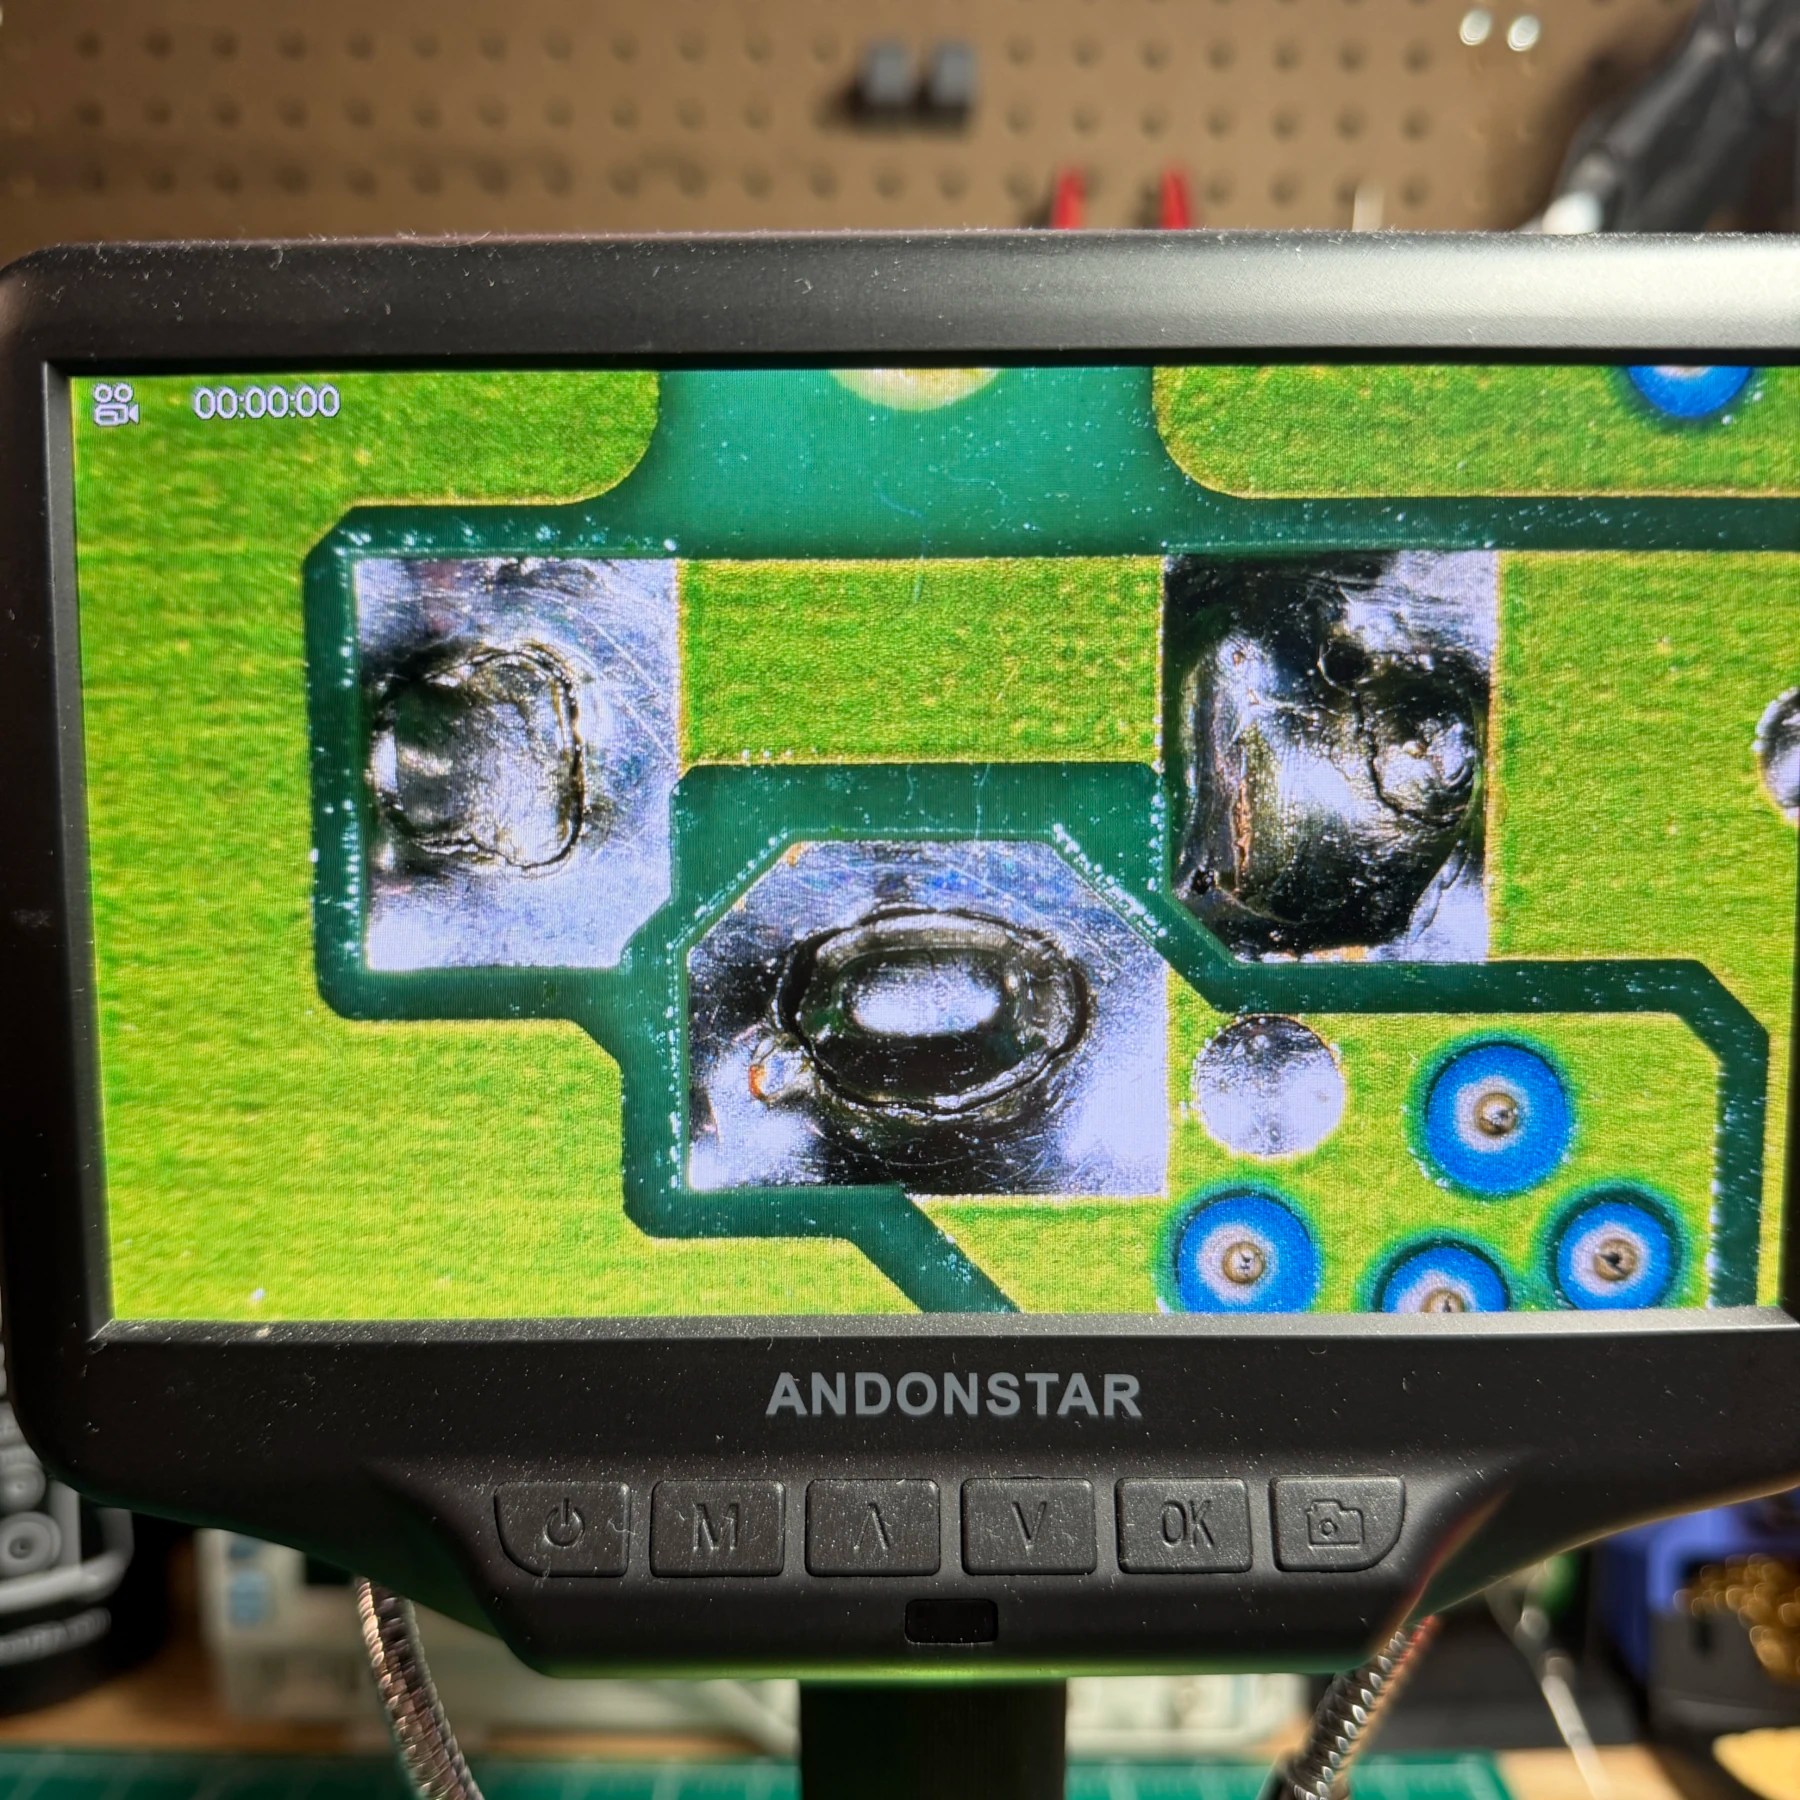
Before starting on the wiring of the Bypass I also removed all the surface mount components in the audio area (IC9 and some resistors) and reflowing the power jack leads which were all cracked (and explained the system acting up when I was testing). While reflowing to repair I also bent the leads over so the 3BP board can sit as flush as possible.
Wanting to get the Bypass done first I soldered on the board to the DIN underside, then tinned all the pads I knew I would be hooking up and started measuring/stripping wires. The key to getting the cleanest install in a wire bundle is to strip and tin the outside of each “group” and tack onto their respective pads temporarily. Then while the ribbon is held in correct alignment, I mark all the interior wires to the correct length and then remove the bundle and strip/tin the rest and solder the entire bundle back on. This prevents working your way from one side to the other then realizing the alignment or angle is off. I think a clean professional finish is just as important as making sure all is well electrically. I see a lot of really sloppy 3BP installs out there (even from “professional” modders) which always irks me. It takes a little extra time to do it nice and neat but the payoff is worth it.
Once I run the main bundle down to the audio points and break off to the now empty cap pads I got my 3D printer fired up and printed out a 3BP-friendly cart slot riser. This gives a safe spot for the wires to run under the support without getting pinched and you don’t have to messily carve up the original bracket. Thanks to Zaxour for the design on that!
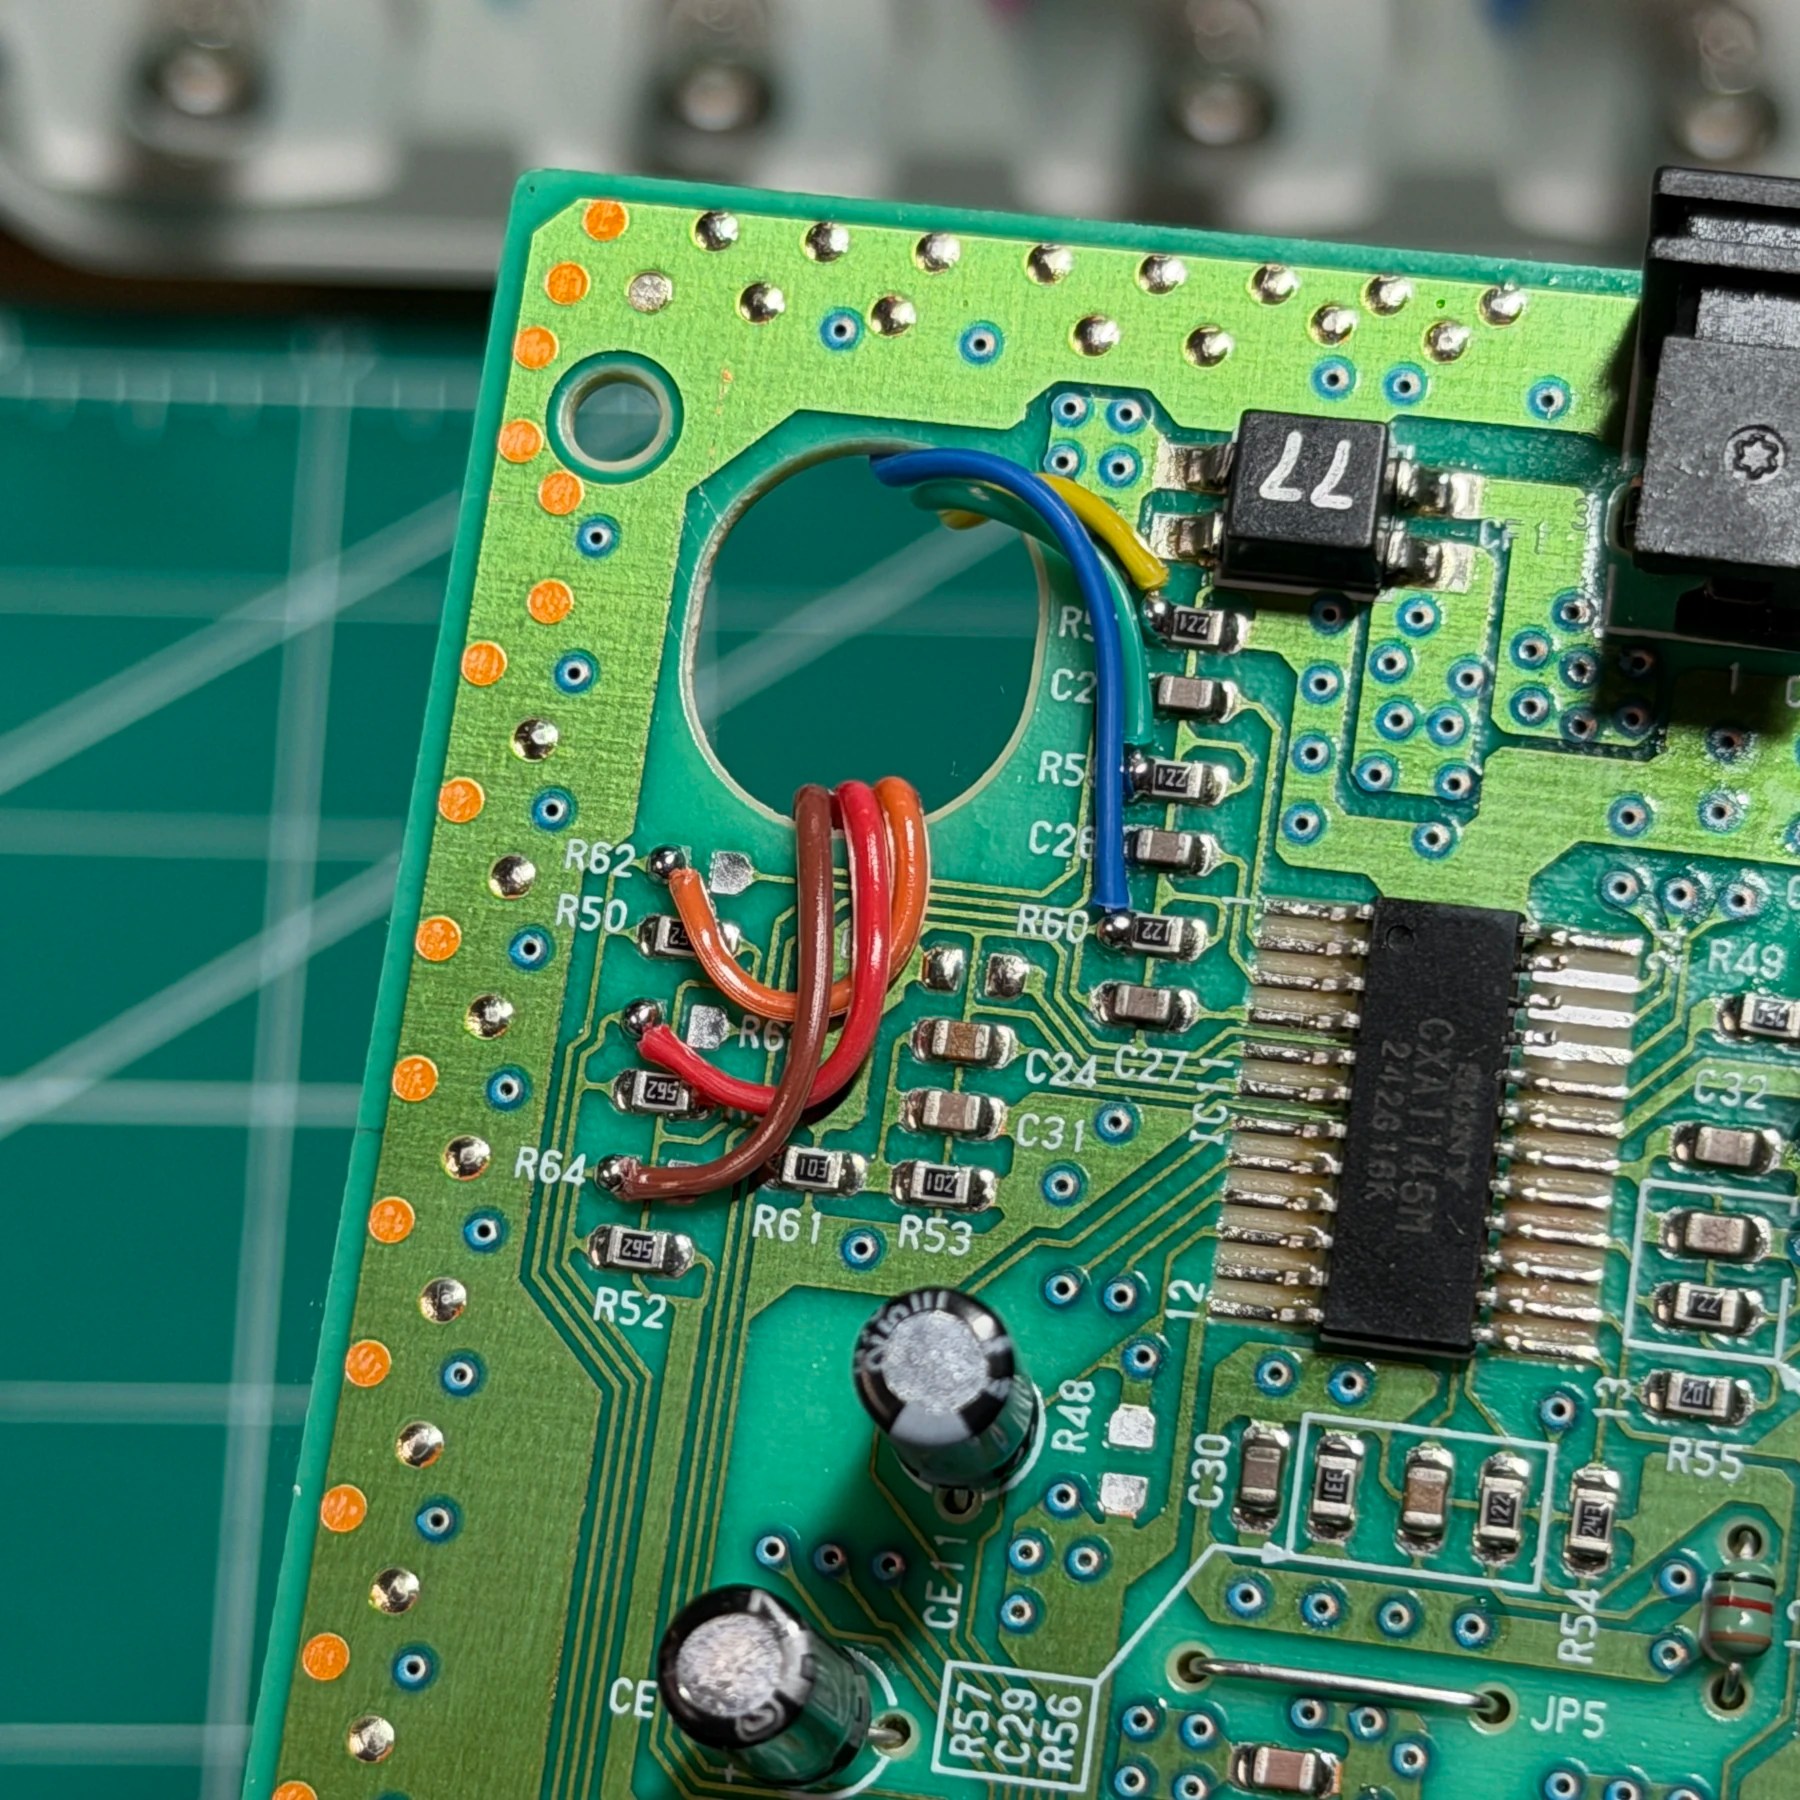
Once the audio wiring is done, I then did the same process for the much easier and smaller 3 wire bundles related to the RGB tap points and the CVBS restore so that composite video still works. These both route to the topside of the board on this non-plated version. Only tricky part on those wire bundles is getting the bent angles nice and clean and holding in place as you solder them. With those last few bundles done I set the jumpers properly for the Model 2 and the bypass is done!
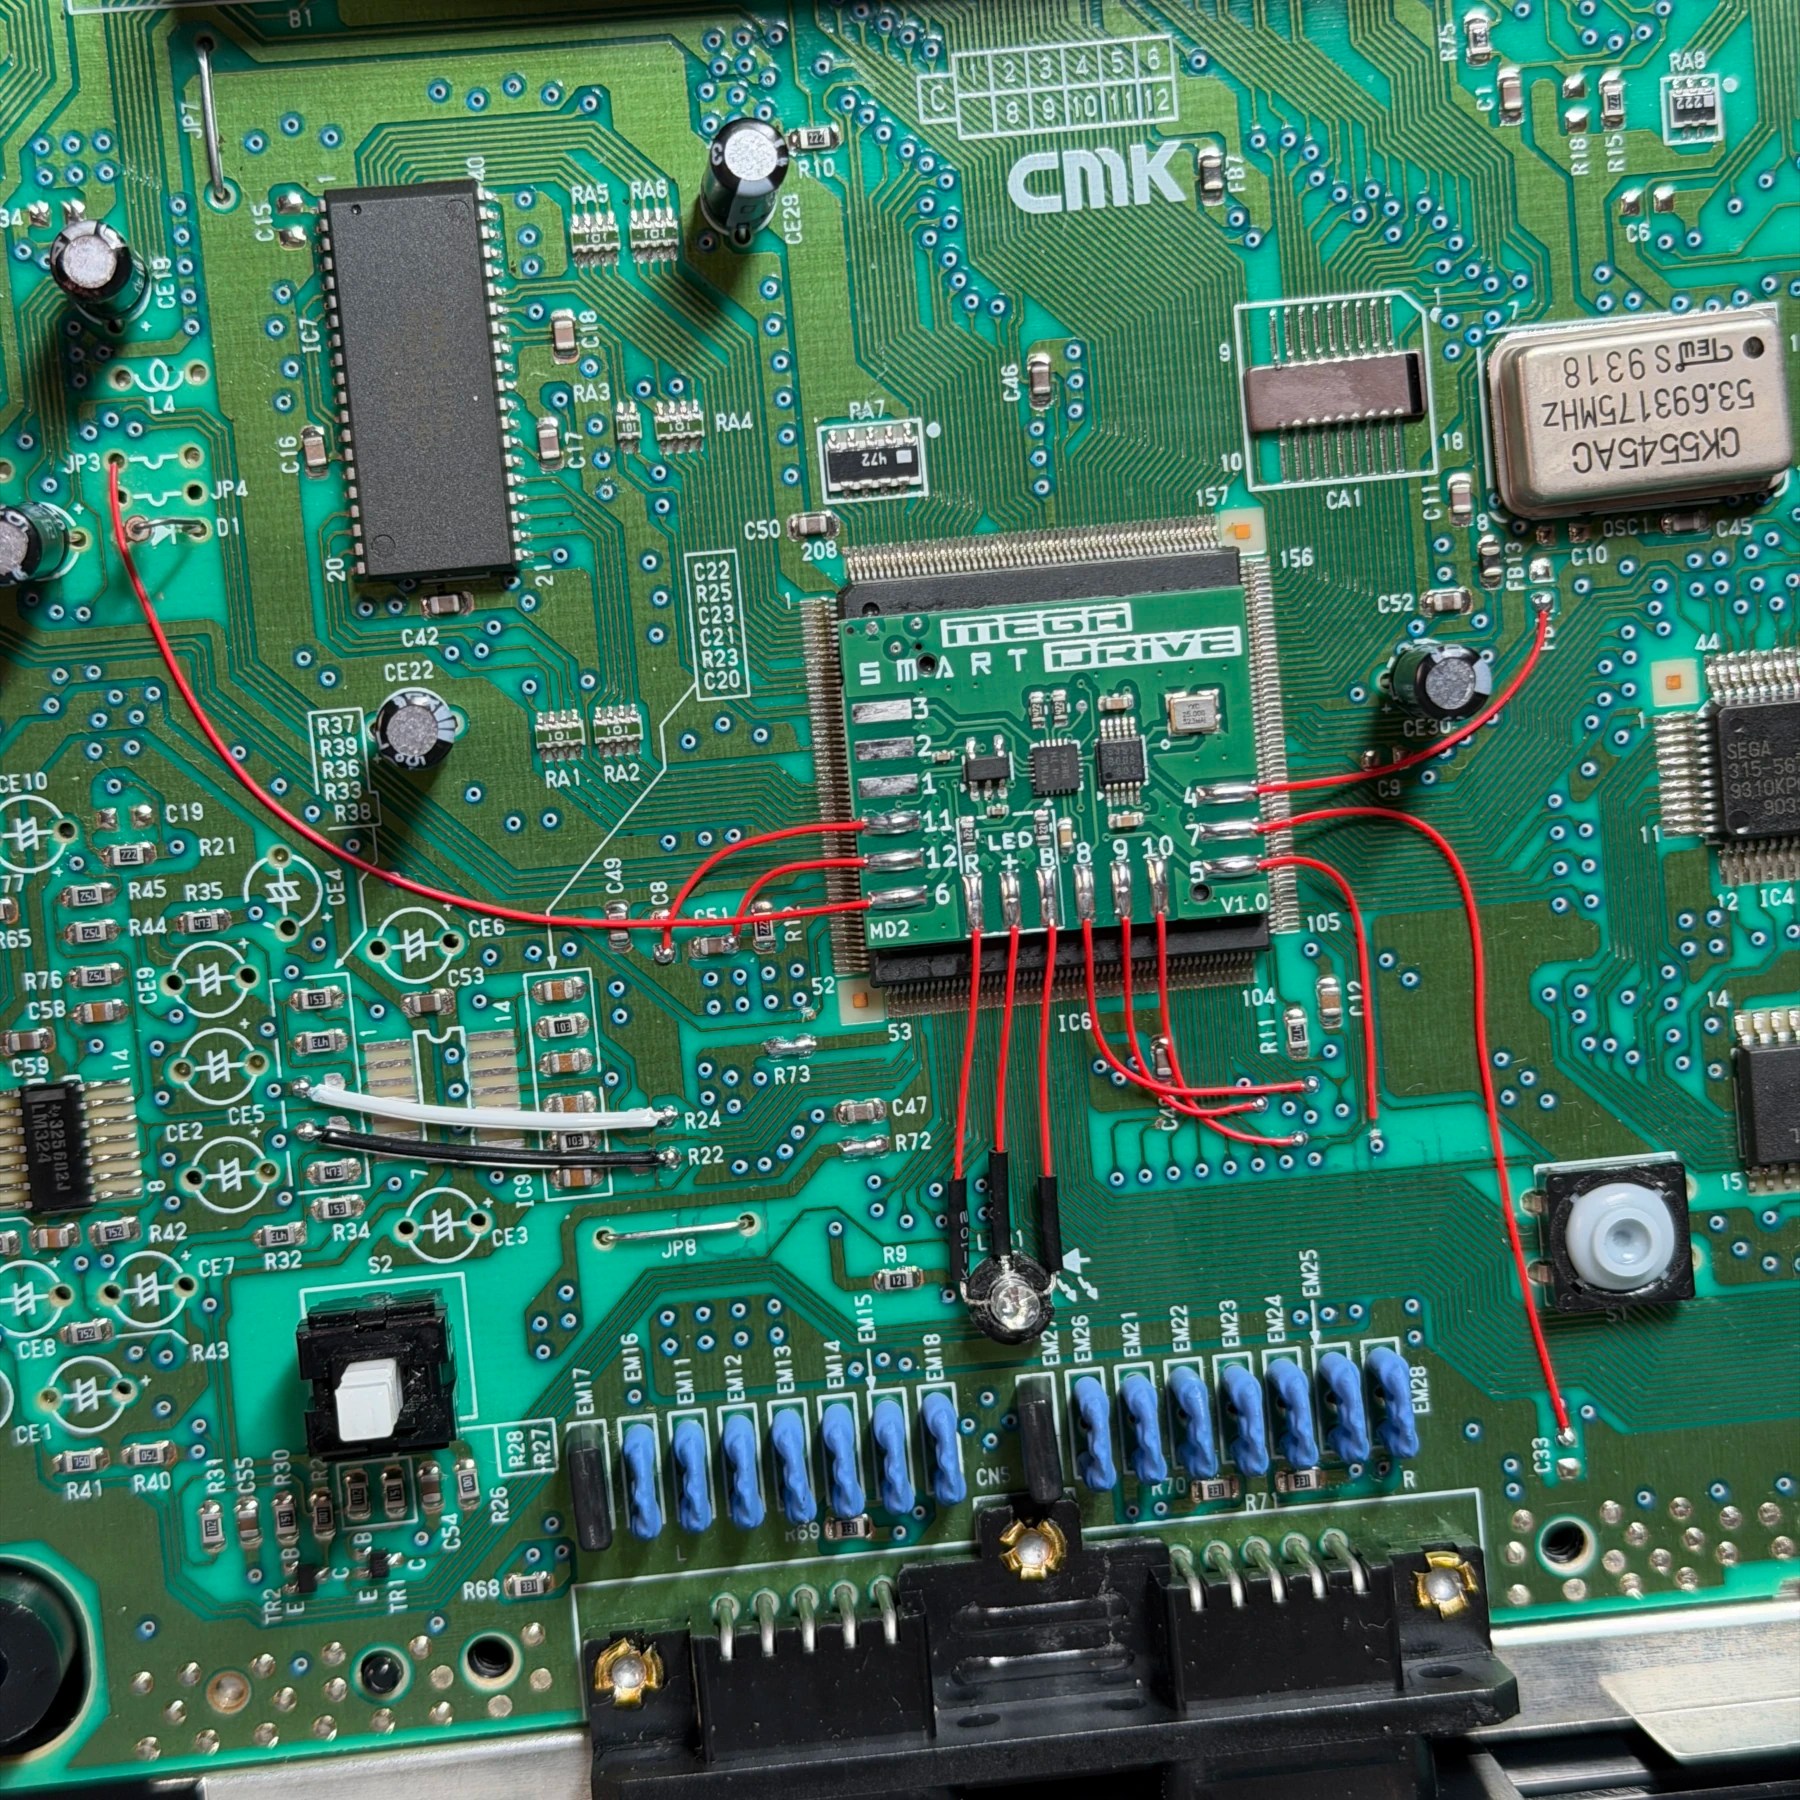
For the switchless region install, the instructions were very straightforward and had excellent images for every single revision of both Model 1 and Model 2! While it did say it worked with the Bypass mod I found after initial install that the “on screen display” color bar would not show and I believe this is probably due to the extra steps in removing components and wiring up CVBS restore. I say this because on the switchless mod the wires for the OSD run up to that left corner and a few of the points tone out to the now missing resistors for the CVBS wiring.
Since the customer wanted composite working and planned to use the provided color changing LED anyways the lack of OSD was not a problem. I will probably take some time on a spare Genesis build to figure out how to make both work in case I have a customer that wants the OSD option.
After undoing wires 1-3 I simply printed my LED mount (from a previous NGCD mod) and got the LED legs bent to wire up to the SmartDrive board that had been secured nearby with double sided tape. The wiring is very easy with only one tricky wire install in which you only have a thin trace to attach to that was previously cut with an Xacto knife. The rest is all easy to manage 30AWG Kynar wire and relatively short runs.
This customer wanted the Genesis to appear stock for most games and since the kit defaults to USA = Blue, PAL = Red and JPN = Purple, I realized I could just reverse the LED wiring so that USA = Red which will be the most common use. This customer would only see a non-standard LED color for the handful of PAL or JPN games.
Once wired up I confirmed bypass was working for both audio and video and confirmed operation of the switchless mod via my region check on the EverDrive Pro and testing both NTSC 60 and PAL 50 games. You can switch regions with a long hold of the reset button or controller combo, and you can also reset to menu using a new controller combo which pairs great with flash drive use!
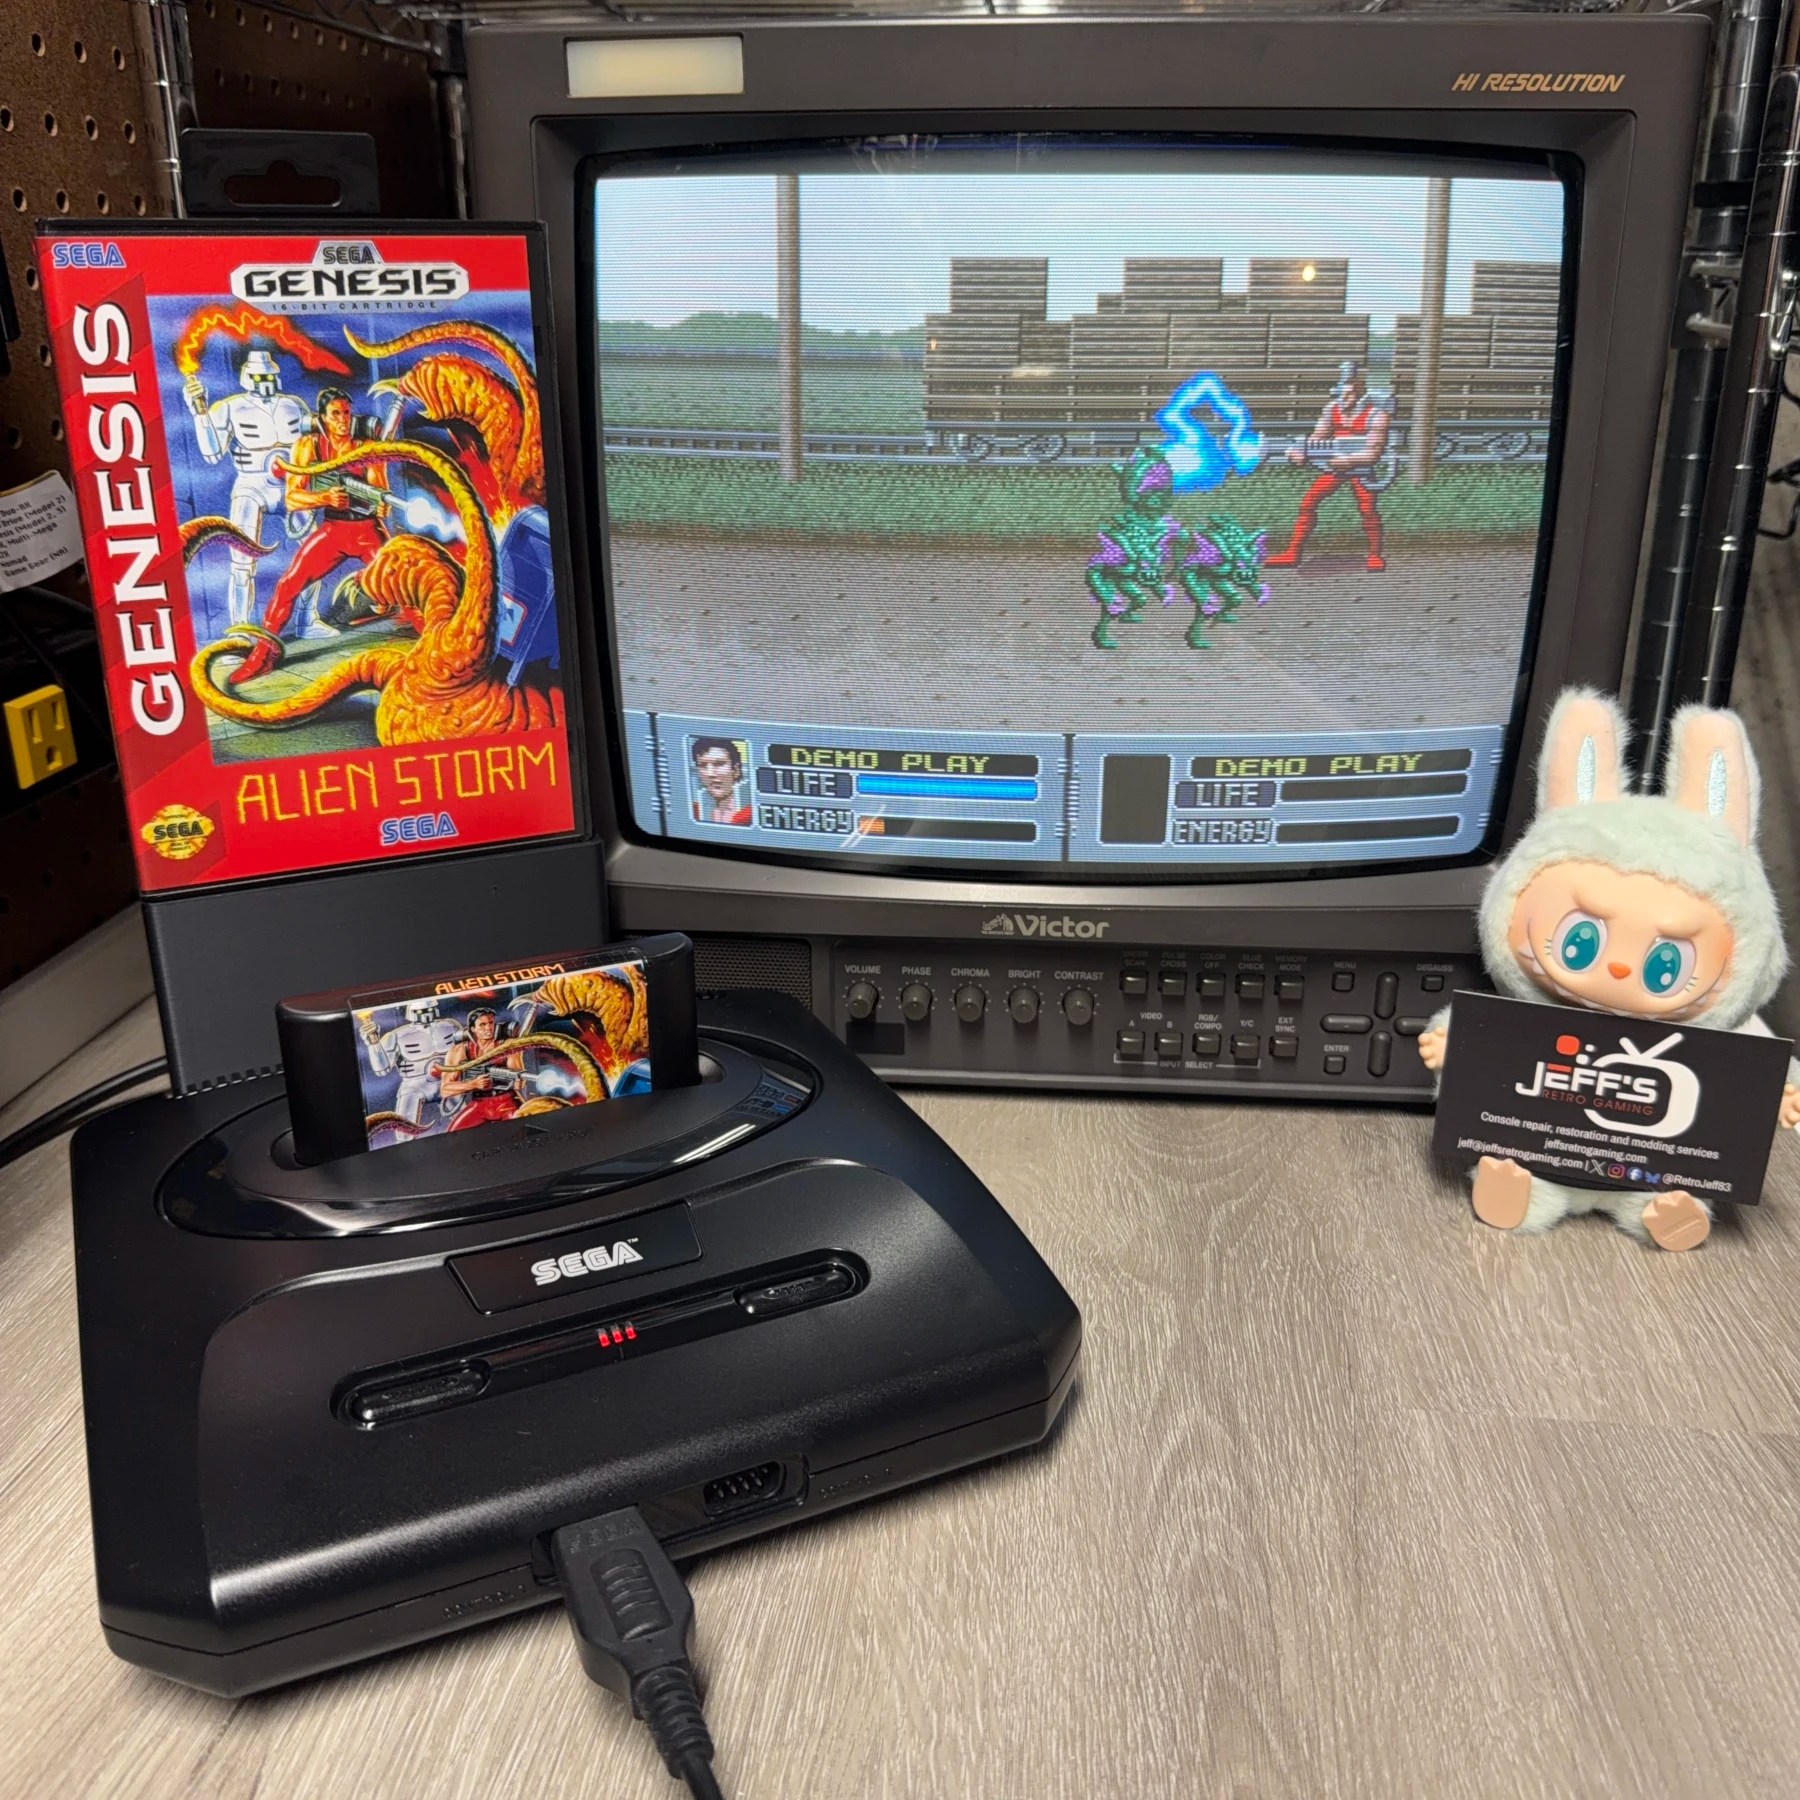
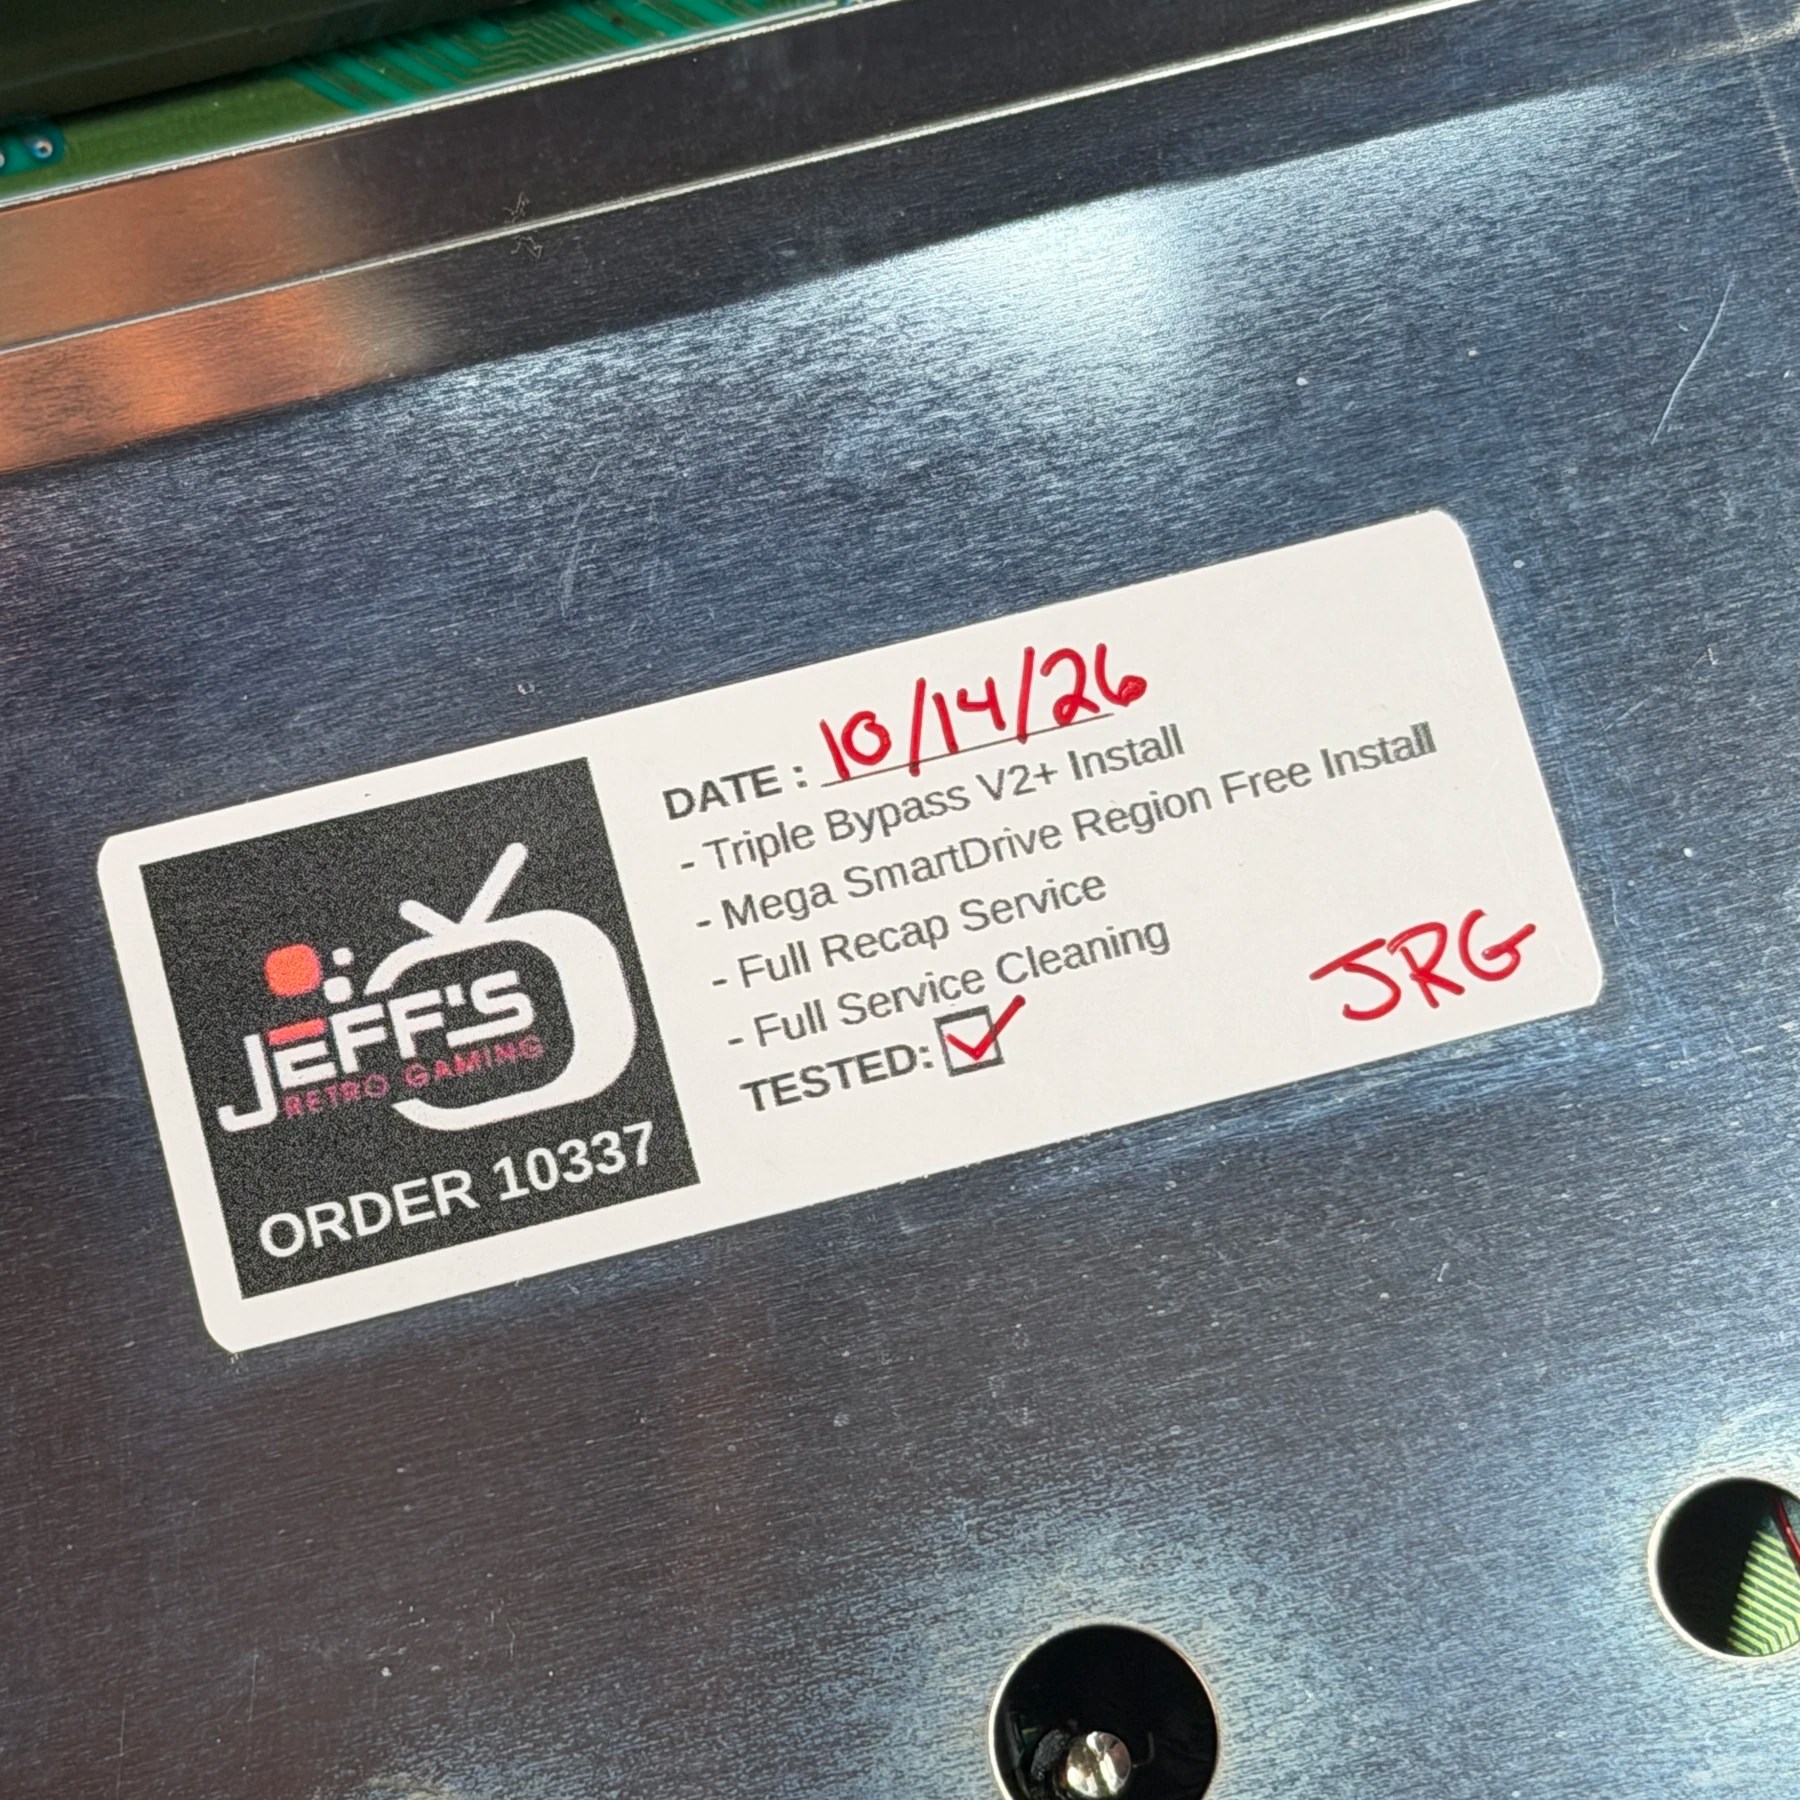
Once I knew all was good I added my sticker, closed up the console and let it run on the RetroTink4K/Elgato4KX to get the captures seen below. This is one tricked out Genesis and it’s headed home better than ever 👍