
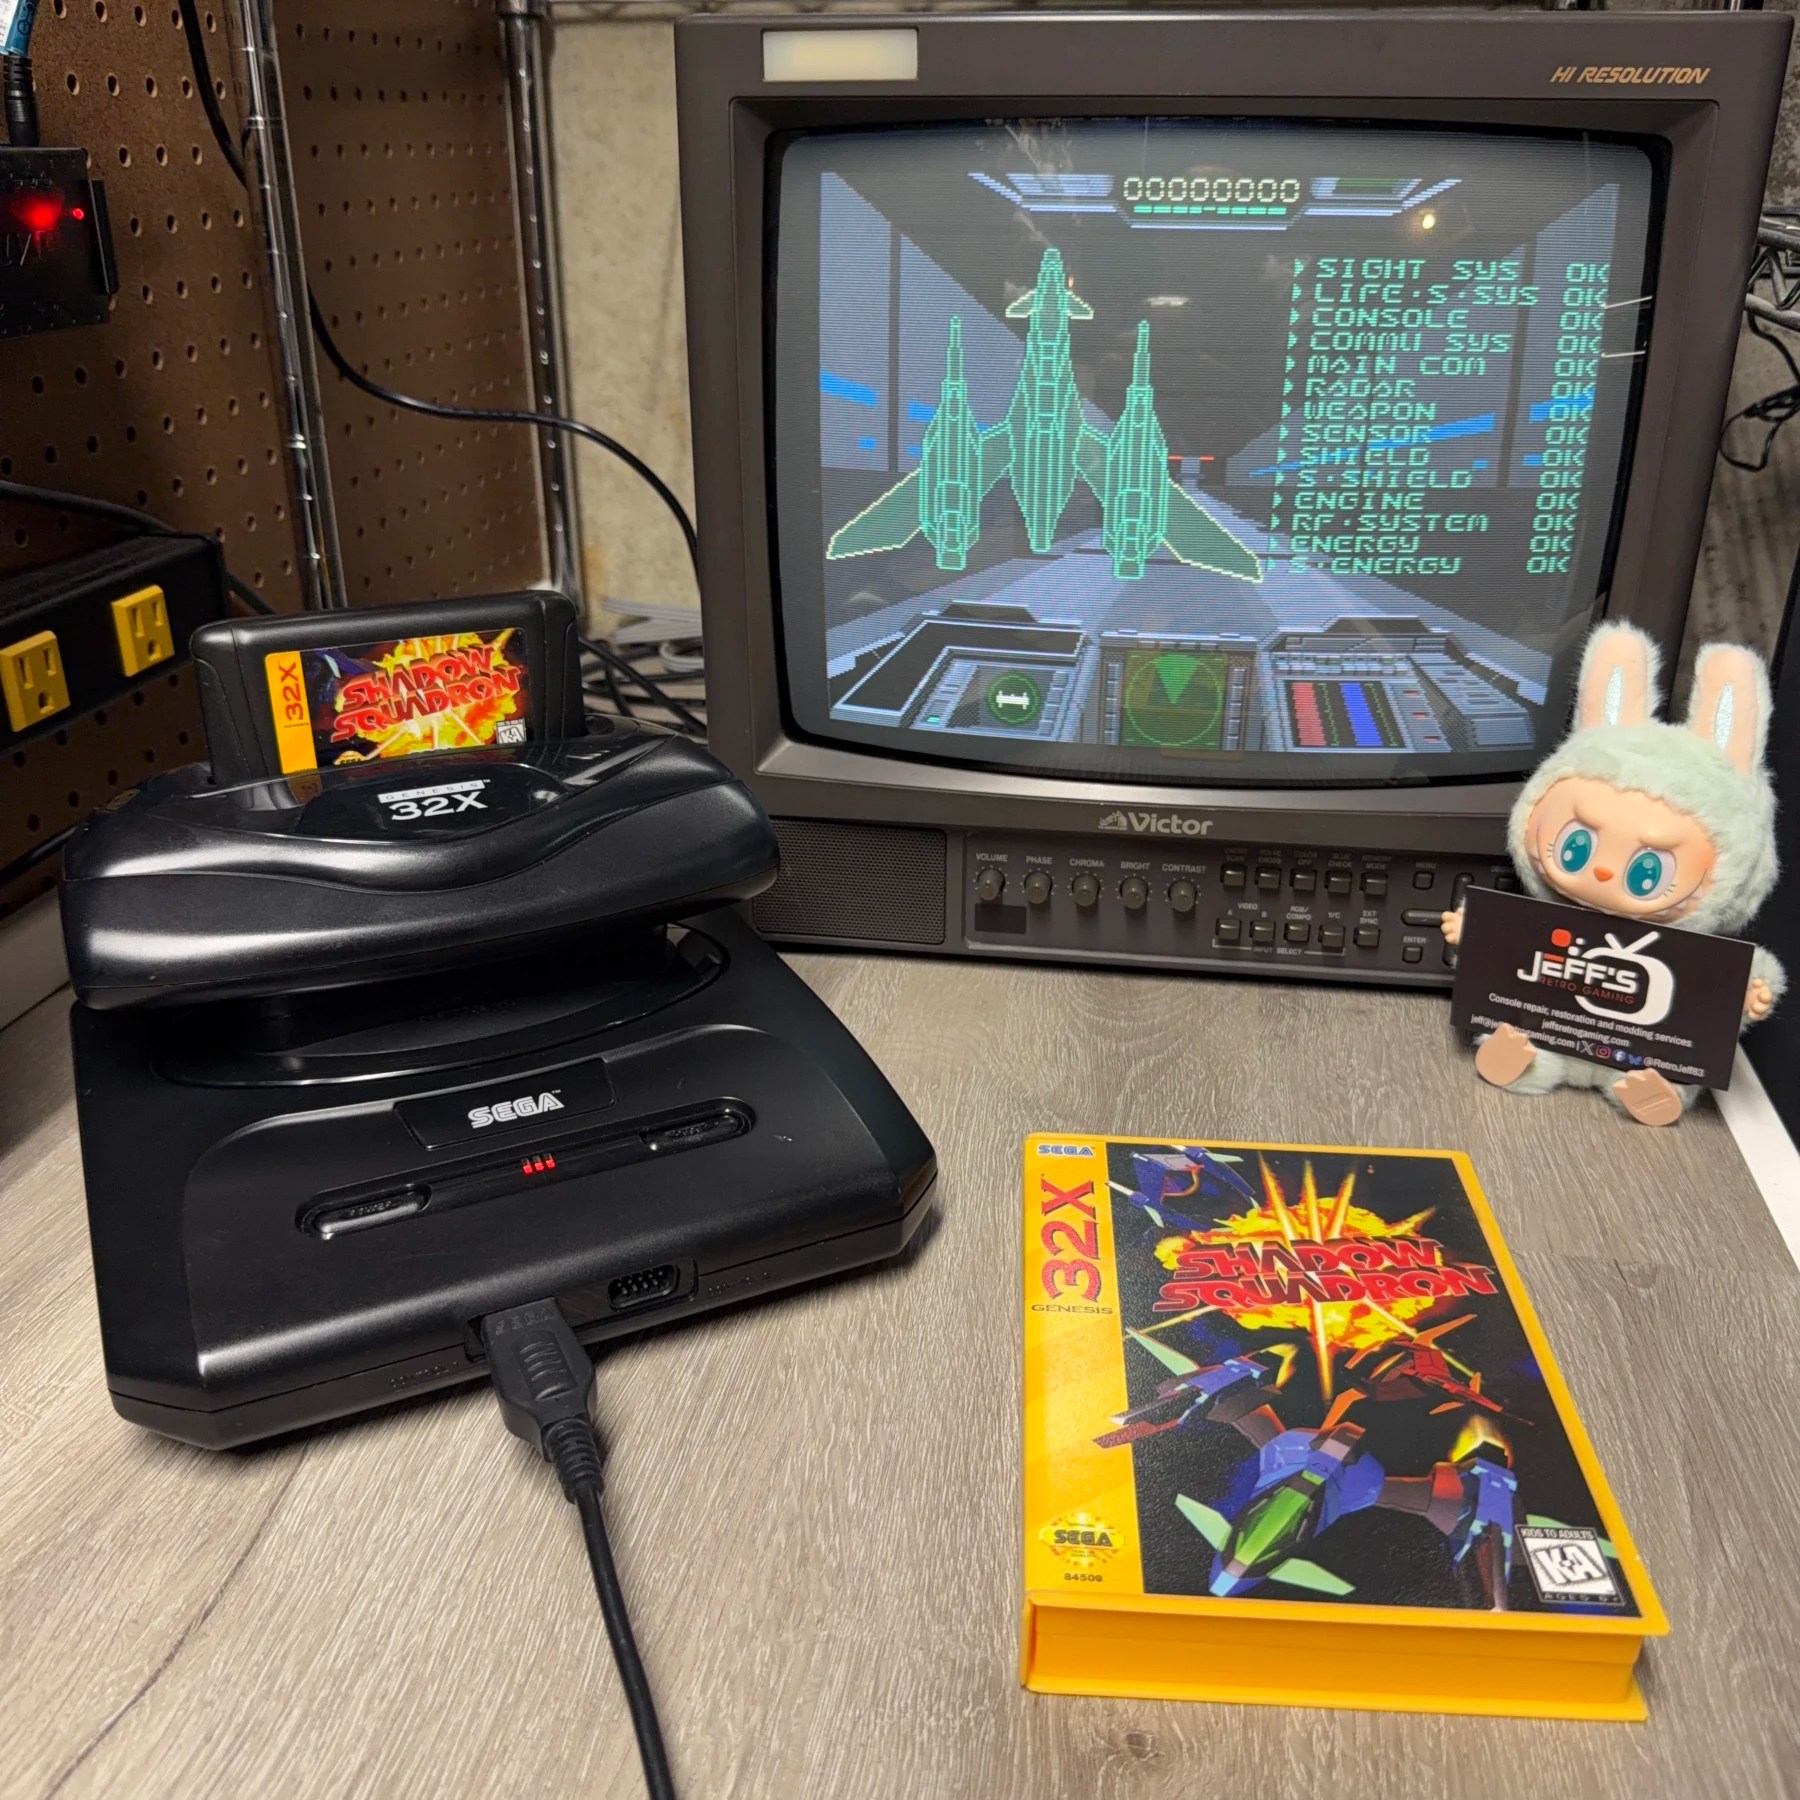
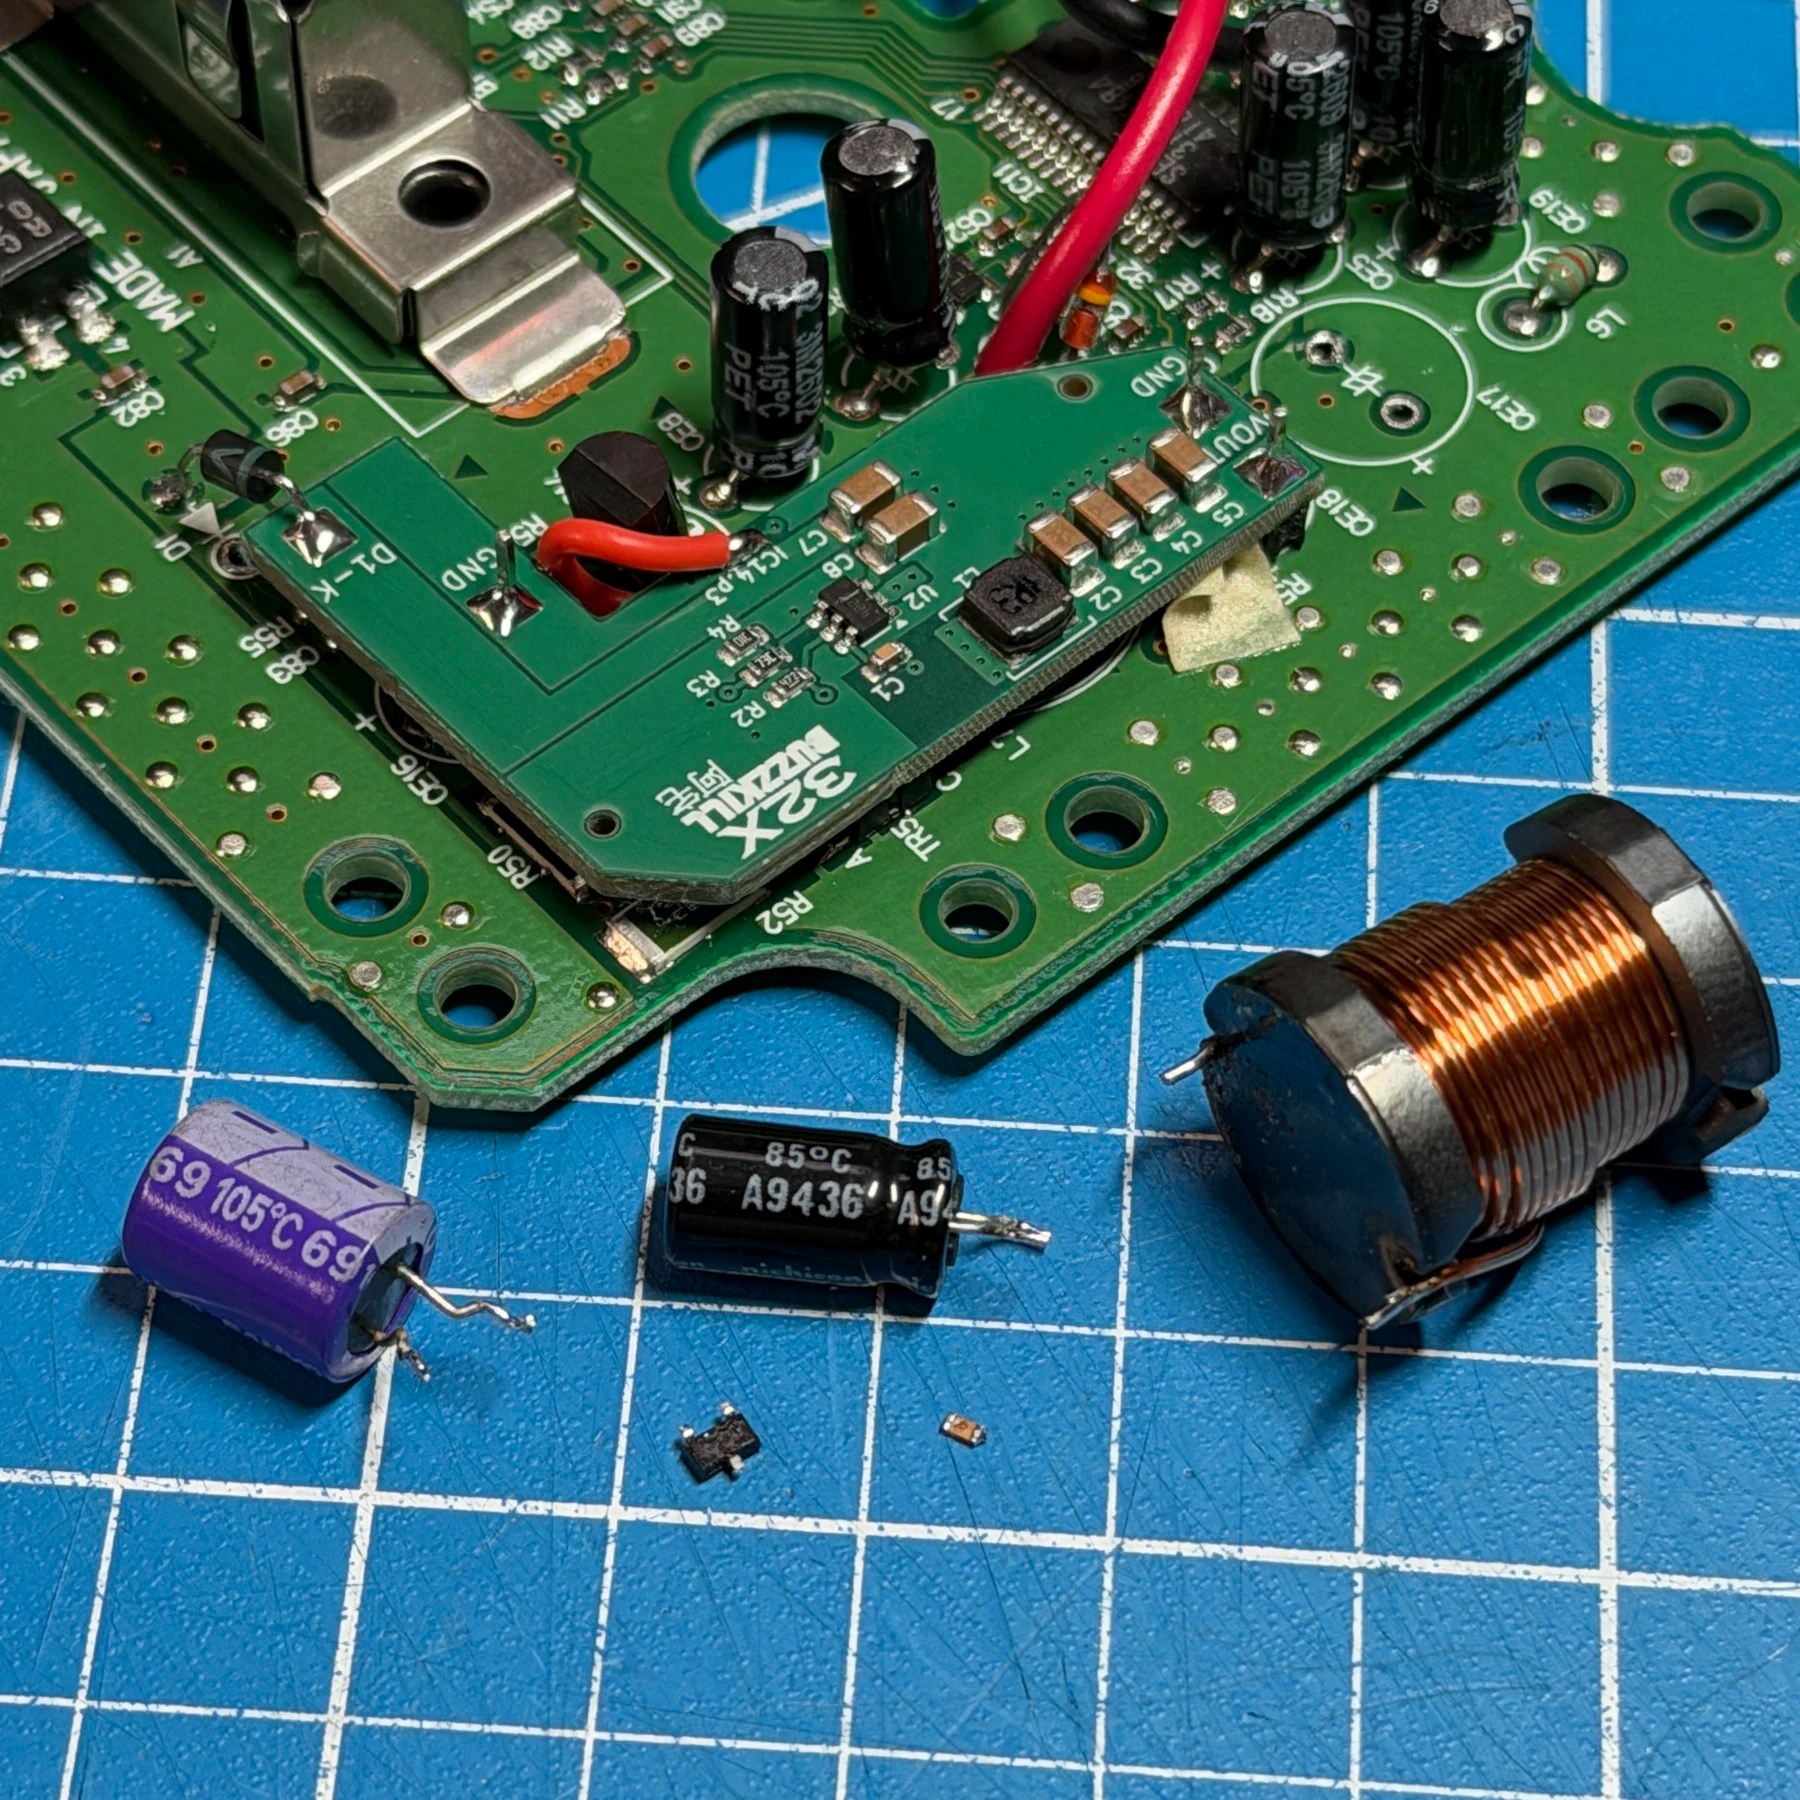
I was a bit surprised to see another 32X in the shop so soon after the last one just went out but there must be a bunch of new owners because I also have a few more in line soon for just about the same work – cleaning, recap and ‘Buzzkill’ install (one is also coming in for the switchless region mod from ConsolesUnleashed!)
The latter replaces the aging original power circuit with a cleaner and more efficient modern solution and also eliminates the loud buzzing/humming noise which is a very common complaint on these units, though how bad seems to vary quite a bit.
Unlike the last one that came in with no metal shielding at all this one had all the original parts and surprisingly the shielding was all in fantastic shape, very often its quite corroded/rusted/dull on these 32X units.
Anyways, on to the refurb…
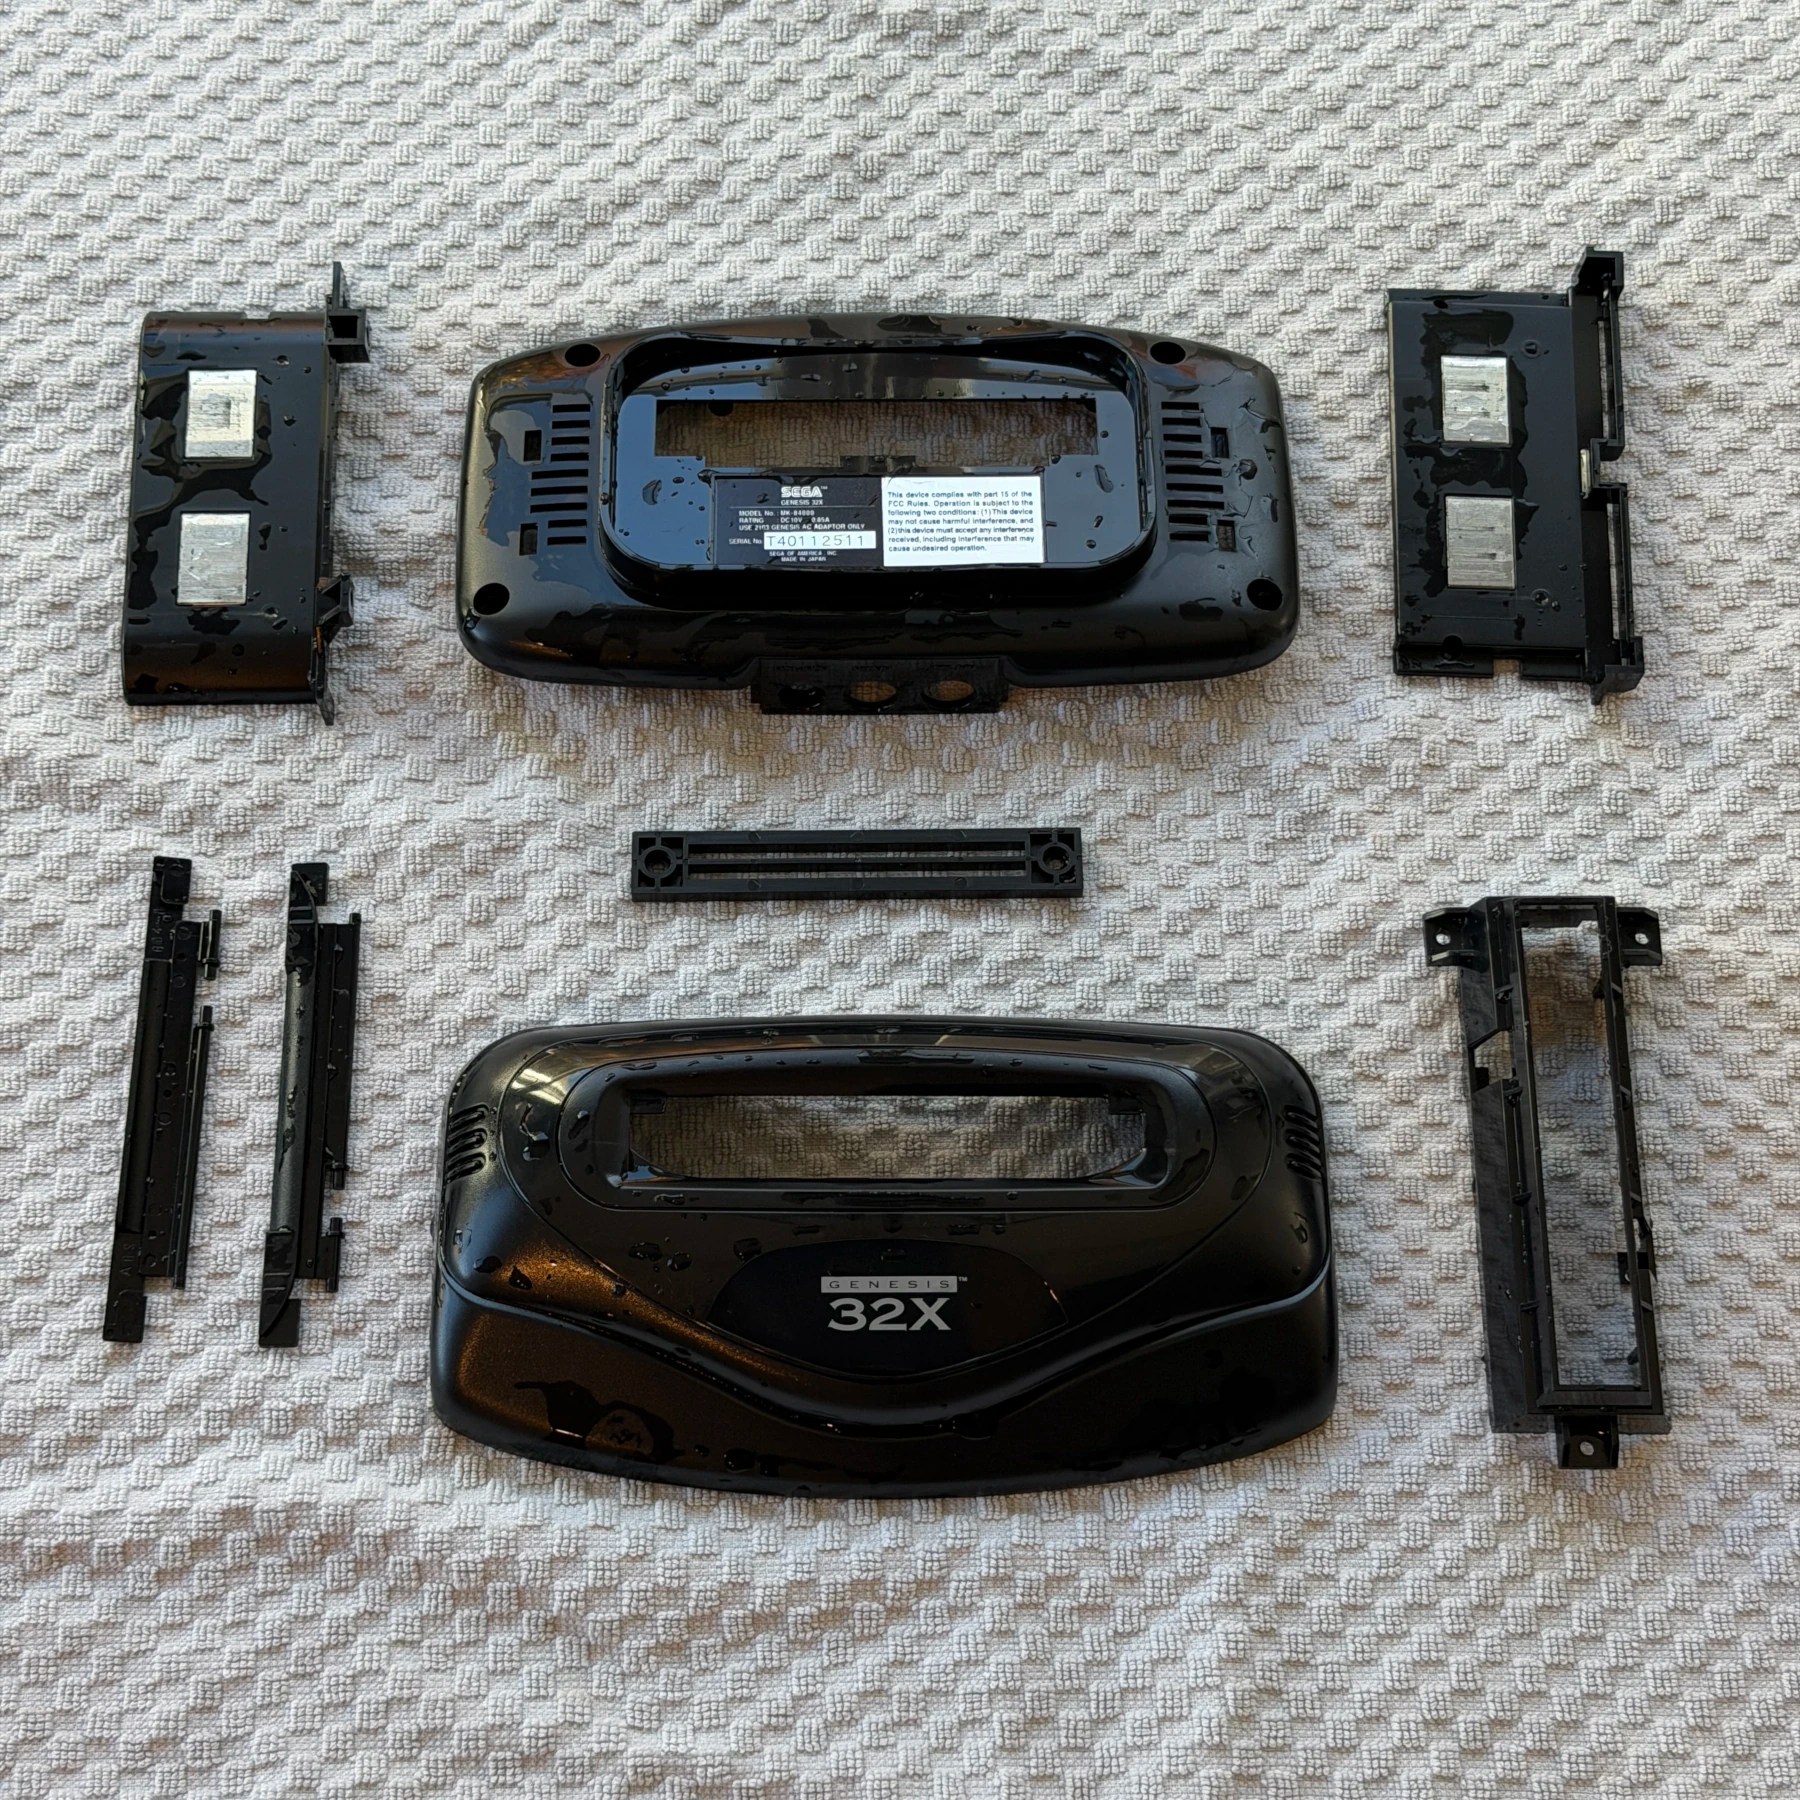
Cleaning service was chosen so I took apart the exterior shell and top cart slot flaps/bracket and tossed in the wash for a nice thorough scrub, rinse and set to dry overnight. Once I got the original ribbons removed and set to the side it was time to decap the board.
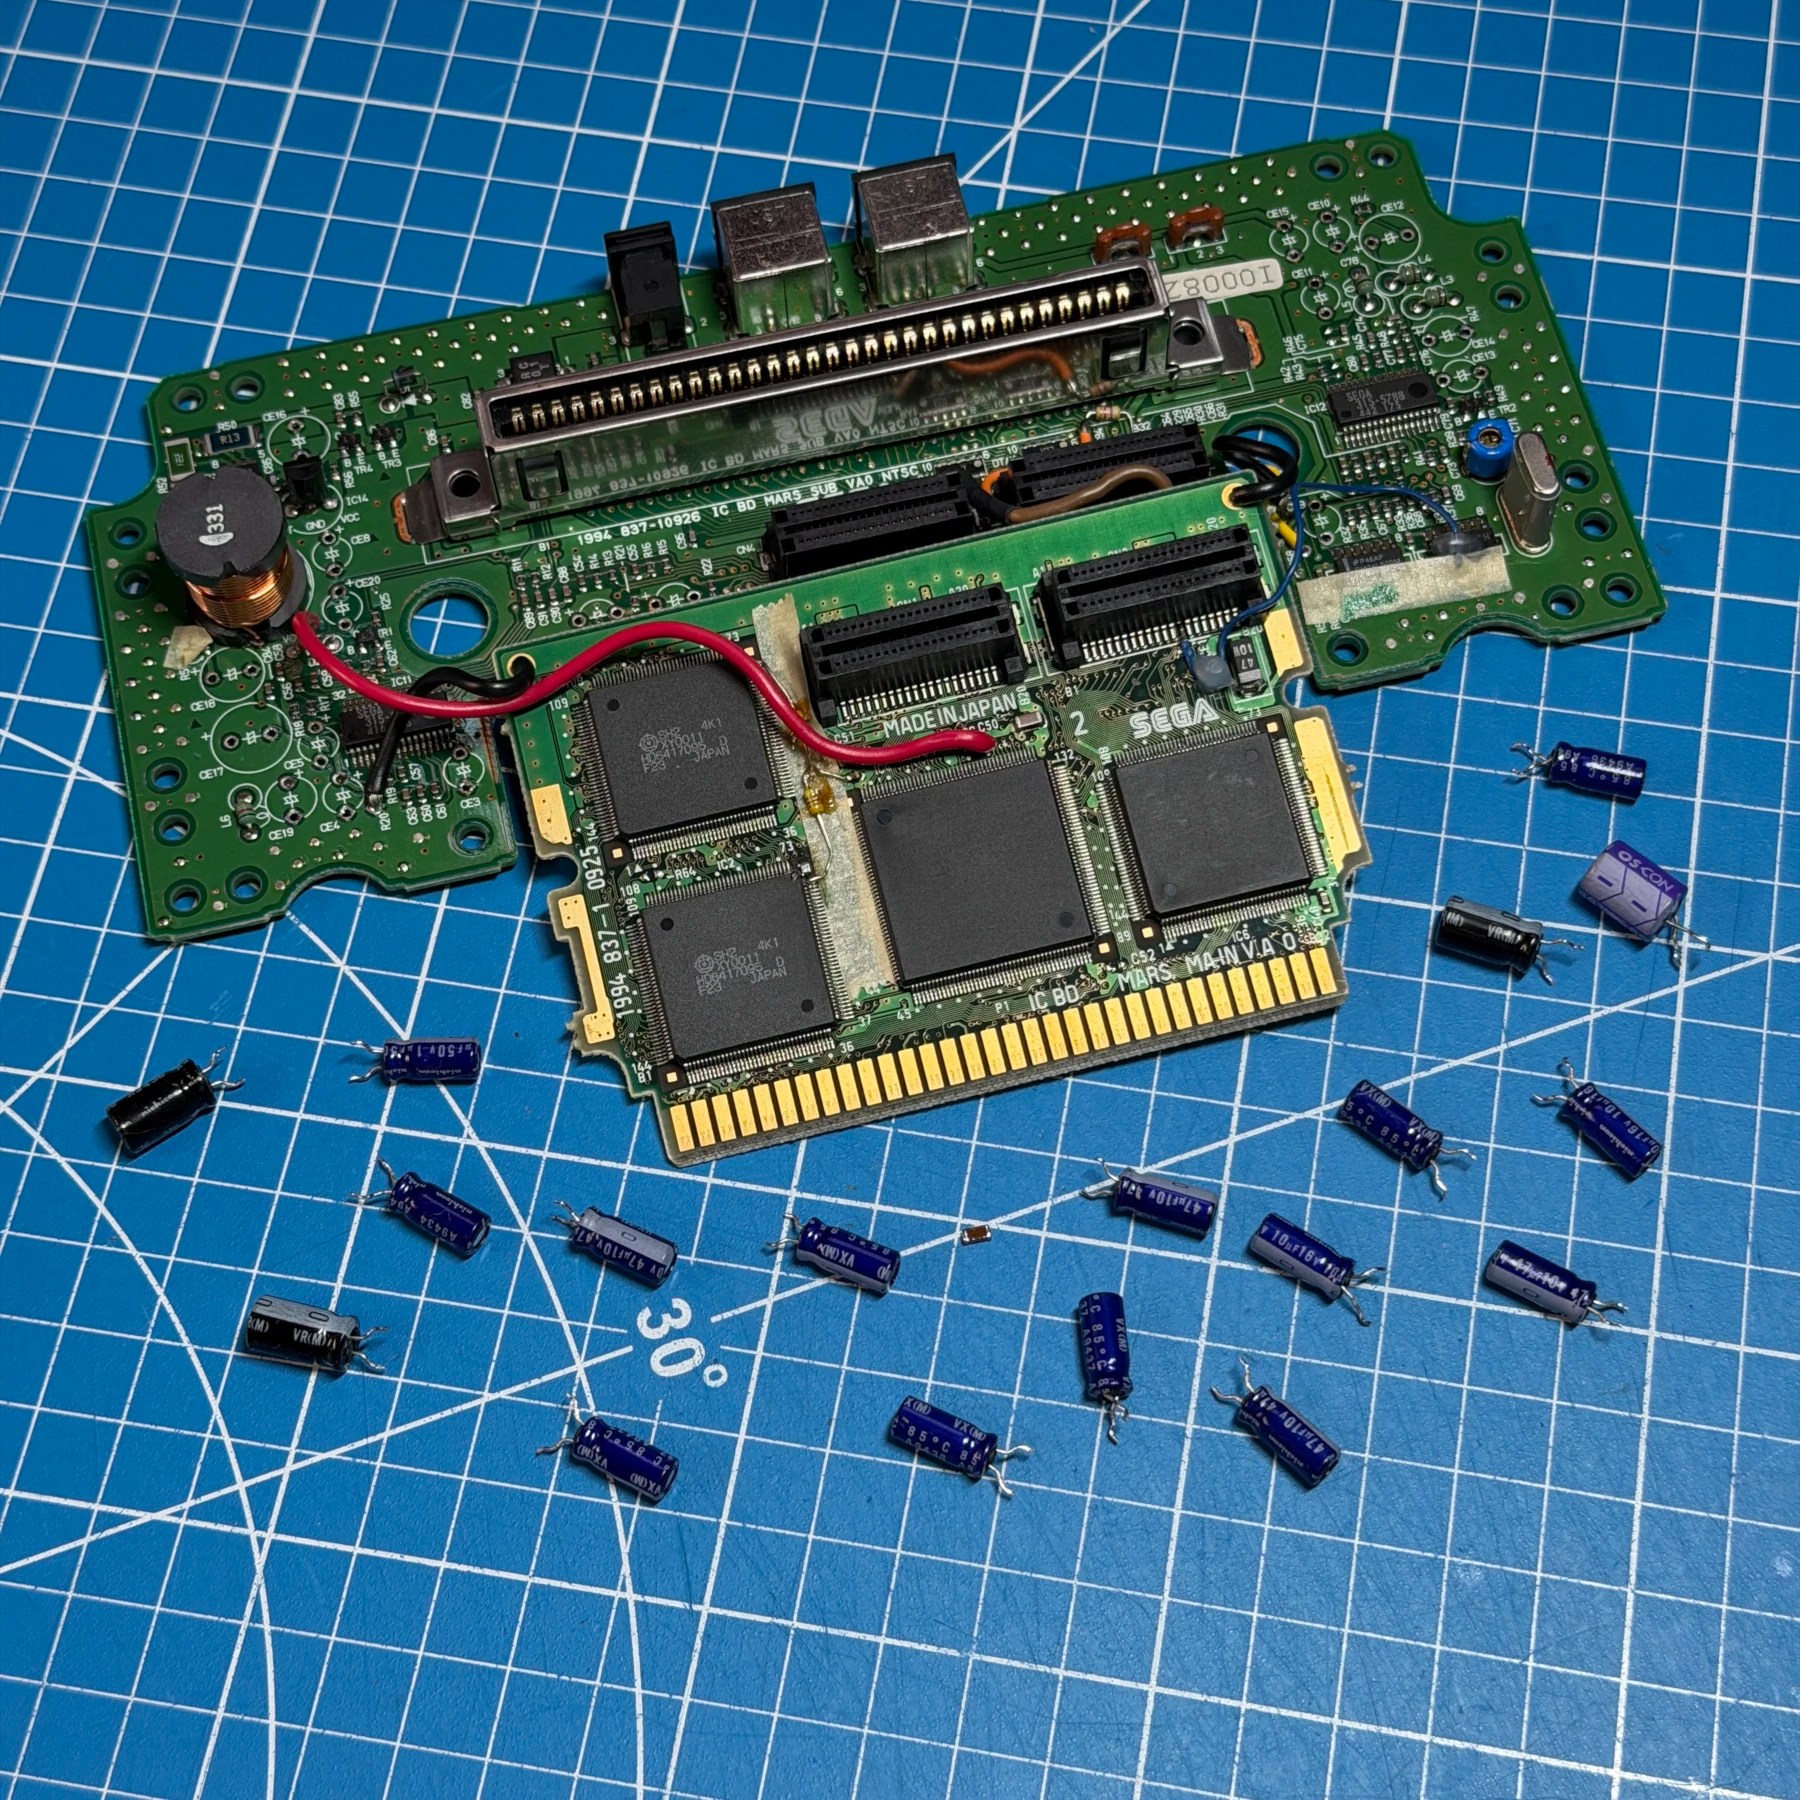
I find the joints on the 32X usually flow pretty easily so I can just desolder them directly without needing a reflow first. I make quick work of all the TH caps with my Hakko gun and since that’s warmed up also remove the inductor coil and lift a diode leg that will be needed for the Buzzkill mod. Once all those caps are gone I then remove the C30 ceramic cap for the video noise fix and set all those aside and wipe the board down thoroughly with 99% iso and let it dry.
Looking over the Buzzkill instructions, I leave off the 3 capacitors that the kit requires/recommends get removed and then solder on all the new replacements from the Console5 kit including the new value C30 replacement for the noise fix.
For the Buzzkill mod itself all I have left to do is remove a few SMD components with my iron (resistor and transistor) and then I solder on the pin headers in the old cap holes then solder the board down on top of those pin headers. Before I secure the underside of the Buzzkill board I lift it up and add the required wire to IC14 now that nothing is in the way, then route it to the side and drop the Buzzkill board back on and finally secure it via the underside.
To finish off the Buzzkill mod I then solder the previously lifted diode leg and the IC14 wire to the board and the install is done. Just a matter of the ribbon cleaning and reassembly!
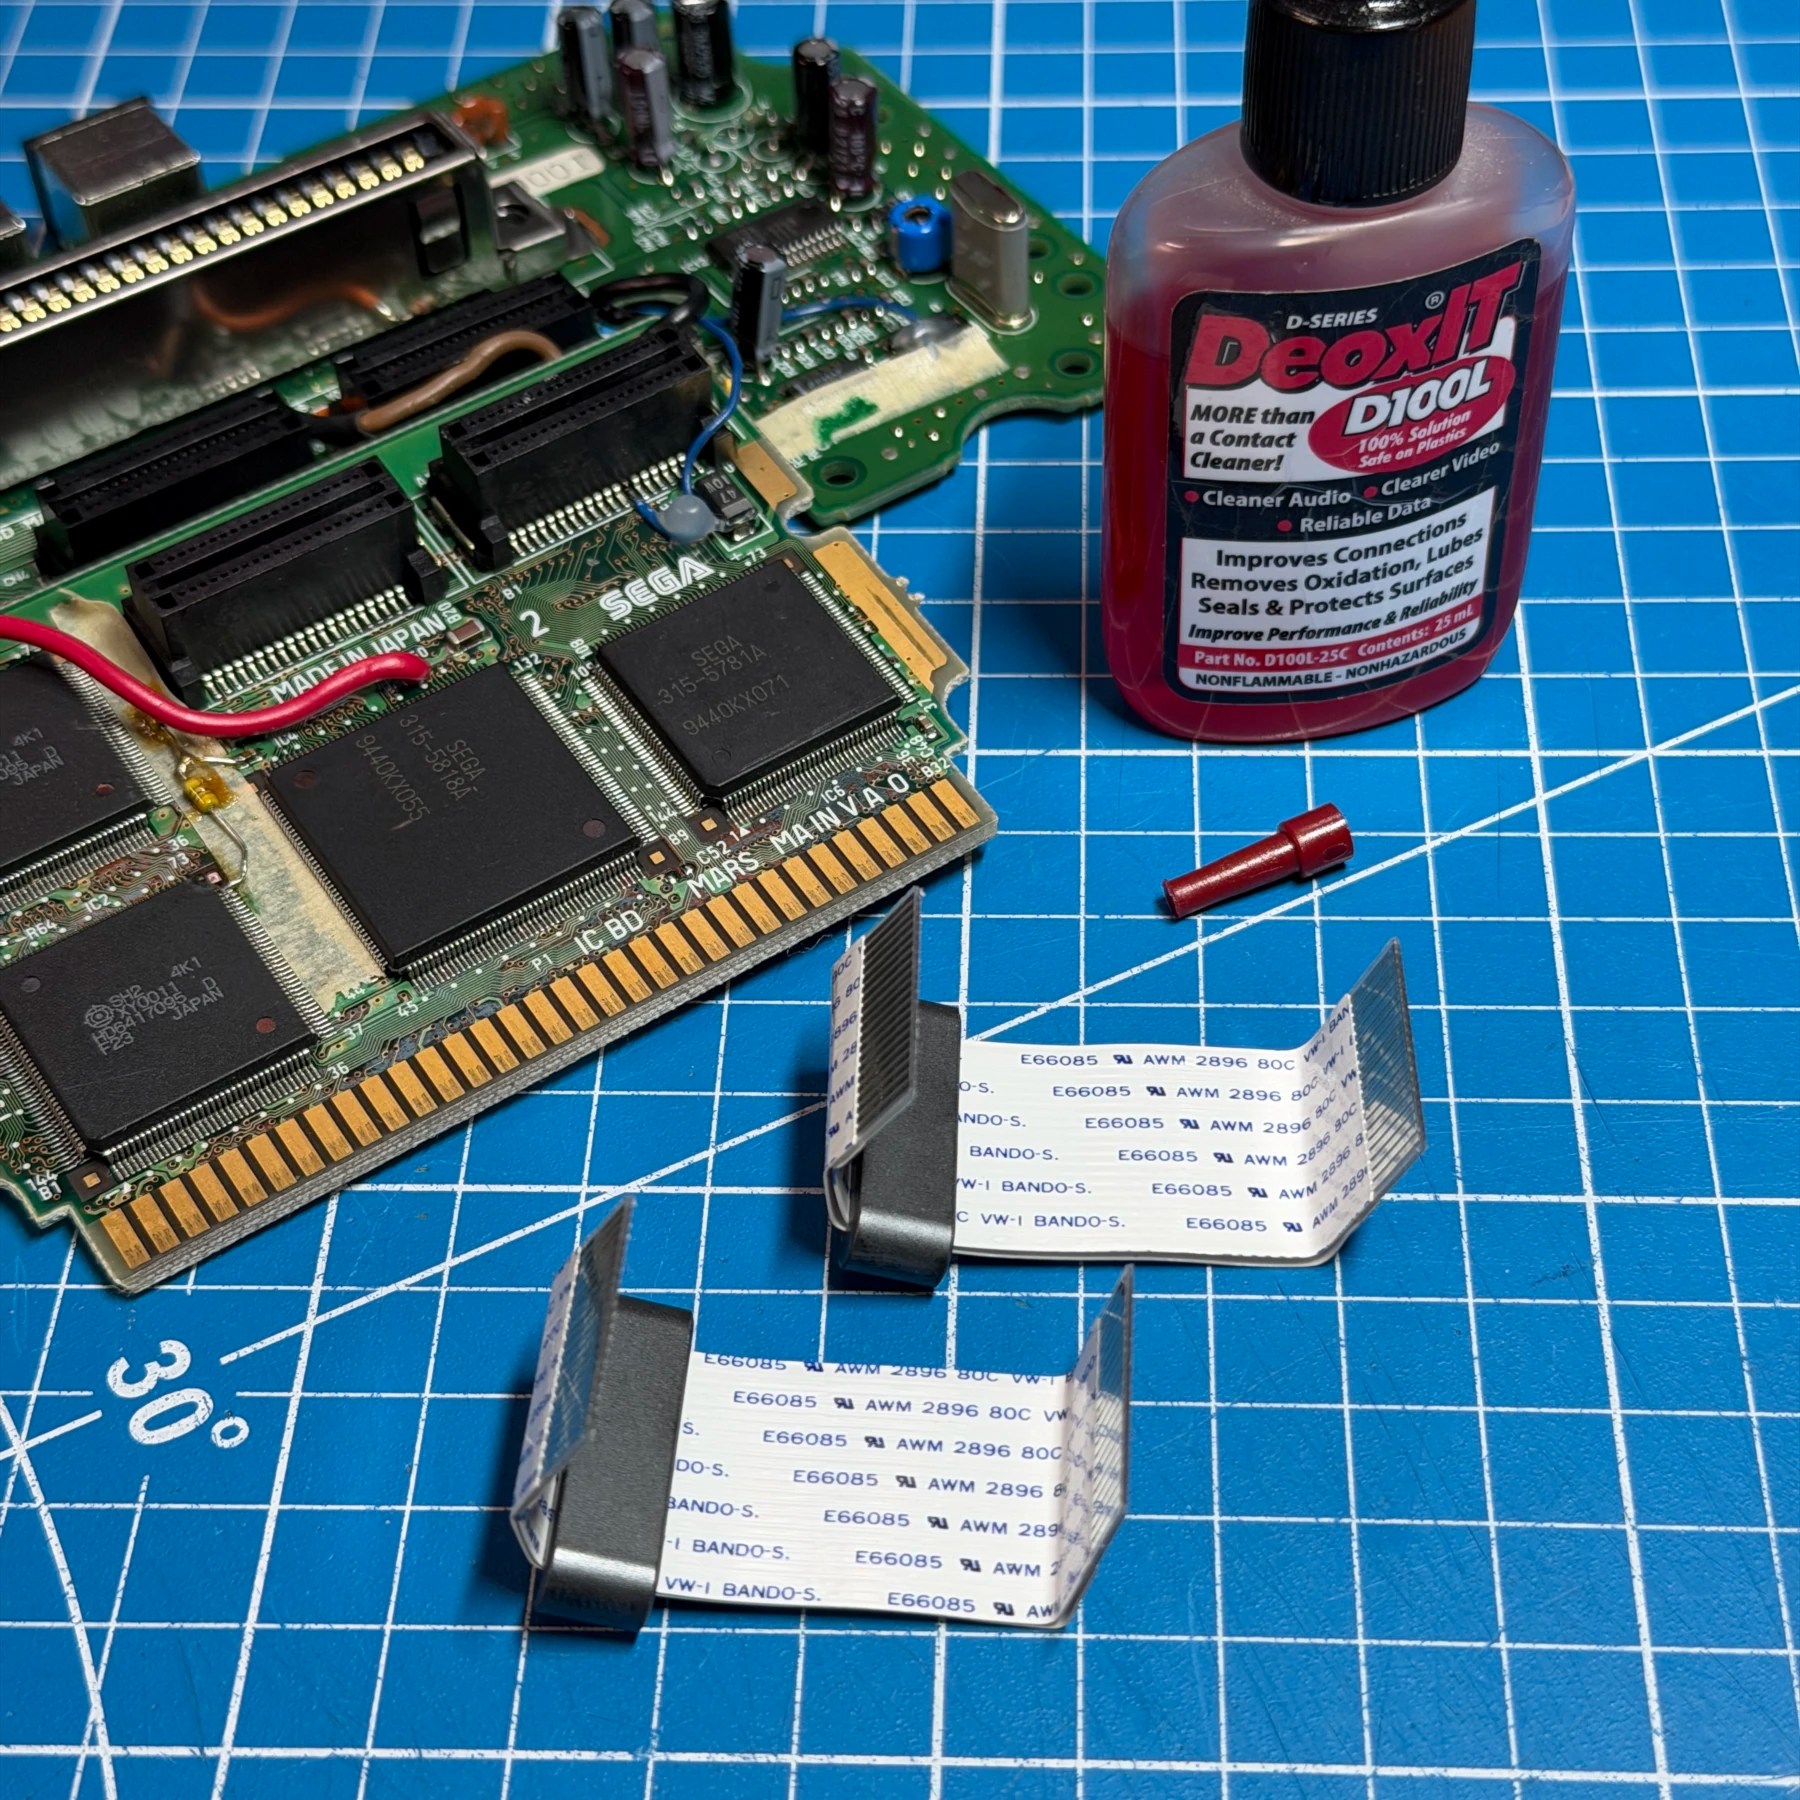
Being that the ribbons cause issues in these 99% of the time I don’t leave anything to chance and ever ship a 32X unit back without addressing them first. For that, once removed I gently wipe down the fingers on both sides of both ends of each ribbon with an iso soaked microfiber and then apply a VERY light coat of DeoxIT D100L, blast out the ribbon ports with my electronics duster and insert them firmly until they ‘snap’ in place.
With the ribbons back in and securing both boards I then start reassembling the internals back into the now clean and dry shell and screw the main/sub board into place just leaving the top shell off.
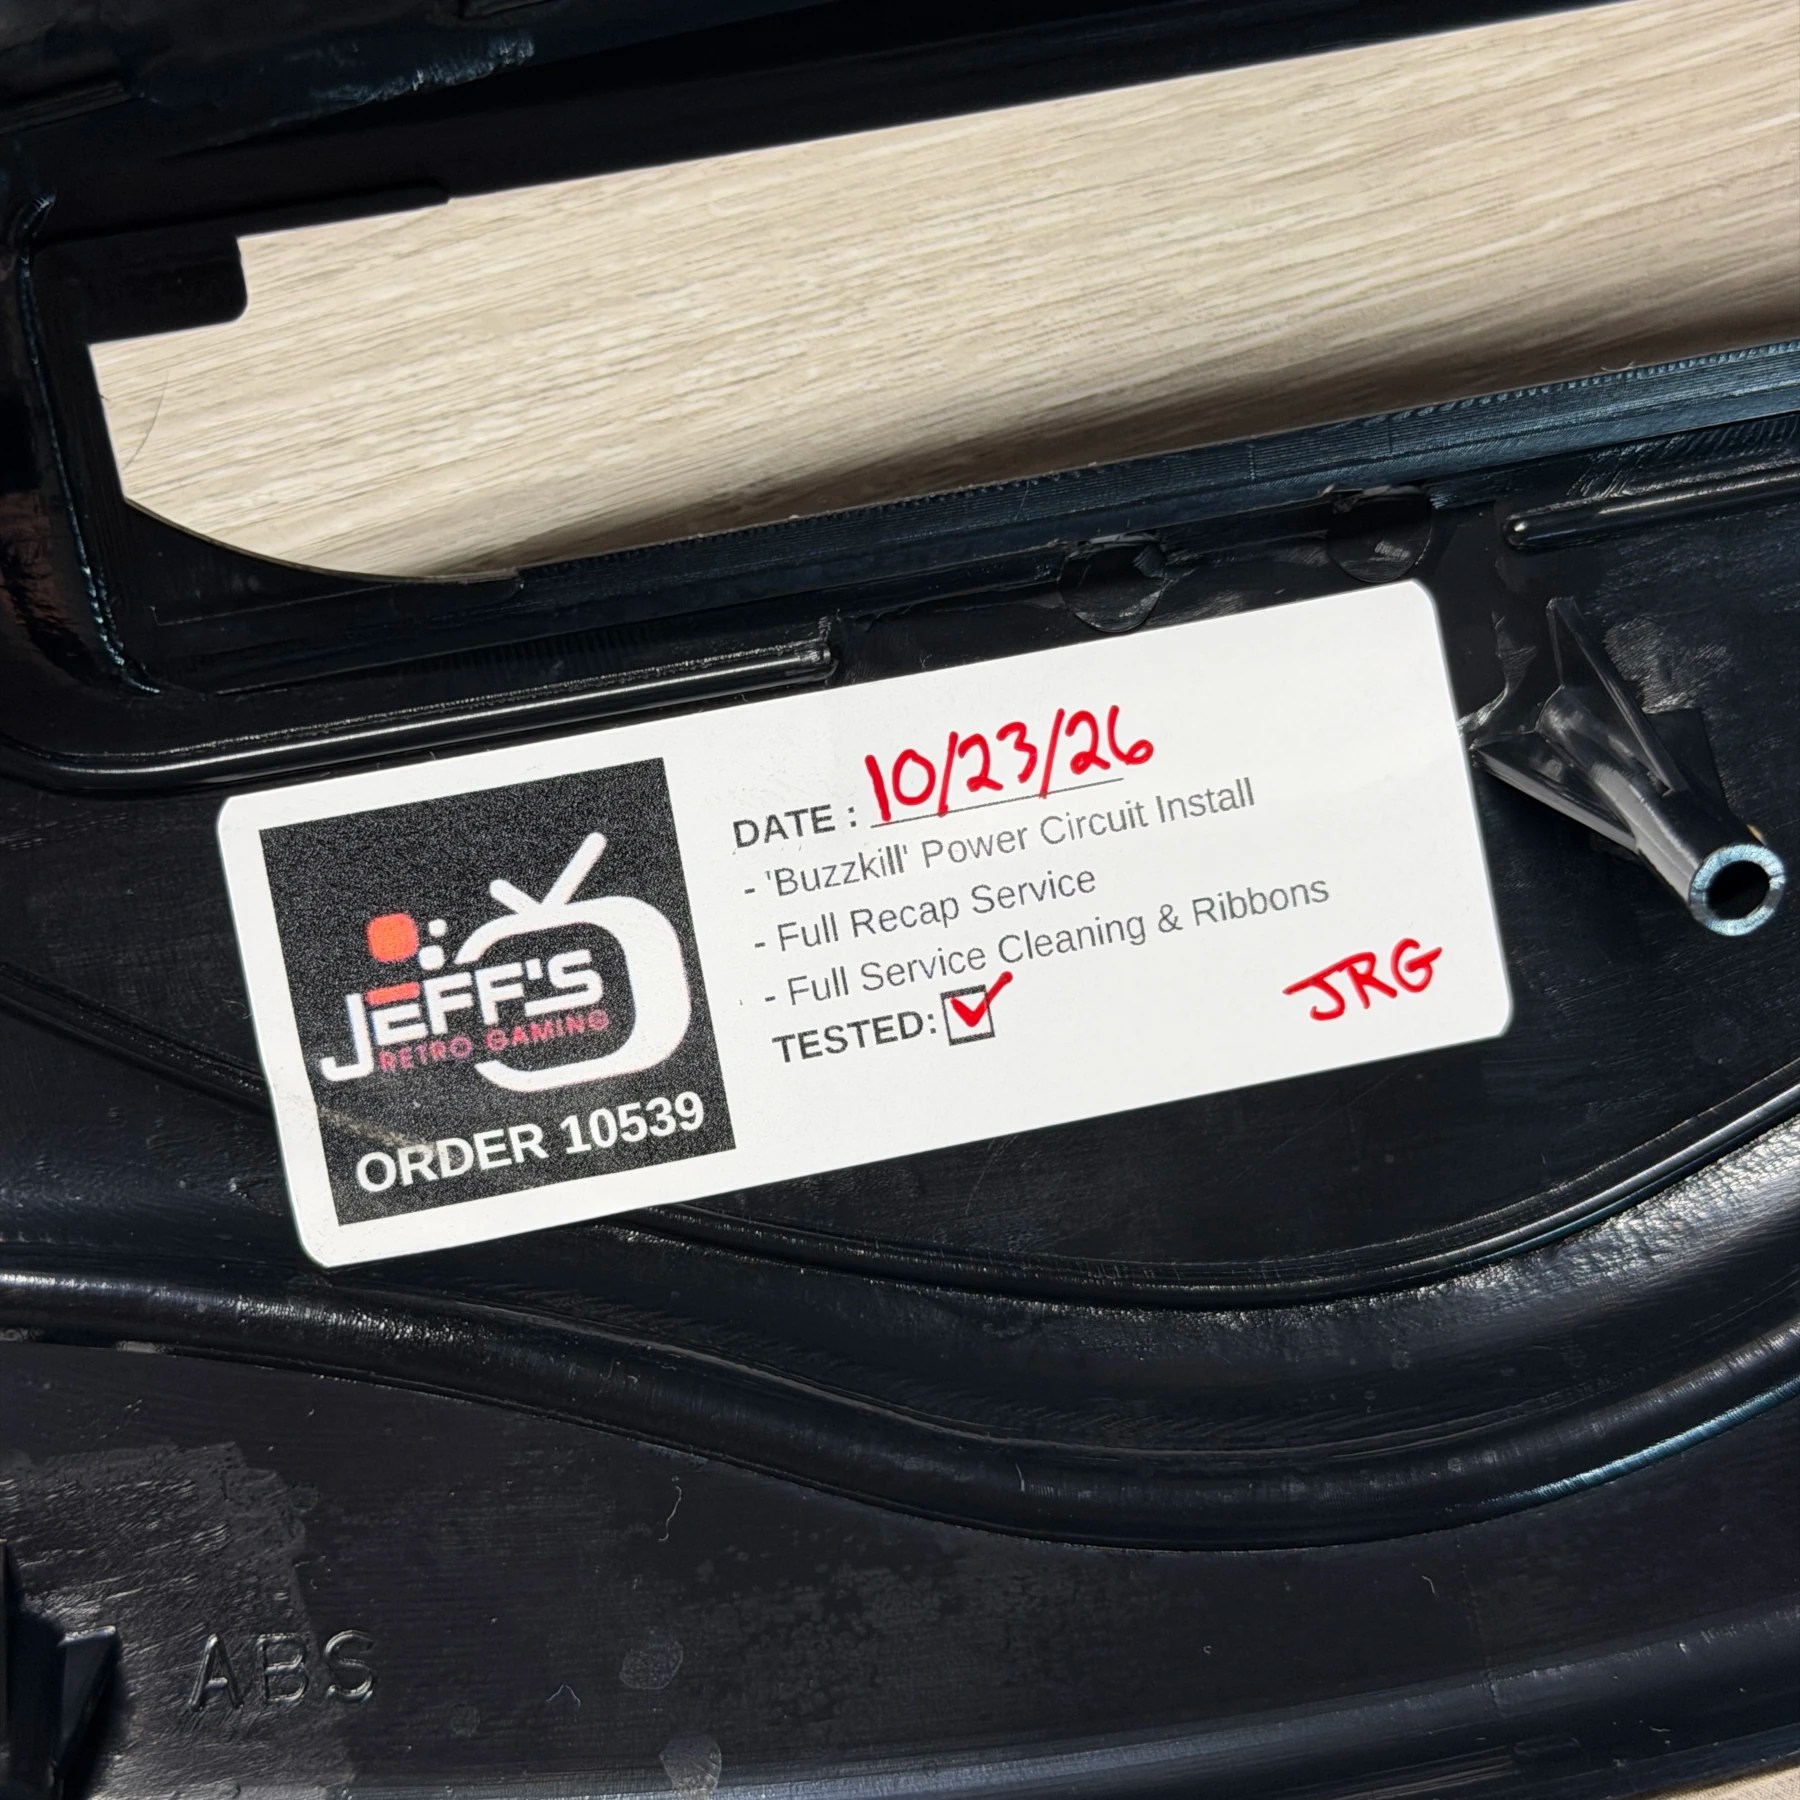
I loaded up the MARS test program to confirm the 32X was working properly and then signed off on the sticker and closed the shell up one final time. I then hooked it up to a model 2 Genesis that is also in here for work to stage and got some good playtime in with my copy of Shadow Squadron (a great game btw!) and this 32X is looking good and ready to head home!