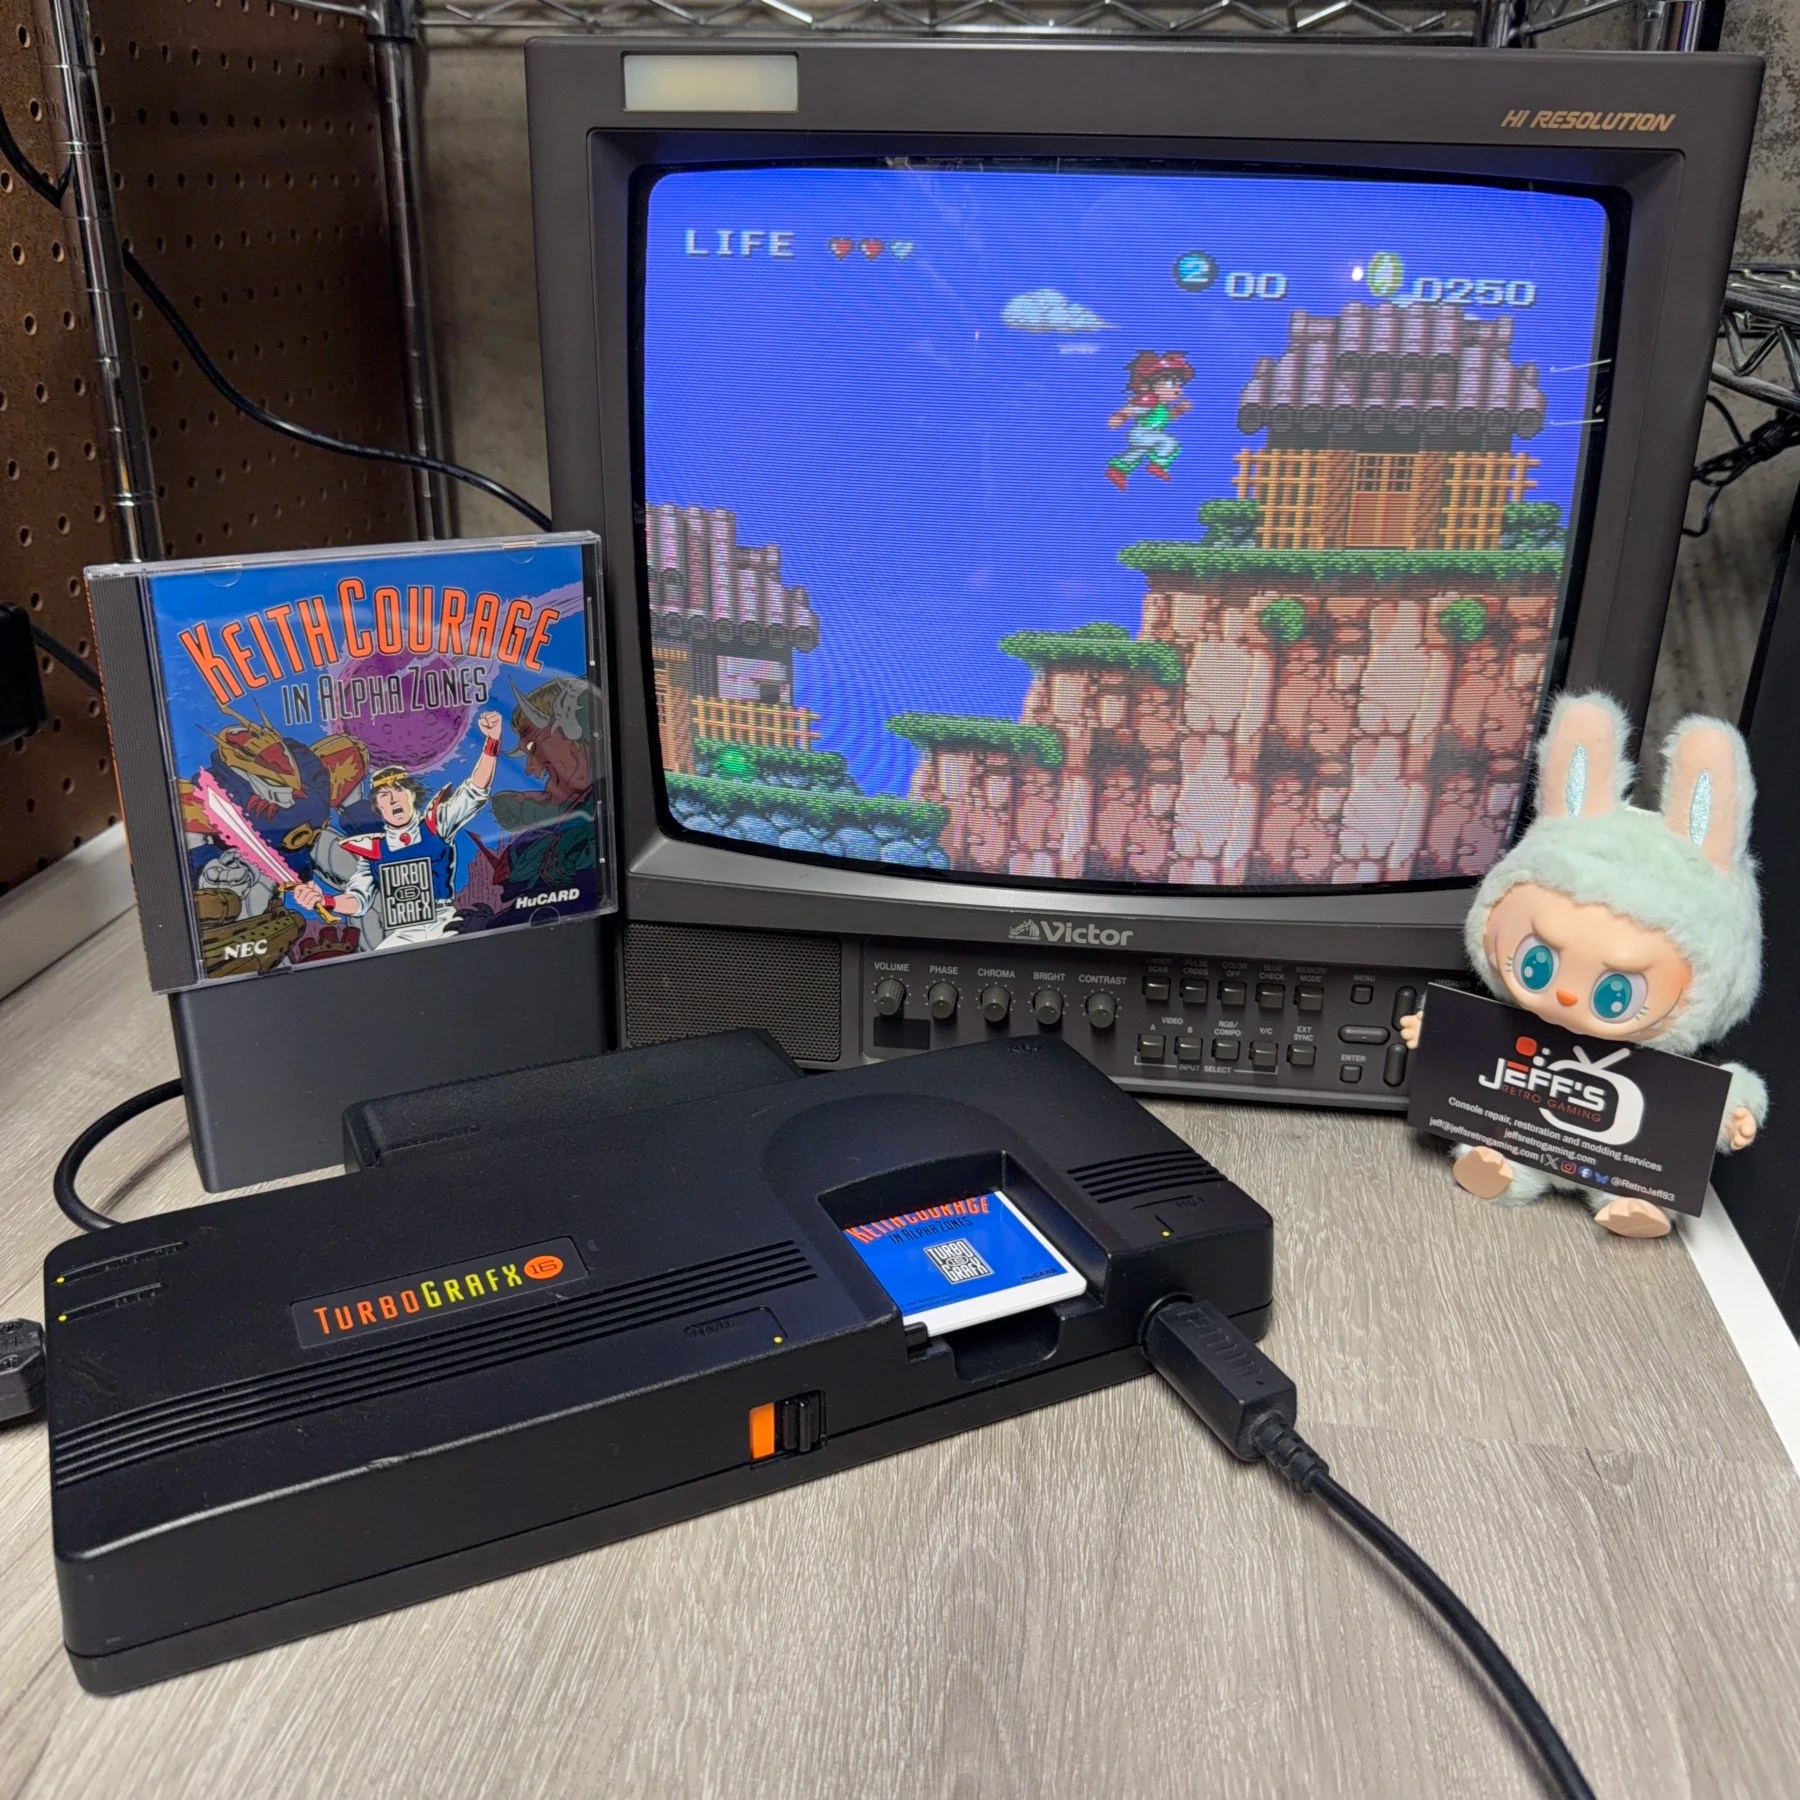
If you count all the variants of the PCEngine platform as one it’s a pretty common service here but the USA TG16 variant is rarely seen by me here in the shop. I also don’t often see them for sale in local retro shops, likely owing to it being a much less popular console here in the USA so far fewer models of these out in the wild. You can tell because of the price too, working TG16 seem to go for well over a few hundred even without the box/accessories.
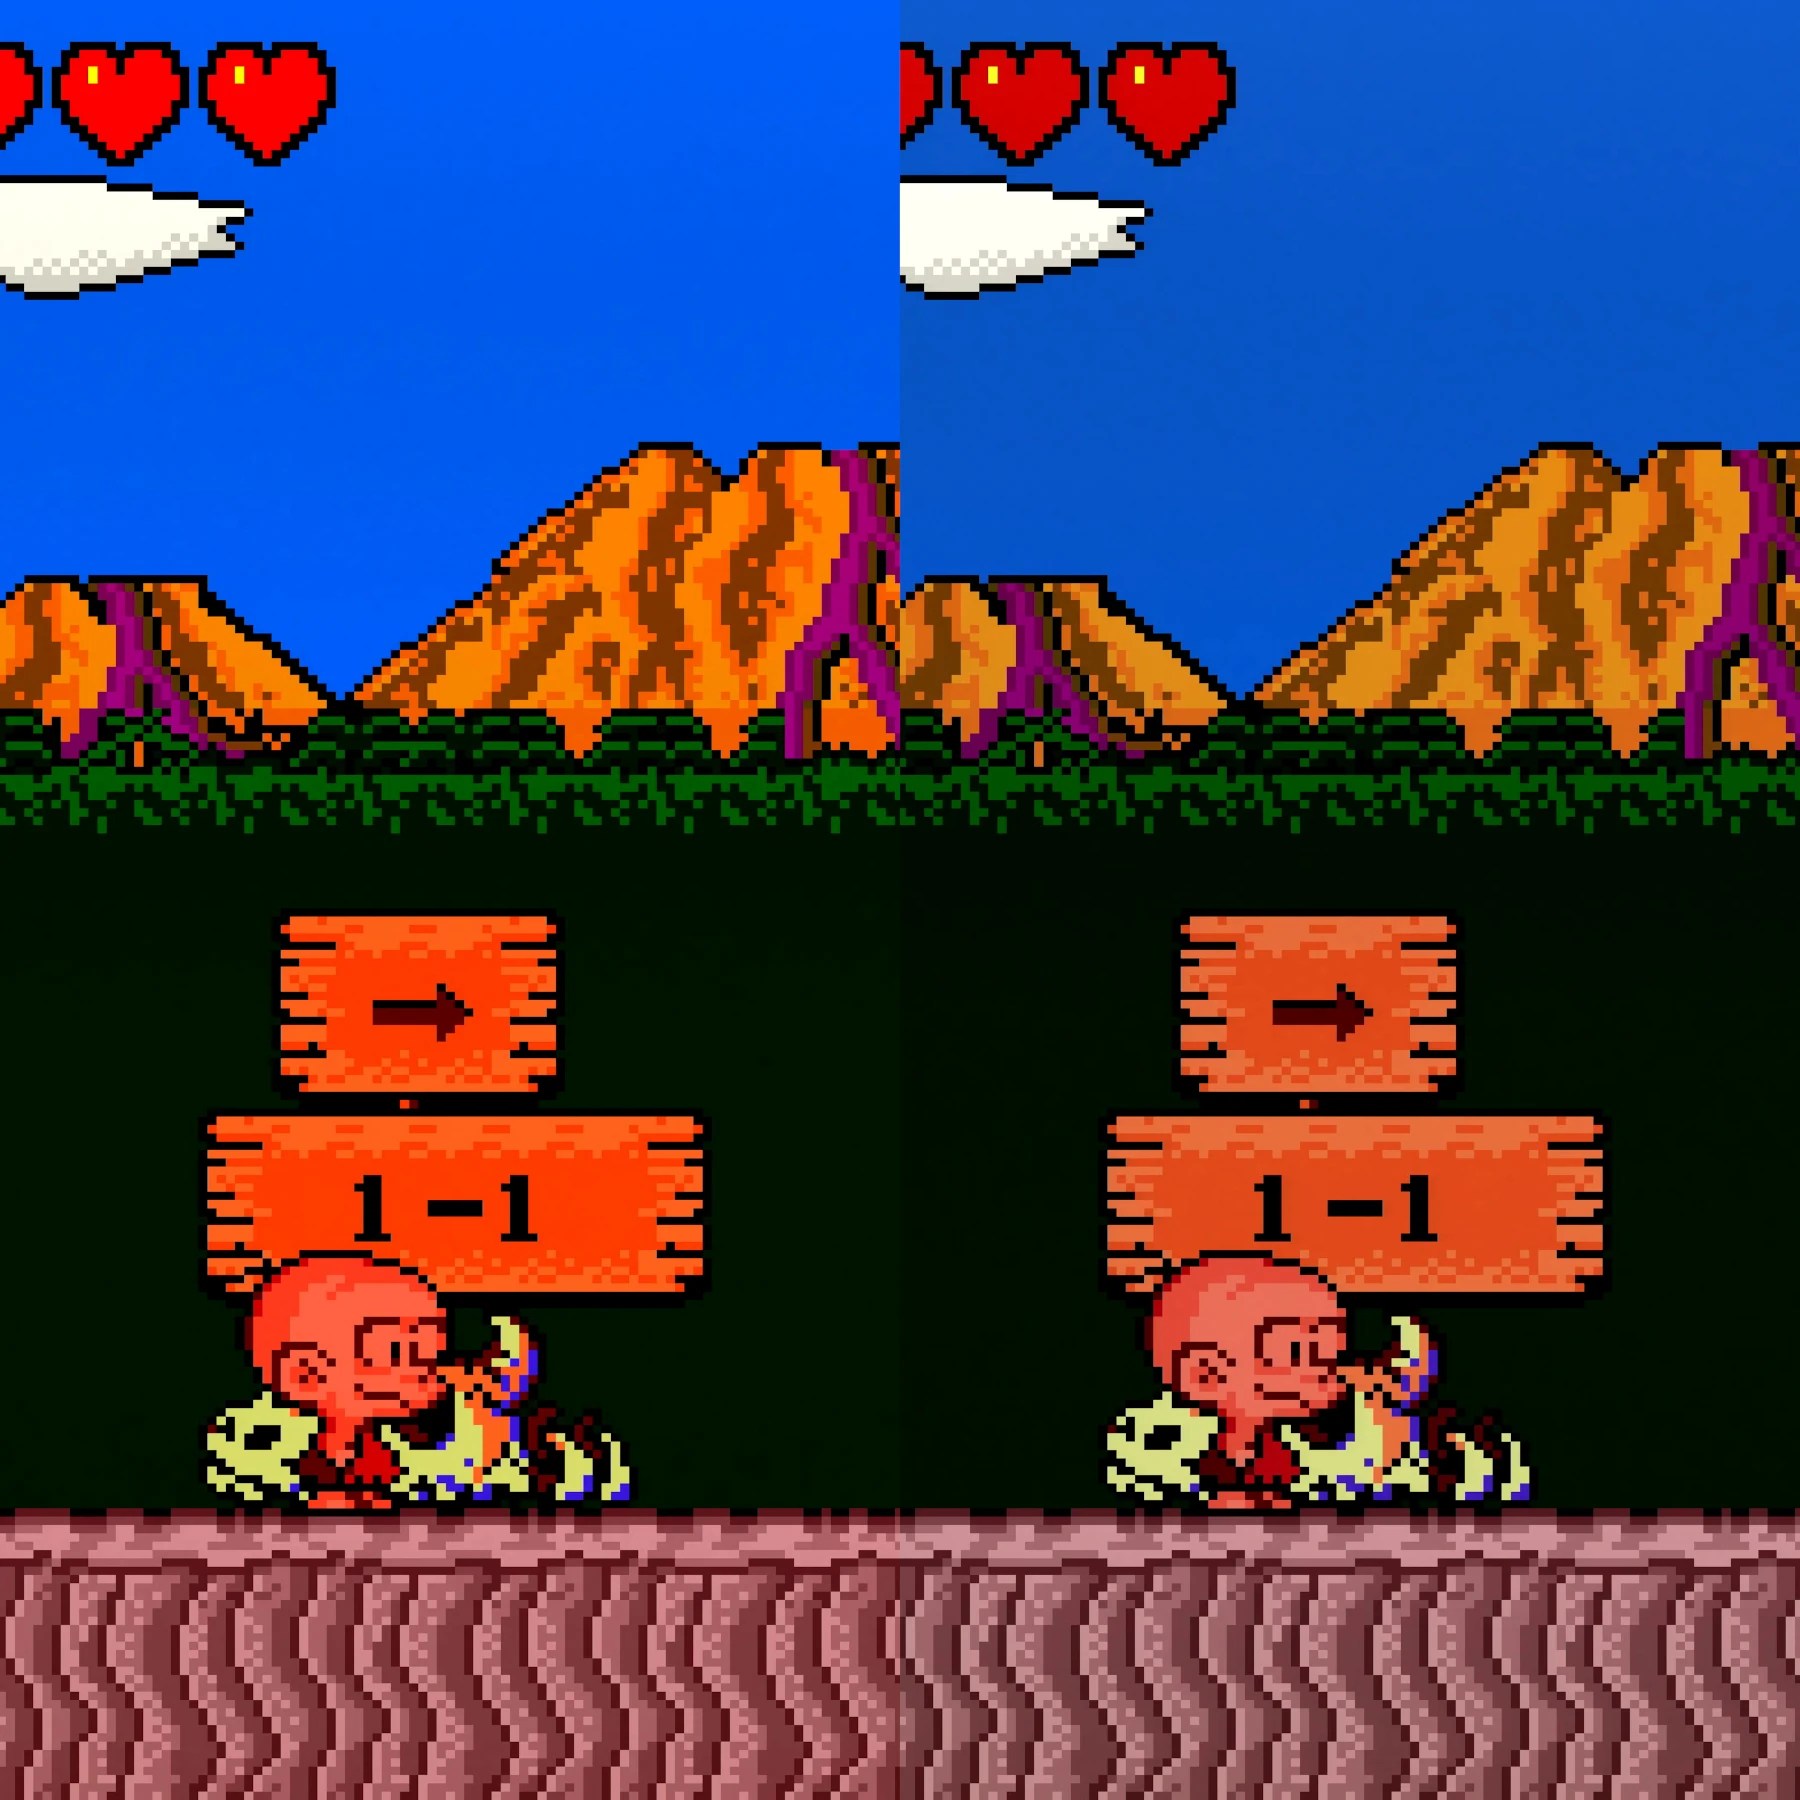
This one was working but the customer wanted an RGB mod aka the ‘Turbonanza’. After placing the order the customer mentioned they wished the new Palette Cleanser had been available at the time so I offered up one I had bought personally but knew I wouldn’t have time to install for a while. This add-on (can be installed solo in certain models) keeps the razor sharp RGB output but corrects the color saturation to look far more like the stock composite/intended color range should on a PCEngine/TurboGrafx. You really get the best of both worlds with these kits and I expect to see quite a few Palette Cleansers in my future 👍
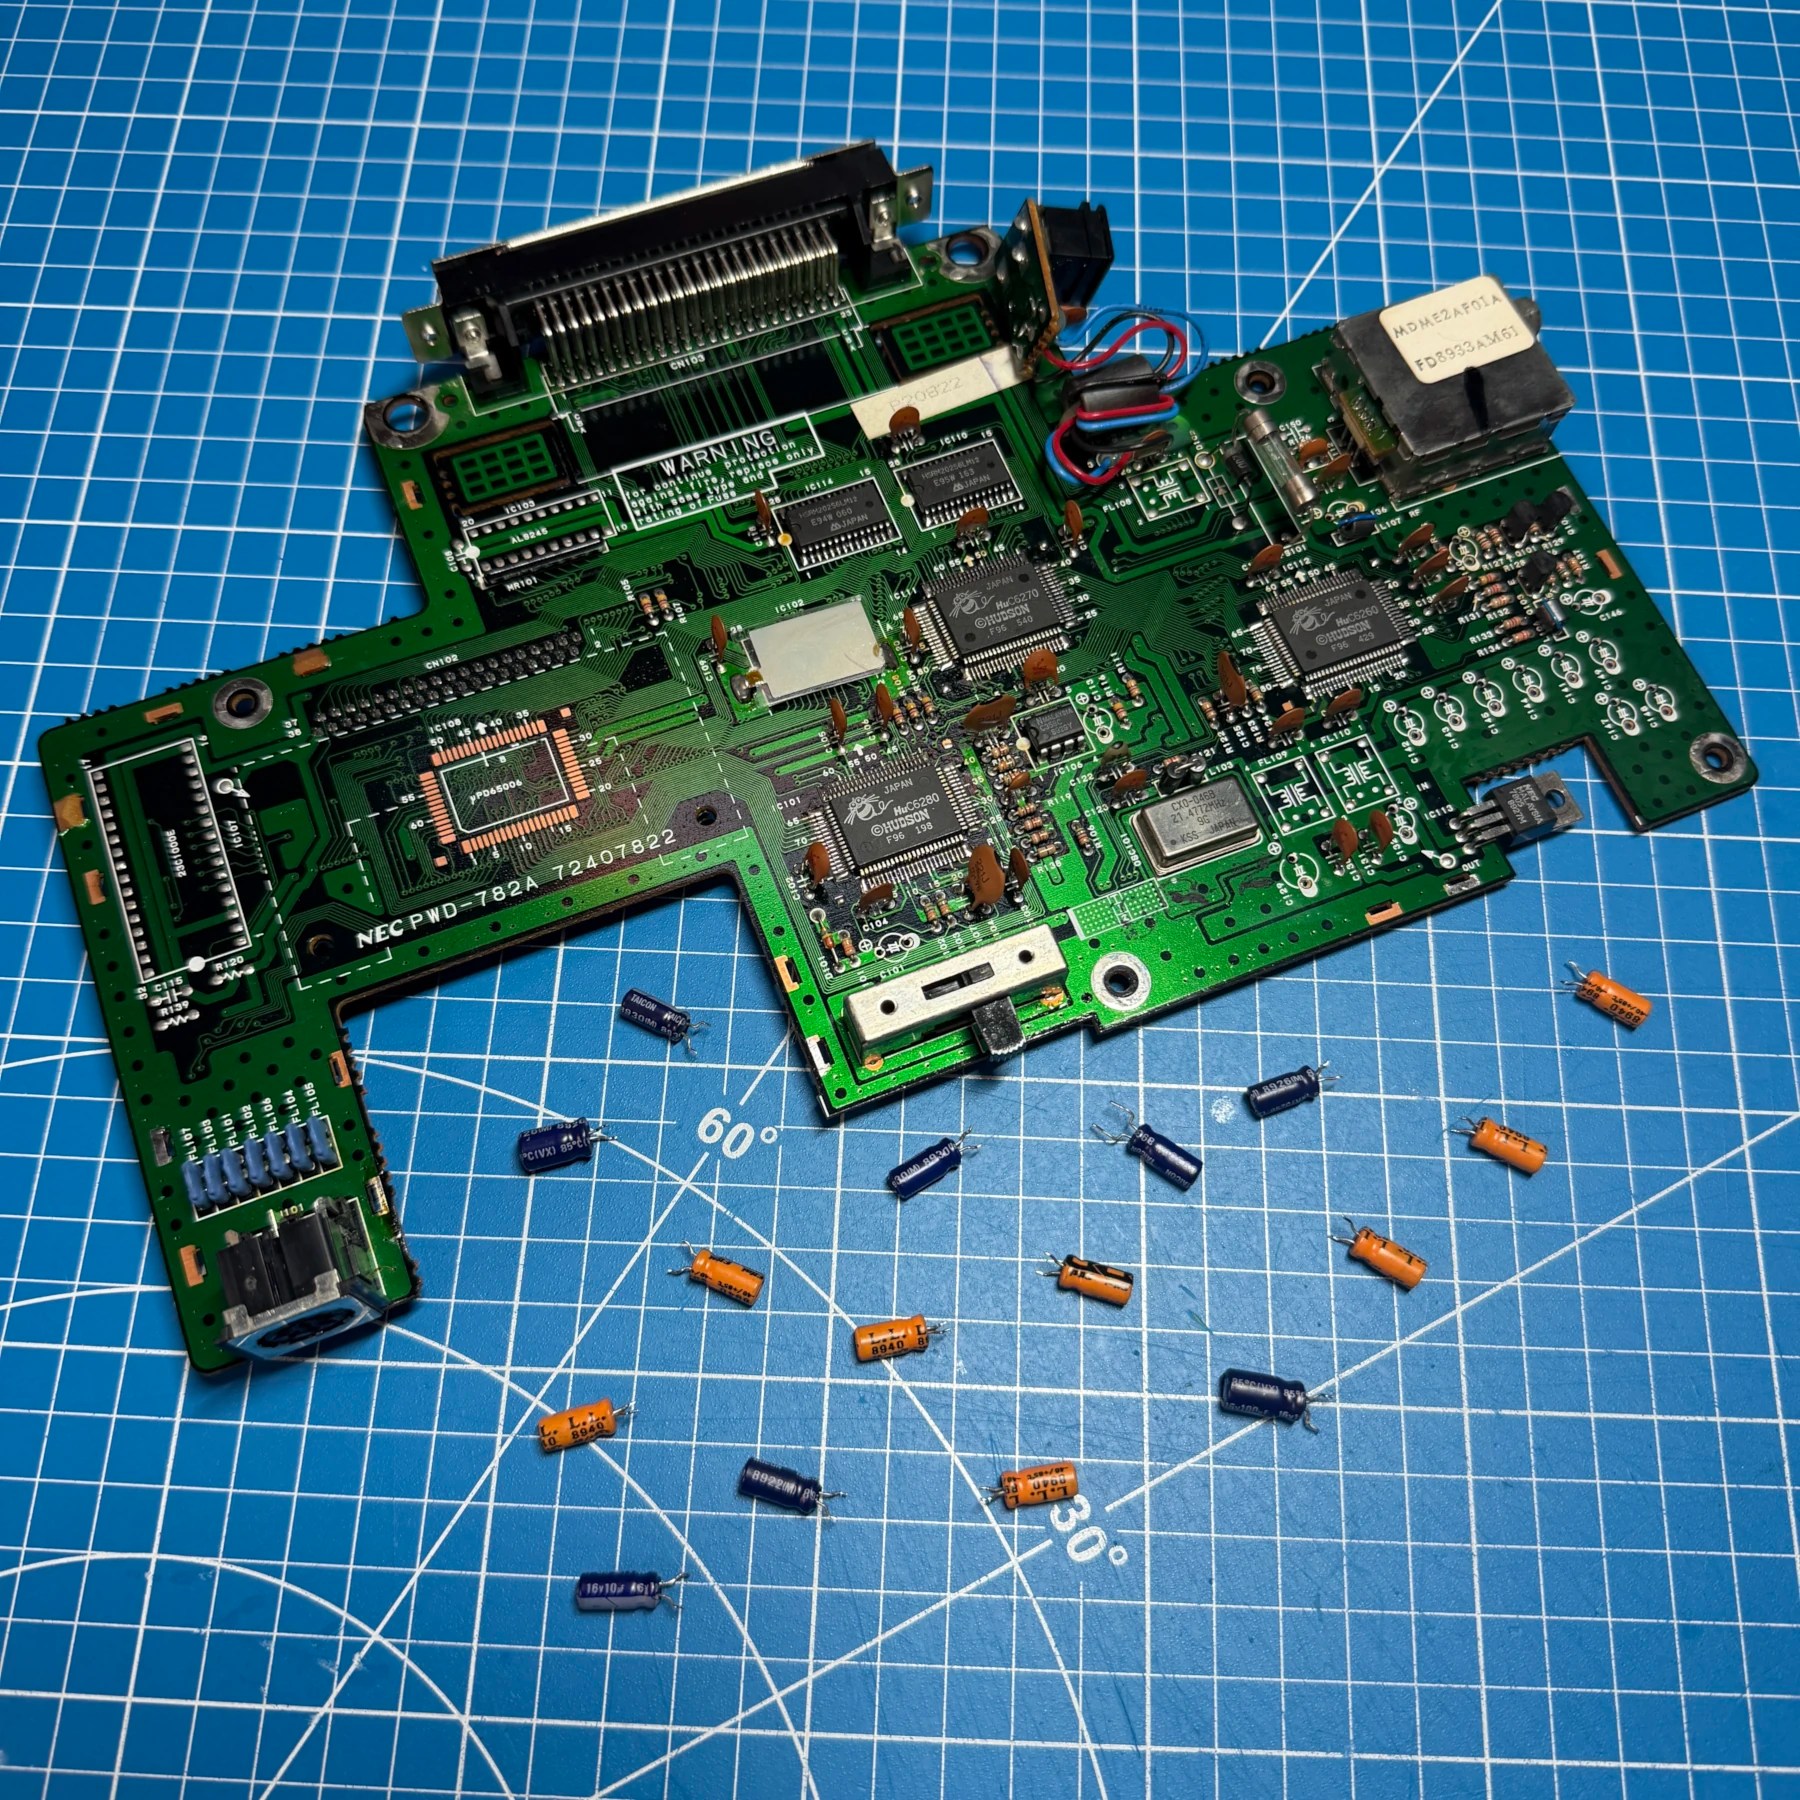
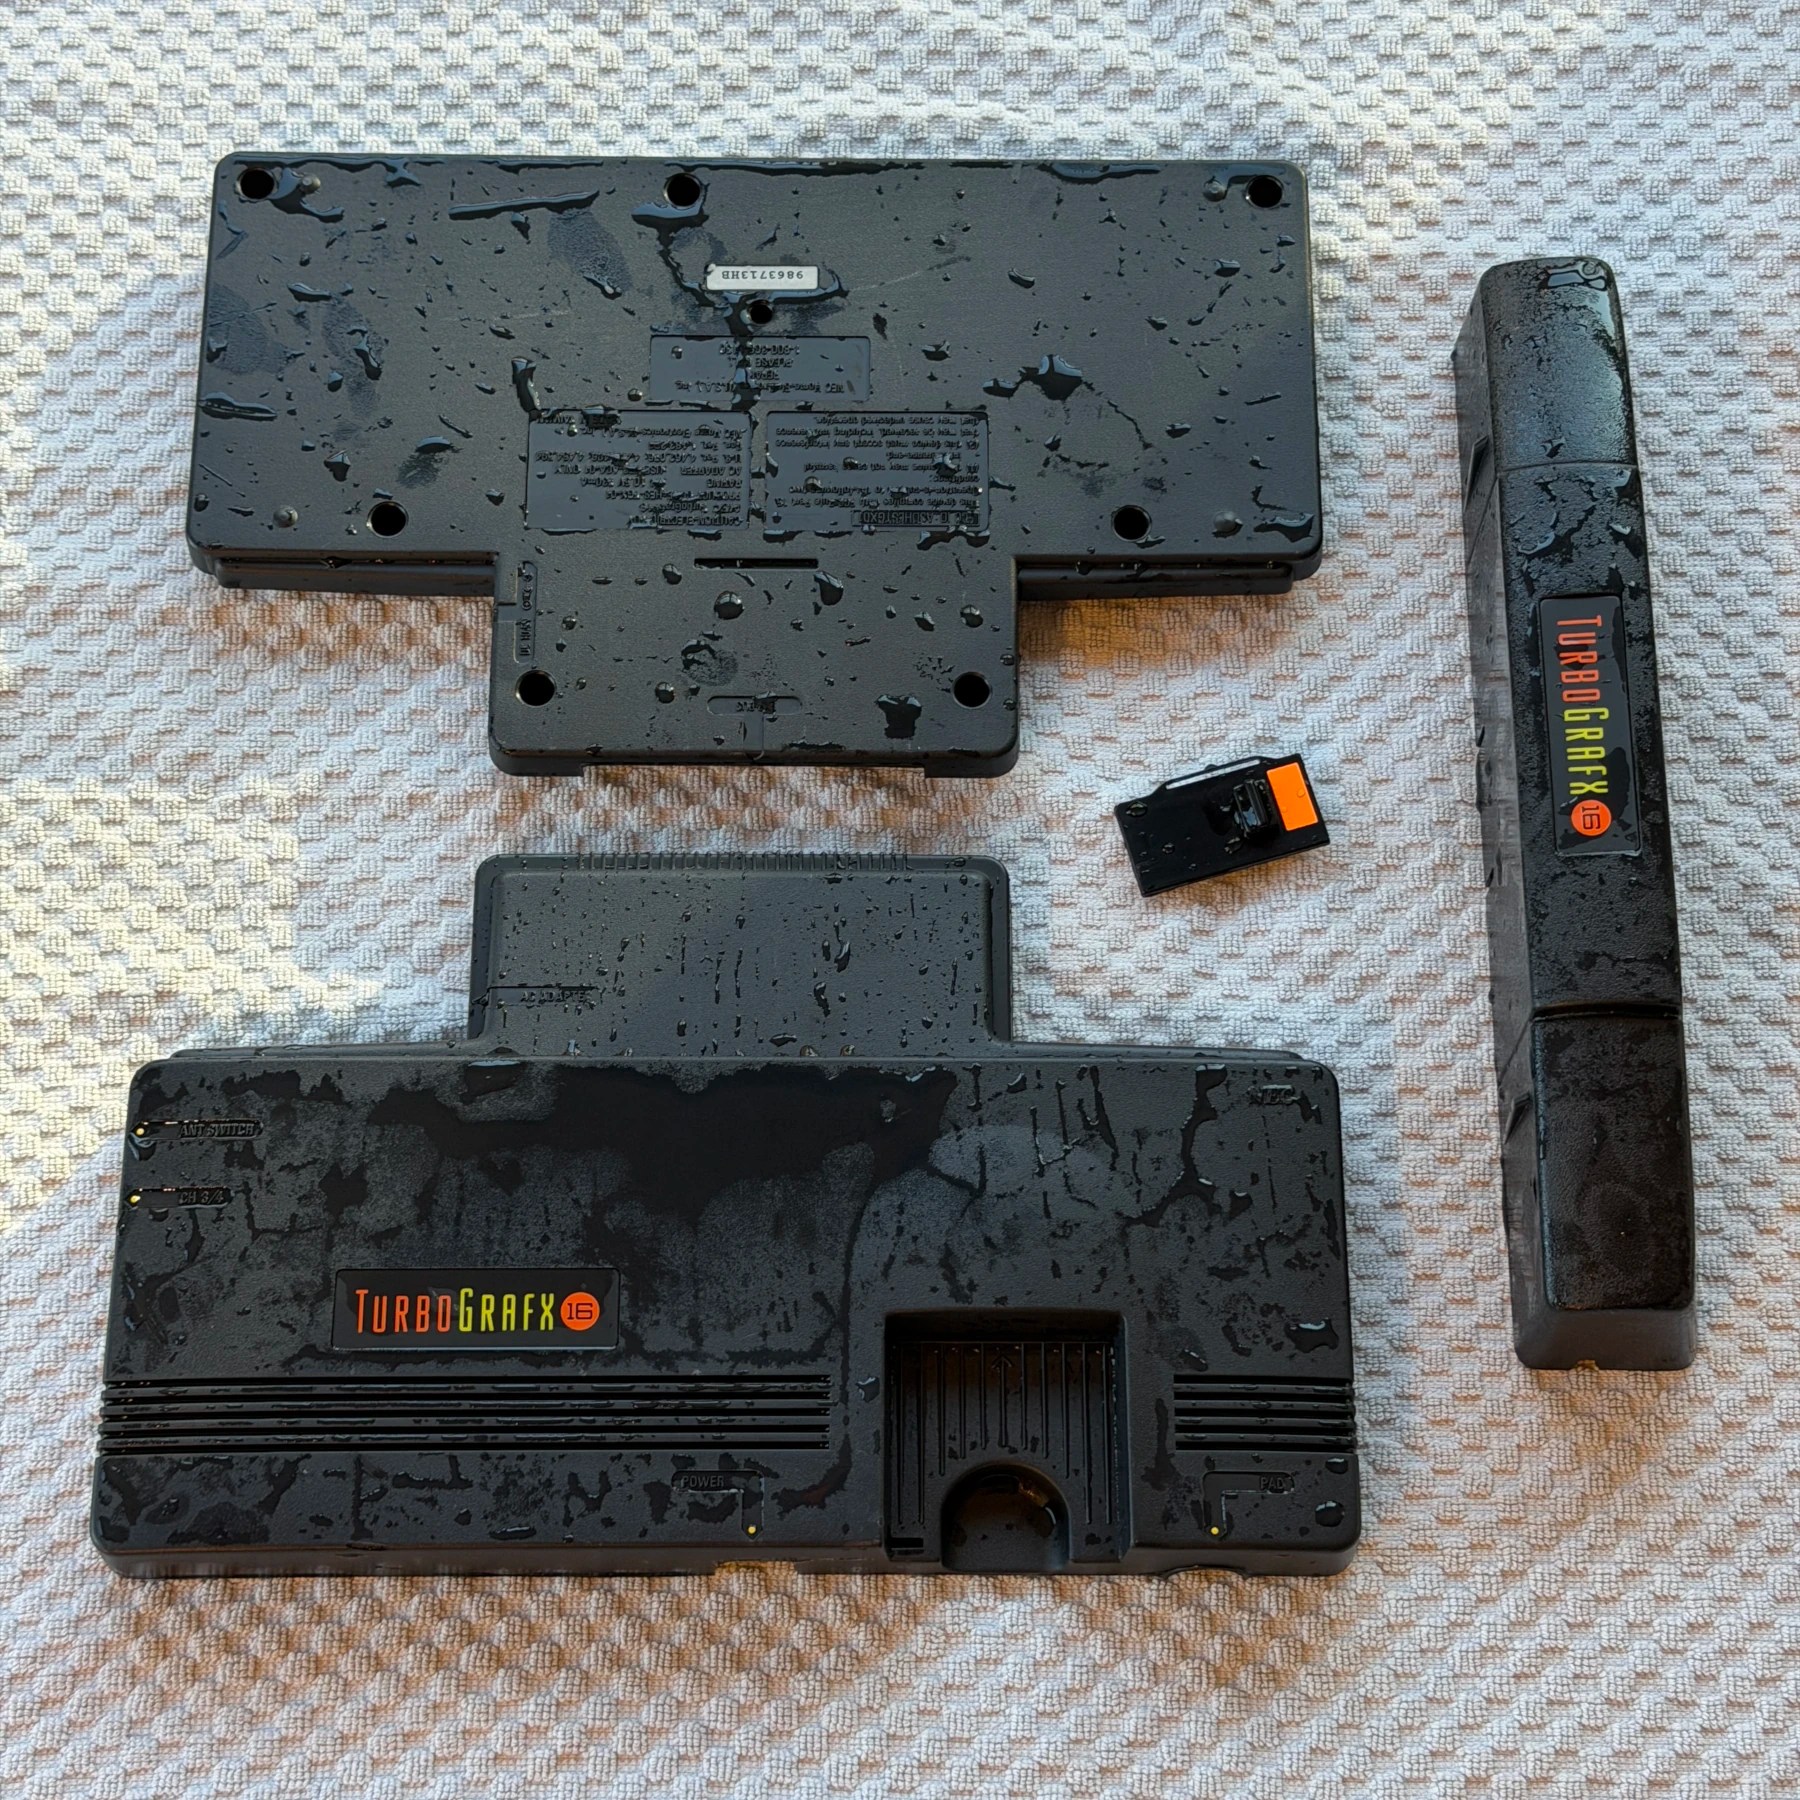
Cleaning service was selected so I got the rear cover, top and bottom shell and front sliding power switch plate removed, soaked and scrubbed and set aside for later reassembly. I next had to get to the mainboard for the recap but you have to deal with these two annoying metal shields first. You just have to work around the top and bottom and I use a desoldering braid to remove the joints and gently lift the shield, you could also probably use a desoldering gun if you wanted.
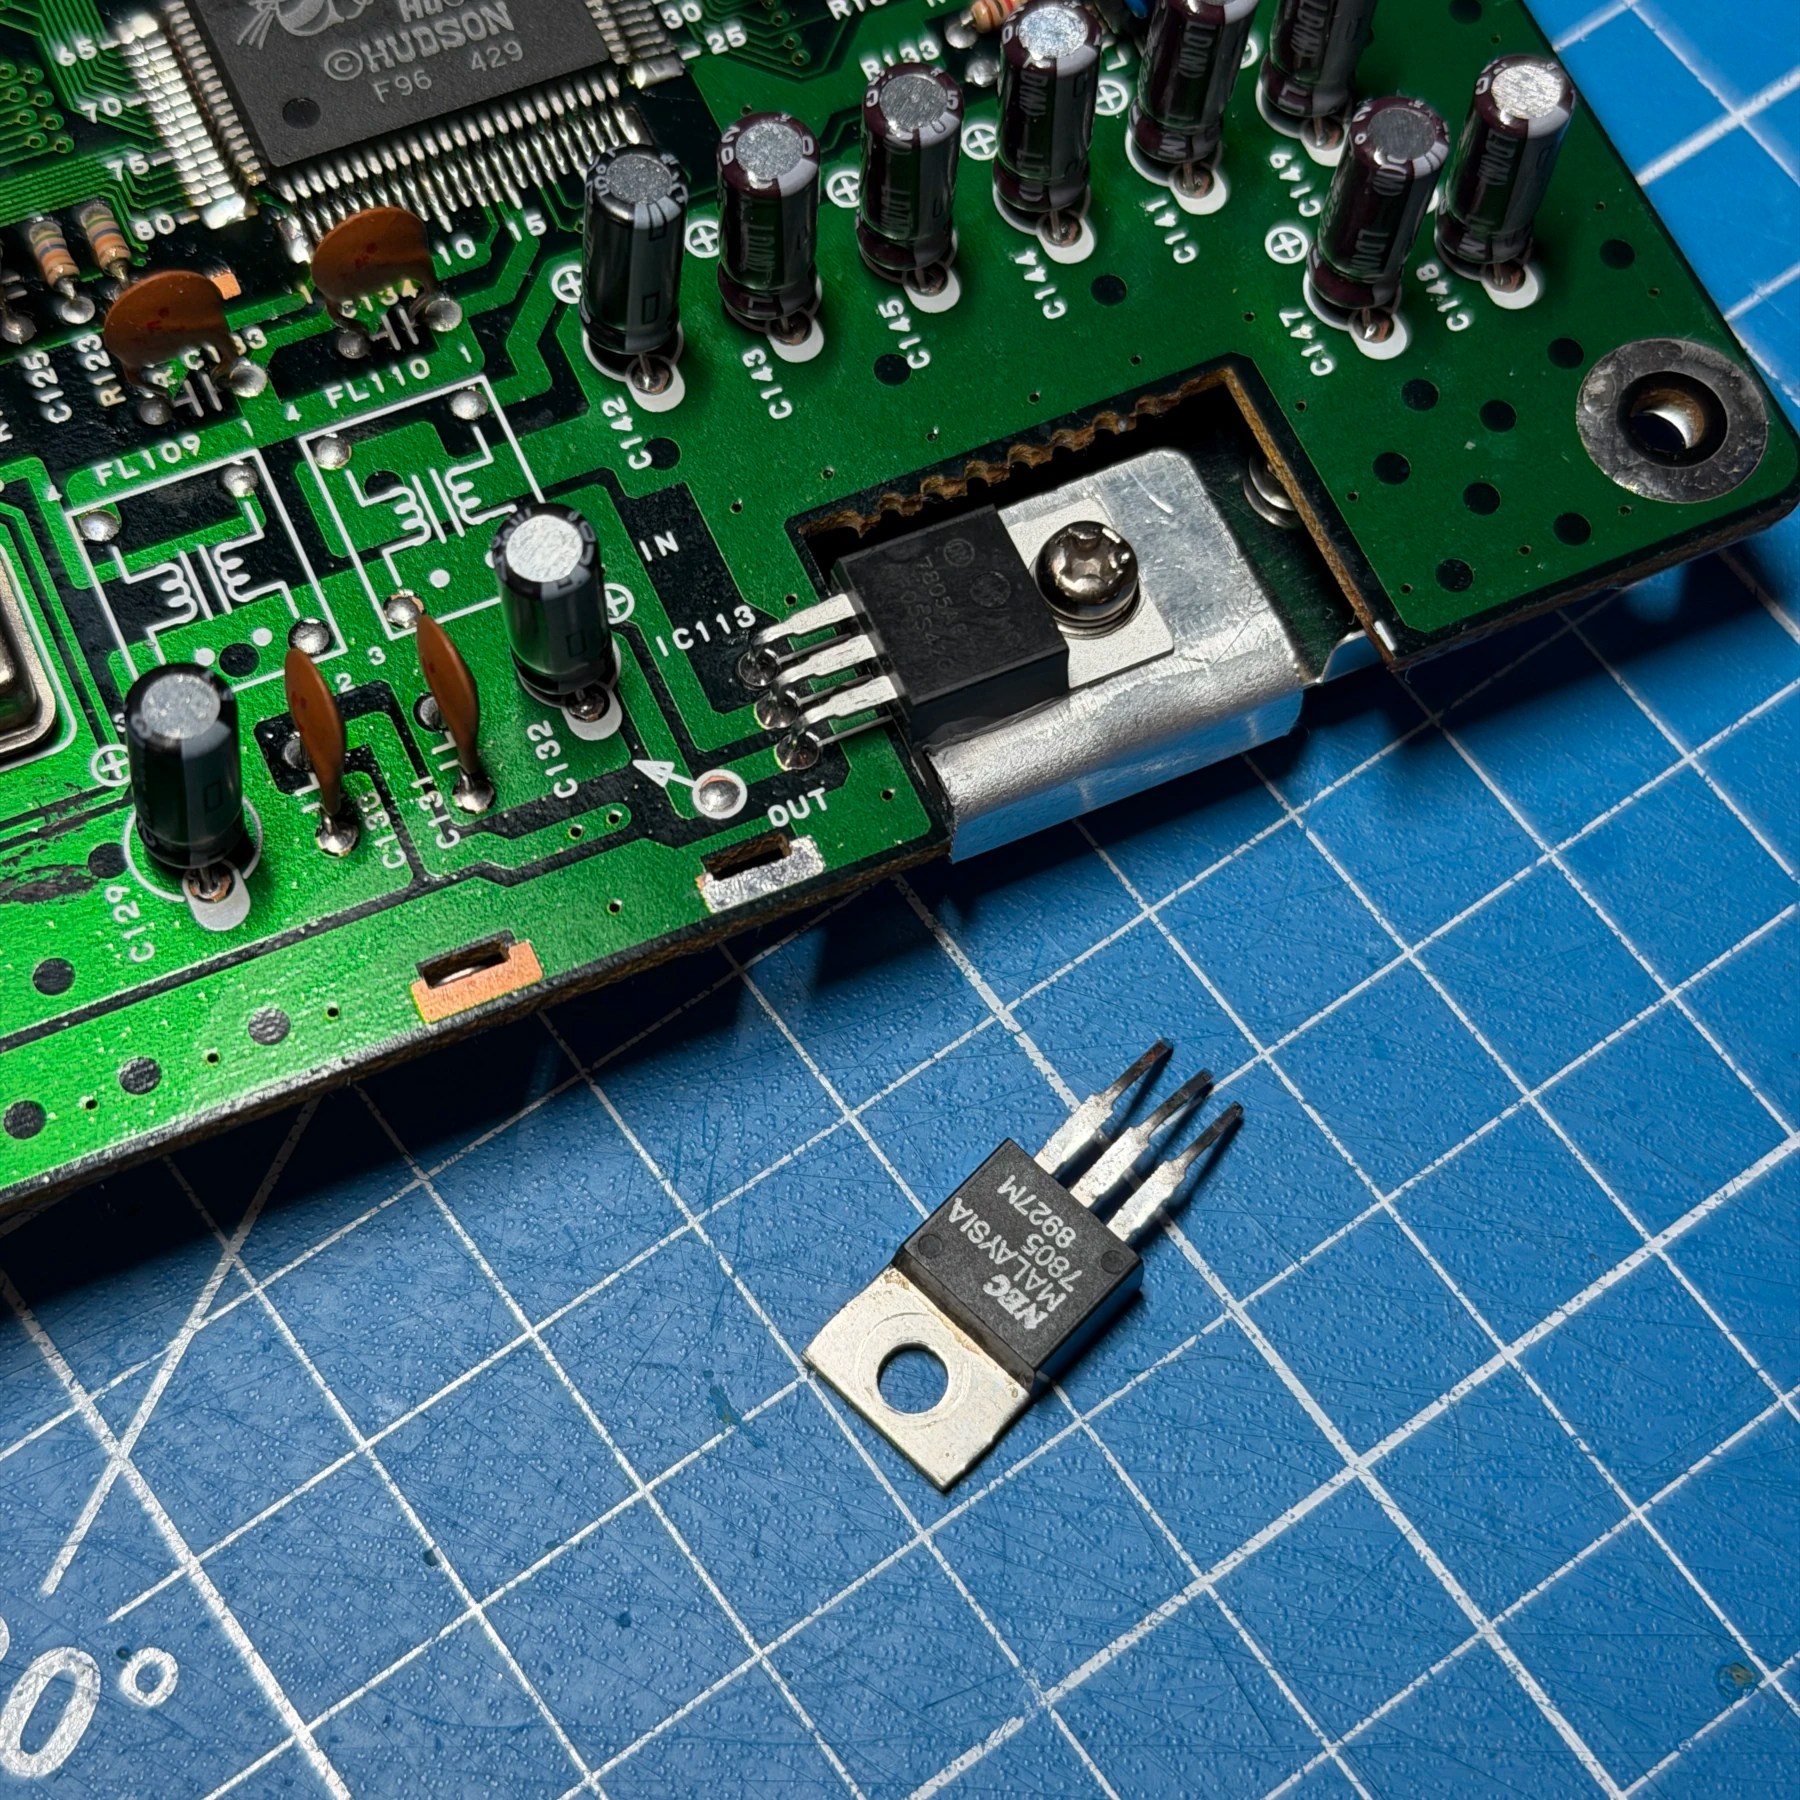
Once both shields were gone (you also have to detach the 7805 regulator from the bottom shield but that’s ok, were going to replace it anyways!) I then had full access to the board so I worked through it with my Hakko gun and removed the 16 through-hole capacitors, then cleaned the board top and bottom with some 99% ISO and let it dry.
It had been a while so I checked the Turbonanza instructions for the TG16 and made sure no caps should be left off and once confirmed, soldered on the new ones from the Console5 kit. These kits also come with 2 ceramics as part of the jailbar fix so I added those two caps in-line on the designated locations.
Recap and cleaning are done, now onto the RGB mod 👇
For the base Turbonanza RGB mod you need to remove 4 resistors on the board topside first, as these will be the solder points for S-video. I simply desolder them with my Hakko then apply Kapton tape to the topside of the board and flow in a solid bead of fresh leaded solder from the bottom to the now empty through-holes which will give a secure connection point for the wires.
The main part of the install is securing the board over the top of the expansion port pins which connects RGB, 5V, GND, etc. and this is simply a matter of aligning the board and flowing in fresh solder on the 13 plated holes that need to be connected. I like to flow each hole then add a drop of flux and reflow one last time around so that the joints are nice and smooth.
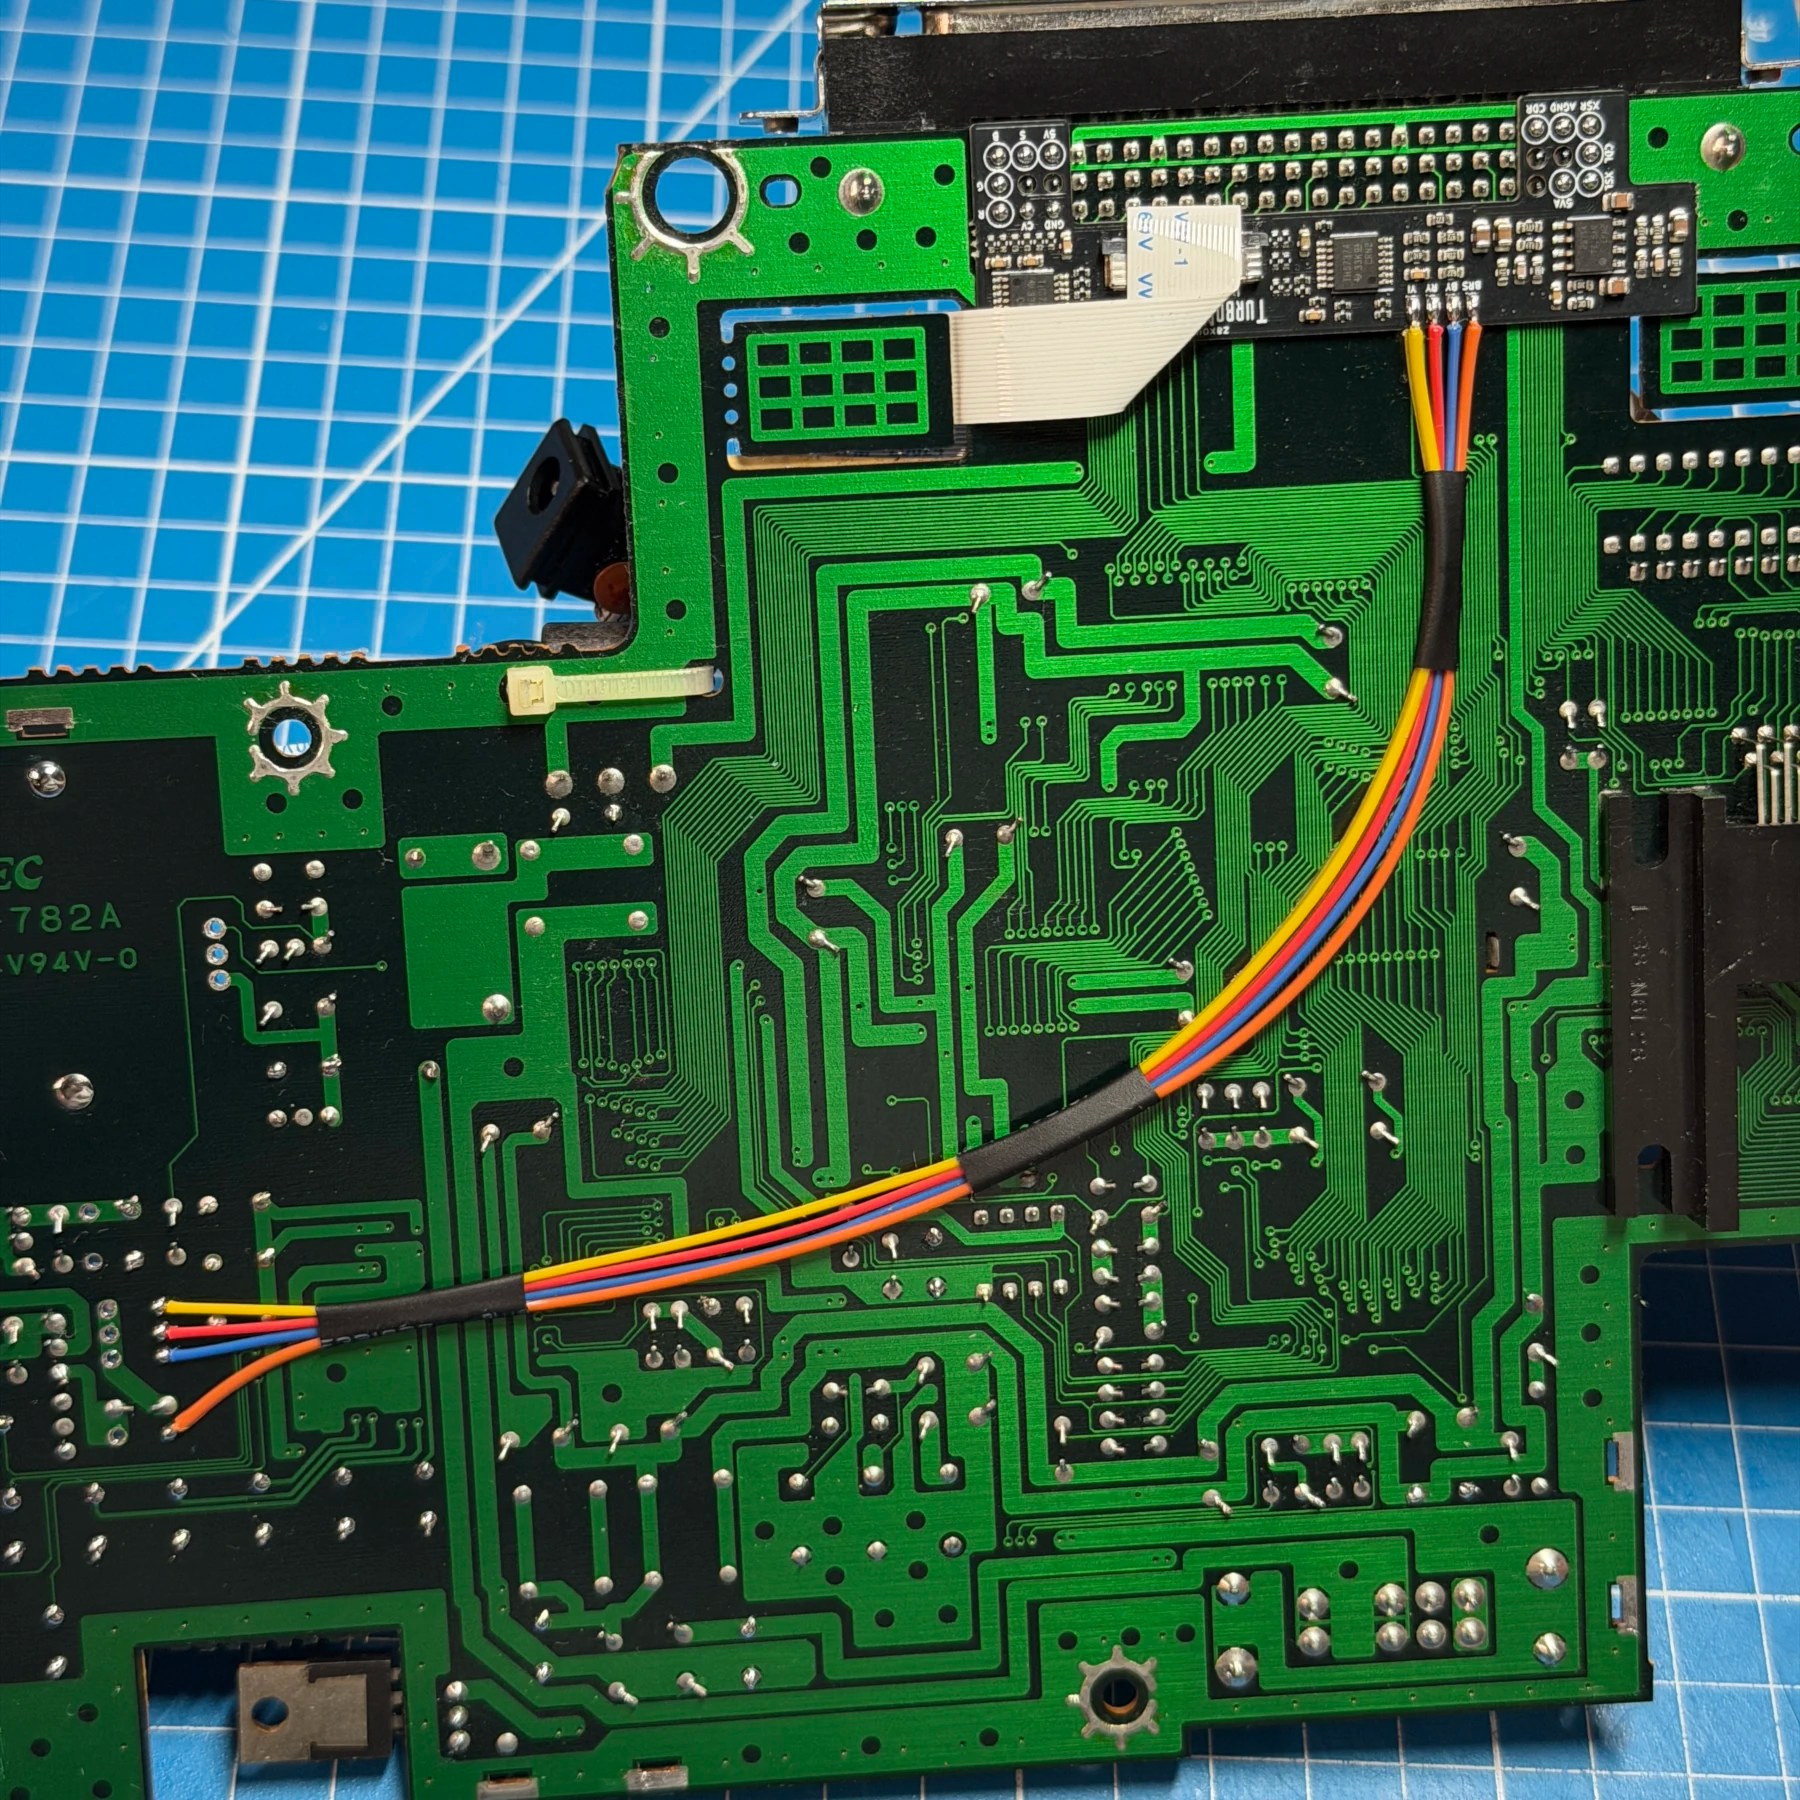
With the main Turbonanza board secured and the resistors removed and points prepped, now I just run 4 wires from those points to the board and organize them neatly in some heat shrink tubing. Lastly, I secure the short flex (blue side up!) into the Turbonanza board and bend and route it up through the gap in the mainboard to the topside and leave there for the Palette Cleanser portion!
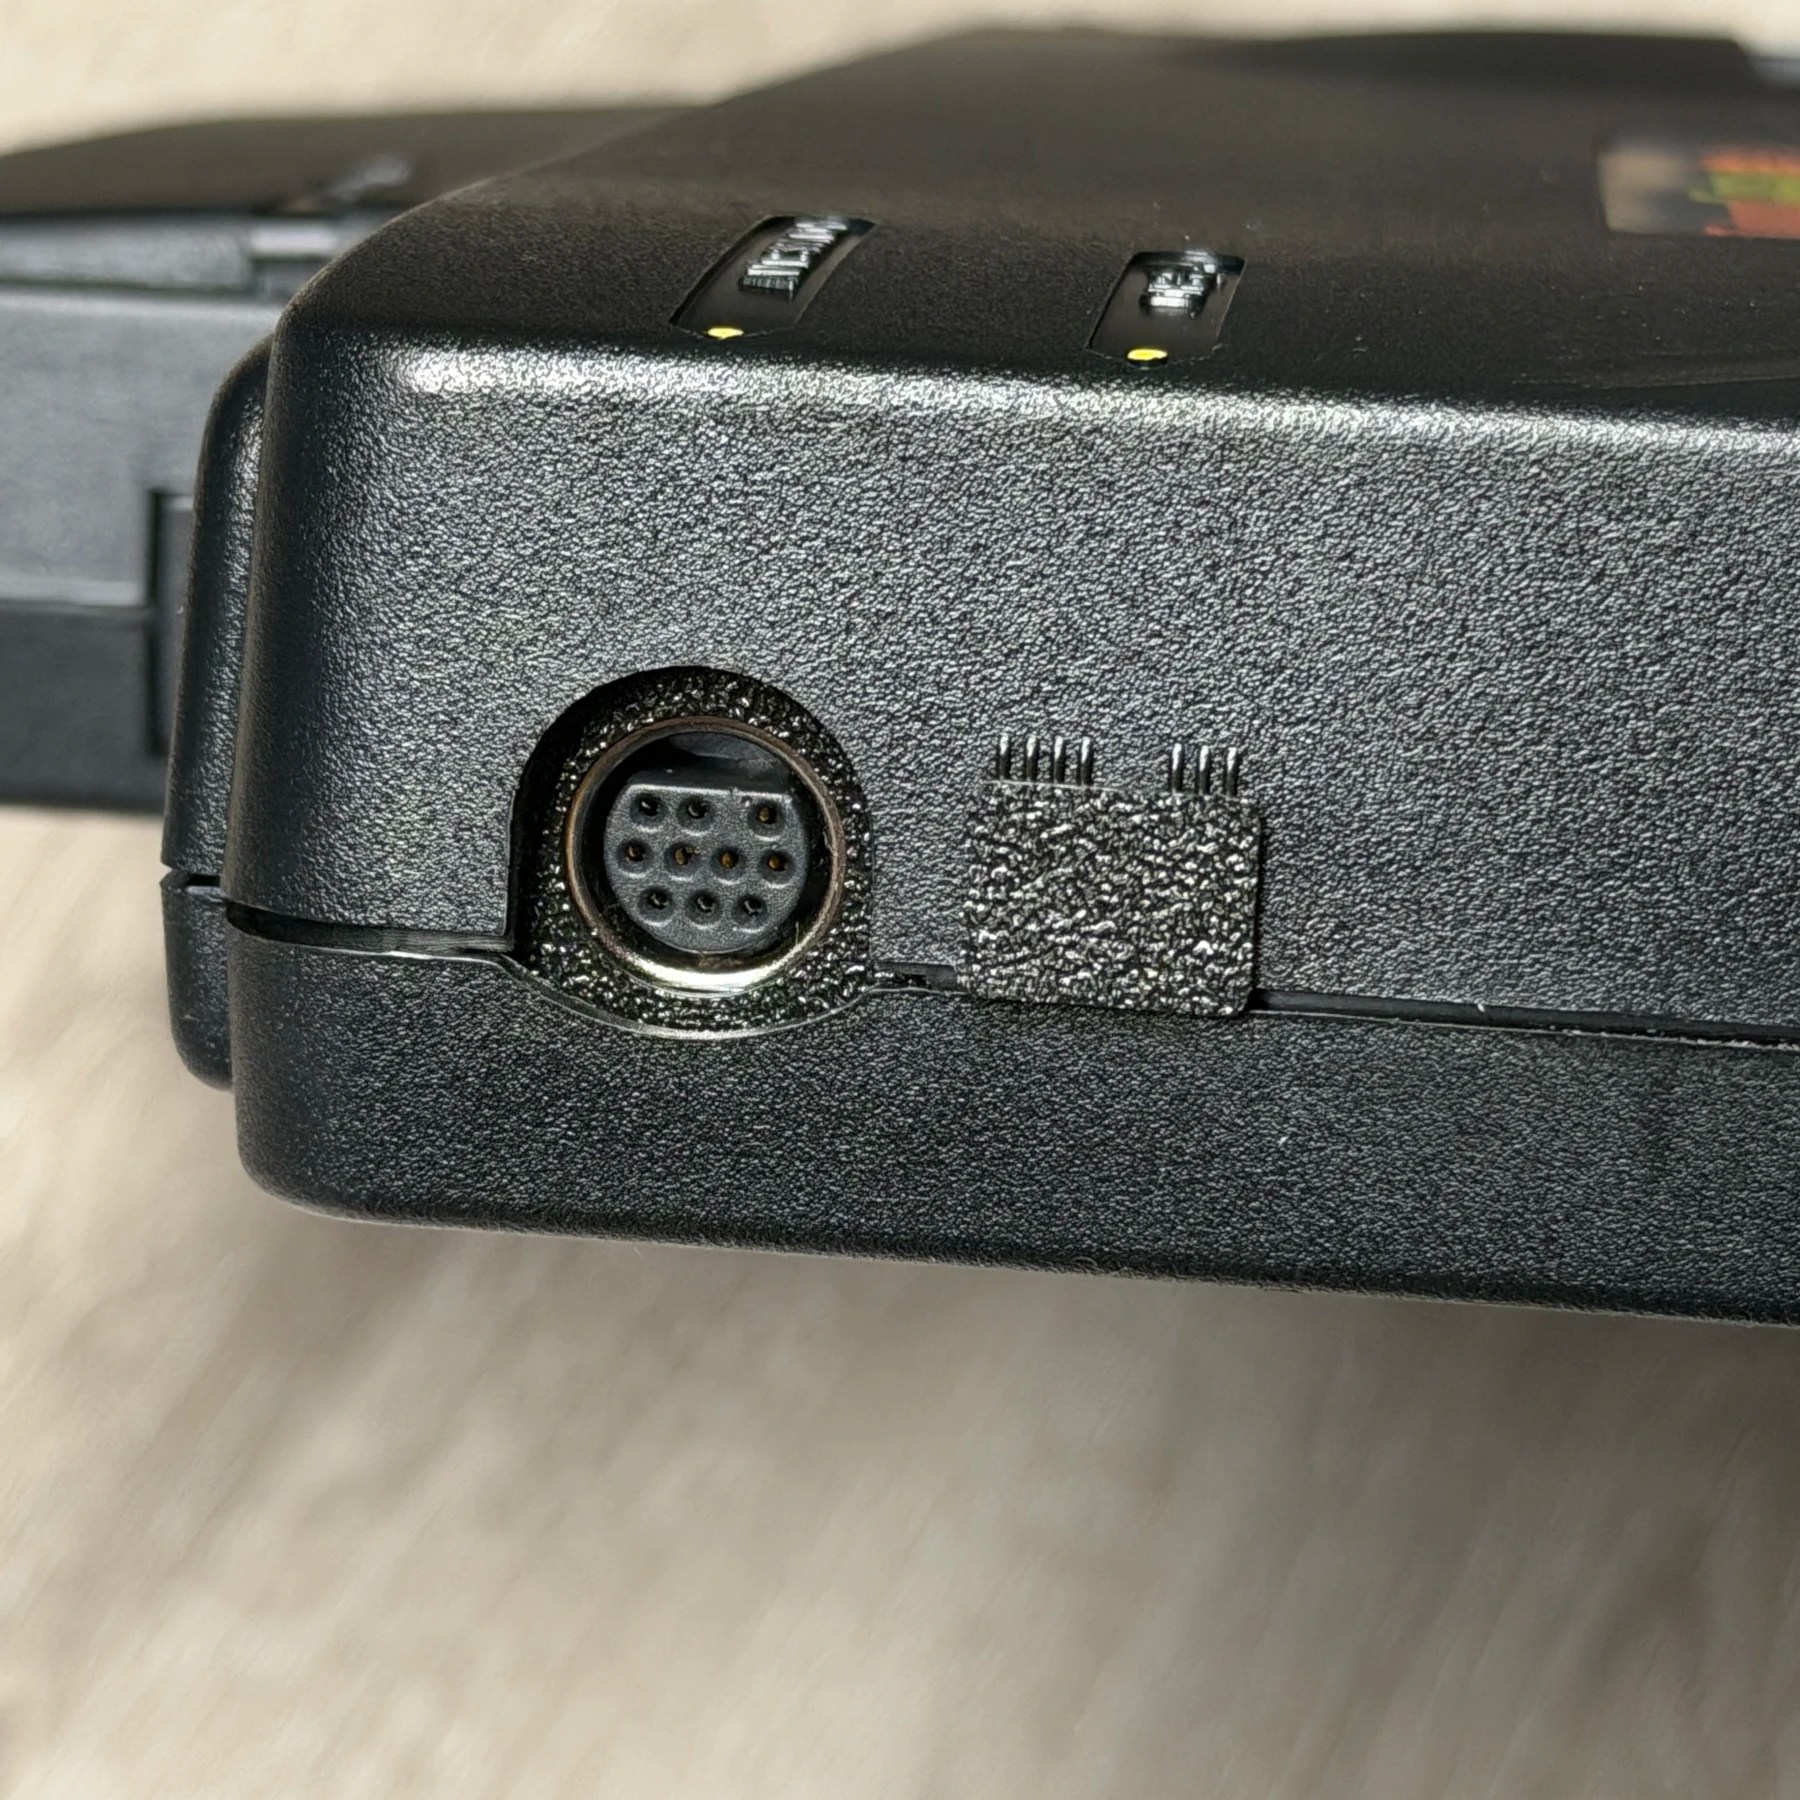
For the new DIN it’s simply a matter of desoldering the RF modulator and installing the mounting board, new DIN and the din connector board. To get alignment just right I like to put the assembly in the shell, place the DIN and board in place then drop top of the shell on and check. Once I get it aligned just right and mark the location, I will scrape 3 points that solder the alignment board to the mainboard and secure it. The DIN then get soldered to that board with my K tip at a higher temp (375C) to ensure a nice solid fillet around all 3 sides of the DIN.
I then swap back to my small chisel tip and secure the DIN breakout board that connects to the Turbonanza and clean up any leftover flux and the base RGB mod is done.
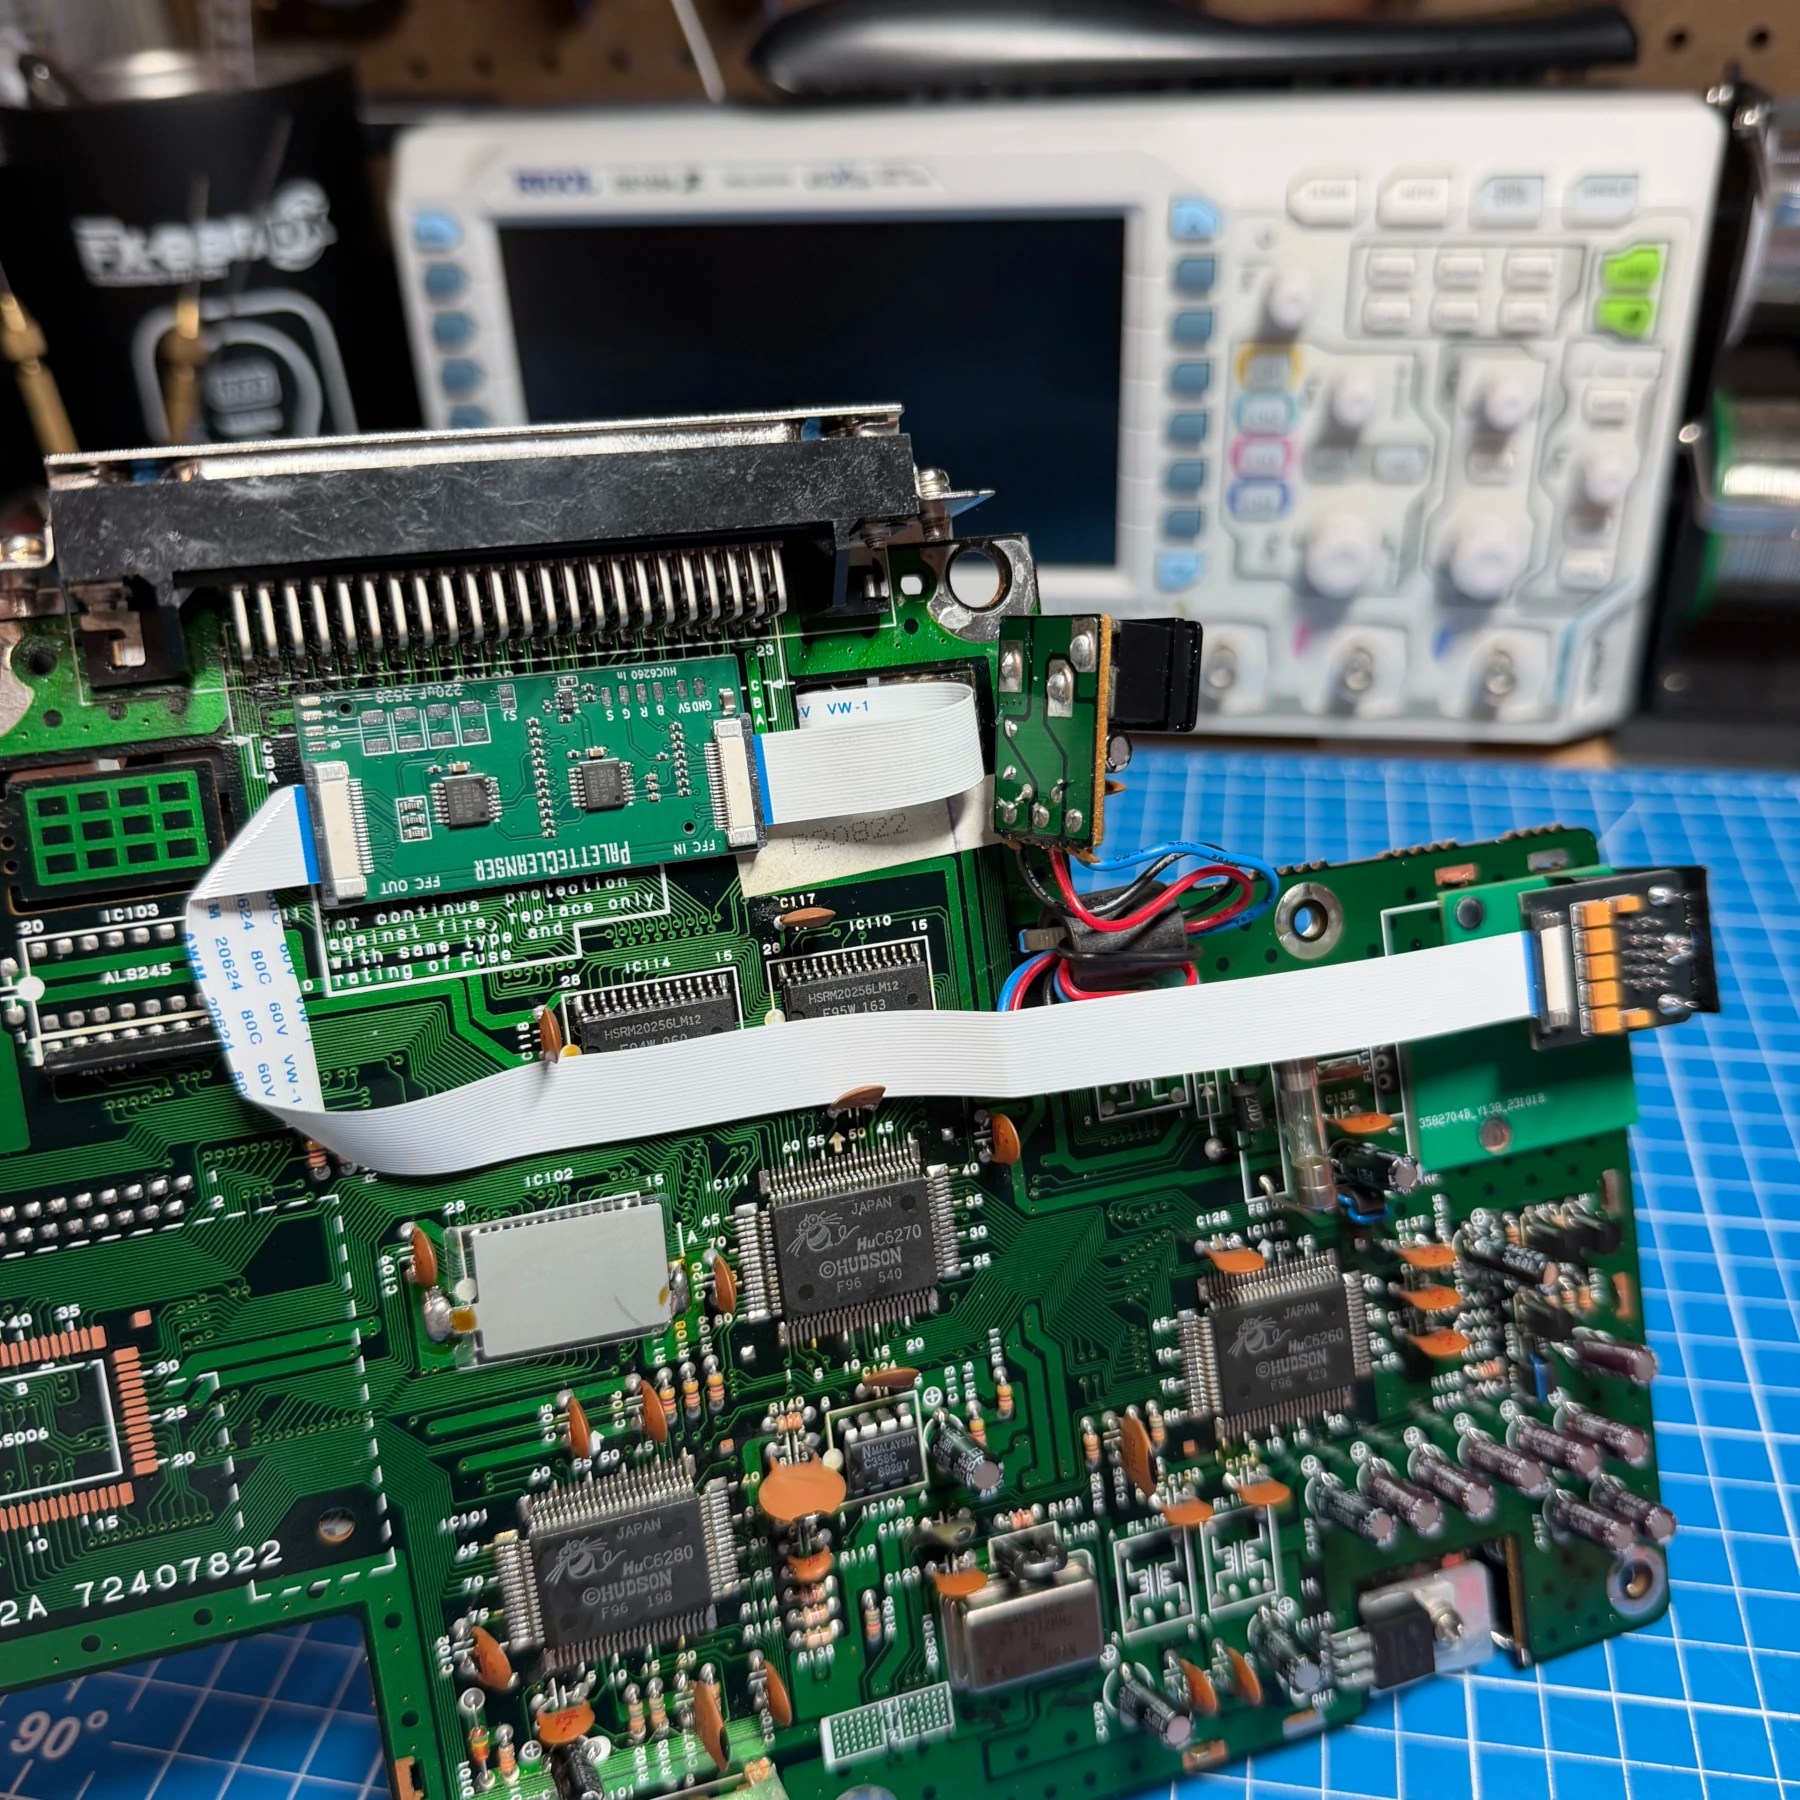
The Palette Cleanser is plug and play if you have already done the work of installing the Turbonanza. After looking over the real estate on the board and optimal flex routing I decided to secure the PC board directly in front of the expansion port area as this section is unpopulated and it’s also where the flex from the Turbonanza is coming from the underside. I used my 3M heavy-duty double-sided tape to stick it to the board and then plugged in in the incoming flex, then inserted the outgoing flex (again, blue side up!) out the other end and tightened the clasp. This flex then just made a few bends and ran directly to the new Saturn-style 10 pin DIN board. Easy!
At this point I did a quick test to confirm everything looked ok and then desoldered the original 7805 regulator and installed a brand new one, put some fresh Arctic thermal paste on the underside and secured it to the lower shield. The lower and upper shield could then be secured back to the board and tabs soldered on, completing all the internal work.
To finish the install I then lightly cut away some of the trim in the output port area and 3D printed my DIN surround plate and RF hole plug I use for these installs as it gives a nice finishing touch and helps the mod look a little more ‘from the factory’.
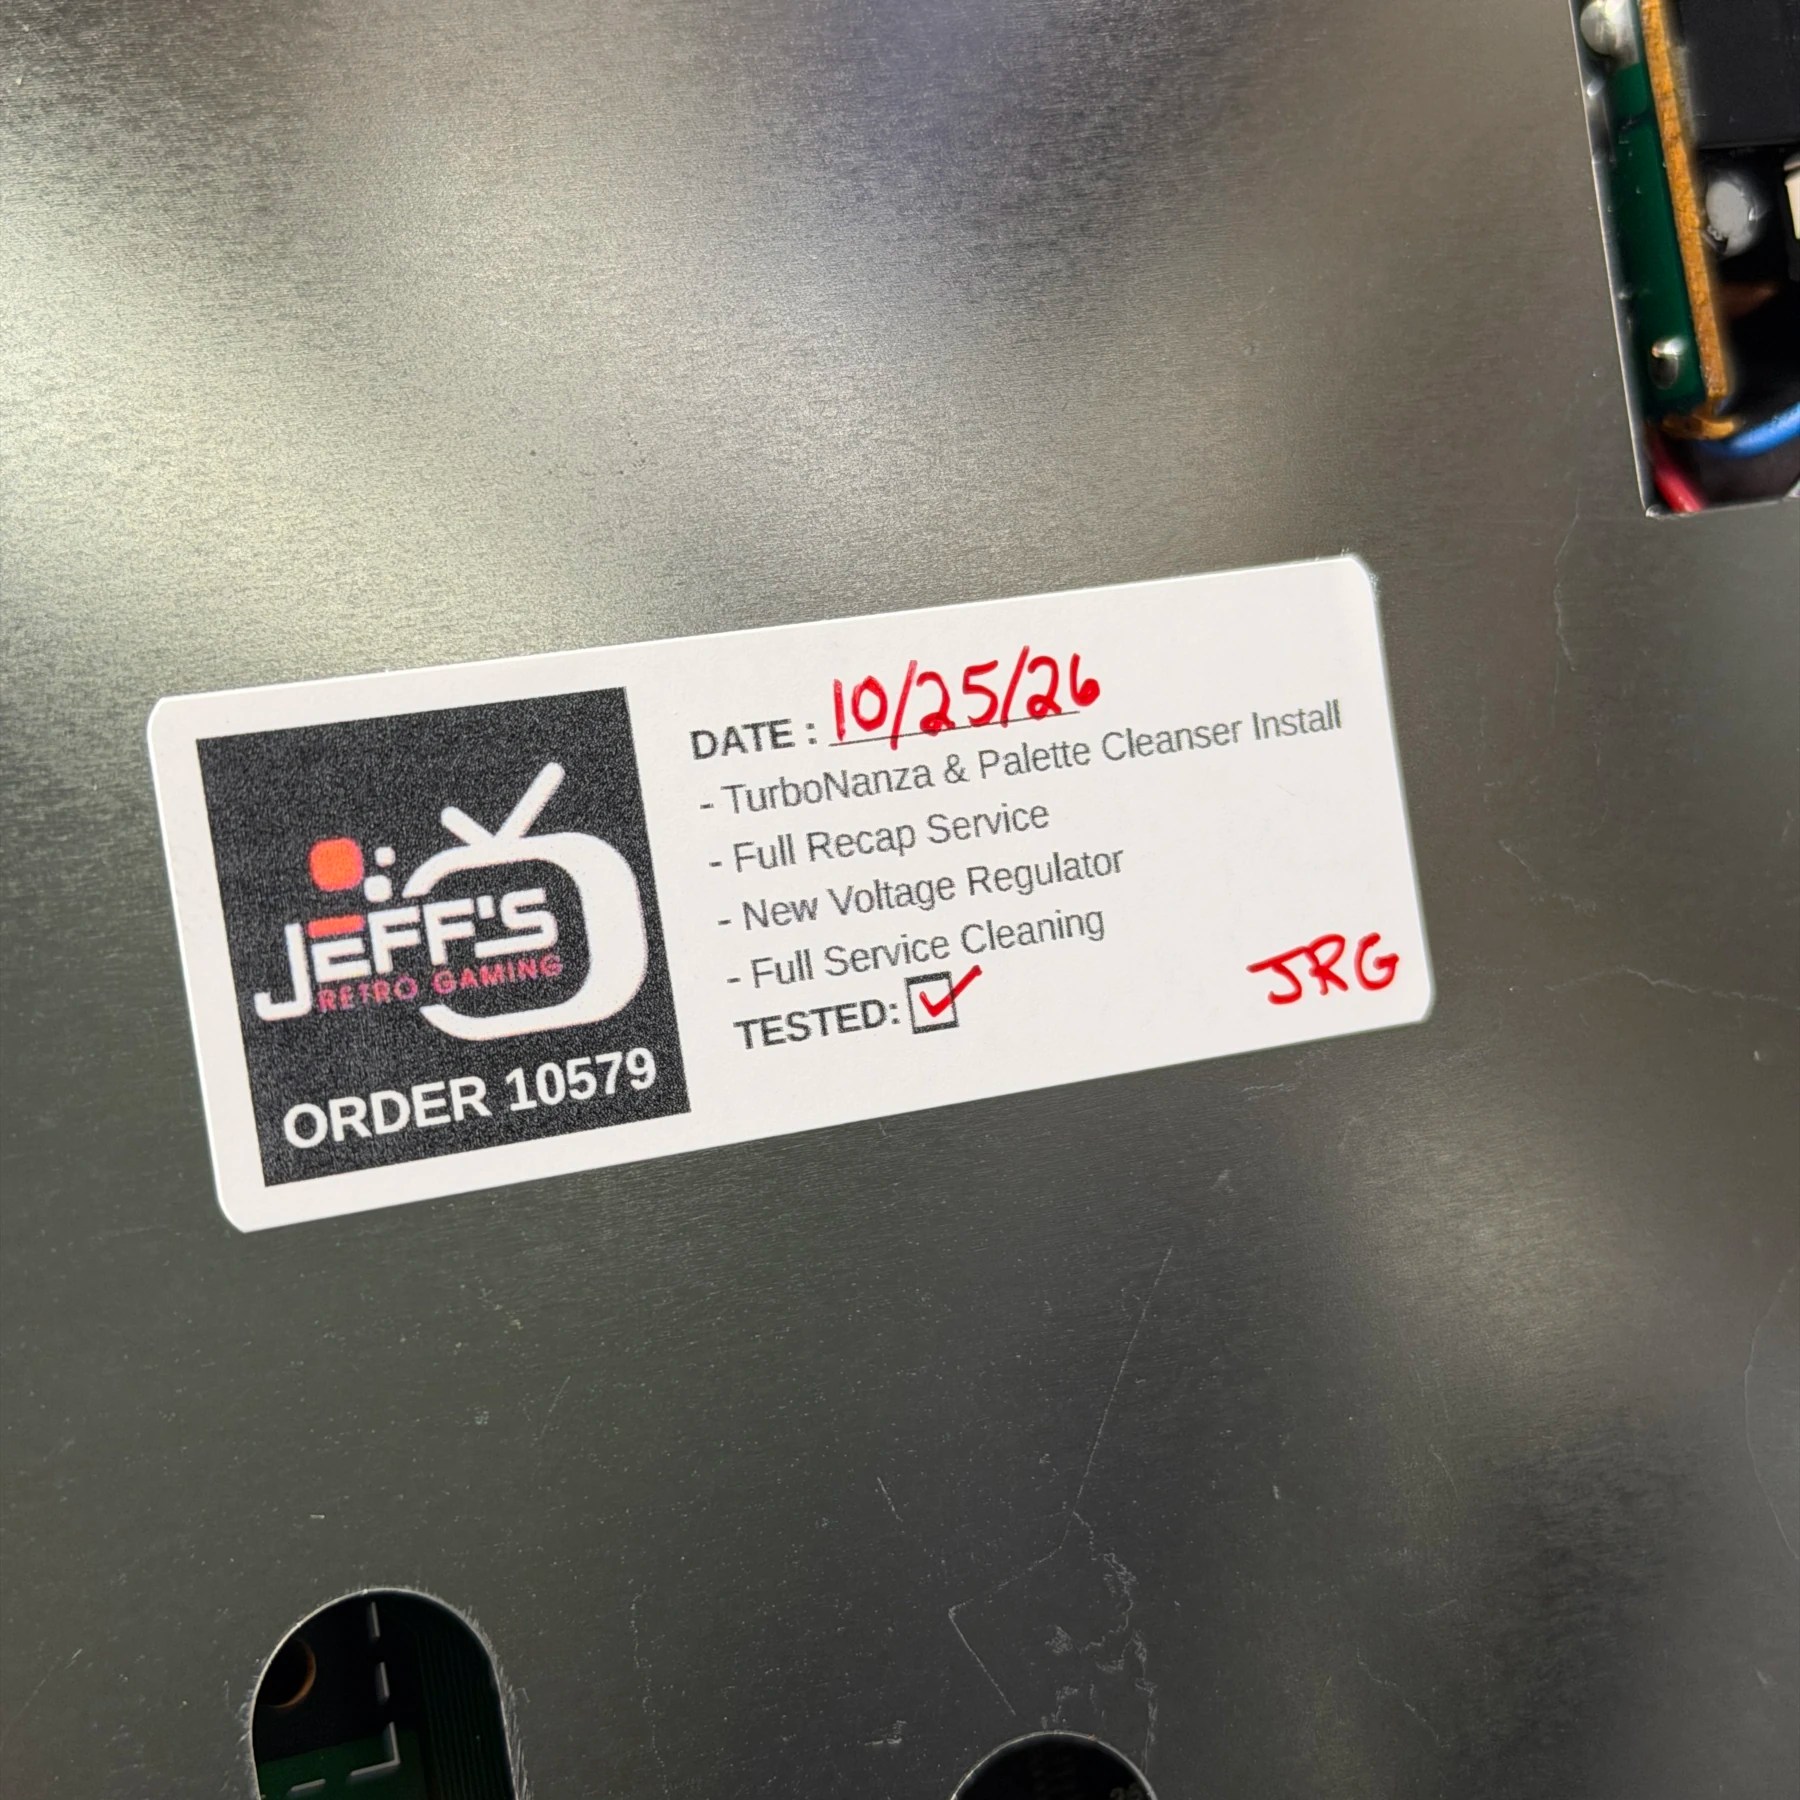
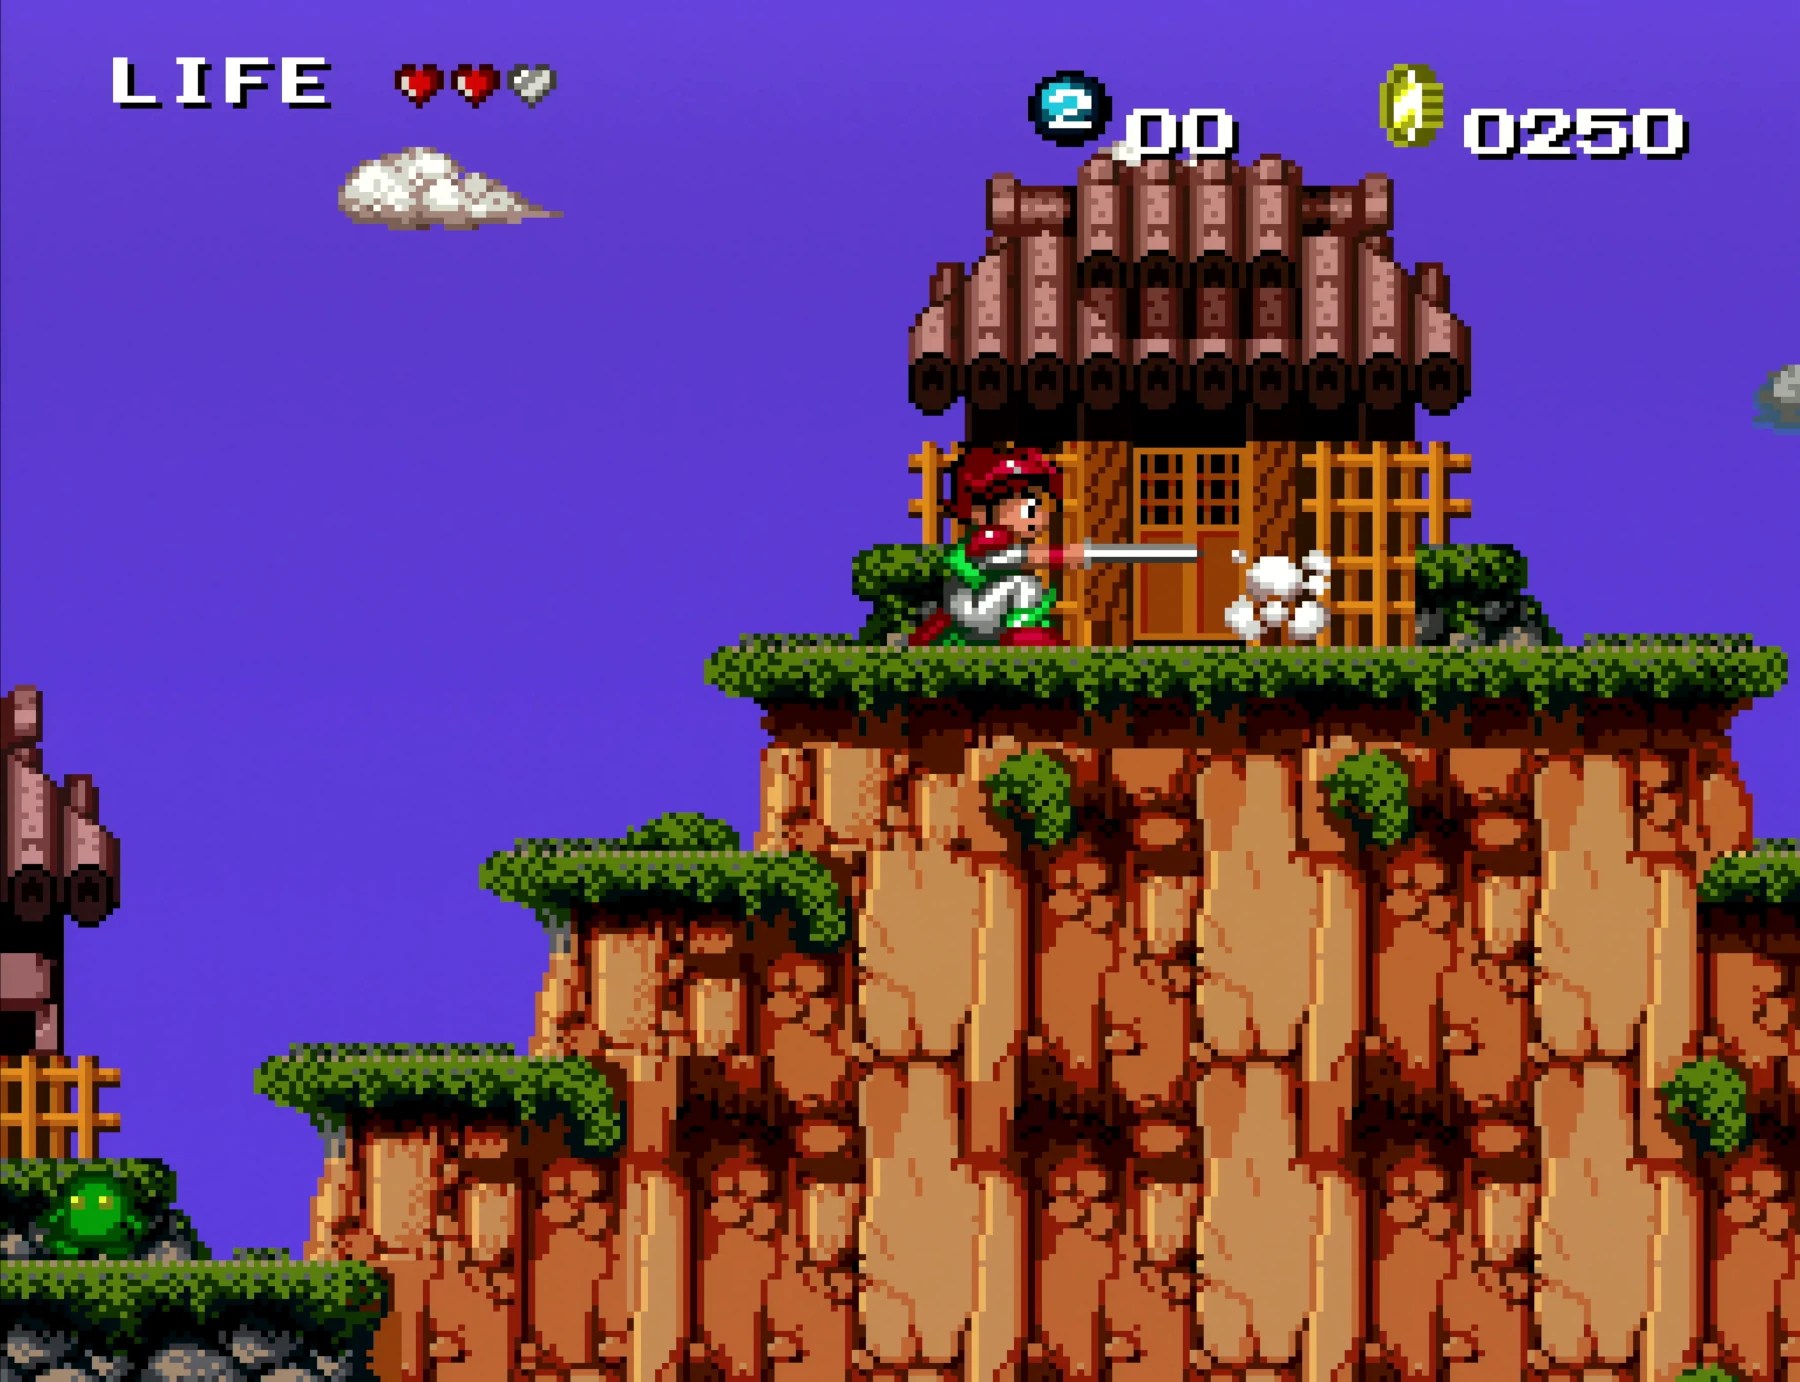
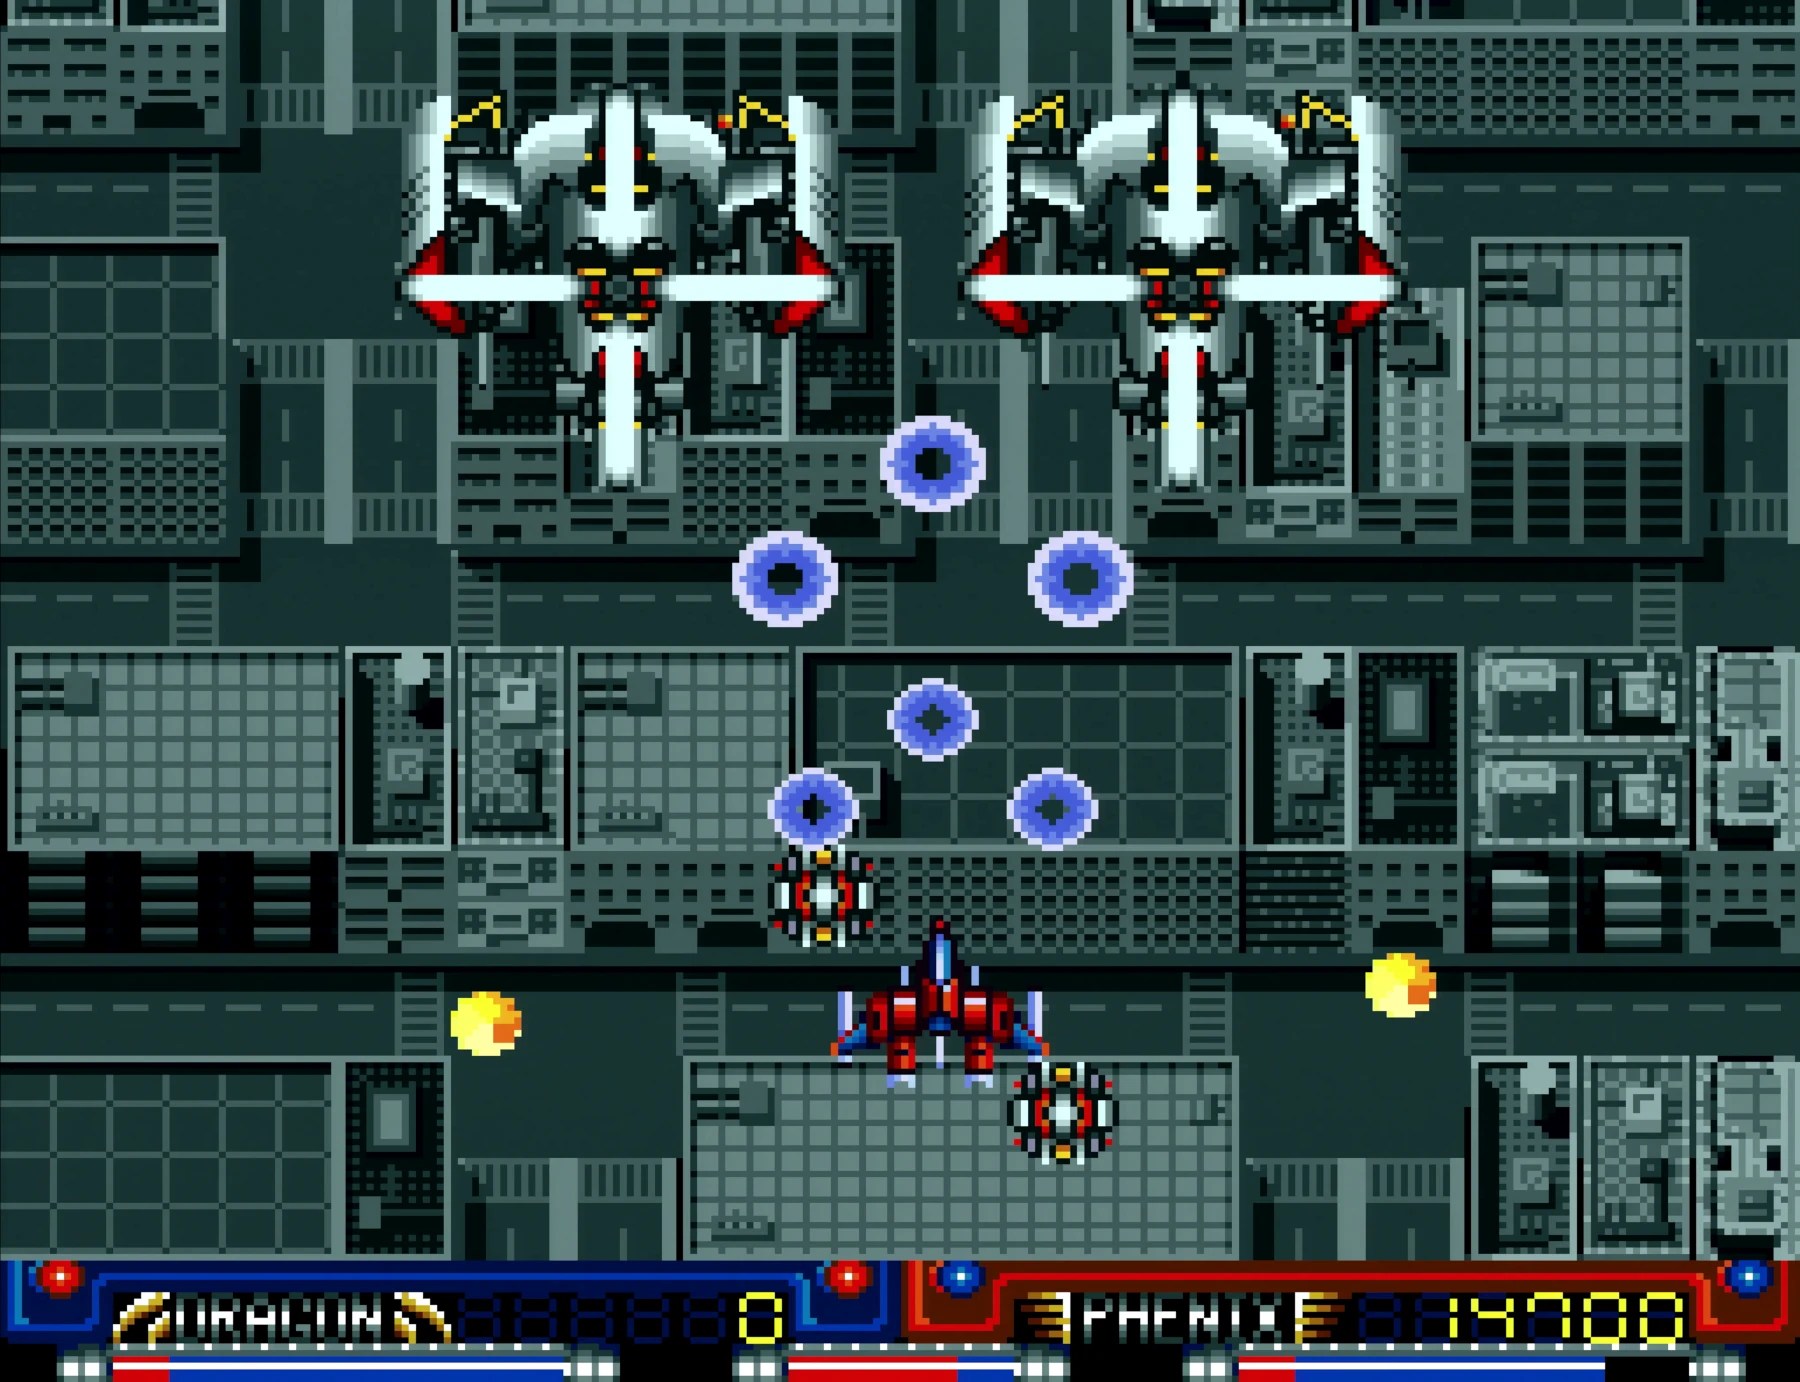
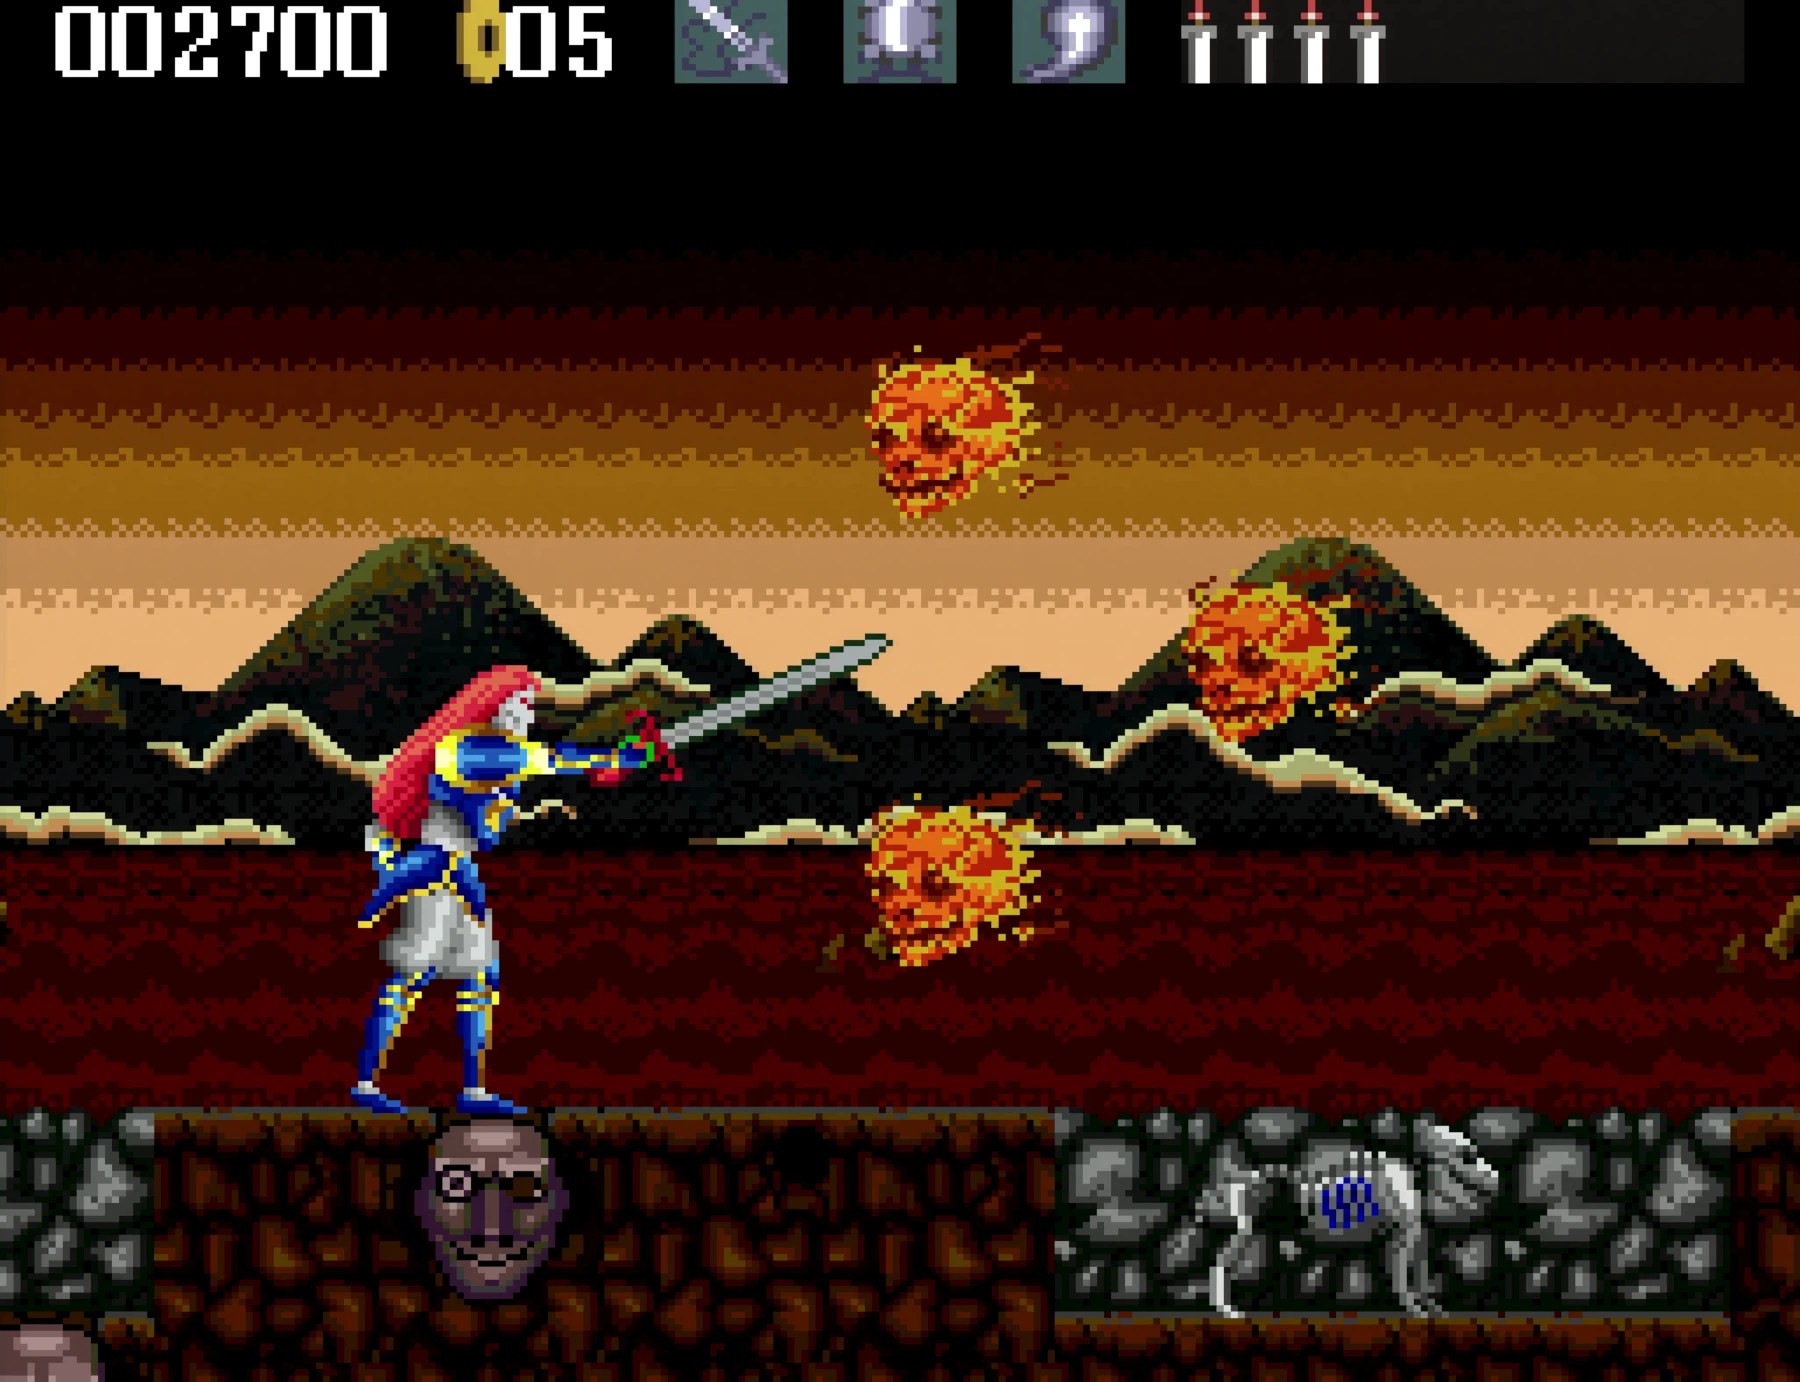
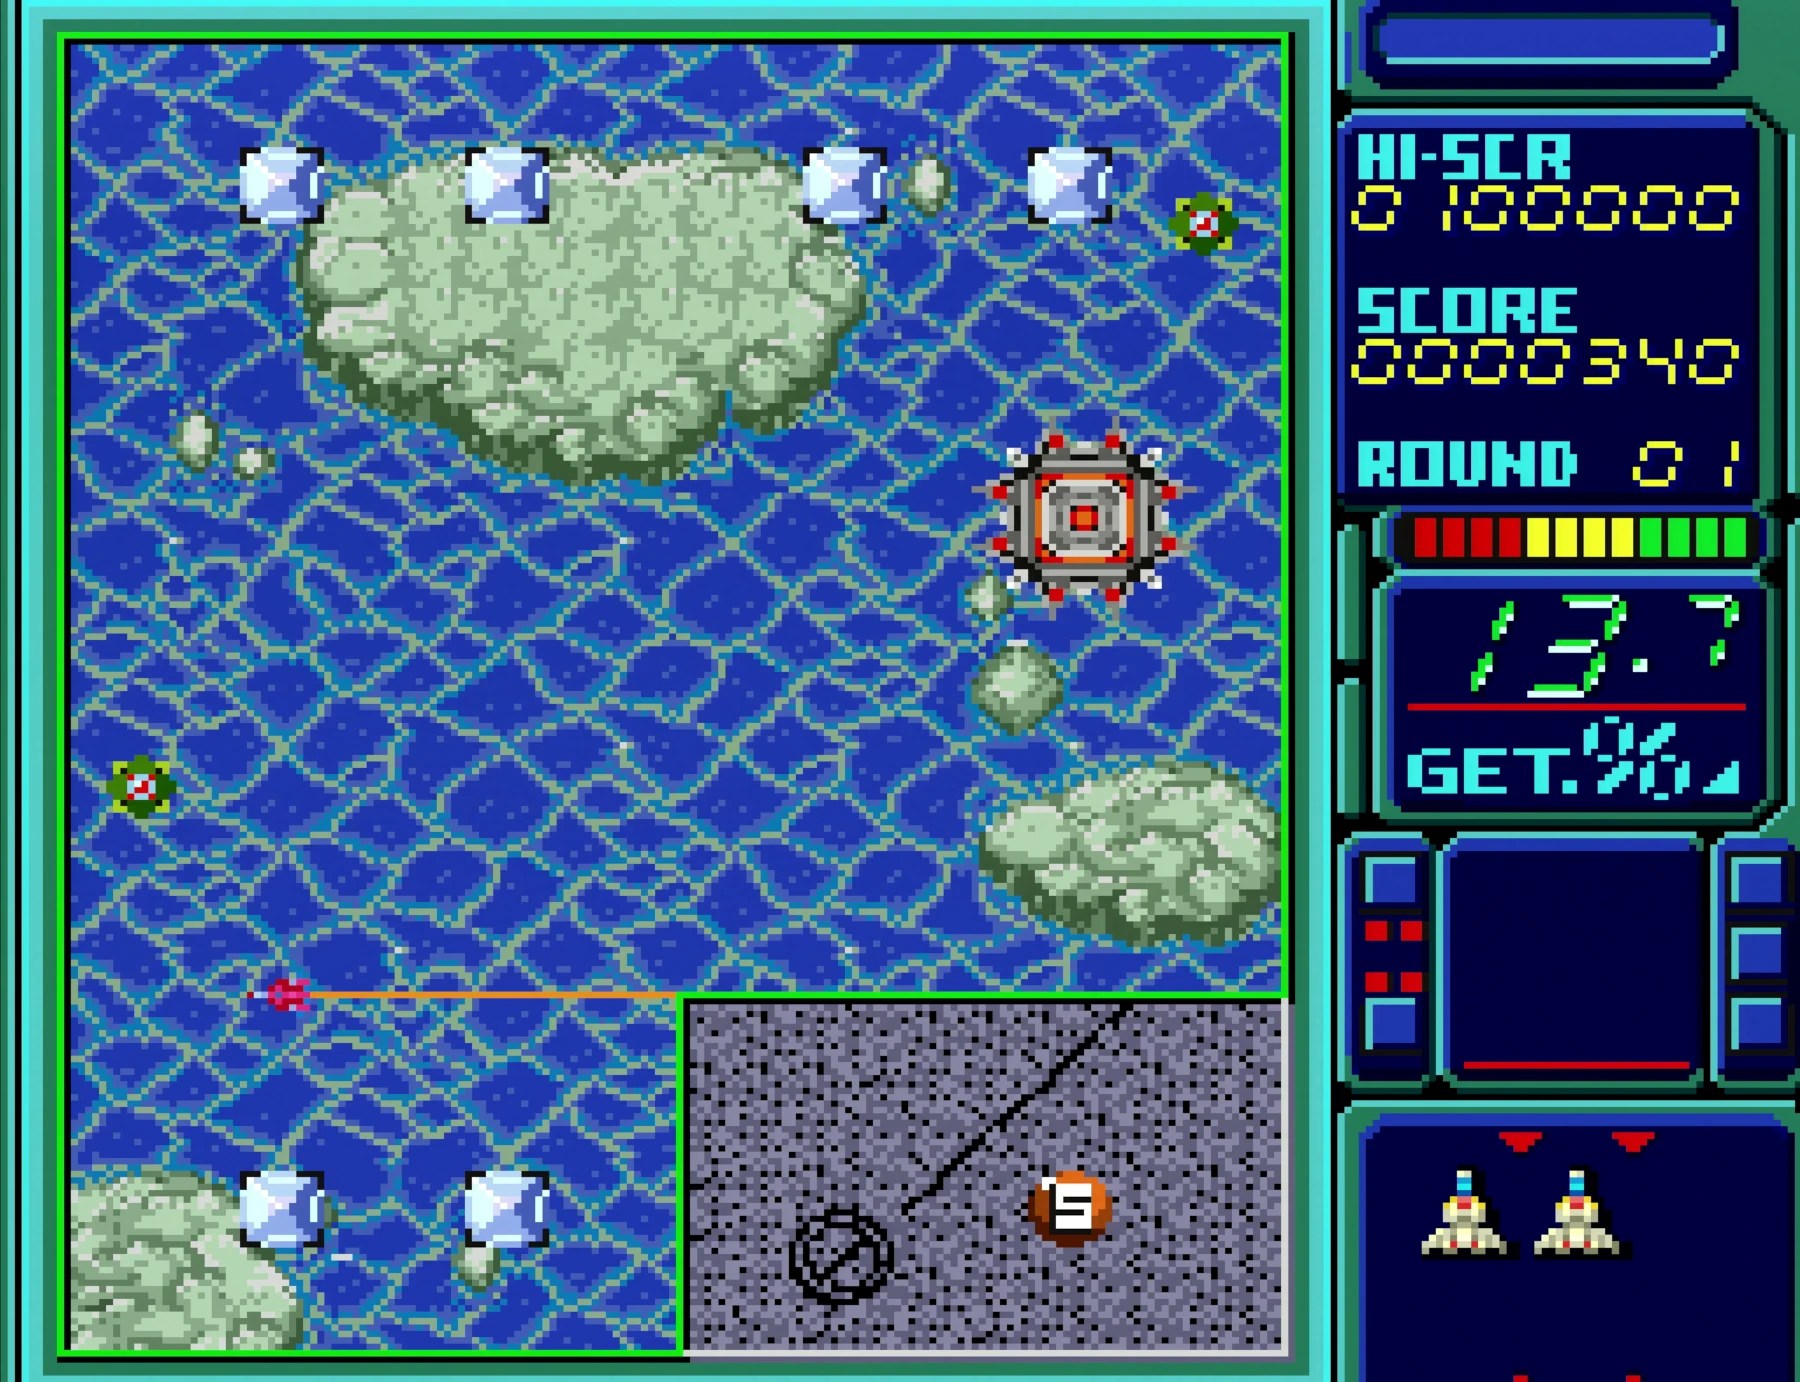
Knowing everything tested ok I then signed off on the sticker and placed that on the top shielding and put the outer shell back together and closed the system up. For tests I let it run for a while on a game via the PVM then got my staged shot. I then fired up my RetroTink 4K and got some nice clean 4K captures (as seen below 👇) of 4 different games and played it for some time to ensure there were no issues.
Overall it’s a pretty easy install and the shell cleaned up really nice, I think this customer will be quite happy with not only how the console looks but how sharp and accurate the new RGB output is!