

Got a request to service a Sega CDX that was not reading any discs but played Genesis carts fine and was otherwise functional. I’ve found this to be a pretty common occurrence with these and sadly if the laser is toast it’s getting increasingly difficult to find a reliable replacement to keep the optical drive side functioning.
I explained to the customer that I could clean and grease the optical drive, confirm laser operation and make some adjustments to possibly get it reading but there was no guarantee. Customer understood and ultimately decided it was worth having the work done regardless but with the chance full operation could be restored. For situations like this, my ultimate hope is any unit properly refurbished will at least be ready for if there is eventually a CDX ODE that could replace the problematic drives and allow these to have a long-life running games off an internal SD card solution.
Anyways, read on to see what ended up happening!
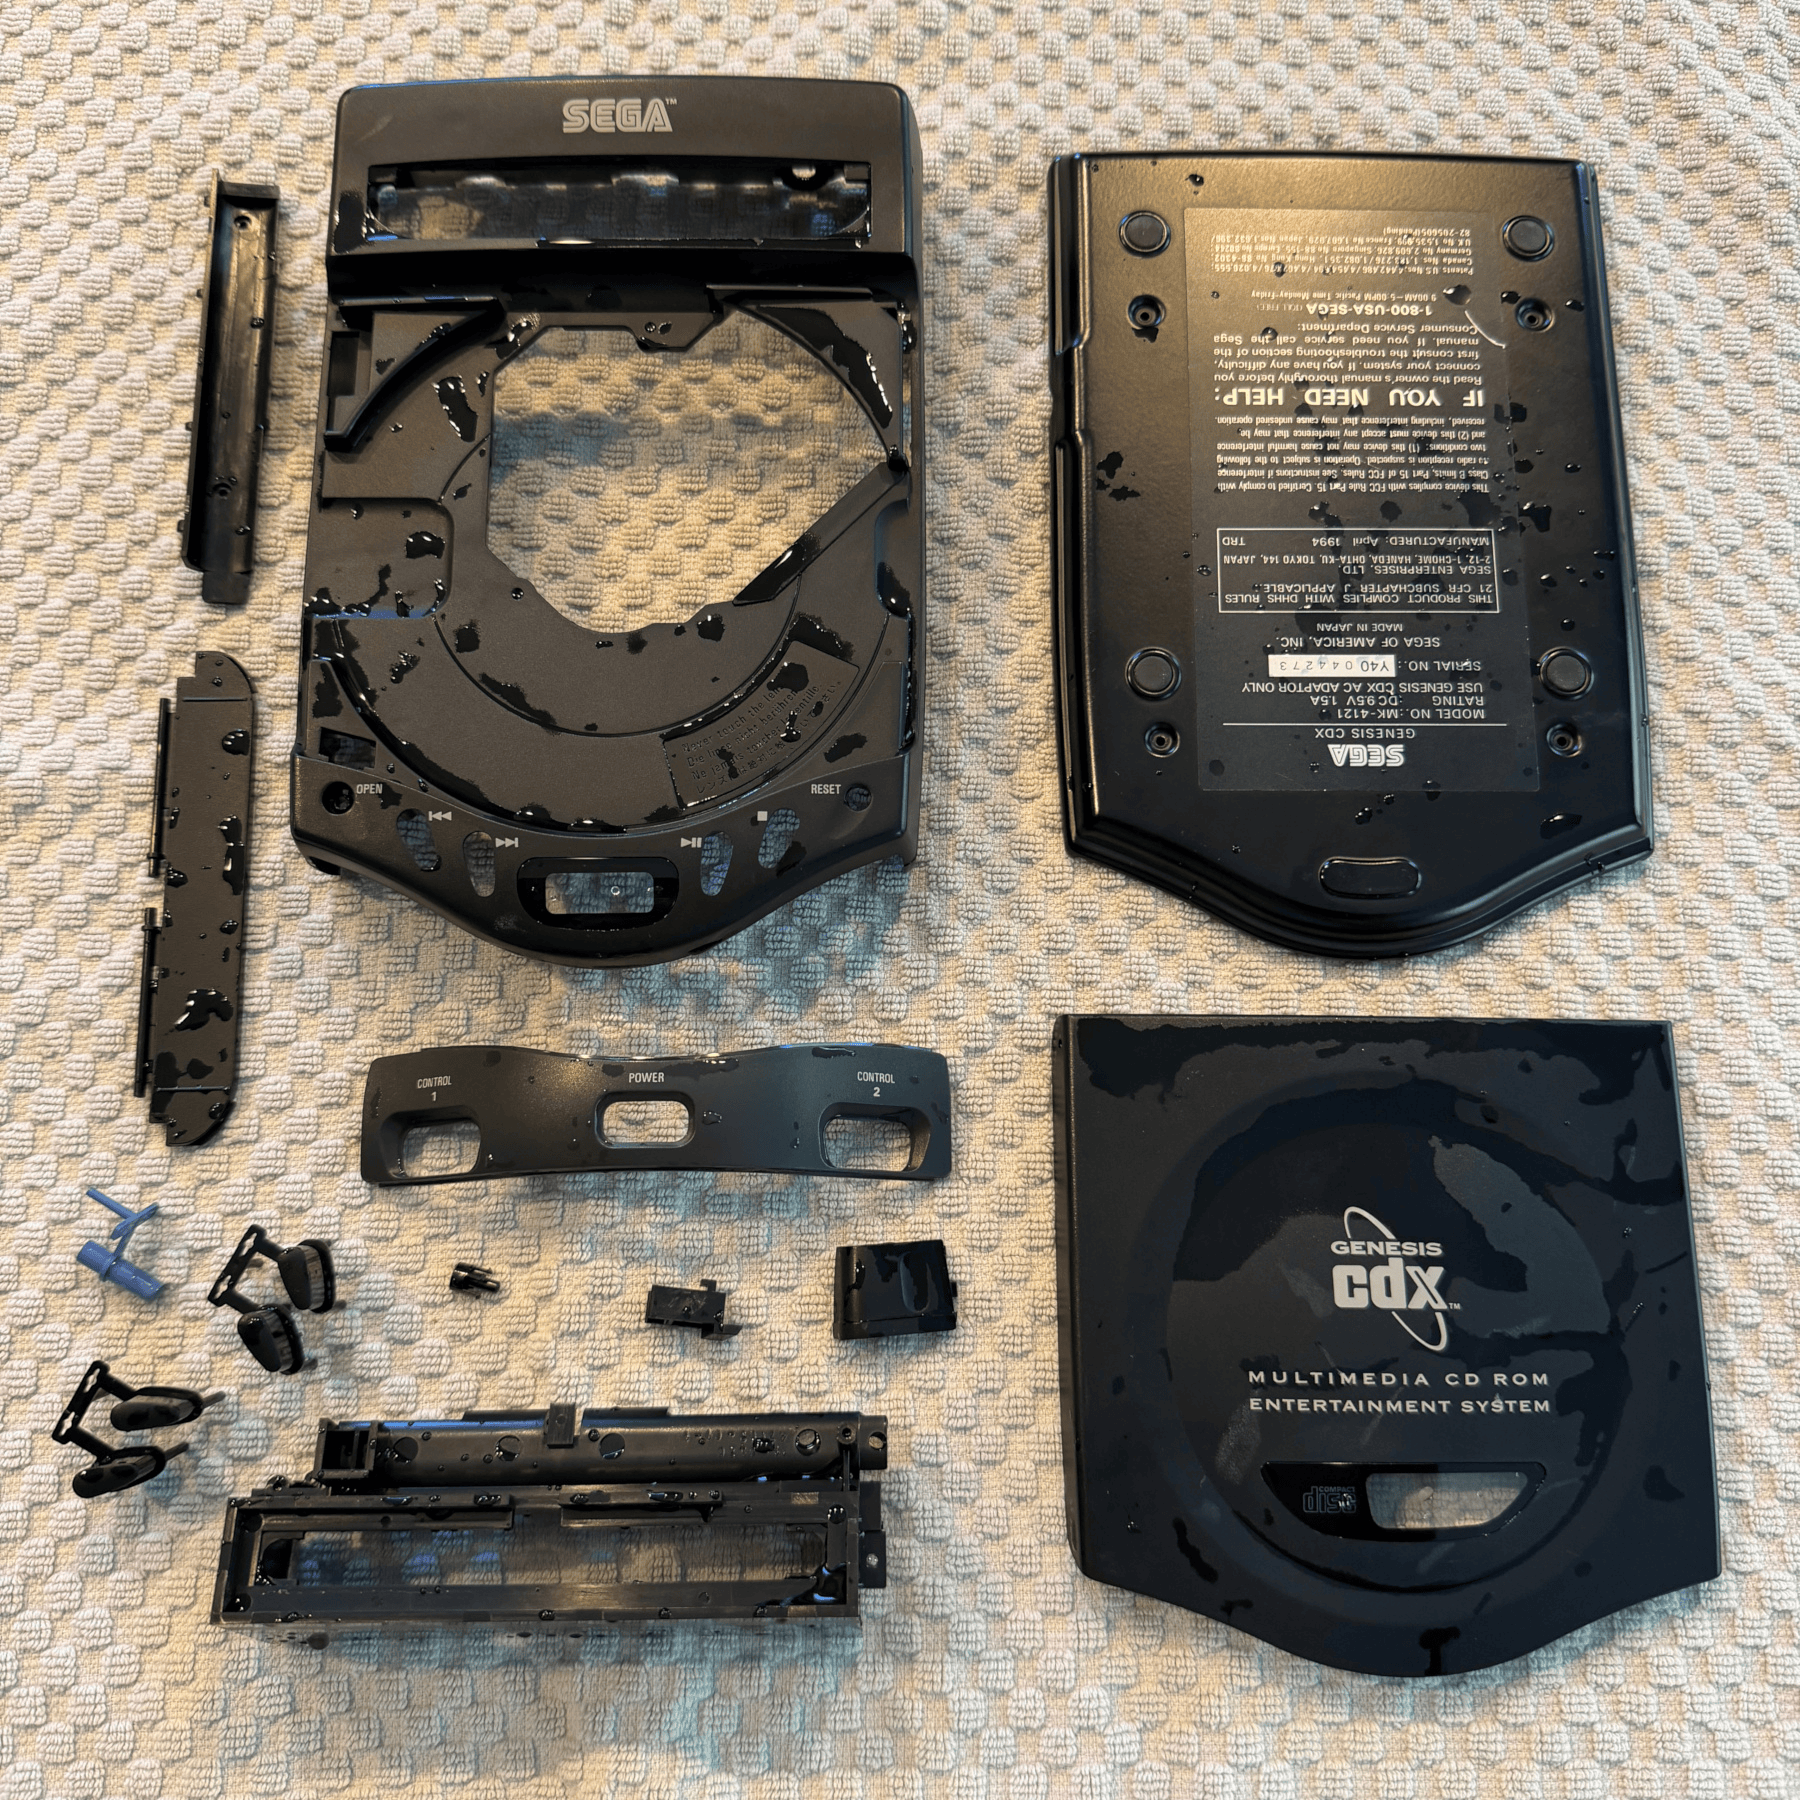
Customer had selected the Full Service Cleaning option so I first began with the tedious task of disassembling the CDX down to the very last parts of the top shell (which come last). So many tiny screws, small pieces related to the tray lid and the front row of buttons and small parts require one to go carefully. Very easy to drop and risk losing one of these screws if you are not careful.
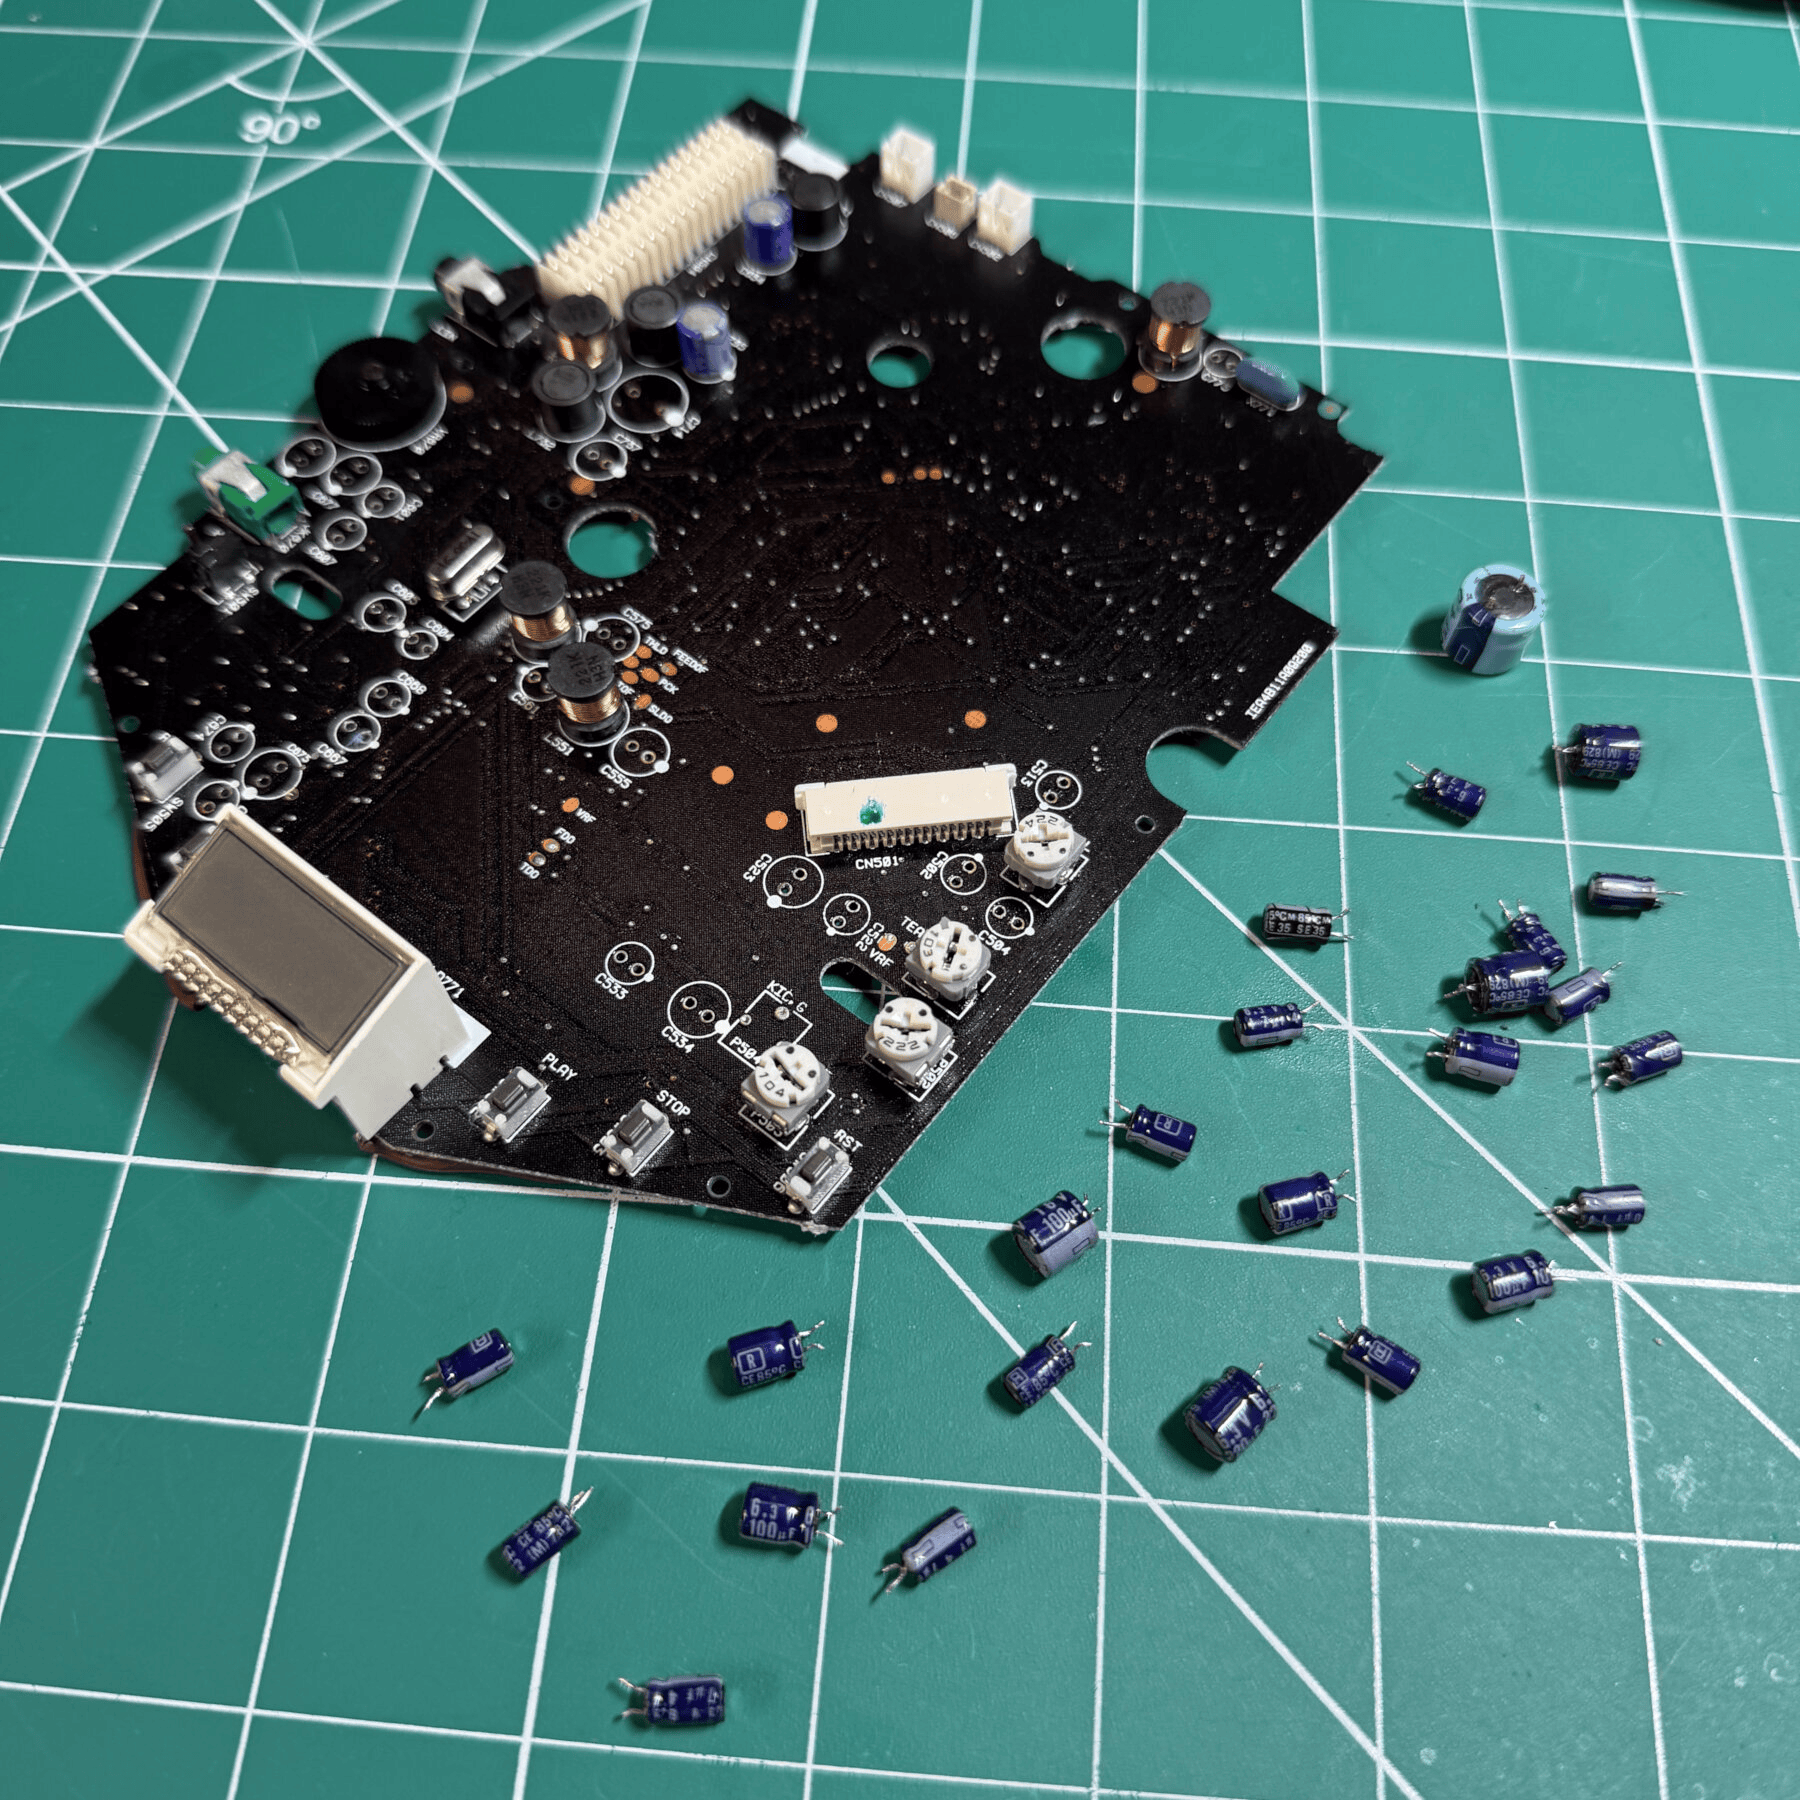
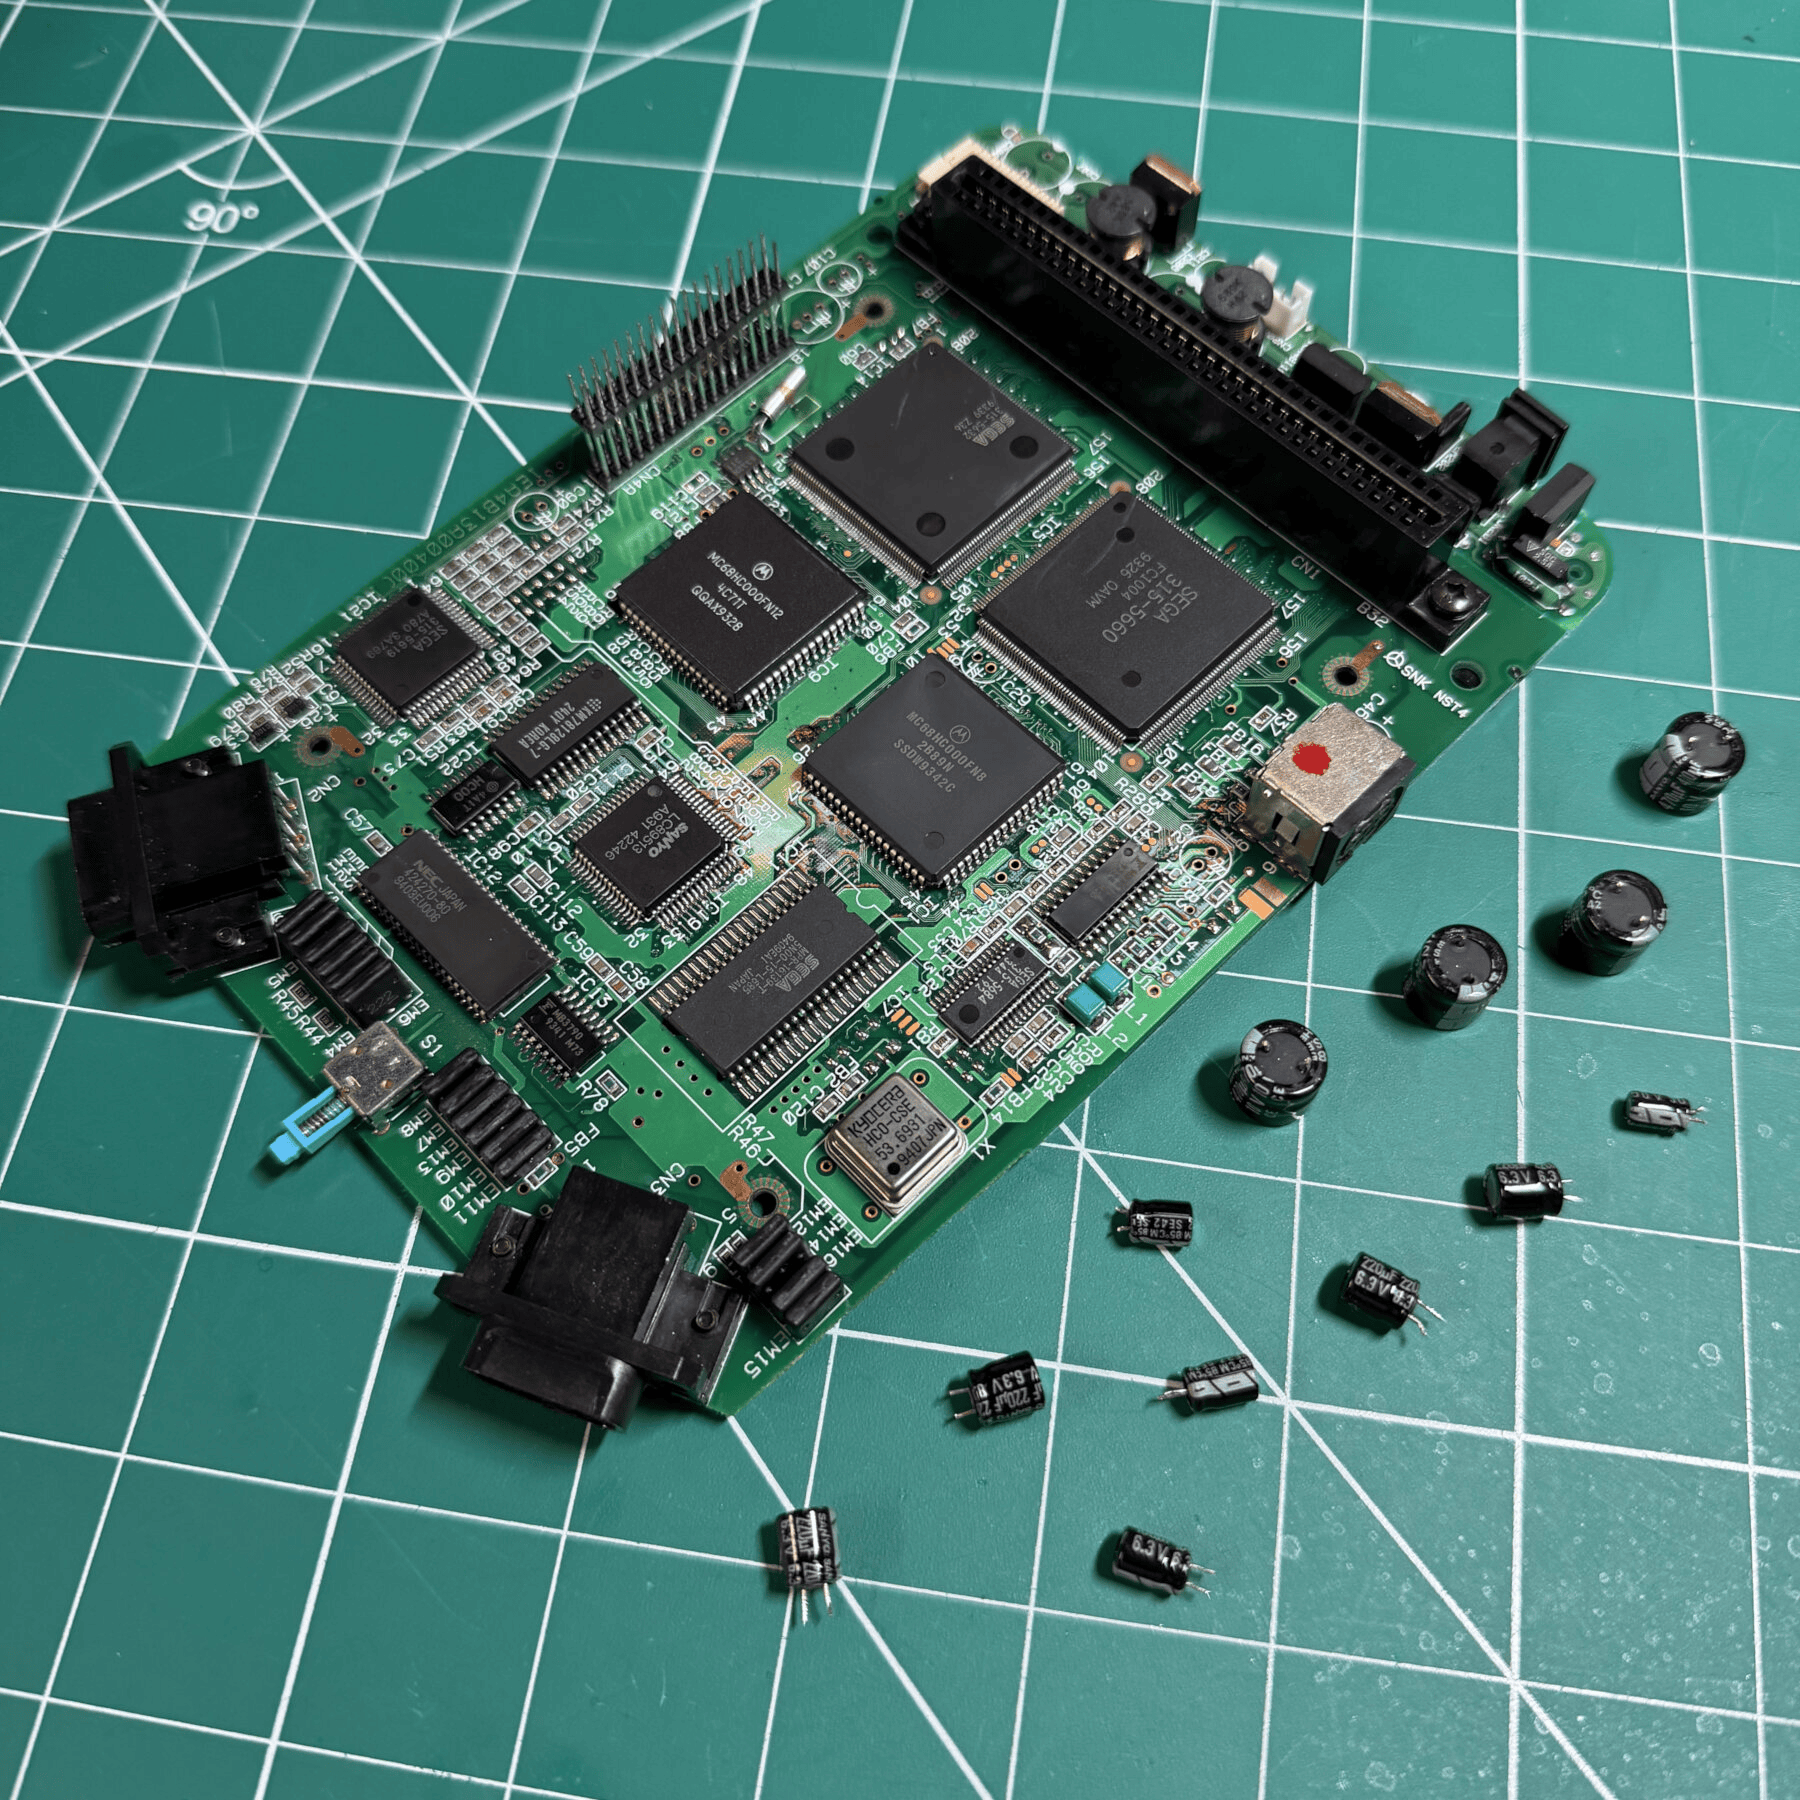
With all plastic parts removed including the battery compartment I set them to soak then scrubbed, rinsed and setup to dry overnight. While waiting on the shell parts to dry I always begin work on the top board which is the first to be removed as its a much easier board to tackle. There are only 12 caps across the CPU and power board so I can make quick work of them with my Hakko gun.
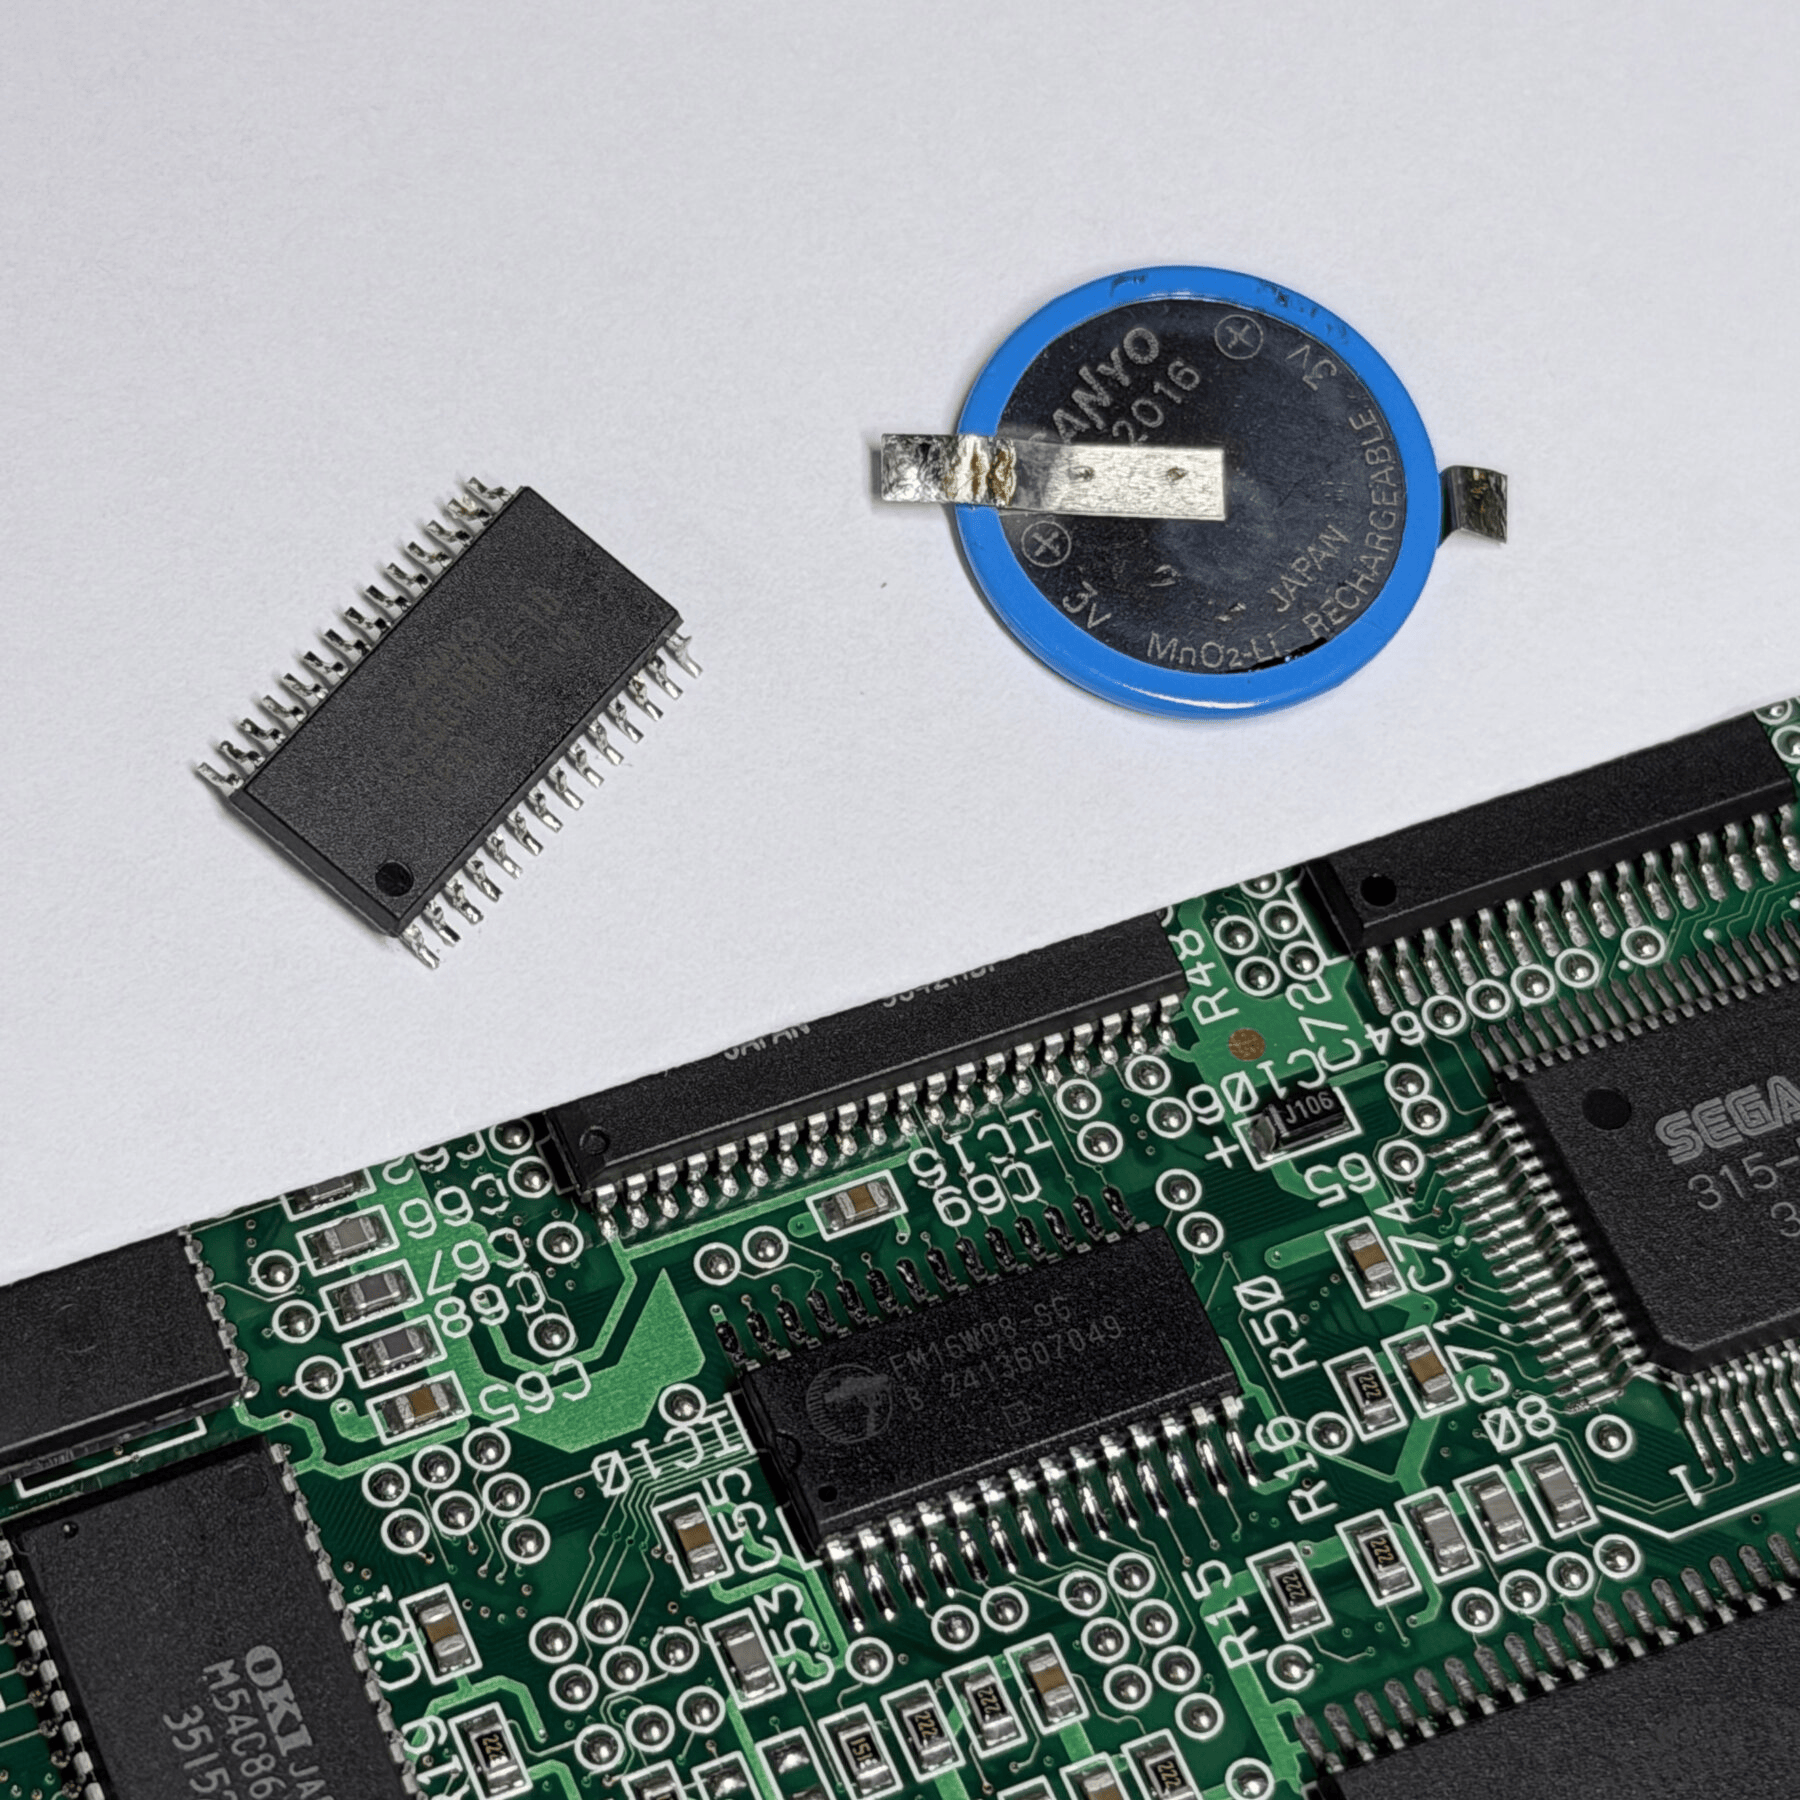
Customer had also selected the FRAM upgrade so that saves are not tied to the battery any longer and since I had the board out and already recapped, I tackled that next. Simple process – just heat up both tabs and lift the now unneeded battery off the board (there is adhesive holding it FYI) and then I introduce a small amount of low temp solder which helps me use my hot air station to heat the old SRAM chip up enough to lift it off without requiring high heat (this is important on systems with delicate chips nearby IMO). With the low melt solder introduced I was able to lift the chip with only about 10 seconds of hot air directed at it. I then fully cleaned the pads with a wick and all unspent flux, and soldered the 1608 FRAM chip on. Unlike some consoles such as the Saturn, this is a 1:1 replacement so just solder all the legs no wires needed!
That concludes the work done on PCB #1
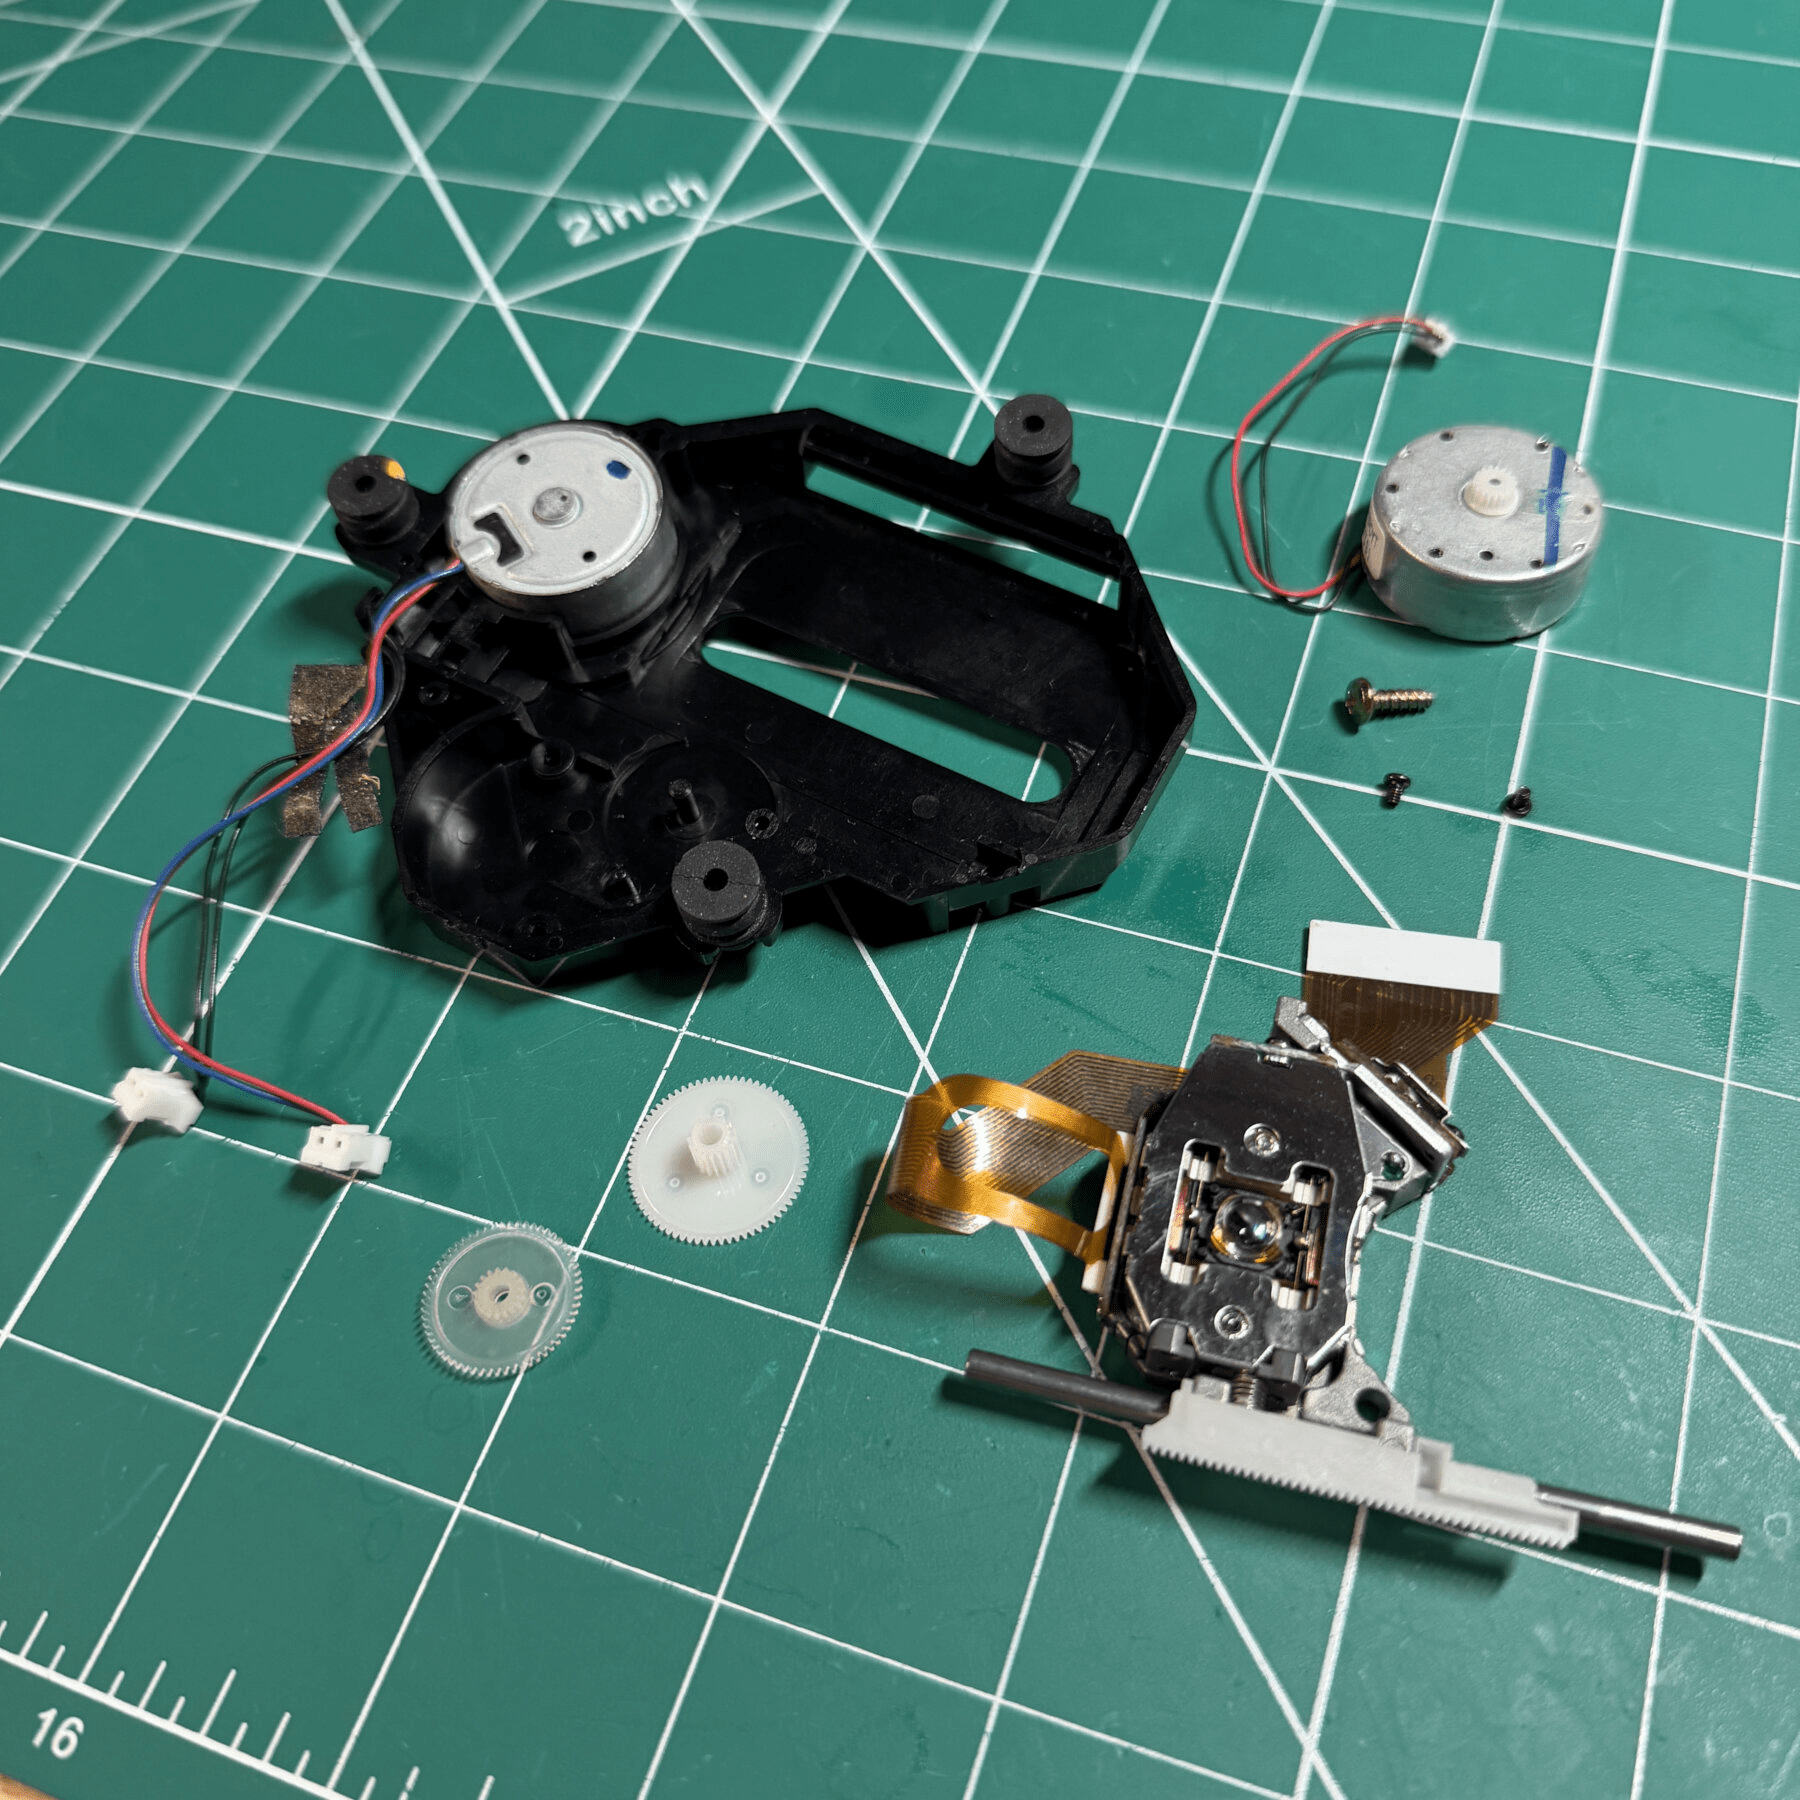
Next up is the optical drive and optical drive PCB which honestly is the toughest and most time consuming part of these jobs. There are a lot of TH caps on the optical board and you have to be very careful removing the drive to get to it as the flex is fragile and it’s stuck to the board, and when cleaning it I don’t remove the rail and clean around it as there is a spring that can pop out very easily and it’s not worth risking losing.
Since I had to pull the laser assembly out, I decided to clean that first. I take the sled motor and 2 gears out, clean everything with ISO and a brush and then apply a very light coat of fresh grease on all movement points. During the cleaning process there was a lot of dust and debris in the assembly and a huge piece of lint on/near the lens eye itself that I cleaned.
With that done I reassembled the drive and set aside to begin the back half of the recap job. Console5 kits do not provide replacement for the 2 polymer caps as they should not need replacing so I left those 2 on the board as always and removed the rest. With all the caps removed I then wiped down the topside and inserted and soldered on the new caps. The hardest part of recapping these boards is a few are right next to an IC and one is buried under a mound of bodge wires and felt tape.
With the recap out of the way, it was time to test the system while fully assembled so I pushed the 2 boards back together, insulated them with cardboard and propped the drive up so I could run it without holding and keep hands free for the lid switch and adjustments. Right off the bat, there was no change from before the system would either attempt to spin up 3-4 times then say no disc or occasionally show the sonic trademark screen / jingle and then stall out on a black screen…
So like the last one I started by using the RetroSix wiki to reference correct readings on the PLL Frequency and the DC Offset. PLL Frequency was not off by much, recommended value is as close to 4.32mhz as possible. It was at 4.41 so with it hooked up to my oscilloscope I carefully dialed it down and got it to 4.322 which was as close as I could get it.
Next was checking the DC Offset aka TOFF pot and instead of being 2.5V like it should, that was reading 1.3V so way off! Adjusted accordingly (all of these were carefully marked before any changes made BTW and you should always do so too)
With those two changes I was then able to get it to boot to the jingle screen every time and some times even load to atleast a splash screen or opening FMV. I then moved my scope wire to the RF test point on the underside and setup the scope to try and get a good laser eye pattern. This required a large adjustment of the TGAIN pot and a small adjustment to the E/FB pot but eventually I got as close as I could and tested some games out including ones making heavy use of FMV and music. At this point all of my test games were booting, FMV heavy titles were playing well minus once in a while a small hiccup and music was playing no issue.
I then made a second mark to the new points and started the reassembly. I won’t bore you with the details on that but putting the optical PCB and laser back in at a weird angle so the headphone jack sticks out properly and you slide the front faceplate on at same time really sucks!
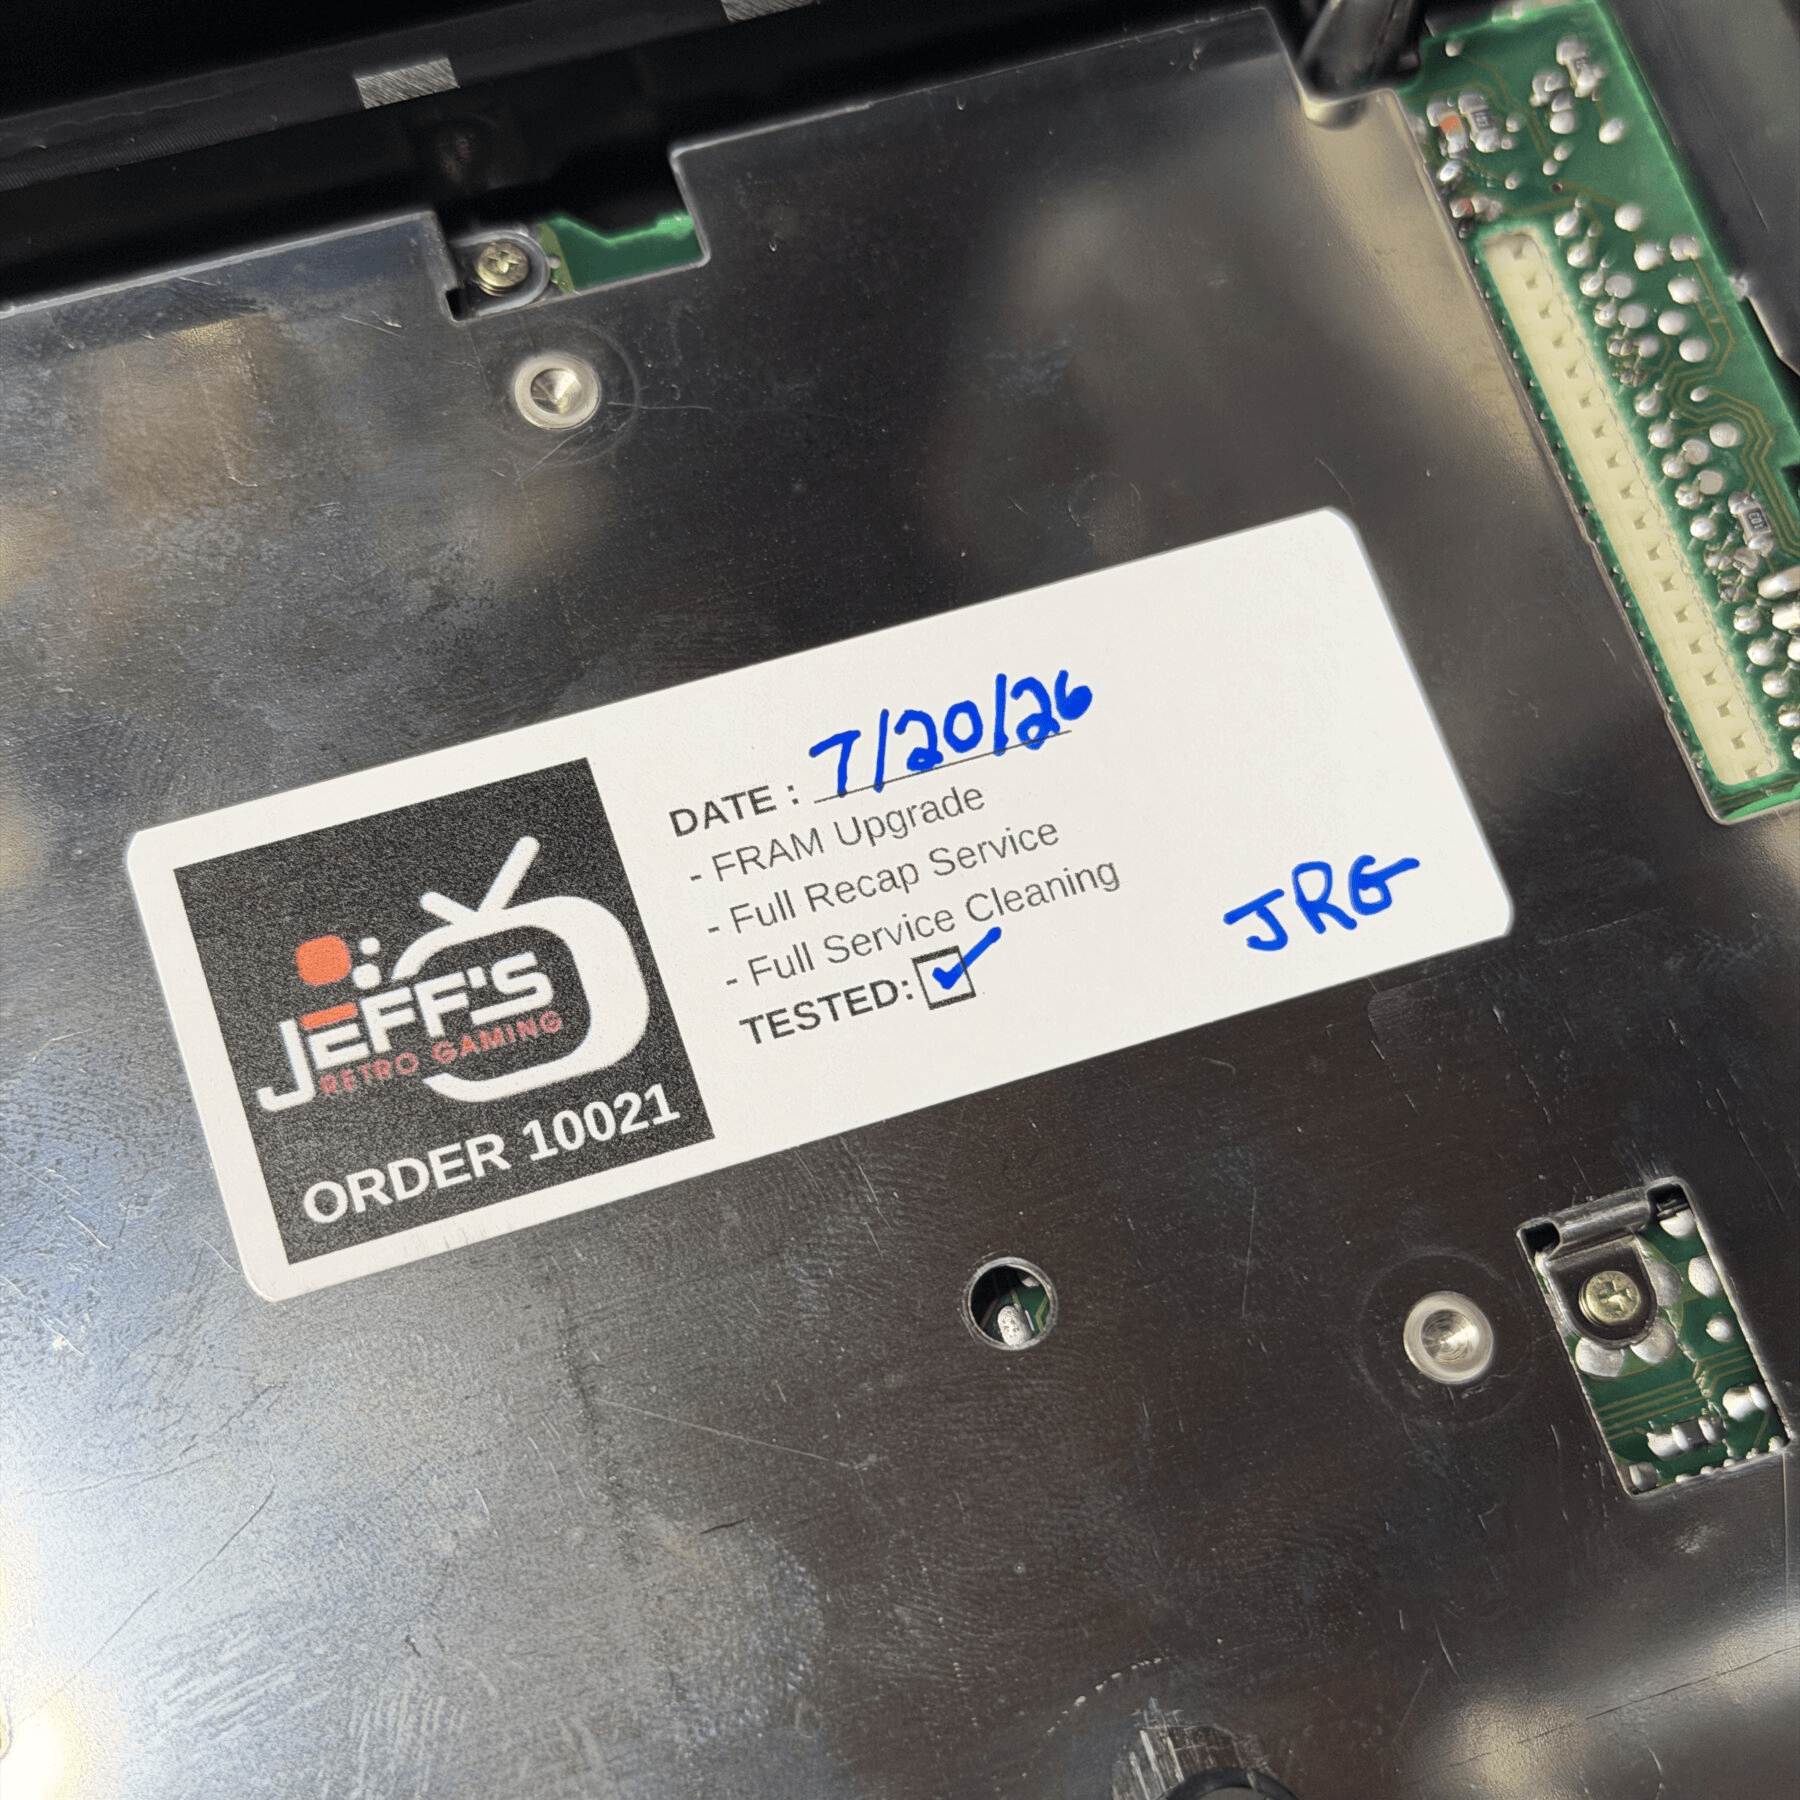
Once it was mostly reassembled, I put the JRG sticker on and closed up the rest of the system after putting the mainboard back in. Got it staged with my copy of DUNE, let it run for a while and formatted the new FRAM memory and played some games. No idea on the lifetime left in the laser but that’s unavoidable. At least for now they have a fully functioning CDX!