

Had another AES join the queue for an RGB Bypass, Unibios, recap & cleaning. I stock all revision Console5 cap kits as I can’t know which one it will be until it’s here and that adds extra delay. That said, I don’t see 3-1 here in the shop often I would guess 99% of the ones I get are the 3-5 or 3-6 which are known for needing a bypass for decent RGB out.
Customer had selected the RGB bypass option but the 3-1 does not need it, it outputs an excellent signal without any modification, and the Console5 cap kit for the 3-1 includes new value caps and resistors in CXA area for slight RGB improvement anyways. Since the bypass kits I stock are for 3-3 to 3-6 I reached out to the customer and we agreed to just do the rest of the work as planned and I processed a partial refund for the RGB Bypass fee ($30.00)
Customer did mention that there was an audio problem where there would be no sound from the unit mostly until it had been powered on for a bit or power cycled several times. This sounded like a failing cap issue so the plan was to recap and deep clean and then go from there.
So, with that figured out I proceeded to peel off the original rubber feet, disassemble the system down to the mainboard and soaked/washed/dried the shell and plastic parts. While disassembling the top shell portion I found a screw post completely broken off from the top shell so I set it aside with plans to repair after the plastic all dried!
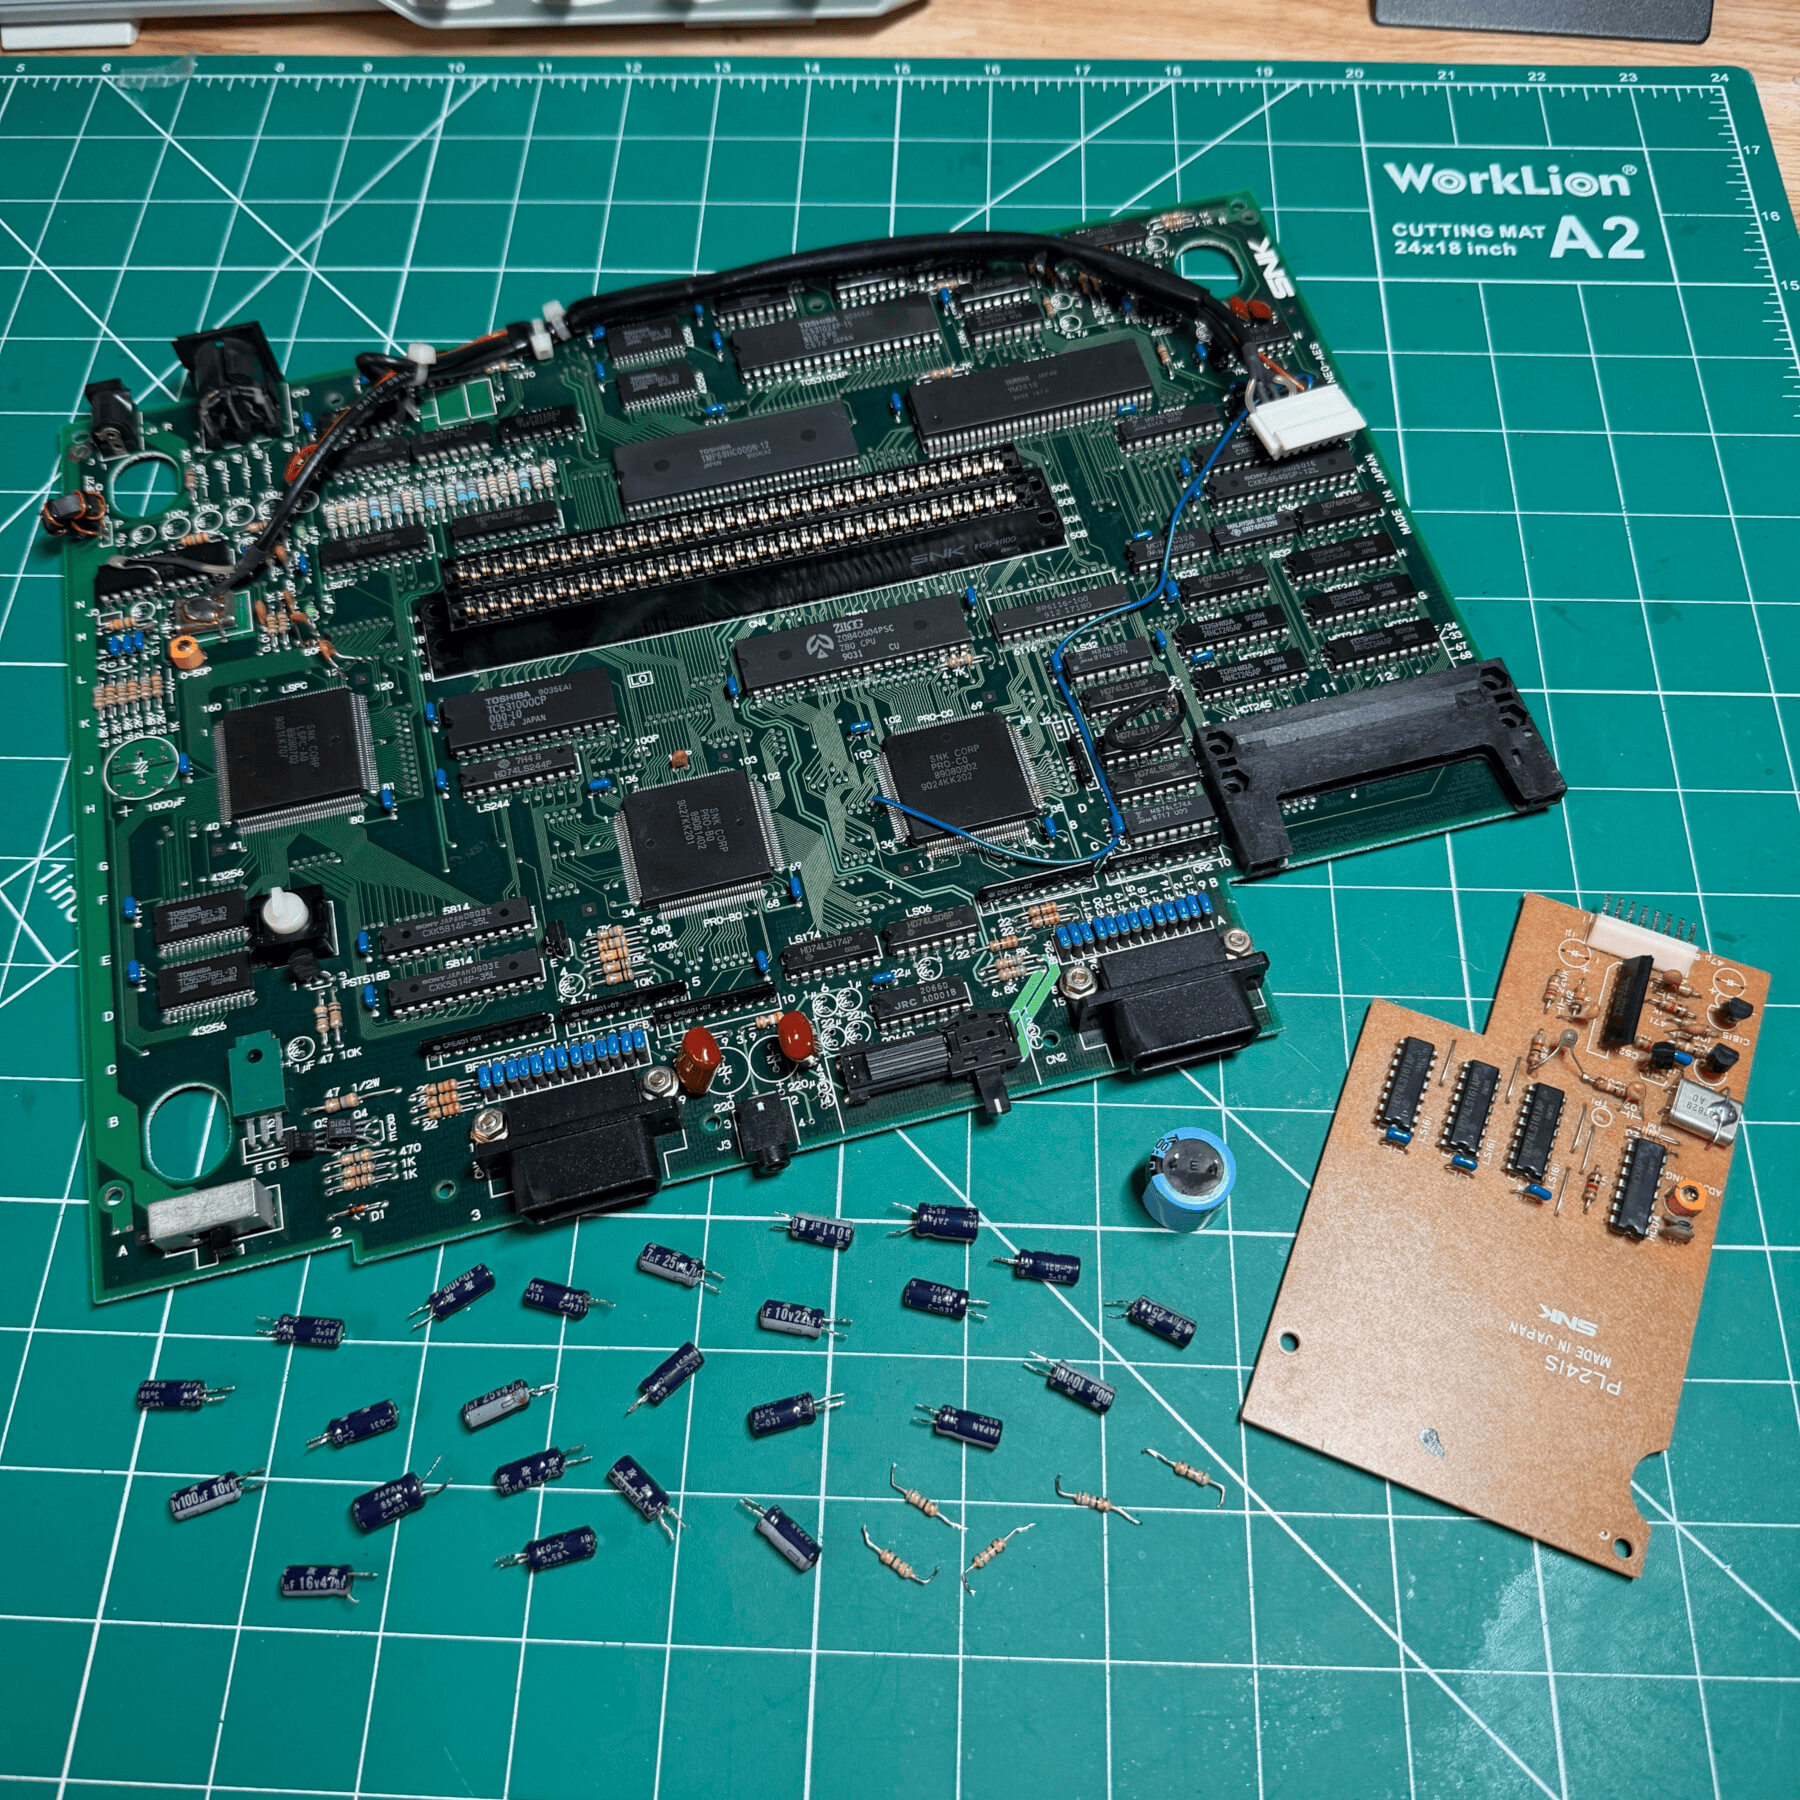
While waiting on the shell to dry I got to work on the mainboard and in this case the small daughterboard which is attached via a cable and single wire to nearby chip. I safely removed the wire and the foam backing on the underside to access the 2 capacitors on this small board, then removed all the capacitors from the mainboard as well and cleaned both sides with ISO.
Since the desoldering gun was already heated I also removed the 5 resistors near rear AV port that will be replaced with 75 ohms in the Console5 cap kit. Unlike later revisions which cover many of the large caps in copious amounts of hot glue, there is none to be seen here so removal is much quicker and easier!
You don’t need a capacitor map for the AES as every capacitor has a marking on the silkscreen for value so I worked my way from the from audio area clockwise around and finished with the 4 caps in the upper right. Before moving on to do the UniBios install I wanted to test audio so I hooked up my stereo CSYNC AES cable and was greeted with sound on first boot! I did observe some scratching/crackling depending on where on the slider track the volume was, so I deep cleaned the carbon track and slider switch and tested again… perfect!
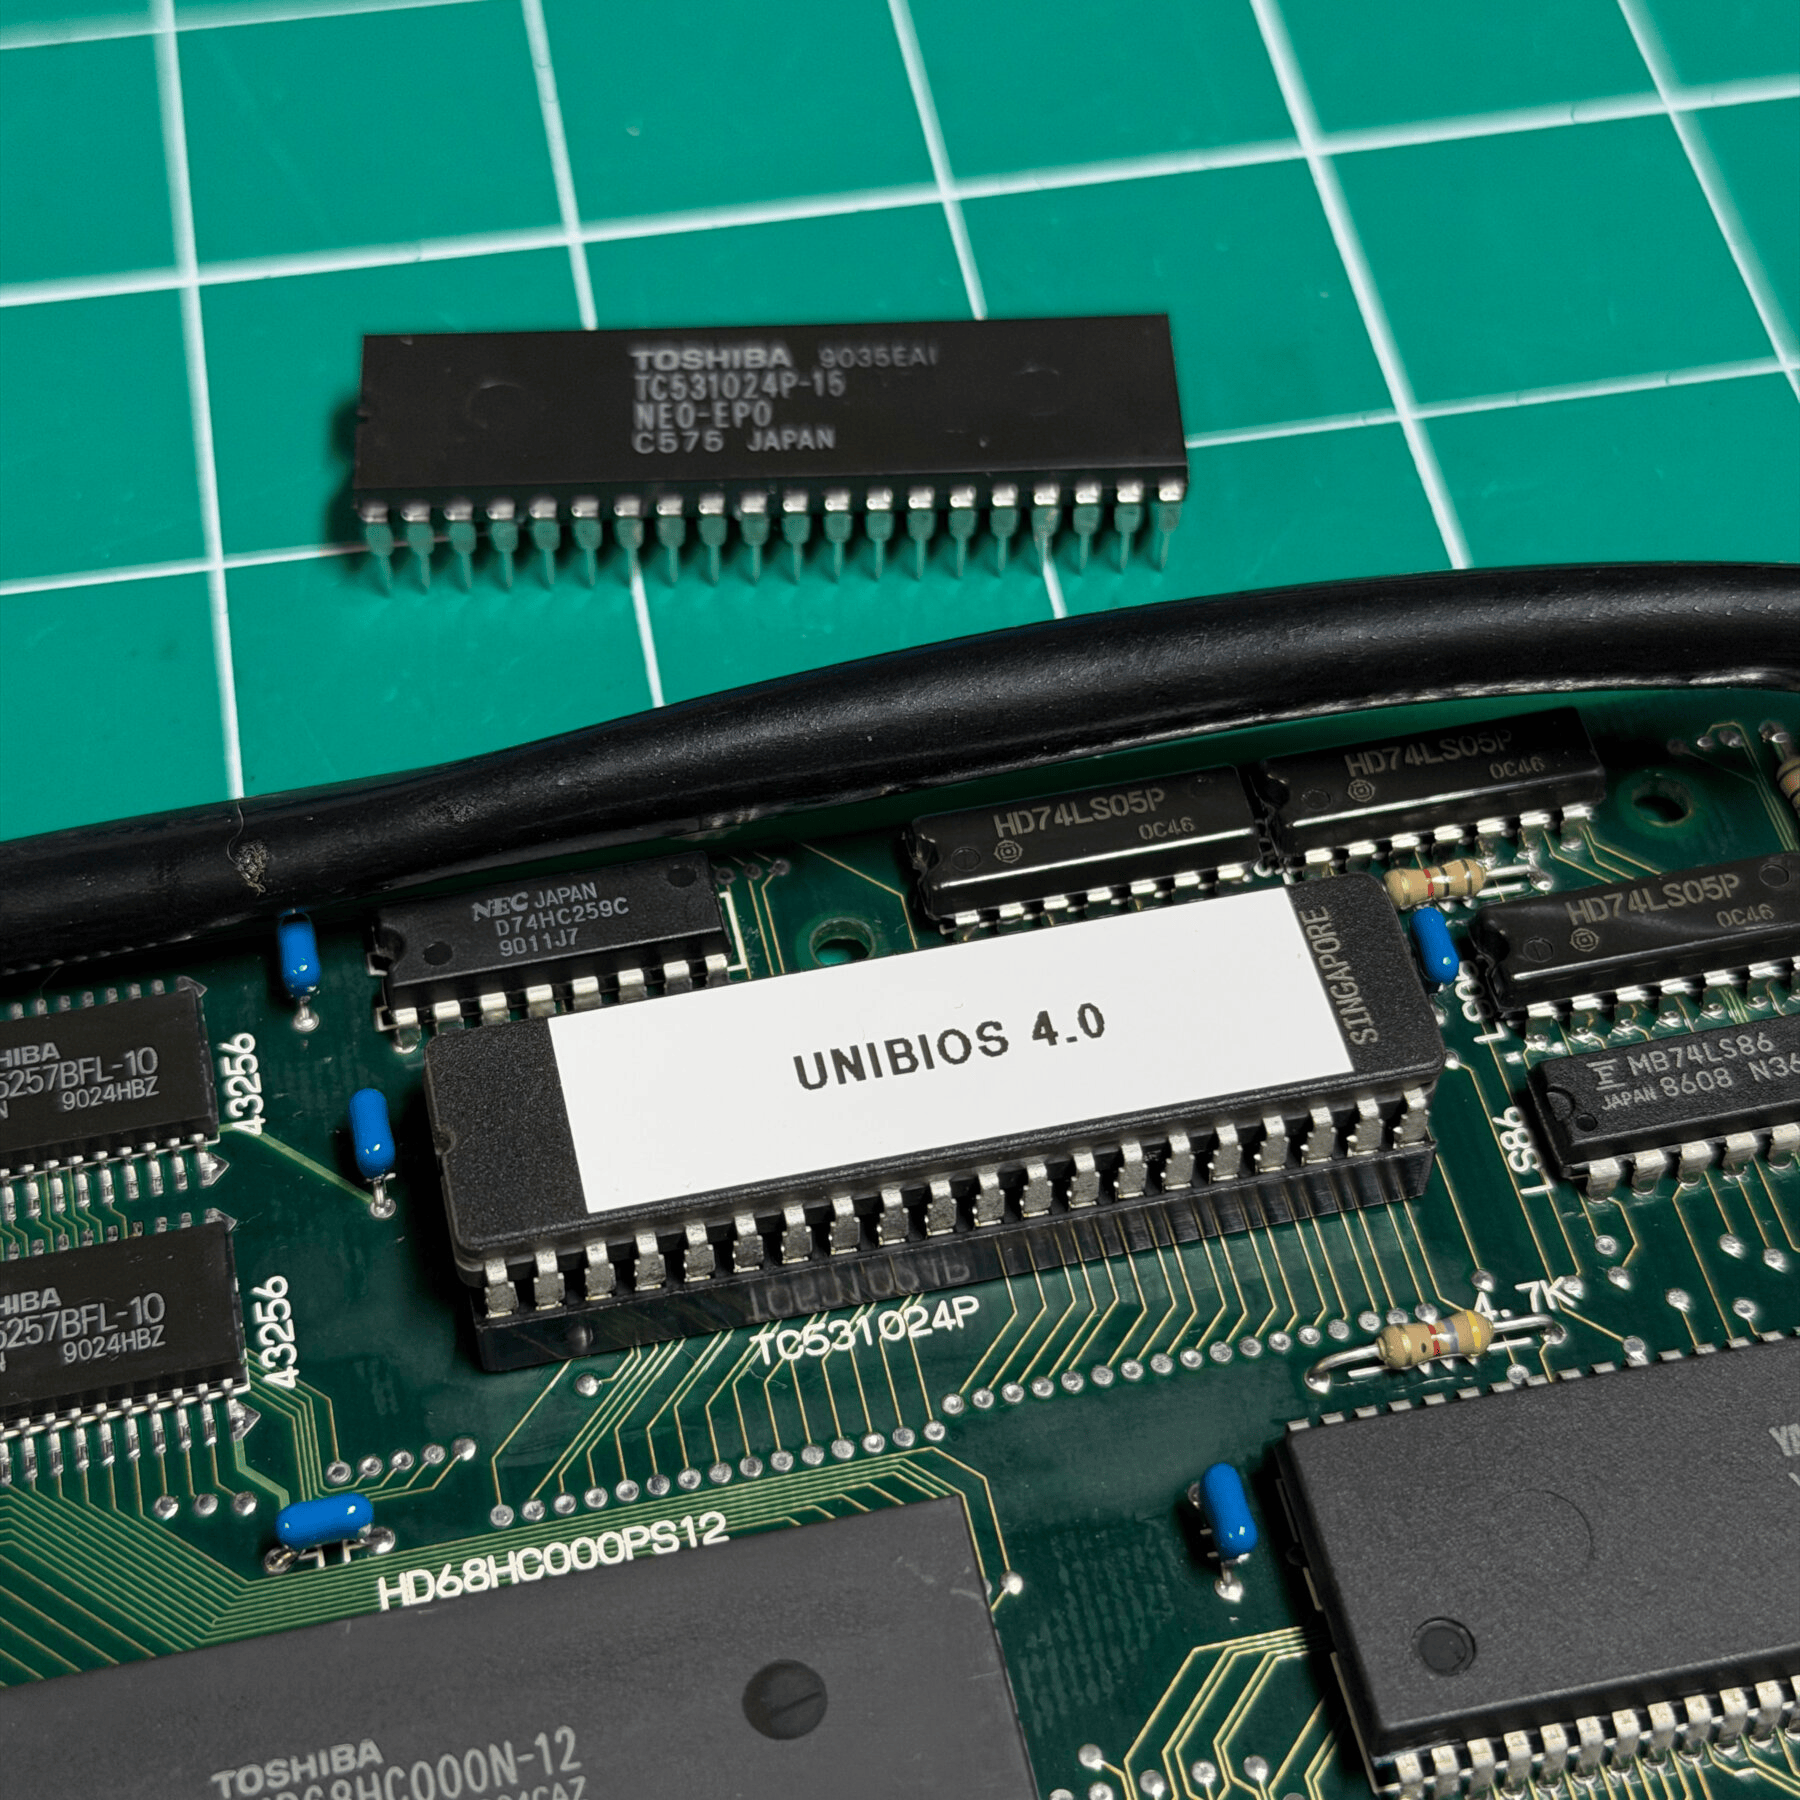
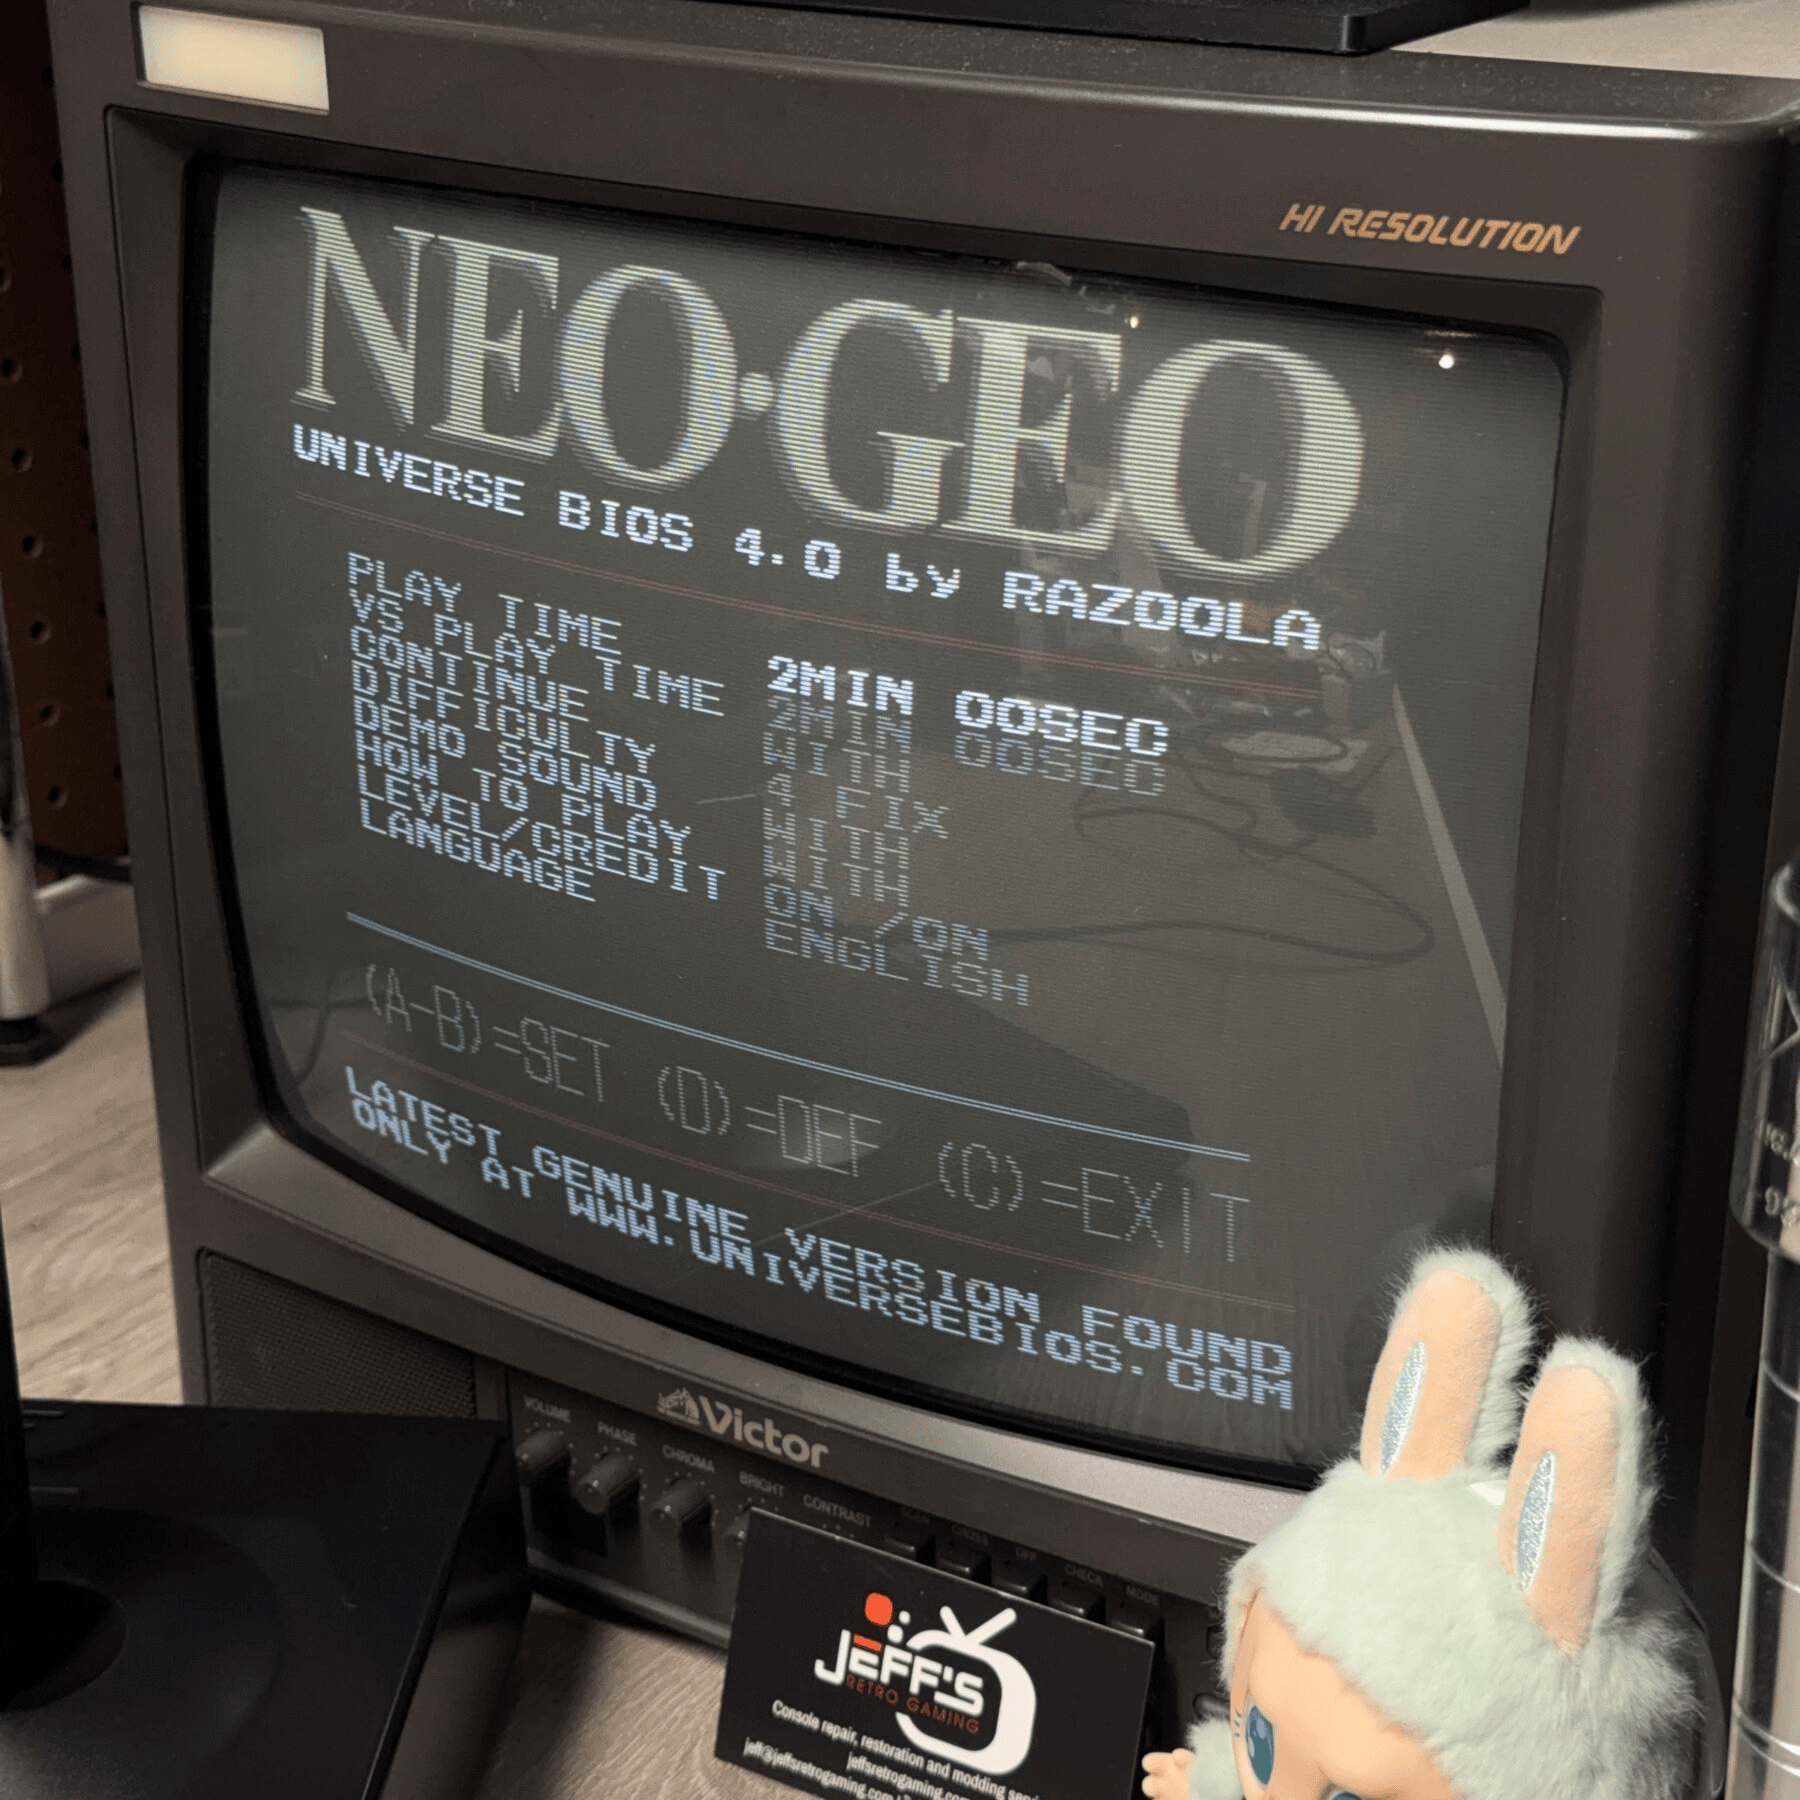
Knowing the system was now functional and refurbished I proceeded to heat up the gun again and carefully desoldered the 40 pins holding the stock BIOS chip on the board. With the chip removed I cleaned under the chip location with some ISO and a microfiber then installed a socket for the new DIP40 chip containing the UniBios. This will allow the customer (or anyone else working on it) to change out or upgrade the BIOS if there is ever a newer version much easier with no soldering required. I socketed the chip and hooked it up on the bench for a quick test, was greeted with the Unibios splash screen so knew we were good!
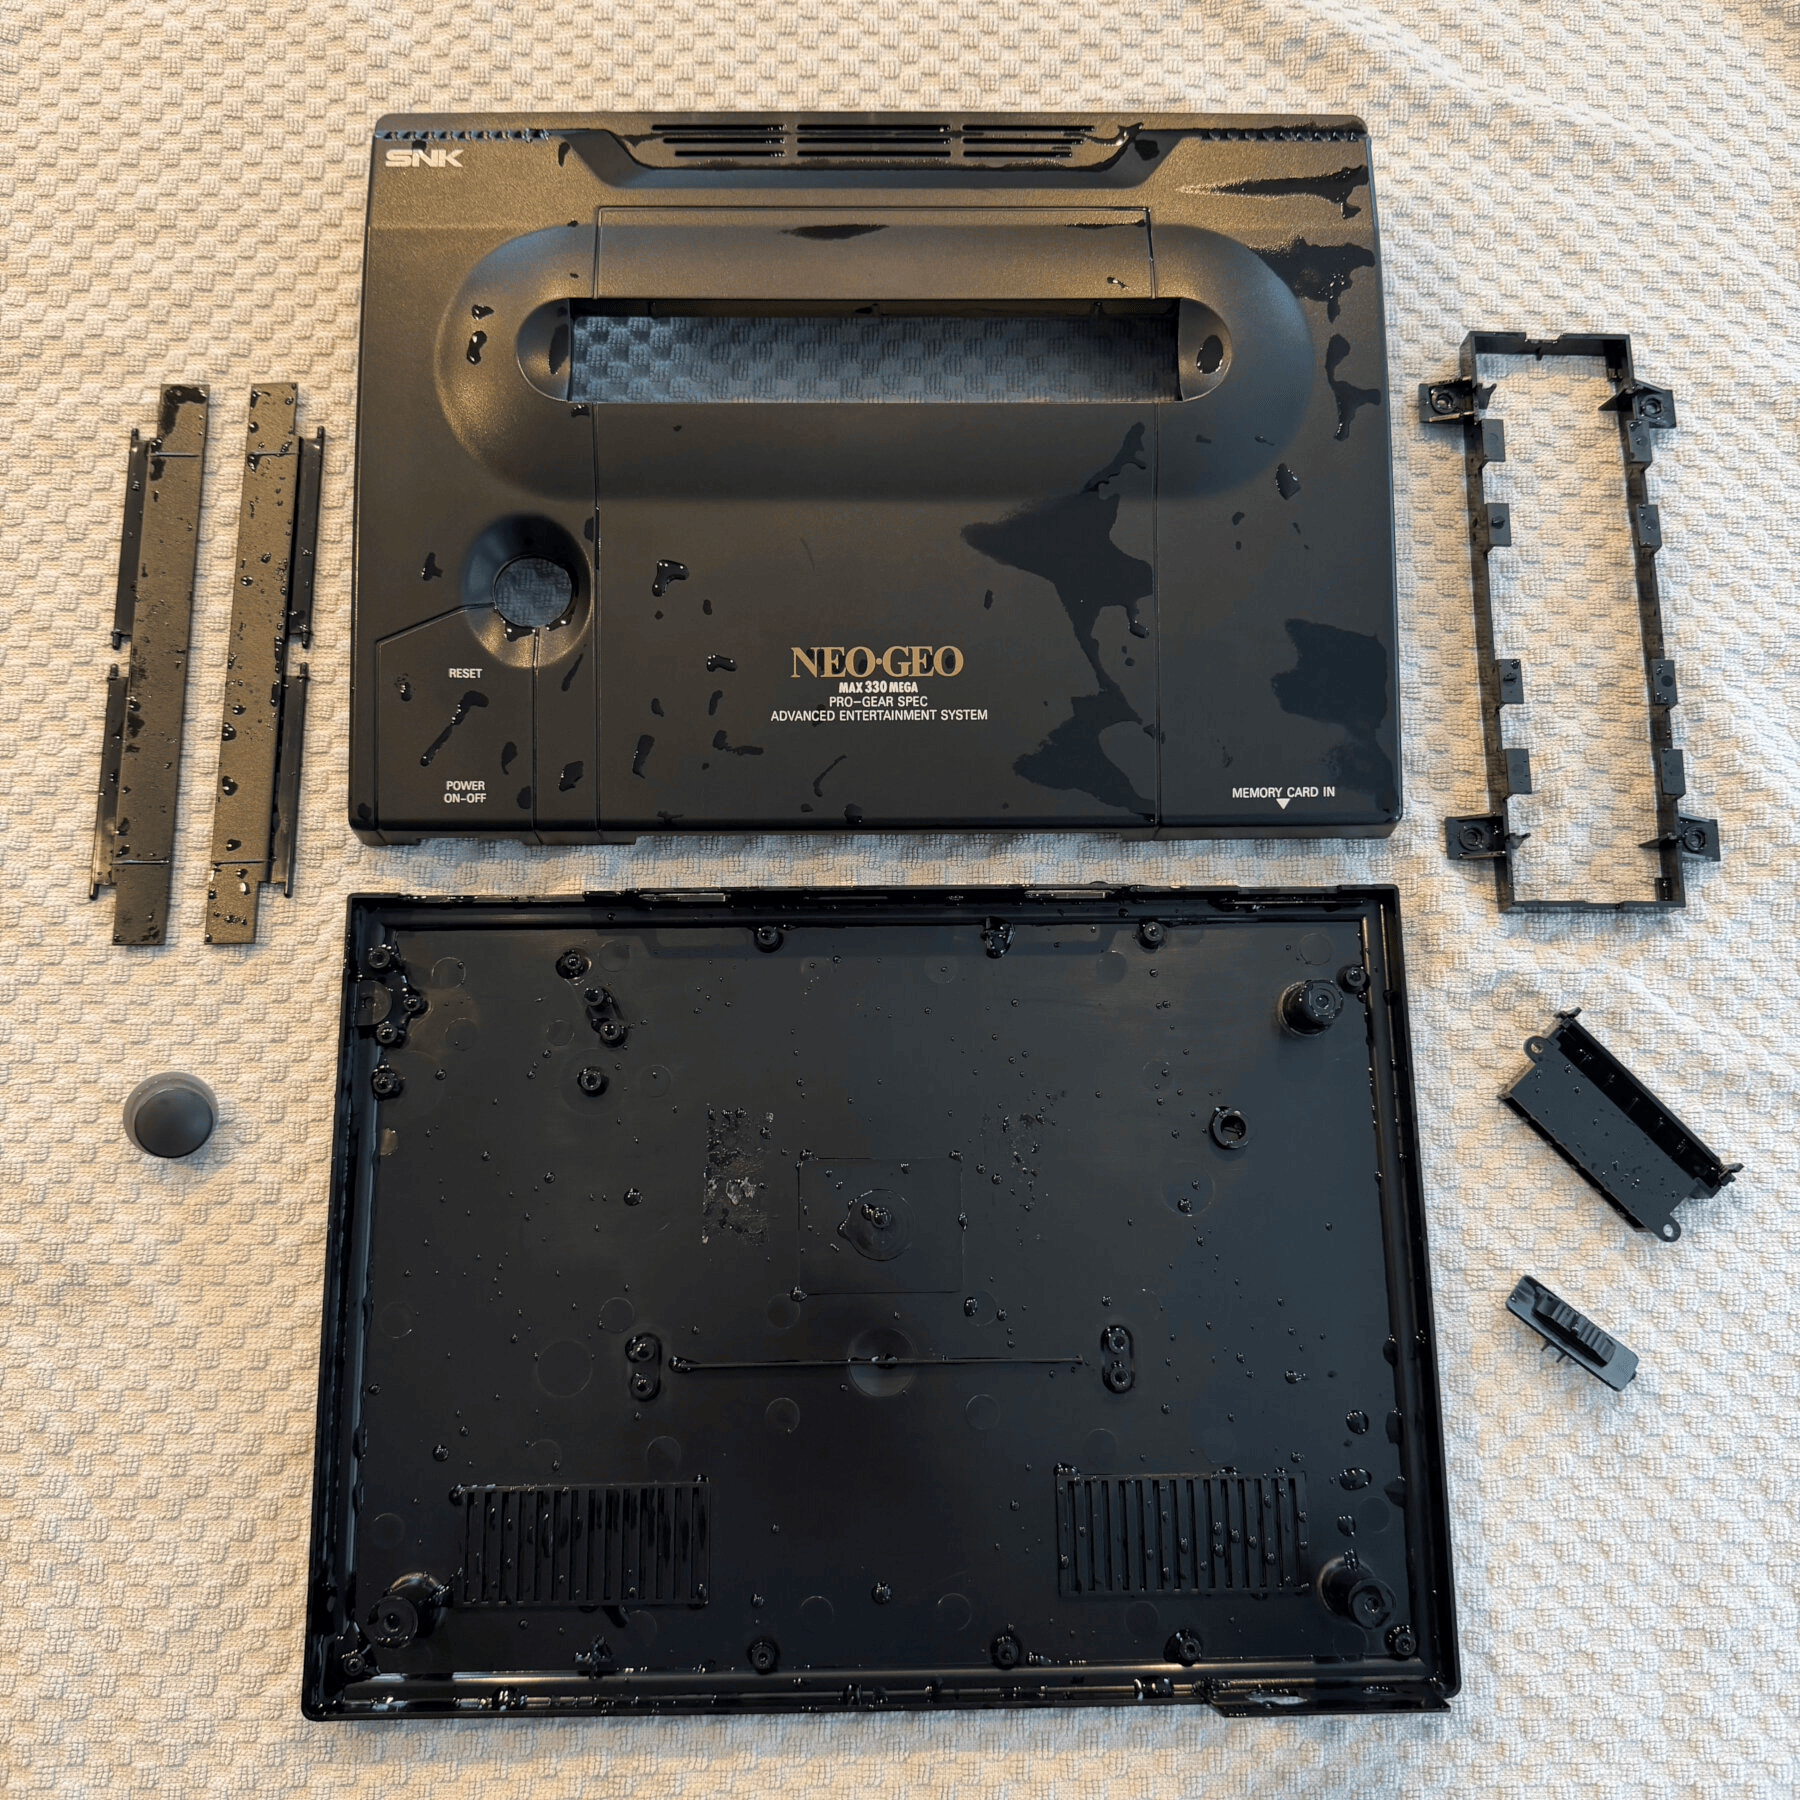
It was now time to reassemble the top shell and cart slot parts so got the springs back on the flaps, applied some UV protectant to them and wiped both down, then assembled and pulled out the broken screw post from earlier. Grabbed my bottle of Tamiya liquid cement which works perfect for stuff like this. I did a dry fit where I confirmed alignment to match the orientation it broke off with, then applied a large dab of the Tamiya to the top shell area and pressed the screw post down in and held it for a few minutes. Once it was cured I ran a second quick coat around the top of the joint and then set the top shell aside to let it cure fully for a bit.
While waiting for that, I fired the AES up to let it run a game for a few hours and test audio more, then booted into the UniBios menu several times and ensure region settings, cheats, etc. were all working.
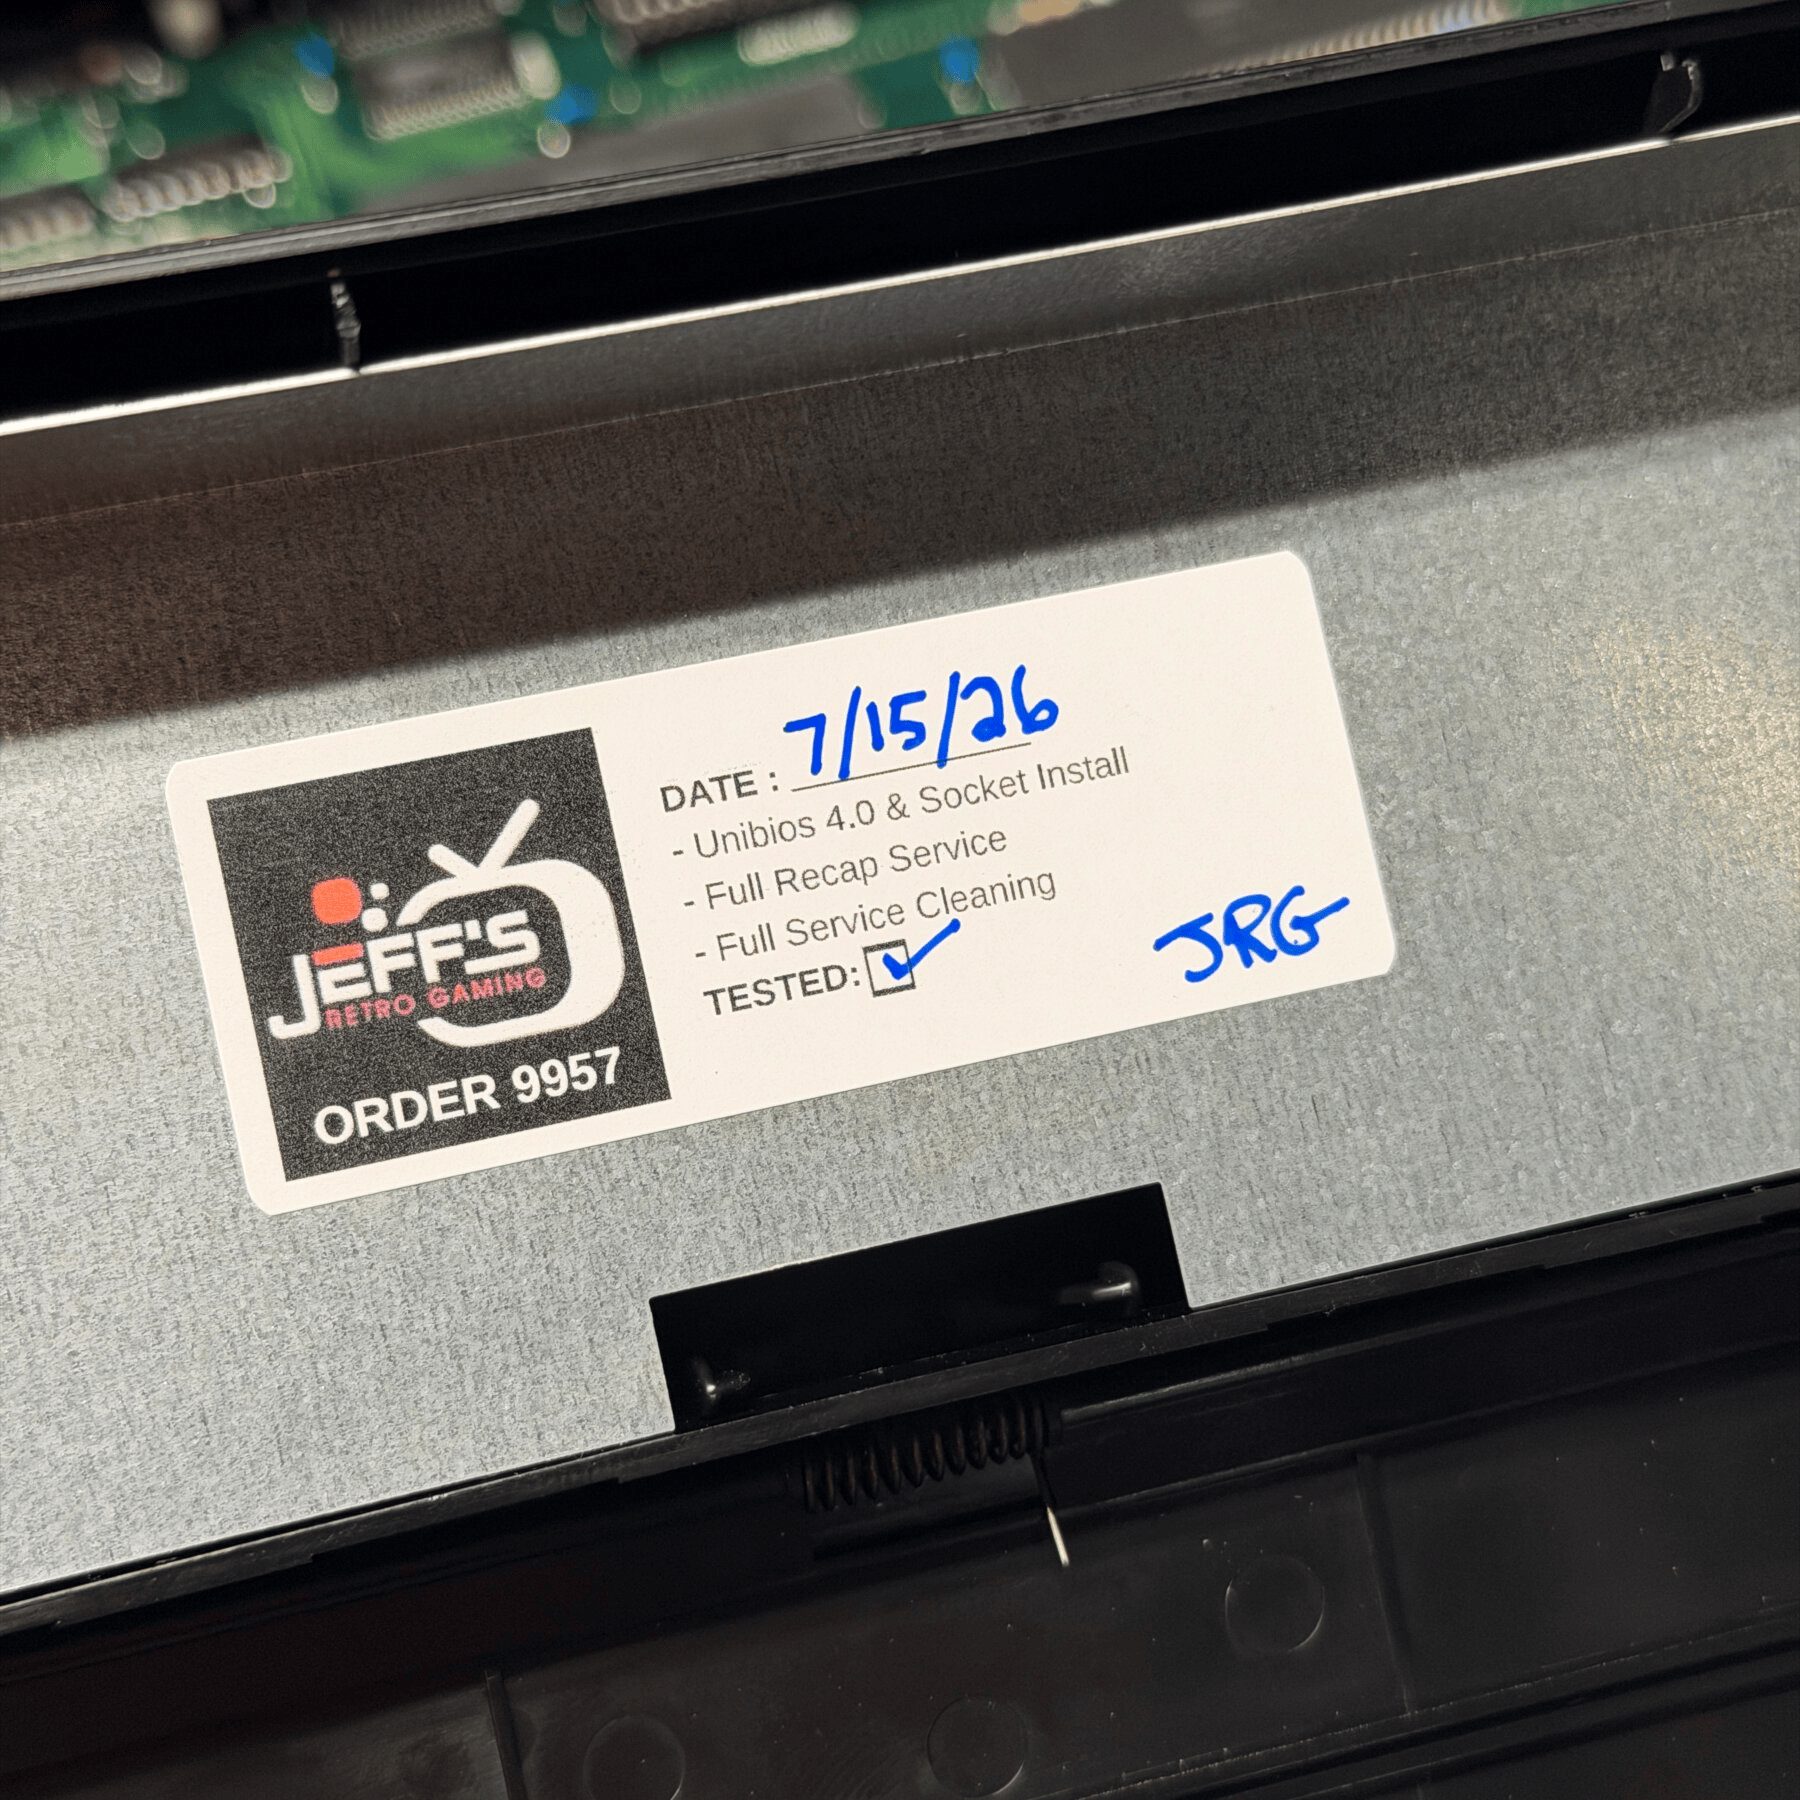
Once operation was fully confirmed I applied my sticker to the top metal shield and reassembled including using some new premium rubber feet! Got it staged for a photo and that’s another AES in the books for 2026!