Another Jaguar in the shop! This time for the whole trio of mods/upgrades from Zaxour including the 64BP for improved video/audio, JaguWatt to replace the stock power regulation circuit and a Hairball mod which offers reverse polarity protection. The latter is a very common issue with people using incorrect power supplies and frying the regulators on the JAG (U38 and REG1)
This one was sent with just the base 64BP kit not the flexes which is fine, I leave that option up to the customers I have no issues hand wiring these installs I think there is definitely an art to it especially on something like this with so many wires to connect. That said it is more time consuming for sure so at some point I might add tiers to the service where the service cost is lower for flex installs at least enough to offset the cost of flexes.
The customer did give me a heads up they had recapped the unit a few years prior and bodged a connection near the stock power regulator. Upon opening the unit I took a quick glance and the cap install looked pretty solid, all correct polarity etc. so that was a good start. I did flip the board over and observe the bodge but strangely enough it simply connected two negative leads on the same ground plane and the connections were intact so not sure what that was for… The 4 through holes in the area were kind of rough looking (coincidentally its these 4 that make up the base of the JaguWatt pin headers) and to my eyes looked like a classic case of way too much heat for too long and the board took some damage as did the pads. One pad was actually mostly gone just the ringlet was visible from the bottom side but there was enough there to solder to it did not end up becoming an issue.
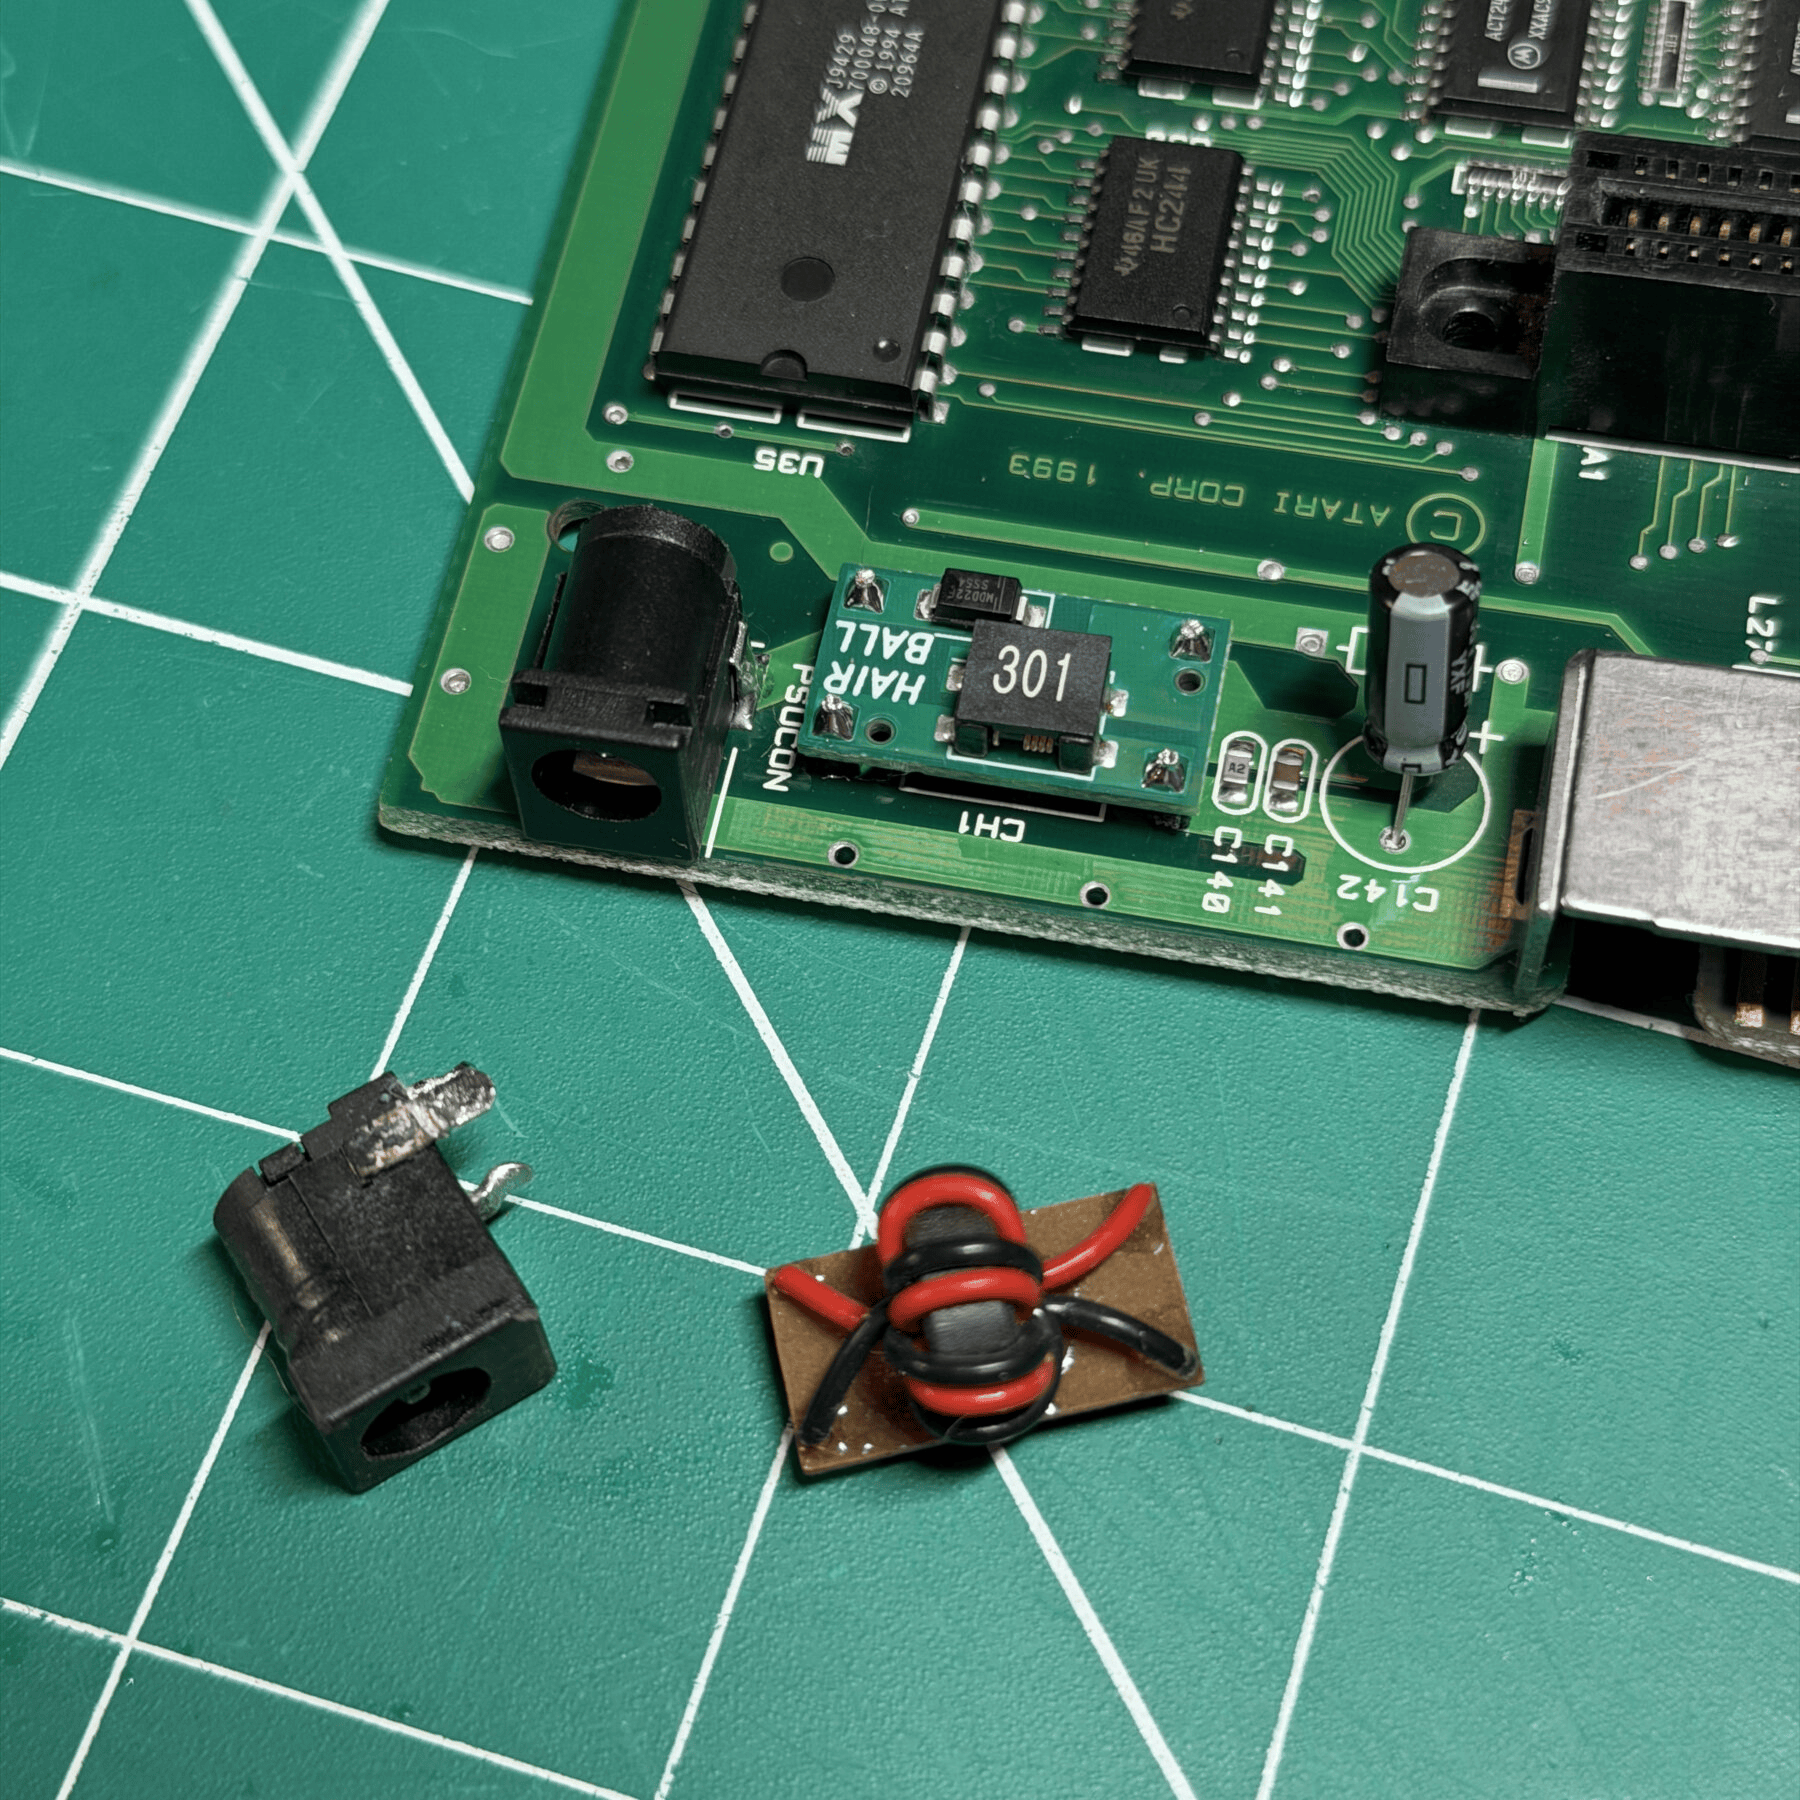
I also observiced the power jack looking kind of rough. If it was a replacement it must have been old as it was quite dirty and there was quite a bit of oxidation on the internal contacts/surfaces and the reason it caught my eye is because the entire jack was lifted off the board by 3-4mm. It’s almost as if the jack was replaced or reflowed but it was not held down to the board during that process. Because I didn’t know the history of it and how rough it looked, I figured if I was going to desolder it to seat it down flush against the board I might as well just replace… Saves me time trying to clean the internal contacts as well. So that became part of the plan for the Hairball mod!

I decided to tackle the 3 mod kit installs in order of difficulty, with the Hairball being the simplest and quickest to do. First I reflowed the AC power jack and then desoldered it carefully as the pads looked slightly damaged. Once the holes were cleared and I pulled the old jack I grabbed one from my inventory and soldered it in place making sure all 3 legs were solid.
I then desoldered the original choke, pulled the 2 center pins off each 4 pin header and I like to set the board in place and then solder the underside points on. I do this because it helps you avoid accidentally holding the headers tilted in or out and potentially not being able to seat the modboard on after. Once the pin undersides were soldered I dropped the Hairball on and soldered the top then snipped the excess pin length off.
With the Hairball and power jack out of the way I moved on to the JaguWATT. Zaxours instructions indicate what parts to remove and removing U38 is optional but I do as it’s the cleanest IMO and there will never be a reason to go back to stock regulator with the JaguWATT in place. I was extra cautious around the 2 caps I had to remove because of the aforementioned damage but they came out cleanly. I then removed the center pin of the 3 pin headers and put them in place, and on the side with the nearly missing pad I exposed a portion of the top header so I could introduce extra solder on the top remaining pad for that through hole and ensured it was secured as needed.
With the pin headers in place the rest is as simple as soldering the JaguWATT onto the headers then running a single wire from a resistor on the underside through one of the vacant holes to a pad on the JaguWATT. With that complete it was 2 out of 3 installs done and onto the most time consuming one of the bunch…

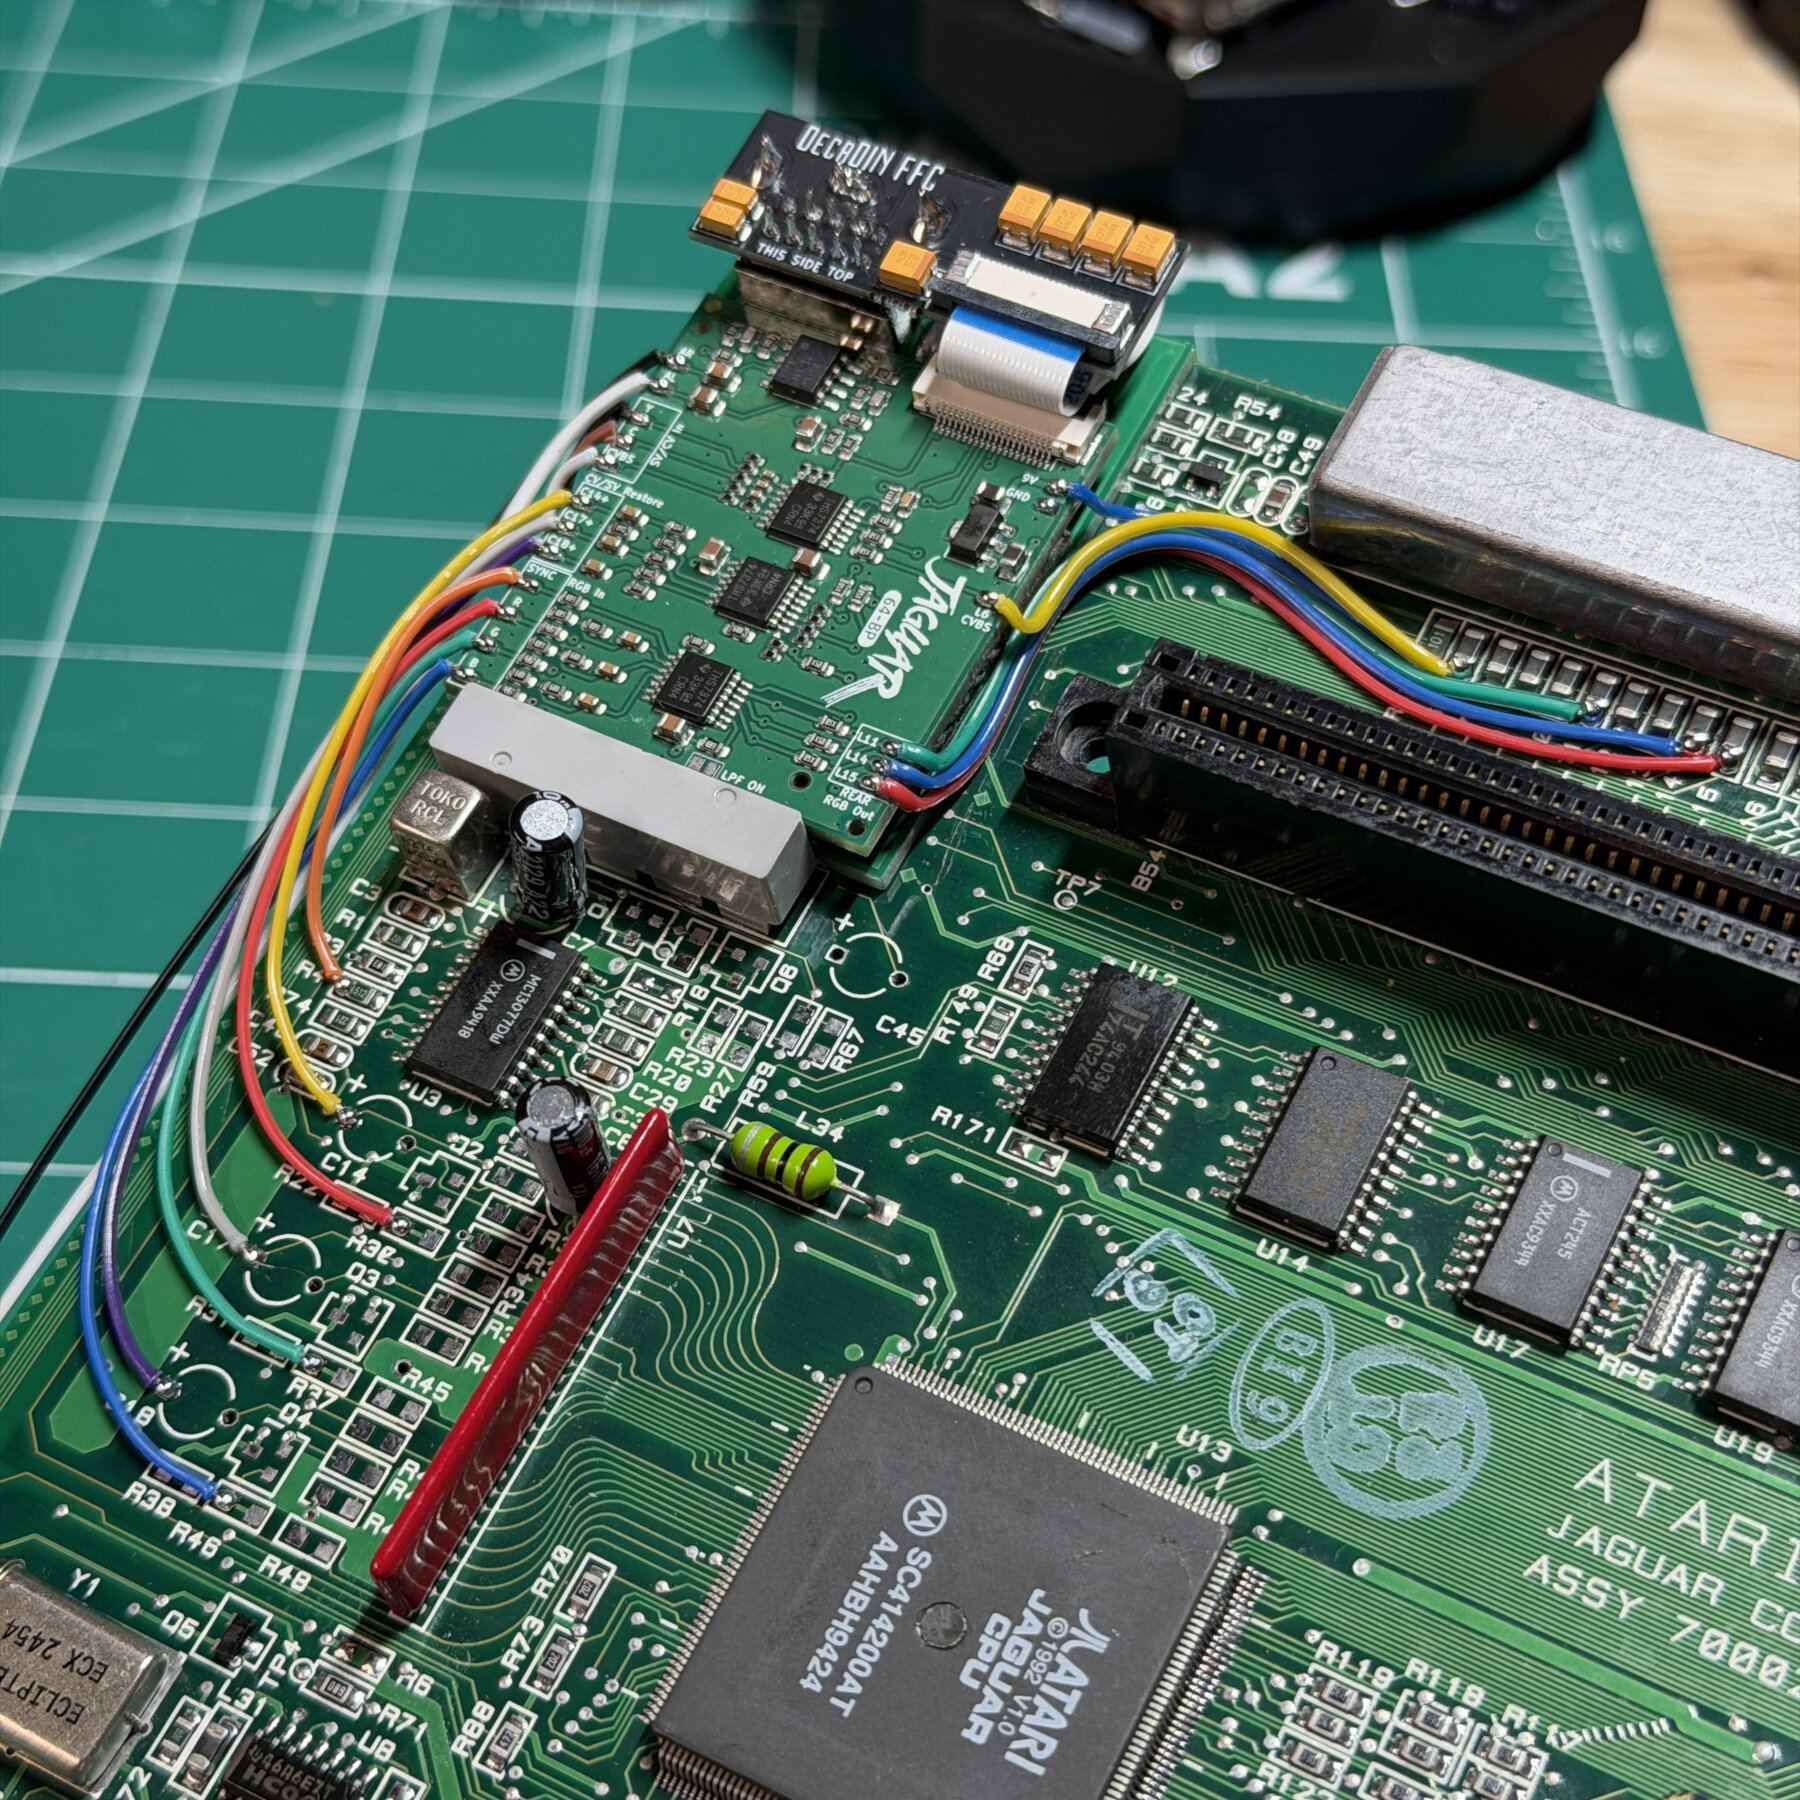
I’ve done enough 64BP I’ve got the process down really well. Zaxour as always has an excellent guide but FireBrandX also has an addendum for fixing the quiet audio on the stock rear connector if you wish to do that as well (which I do). I prefer to first remove all components from the board in one shot including the RF Modulator, all SMD components and several through hole components. This allows me to go through and wick all SMD pads clean and thoroughly scrub the board with ISO before any new components or wires will be in the way.
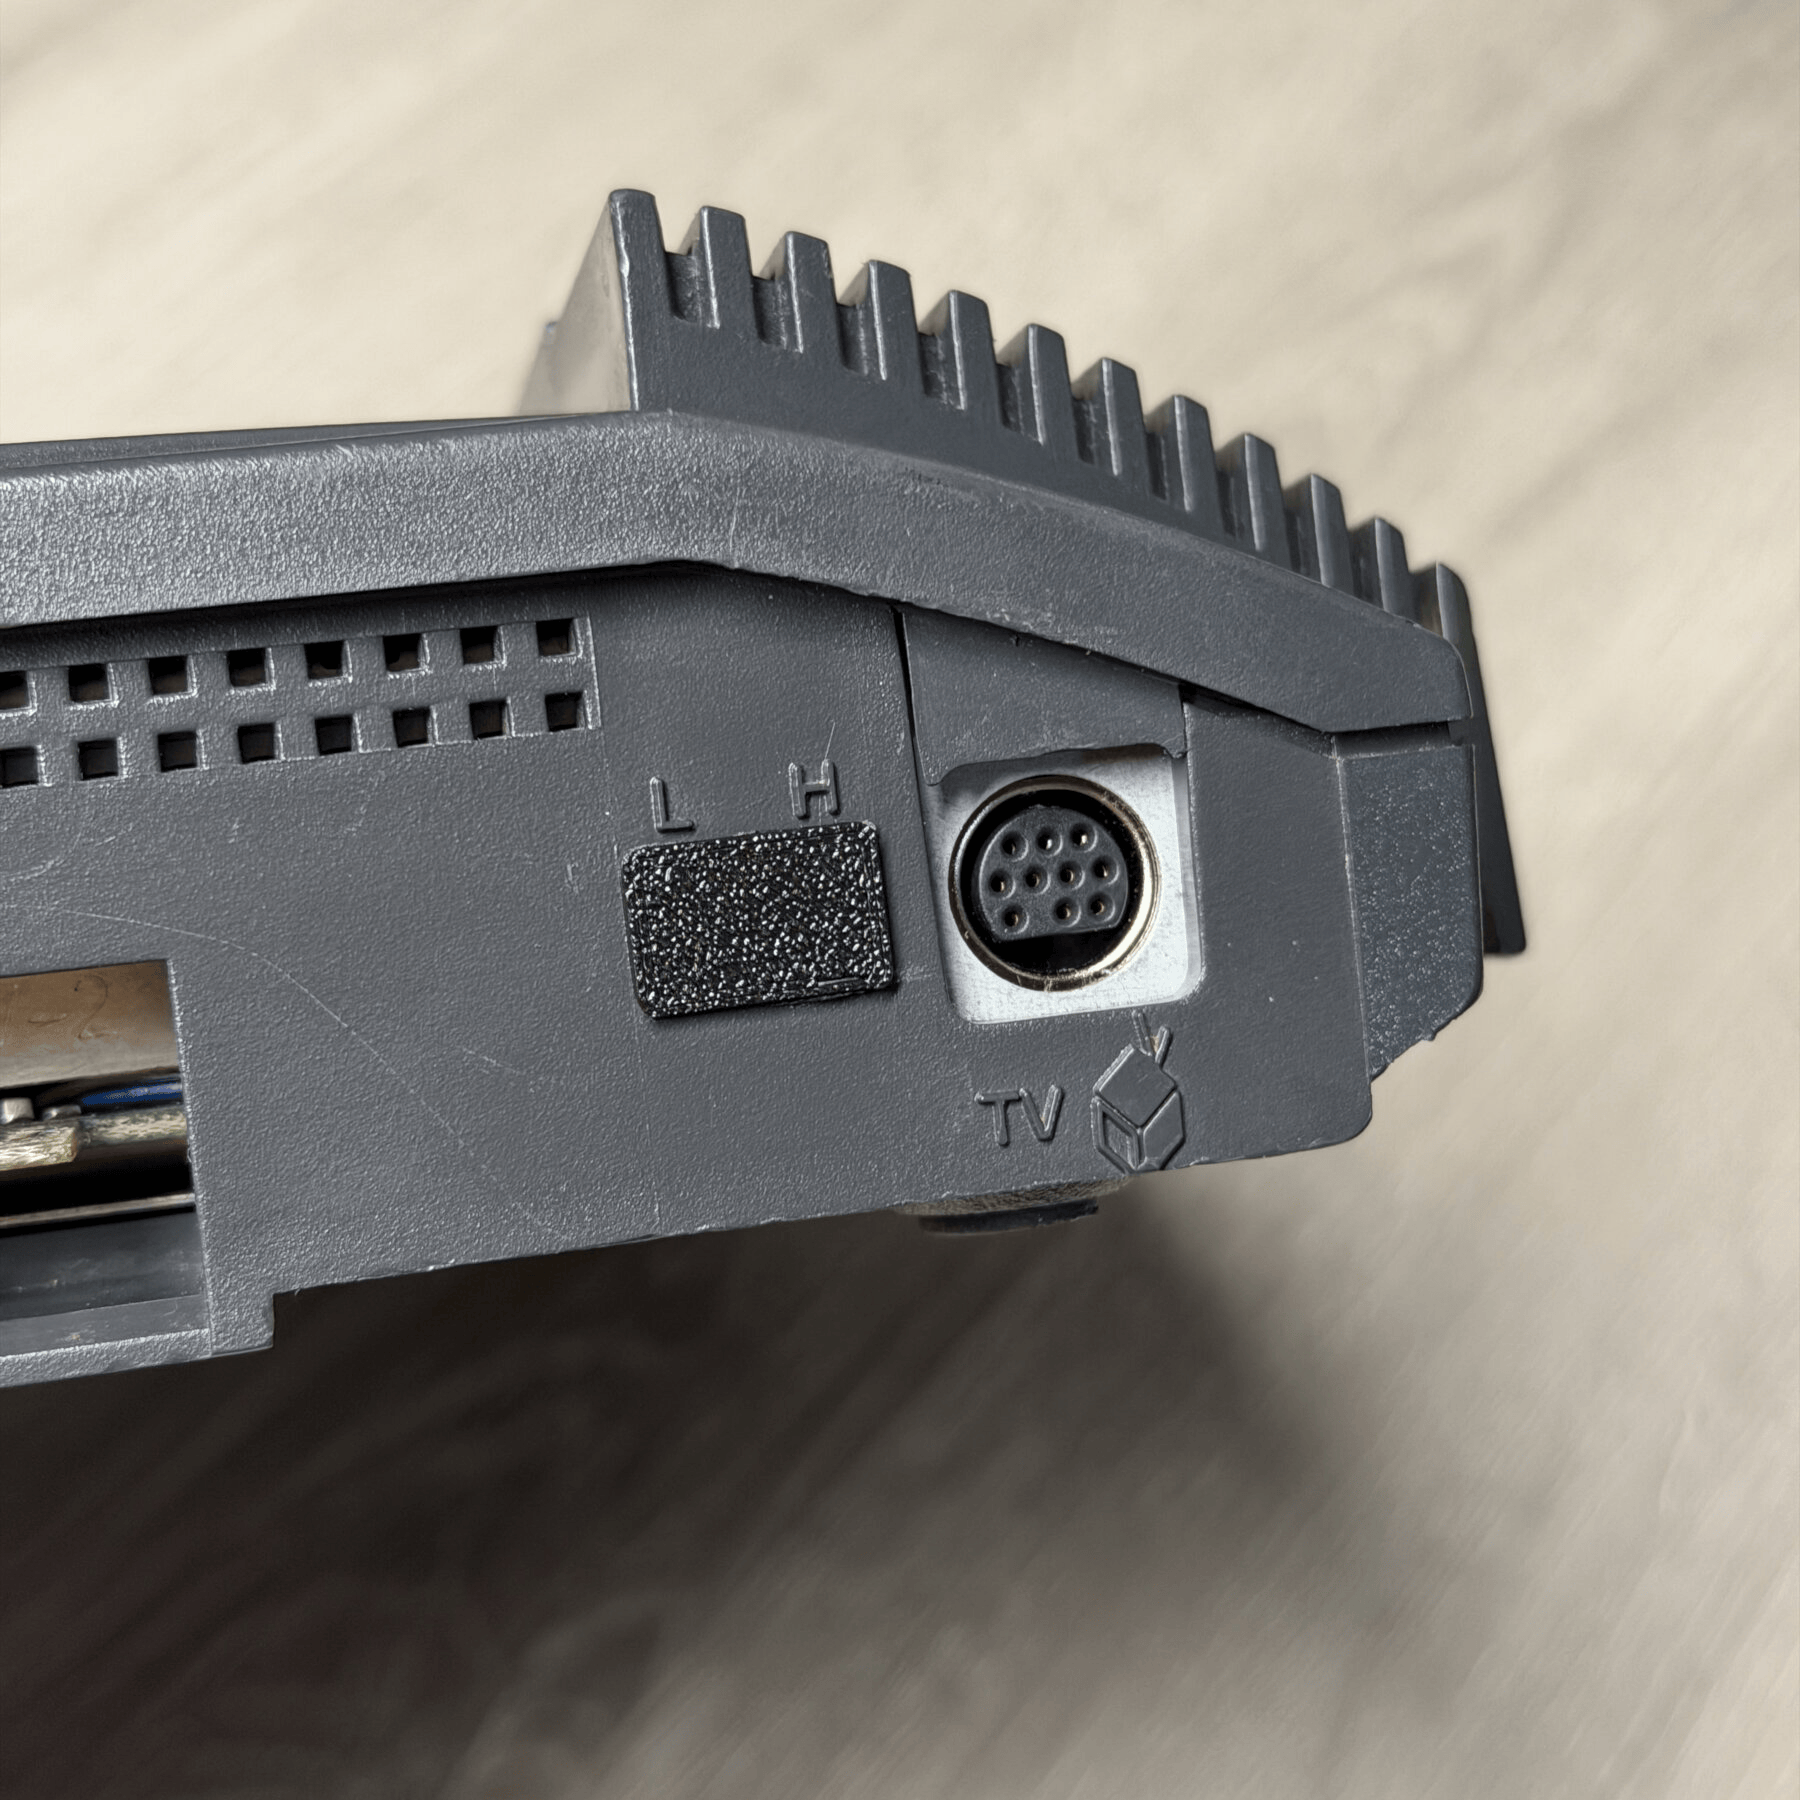
With the RF modulator out of the way in particular I then place the new 10-pin din alignment board in place and hold the output DIN so it’s perfectly flush against the outside metal cage and aligned as close to the center as possible and solder the alignment board in place first then run a nice large bead of solder around all 3 sides of the DIN until it’s got a large smooth solder fillet. Usually at this point ill swap out the large K tip for a small chisel, solder the decadin breakout board in place and then run the 3 wires up through the trench for S-video and Composite. Because of the solder fillet around the din the actual 64BP board needs to sit up a little bit so some thick heavy-duty double-sided foam tape is perfect for that.
Once the board is in place and the 3 wires connected from the underside, it’s just a matter of following the guide and connecting up RGB, Sync, CVBS restore, Audio and the points to restore these functions to the rear connector. This is done so that a customer can use both a stock jaguar RGB cable or a Saturn 10-pin cable from the new port.
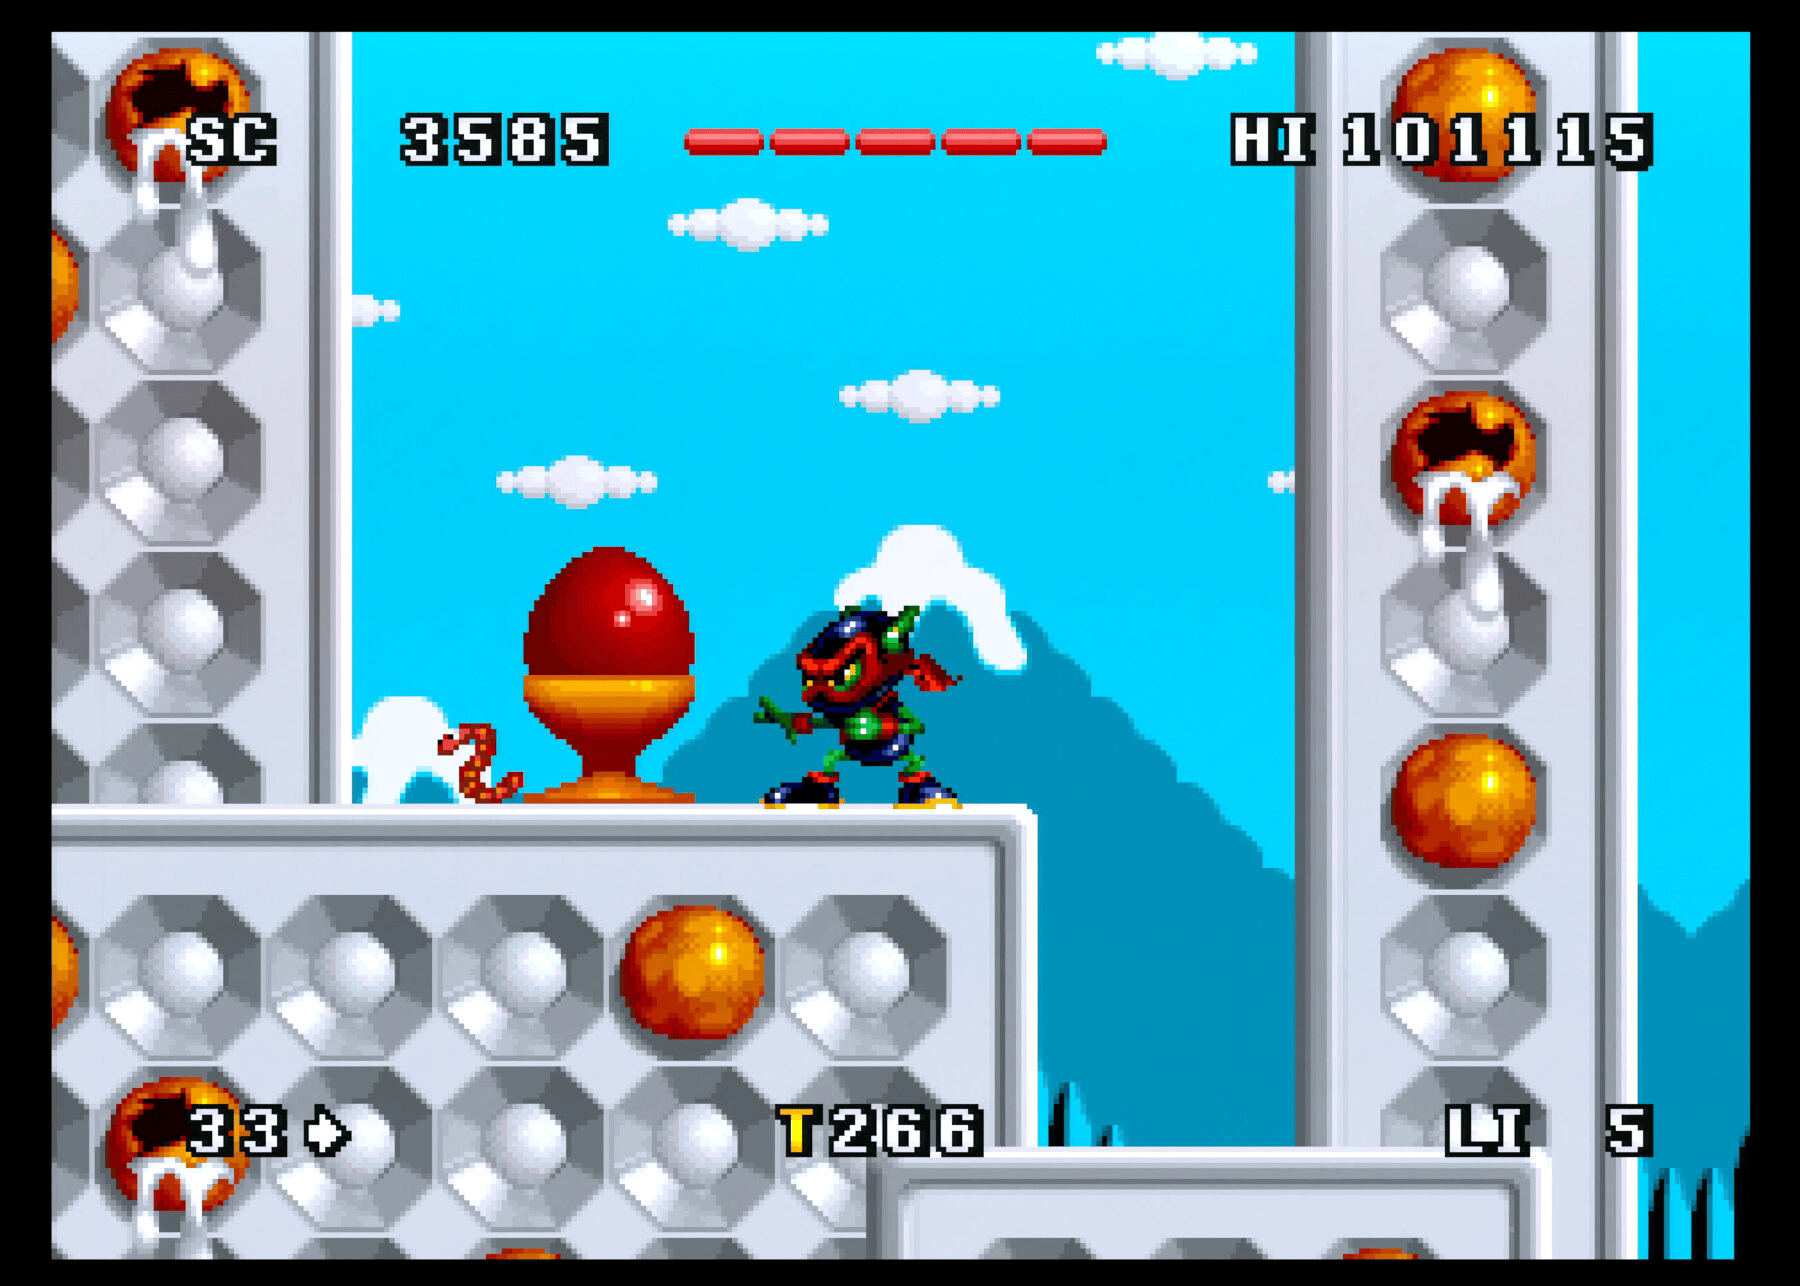
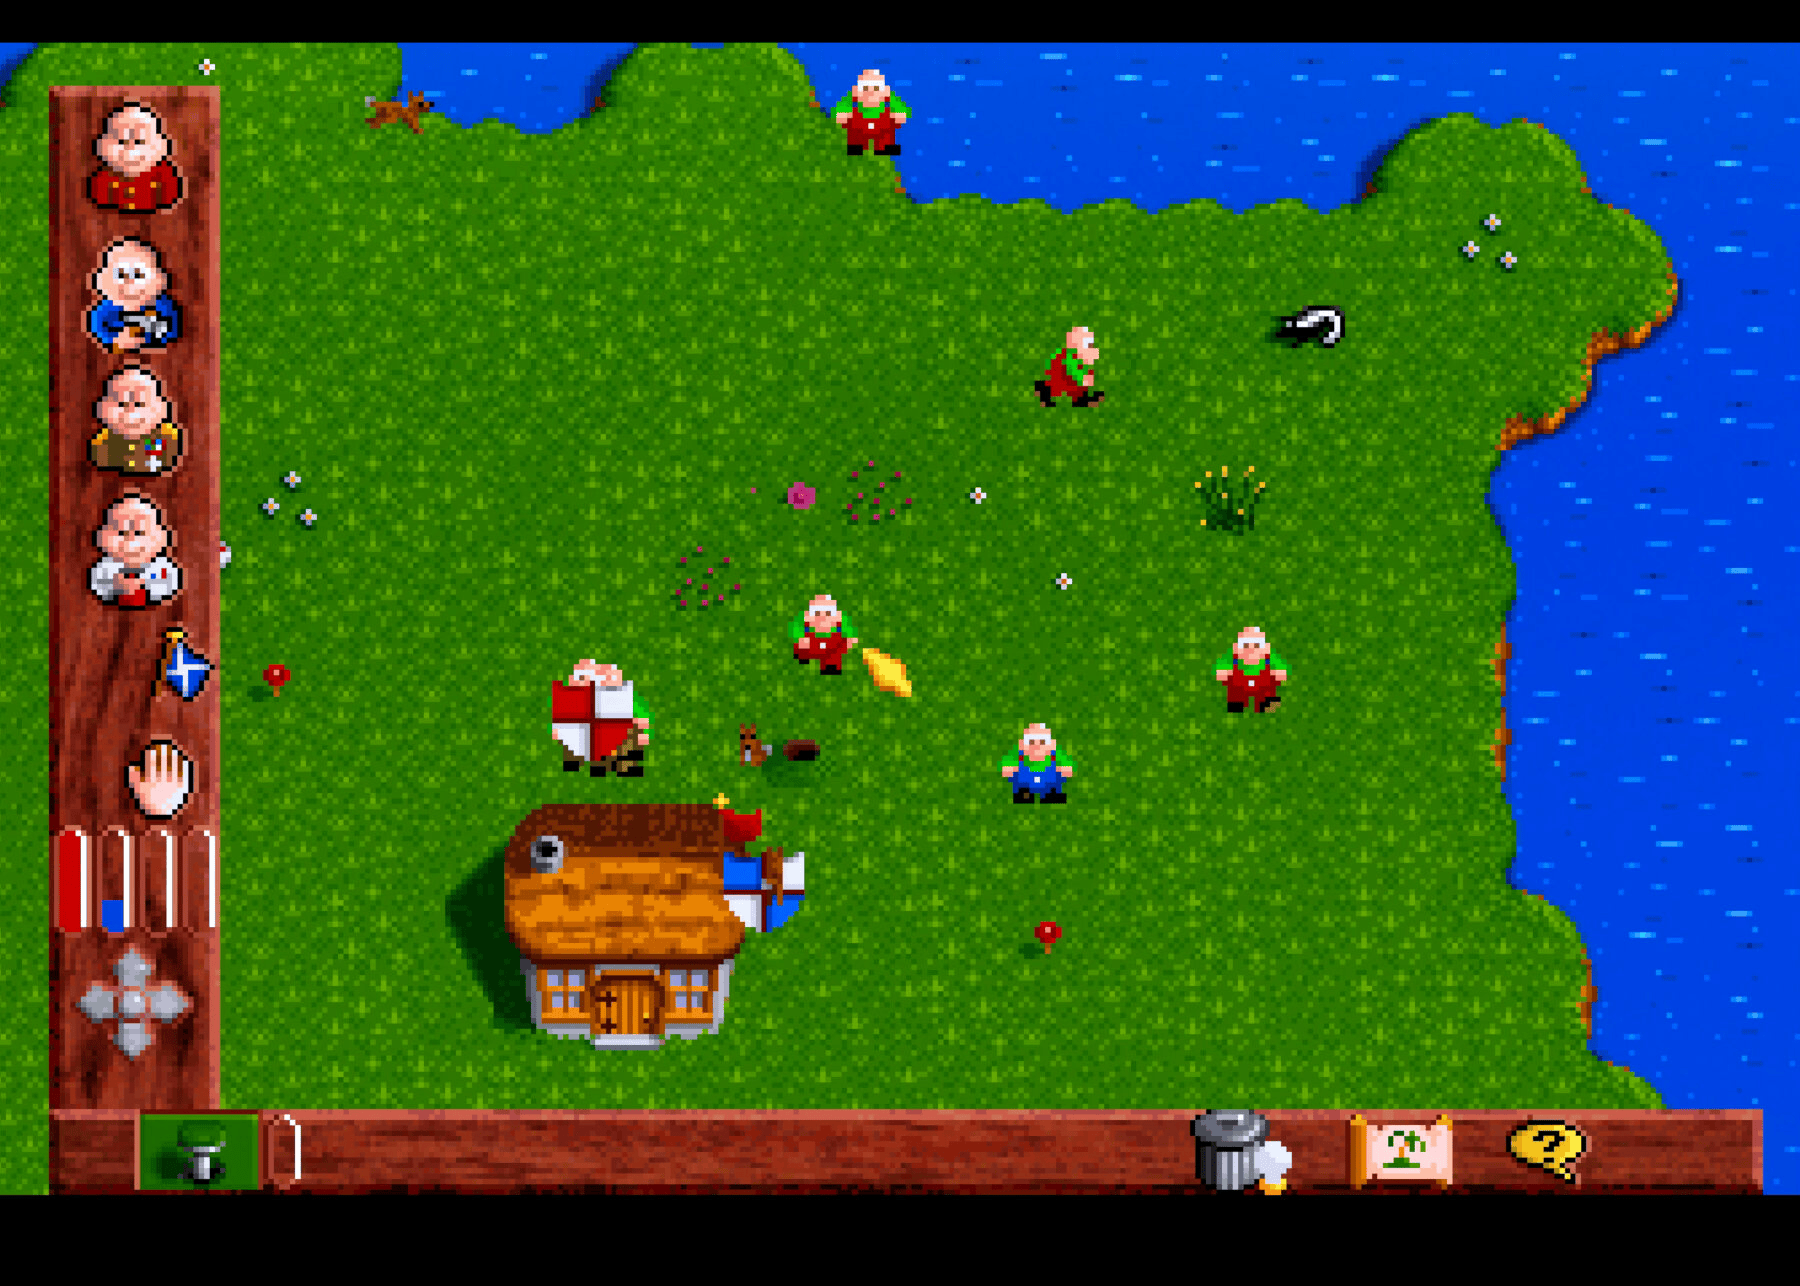
After the install was done I tested output from both ports quickly and confirmed operation, then closed up the metal cage, placed sticker on top and closed the shell. I let the system run for a few hours and played some games for capture on the Retrotink 4K and all looked and sounded great so that marked another order complete!