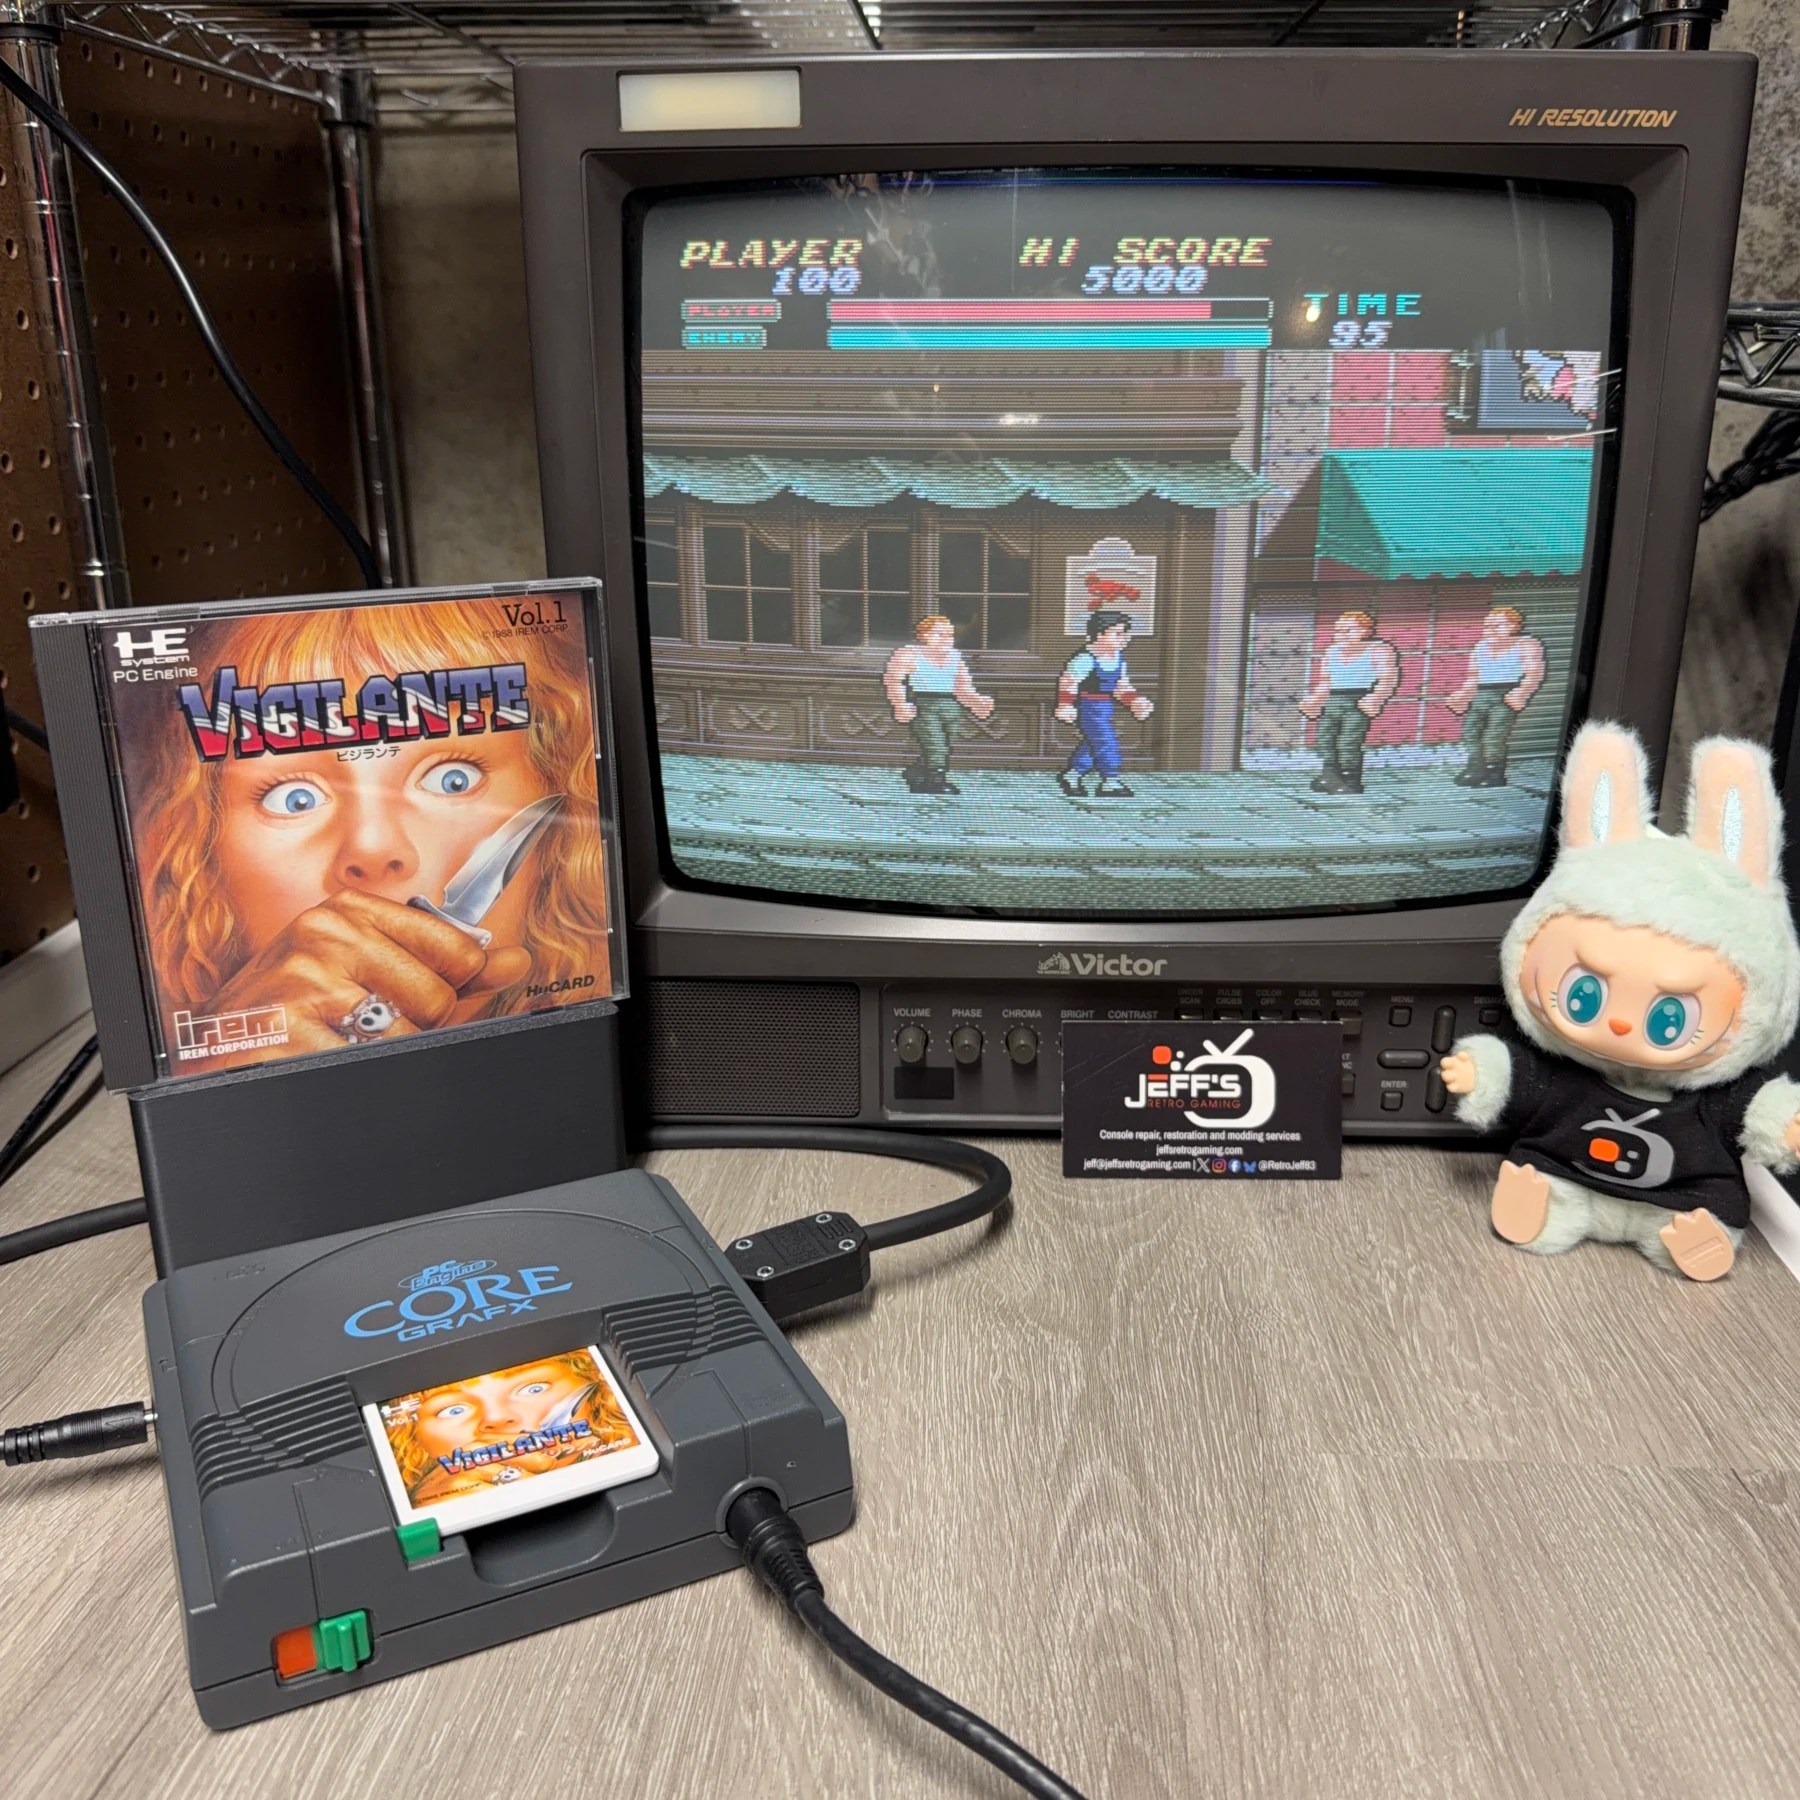
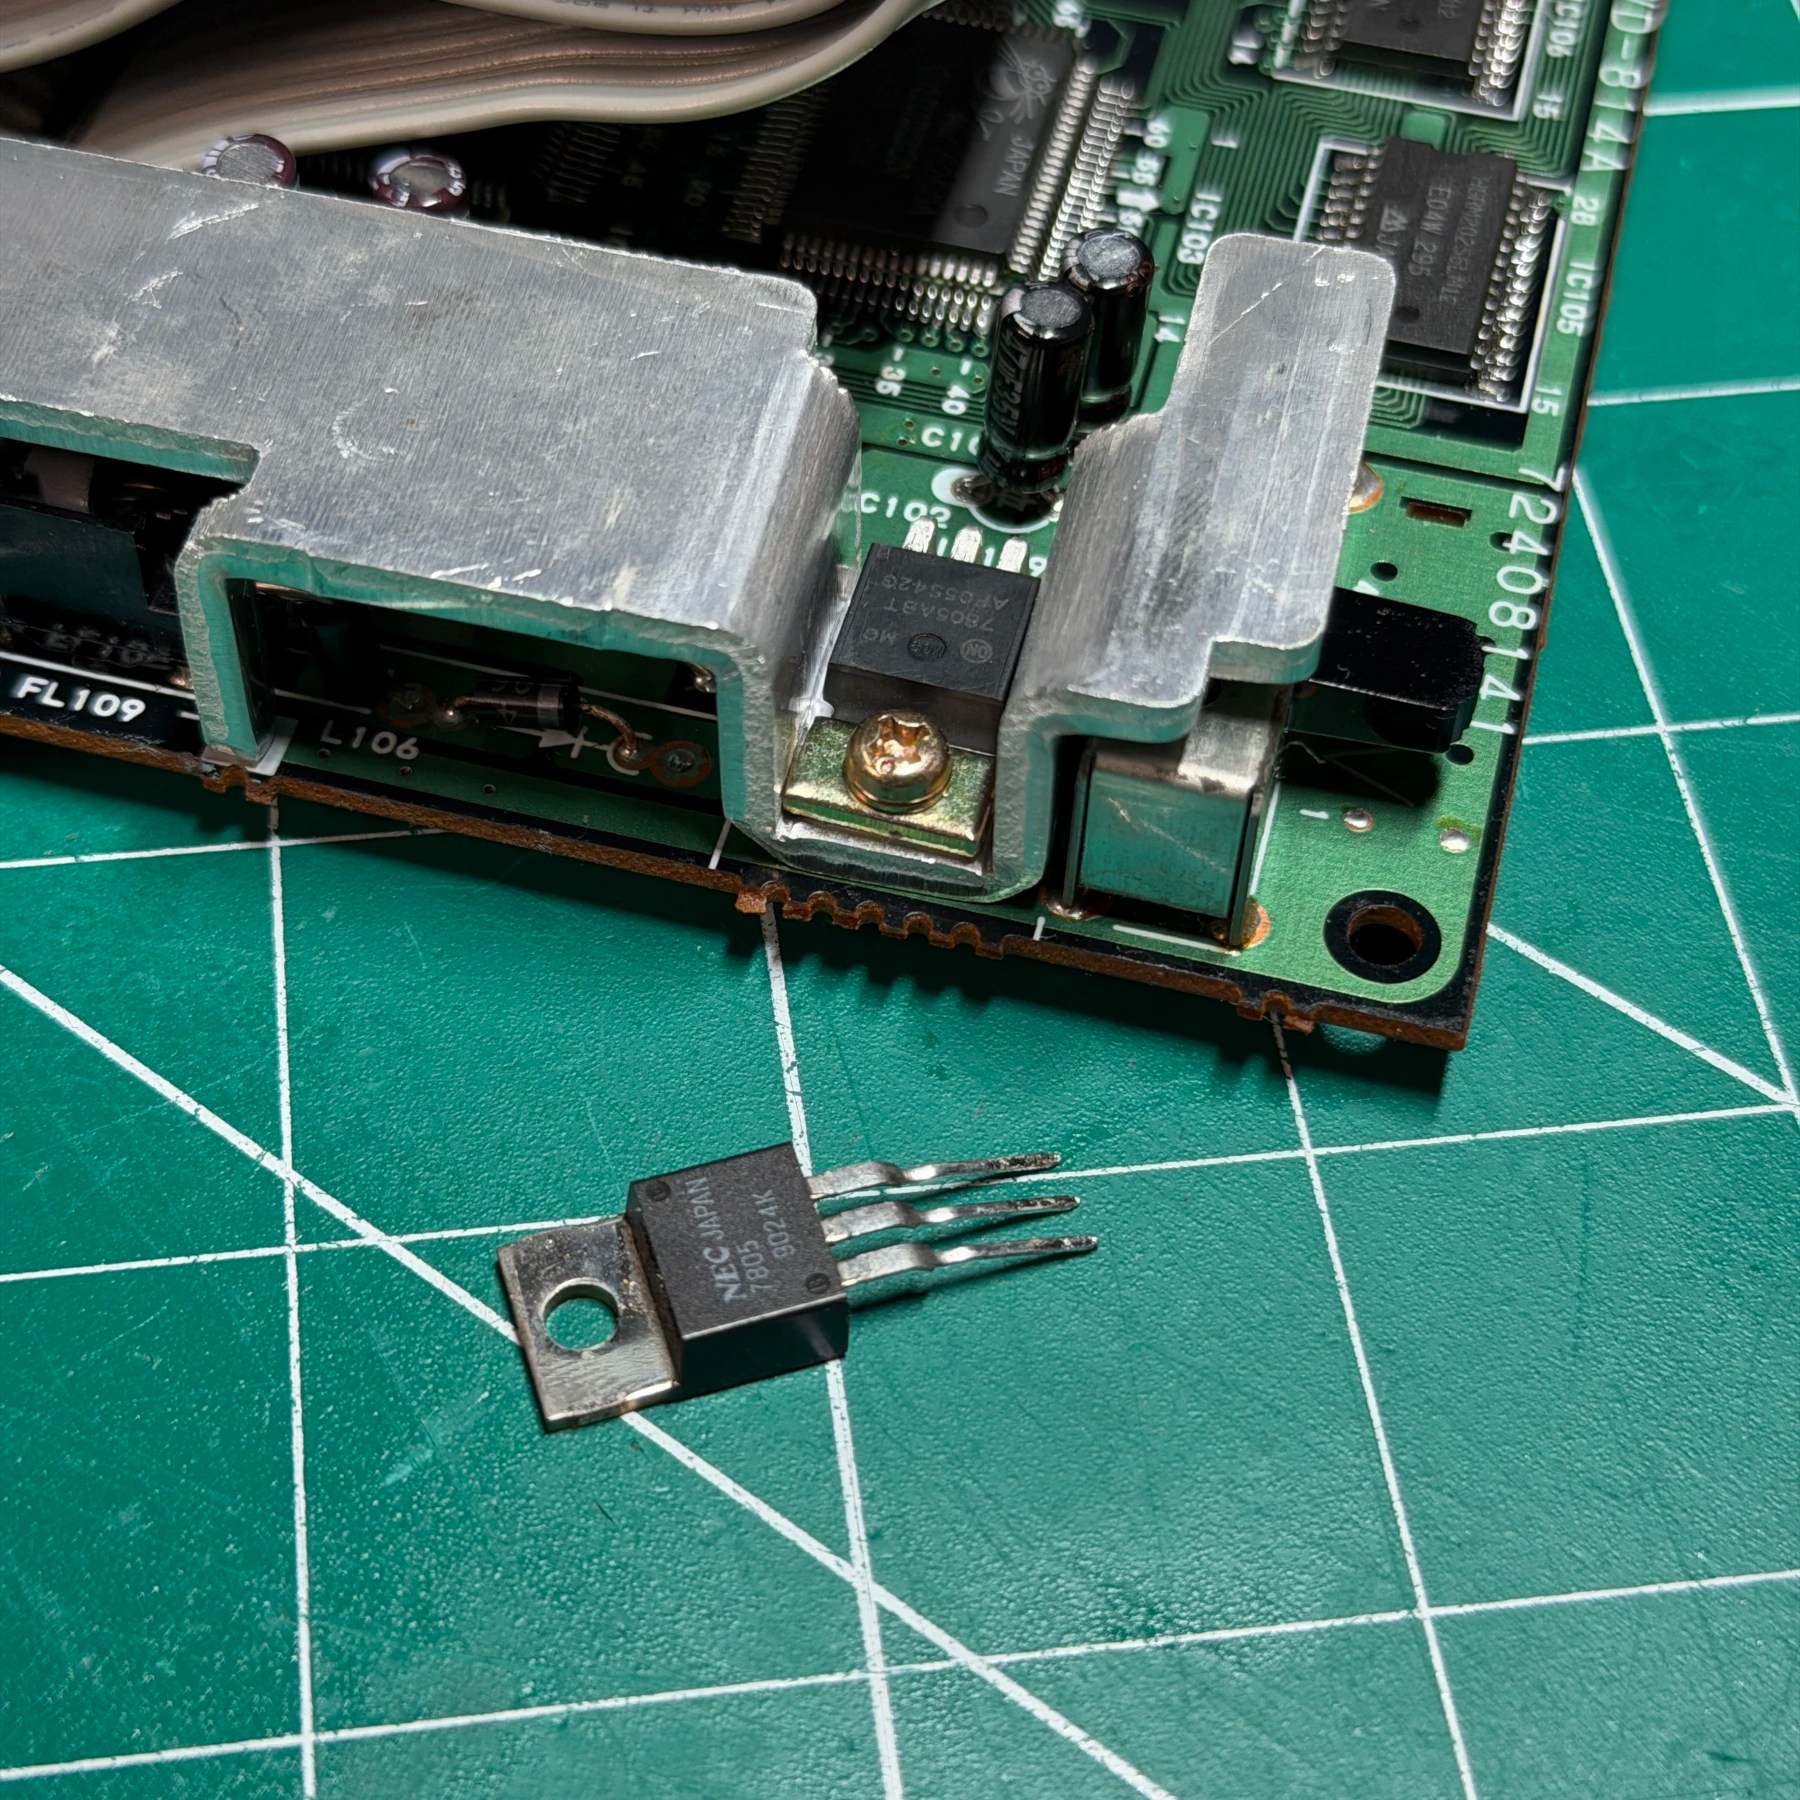
It’s been a little while since the last CoreGrafx came into the shop and even longer since an TurboNanza install so was happy to so both lined up for what I knew would be a quick project. They also wanted it recapped and since you have to take out the heatsink to get to the caps and it’s easier to just remove the 7806 regulator I just replace it while in there!
Read on to see the process…
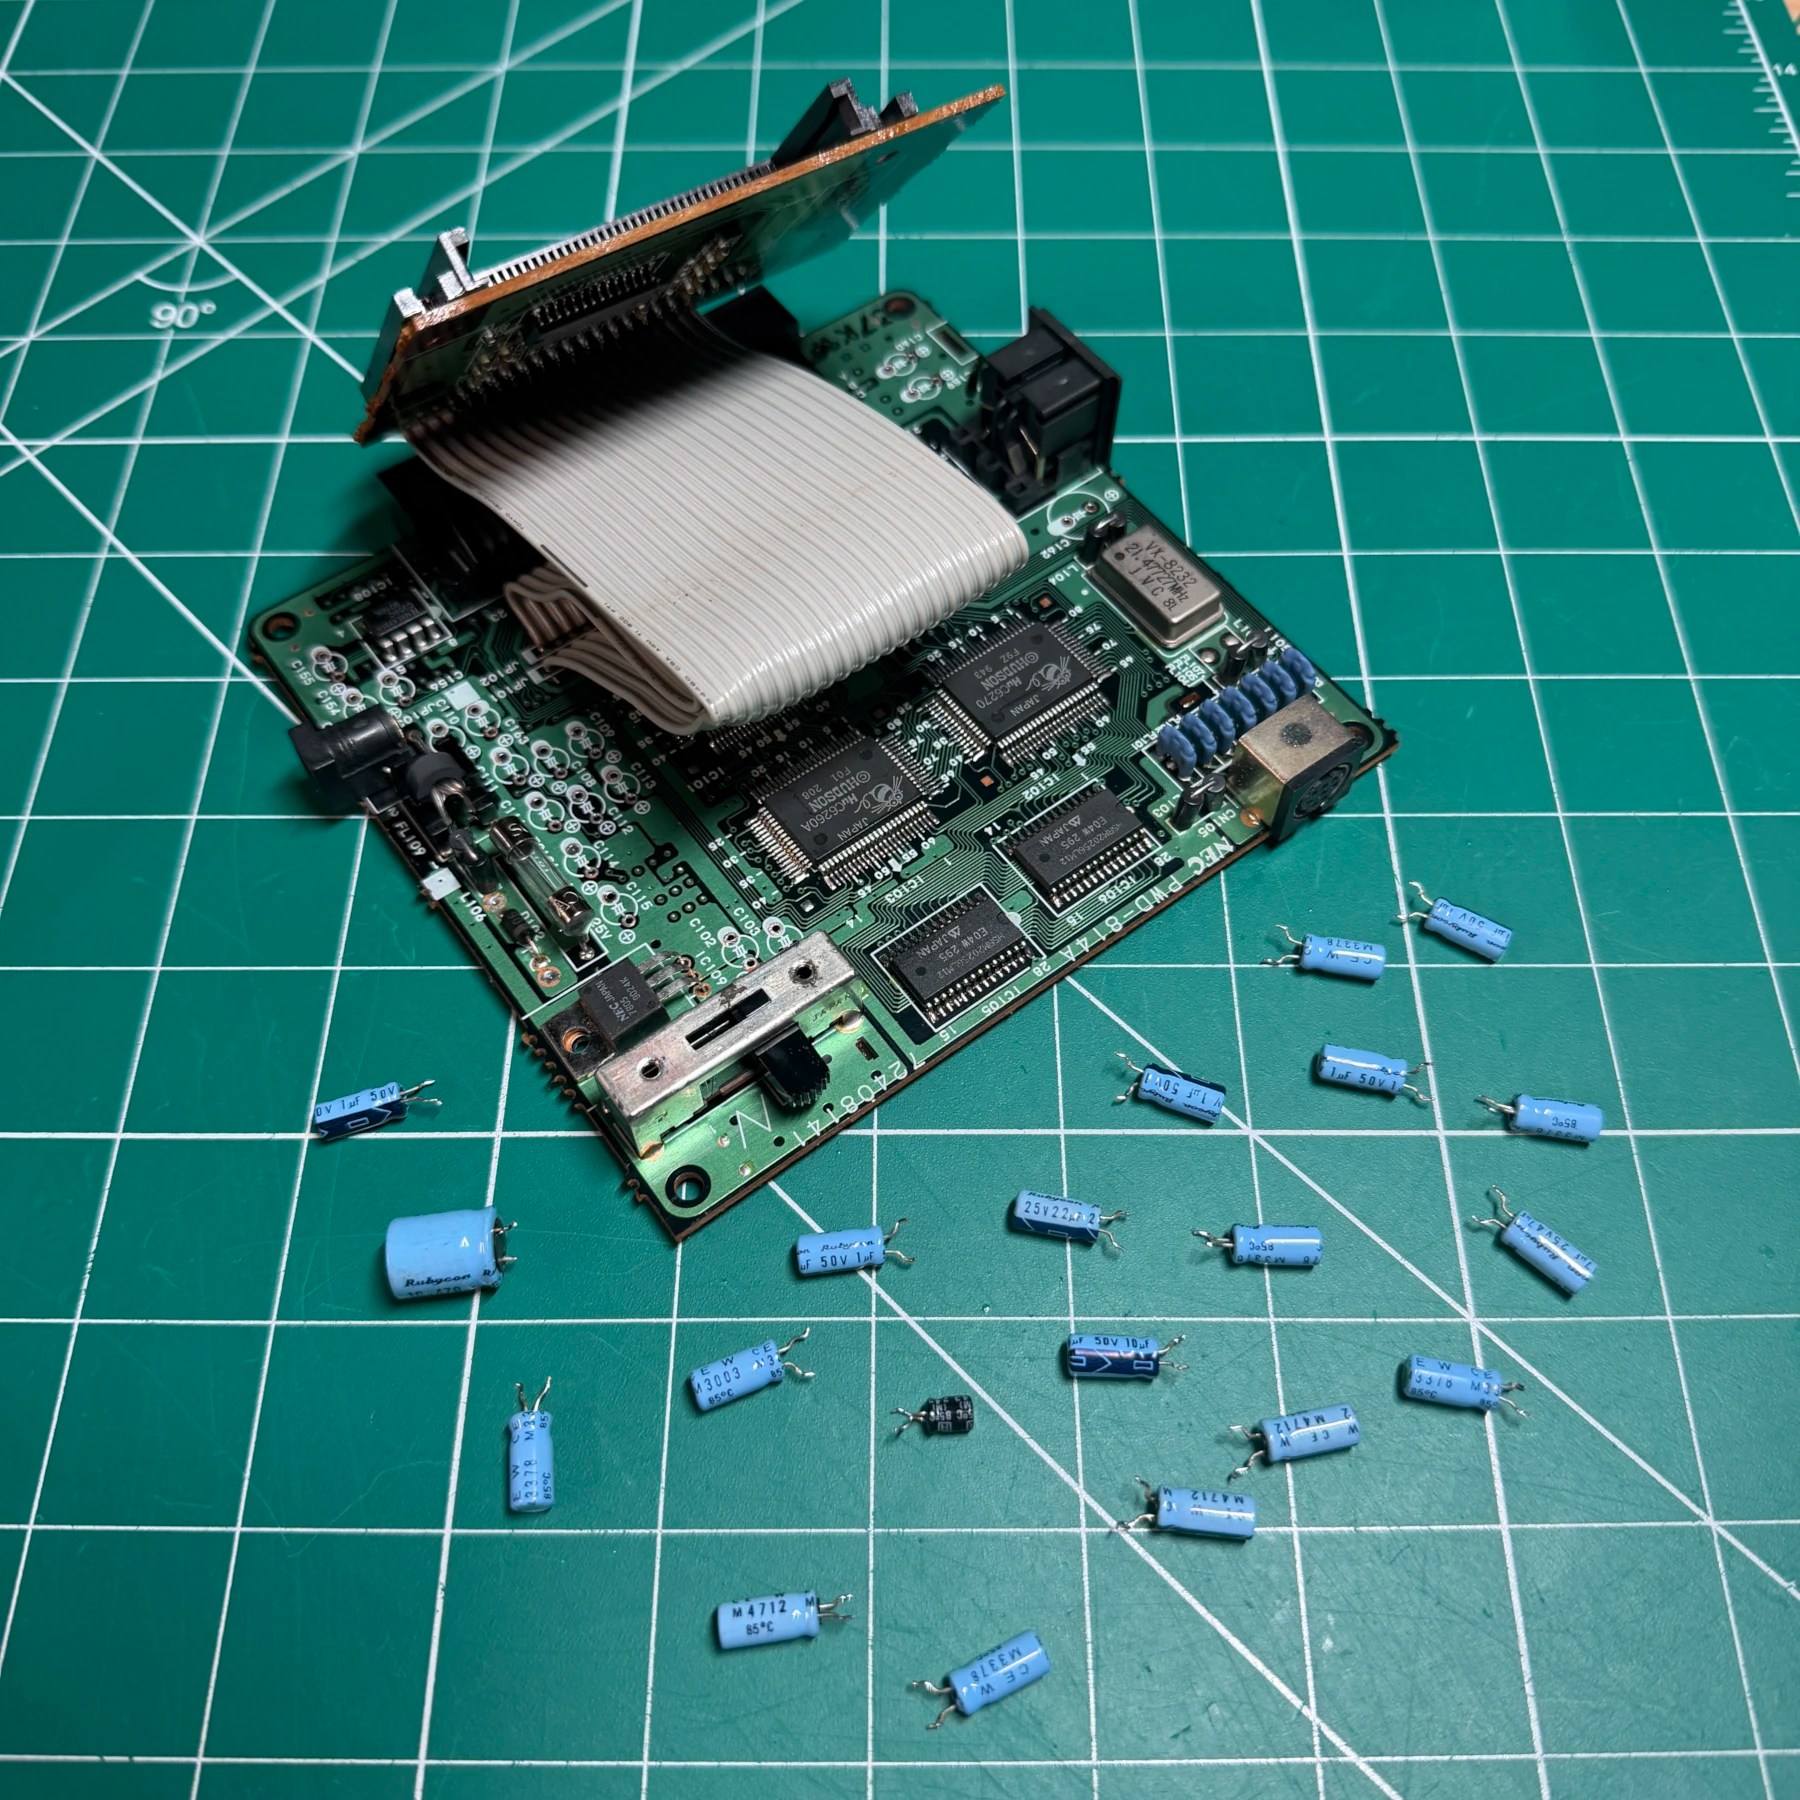
Cleaning service was not selected but there isn’t much to a CoreGrafx anyways so you still end up with the entire console disassembled. In this case I first removed the shell and then unscrewed the heatsink and desoldered the 7805 as mentioned earlier, then carefully folded the HuCard slot ribbon over to the side so I had full clear access to the mainboard. I do this because I always like to test the system stock/after recap before any mods are introduced.
Recap on these is quick and painless, all through-hole so I heat up my Hakko gun, desolder all the caps (don’t forget the one on the HuCard board) and then wiped the board down top and bottom, I also used my iron at this time to desolder the points on the bottom shield and pull it off the board since I’ll be doing the jailbar fix caps as well.
Console5 kits come with 2 ceramics to replace these underside caps so I removed those with hot tweezers, soldered in new caps and cleaned up the leftover flux. I then flipped board back over and seated all the new TH caps except C162 as this will get removed for the TurboNanza so don’t bother putting it back. I then soldered all the legs on, snipped and cleaned the underside again.
Wanting to be able to test I lined up the heatsink and inserted a new 7805 regulator and then bent it over to the heatsink and soldered the legs in place. Then I snipped the excess from the bottom, applied some fresh Arctic MX paste to the regulator and screwed it in place. All of the TurboNanza install takes place on the underside of the board or the opposite side near the din so no reason not to get this done plus I can now test the system. Using my composite cable I confirmed audio and video were working properly and then got ready for the main project.
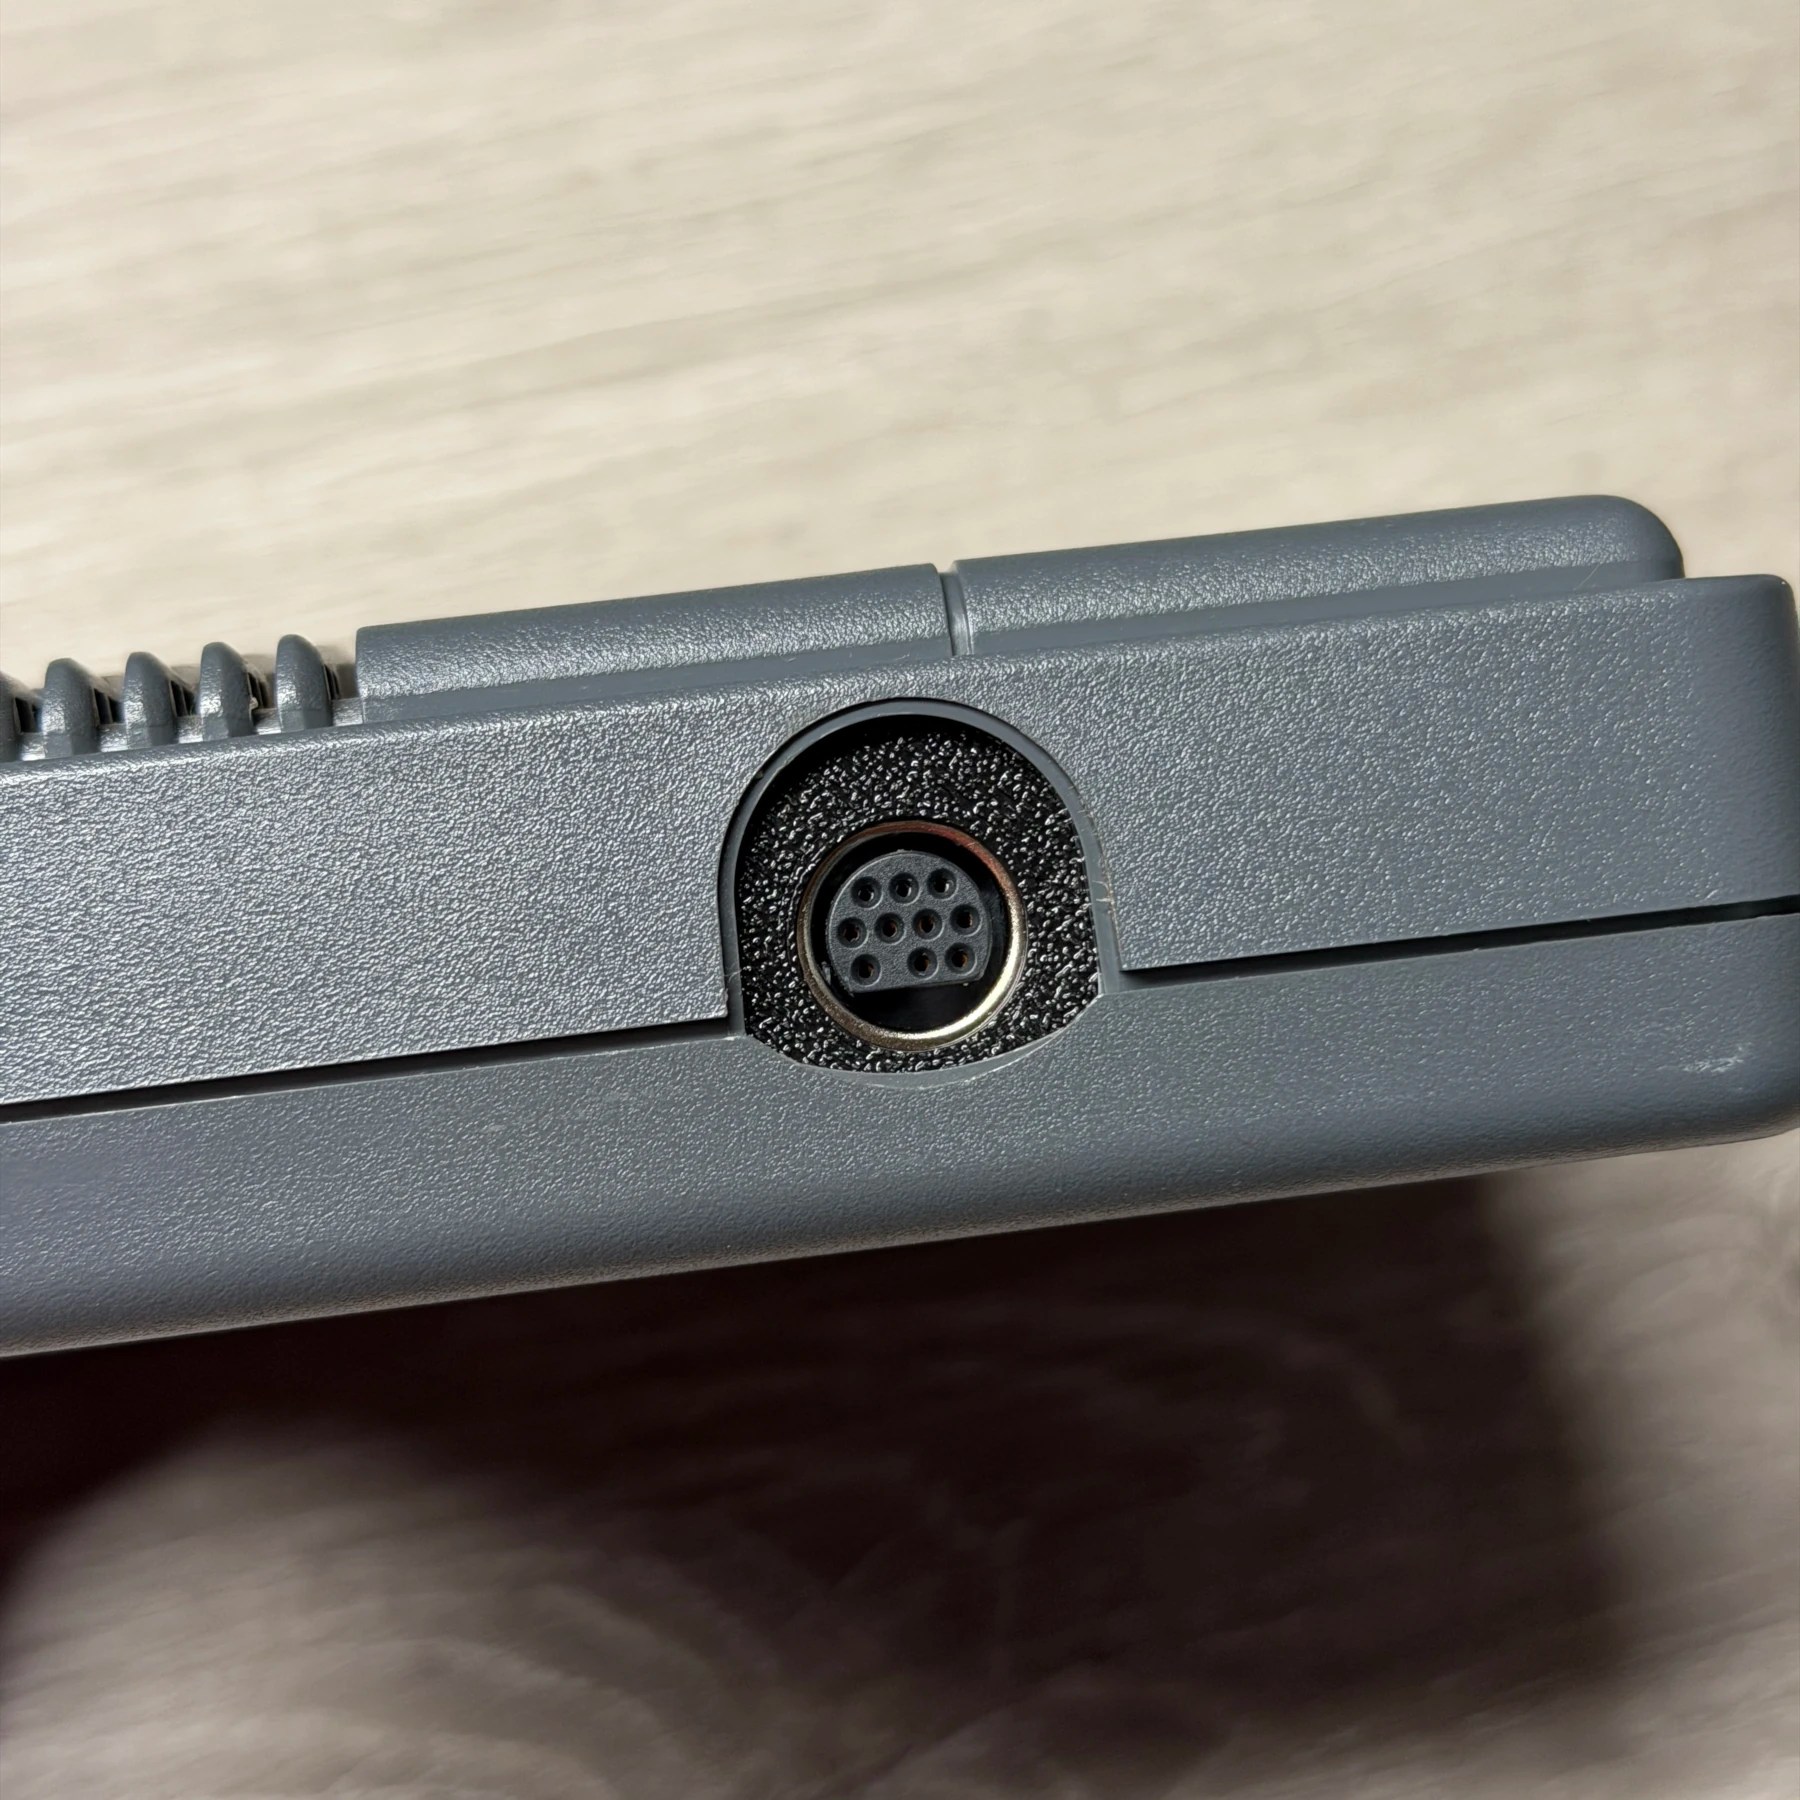
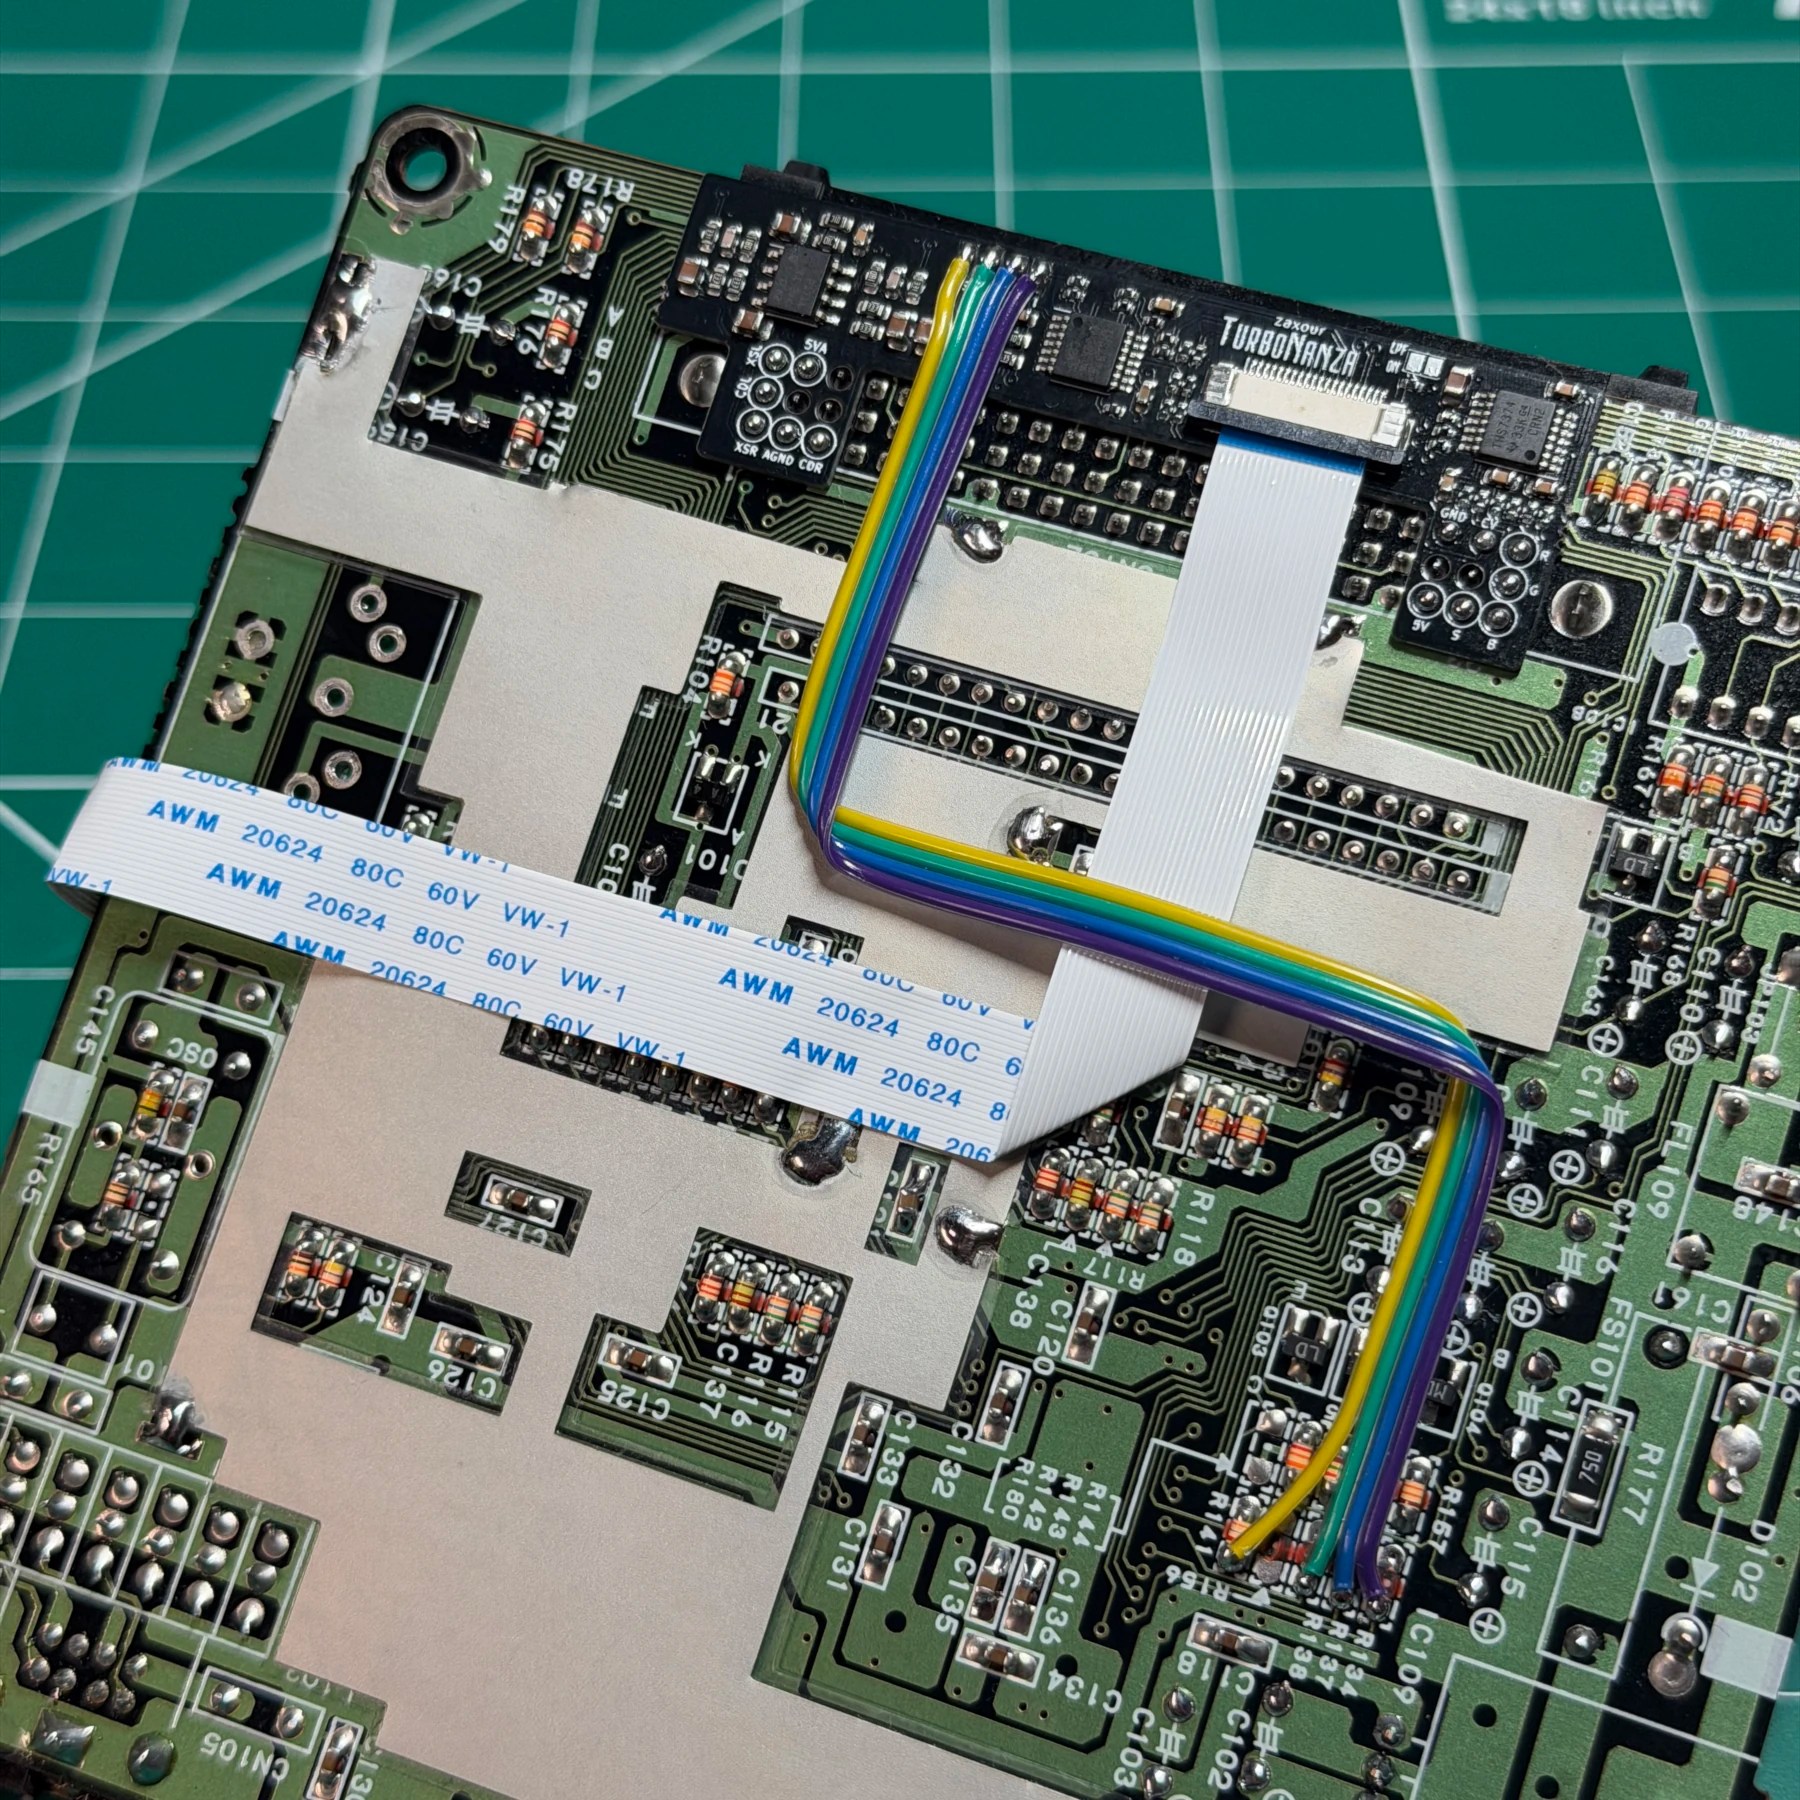
The first steps of the TurboNanza install is to remove to underside resistors and tin pads to be ready for the 4 wires you’ll need to run. After removing these with my tweezers and prepping the pads, I separated a bundle of 4 wires and got roughly the length needed and cut, separated and tinned. I set those wires aside for the moment and then soldered the actual TurboNanza board over the expansion port pins and ensured all joints were flowed properly and points secure with no bridging. Once the board was in place you have to run the wires from the previously removed resistor pads to the ‘Nanza board and I like to do the 2-fold method aka “Z fold” because then you end up with the pads aligned in the same order they are coming off of the pads on the mainboard and it makes for a very clean install!
Next step now that the board was connected and wired up was to desolder the stock DIN and put the board inside the bottom shell, line up the 10-pin din and mounting board and mark exactly where it needs to be centered on the shell cutout for it. I mark this usually with fine point sharpie then once I know where the holes will be in the mounting board I scrape those areas plus a border around it with my xacto knife and brush clean with my fiberglass pen so I have good solder contact points. At this point I will quickly assess alignment again and then solder the DIN mounting board in place with the 3 plated holes.
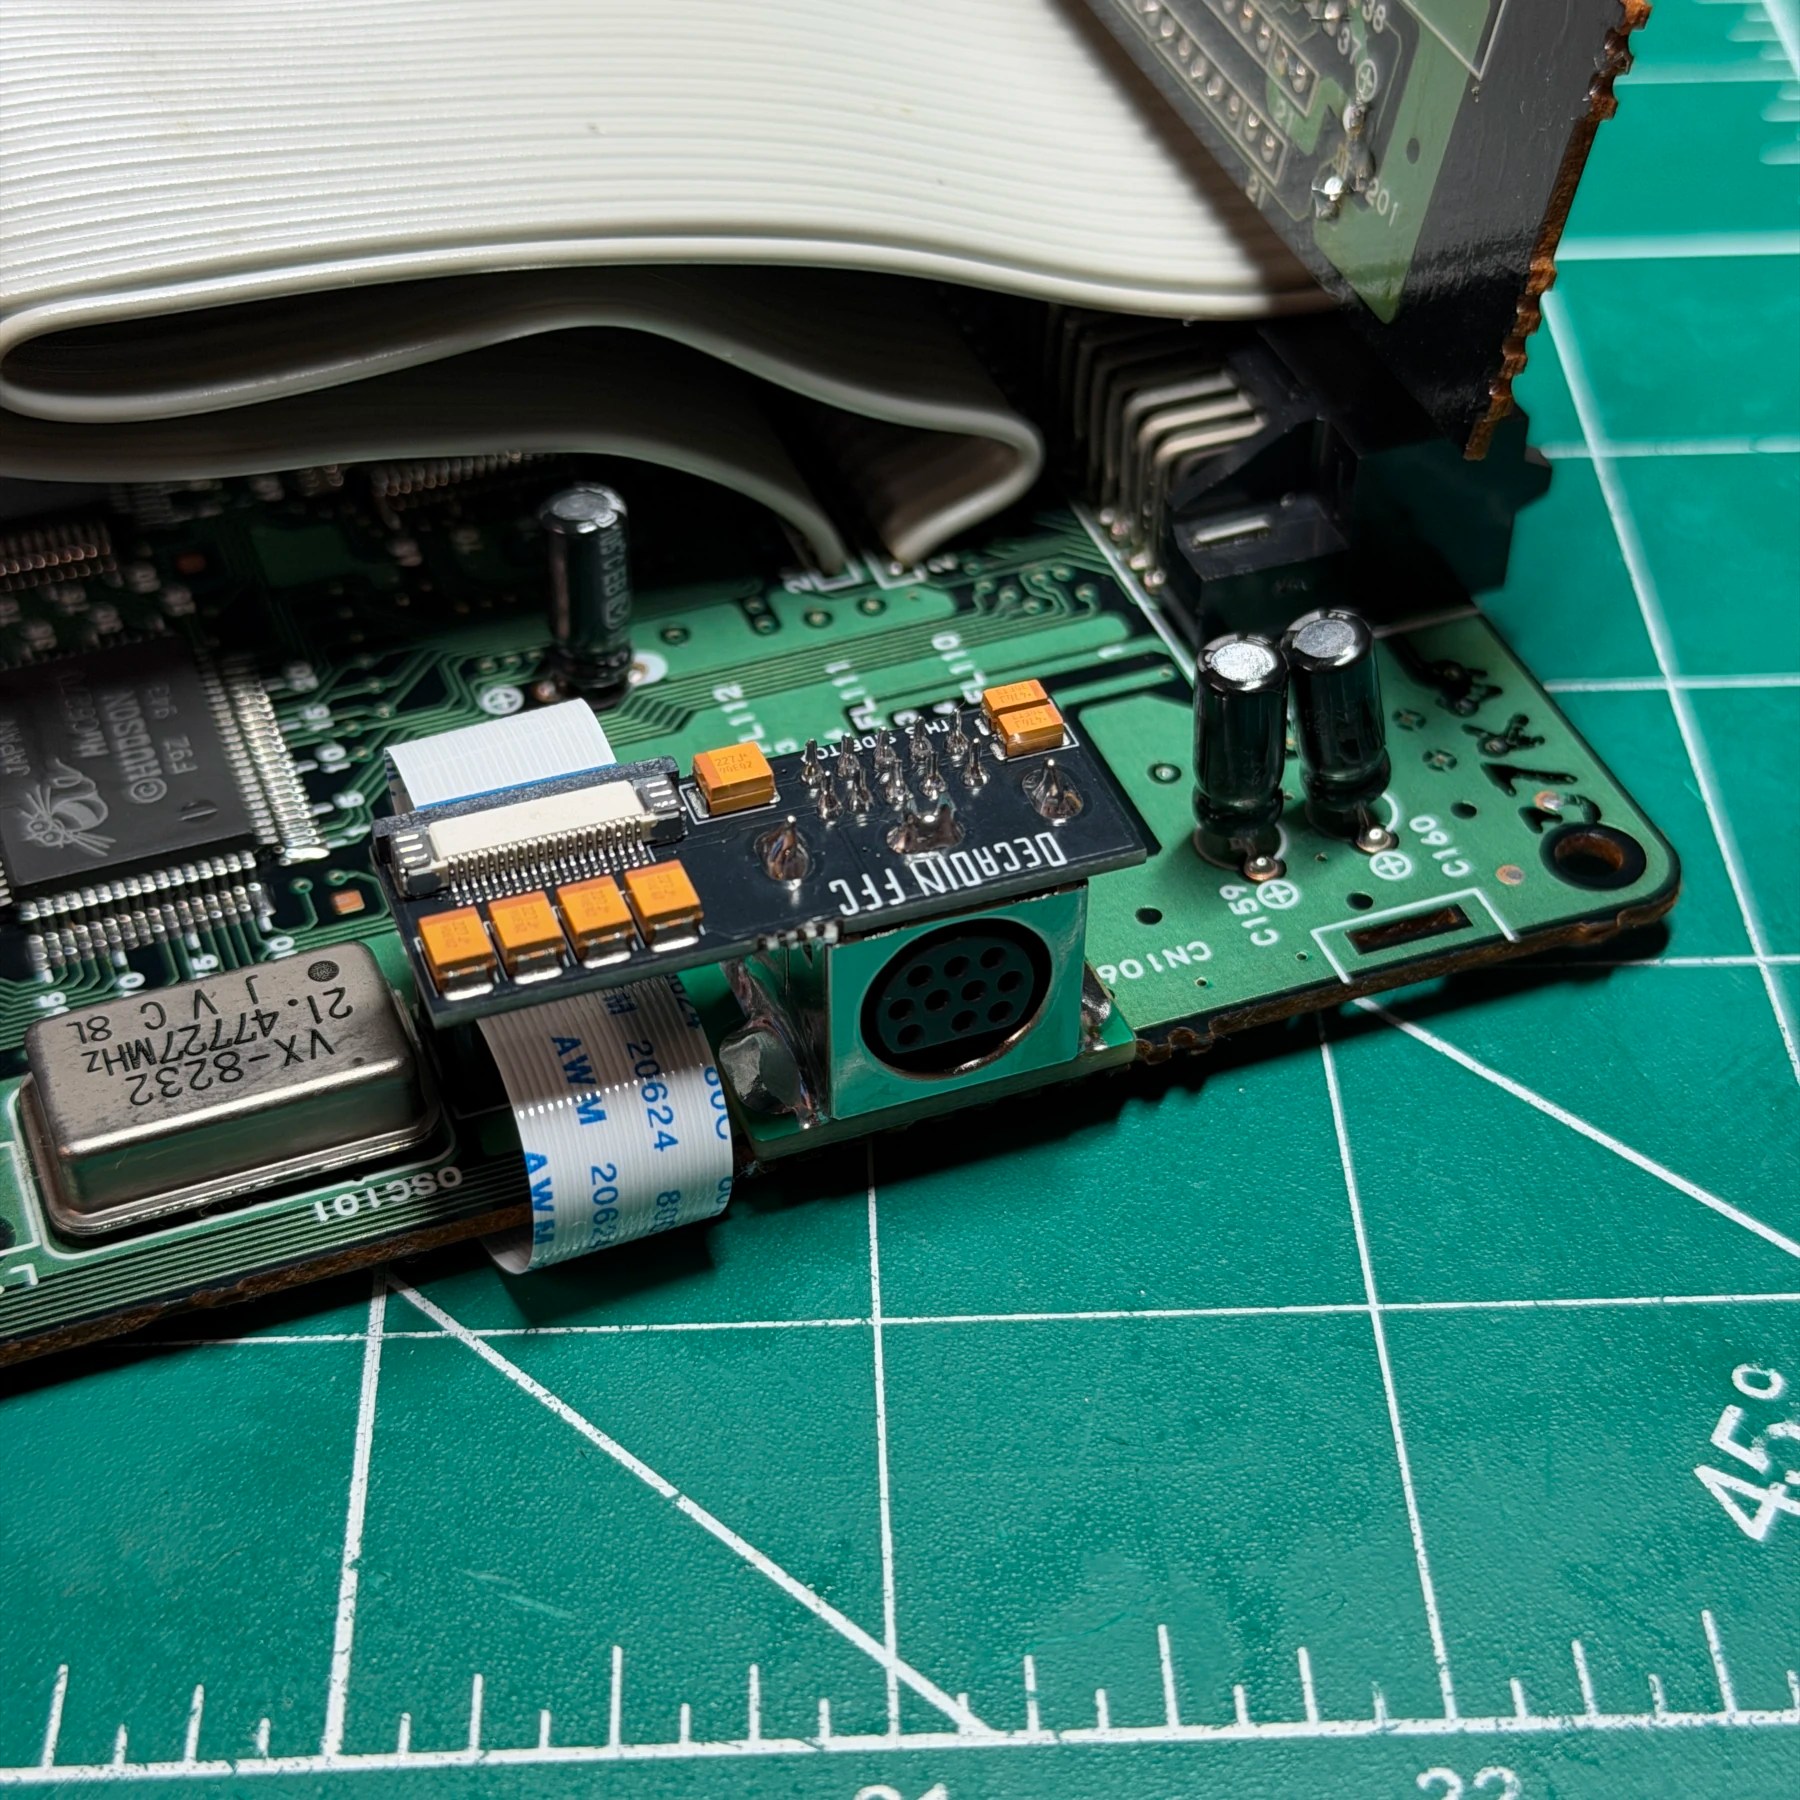
For the din itself I like to insert and remove a Saturn cable a few dozen times just to make sure port is worked in a little bit, you never want to have to push and force on a cable insertion too hard. Once done I usually sand the bottom areas of the din so solder will stick easier and then with my large K tip solder on a huge clean fillet around all 3 sides of the din to secure it to the mounting board. With that done, I swap out tips to a small chisel and solder the din breakout board (known in this kit as a ‘DecaDin’) and then connect the flex cable to the board, which then gets routed along the edge of the PCB to the underside then into the TurboNanza. At this point, the main install is all done!
Having done a lot of the ‘Nanza installs I had previously designed a really nice clean faceplate that snaps around the din and fills the space with a textured 3D printed panel. This eliminates the unsightly space around the din by default and gives the whole install a really nice, finished look.
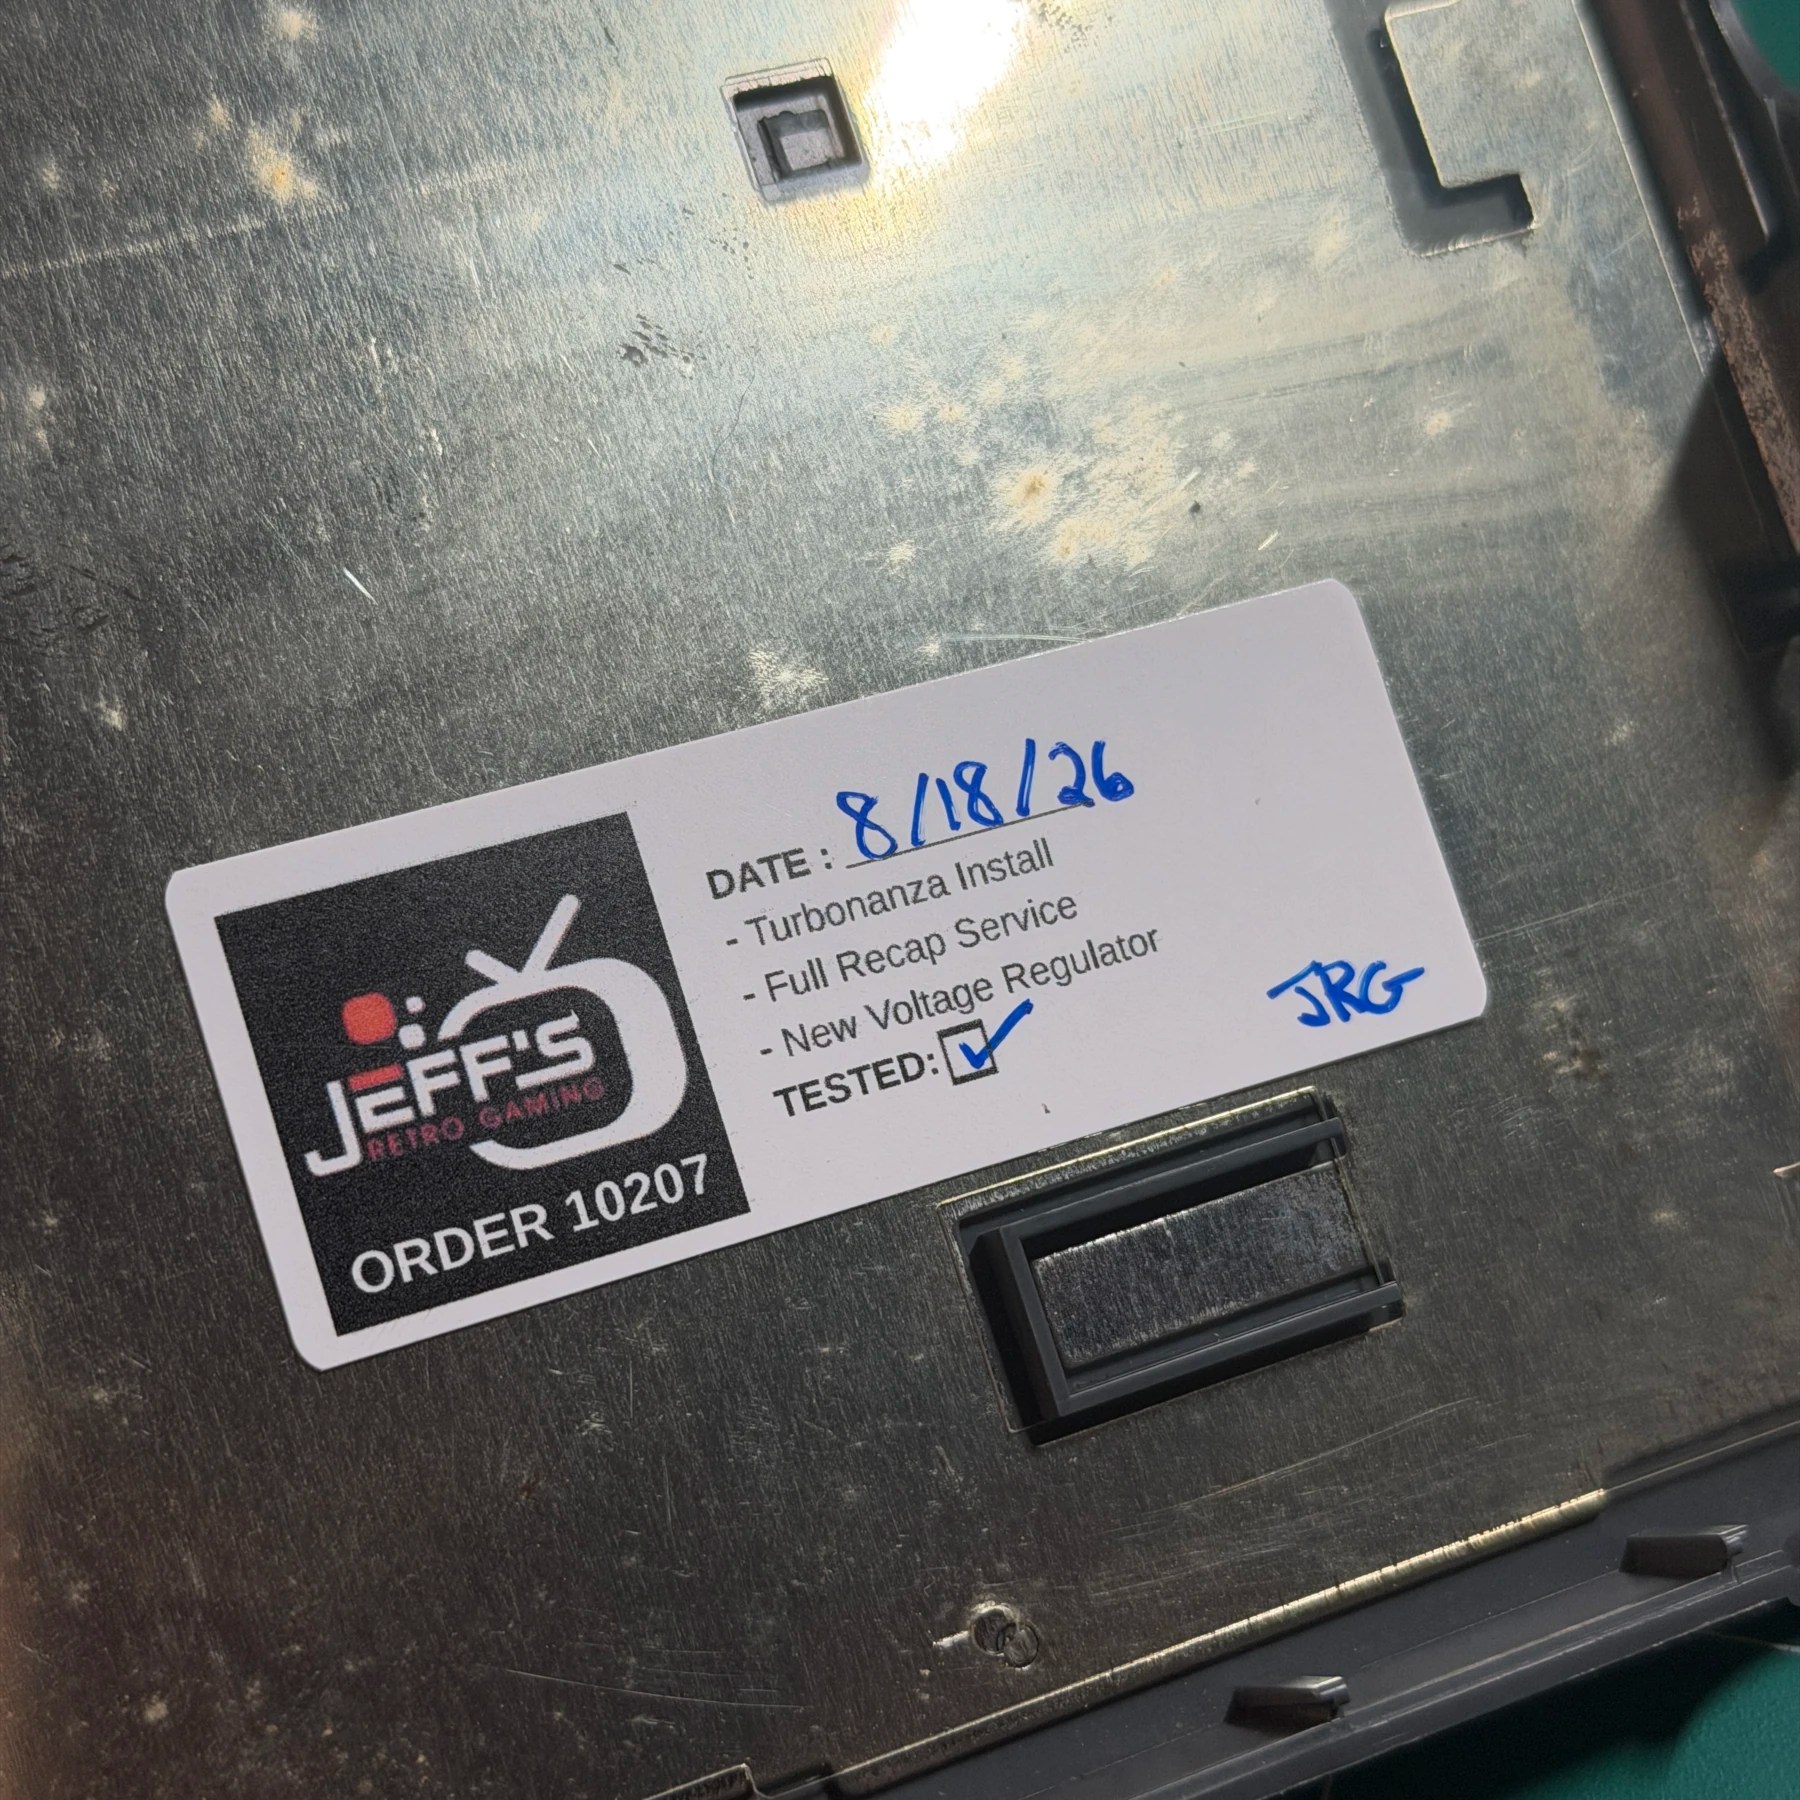
I quickly hooked up a Saturn RGB Csync cable and confirmed RGB output and sound, then re-assembled the CoreGrafx knowing it was good to go, with a sticker of my approval on the bottom plastic film.
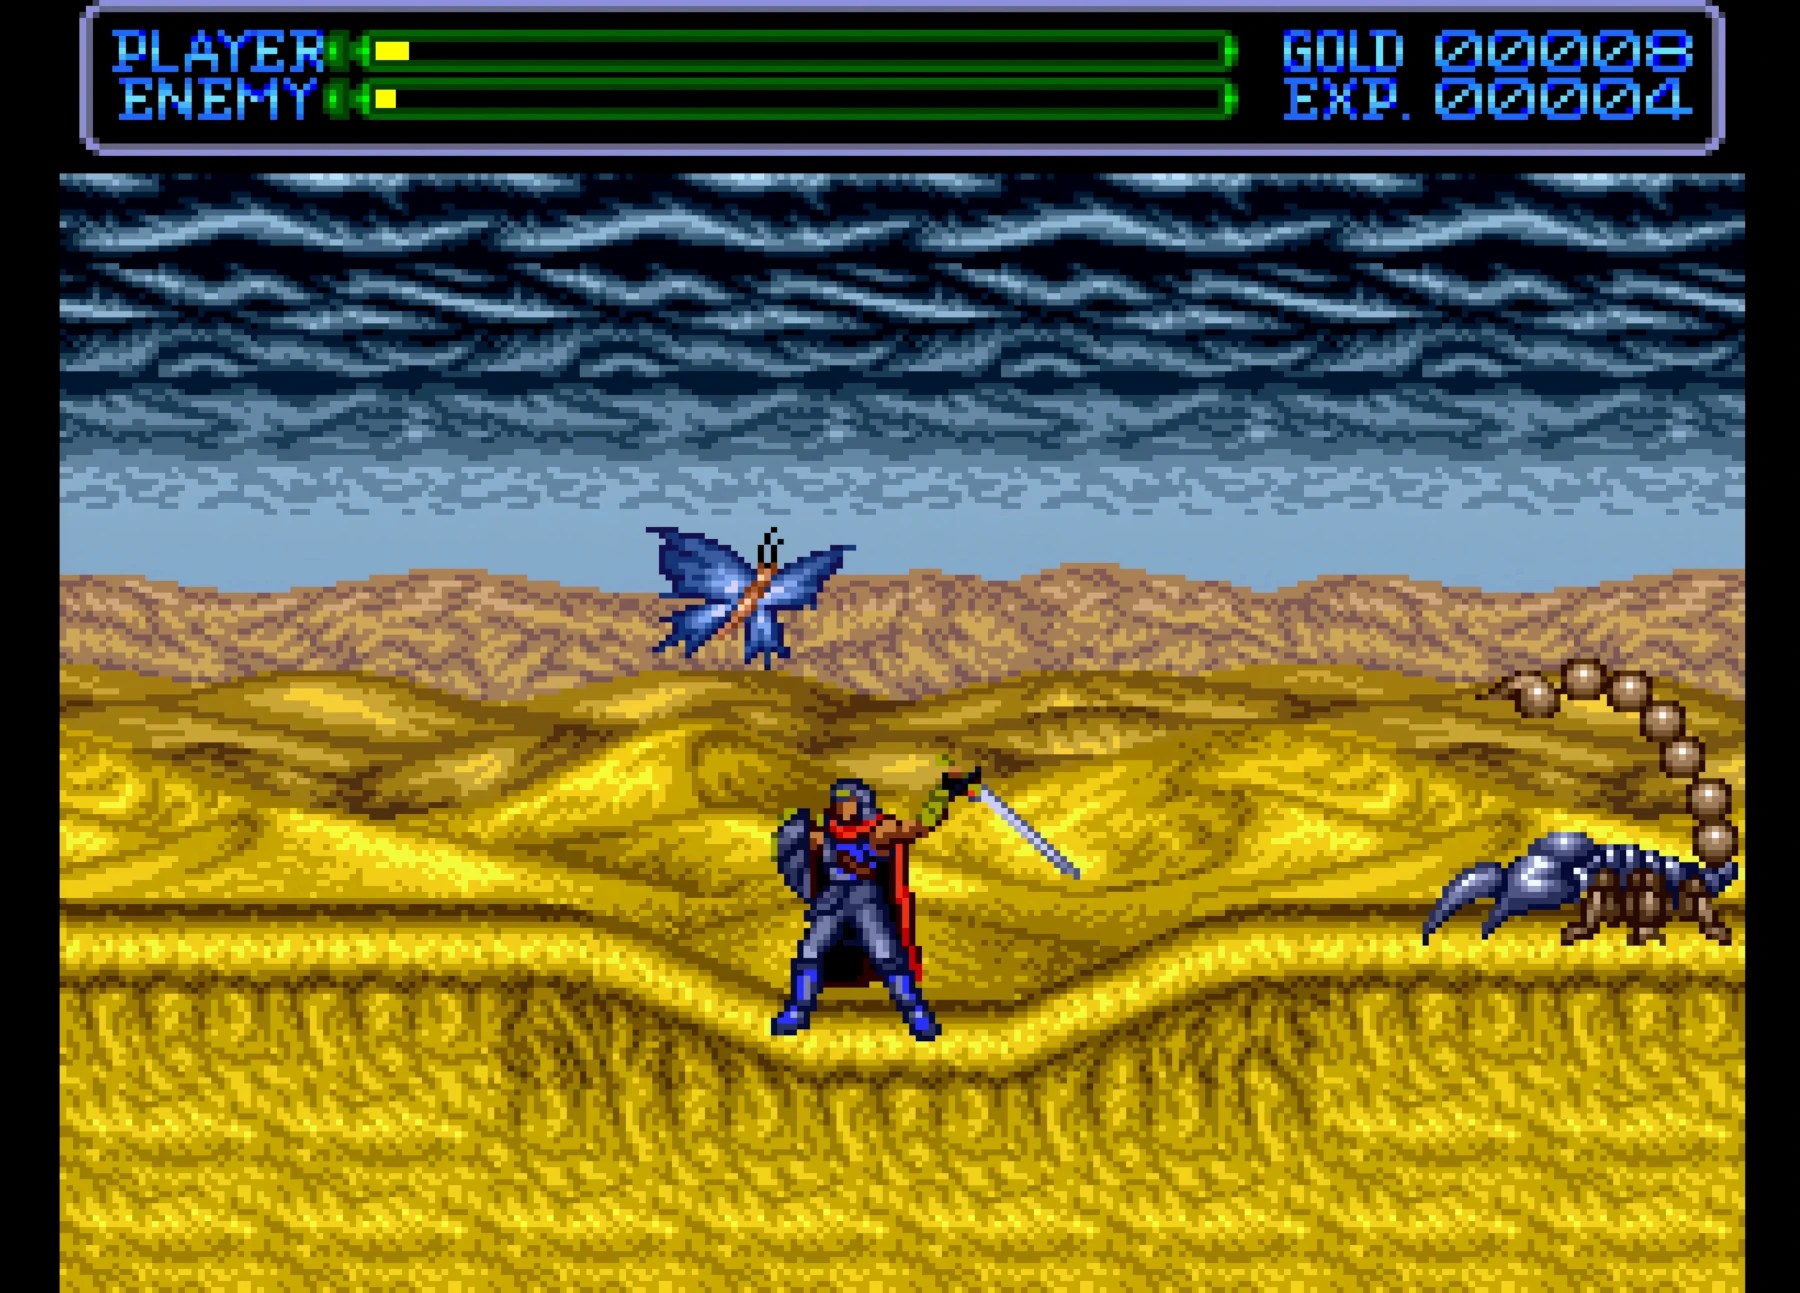
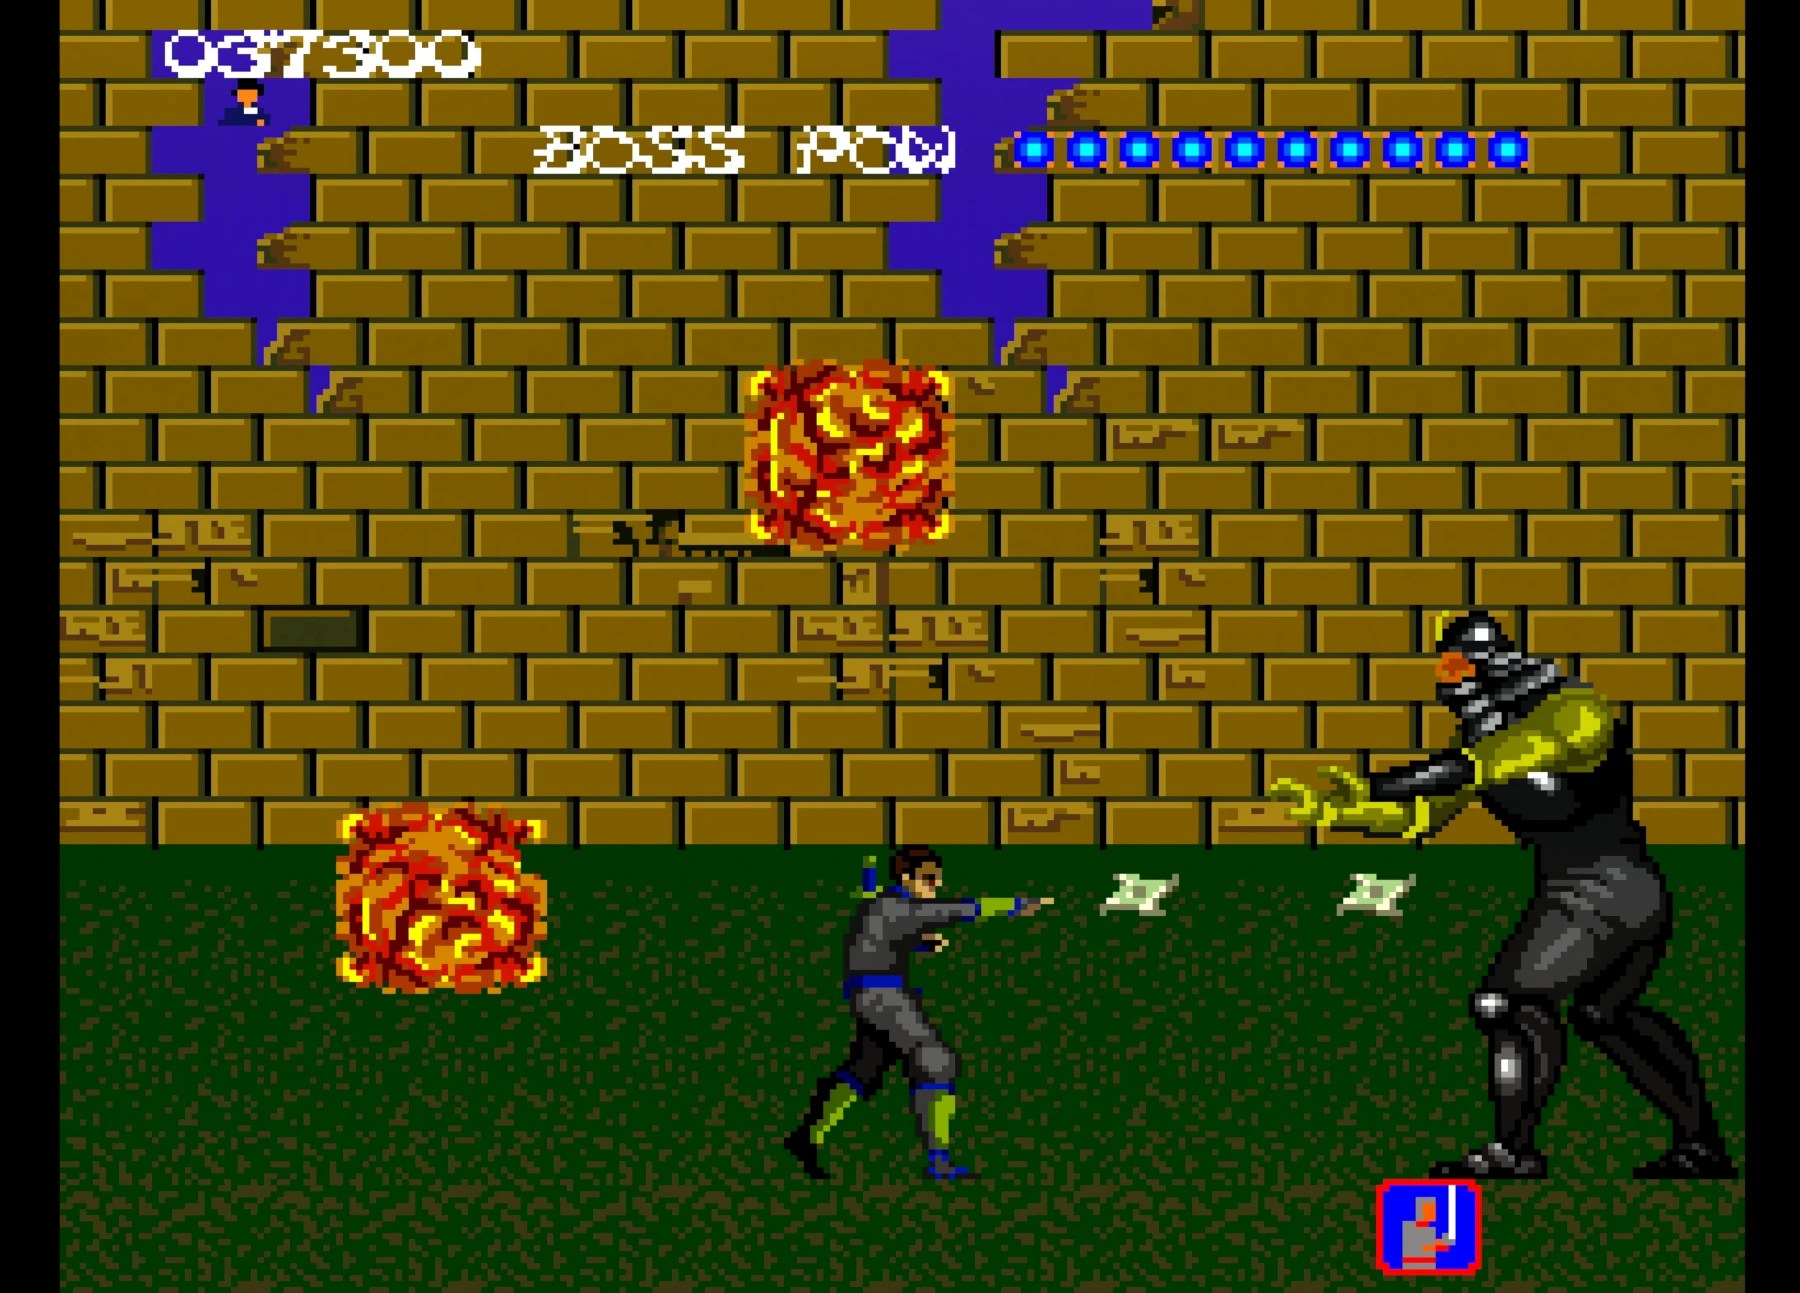
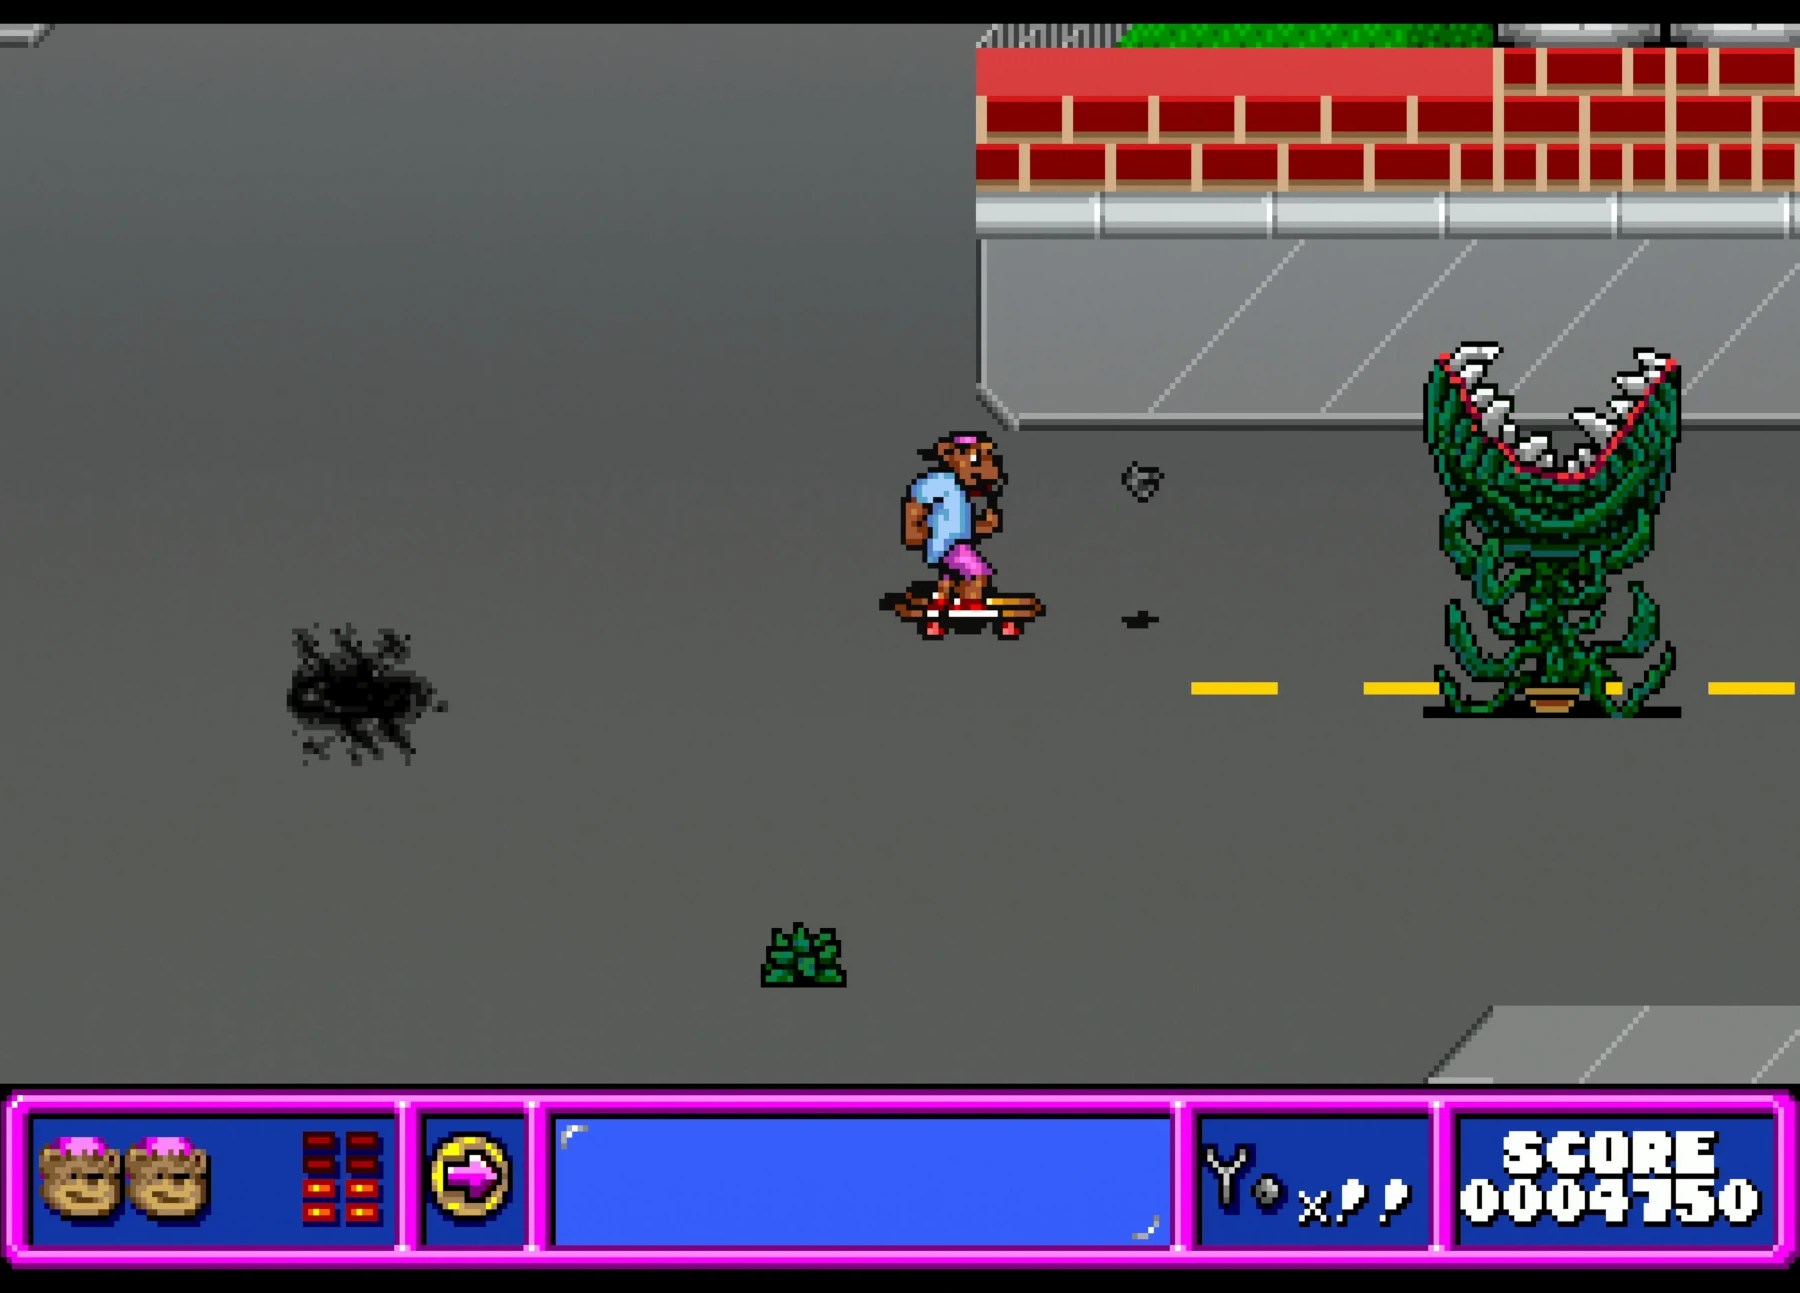
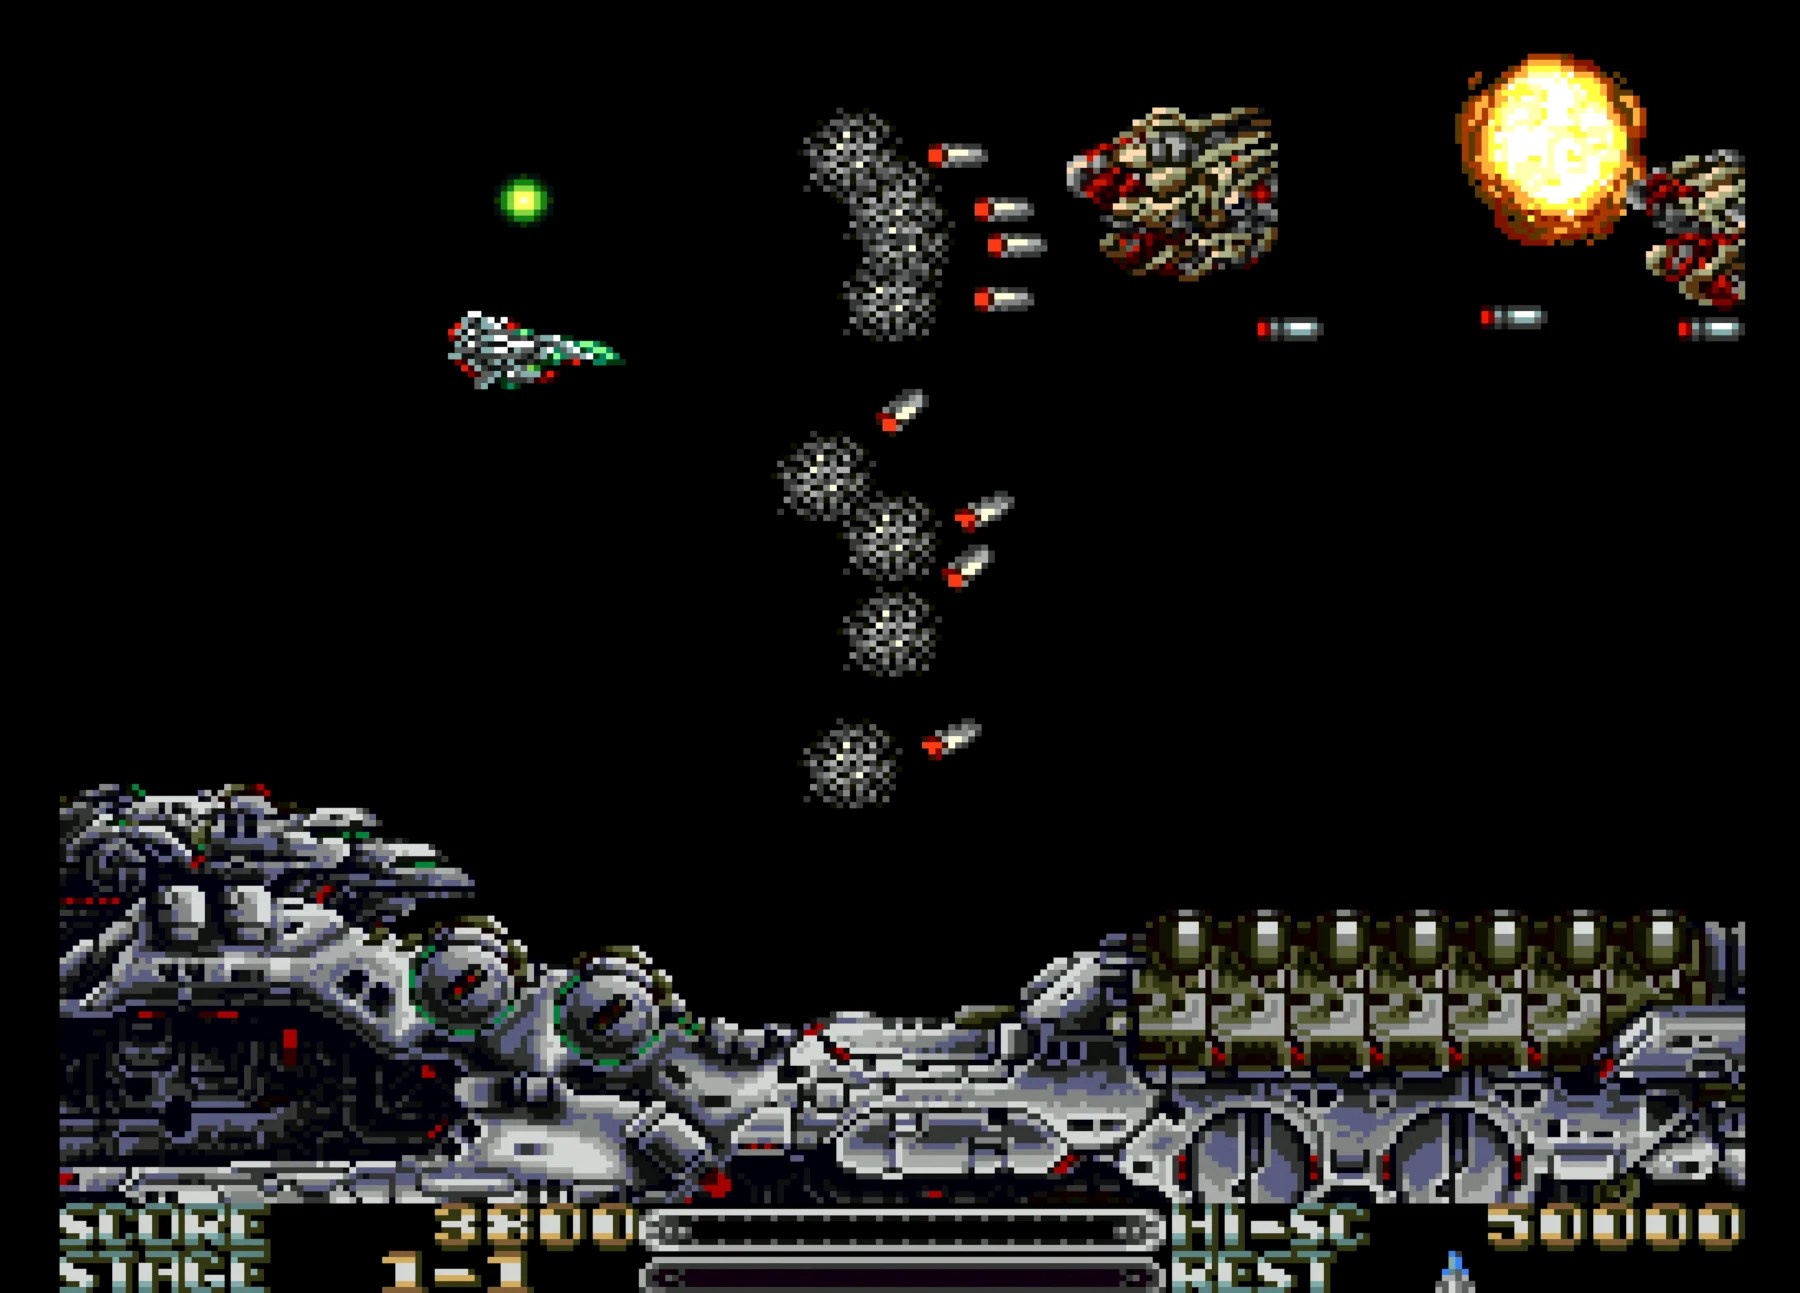
Once re-assembled I got it on the bench for a staged shot, then ran my RetroTink 4K to get some 4K captures of the RGB output which you can see below! If you have a PCEngine console and want razor sharp RGB definitely consider a kit for yours and if you need and installer I’m your guy 😎