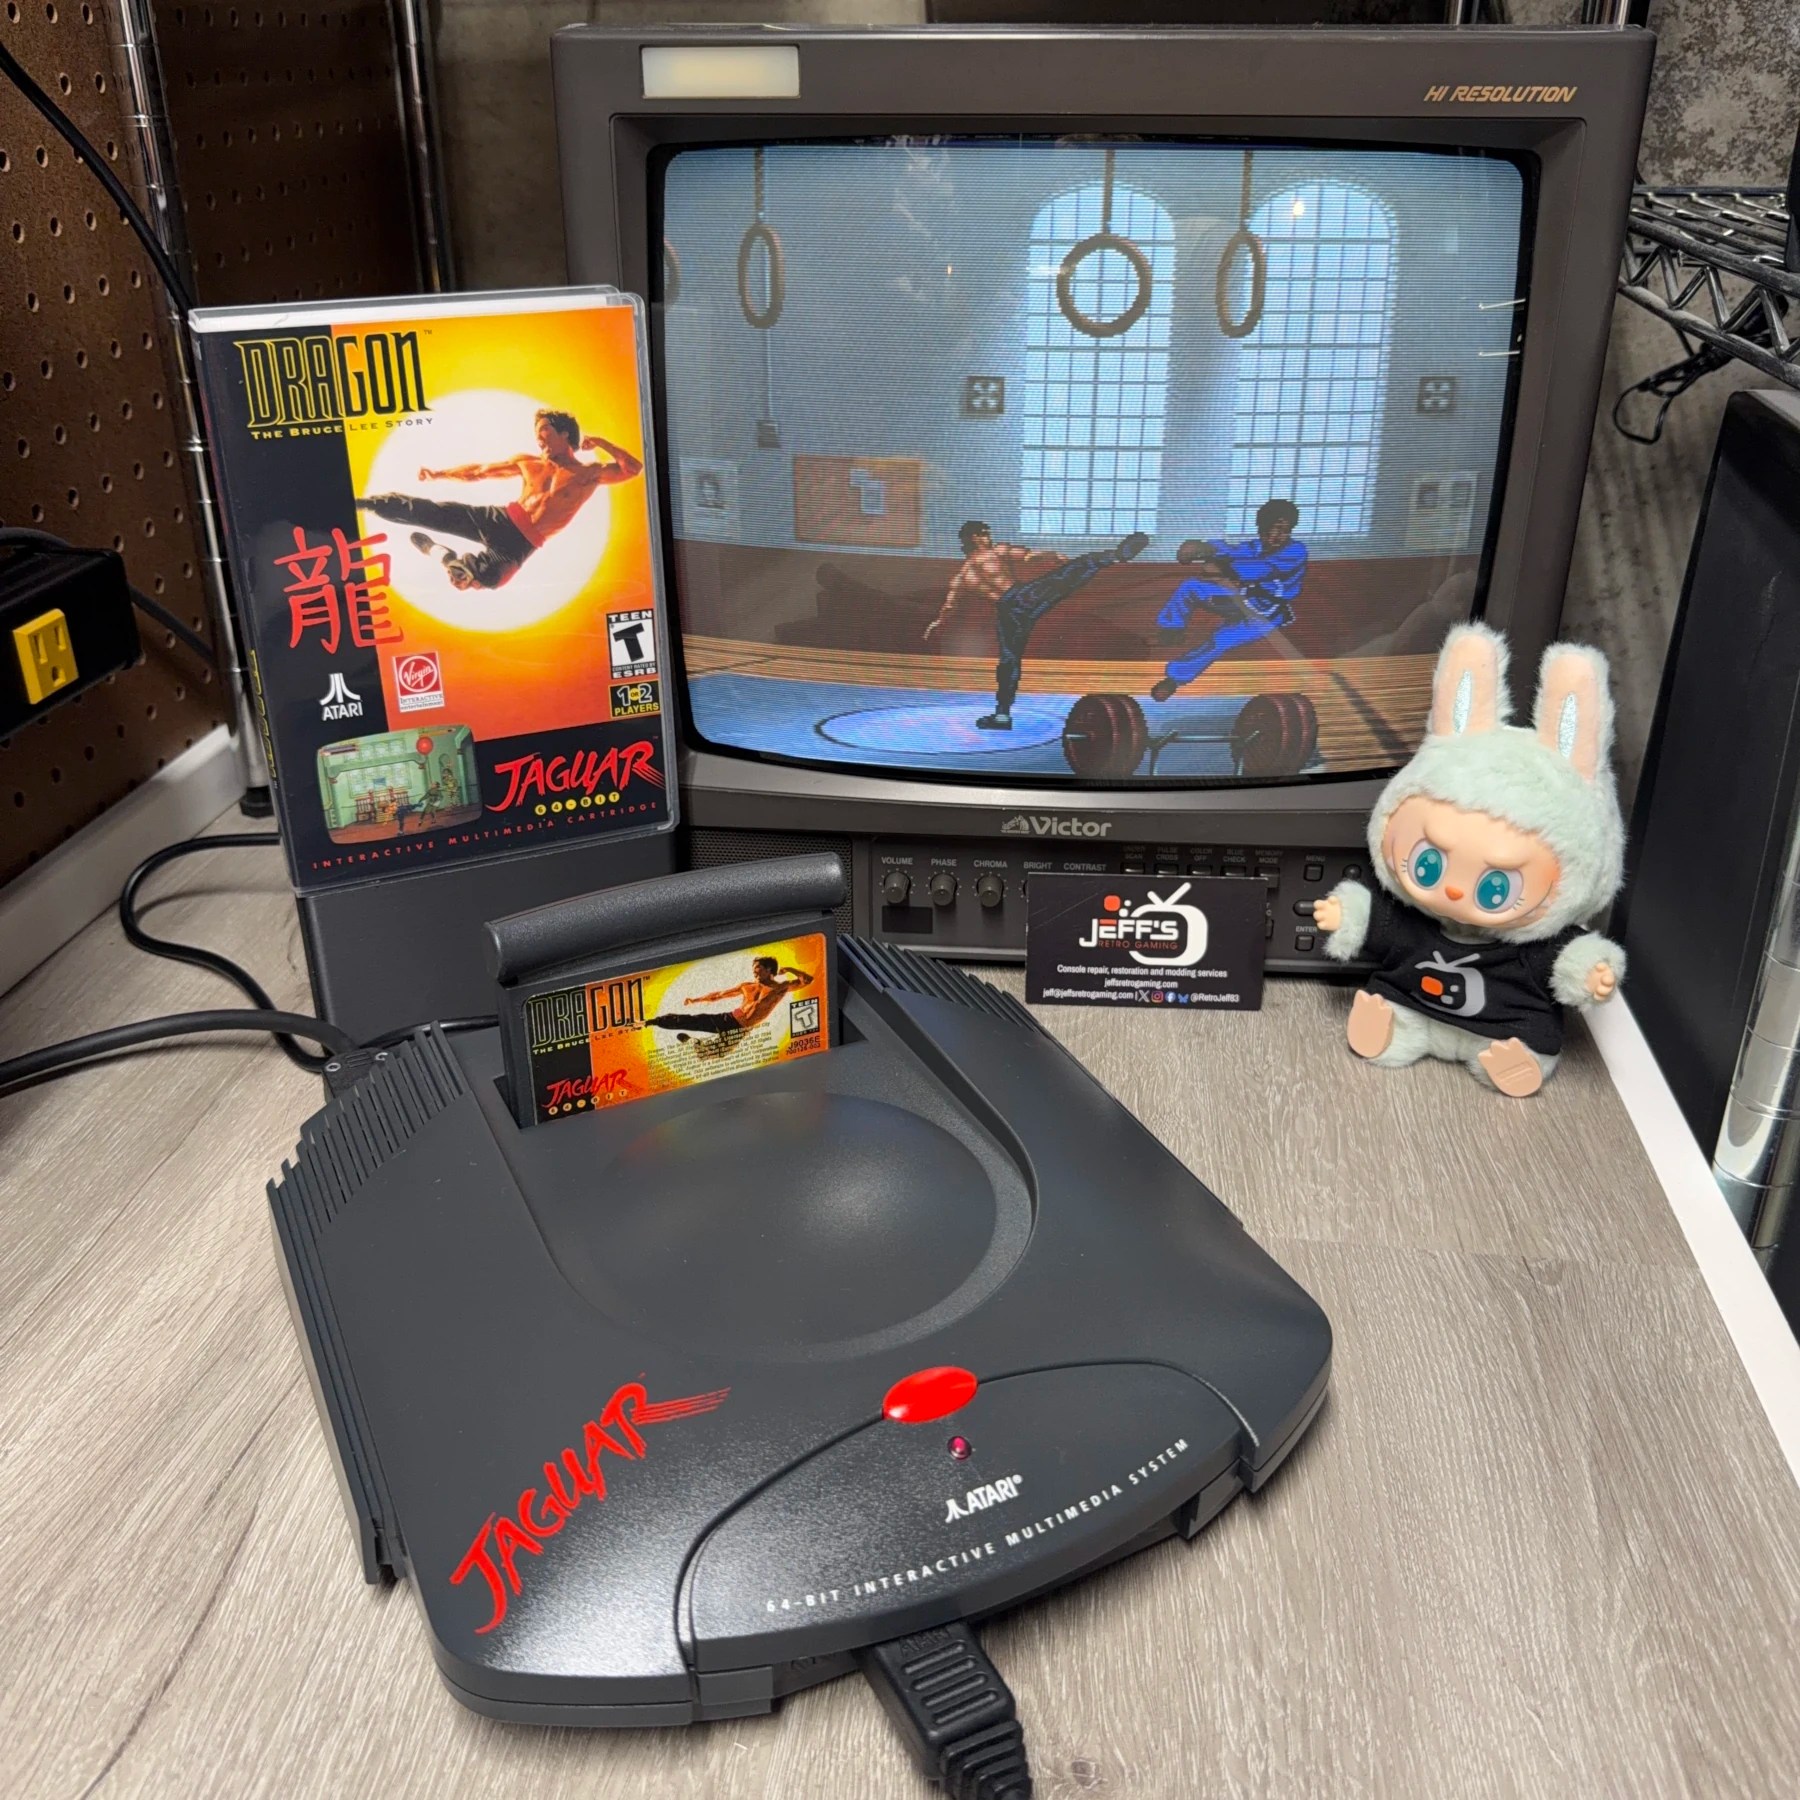
Another Atari Jaguar has arrived in the shop for a refurbishment and round of upgrades! This one came in for the usual cleaning and capacitor replacement but also 2 of Zaxour’s kits – The 64BP and Hairball!
The 64BP is proving to be extremely popular in my shop and for good reason, the improved image clarity and audio out the new 10-pin Saturn port is a huge upgrade and the Hairball protects the Jag from the common error of an incorrect polarity PSU being plugged in and frying components (like REG1)
Read on to hear about the process…
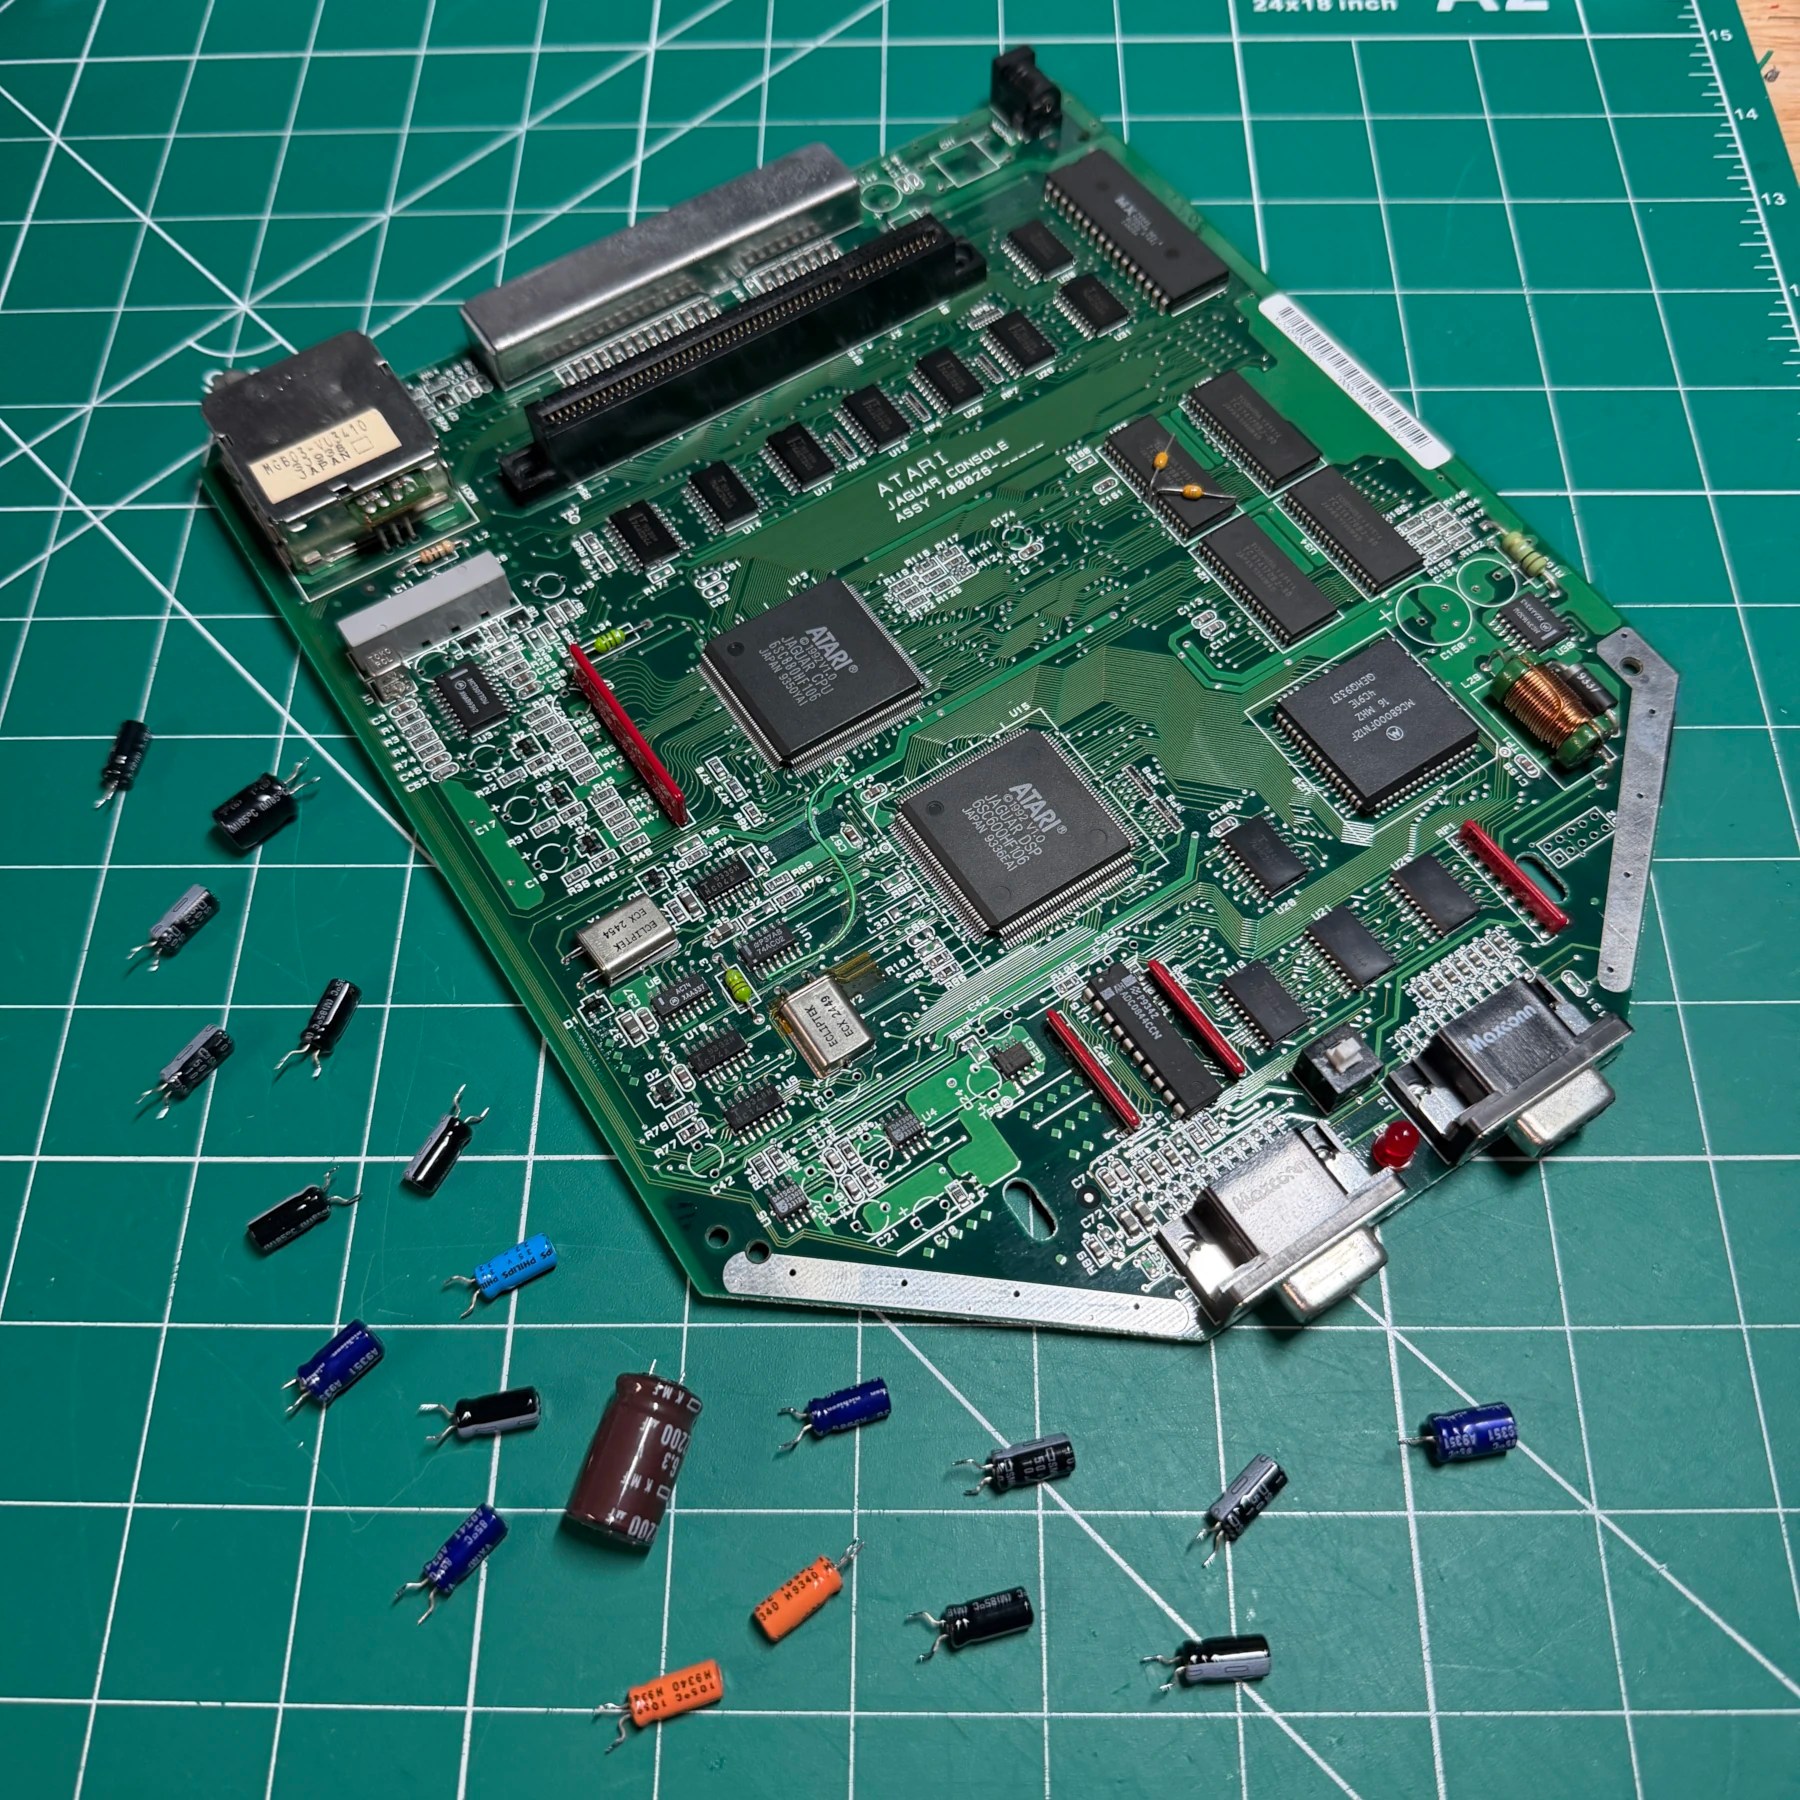
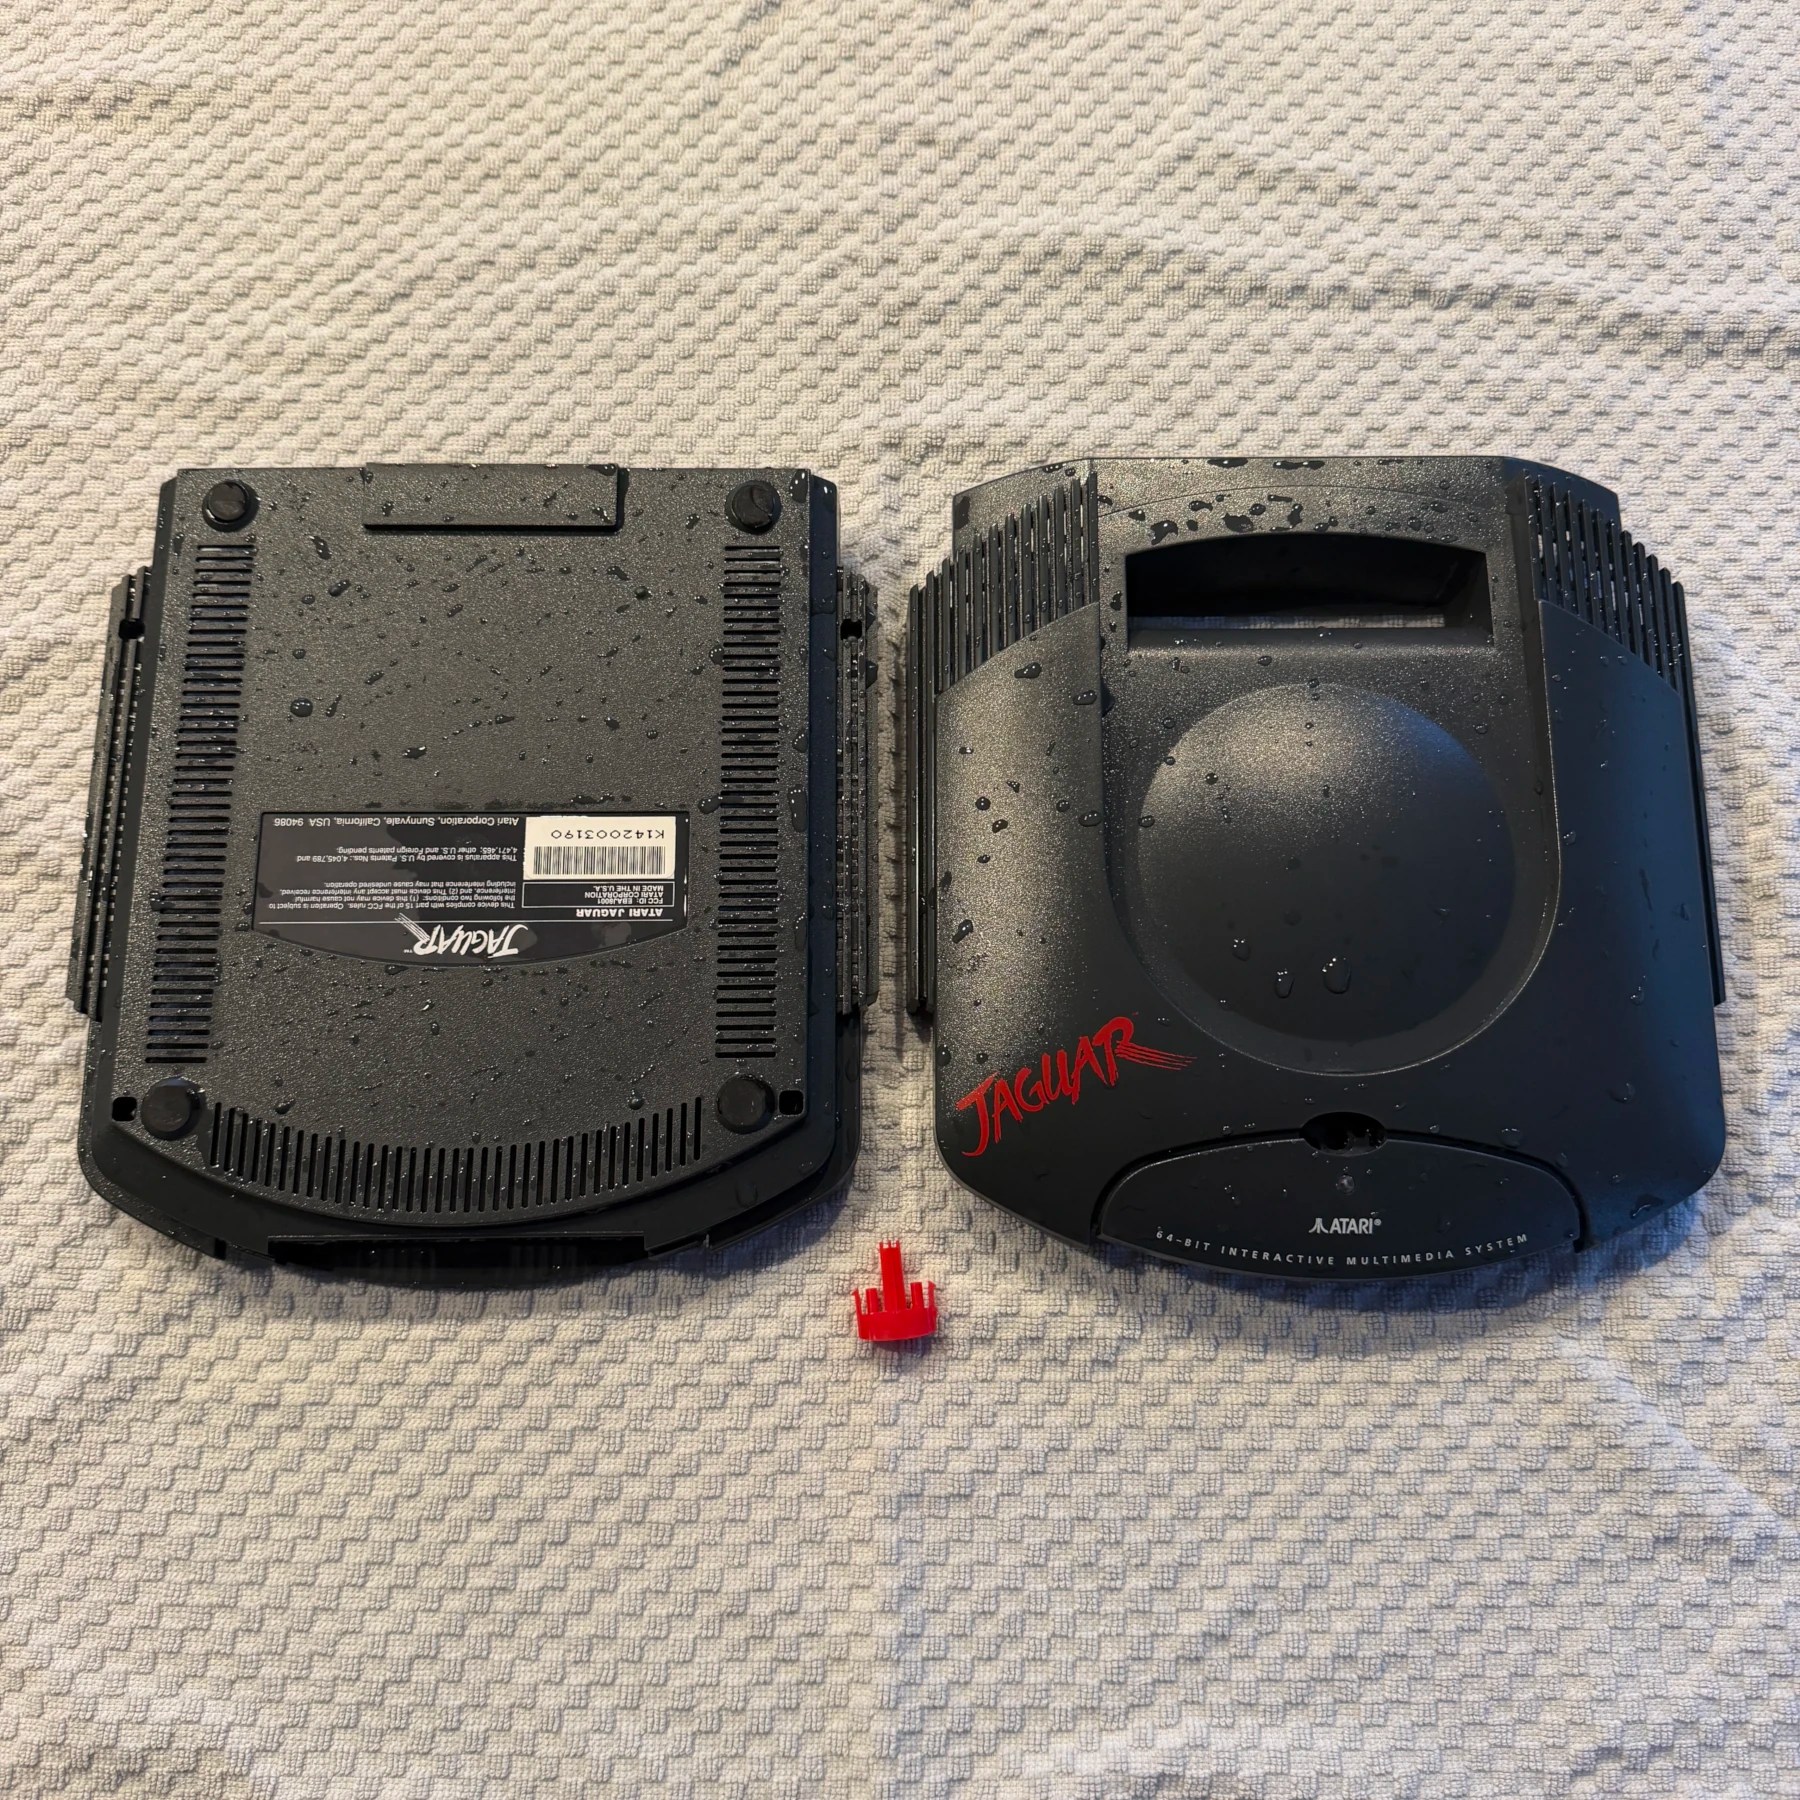
Like with any console getting my Full Service Cleaning I always start with a teardown and soak/wash/drying of the shell and plastic parts. It’s super easy to take apart a Jag the most annoying bit are the metal clasps locking the bottom and top metal shield together but my CHP pliers do the job nice and quick. As the shell is drying I reflow all the capacitor joints so they remove nice and clean (I find on many consoles you don’t HAVE to do this but the joints on these are stubborn otherwise so I always do here). Once the joints are reflowed I then desolder all the caps using my Hakko gun and wipe down the board top and bottom.
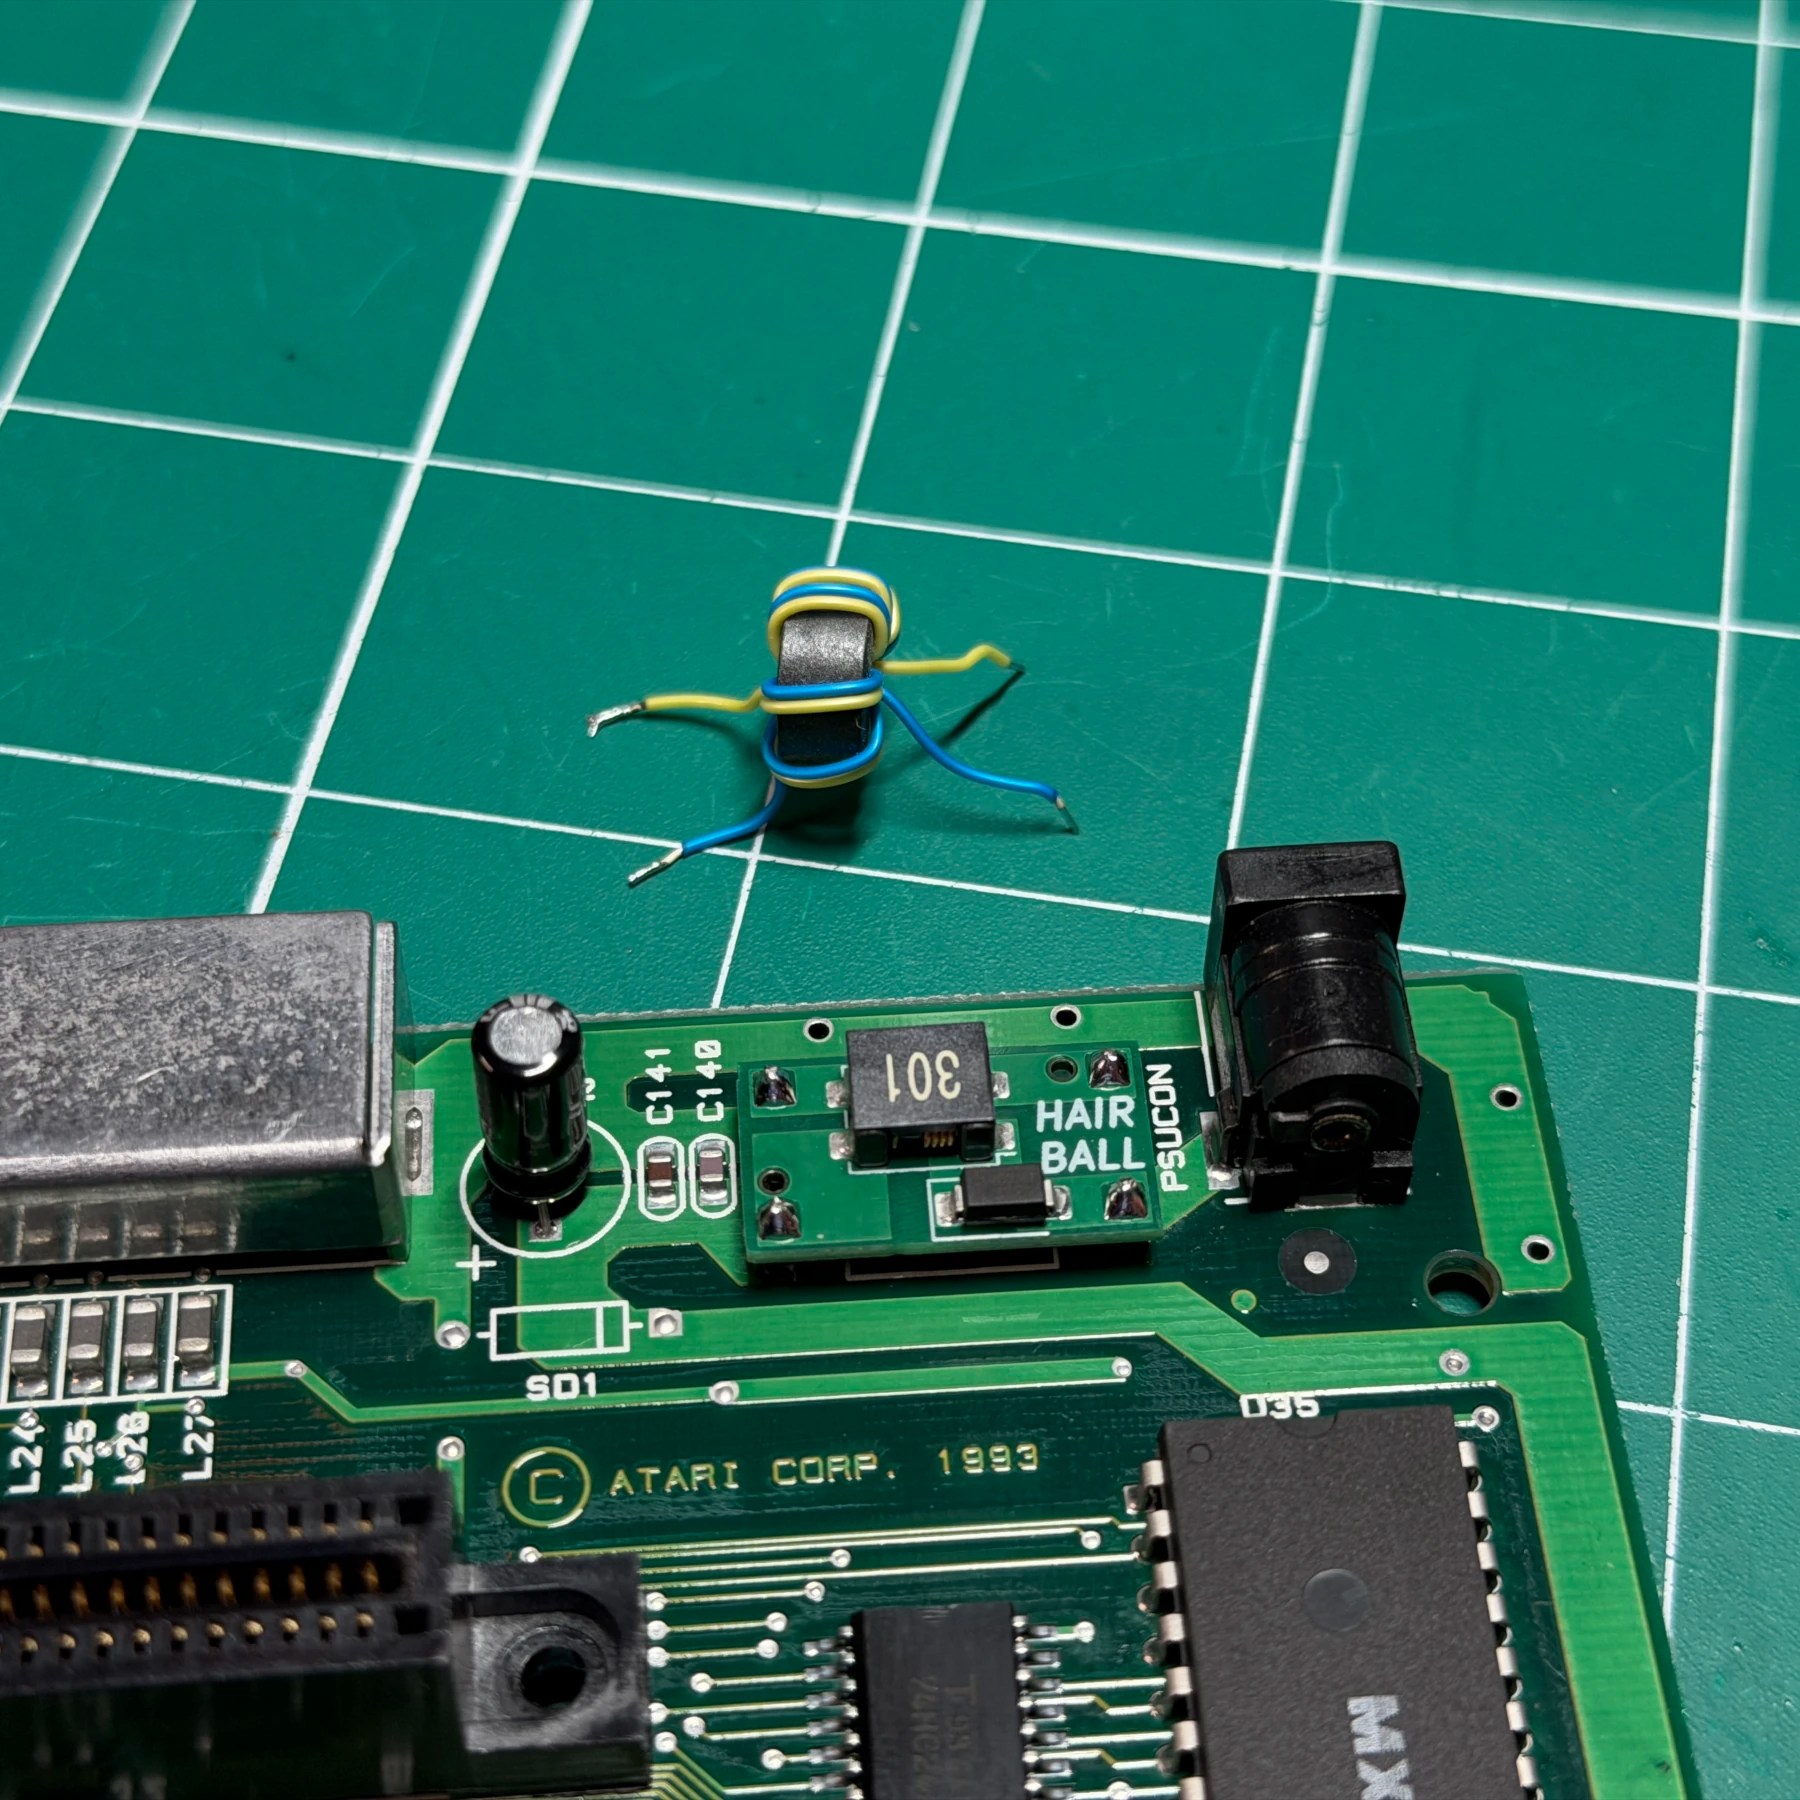
Since the gun is already warmed up I also take a quick second to desolder the stock power choke for the Hairball installation. With the board fully cleaned and depopulated I then solder on all the new Console5 caps EXCEPT the handful that get removed during the 64BP anyways.
With the recap done, I configure the 1X4 header pins and mount the Hairball then solder the pins top and bottom to secure to the board, Hairball done and Jaguar protected!
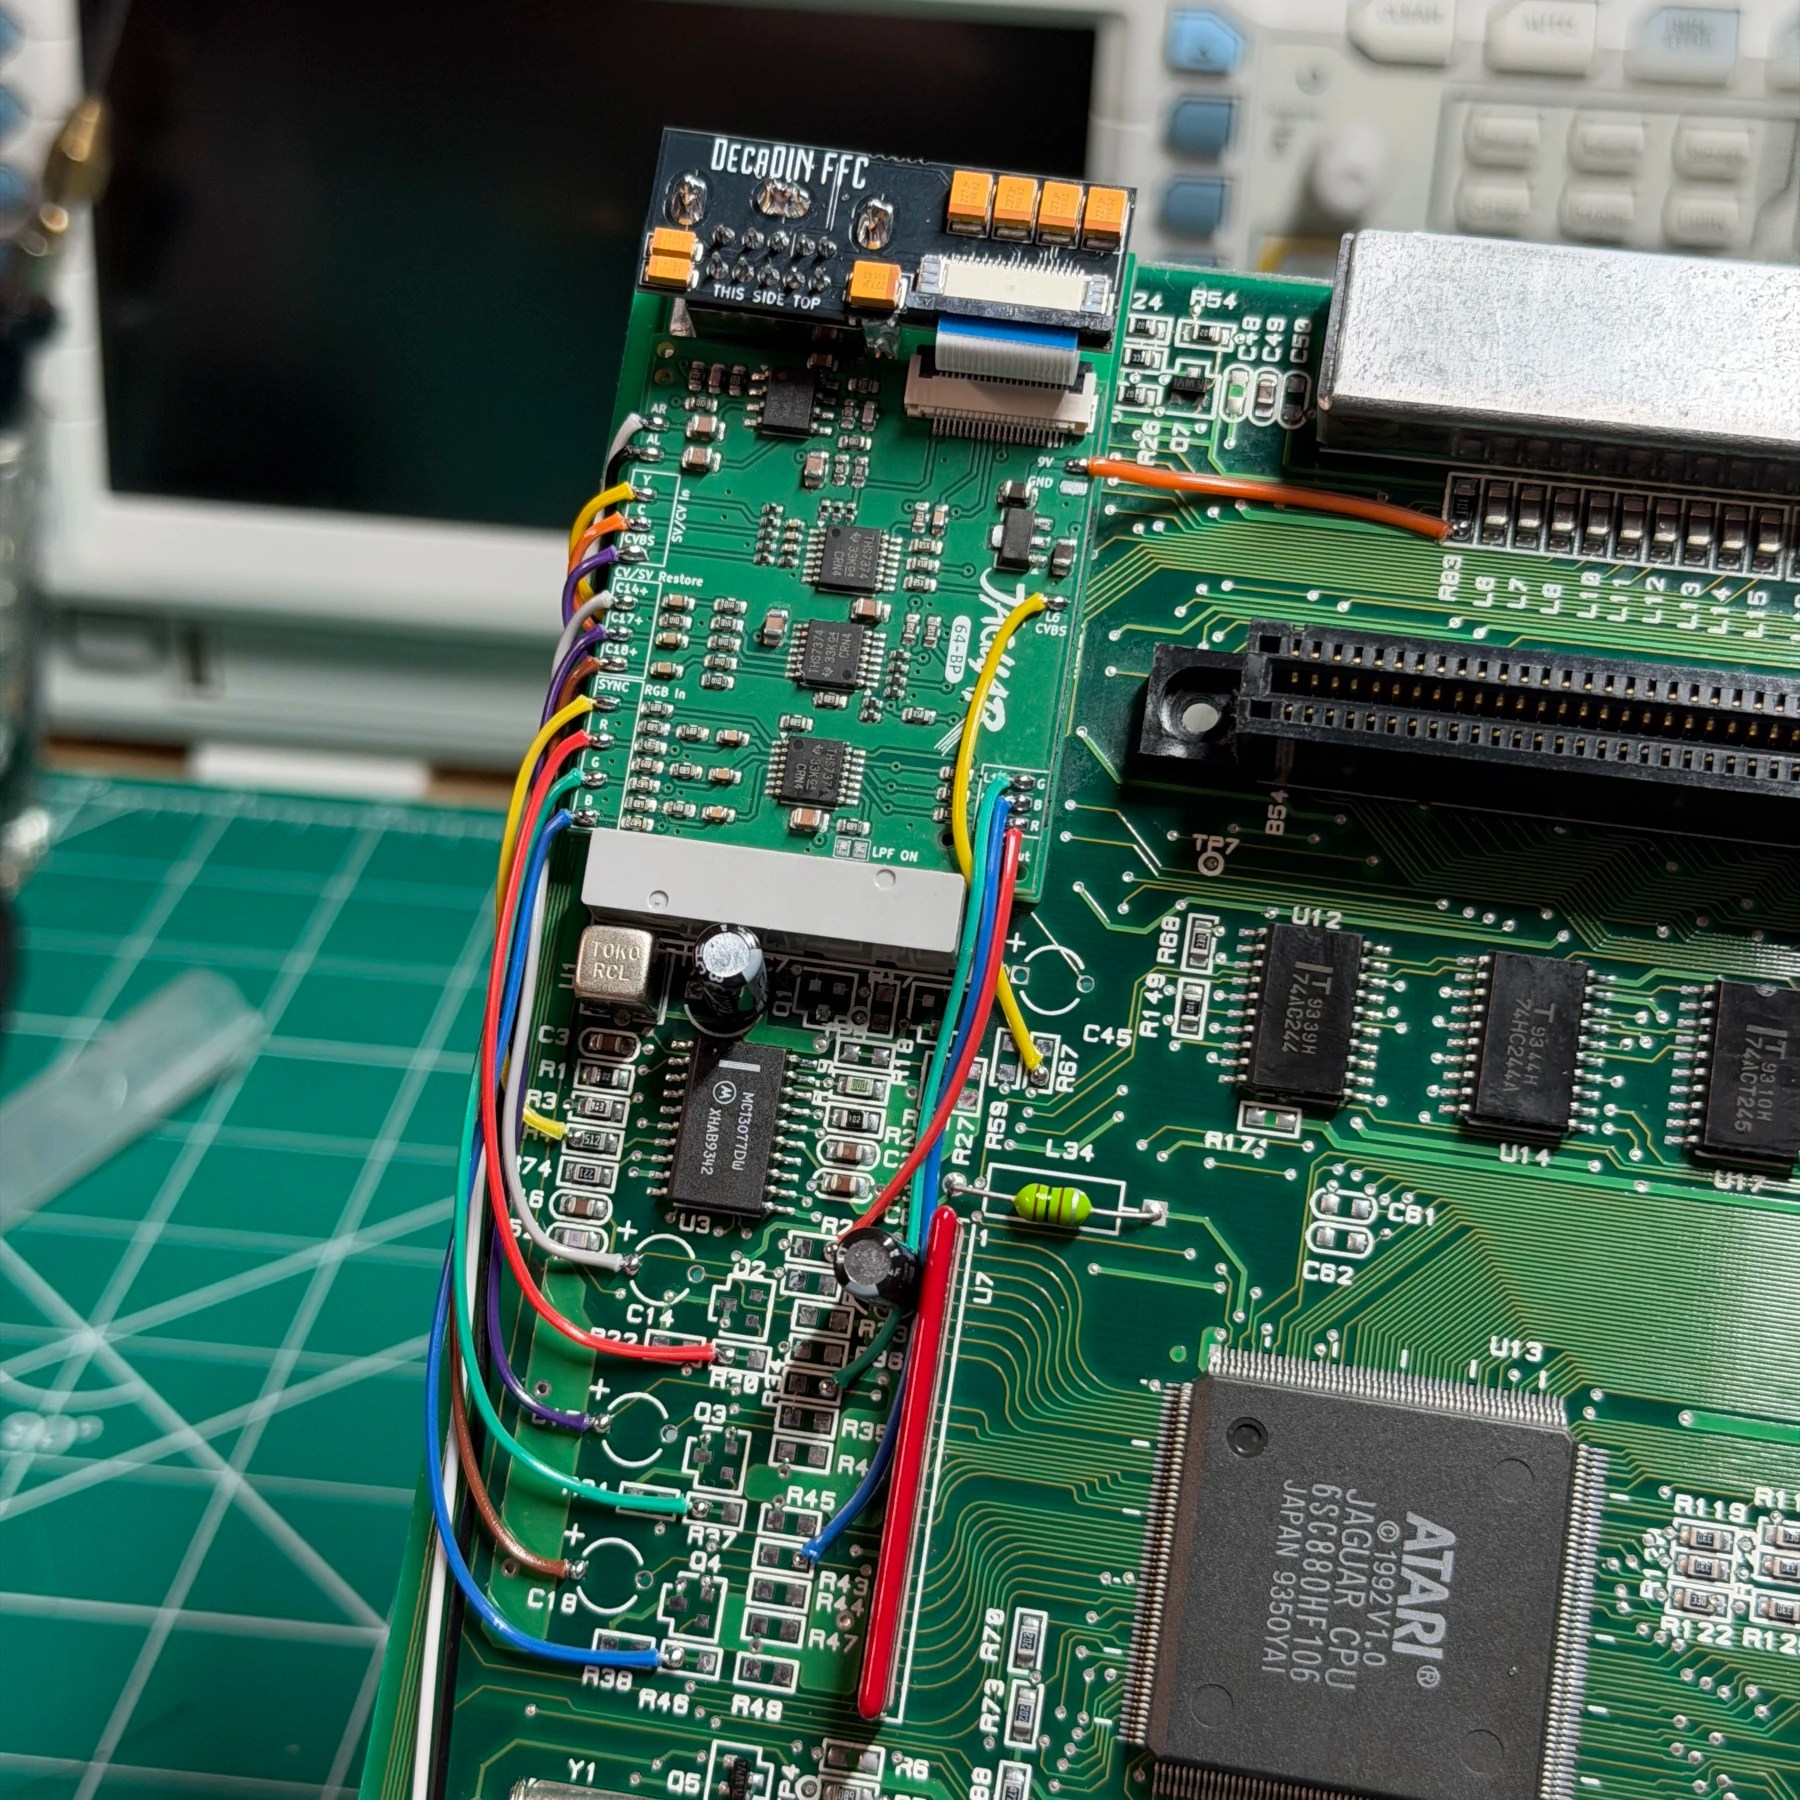
The 64BP is the biggest task in this job and for that I divide into basically three parts – removal of all SMD and TH components, DIN mount prep and then wiring. Zaxour has a fantastic guide (as always) so it’s easy to see the components needing removal all in the A/V circuit area of the mainboard. The RF modulator removes very easily on the Jag and I like to push the board down flat into the metal cage as I hold the DIN mounting board and DIN in the ideal center before tacking down. Once both are tacked down, ill remove from the cage and then heavily flow both the mounting board plated holes and a nice smooth fillet around the DIN itself.
With all soldering needing the K tip done I then swap to my fine chisel tip and solder on the DIN breakout board. That’s all the board and mounting prep except for adhering the 64BP board itself but first you have to connect CVBS and Luma and Sync from the underside and route through a trench. Once that’s done you can then secure the board and for that I use 2 layers of thick 3M Extreme Duty tape (that board isn’t going ANYWHERE) and I’m ready for the final step…
…the wiring! This definitely takes the most time but since my last install Zaxour shared with me his flex install schematic with alternate points for RO/GO/BO and CVBS Restore so you can avoid the area near the cart slot which is always a bit tricky as you have to route super tight to the board edge or else that plastic top shell WILL pinch the wires.
With those points in mind I do my usual routine of tracing out each wire one at a time, marking/stripping/tinning and soldering them on in the order they will lay down from the top (audio L/R) to the bottom (Blue). For the opposite side the 9V point still taps near rear port but that’s outside of the cart slot reach and you don’t need to attach GND since the connector is grounded via the DIN connection to the board. As for those other points I restored CVBS first then wired up the RO/GO/BO points in order and carefully routed them along U7.
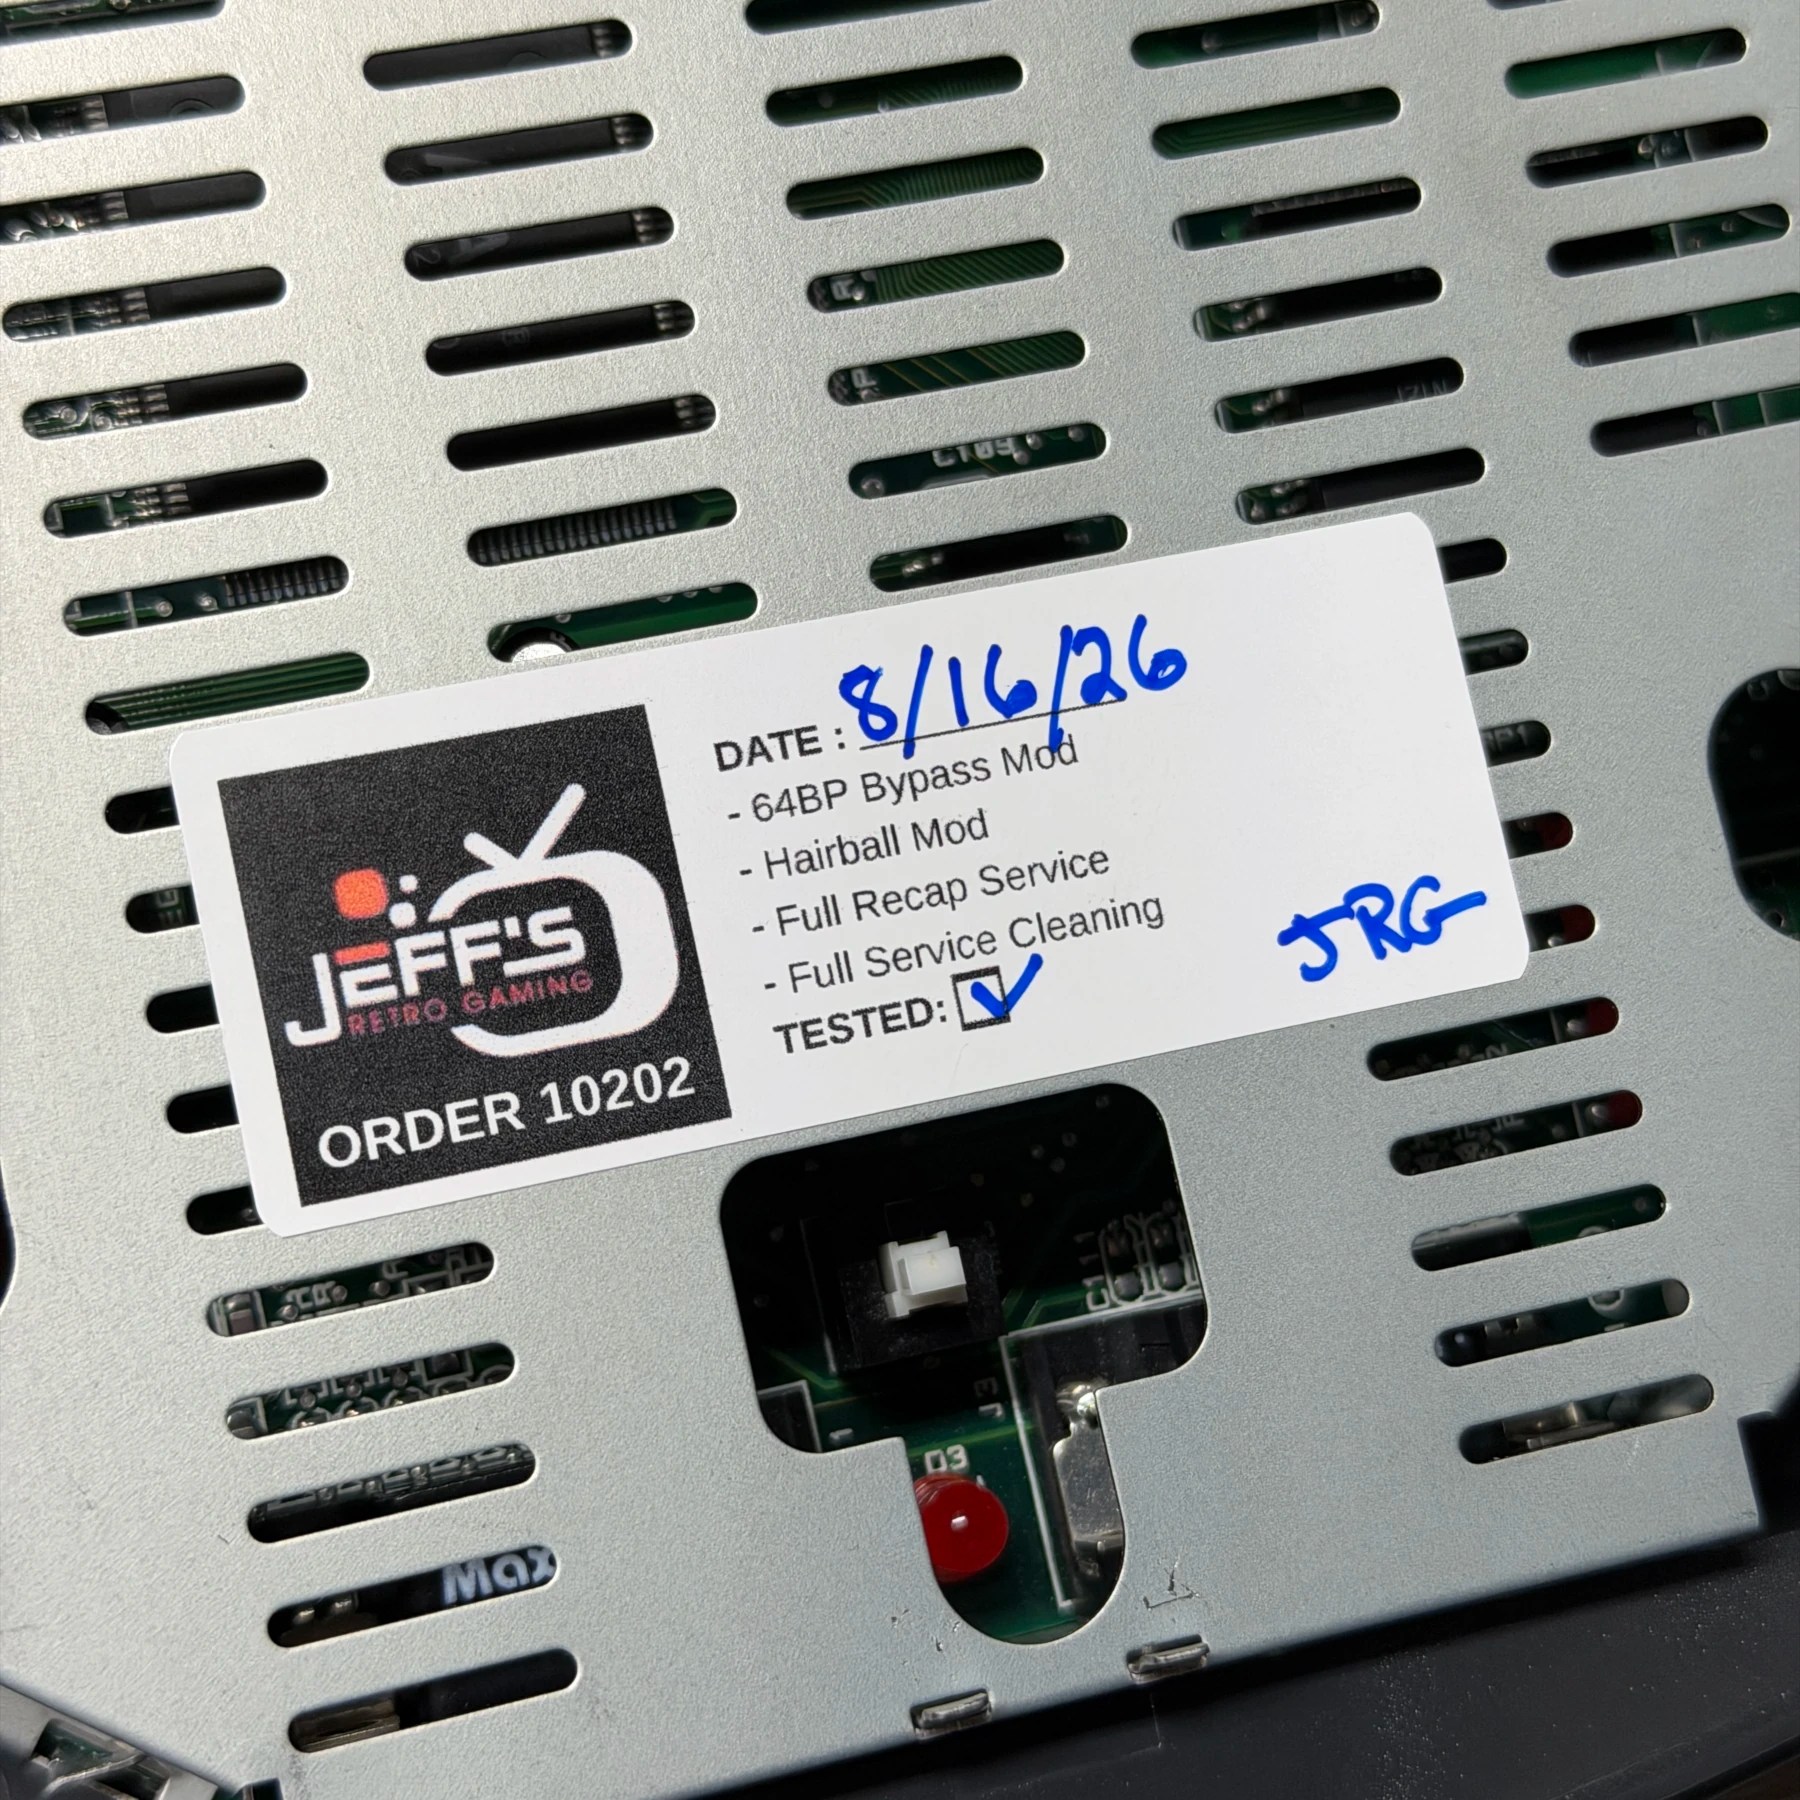
One the last wire was connected I quickly fired it up to confirm two things – the stock connector is still outputting composite and RGB properly AND the new 10-pin DIN is working as well. Once I know that’s the case I apply my sticker and re-assemble the Jaguar.
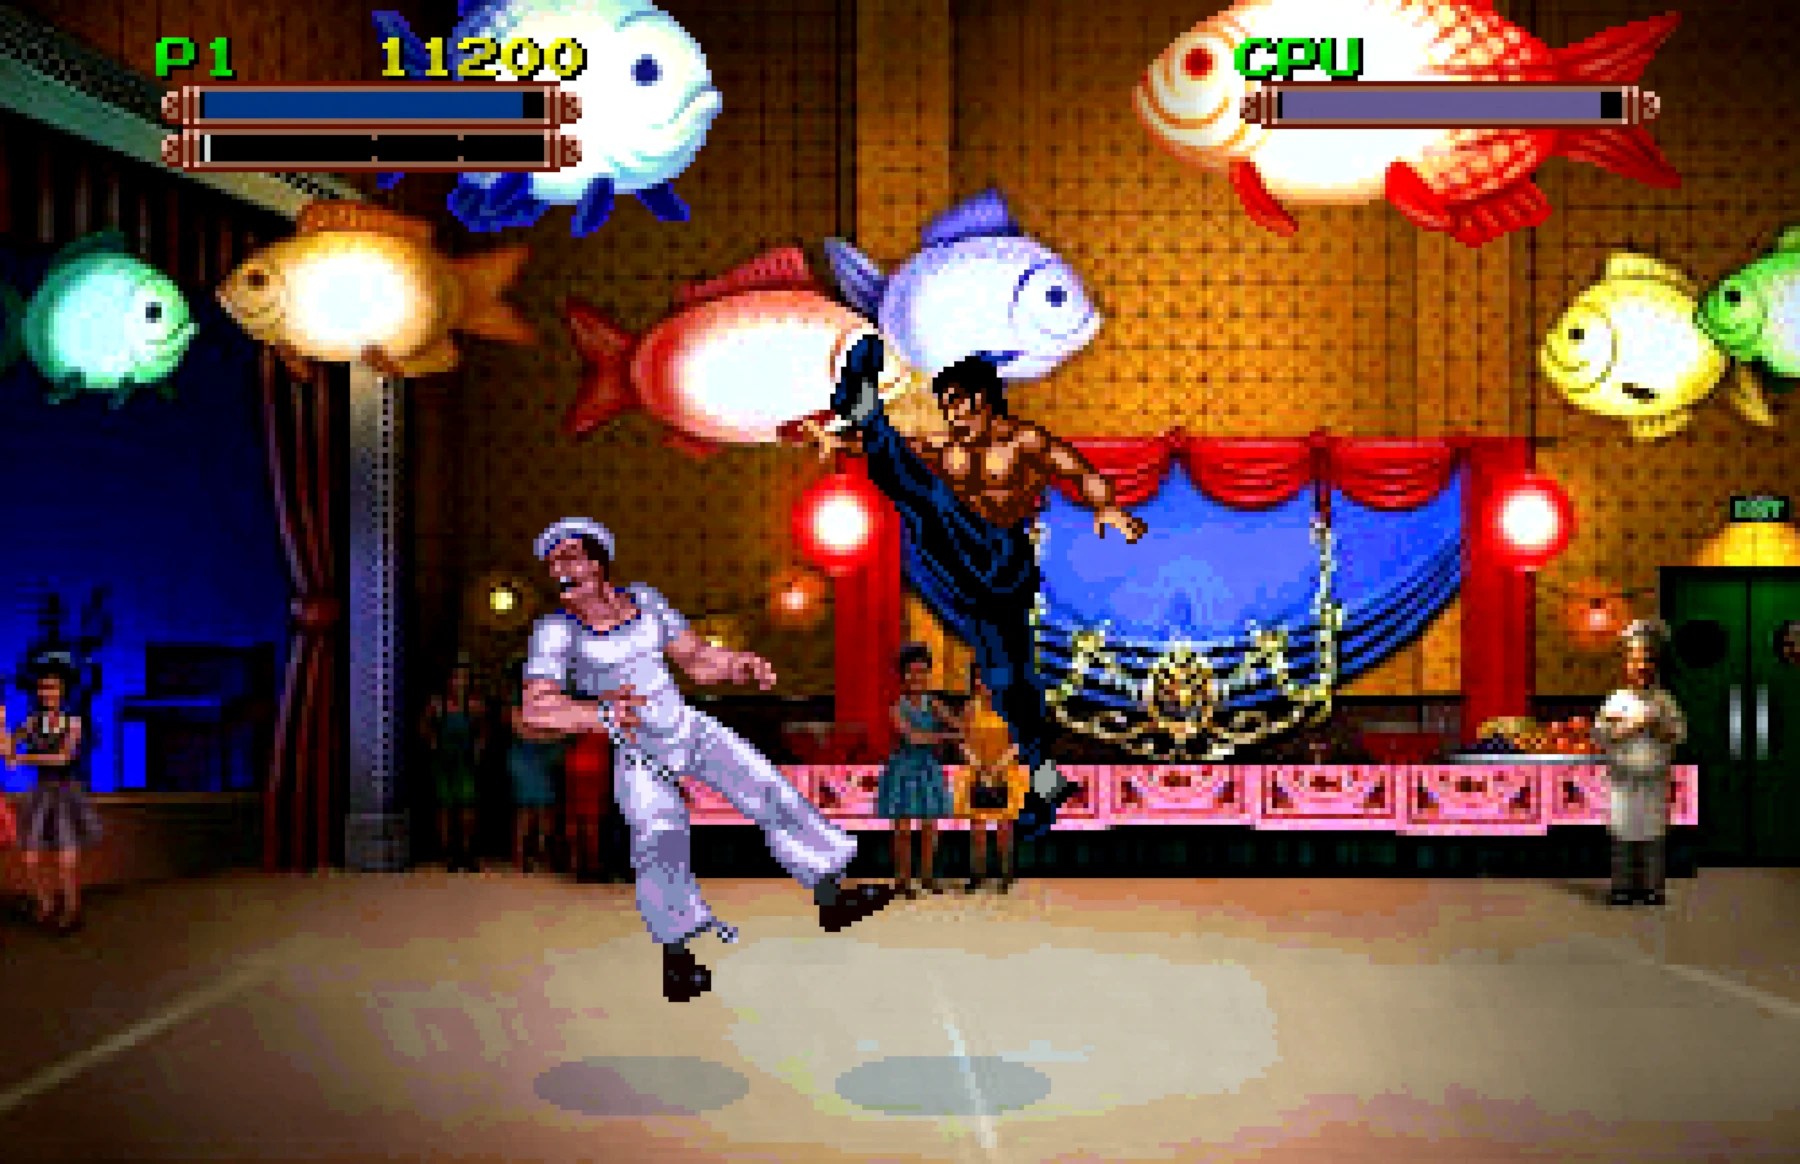
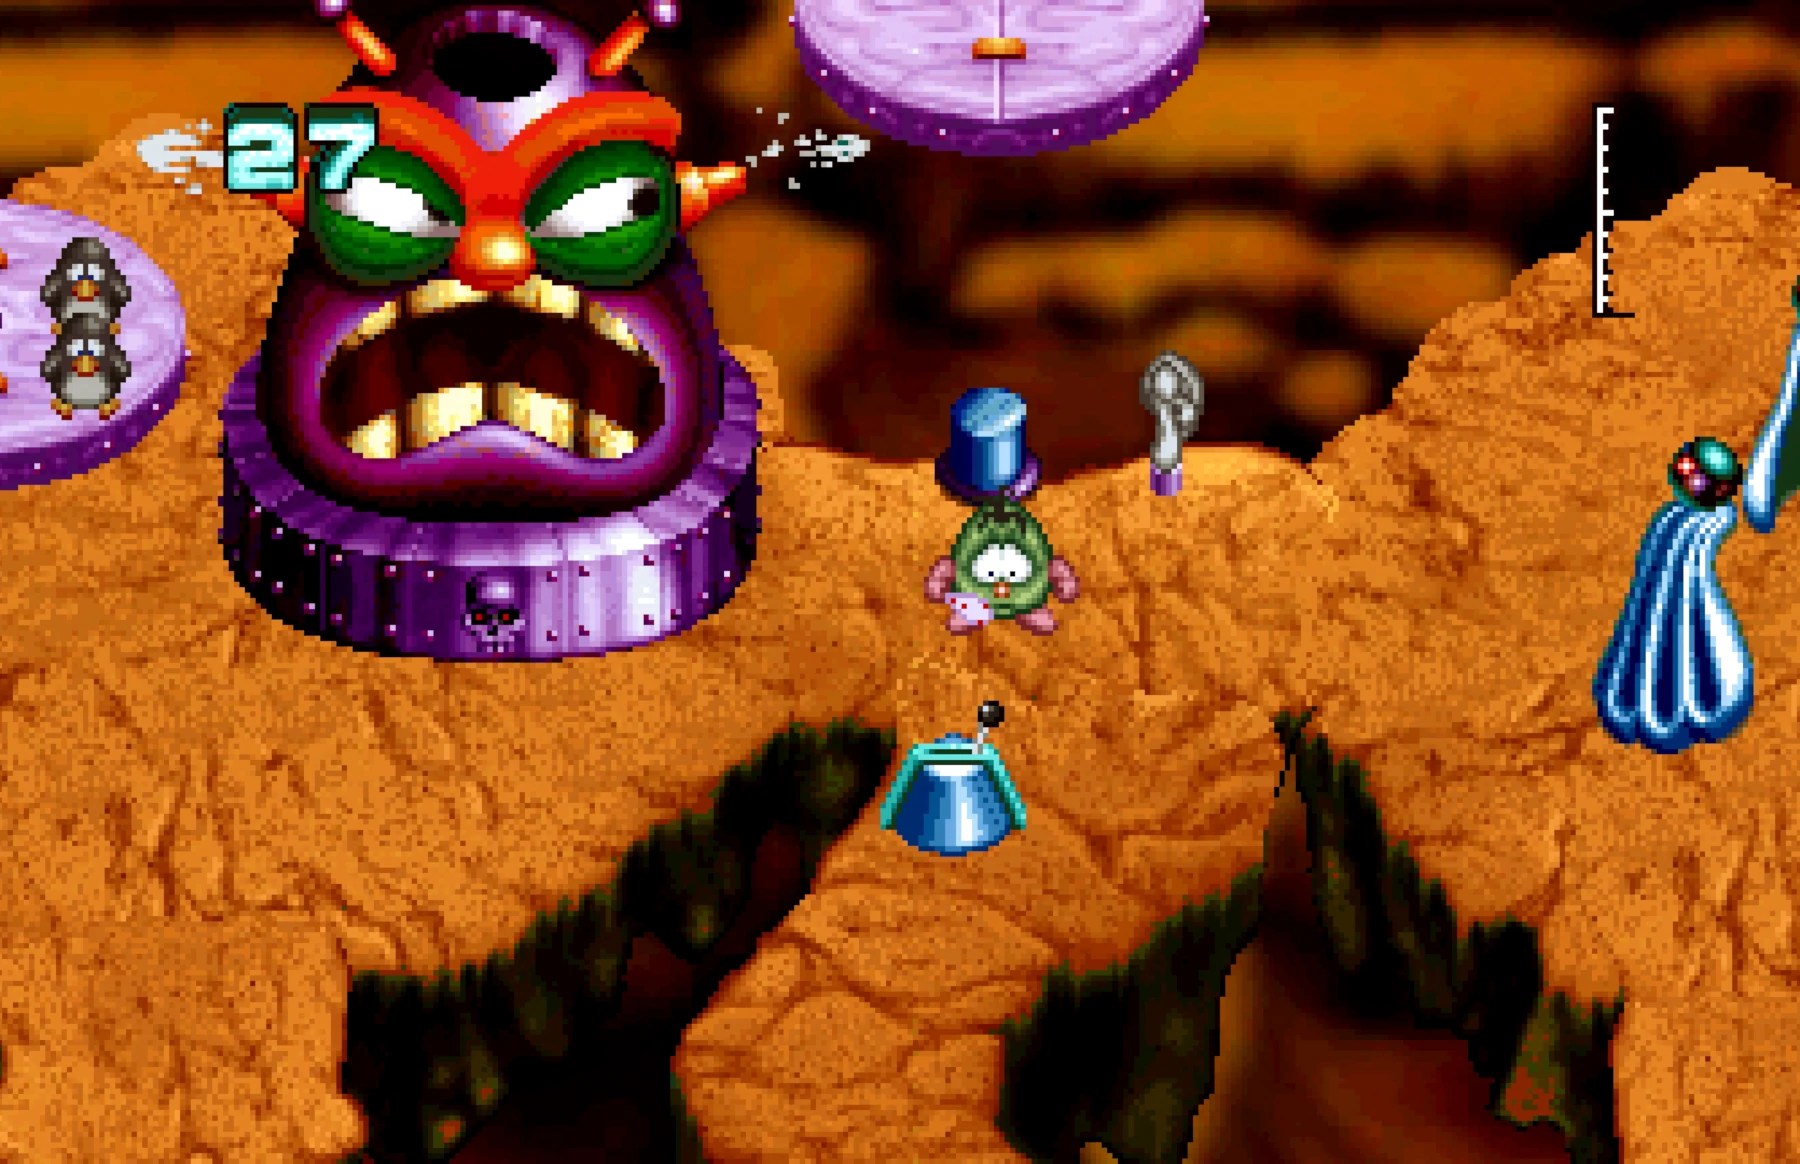
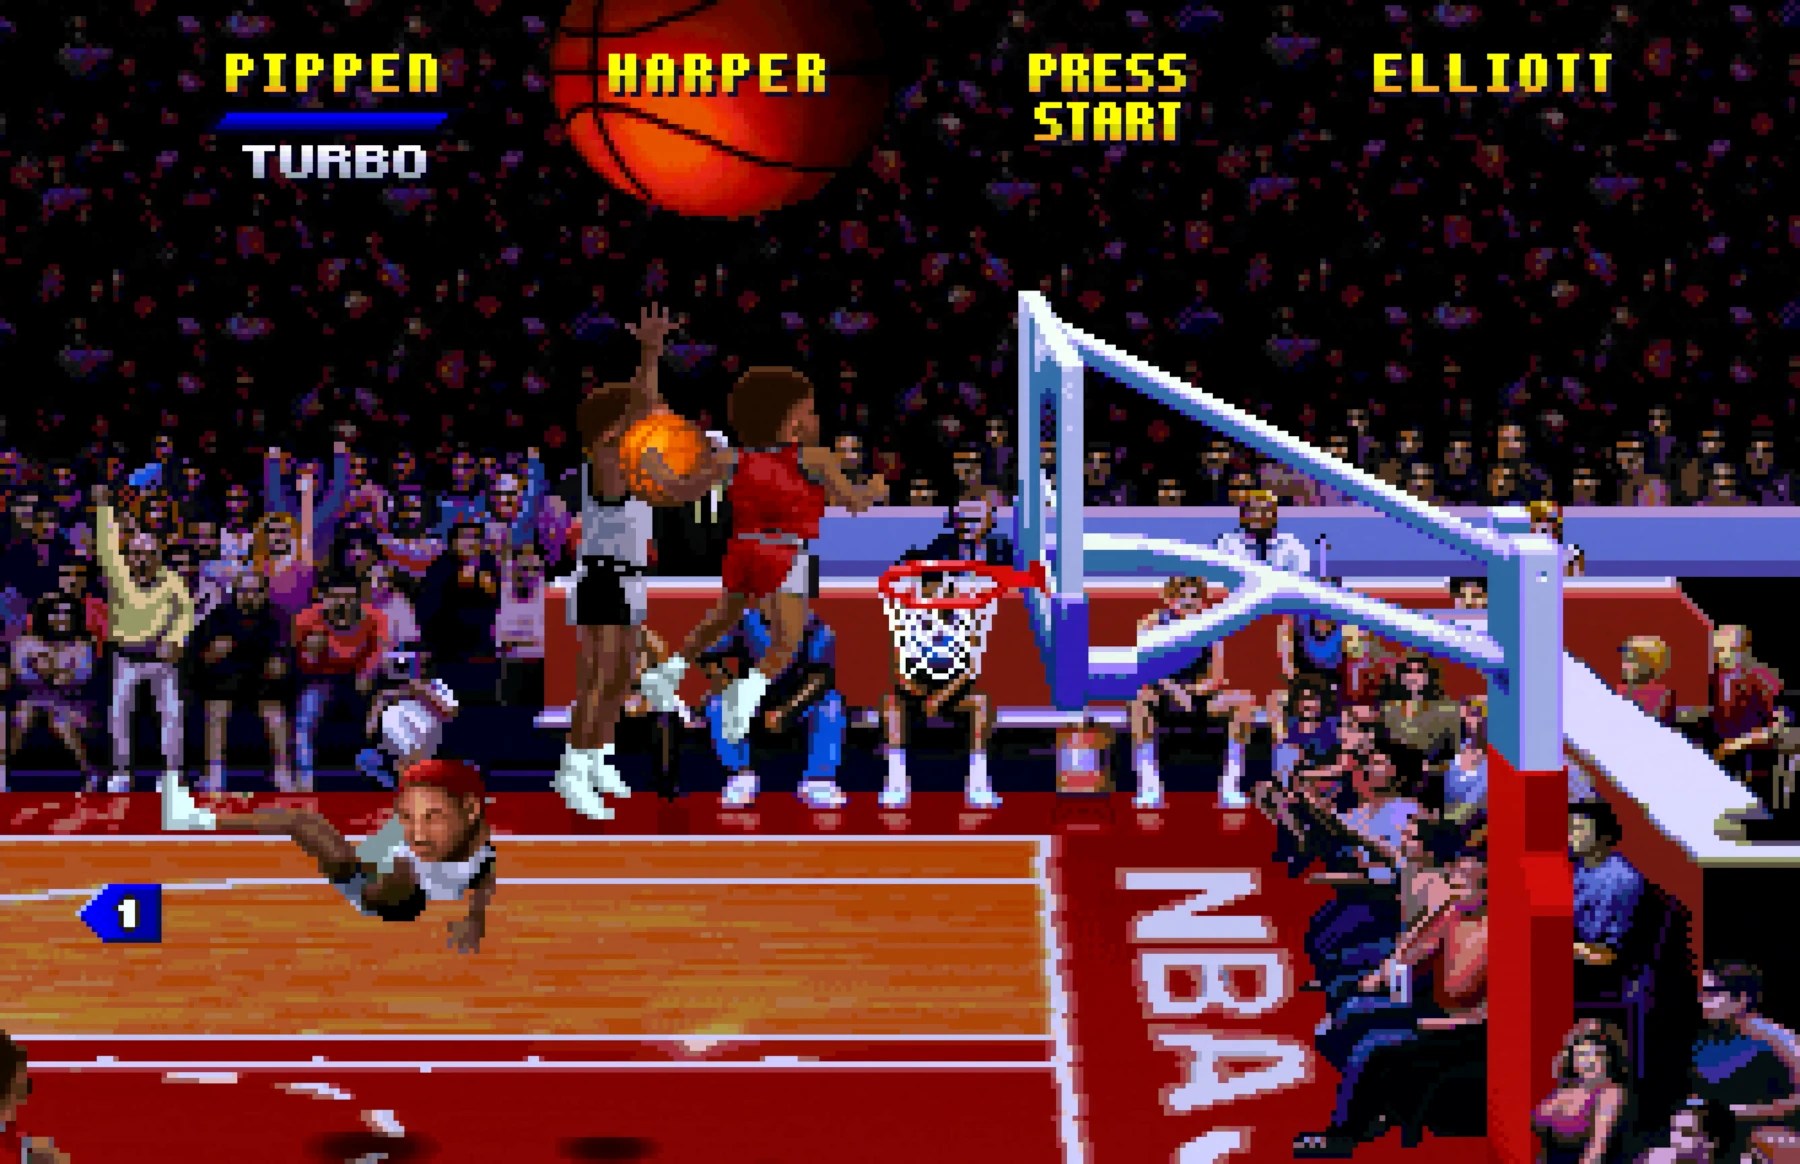
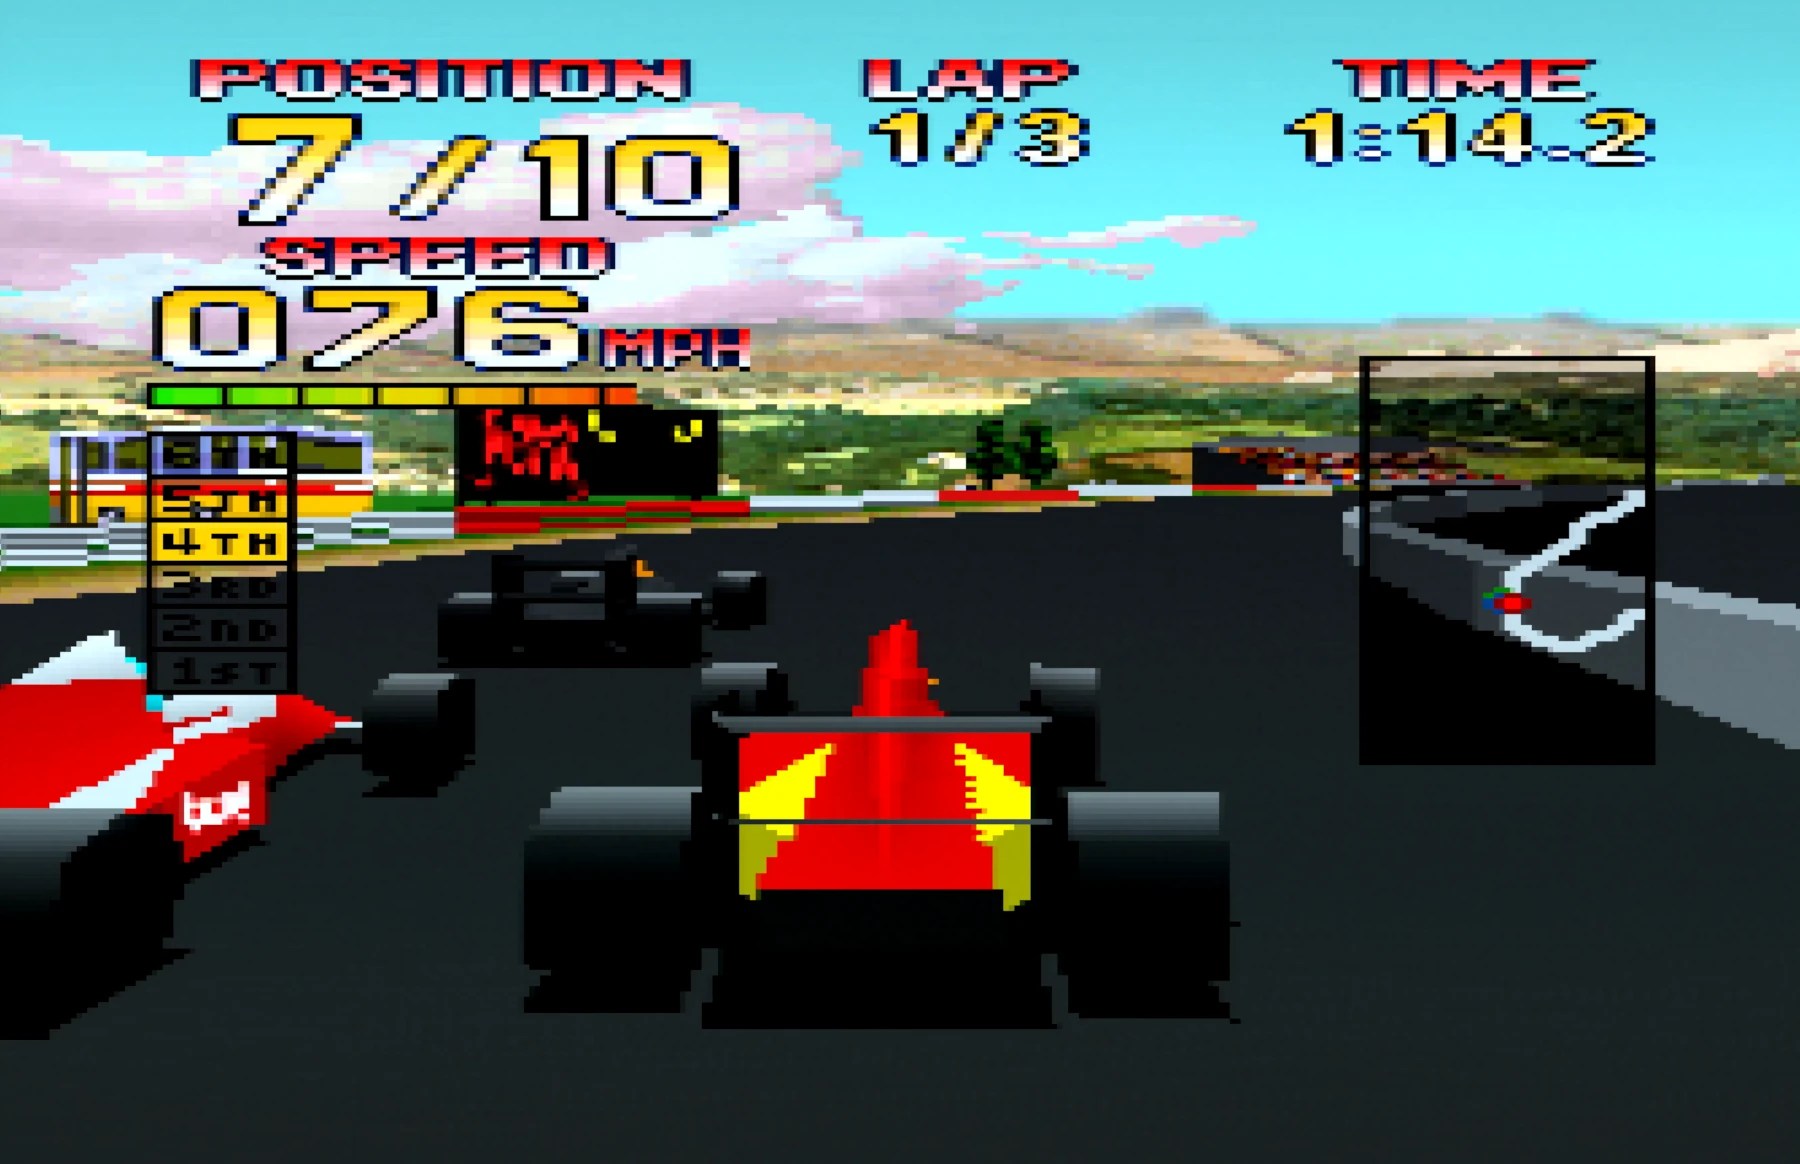
For my captures I use my Elgato4KX and RetroTink4K and use FireBrandX’s profile for some nice clean shots. Only downside is you gotta actually play the Jaguar for a bit not only as a burn-in test but also to get the footage…. JK Jaguar fans I like the system but I can’t help it, its low hanging fruit 🤣
Anyways… that’s another Jaguar in the books!