
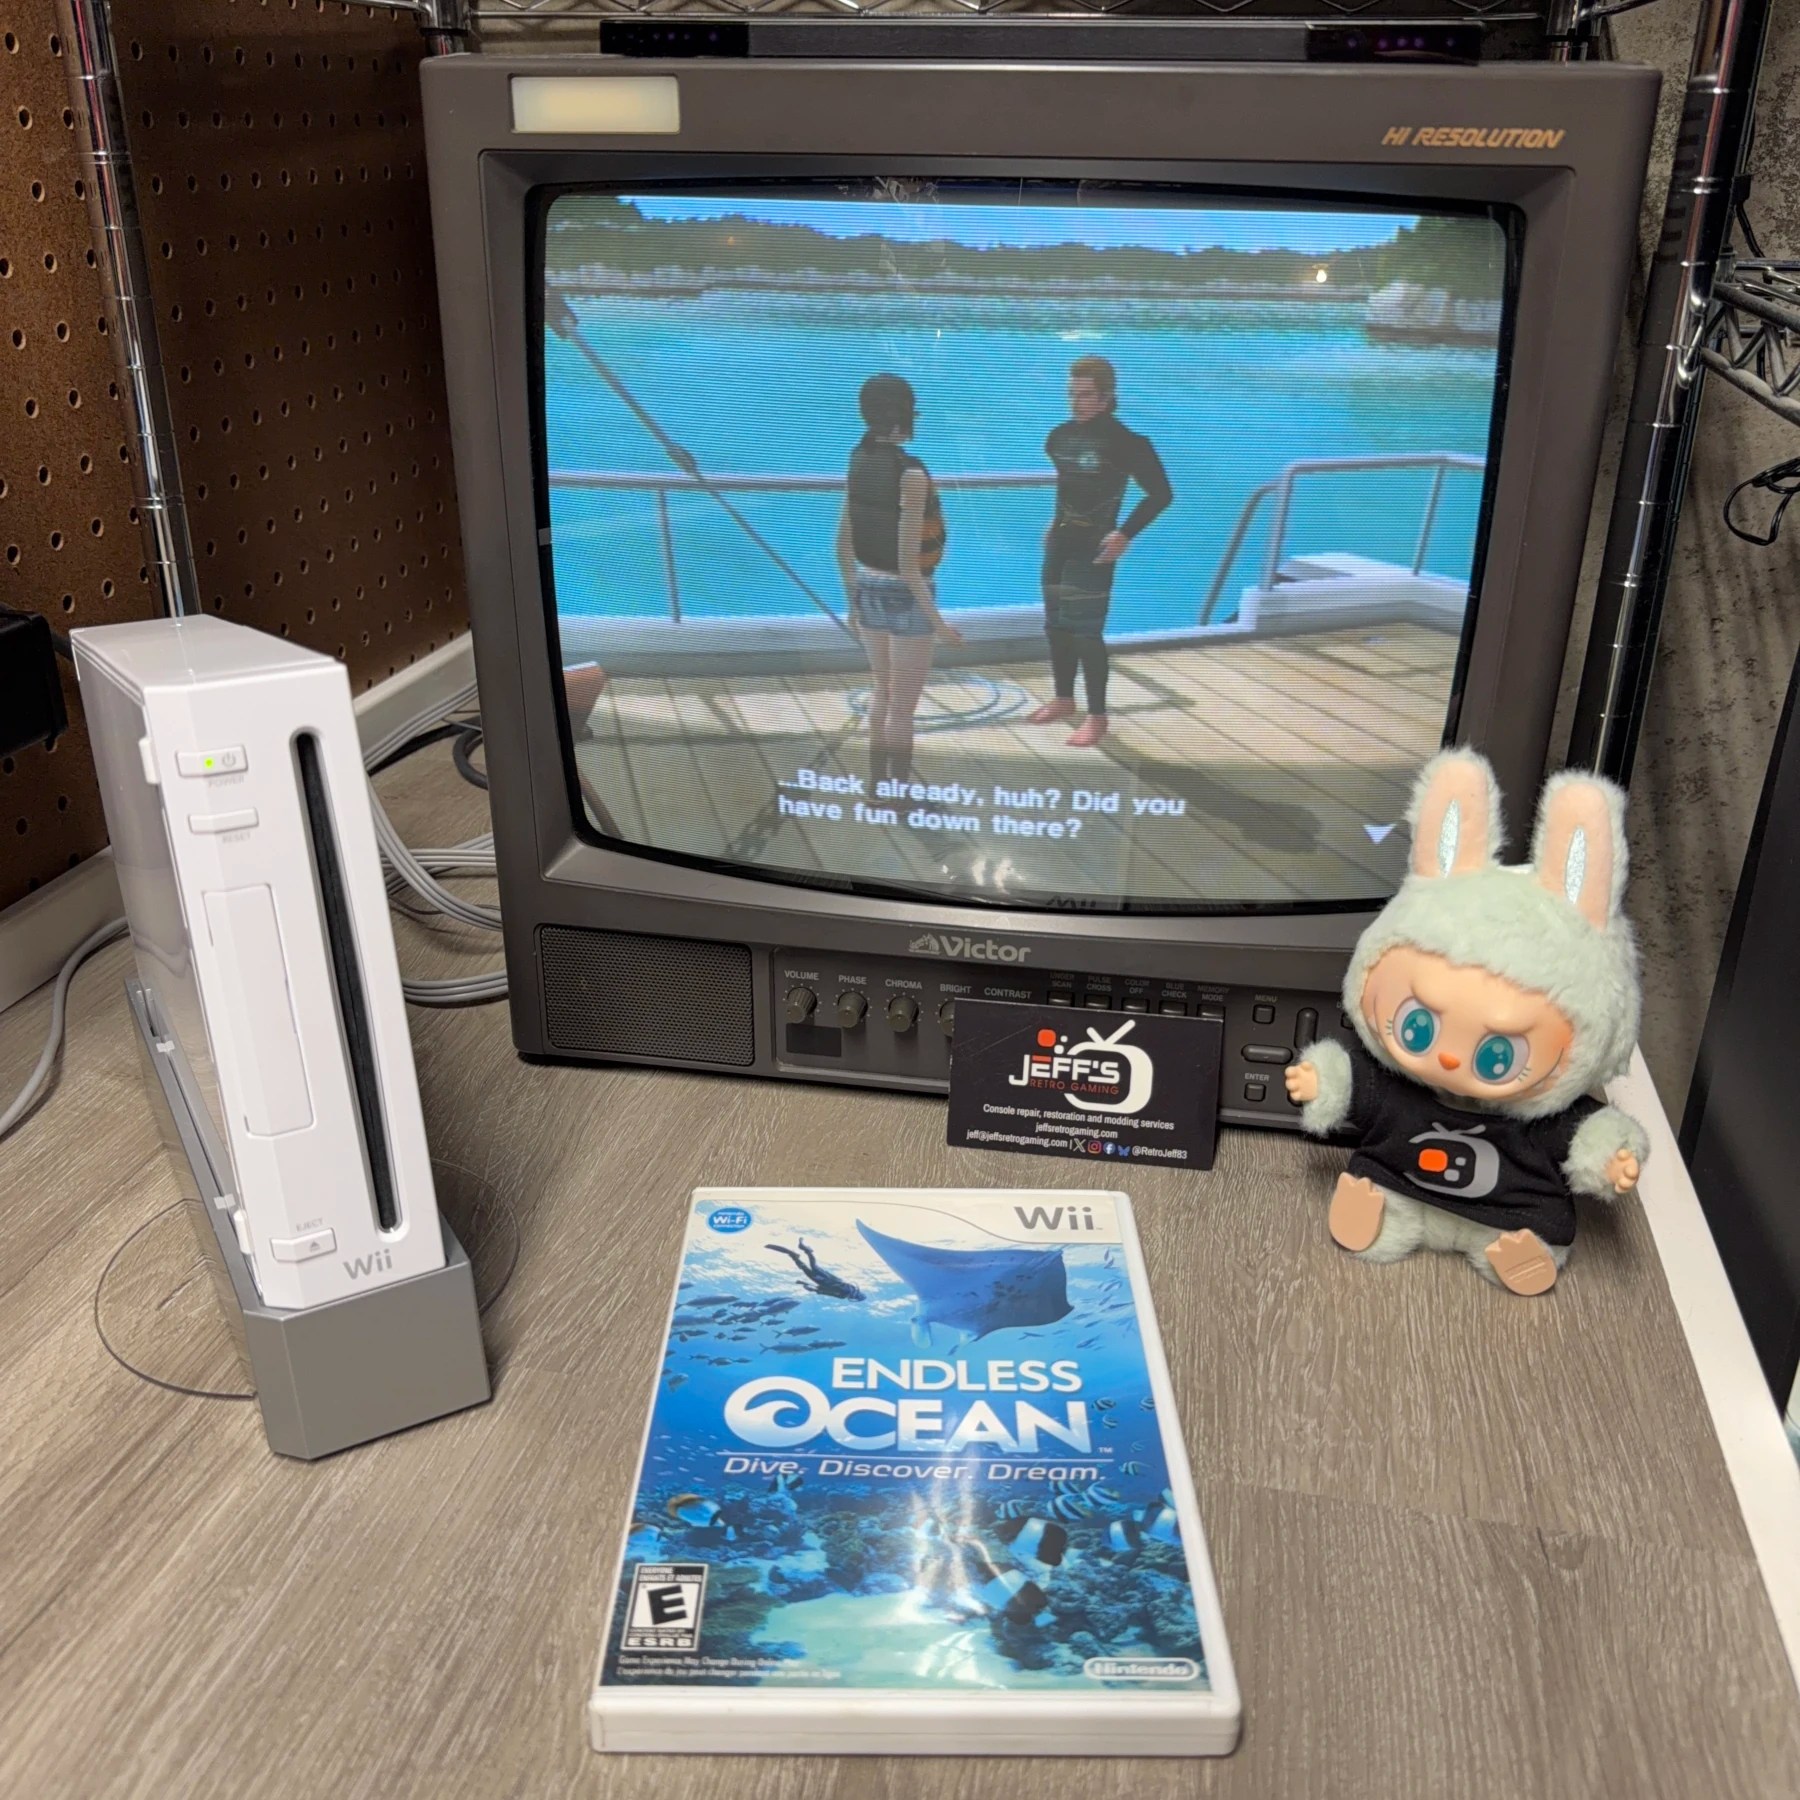
This is the second Wii that has come into the shop recently for a straightforward and simple refurbishment. Along with the PS2 I have been seeing an uptick in these requests, only difference on this one was the immediately notable yellowing/sun damage on the side and rear of the unit. I knew my RetroBright chamber would do a great job restoring that so no worries there.
That said, on to the refurbishment…
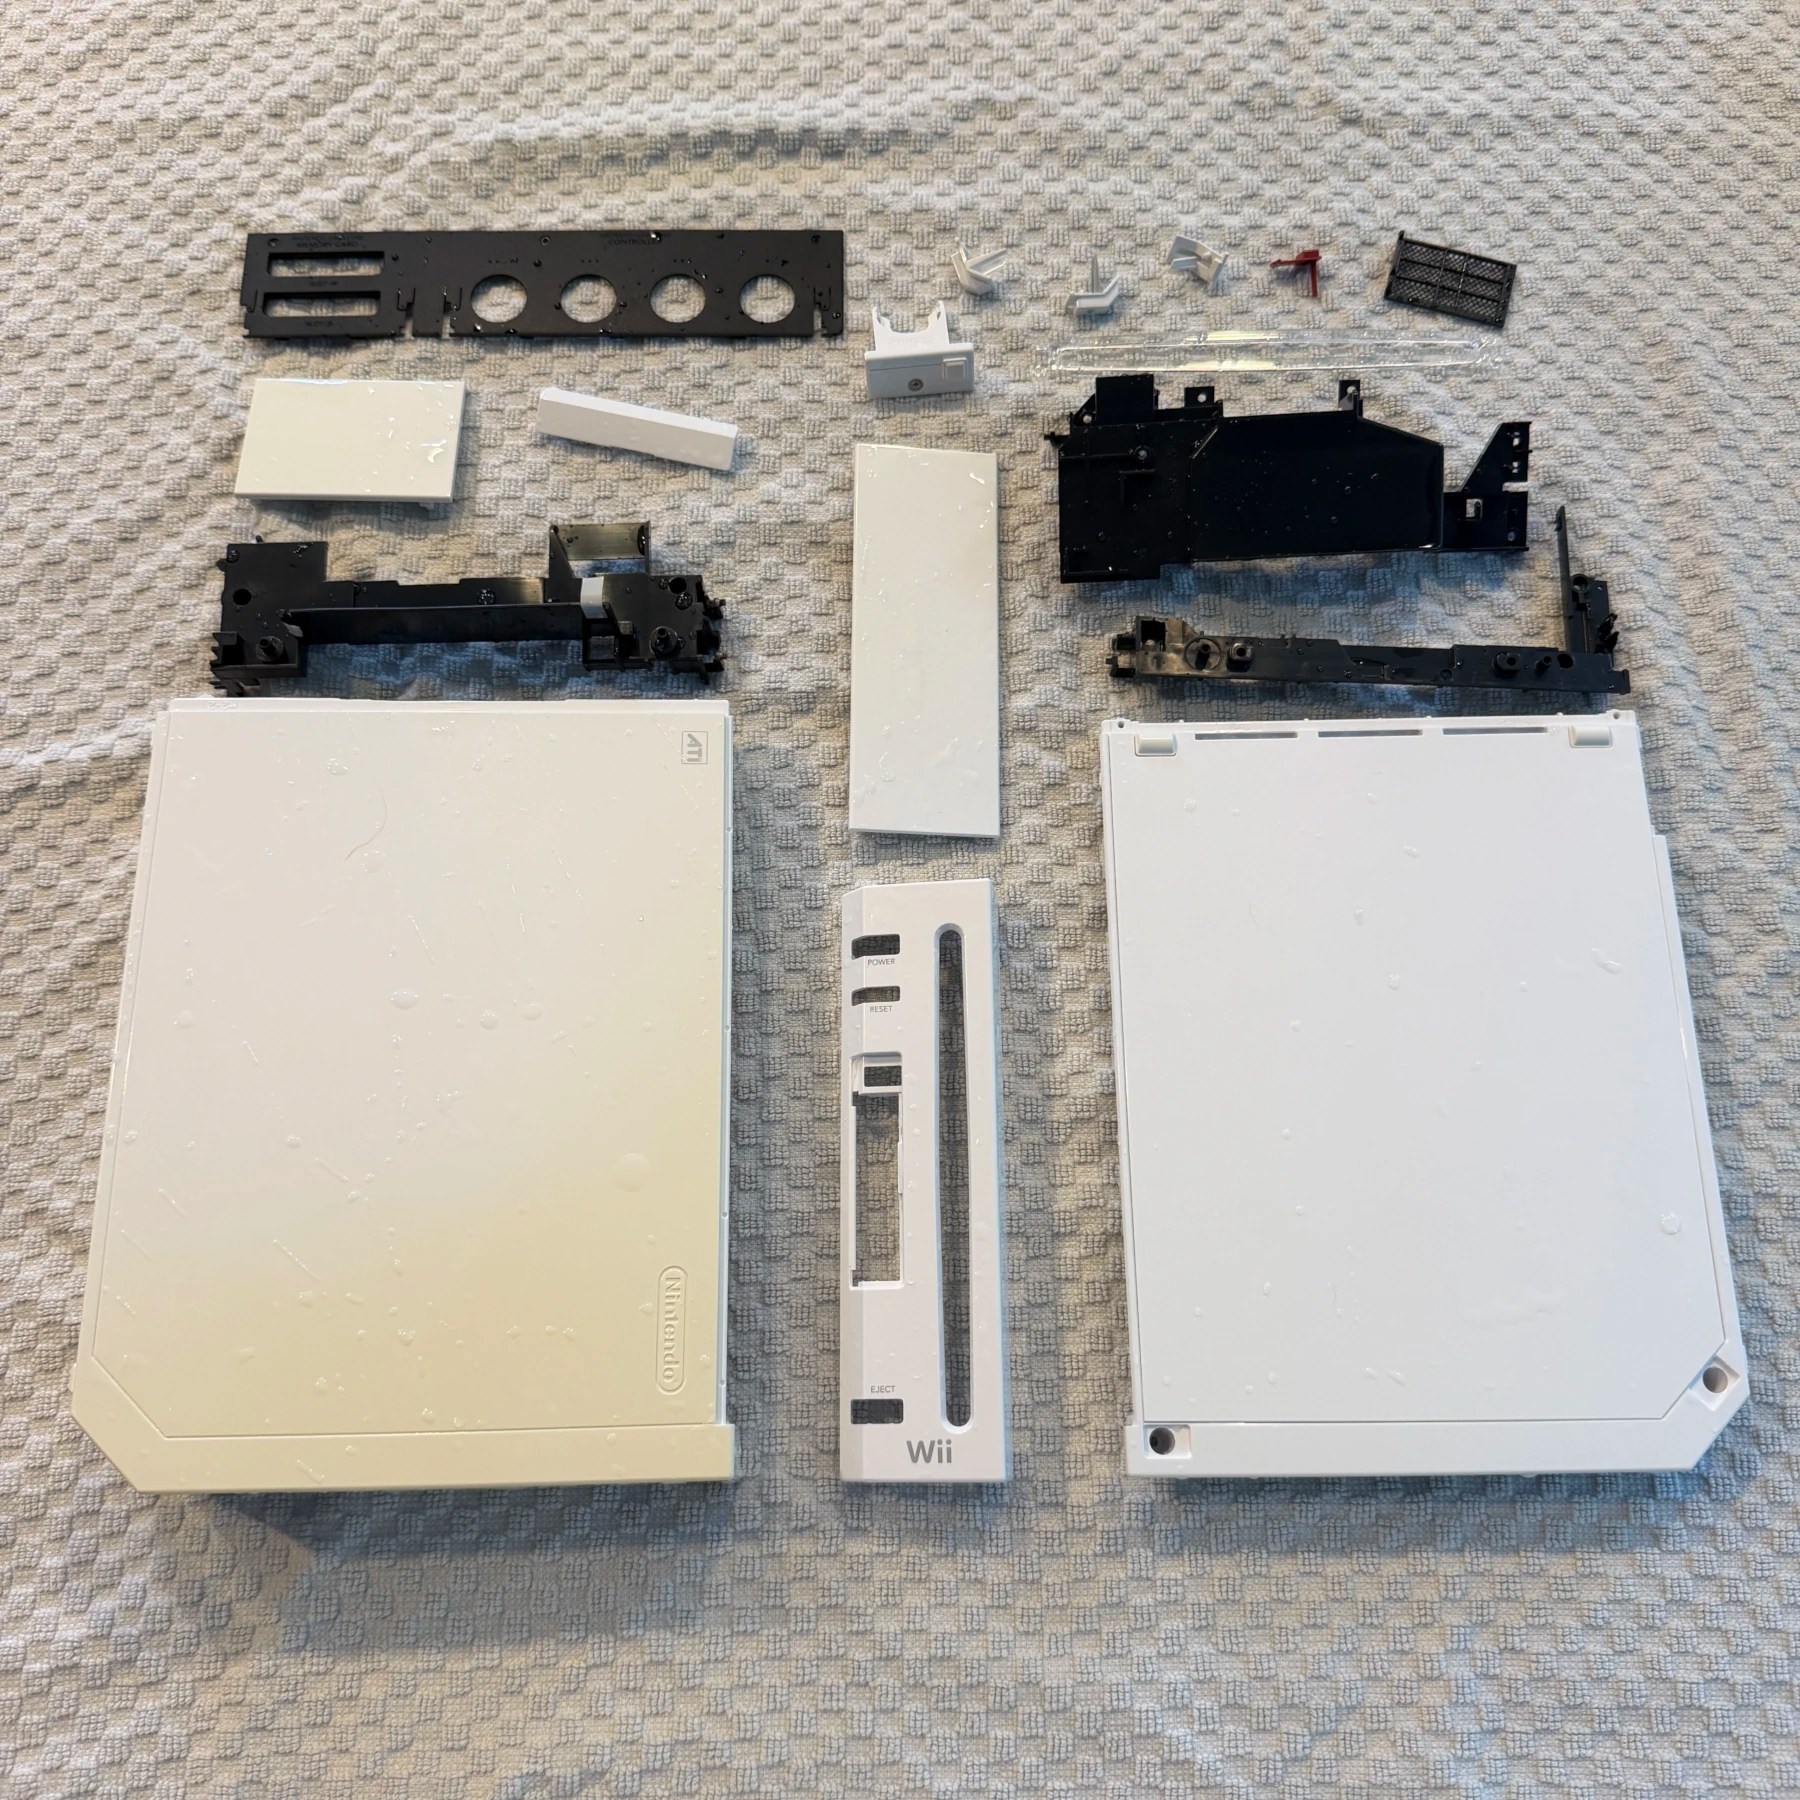
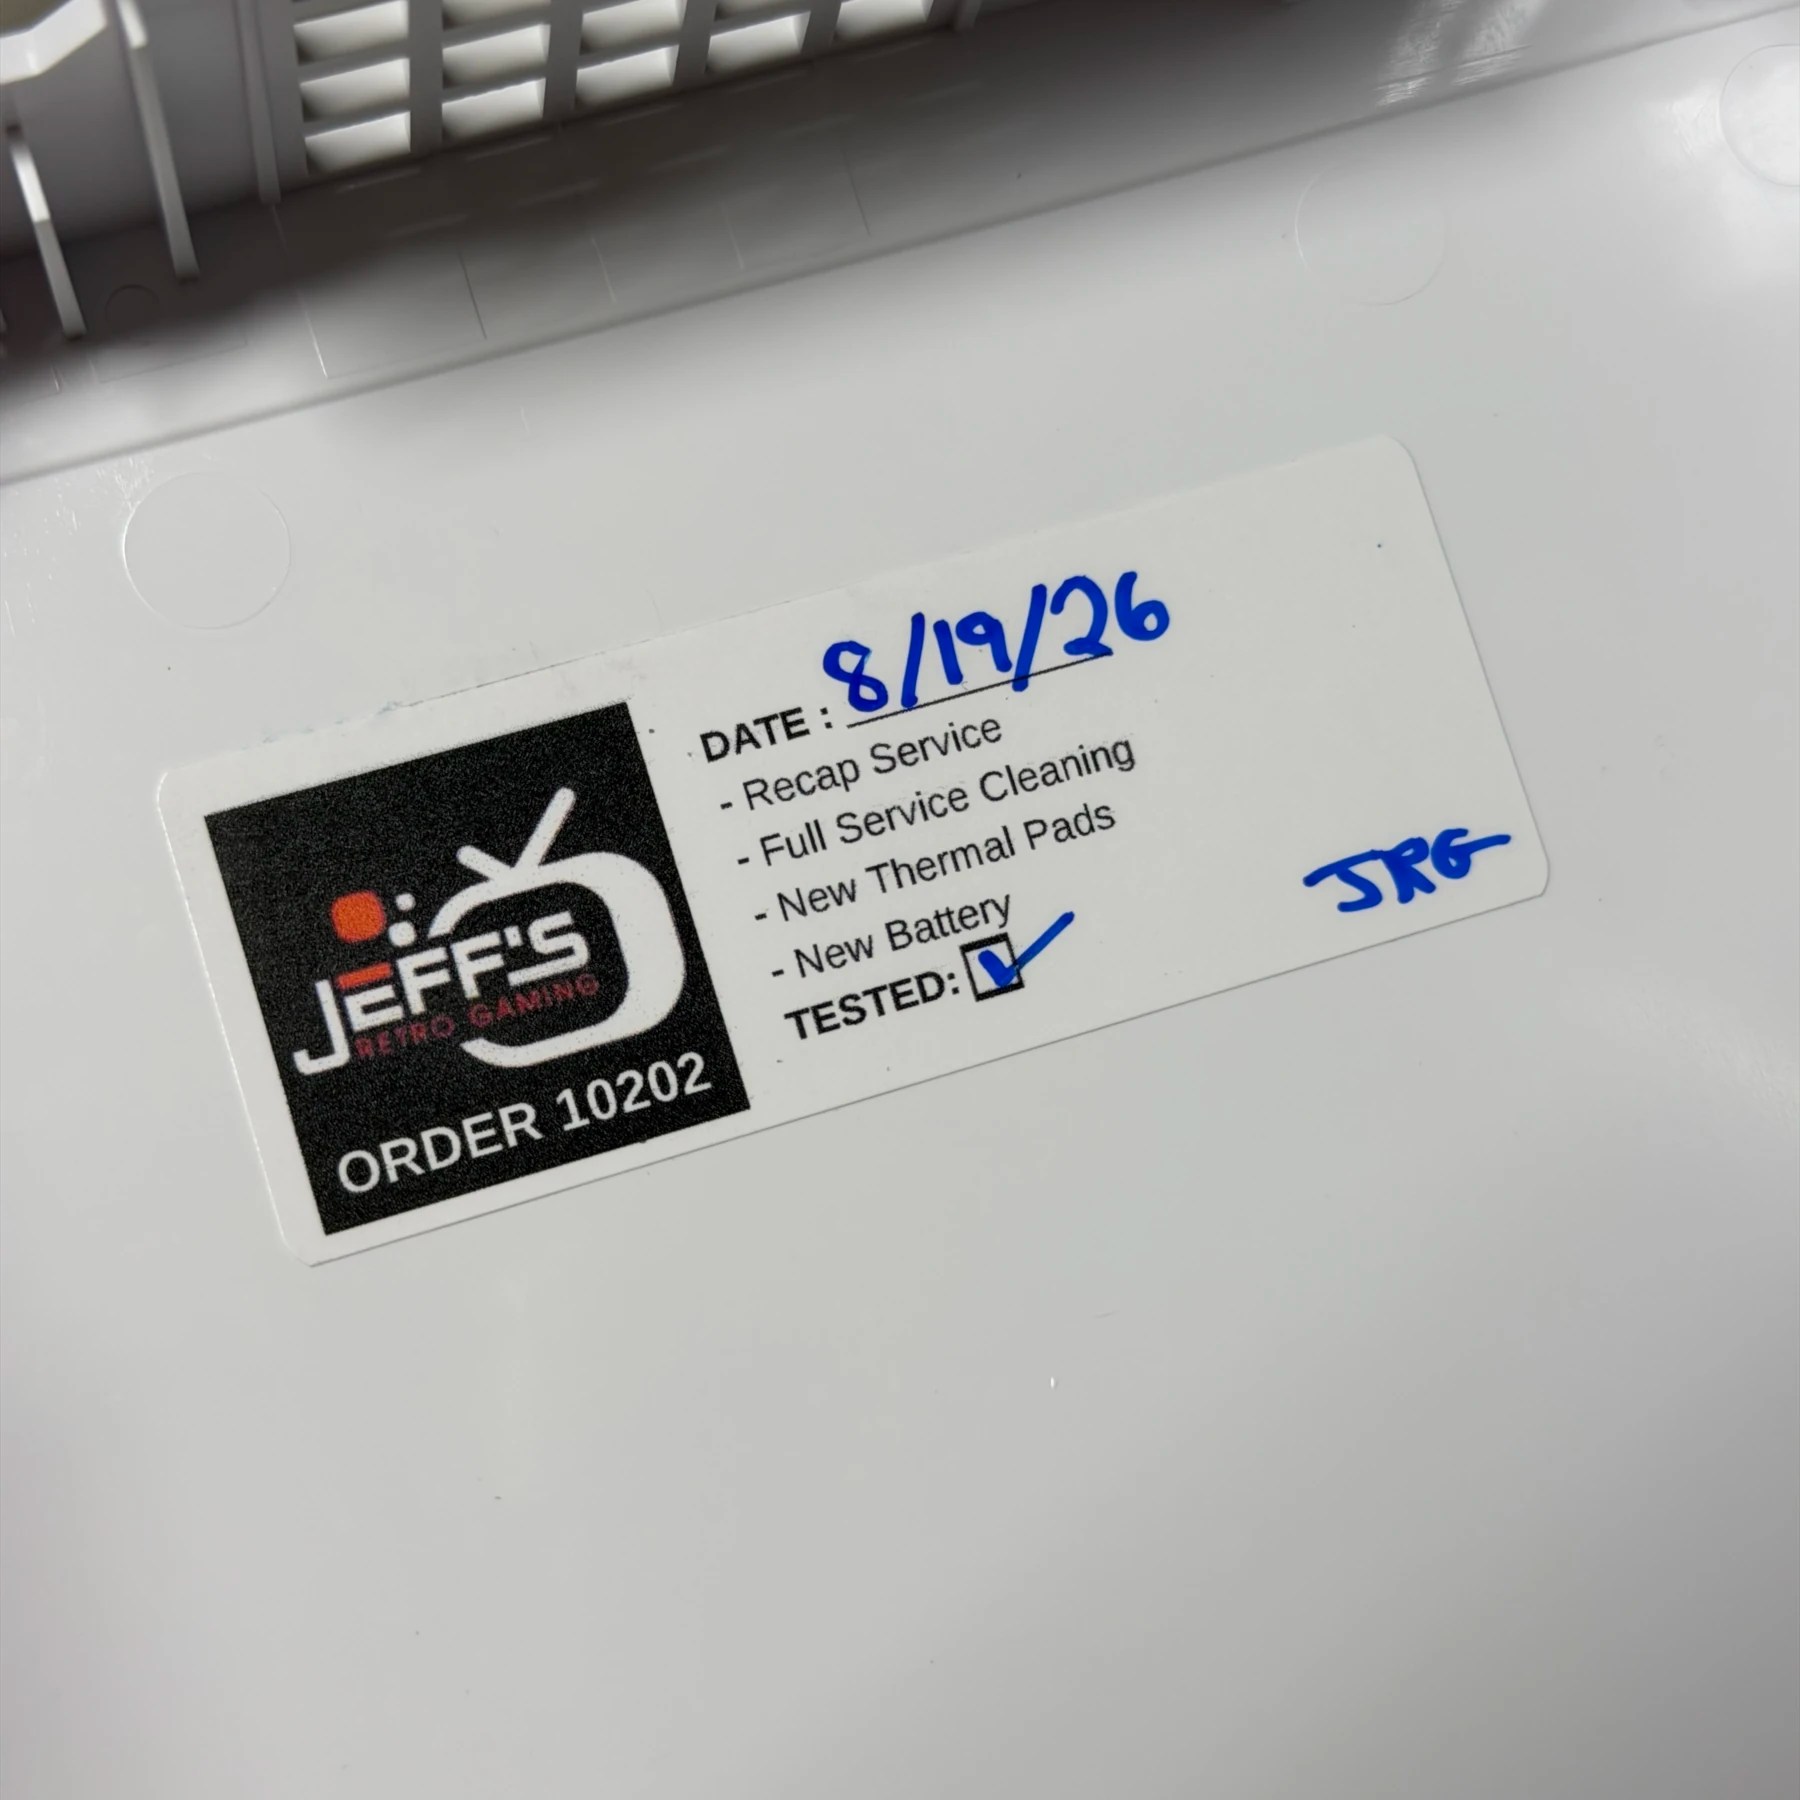
When it comes to just a straight refurb of these I honestly spend more time tearing it down and re-assembling though given the increase in seeing them I have memorized most of the steps and cut down the time required pretty significantly. Jobs like this are where my screw trays come in absolutely clutch as I can sort by order removed in groups so I never get one of these back fully re-assembled and realize I missed one or use the wrong length screw somewhere it shouldn’t go.
Once the entire console is disassembled I soaked/washed/dried the shell and plastic parts (including all the separated parts of the front panel) and let dry overnight. The next morning I prepped my RetroBright chamber and put all the white shell components and panel buttons in for a 12-hour session which is what I find to be the ideal length for the small amount of 12% peroxide I use on my jobs.
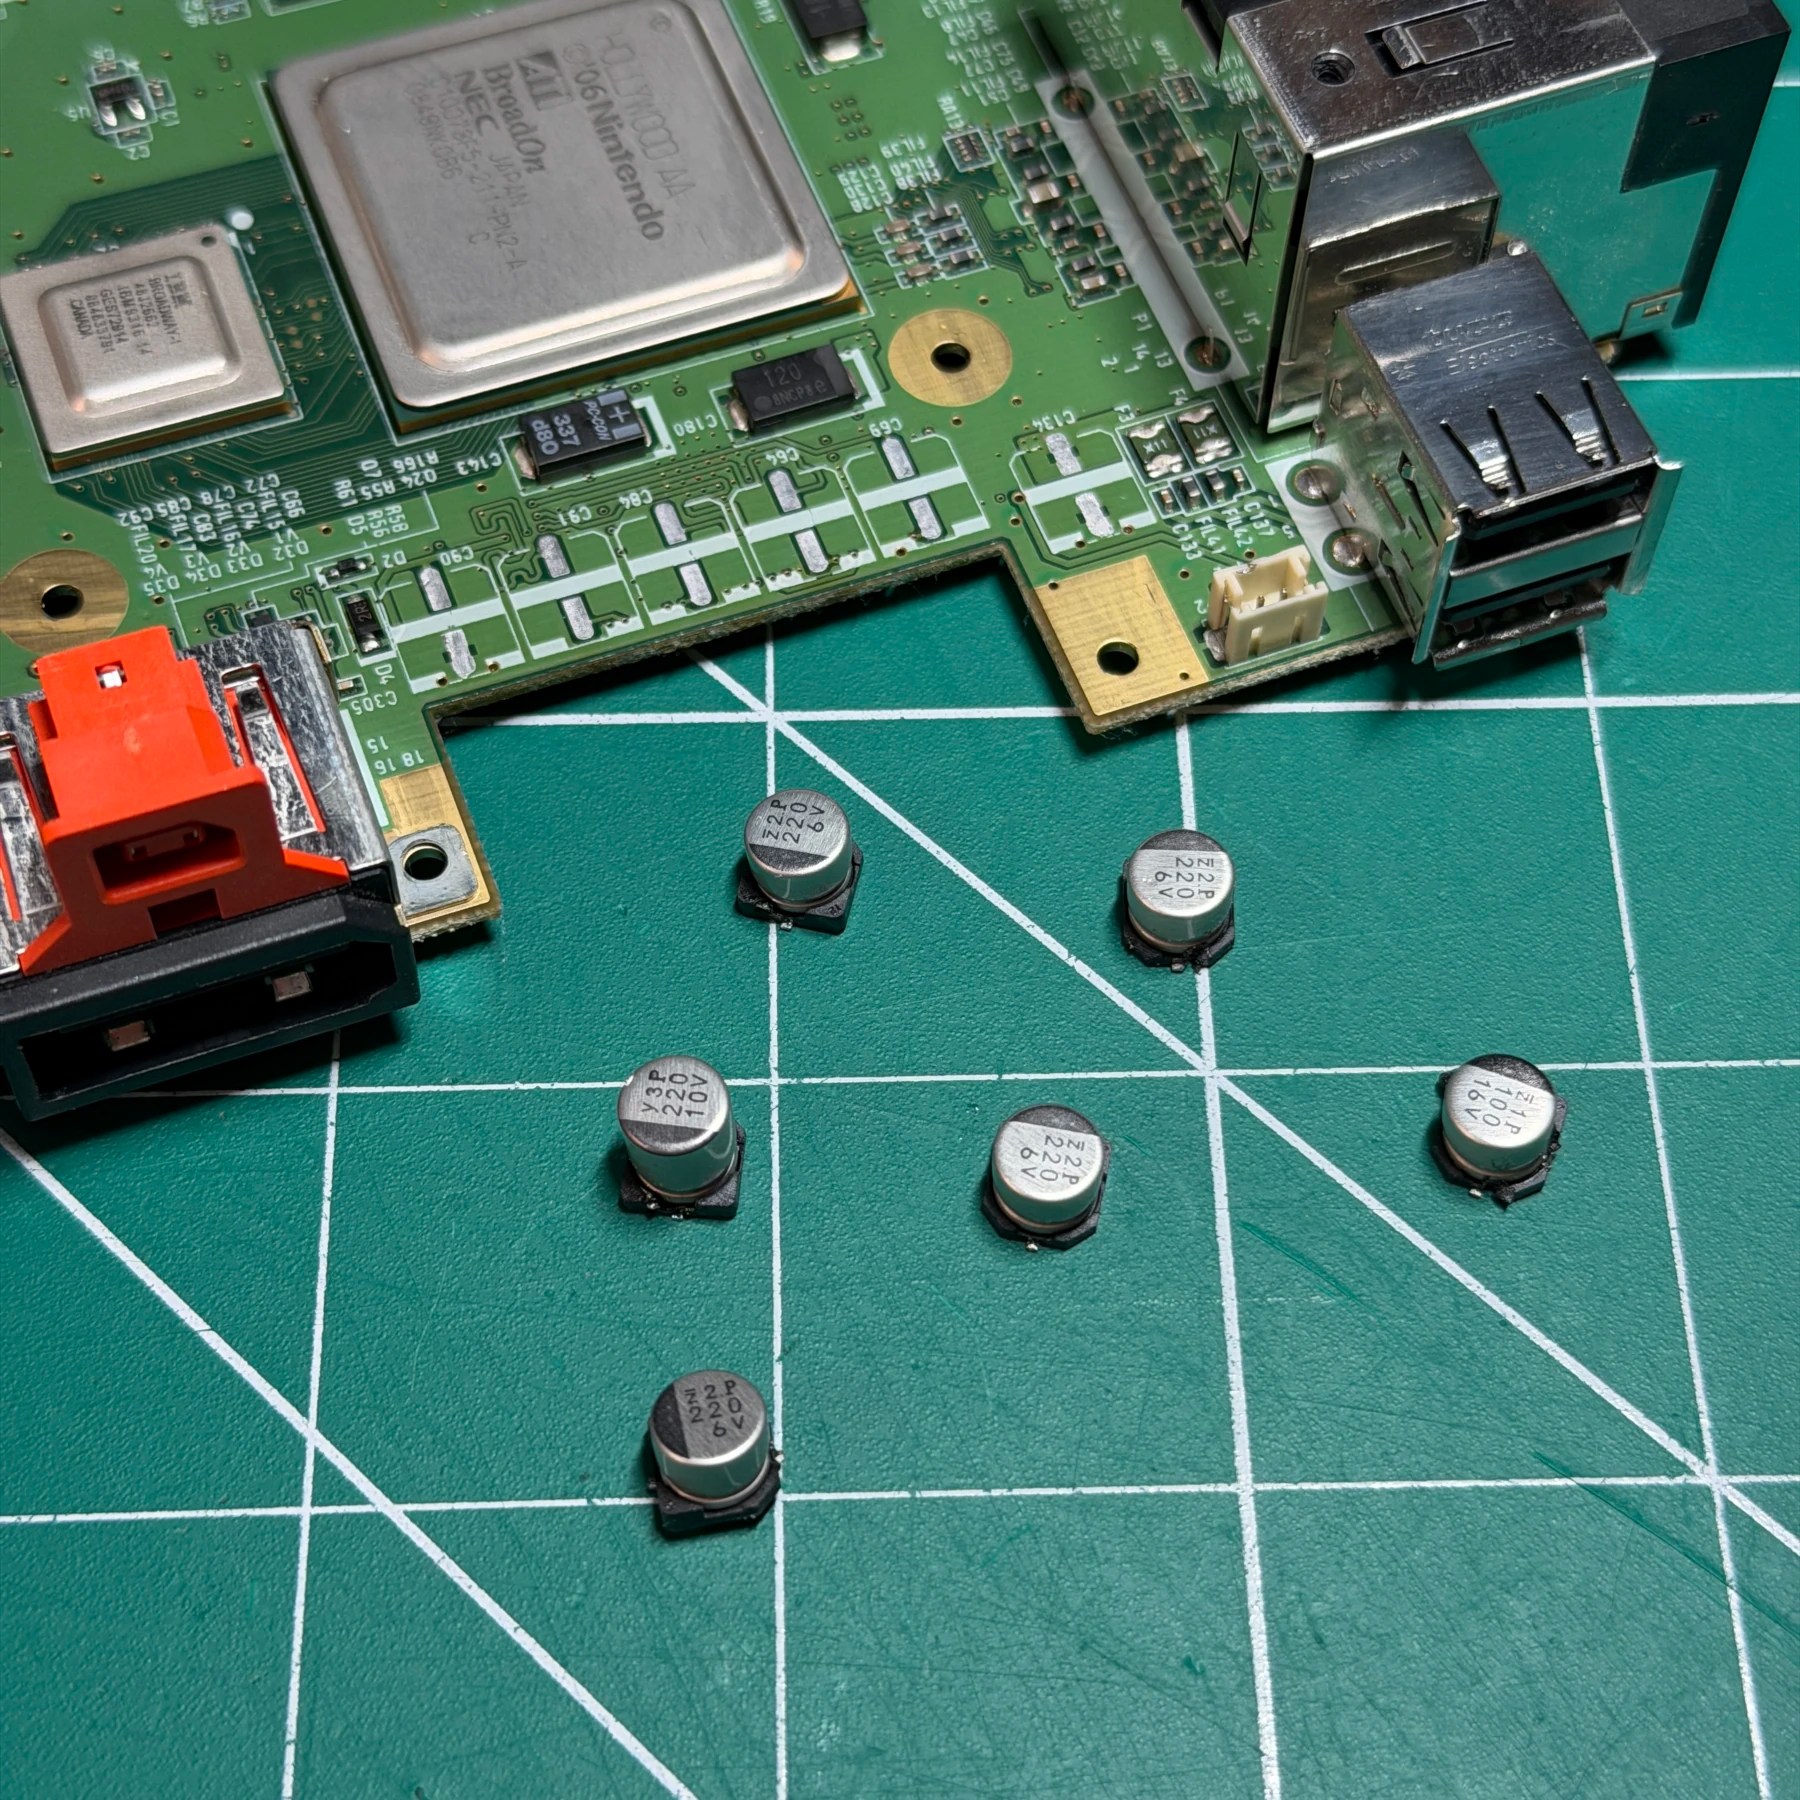
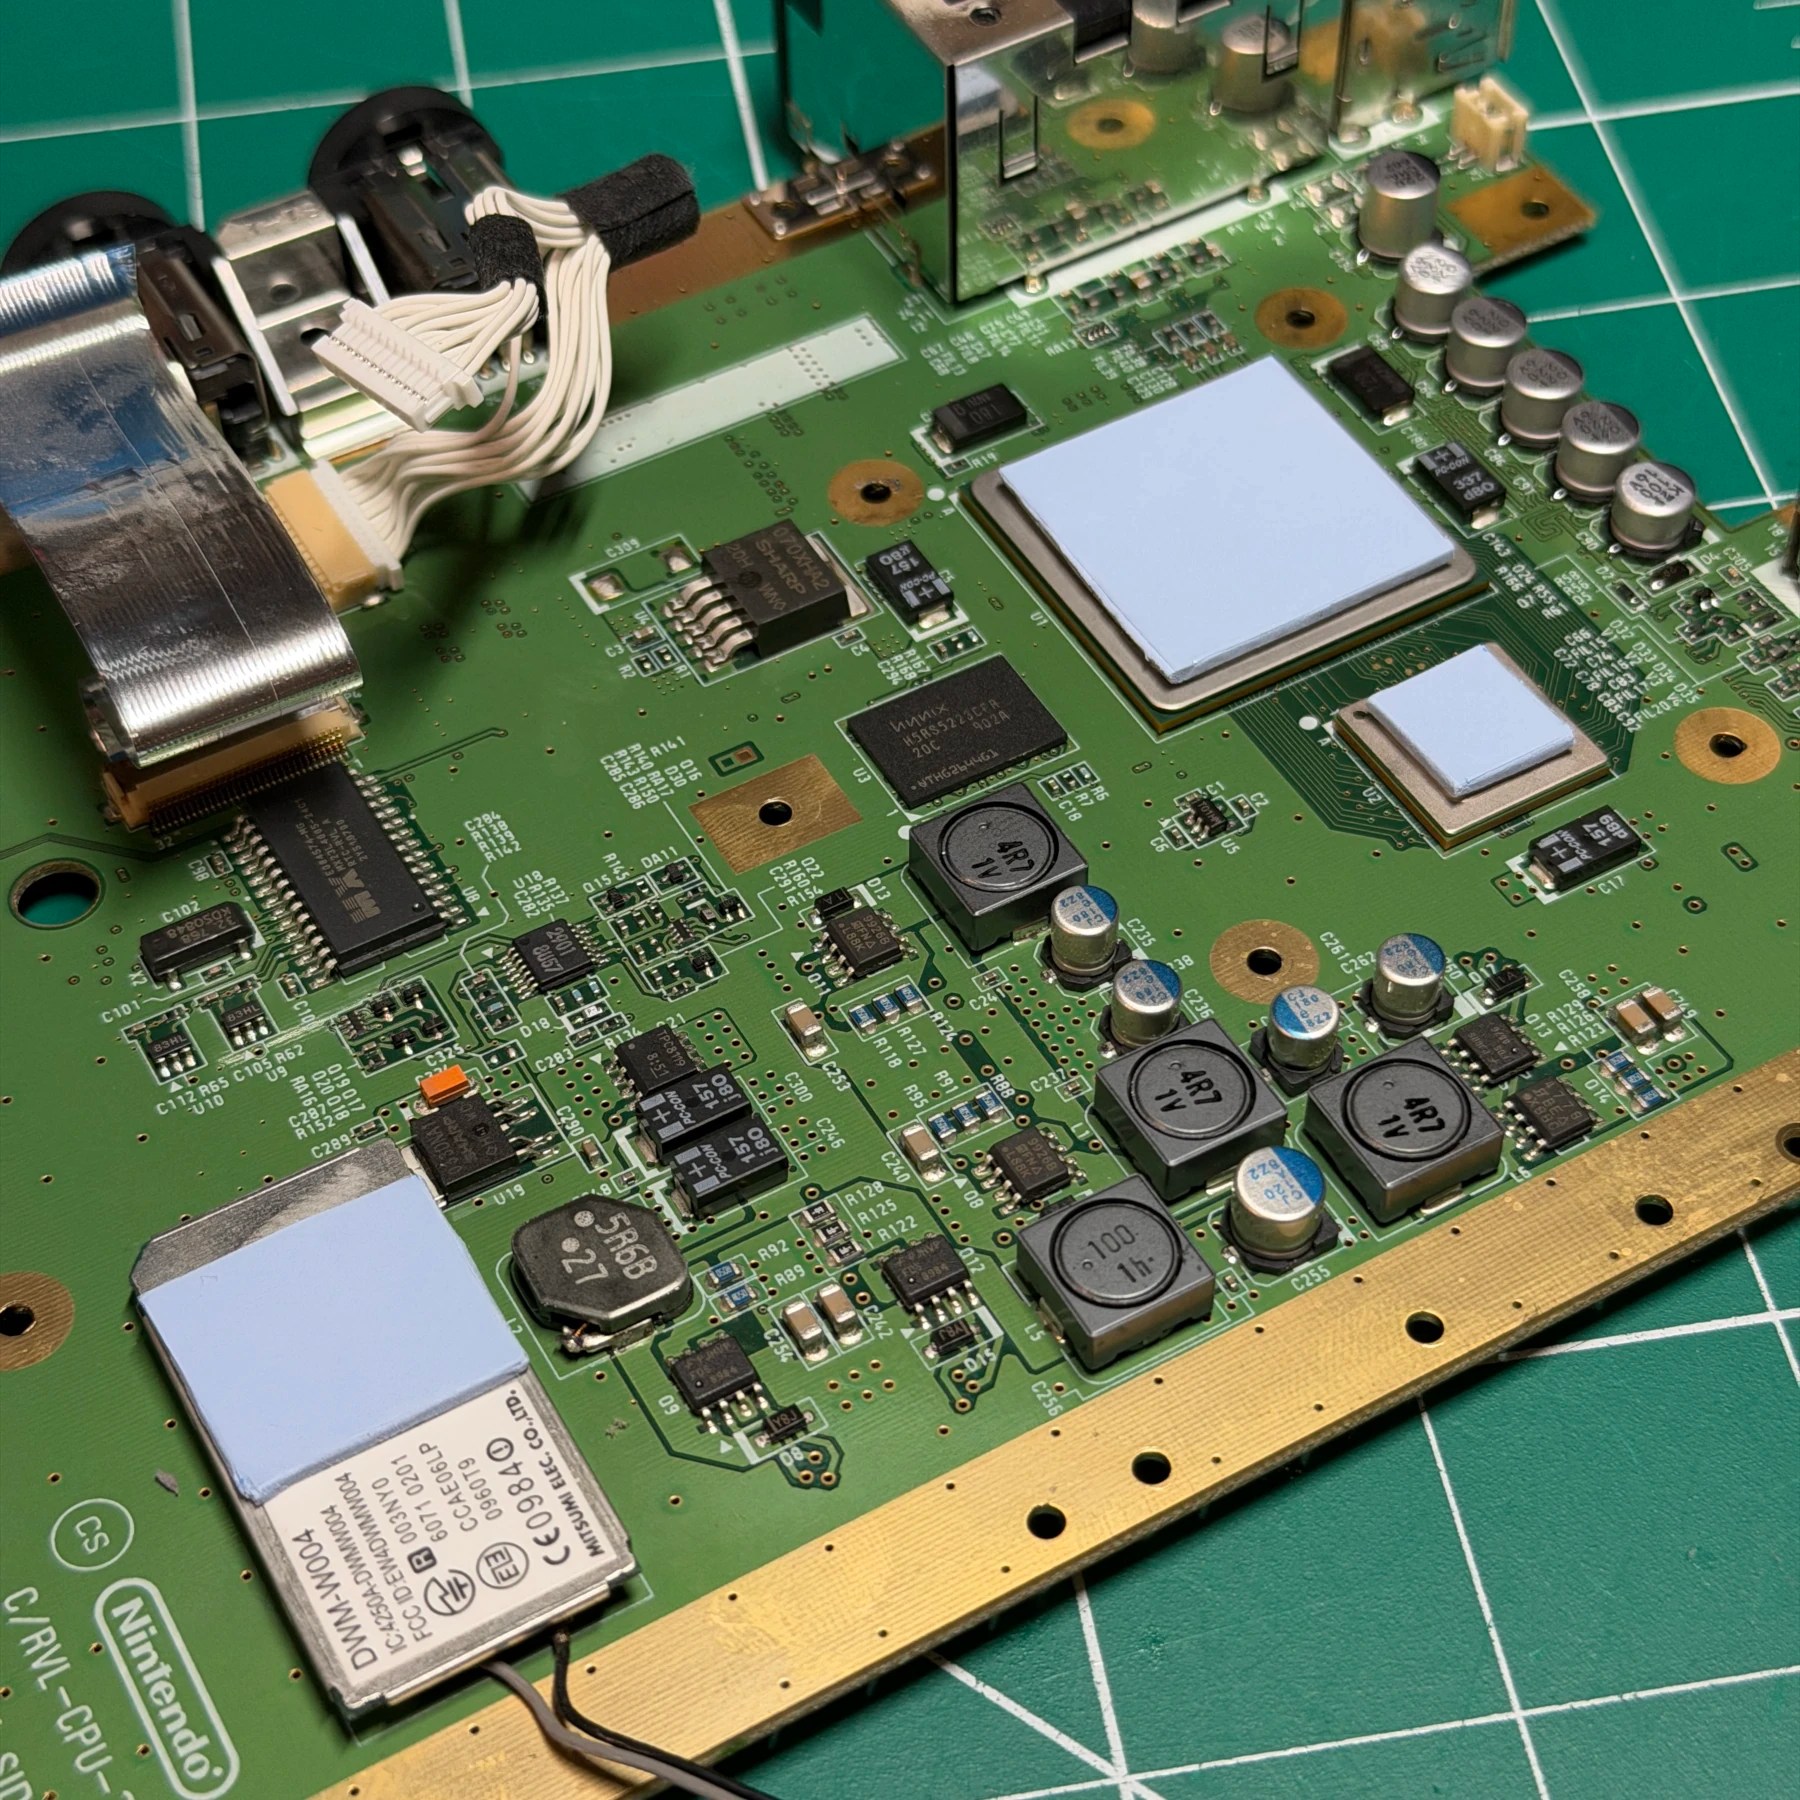
While the RetroBrighting was occurring I removed the 6 electrolytic capacitors and cleaned the board top and bottom including the chips where the old thermal pads were stuck and left residue. There is also a pad on the Wi-Fi chip which needs to be removed. With the board now completely cleaned I prepped the pads and soldered on the new SMD caps from the Console5 kit and cleaned up any unspent flux.
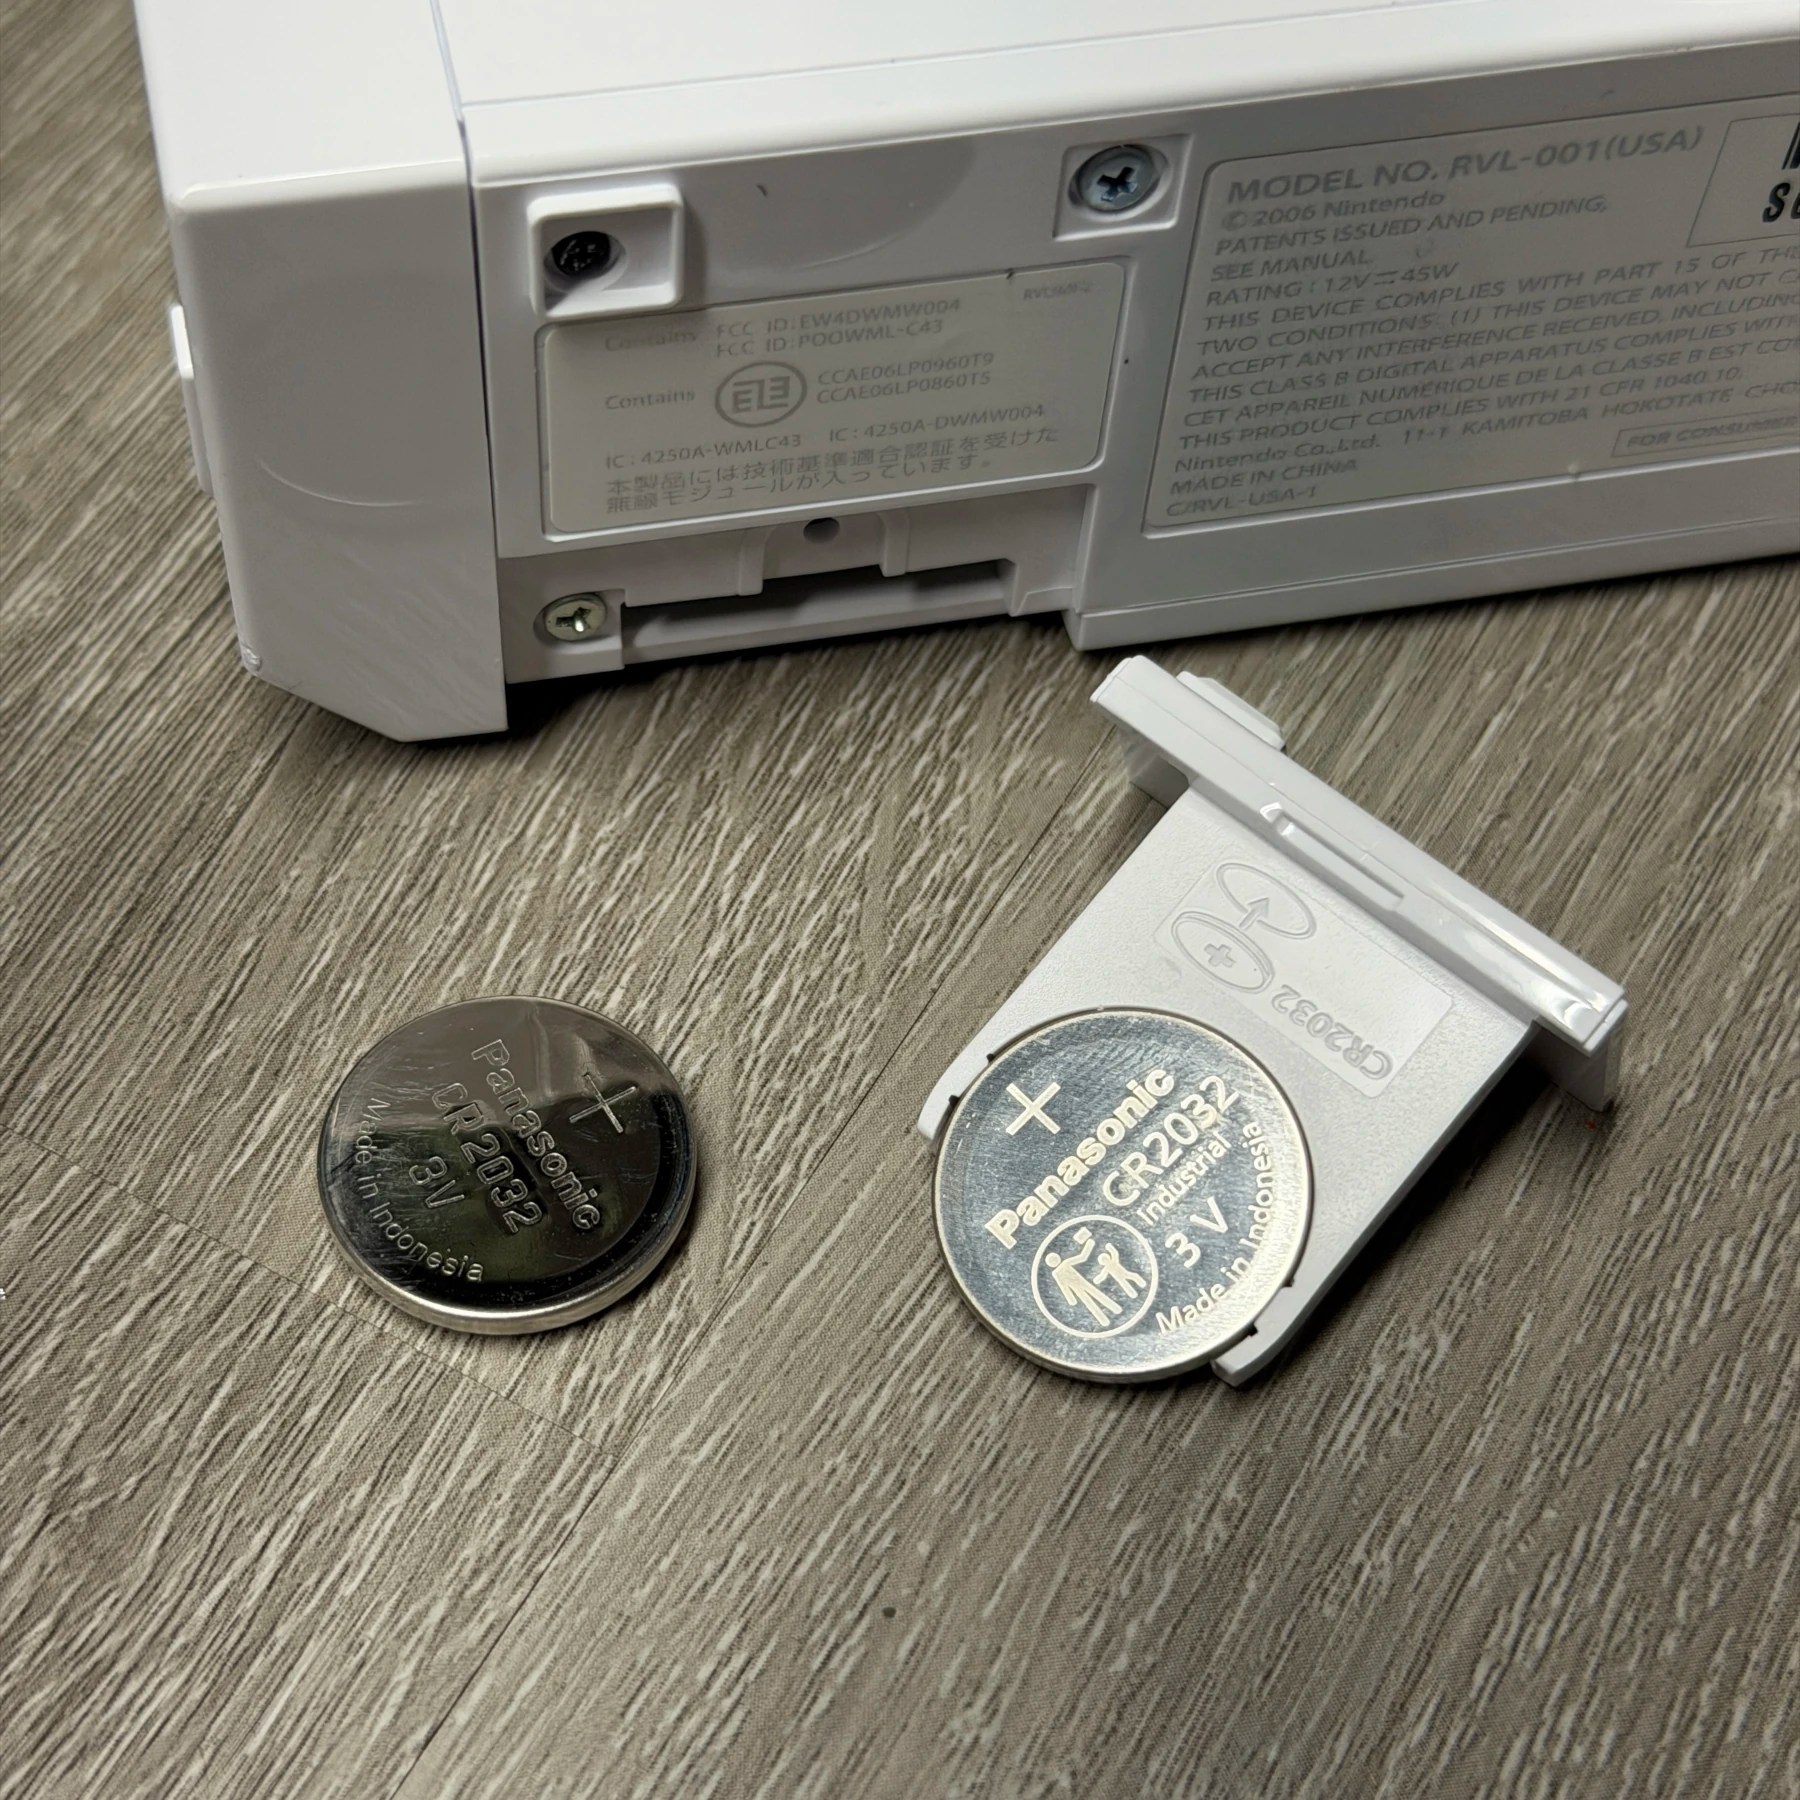
Once the timer went off on the RetroBright I took a peak and as expected the yellow was completely gone! I took the shell out and rinsed it again and set to dry one last time overnight. Once it was ready for re-assembly I began on that process, working from the bottom up. The time-consuming part is simply ensuring the various metal shielding parts and plastic parts go on in the correct order but first I marked and cut 3 brand new thermal pads for the Wii using a sheet of Arctic MX and then applied the heatsink and top shielding and started screwing parts down.
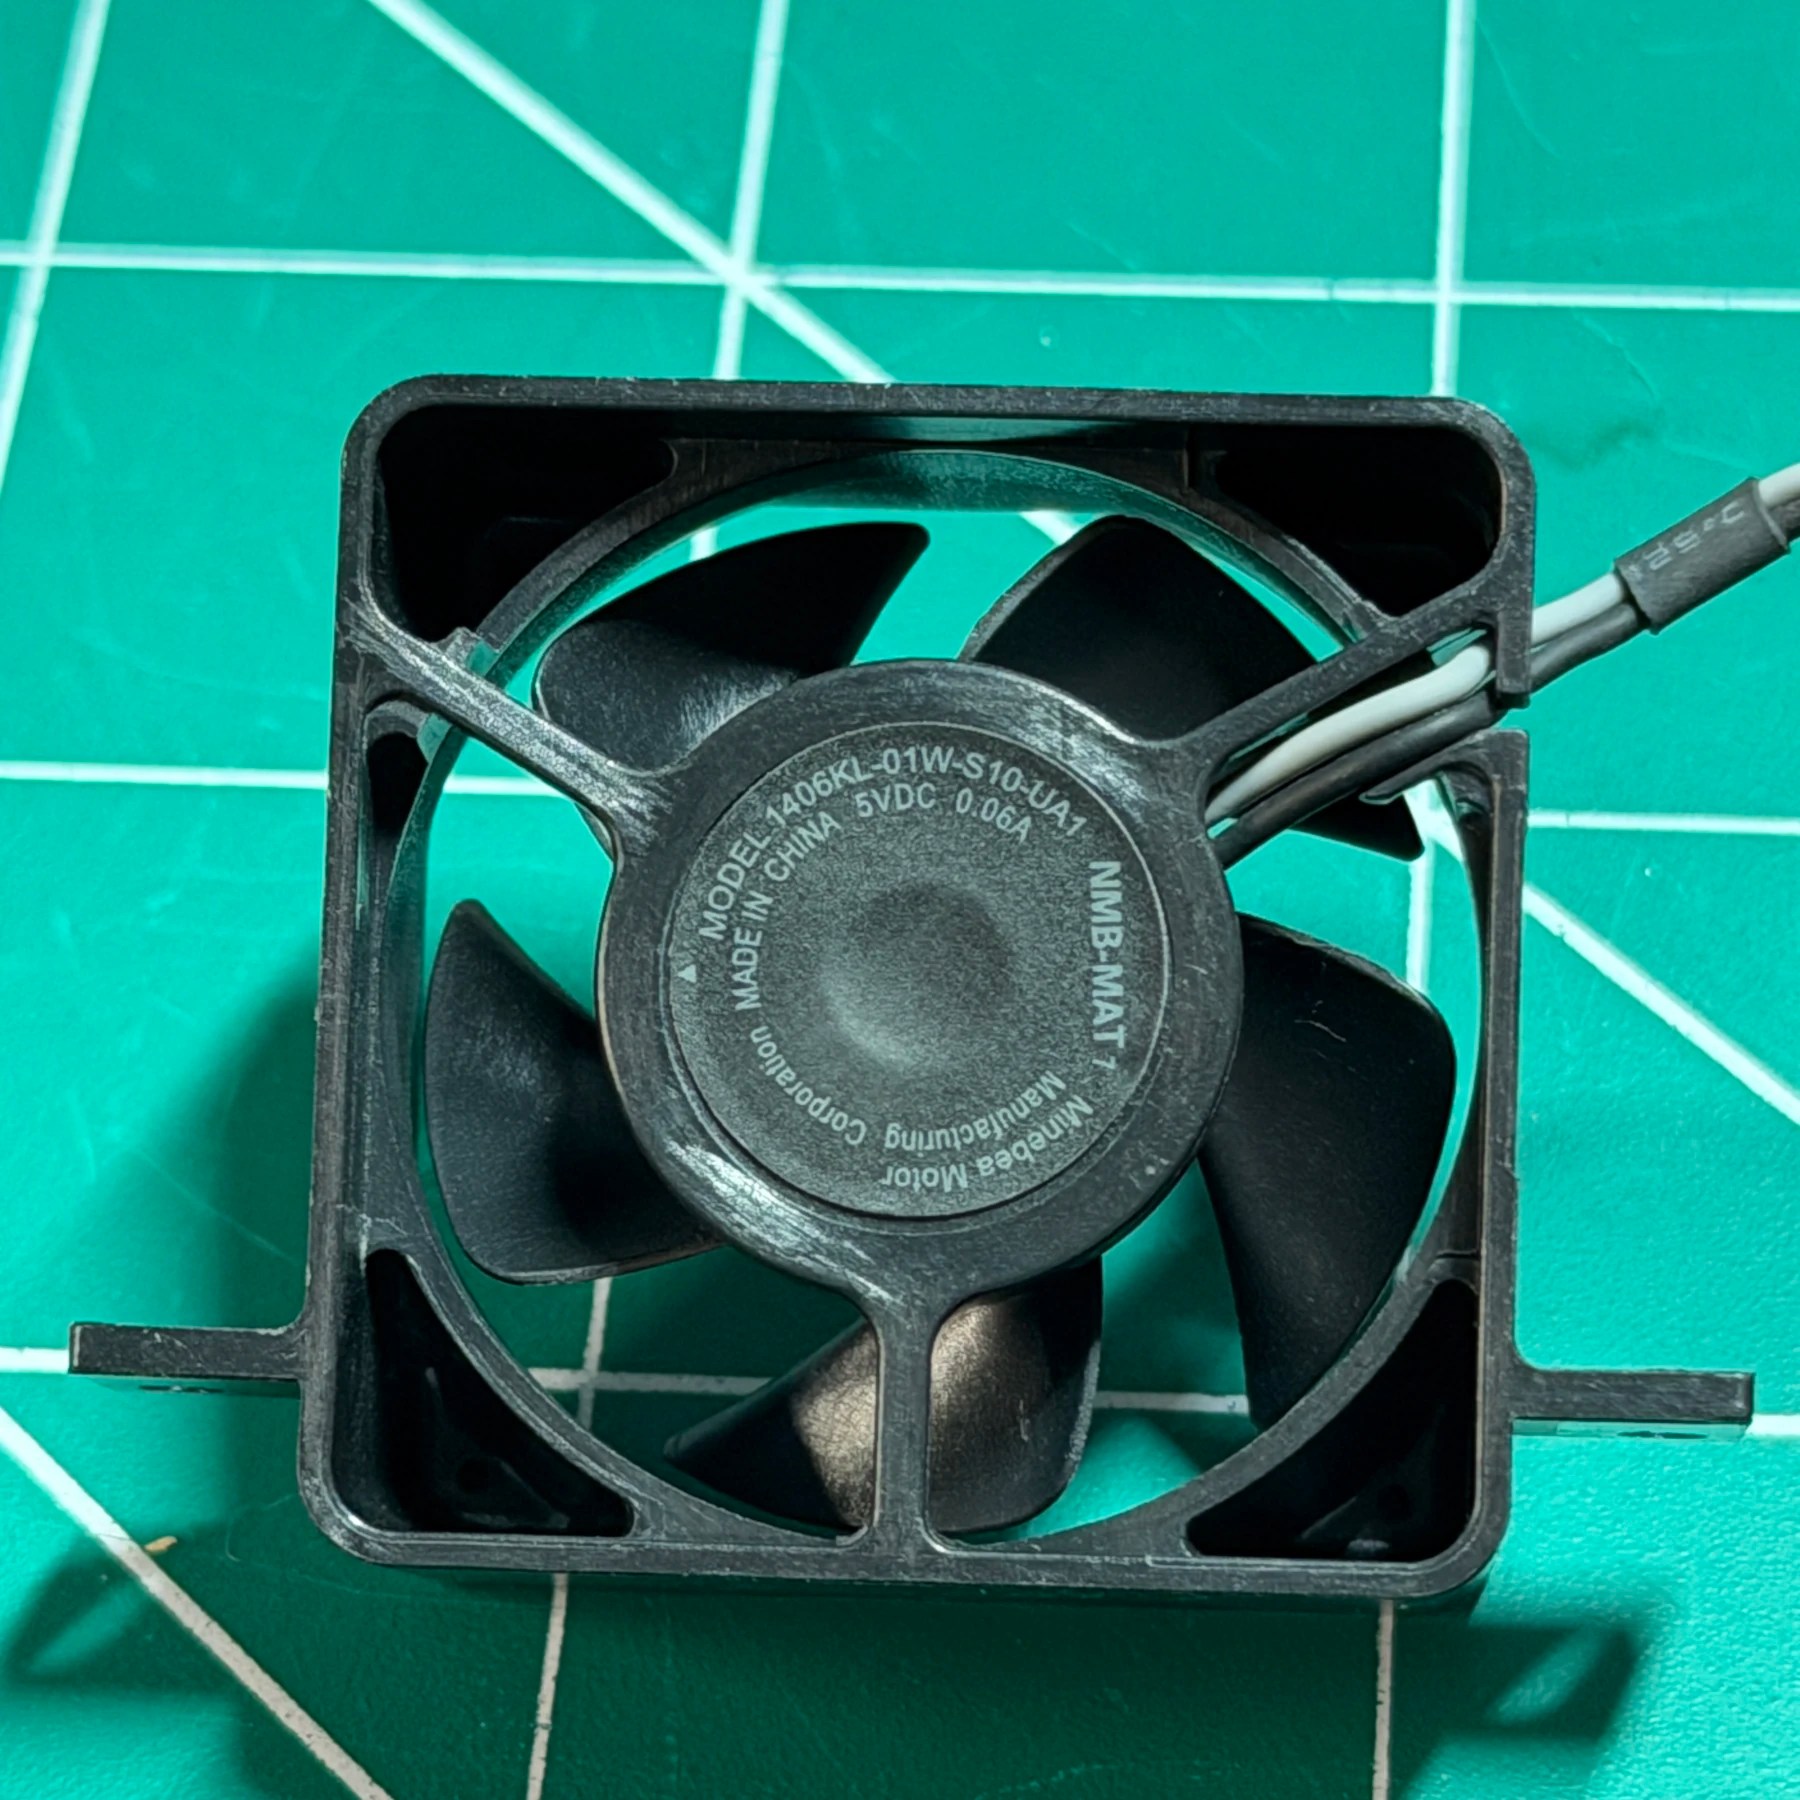
When I get to the fan I worked through it with a fine brush, air duster and then ISO-soaked Q tips until the frame and all fans were nice and clean. I reinstalled the fan and then put the vent cover back on and continued assembly through to the front panel.
When it was time to reinstall the front panel I carefully inserted the buttons and clear optical drive light pipe around the slot opening, cleaned up the fabric drive slot cover with a rag and then snapped the front panel PCB back in place and screwed it back in.
I gave the optical drive a quick cleanout before installation and then finished re-assembly up to but not including the top shell. I wanted to hook the Wii up and test before closing up so I did just that and it fired up right away, video and audio worked, it read my disc and with that I was able to sign off, close the system up and stage my final shot.
I have a Wii lined up for a PixelFX GEM Install so looking forward to that, otherwise happy to have another Wii in the books for 2026!