
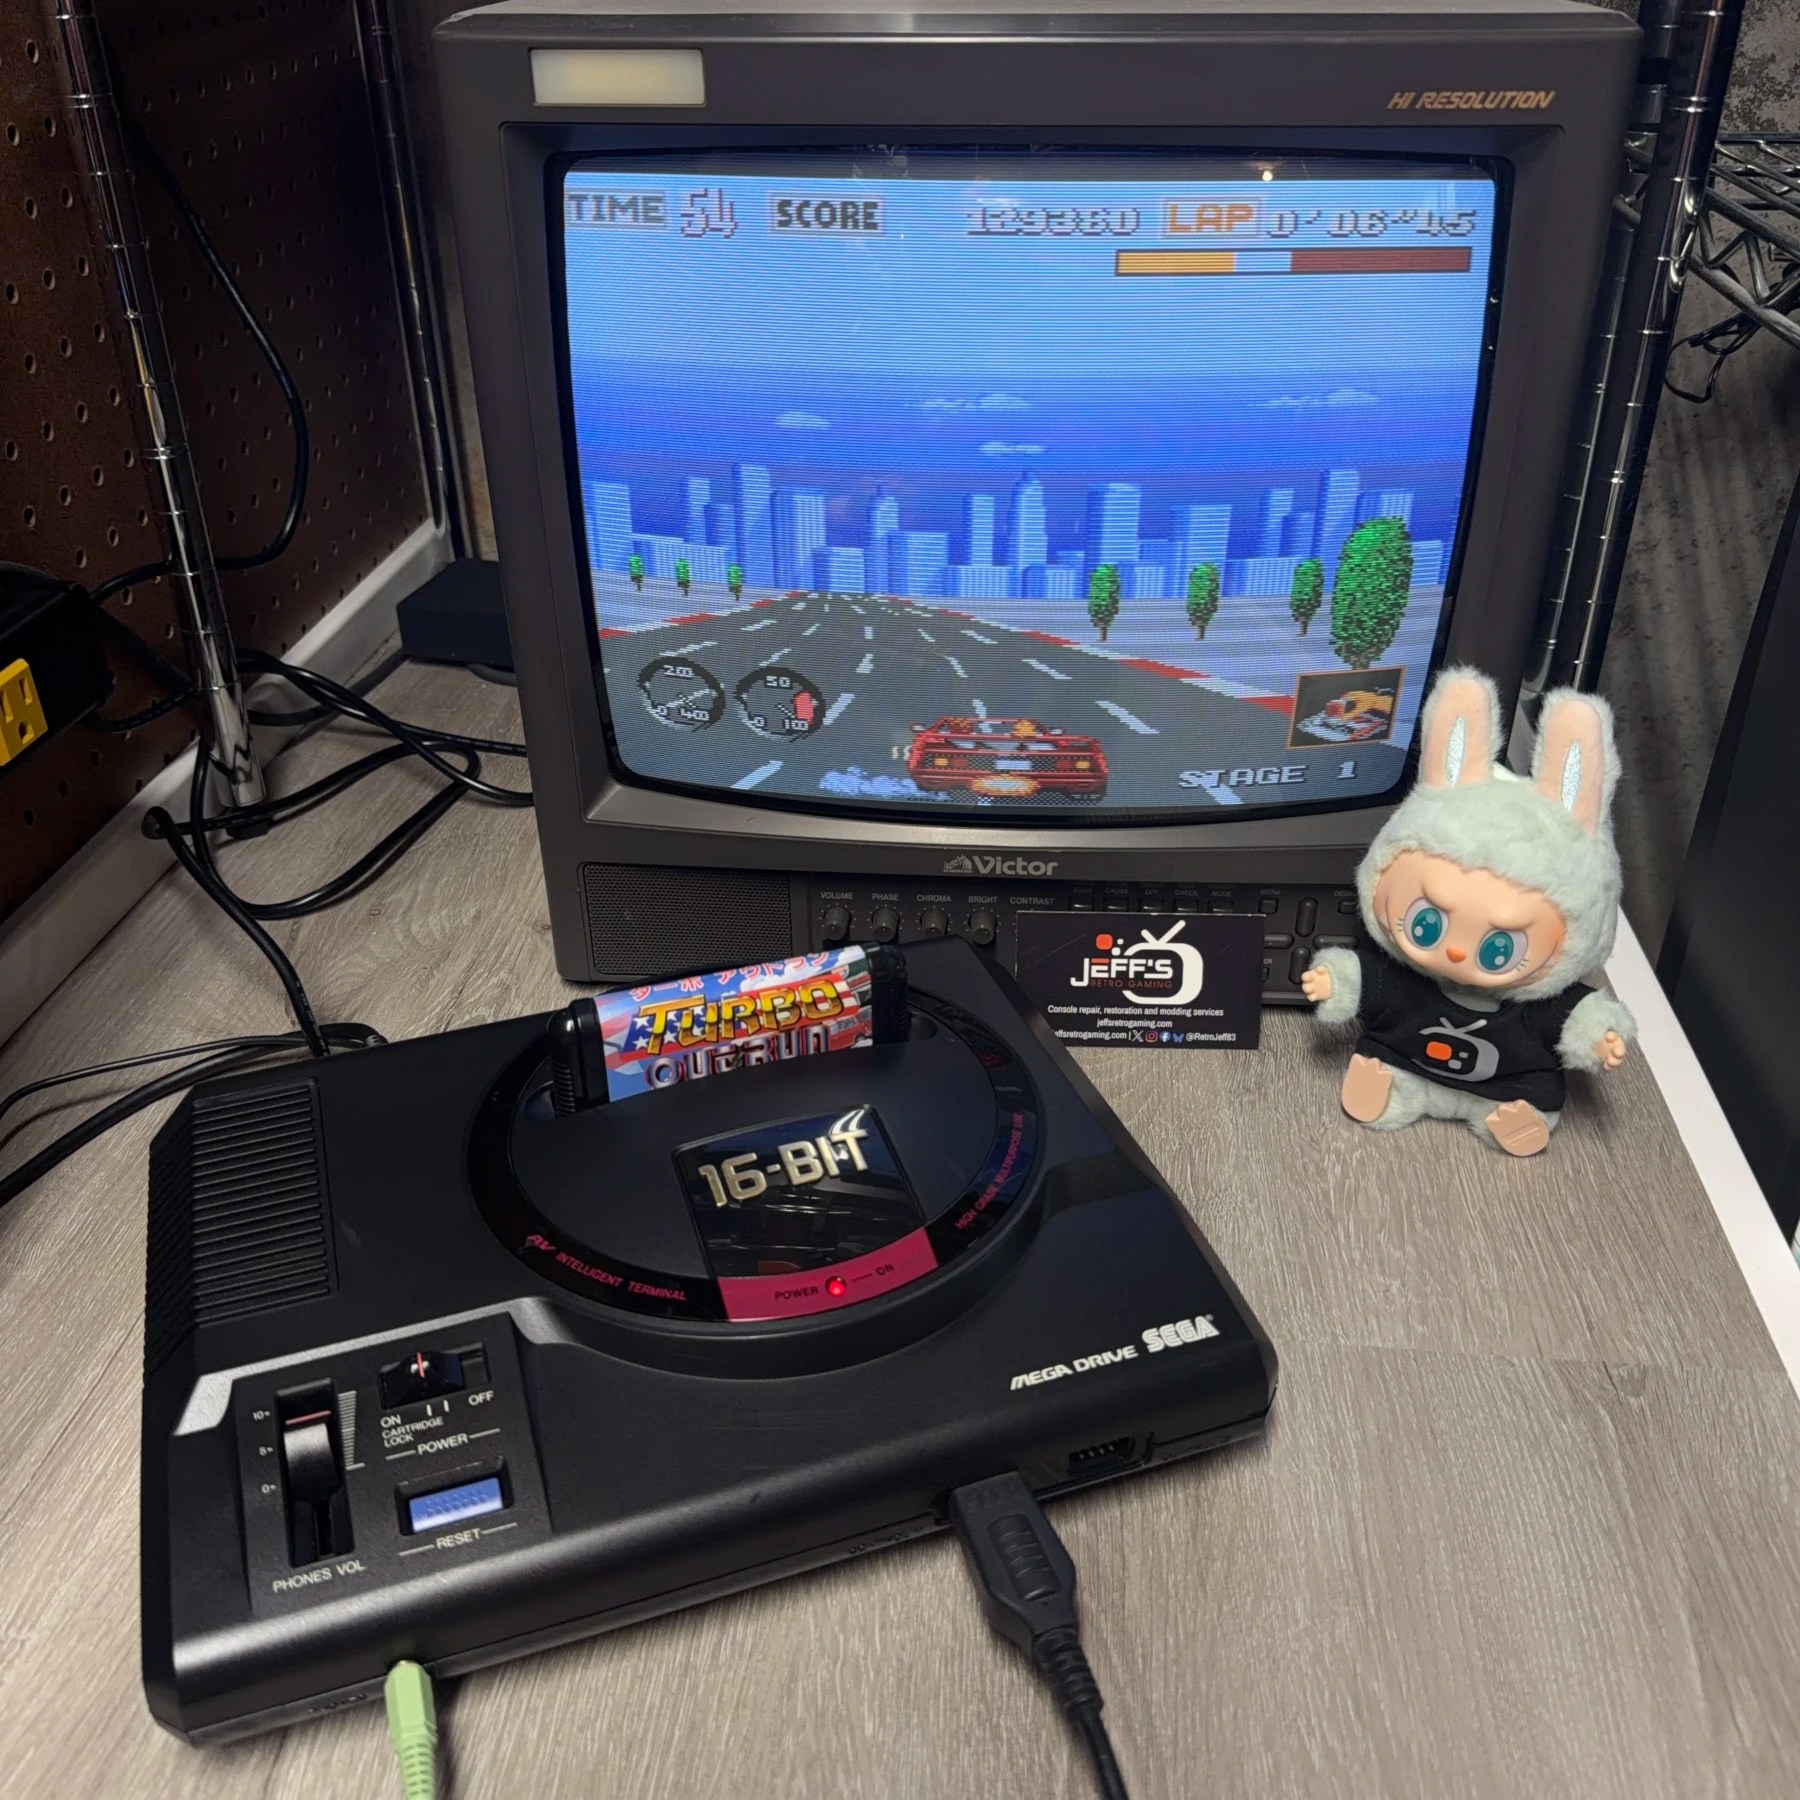
Talk about an easy project! This returning customer had a recently acquired Model 1 Japanese MegaDrive they wanted refurbished – aka Full-Service Cleaning and Full Recap Service!
I’ve refurbished tons of these, only a few MegaDrives before but outside of looking way cooler (Japan always got the neater looking stuff) the only functional difference is the addition of a cart slot locking lever to prevent inserting a cart when the unit is powered on, but in practice that is one extra screw and a few plastic bits to wash so really nothing to it.
They did indicate some strange abnormalities in the composite video output which appeared as a sync issue on their television but I tested it extensively in house on both composite and RGB into a USA NTSC consumer set, PVM and my RetroTink4K and could not replicate what they had seen. Their hope was the recap would resolve on their end but it’s seeming more likely to be some kind of cable issue. That said, while I had this thing open I deep cleaned and reflowed the AV din connector and gave it a complete once over check on the VDP pins and nearby components.
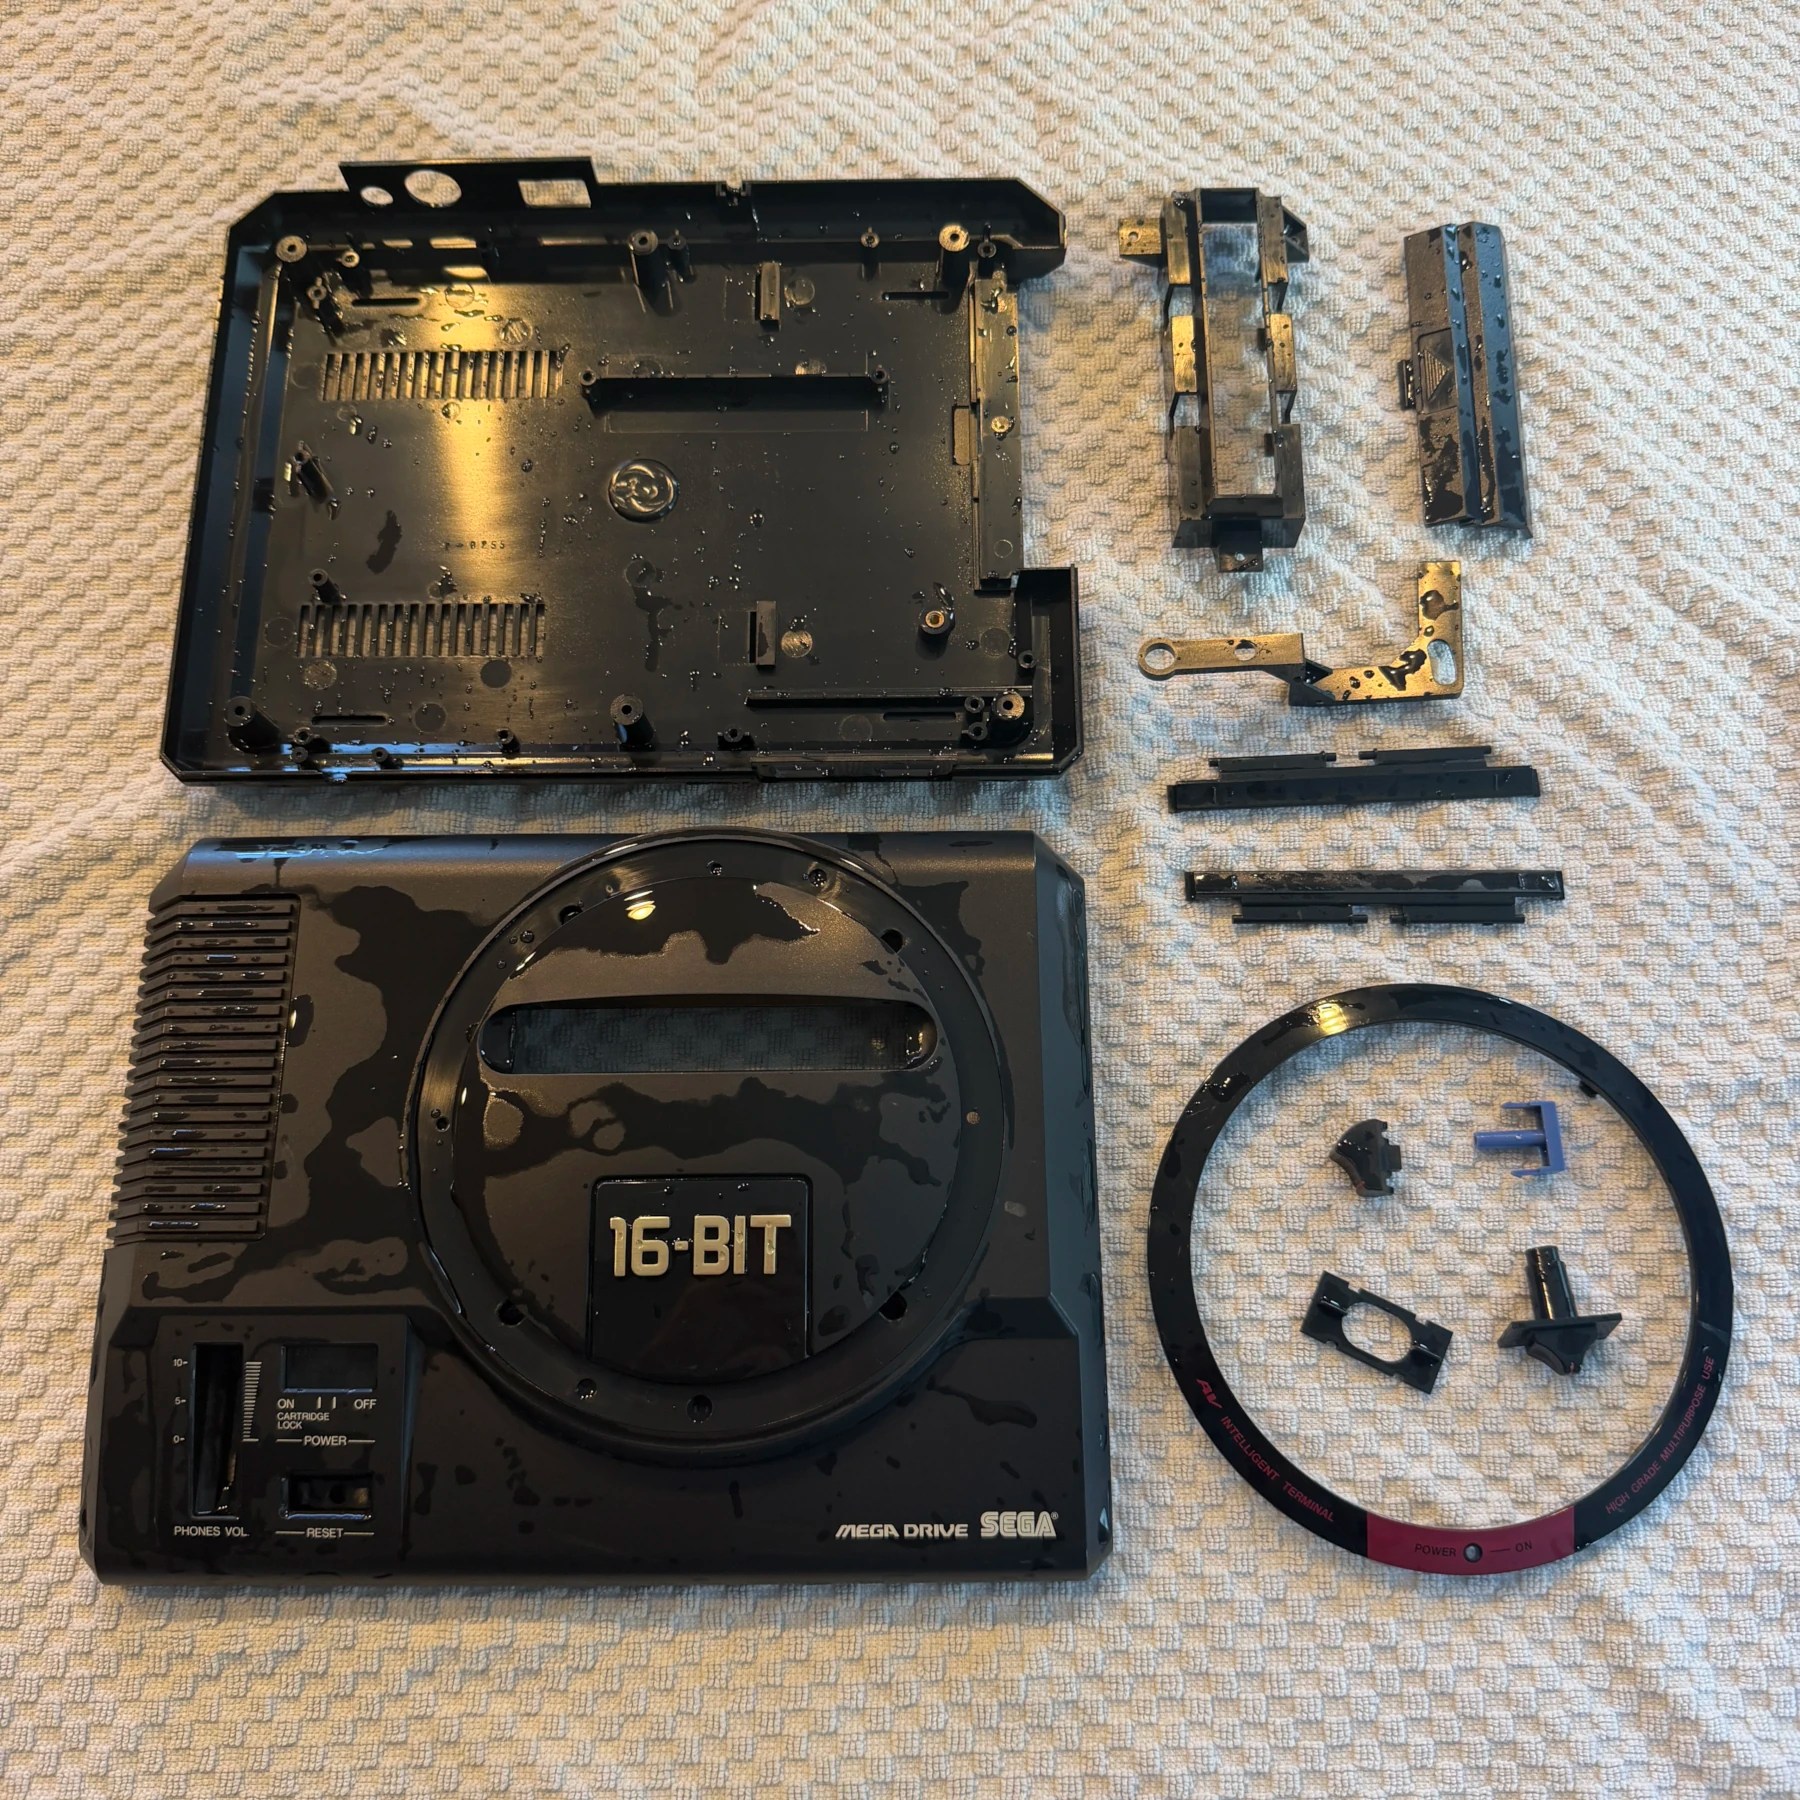
To begin I got the shell completely disassembled and in parts, including all the top shell pieces like the decorative ring/led cover and flap locking mechanism. On these and the USA genesis consoles you have to snip melted plastic rivets to remove this so I do so cleanly and then just use hot glue internally to re-fix the parts inside after the cleaning is done and re-assembly is happening. I set aside the red LED with the various screws and then get the bucket of all shell parts up and into the basin for a thorough soak, wash and overnight drying session.
With all the plastic parts removed I observed a LOT of dirt and debris along the stereo volume slider and voltage regulator heatsink so since I had to remove the heatsink to get to all the caps I took that off, dusted and wiped it down thoroughly. I also blasted out the heavy lint pieces from the volume slider and then gently wiped it down with some ISO and my microfiber cloth.
I checked the cart slot and found some errant strands so picked all those out, blasted out the slot with my duster and then ran an ISO soaked cloth/board into the slot repeatedly until it came out clean.
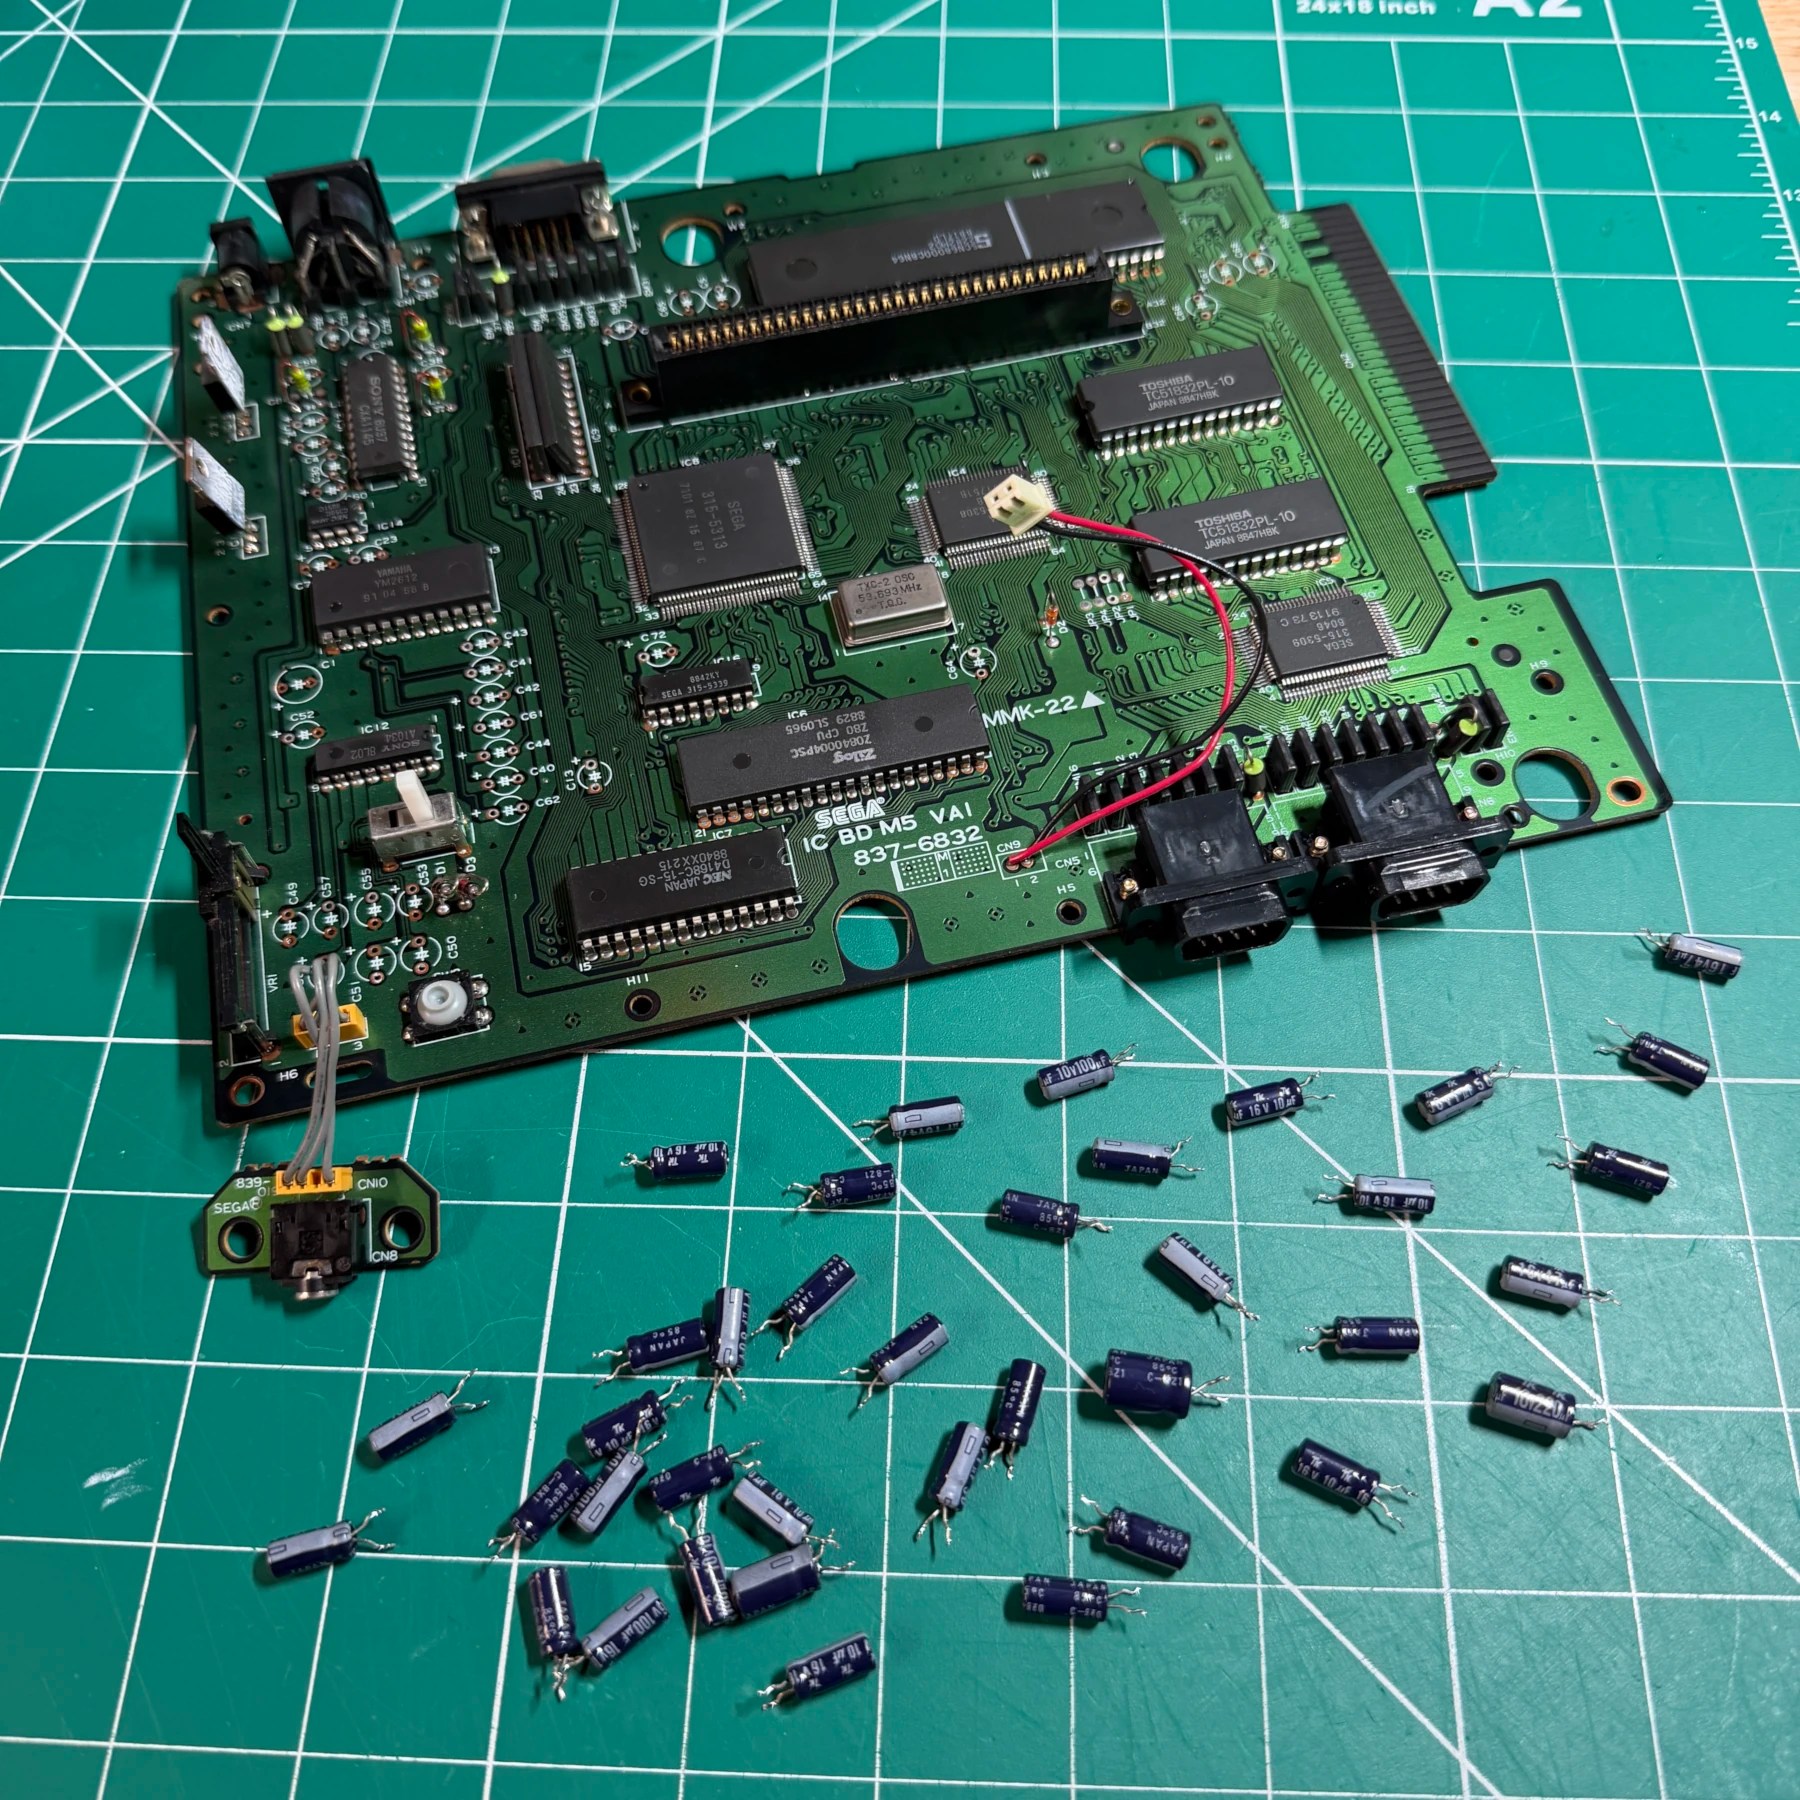
It was now time to remove all the original capacitors and then deep clean the top and bottom side of the board so with my Hakko gun I made quick work of the caps, there are quite a few on these Model 1 consoles!
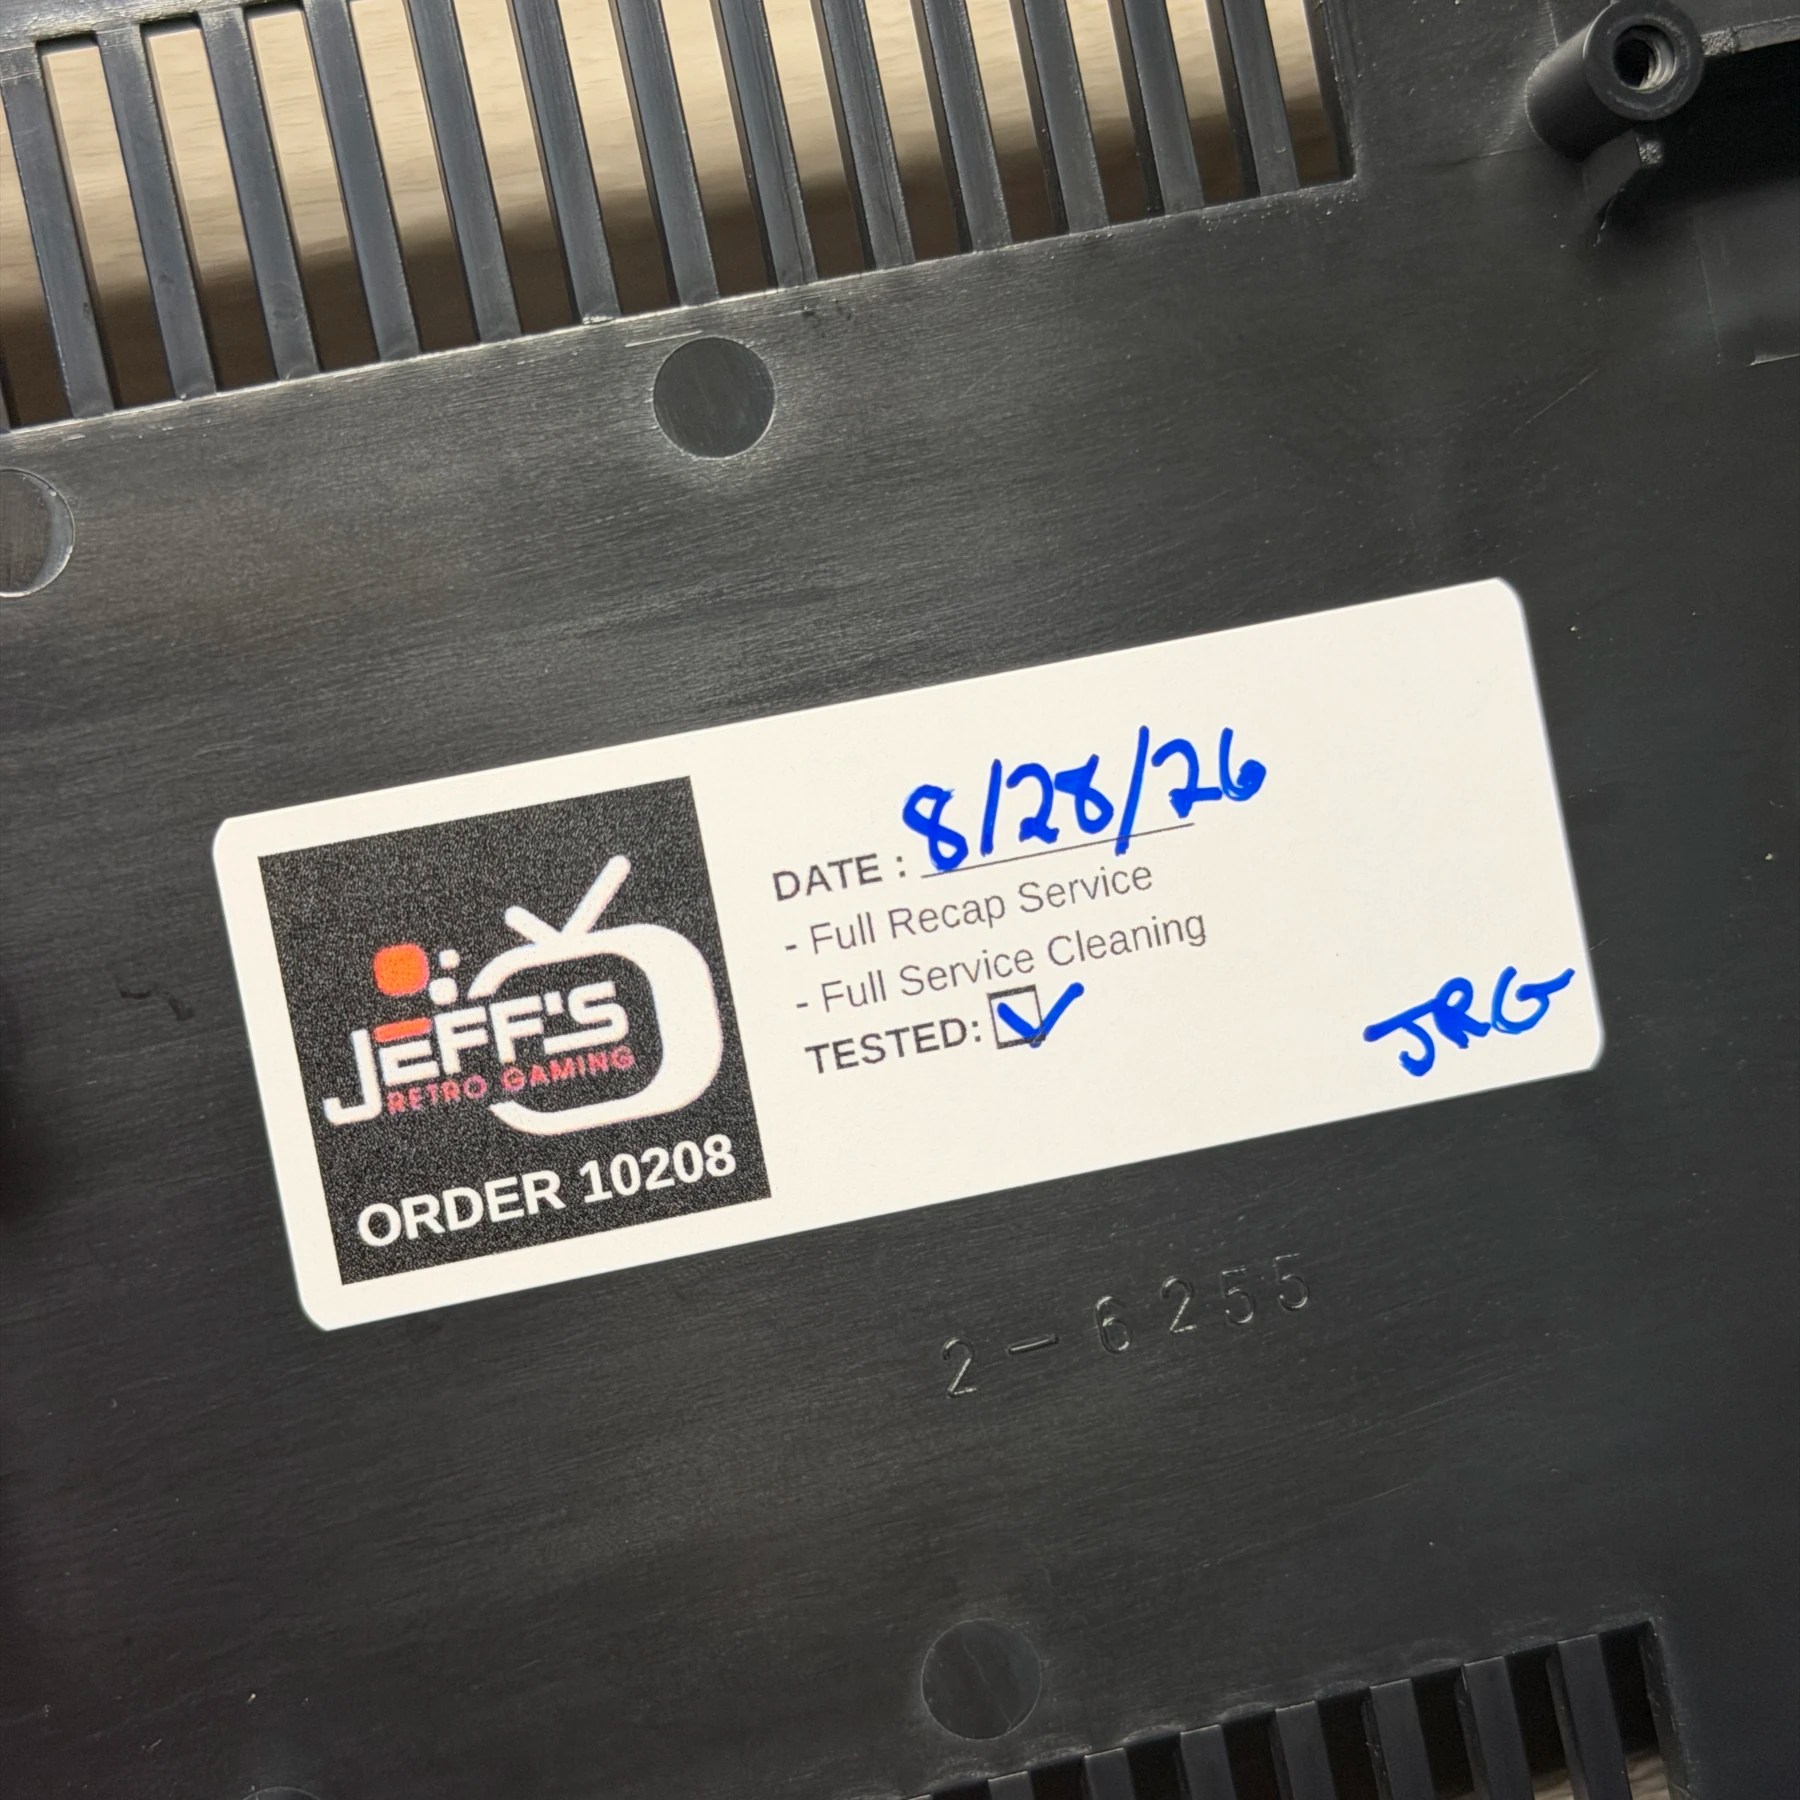
With the board bare and cleaned, I then opened my Model 1 revision cap kit from Console5 and installed all the new caps in order and then snipped the legs and removed any unspent flux from the board underside. With all the new caps on I wanted to test operation so I quickly fired it up and verified it booted fine, I then also got my multimeter set up and took some readings on the voltage regulators to ensure they were running in spec, both were.
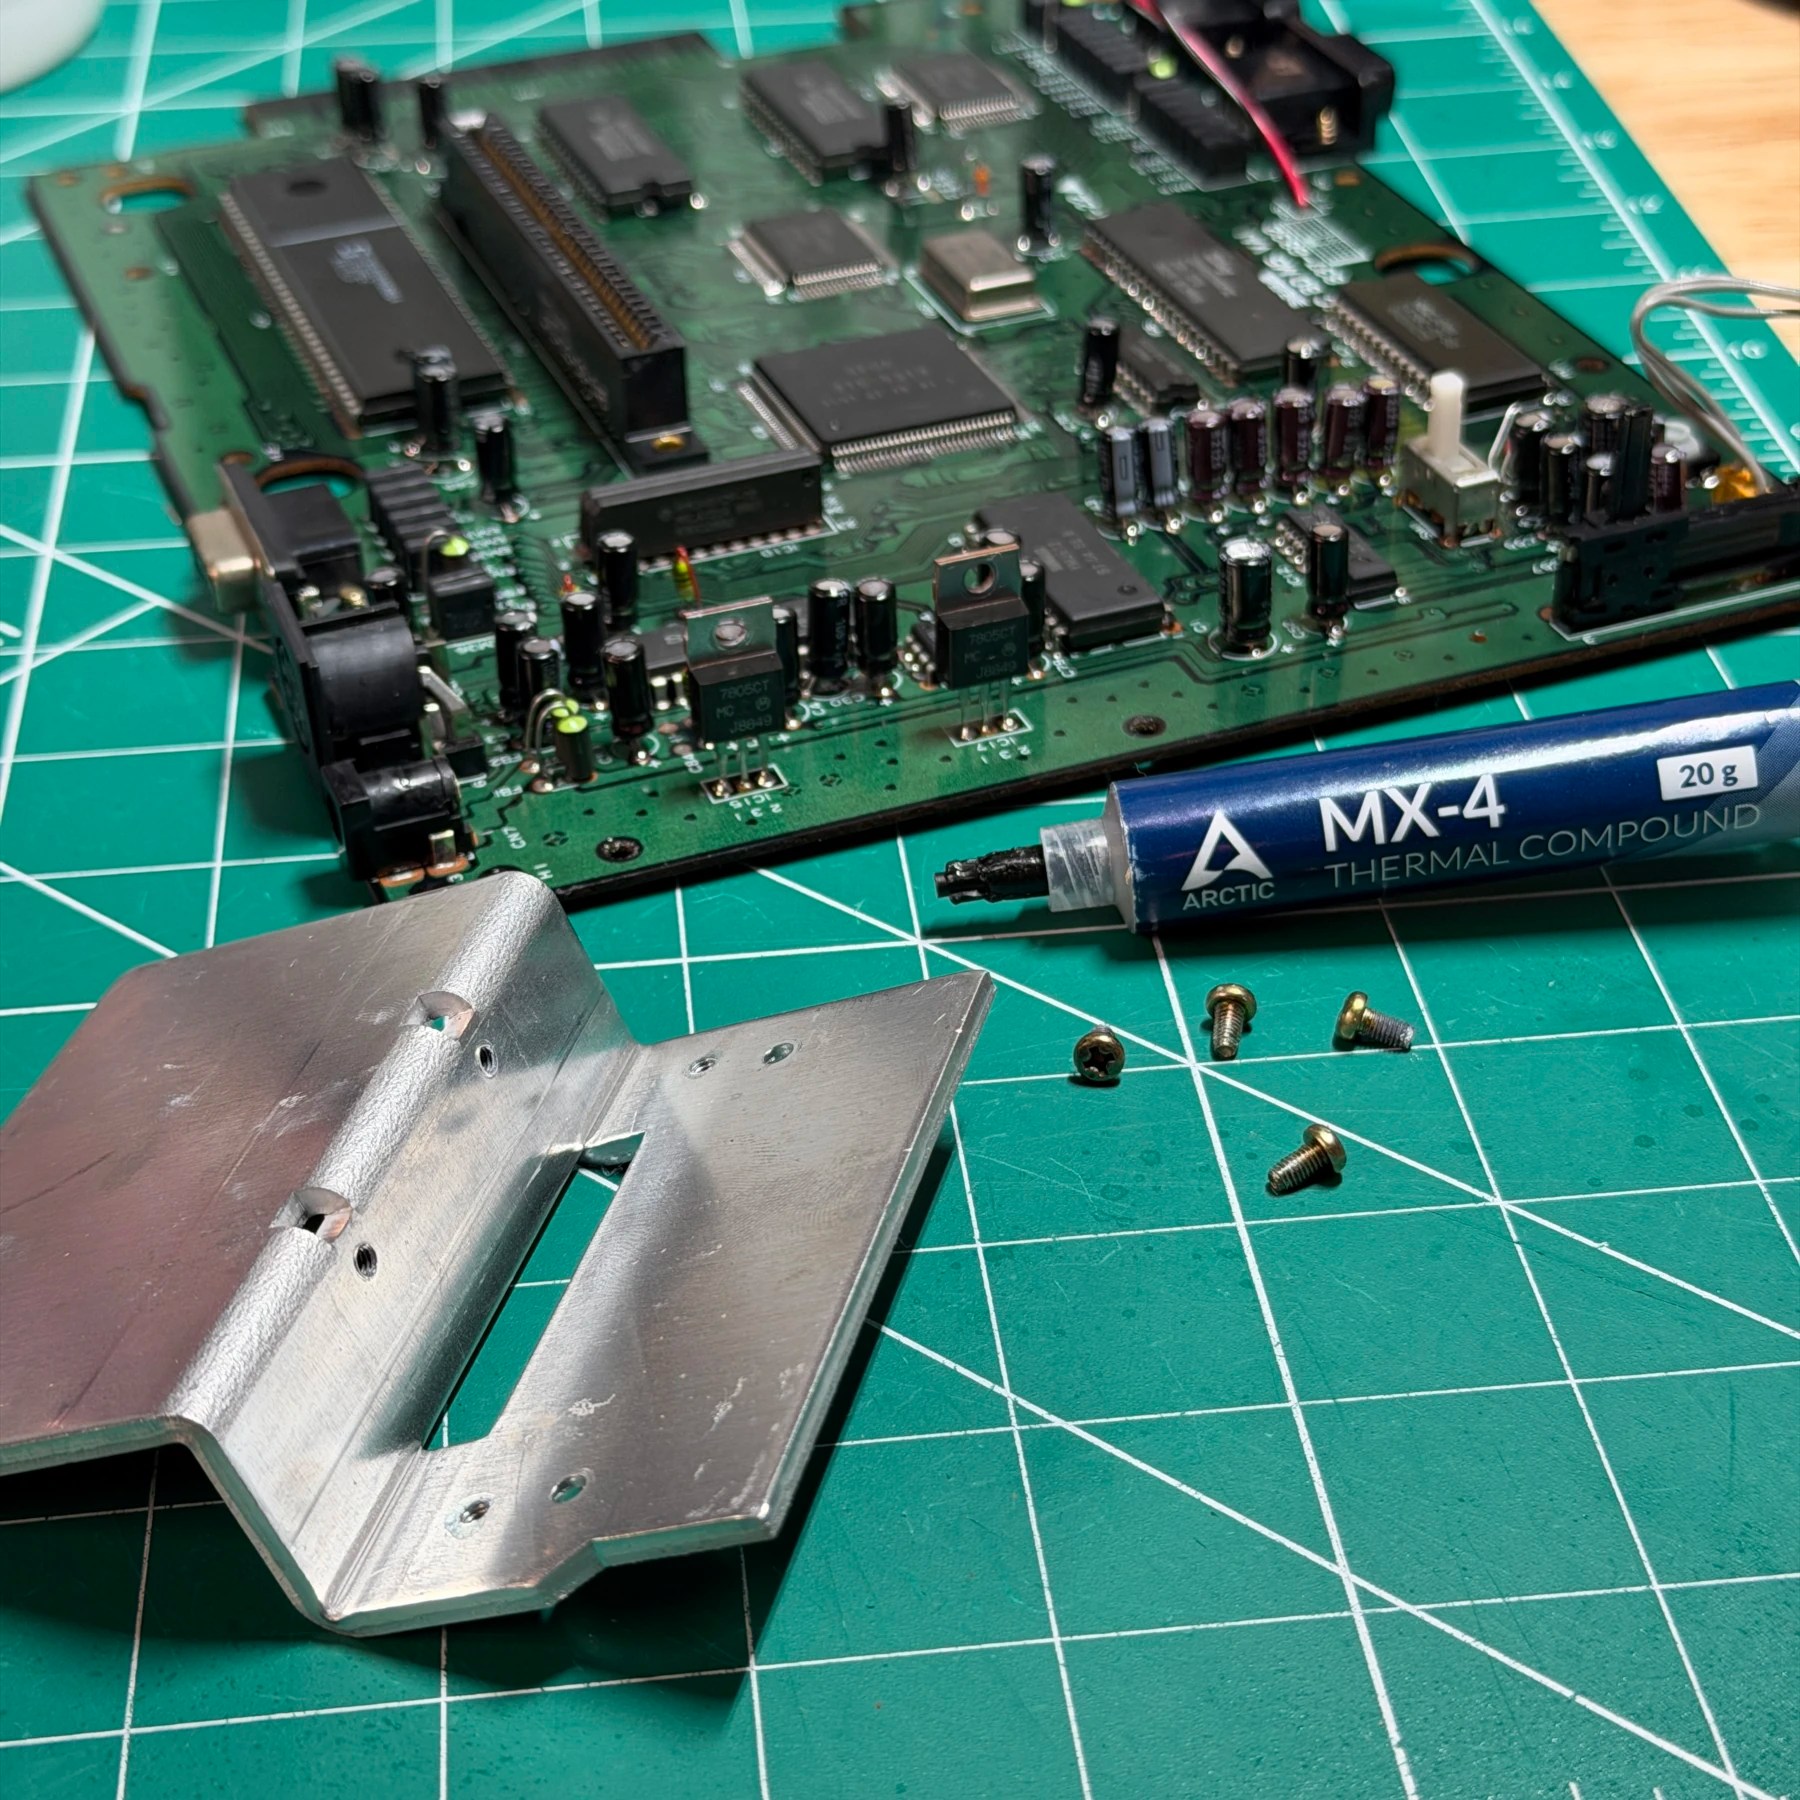
At this point the heatsink can go back on permanently so I take it off, gently bend the regulators out a little and put a dab of fresh Arctic thermal paste on each one then seat the heatsink down and screw the regulators back into it and it onto the mainboard.
The last area to inspect was the rear AC jack and AV Din port. I didn’t observe any cracked joints but I reflowed the AC jack just to be safe and desoldered the AV Din port, deep cleaned it and then soldered it back on with fresh clean joints!
I was now ready to re-assemble and all the parts were dry so I just worked backwards and got it all back together including gluing the previously clipped melted plastic rivets to hold the top shell pieces back together. Once the shell was all closed up I gave it more one quick wipe down and then a coat of UV Protectant spray to restore some of the shine and protect the plastic.
Looking good and now it’s on to the second portion of this customers order… a Sega Nomad (will be posted soon!)