
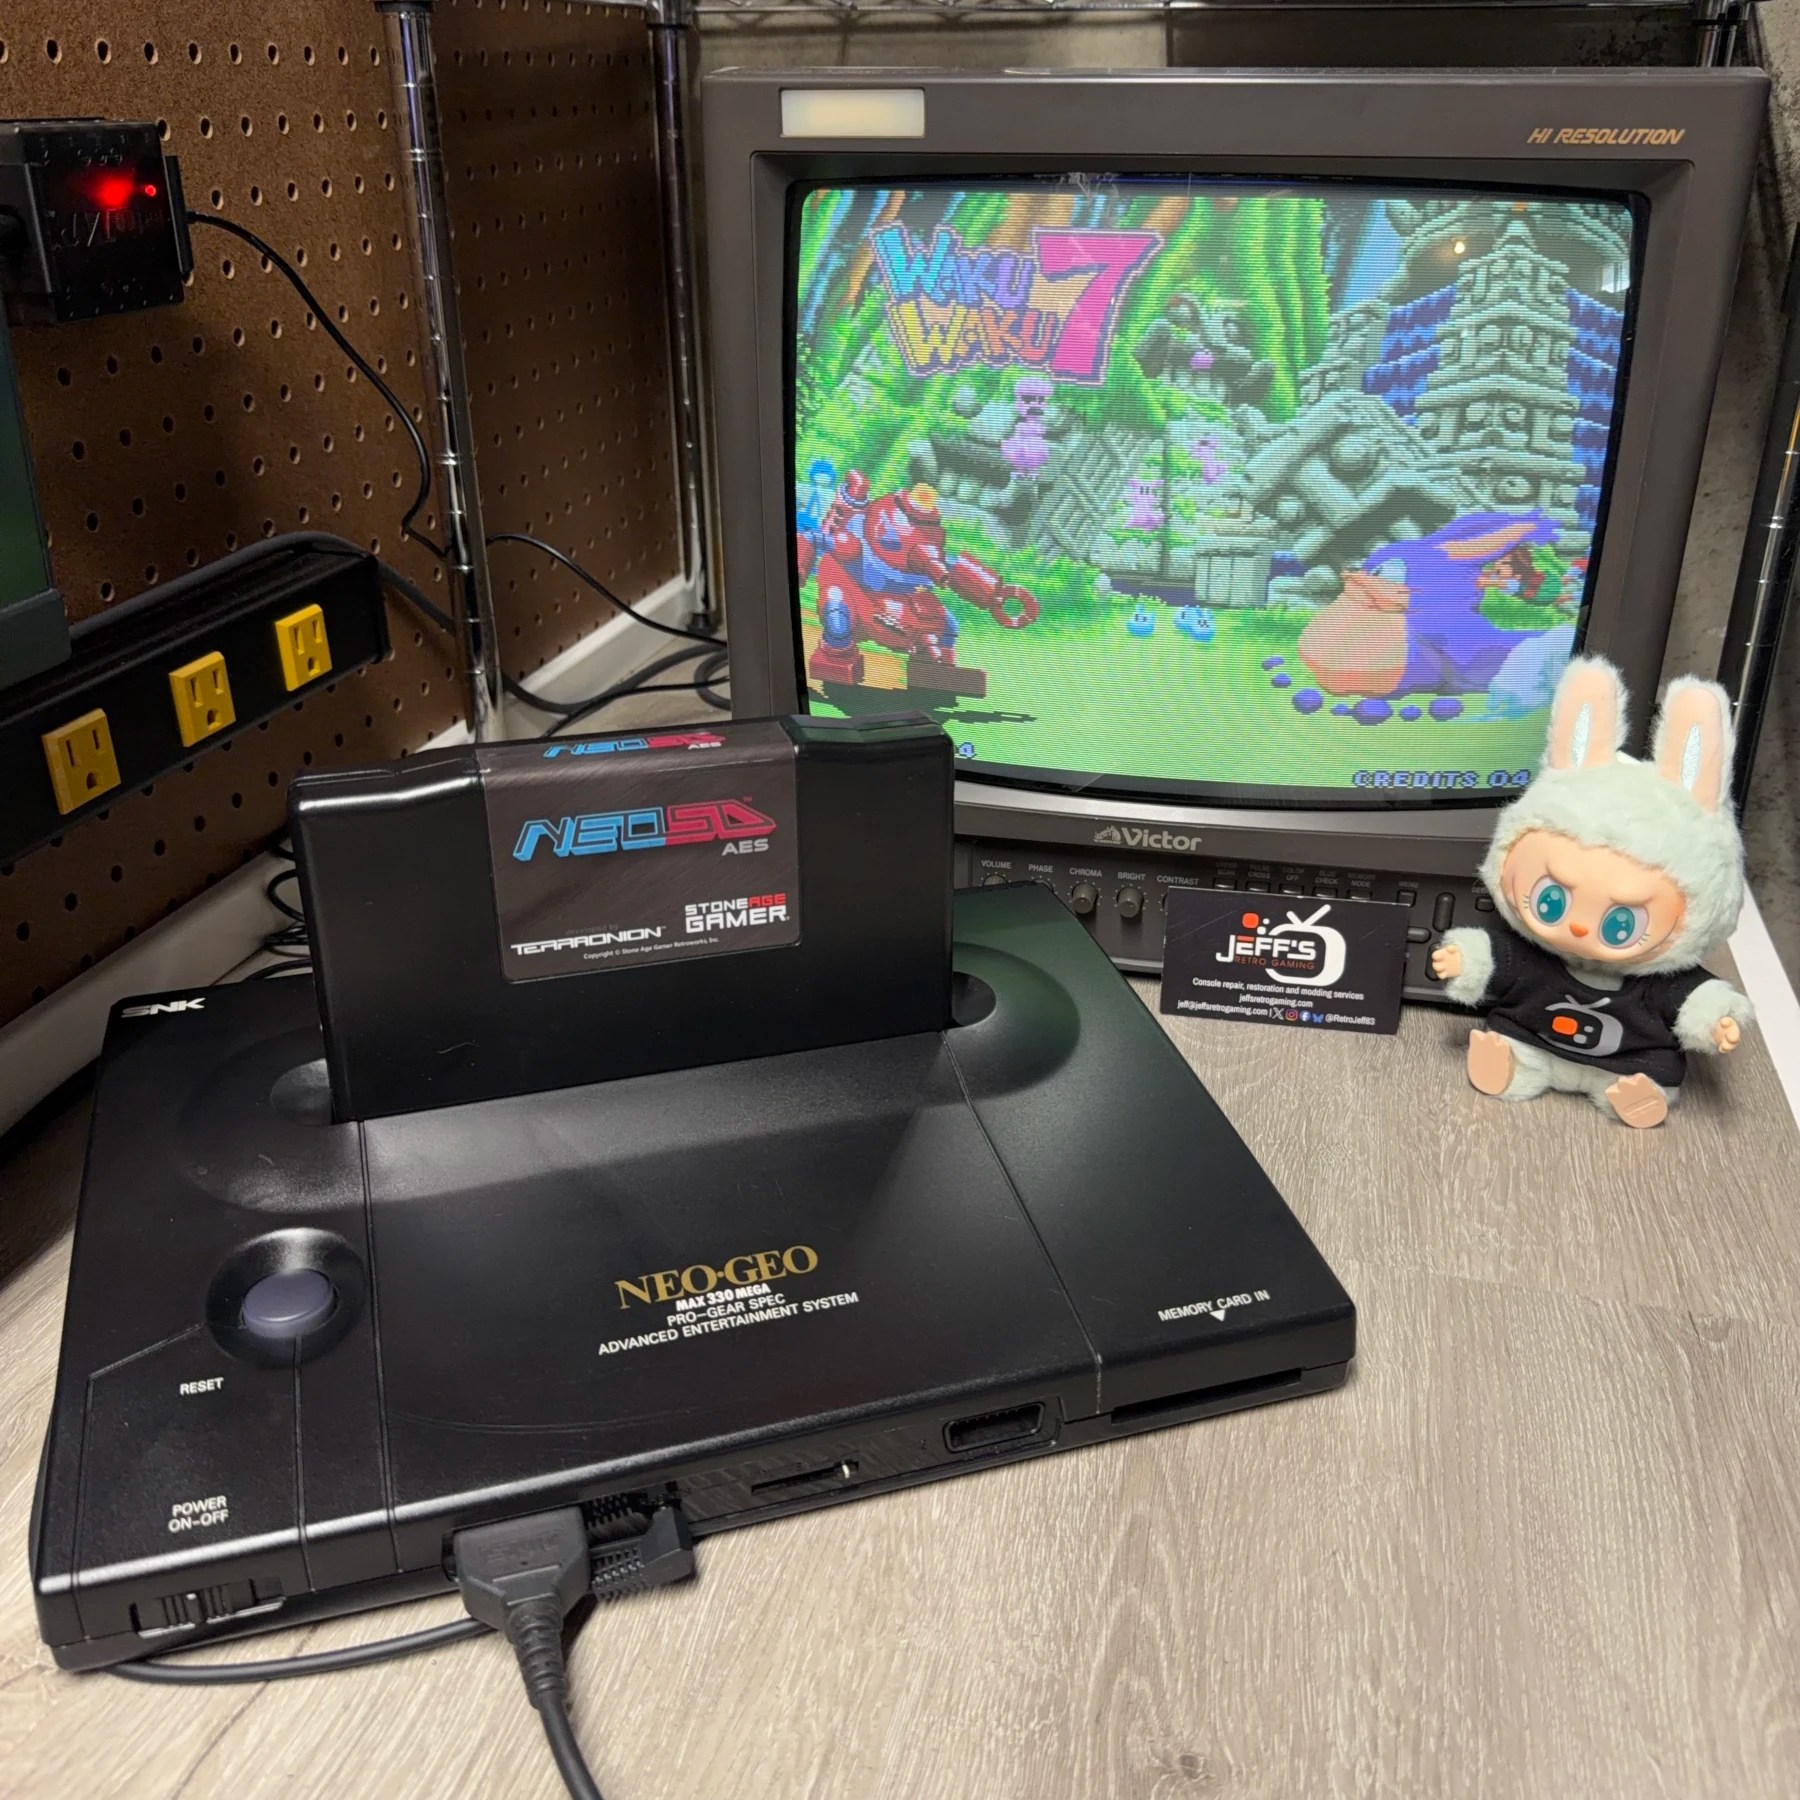
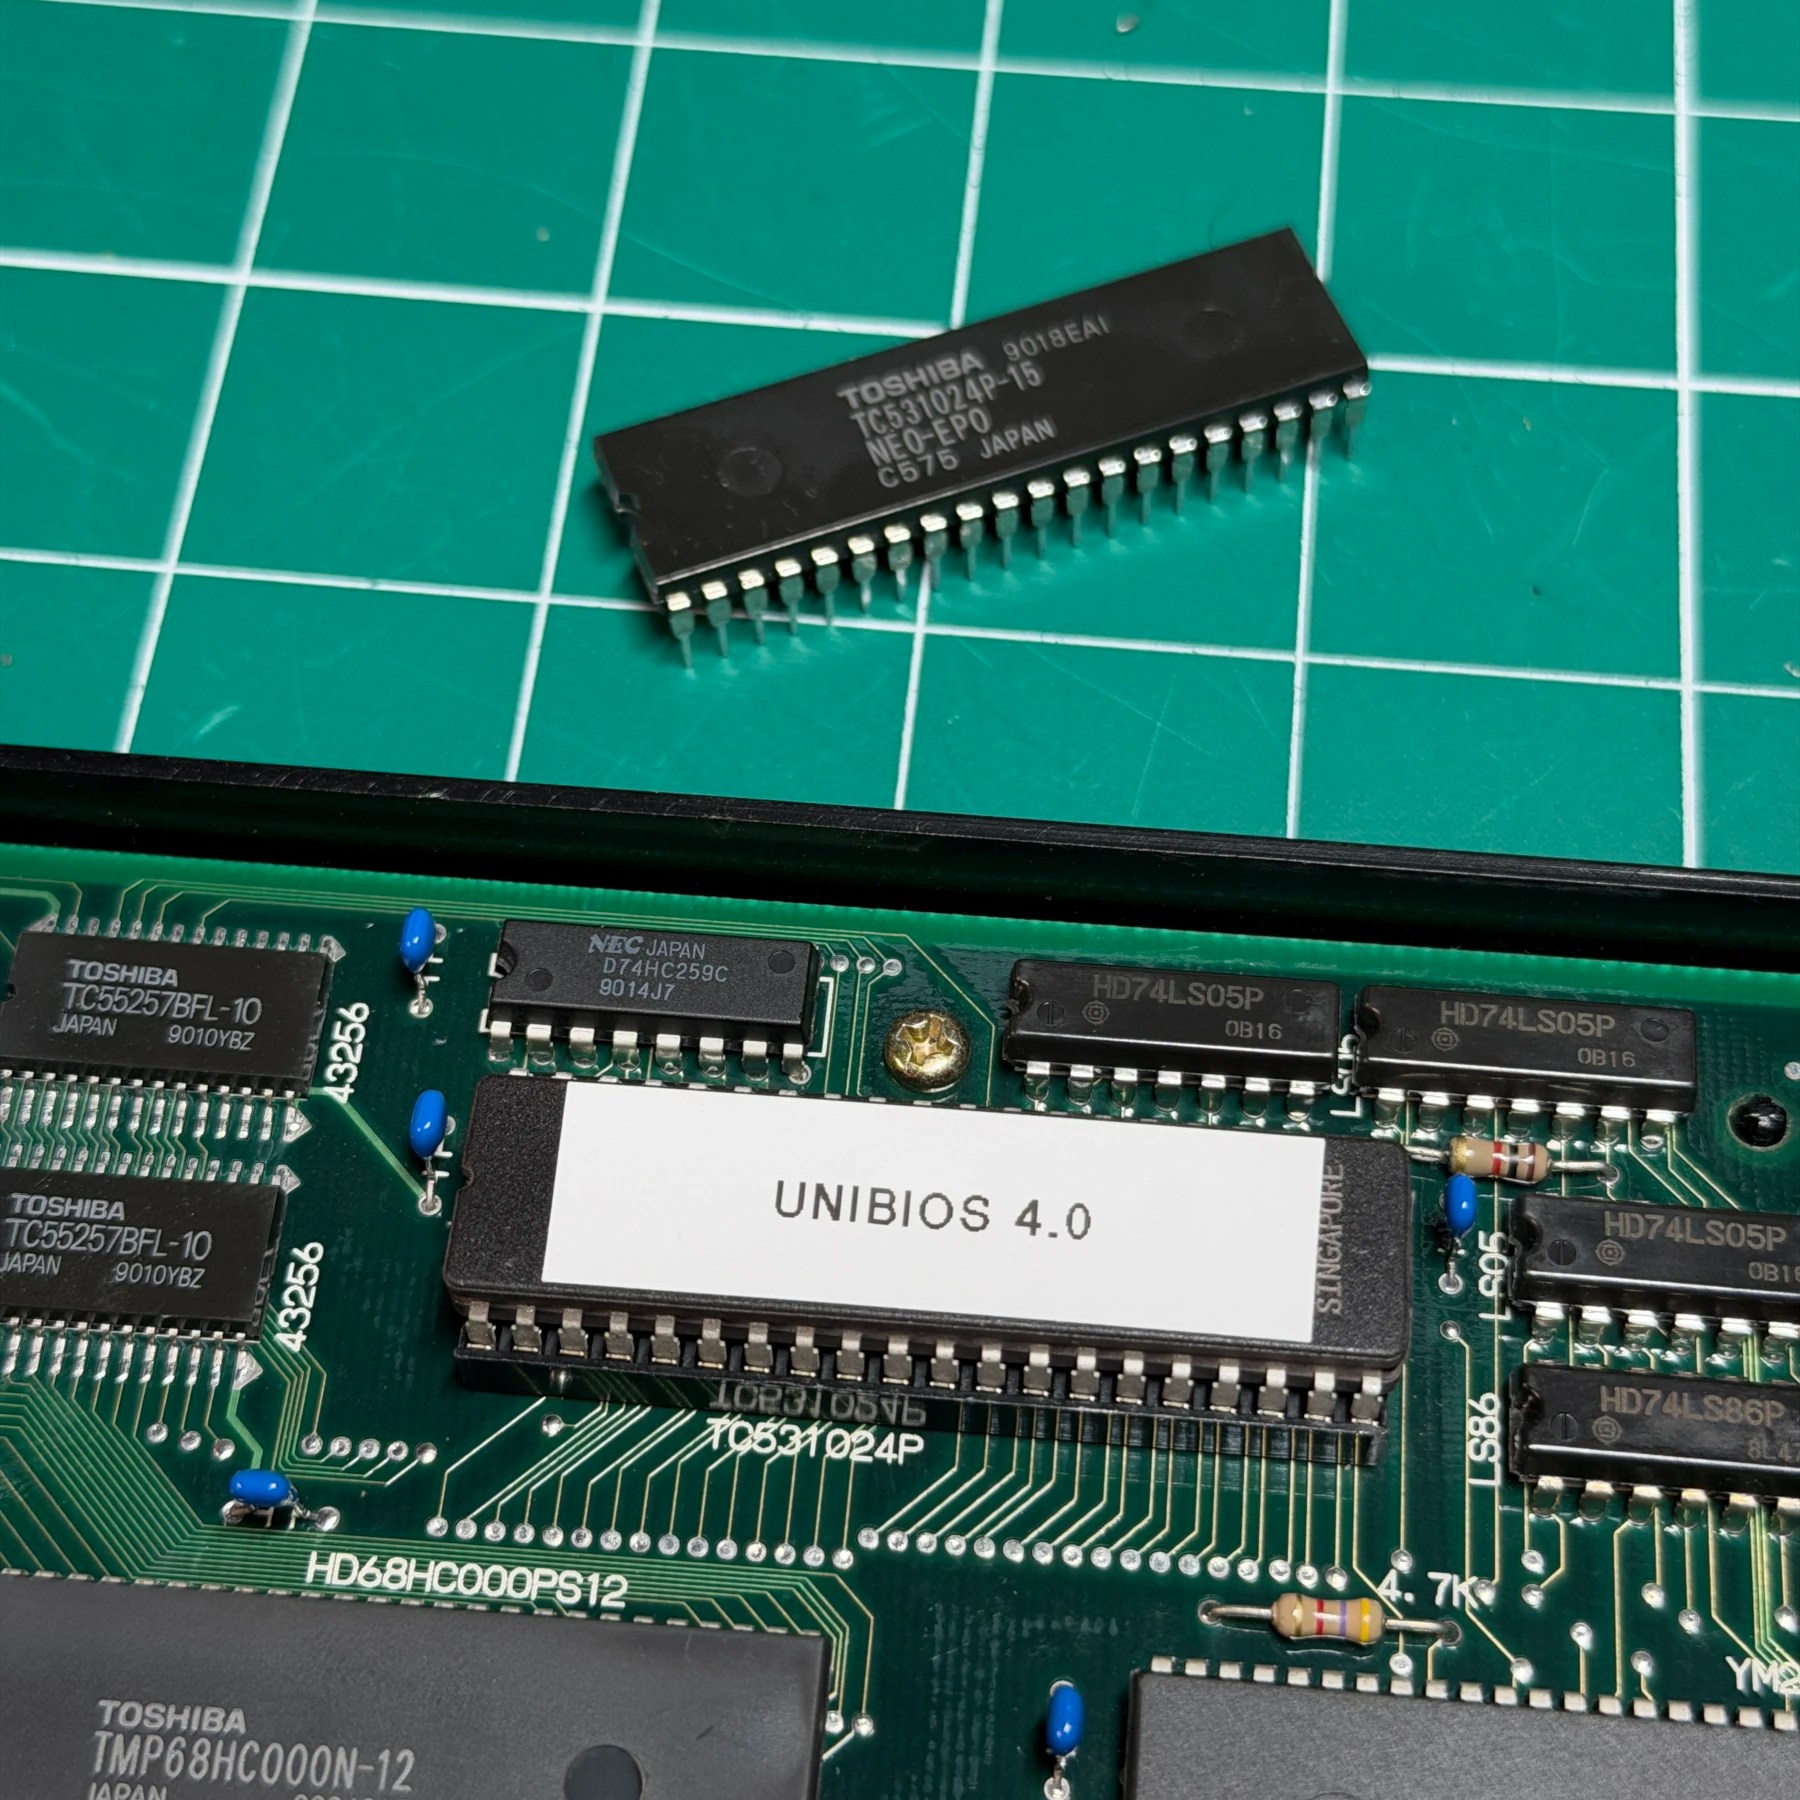
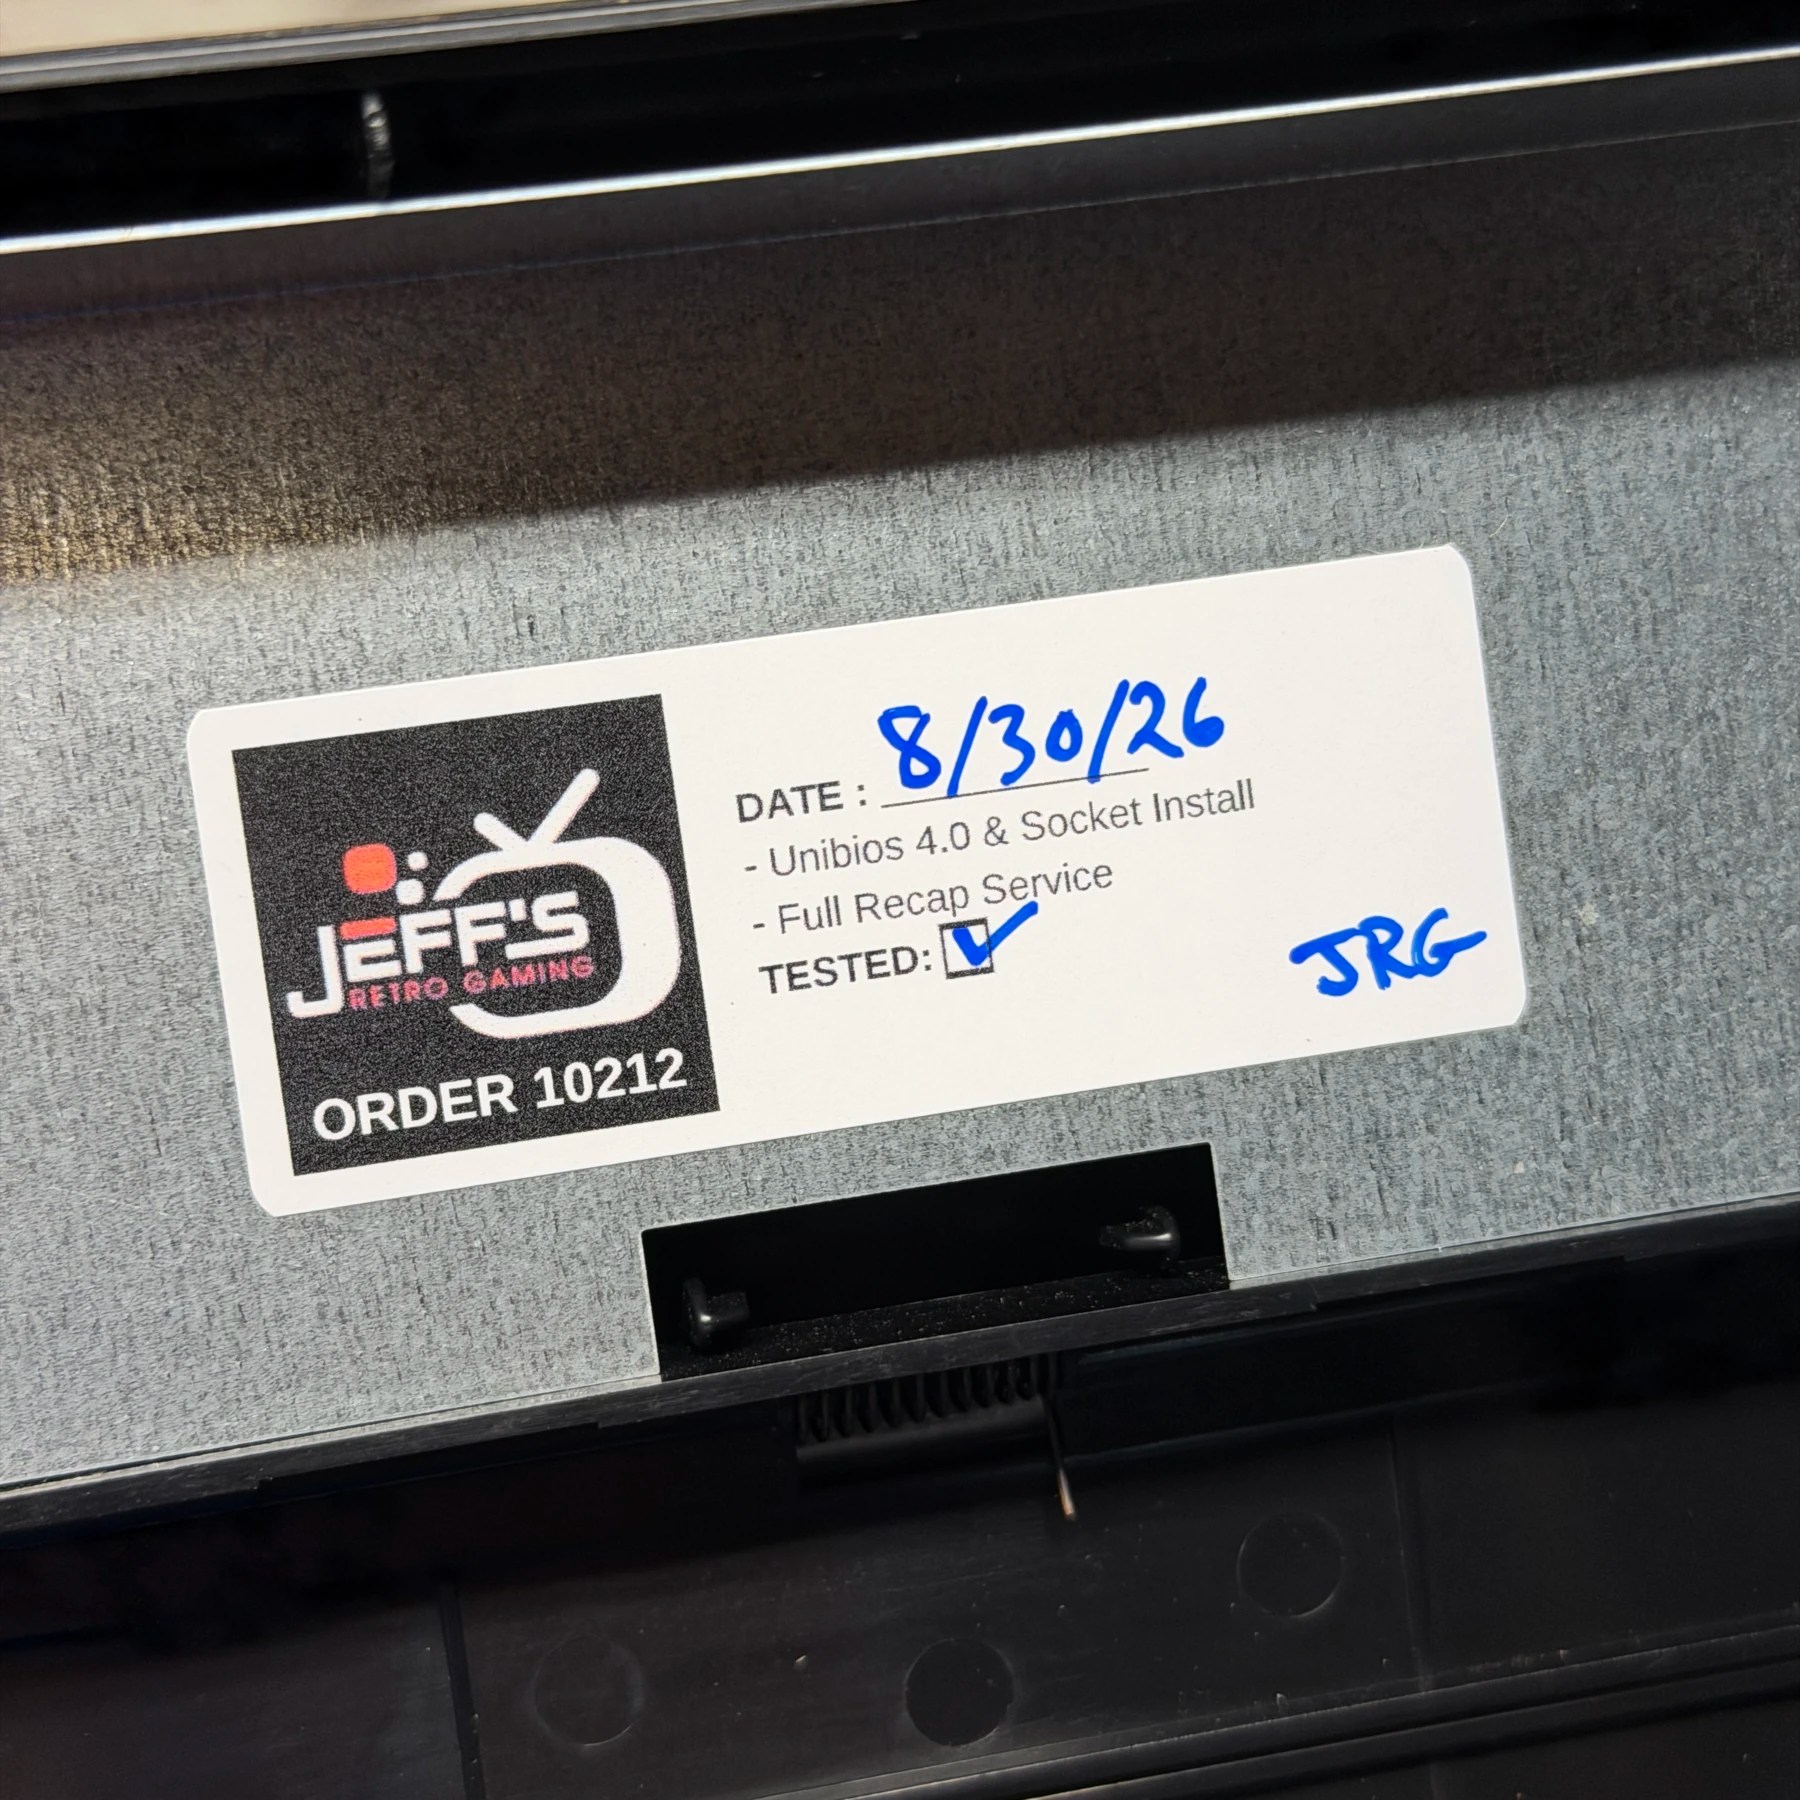
Had a straightforward request for a socketed Unibios 4.0 Install and recap on this NeoGeo AES which turned out to be an early revision AES 3-1. If it had been one of the later revision models like the 3-5/3-6 I would have inquired about doing an RGB bypass as well but these 3-1 models have excellent RGB out natively and the Console5 cap kits even come with higher value caps and resistors on the RGB circuit for improved video quality.
Since the full-service cleaning was not requested as I tore down the console I didn’t have to remove the bottom shield, cart slot flaps or memory card slot flap from the outer shell. I simply removed the outer screws (and rubber feel which will be replaced) and then the 7 or so holding the outer board down plus 4 longer ones securing the cartridge slot.
With the board removed I used my Hakko gun to desolder all through hole capacitors plus the additional 5 resistors near the AV out which will be replaced with the kit, then deep cleaned the top and bottom of the board using ISO and my microfiber cloth/brush.
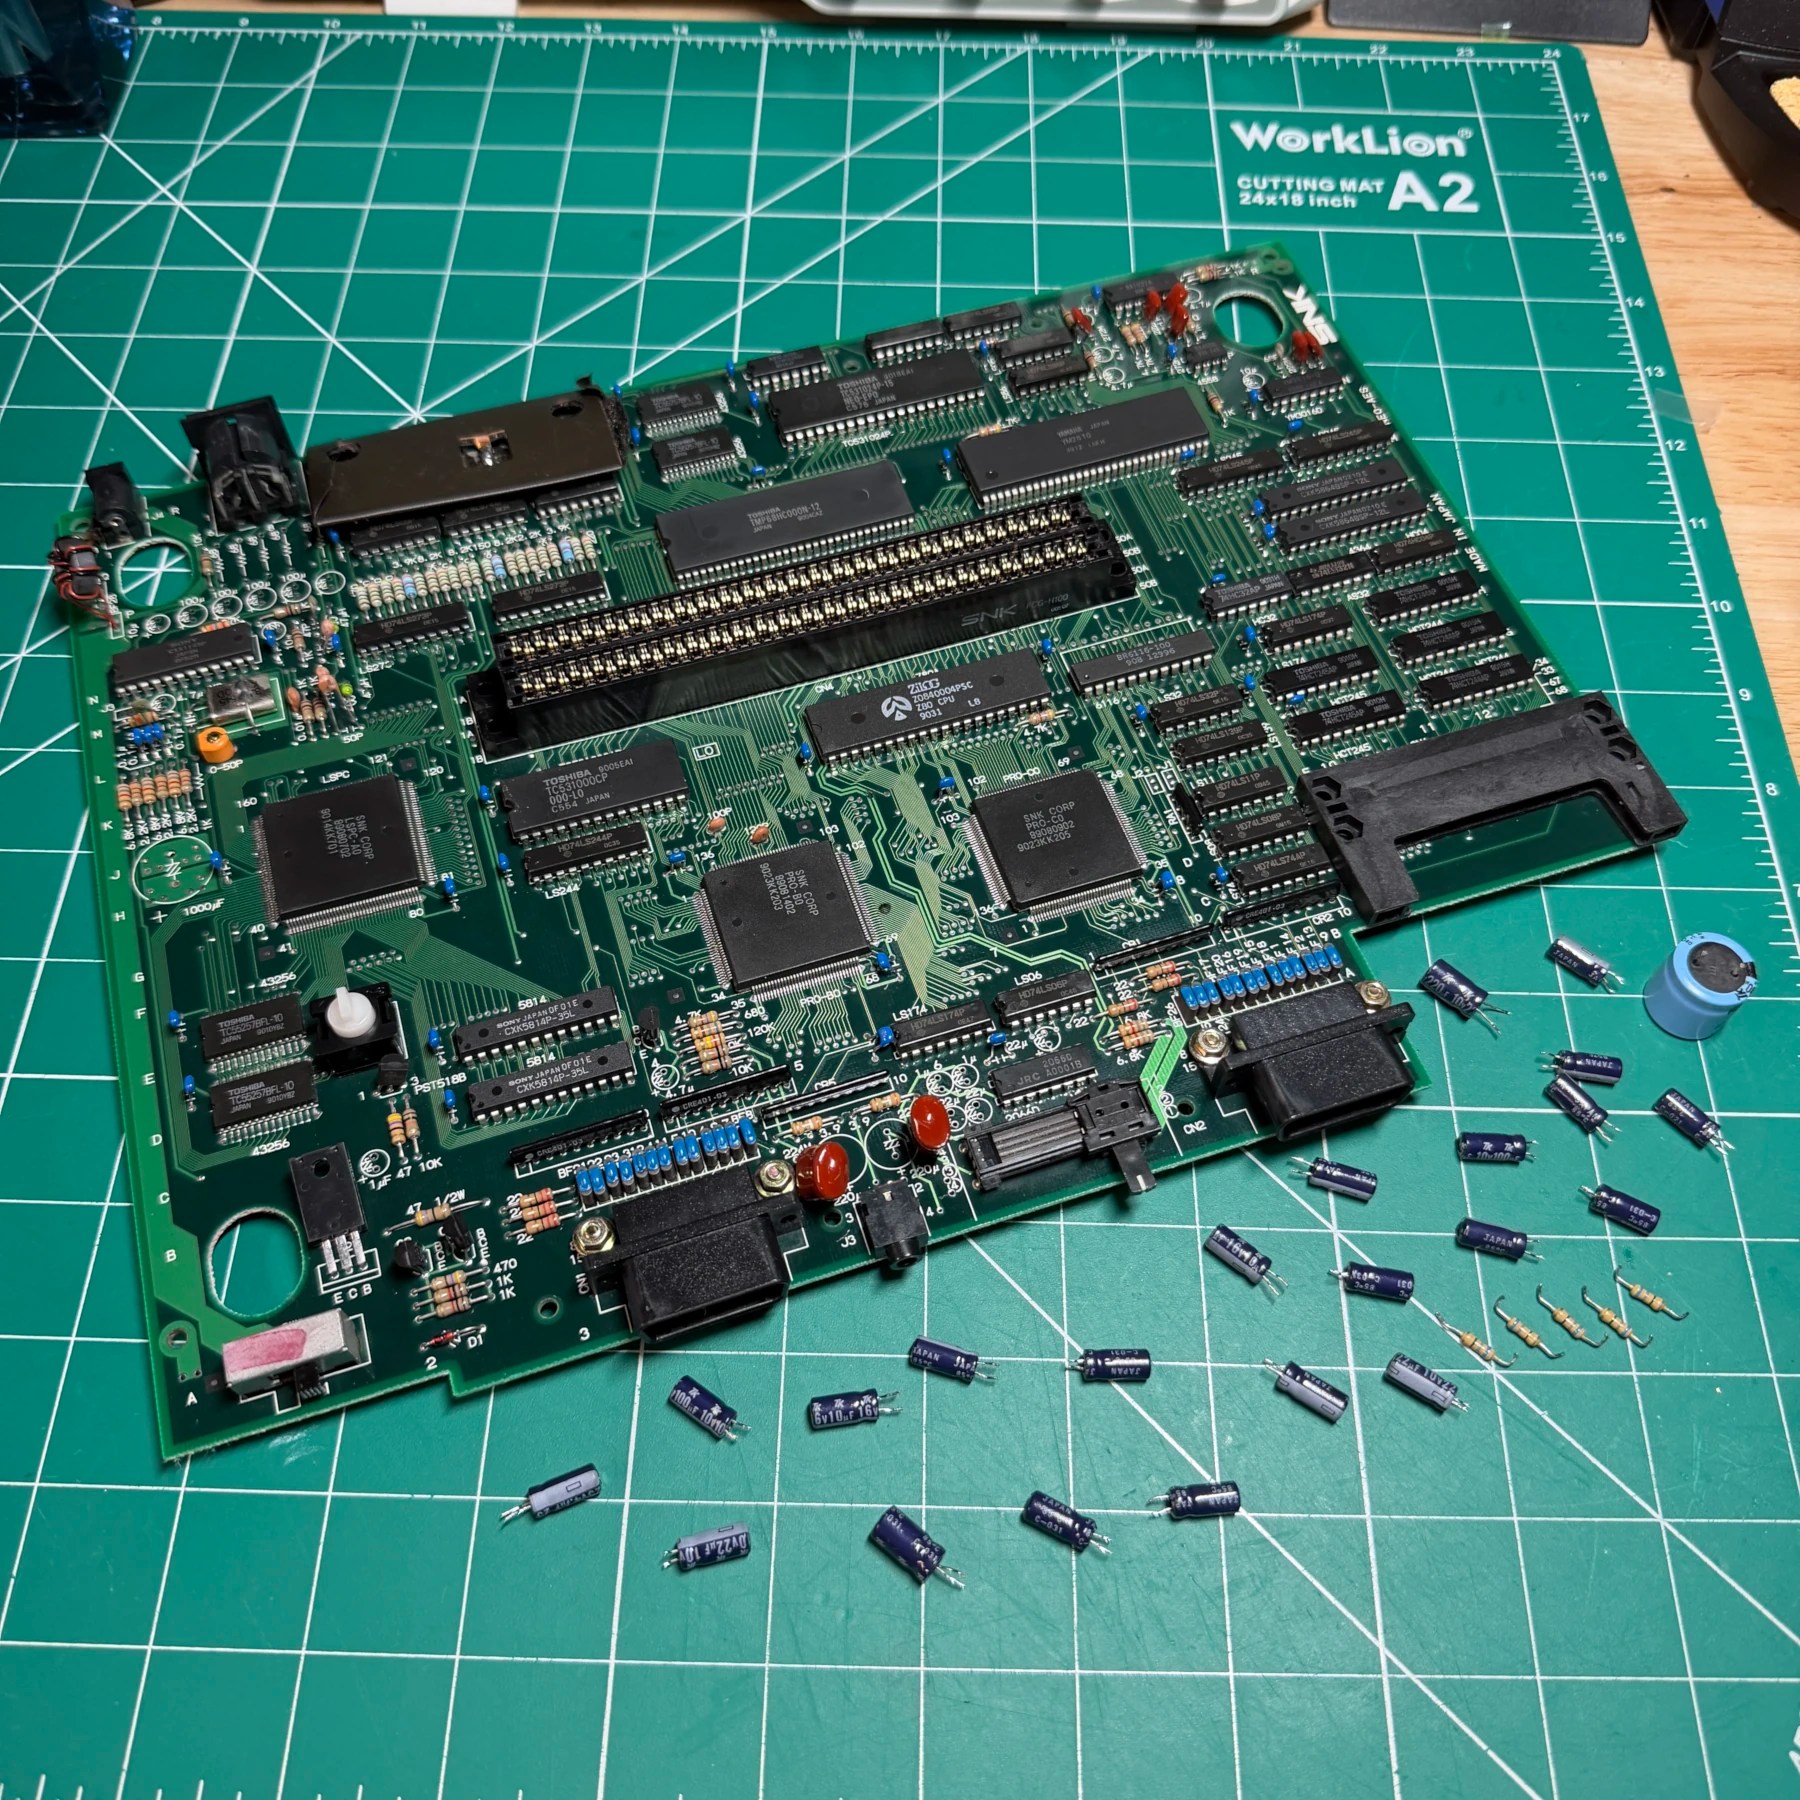
With the board depopulated and cleaned I then installed all the new caps and 75ohm resistors and soldered them in place, then cut the legs and cleaned up any unspent flux. While looking over the board once more I cleaned up the stereo slider/port and checked the solder joints on the power jack and AV Din which all looked good 👍
In order to prep for the Unibios Install I always like to reflow the 40 pins so they clear much easier with the gun, then clean the gun so it has maximum suction before attempting. In all cases of the AES just to be extra careful I cut and apply some Kapton tape right up to the border of the pin holes to protect the nearby board and traces from the nozzle as I move it around and clear the solder from each one.
Really the trick is here lowest temp the gun will do (350C in my case), introduce to the joint for just a few seconds, lift a small distance from the surface – about 1mm and then pull and gently wiggle the chip leg around to ensure its not stuck to a plated side of the hole as it cools down. And its just a matter of repeating that process about 39 more times, I work my way up one end, stop and clean halfway through and then do the other side.
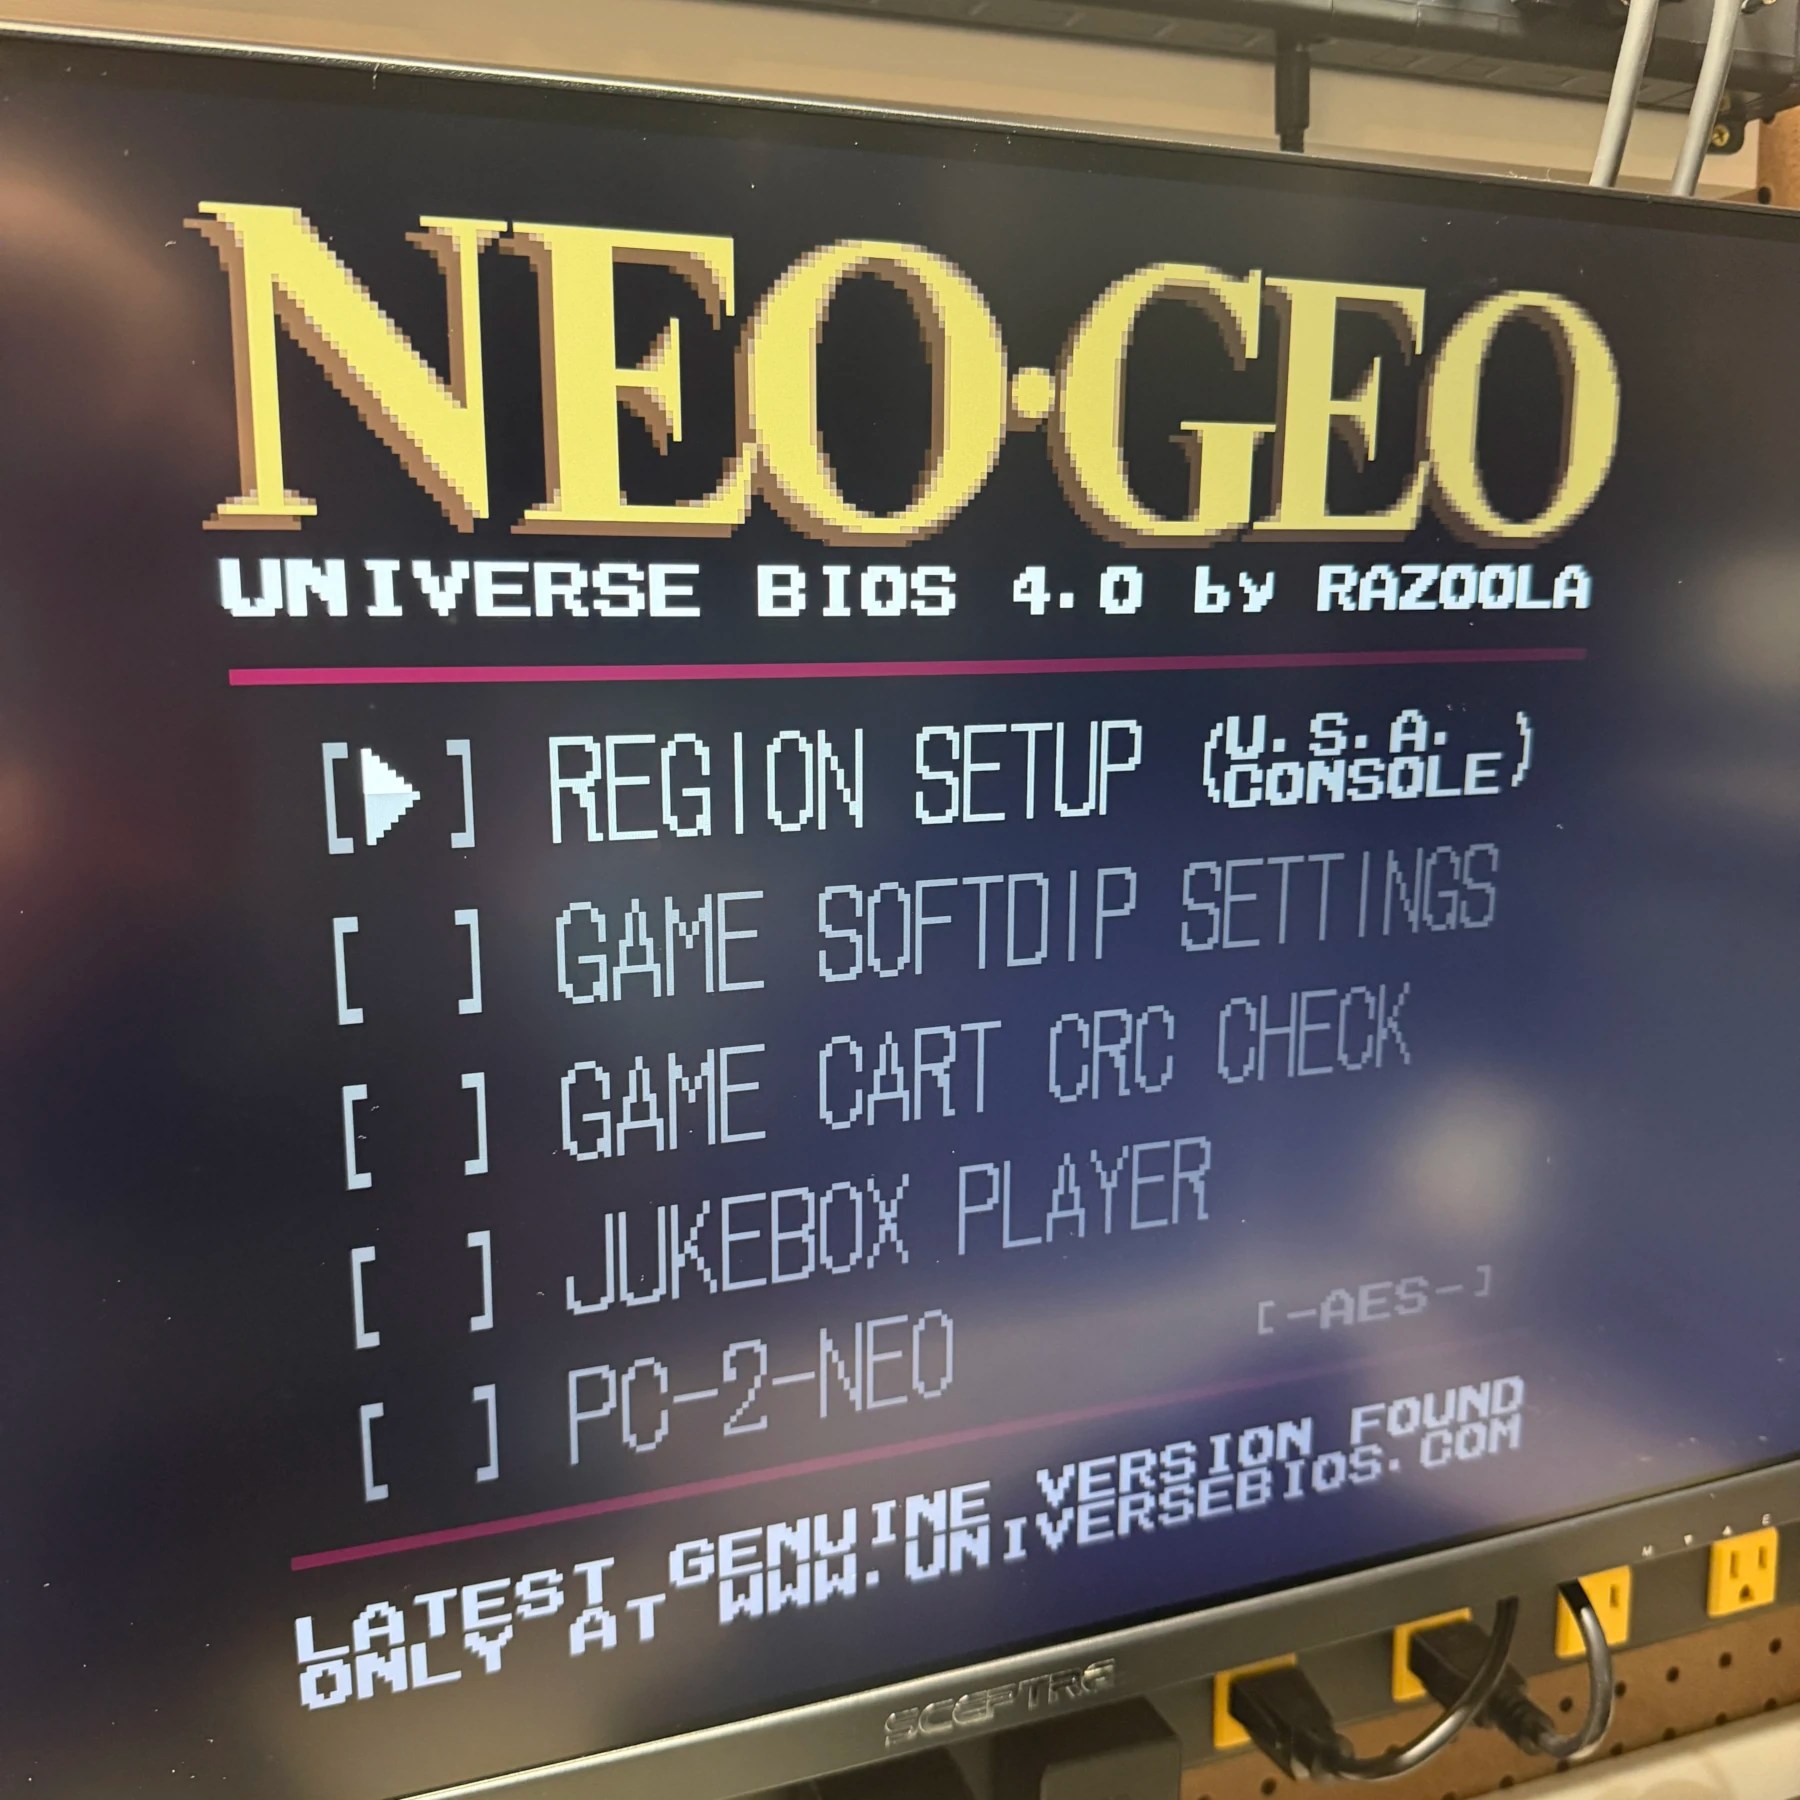
Once done, I cleaned the board up thoroughly with some ISO and then snapped in the socket and worked in reverse order to solder all 40 pins down to the board, then finally cleaned up the unspent flux on the bottom side of the board. With that done, I only had to snap in the new BIOS chip (making sure none of the legs are bent over the edge of the socket) and now both the recap and Unibios are done! At this point I can test so I confirm with no game I get a white diagnostic screen and then can access the Unibios menu while booting my flash cart, we are good to go!
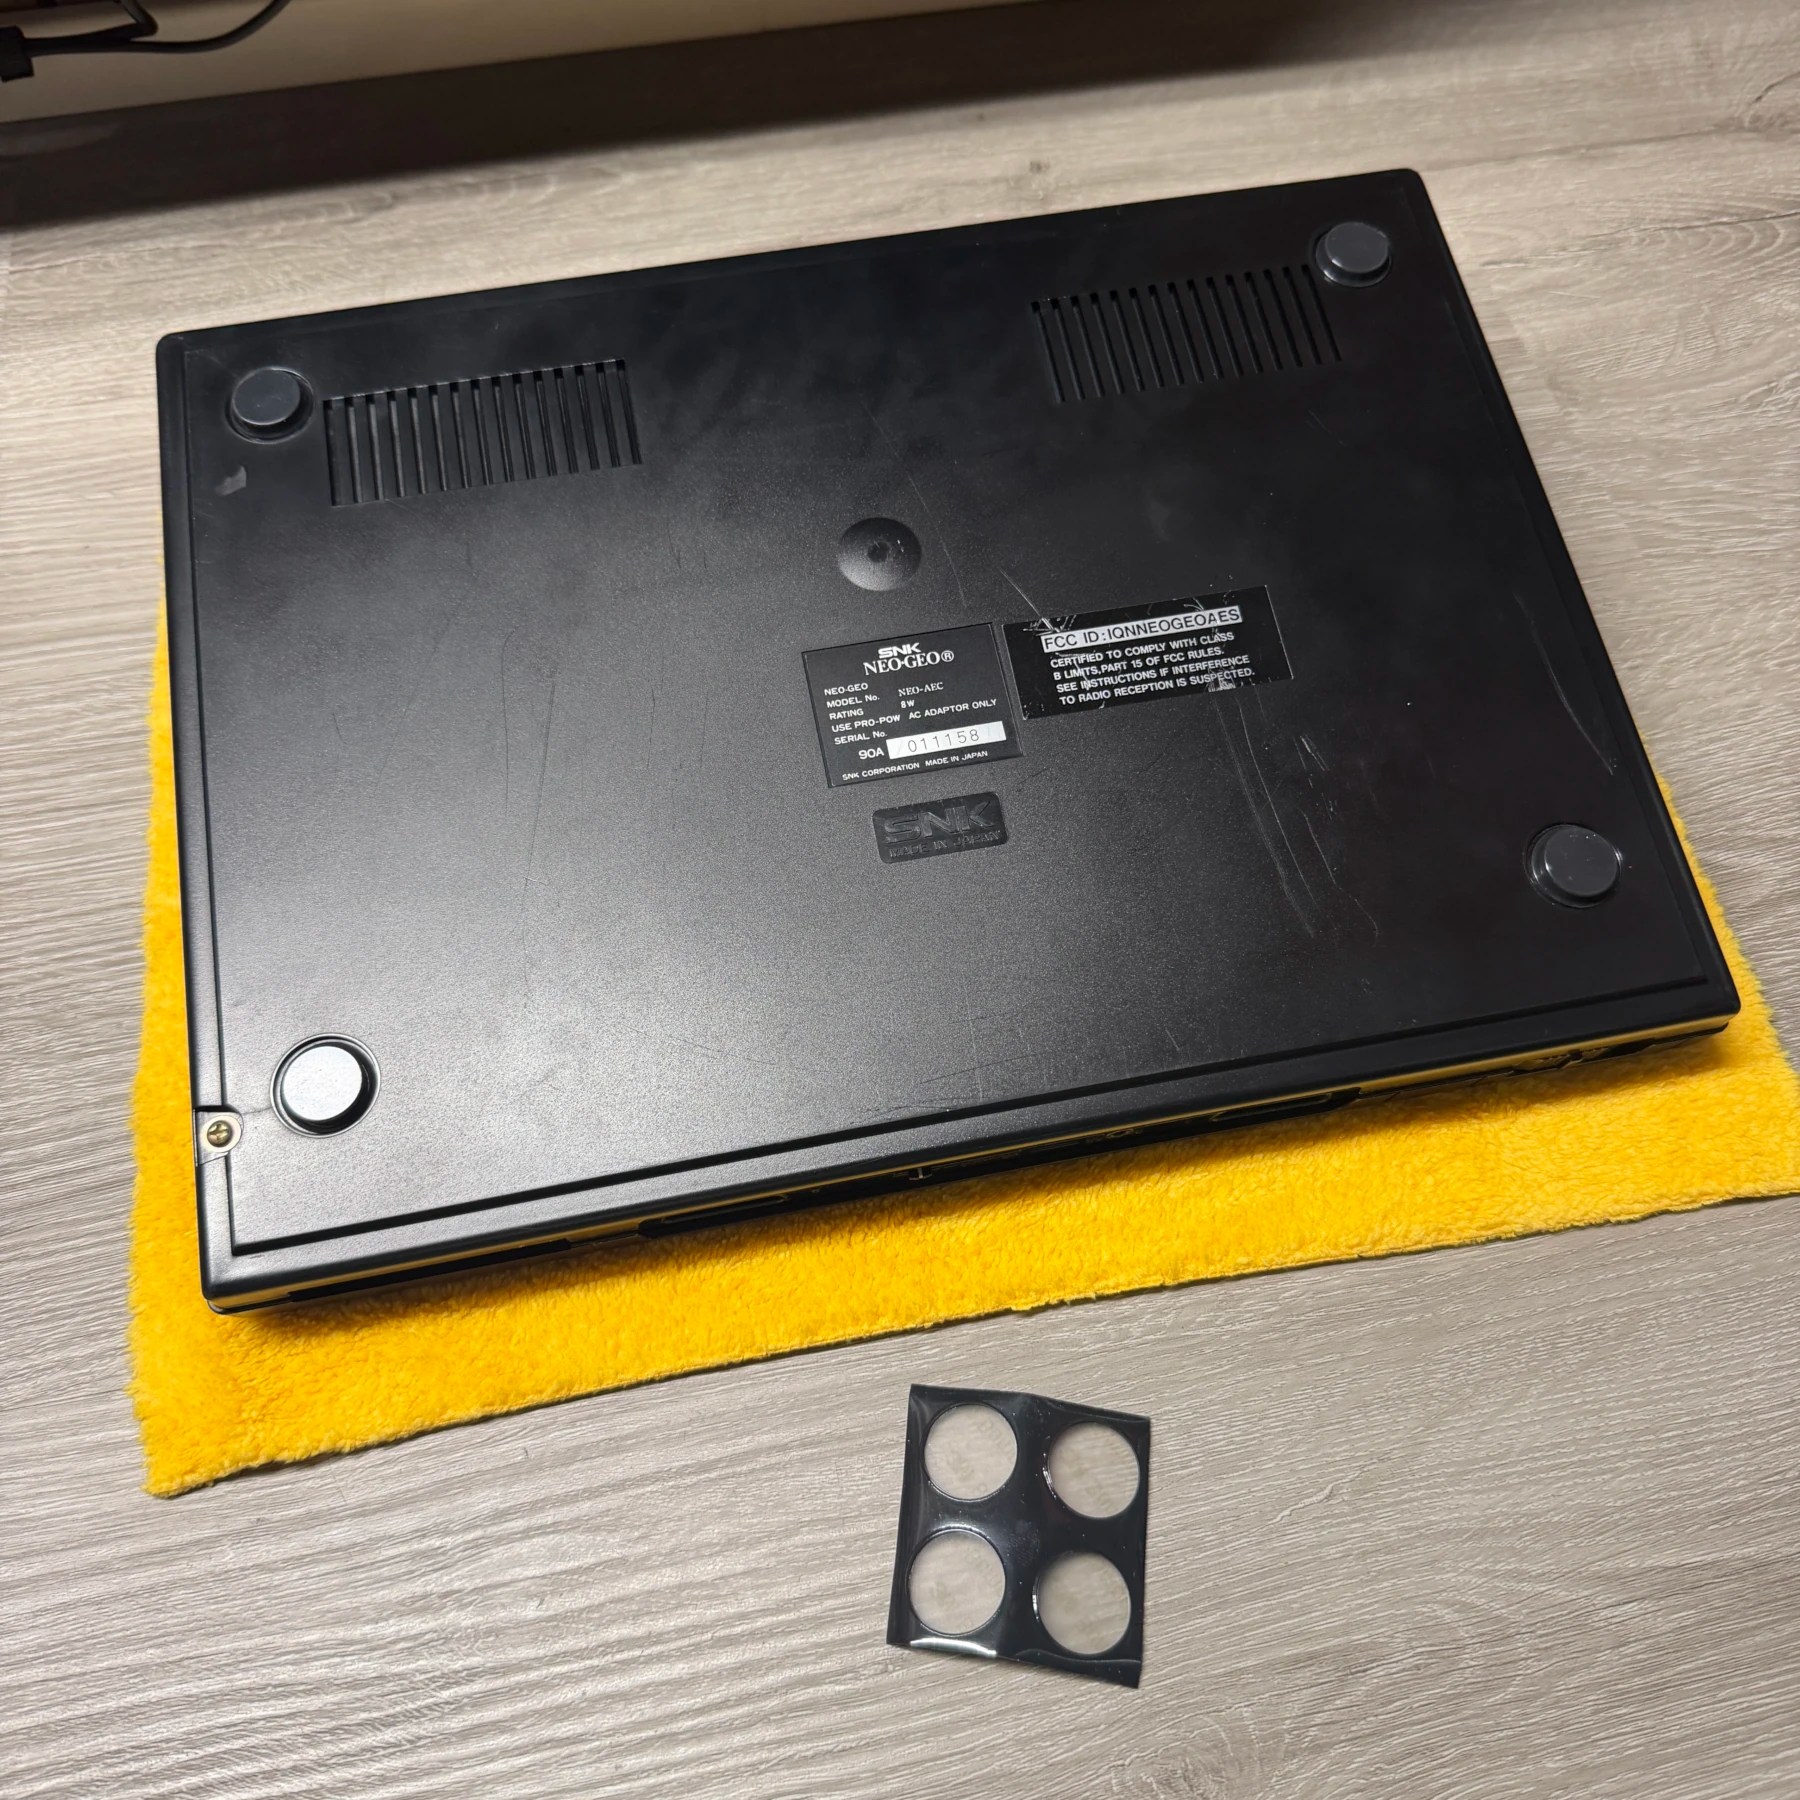
I re-assembled the outer shell and then stuck some brand-new premium rubber feet on the bottom, these new ones have much better grip and the OEM ones never peel cleanly so it’s why I always have these on hand!
With the AES console out of the way, the customer had also asked me to look at an arcade stick that was not working and check the stock PSU since they had complained about black artifacts on some games. Some 5V AES consoles have issues especially when using a flash cart. In this case I popped open his OEM PSU and tested all 3 caps, 2 were fine and one was marginal so replaced it and was not able to replicate artifact issue in my testing (using the NeoSD AES)
On the controller front, the issue ended up being mechanical. The select/start button board had clearly been taken out by someone before and then reinstalled backwards so it was sitting up against the top shell at an angle and too close, causing the select button to be pushed down enough to register and in most games in AES mode the select button is pause so that explained their complaints of random pausing. I flipped the board around, re-bent the metal and seated it, then just for good measure reflowed the wiring connections inside and closed it back up. I could not get any games to pause on me after so that controller is good to go as well!
Got all of it boxed up and its back on its way home now, another order in the books!
Thank you for the excellent work on my Neo Geo AES! I really appreciate the attention to detail, knowledge, and care you put into the UniBIOS 4.0 installation and recap. Everything was explained clearly, and I felt confident knowing my console was in good hands. The work was clean and professional, and I’m extremely happy with the results. I definitely recommend your services and will be coming back for any future repairs or upgrades on All of my other consoles!
Absolutely! Thank you for trusting me with your NeoGeo I know these are very rare and expensive machines so it is not taken for granted. Enjoy all the cool perks of the UniBios and your AES should last for a long long time!