
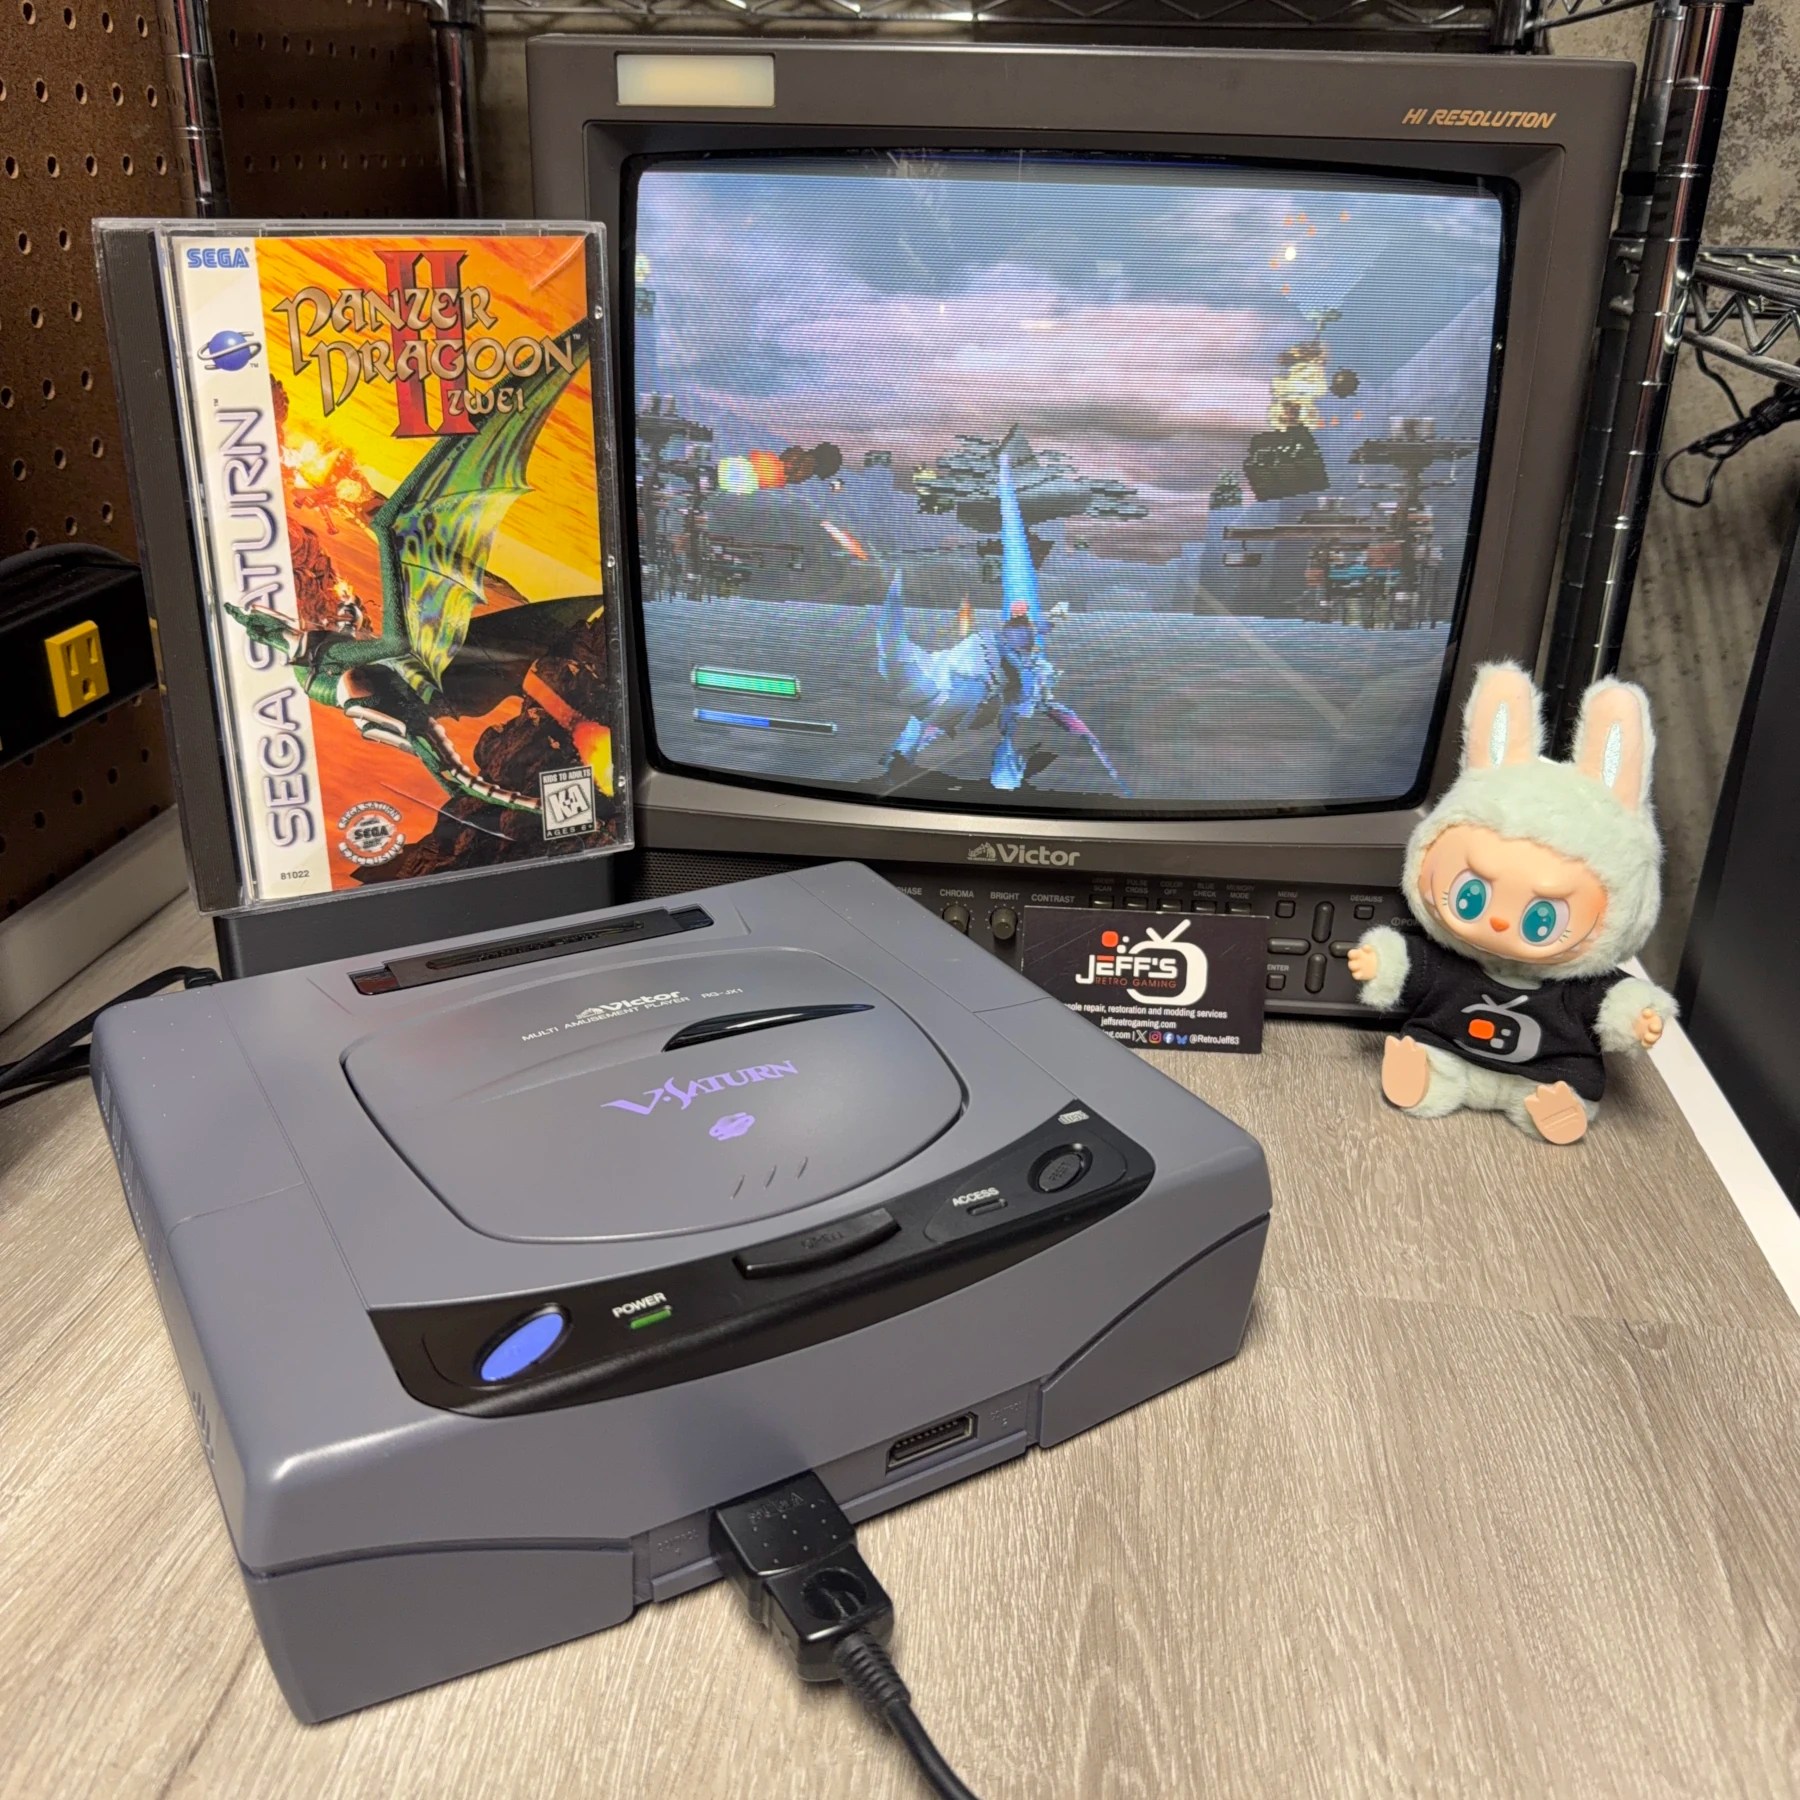
It’s not often these days I see a specific console or variant come into the shop that I don’t own or haven’t seen in-person before. I’ve worked on more Saturns than most other modders and even several Victor V-Saturn before but all of those have been the Model 2. So imagine my surprise when a friend/customer came back from Japan with this Model 1 in need of some work and asked me if I would take a shot at it… Of course I would!
Was sold as tested, not working “powers on but no audio/video”. Having worked on so many of these I knew right away a Full Recap Service would resolve that no doubt. Since it was coming in for that and a Cleaning, they also asked about FRAM and since you can keep the unique V-Saturn intro on a Region Free BIOS we figured why not install one of those too and unlock the ability to play USA games as well. With that, we had a gameplan…
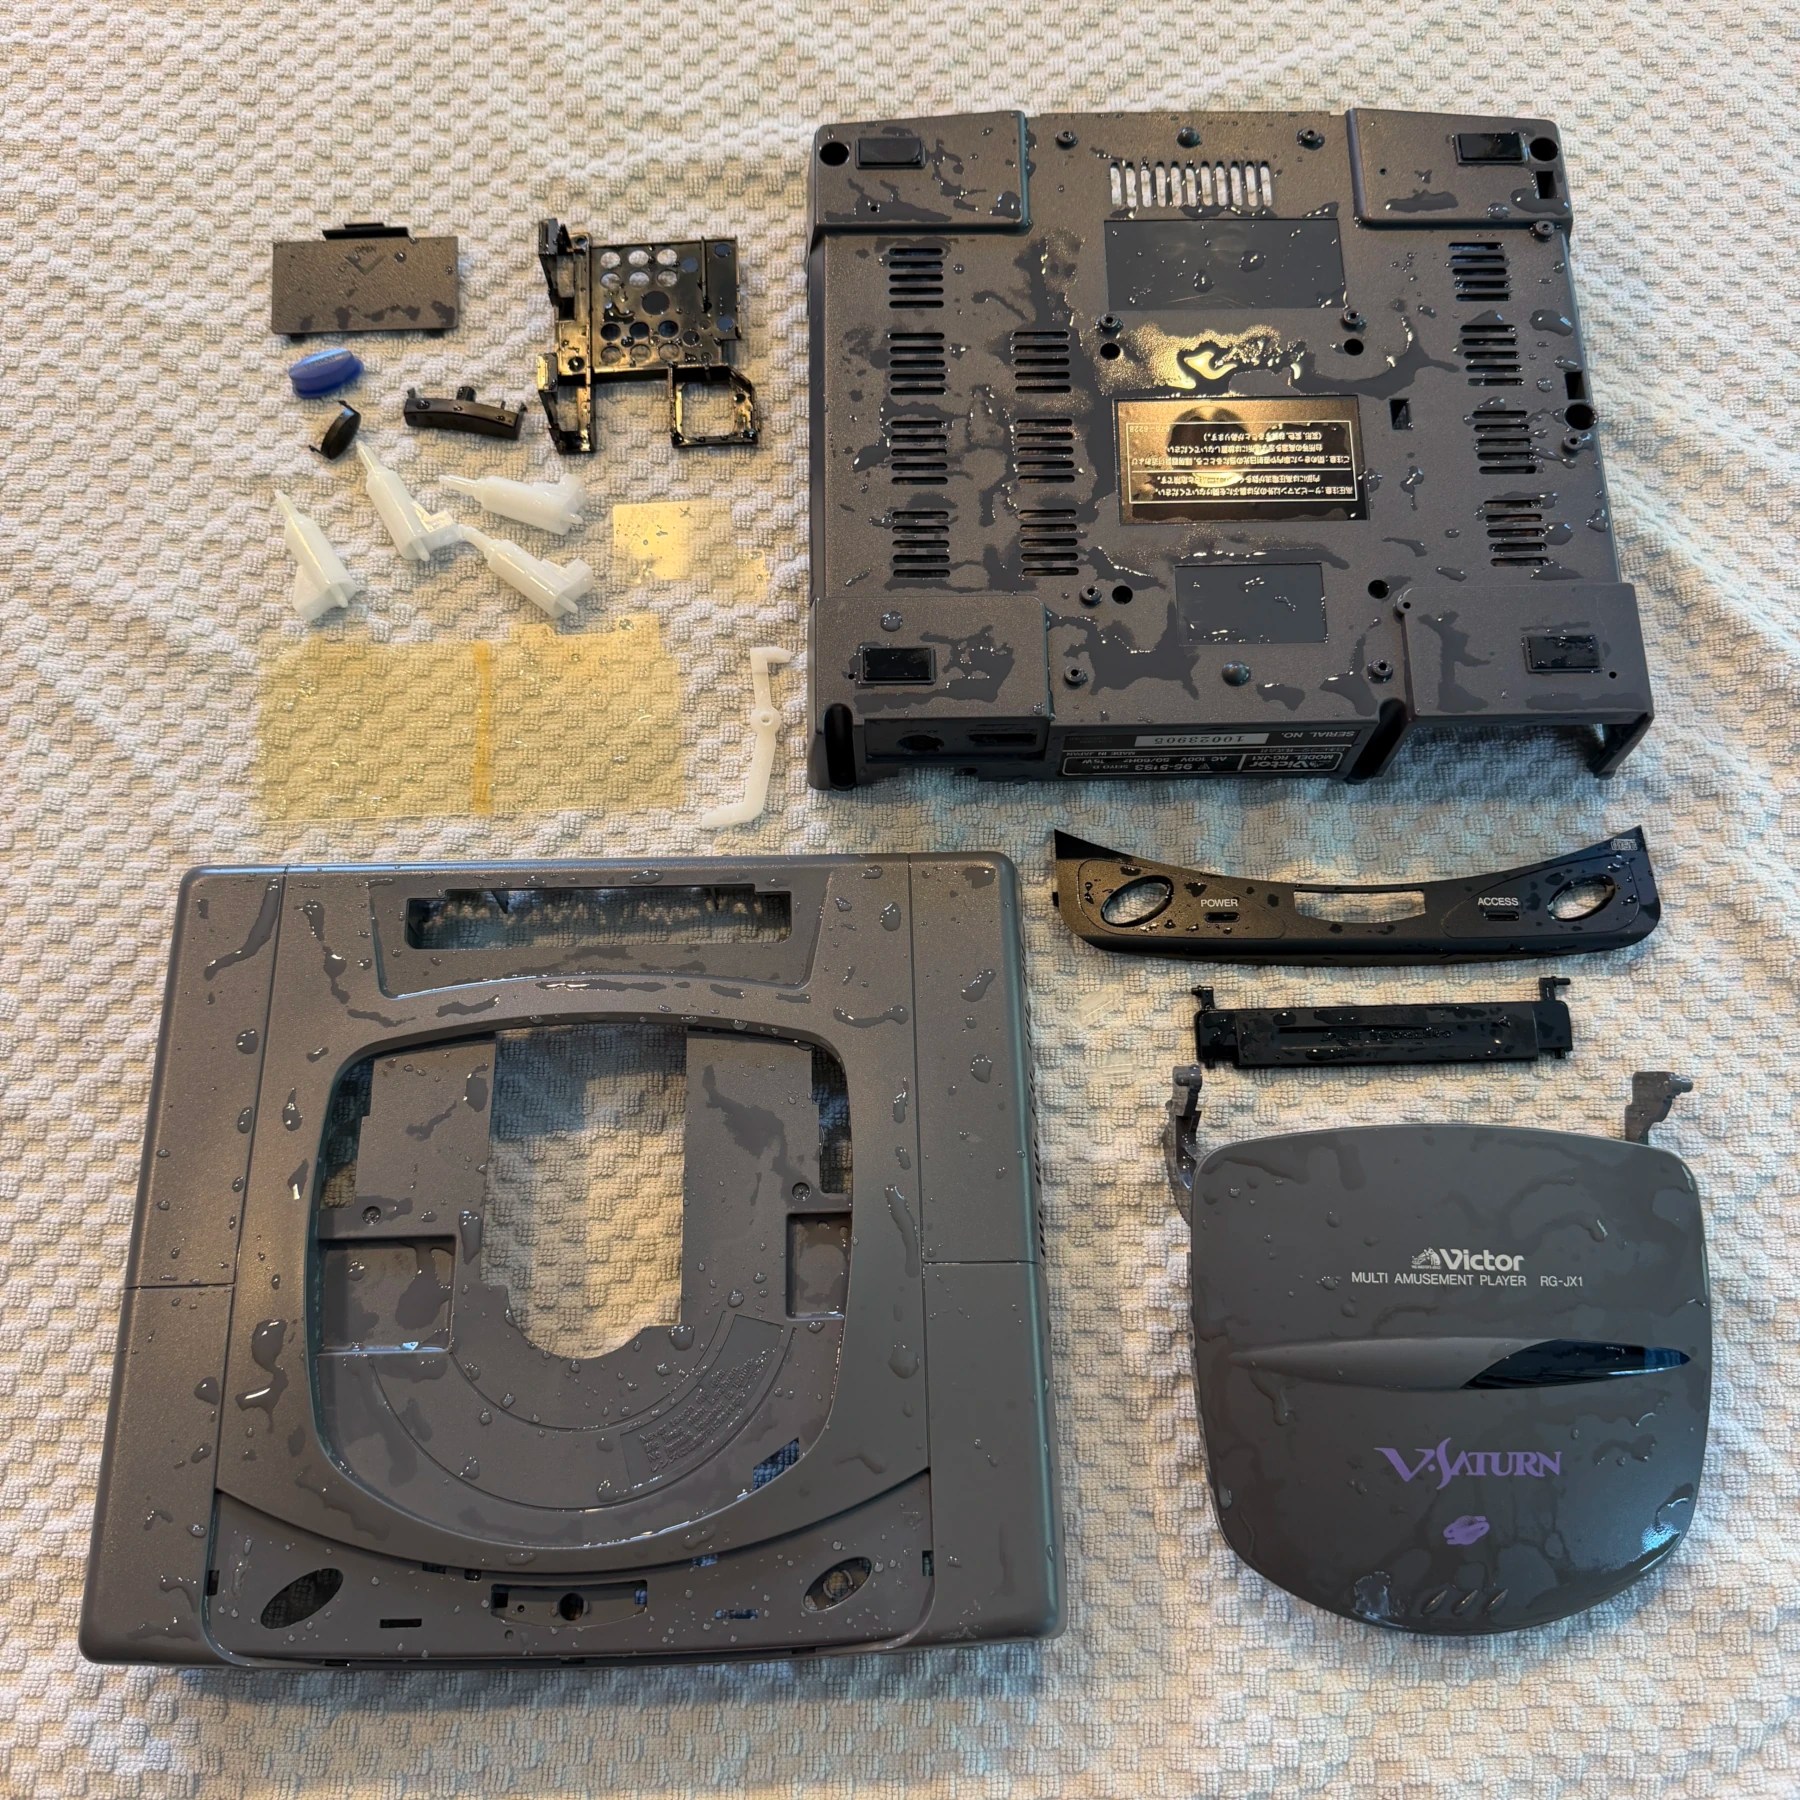
While the shell was in great cosmetic condition (free of heavy scratches, cracks, etc.) it did have some yellowing which is common for systems of this color, appearing a bit more of a brown tint than the original Gray. For such a special and rare unit that’s a bummer so I decided since I was going to be doing the Full-Service Cleaning on it, why not also retro bright? I fully disassembled the system down to the shell and misc. plastic parts and then soaked them in the bin, scrubbed and washed and set to dry overnight. Once they were dry the next day, I sorted out the shell parts needing restoration and put them in for a full overnight 12-hour session and saw a huge improvement!
With some UV protectant coat on it after a second rinse, this thing looked practically brand new!
Normally I would only do the recap first and confirm stock operation but being so confident the recap would resolve it does save time to get all internal mods and work done while in there so that was the plan.
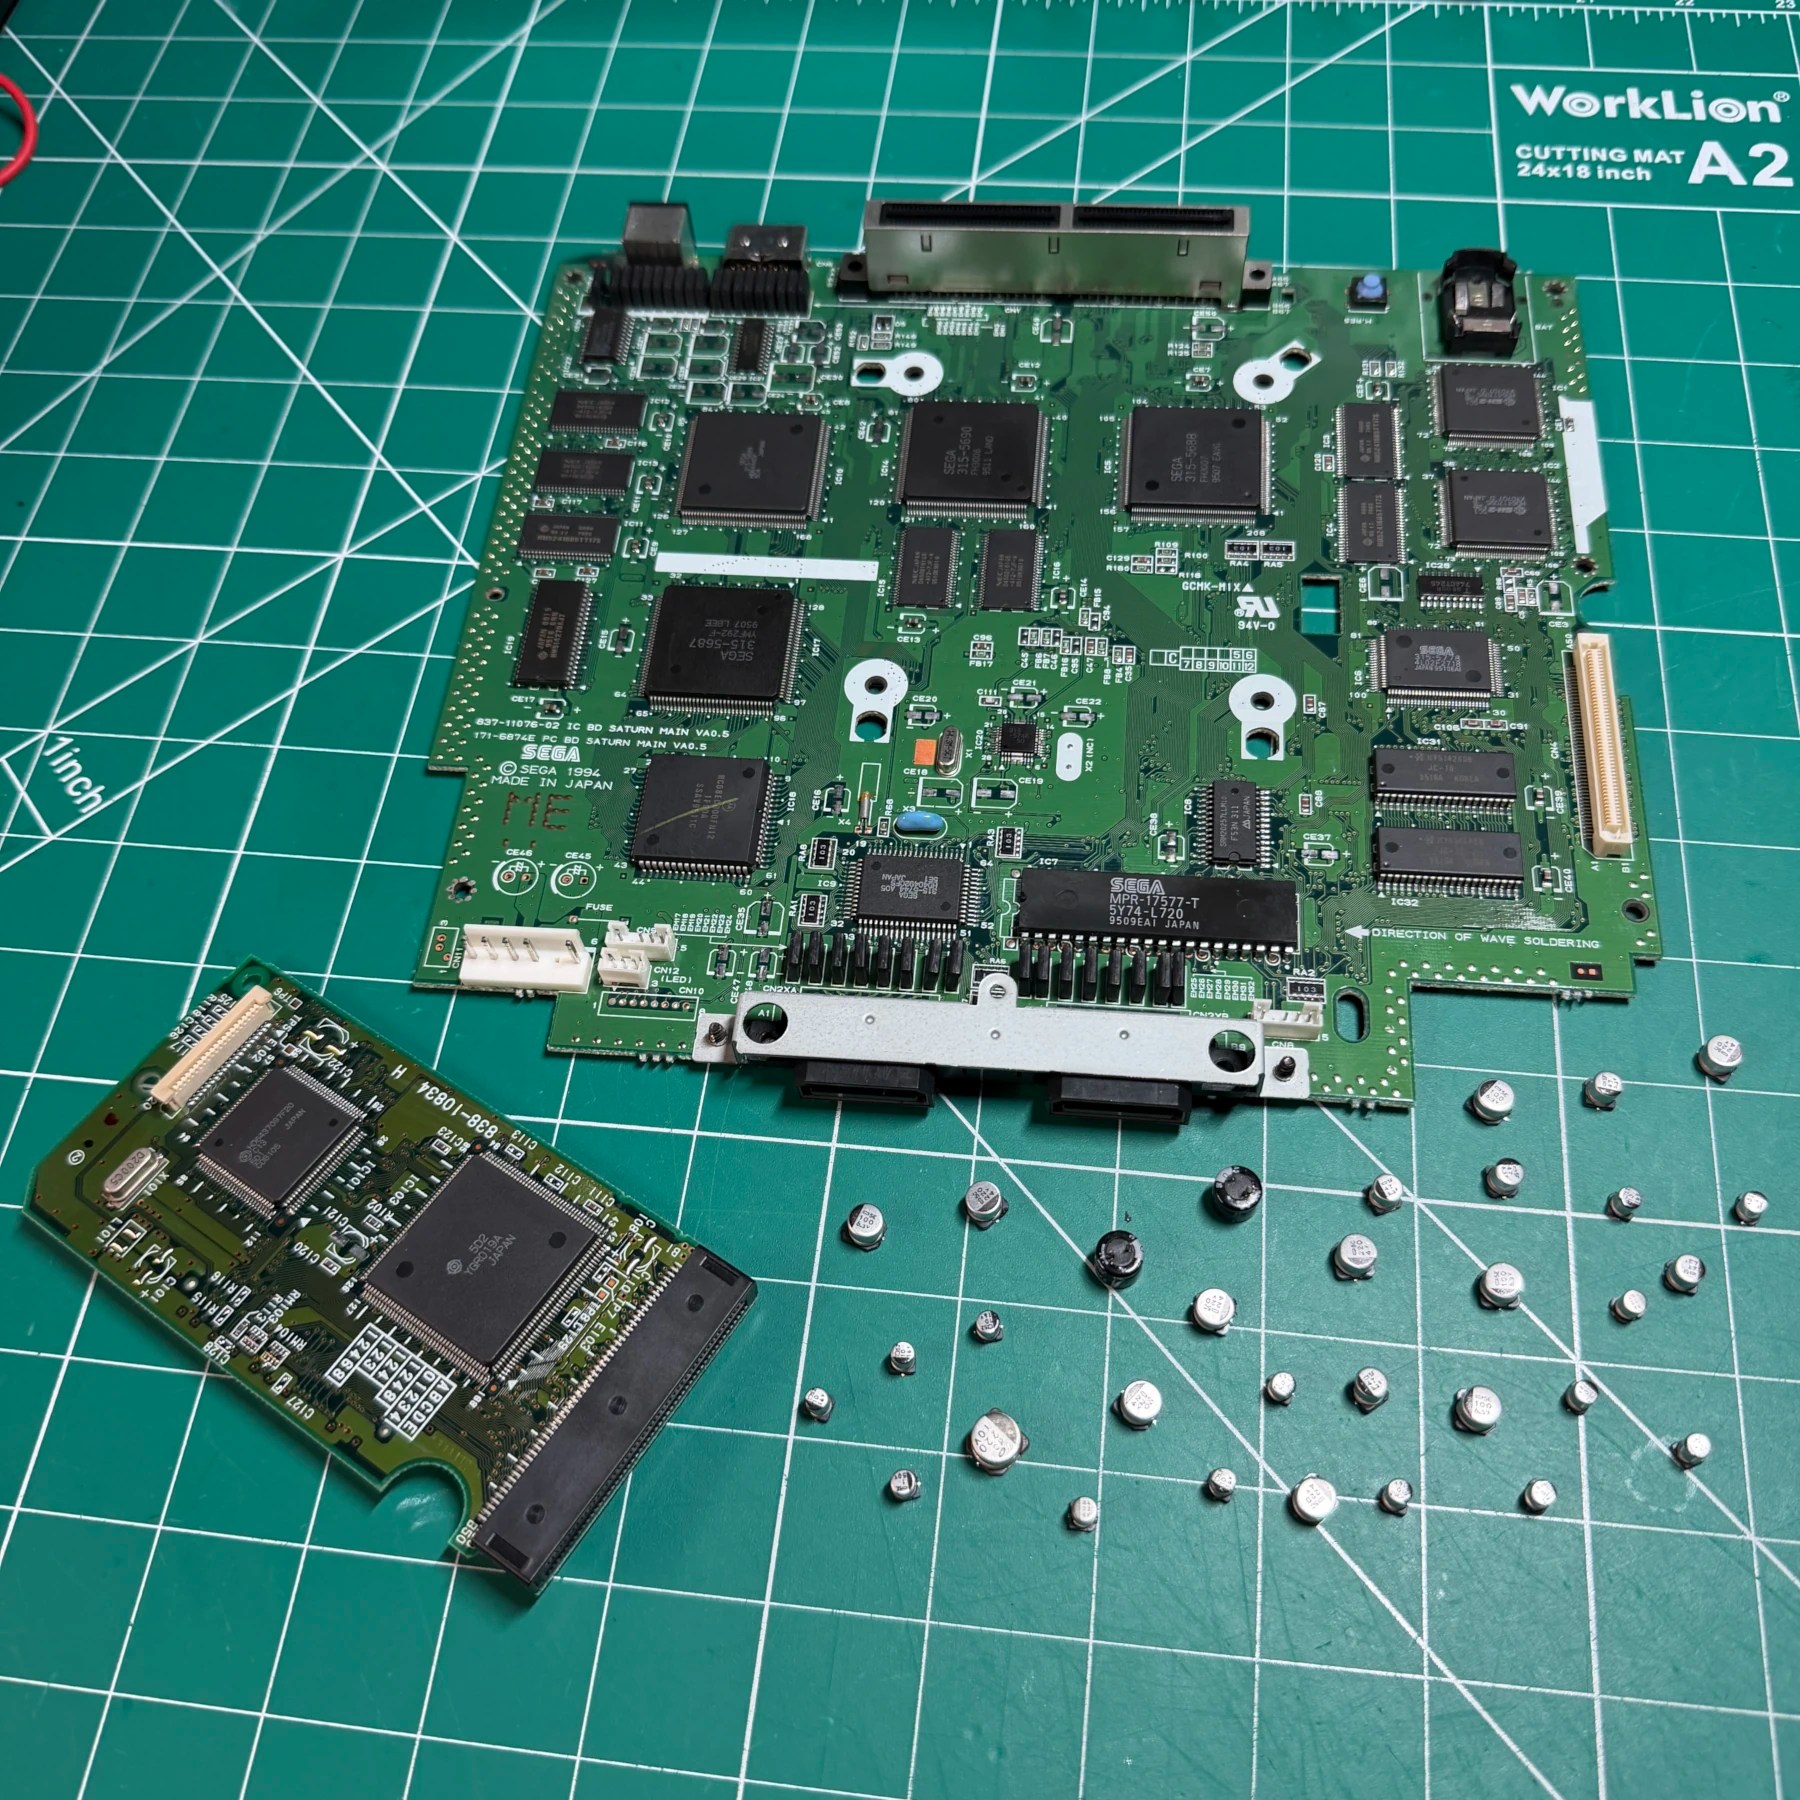
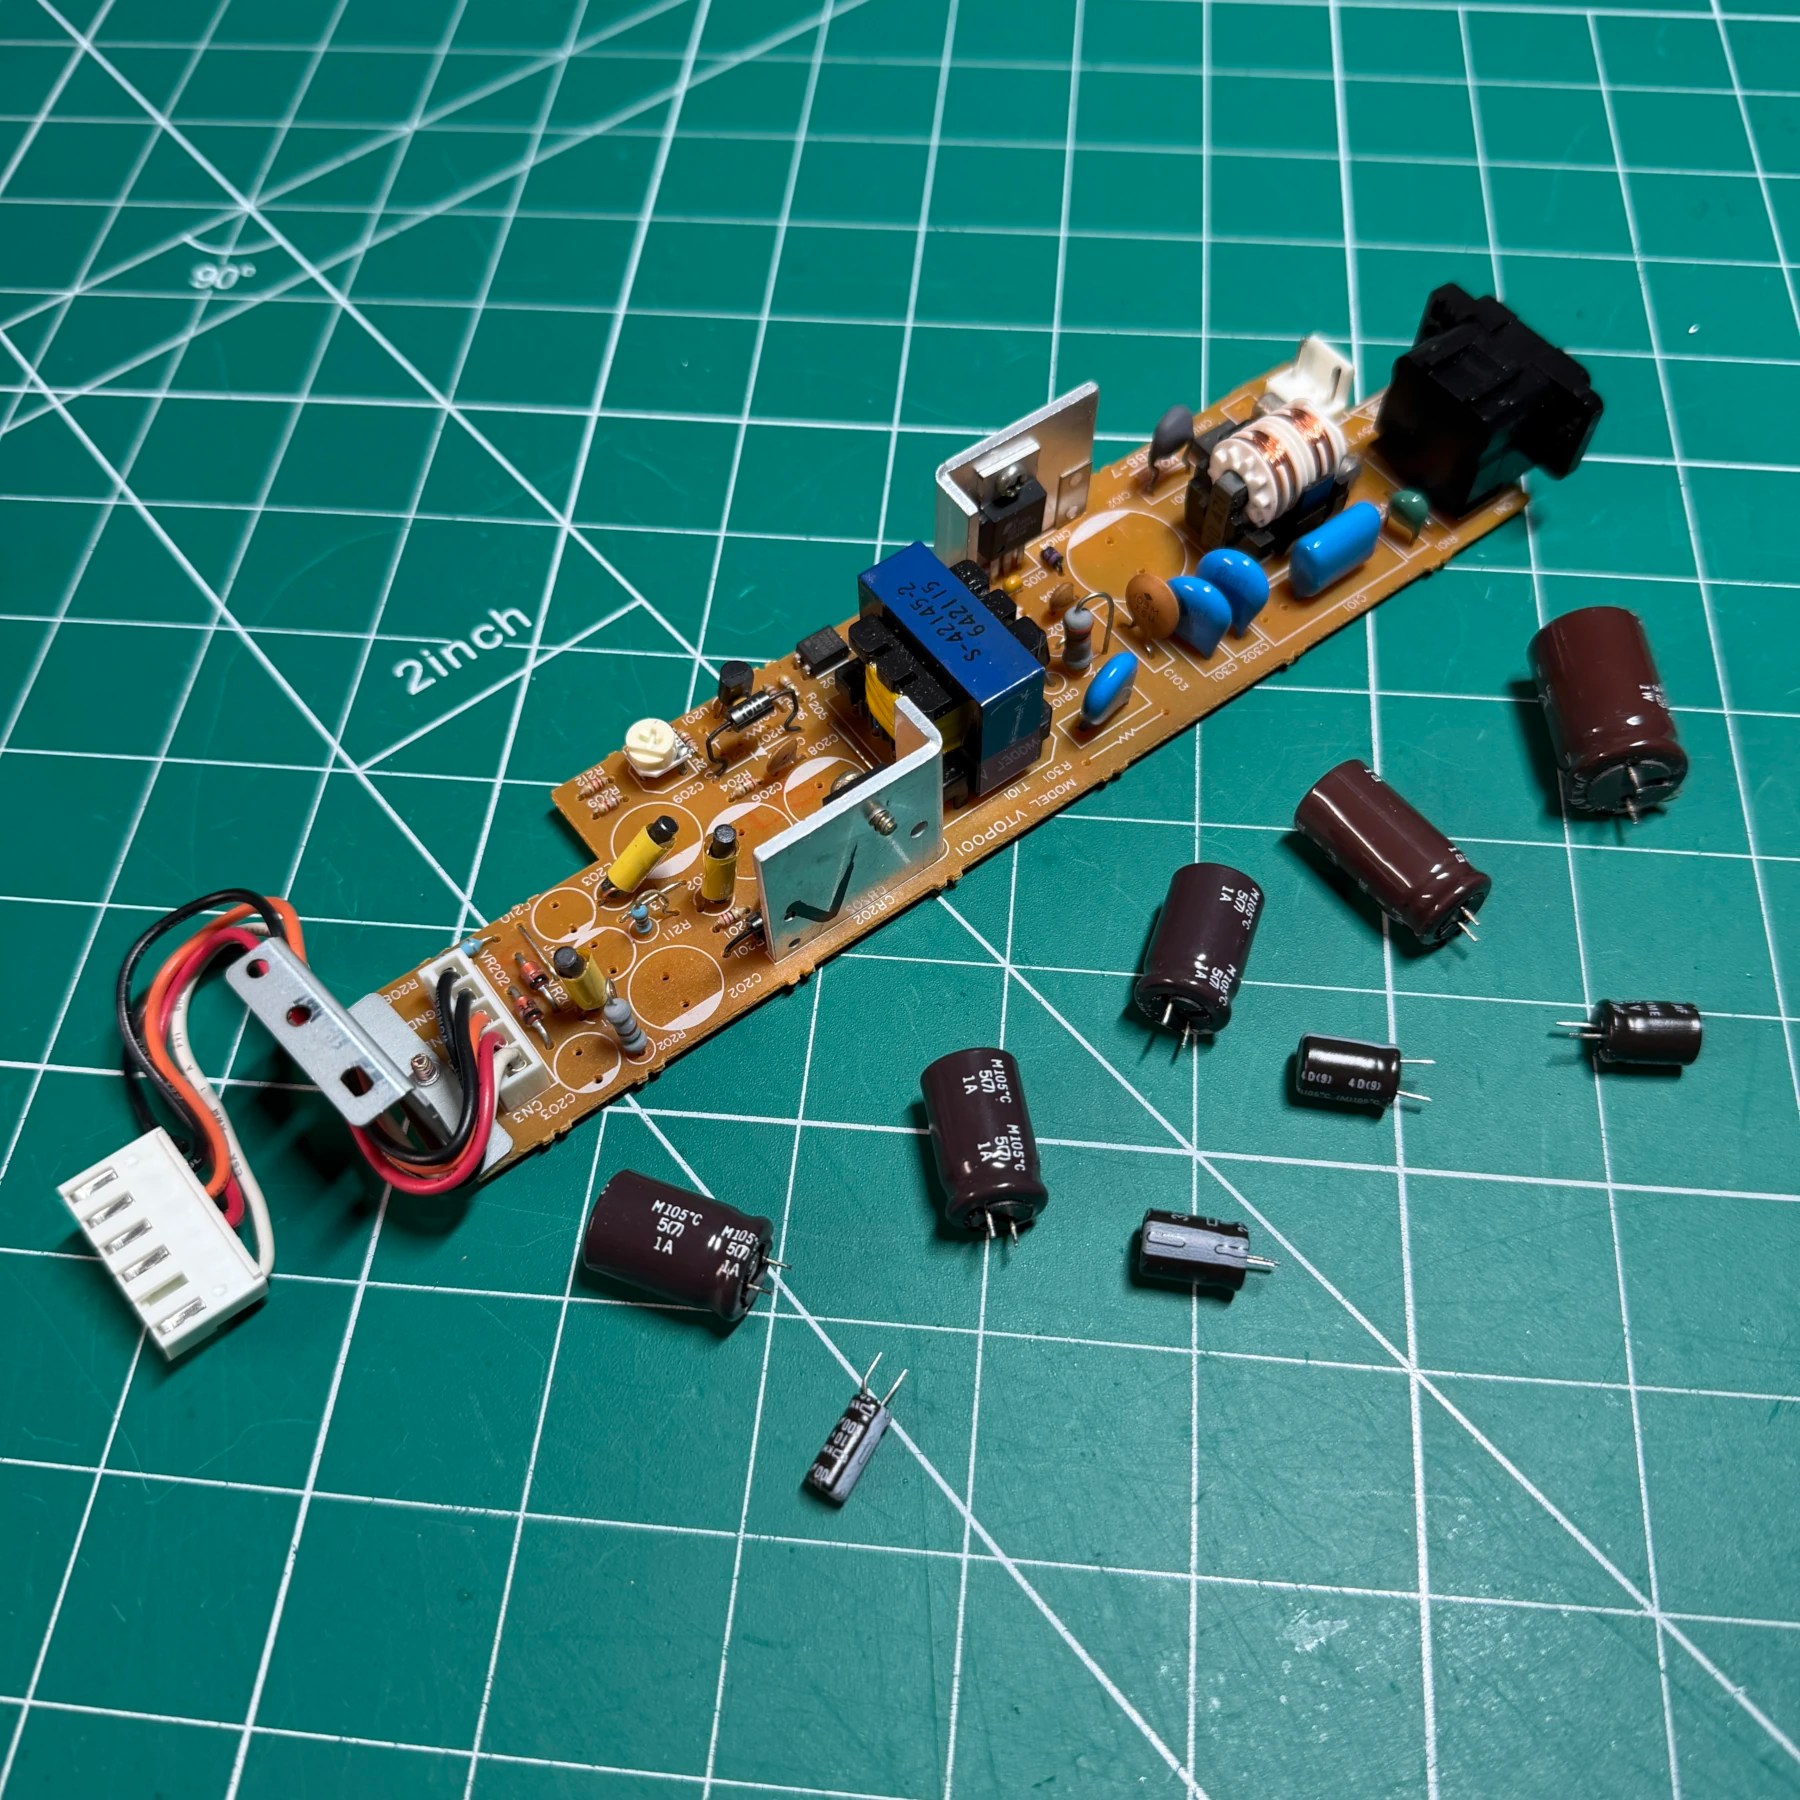
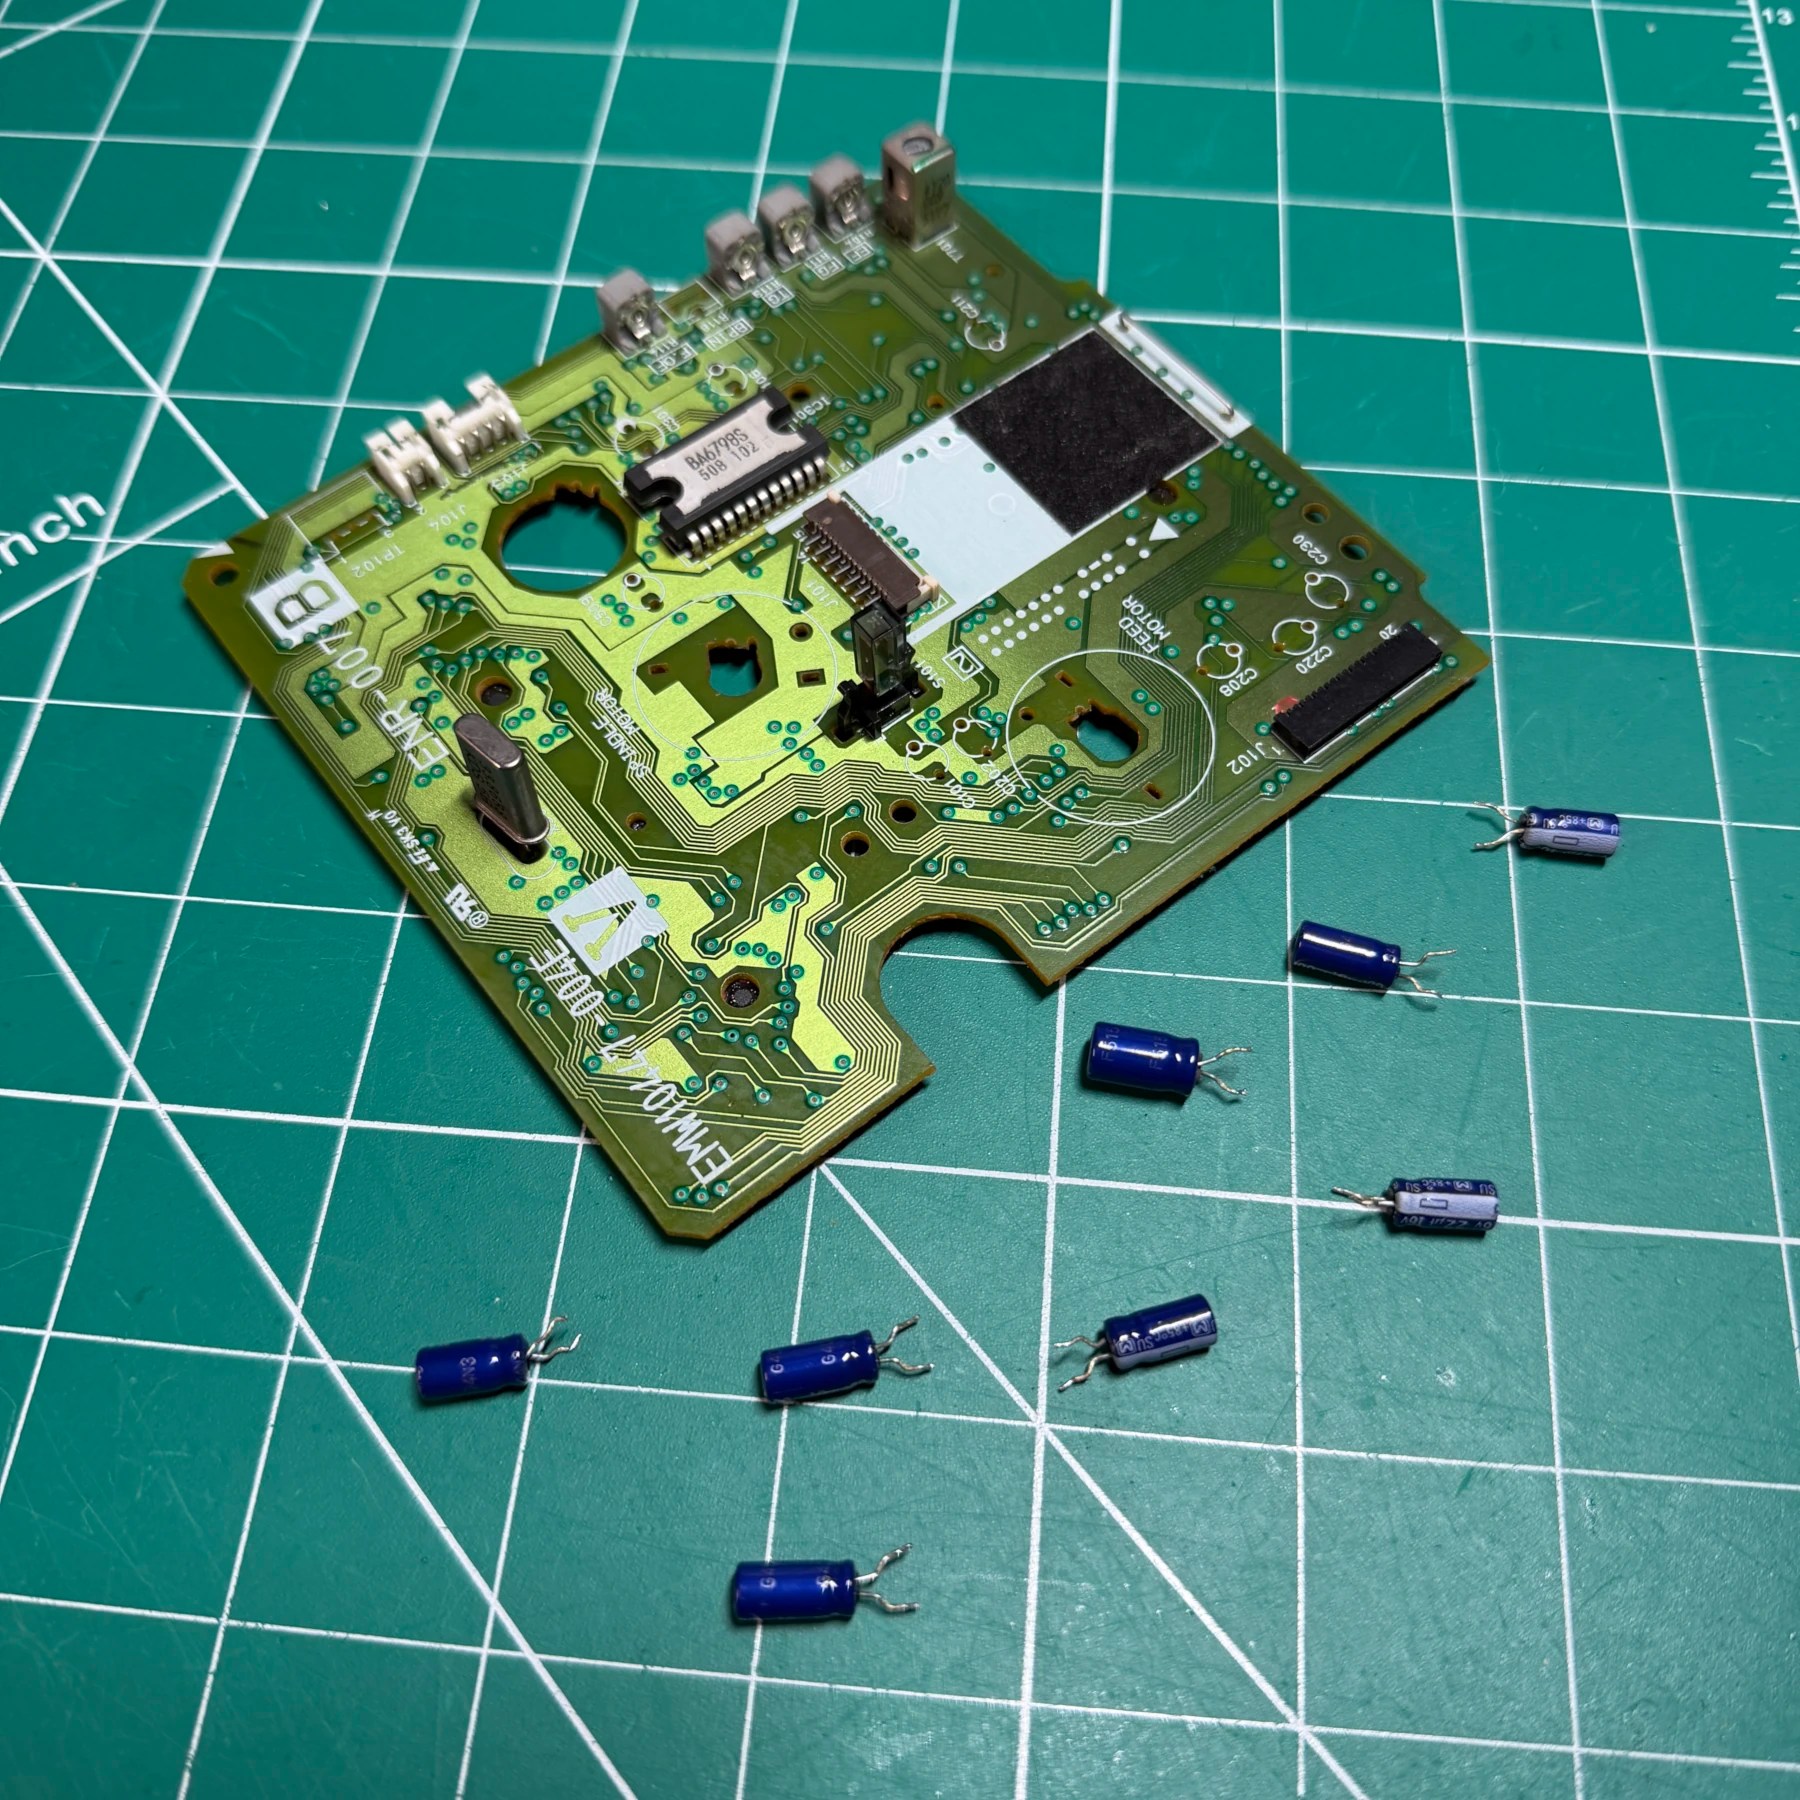
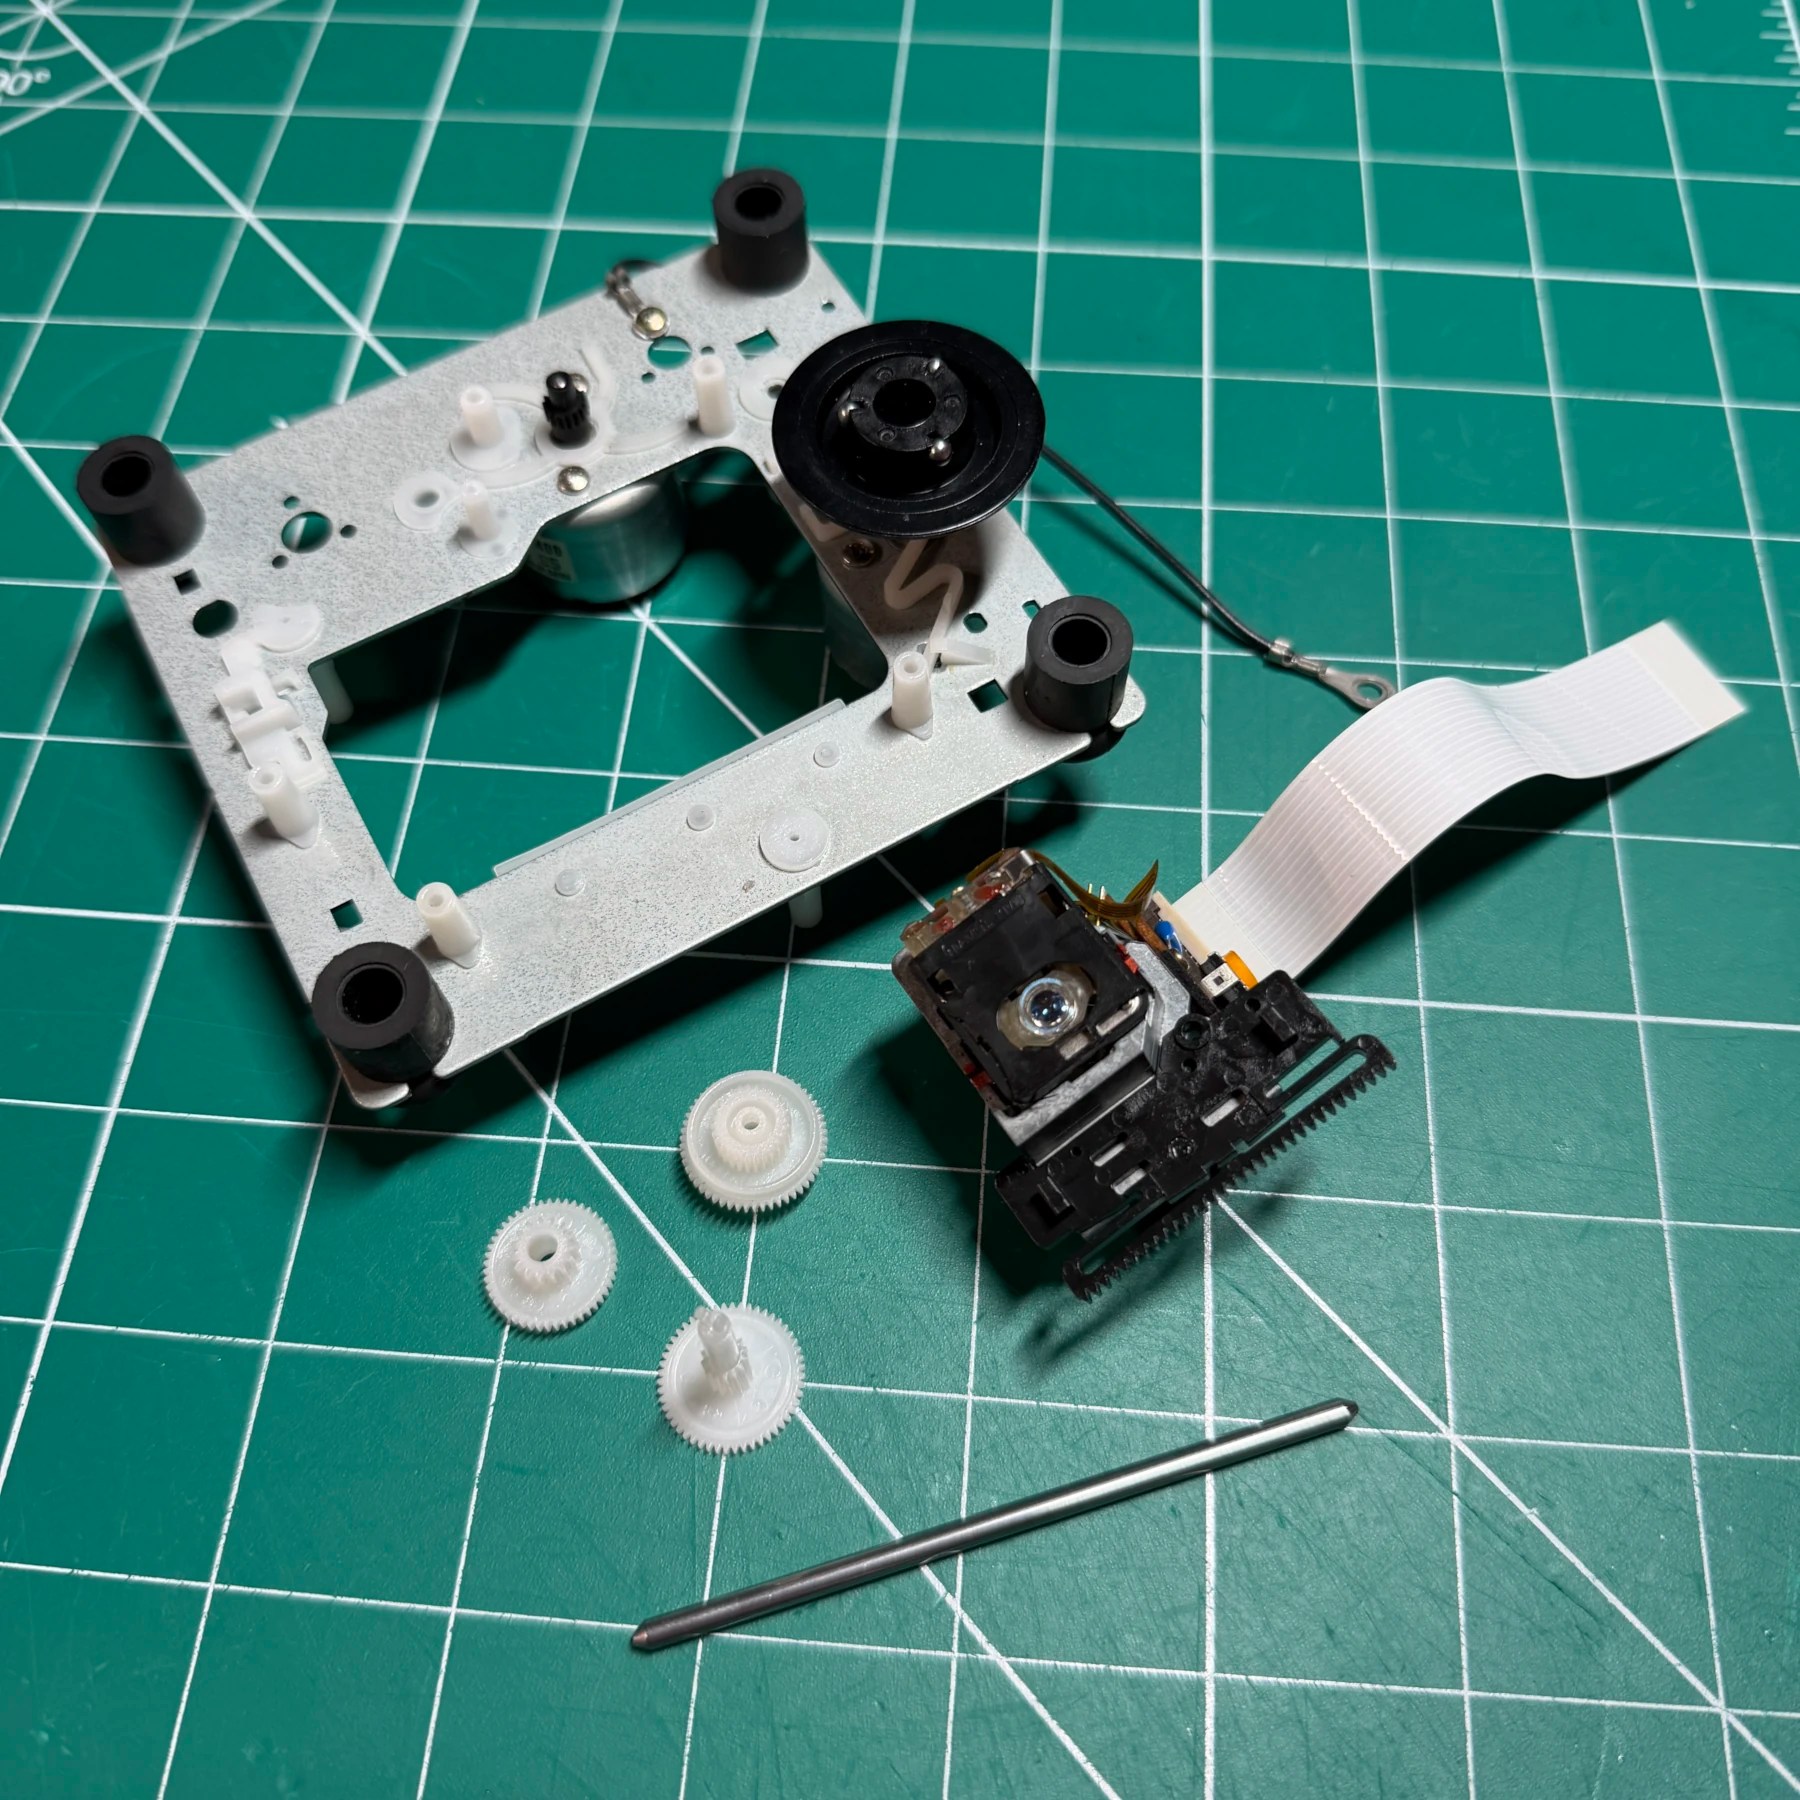
I began by removing all caps on the PSU, cleaned the board then soldered all new caps on and reflowed the power connector pins as these can develop cold joints/cracks over time. Next up was the CDROM. I removed the optical drive assembly from its PCB and desoldered the 8 caps, cleaned the board then soldered on new ones from the Console5 ENR-007 kit. Since the drive was apart and given its age I also removed all gears and the rail and cleaned and greased everything then put the drive back together. This will help ensure that mechanically the drive will be sound for many more years!
Now it was time to do the mainboard PCB and this is an earlier SMD revision which has its pros and cons. I find it much quicker to remove Saturn SMD caps than the later through hole revisions (the solder is tougher to remove so requires a reflow first usually) but installing the new caps can be slower since the can width leaves little room on each pad for the joint so you have to really get them lined up perfectly center. Either way, ripped through the board quickly with my Tweezers (and desoldering gun for the 4 through-hole caps) and deep cleaned the board. I then installed all the new caps from Console5 and cleaned up all unspent flux from the board. Time for the 2 mods!
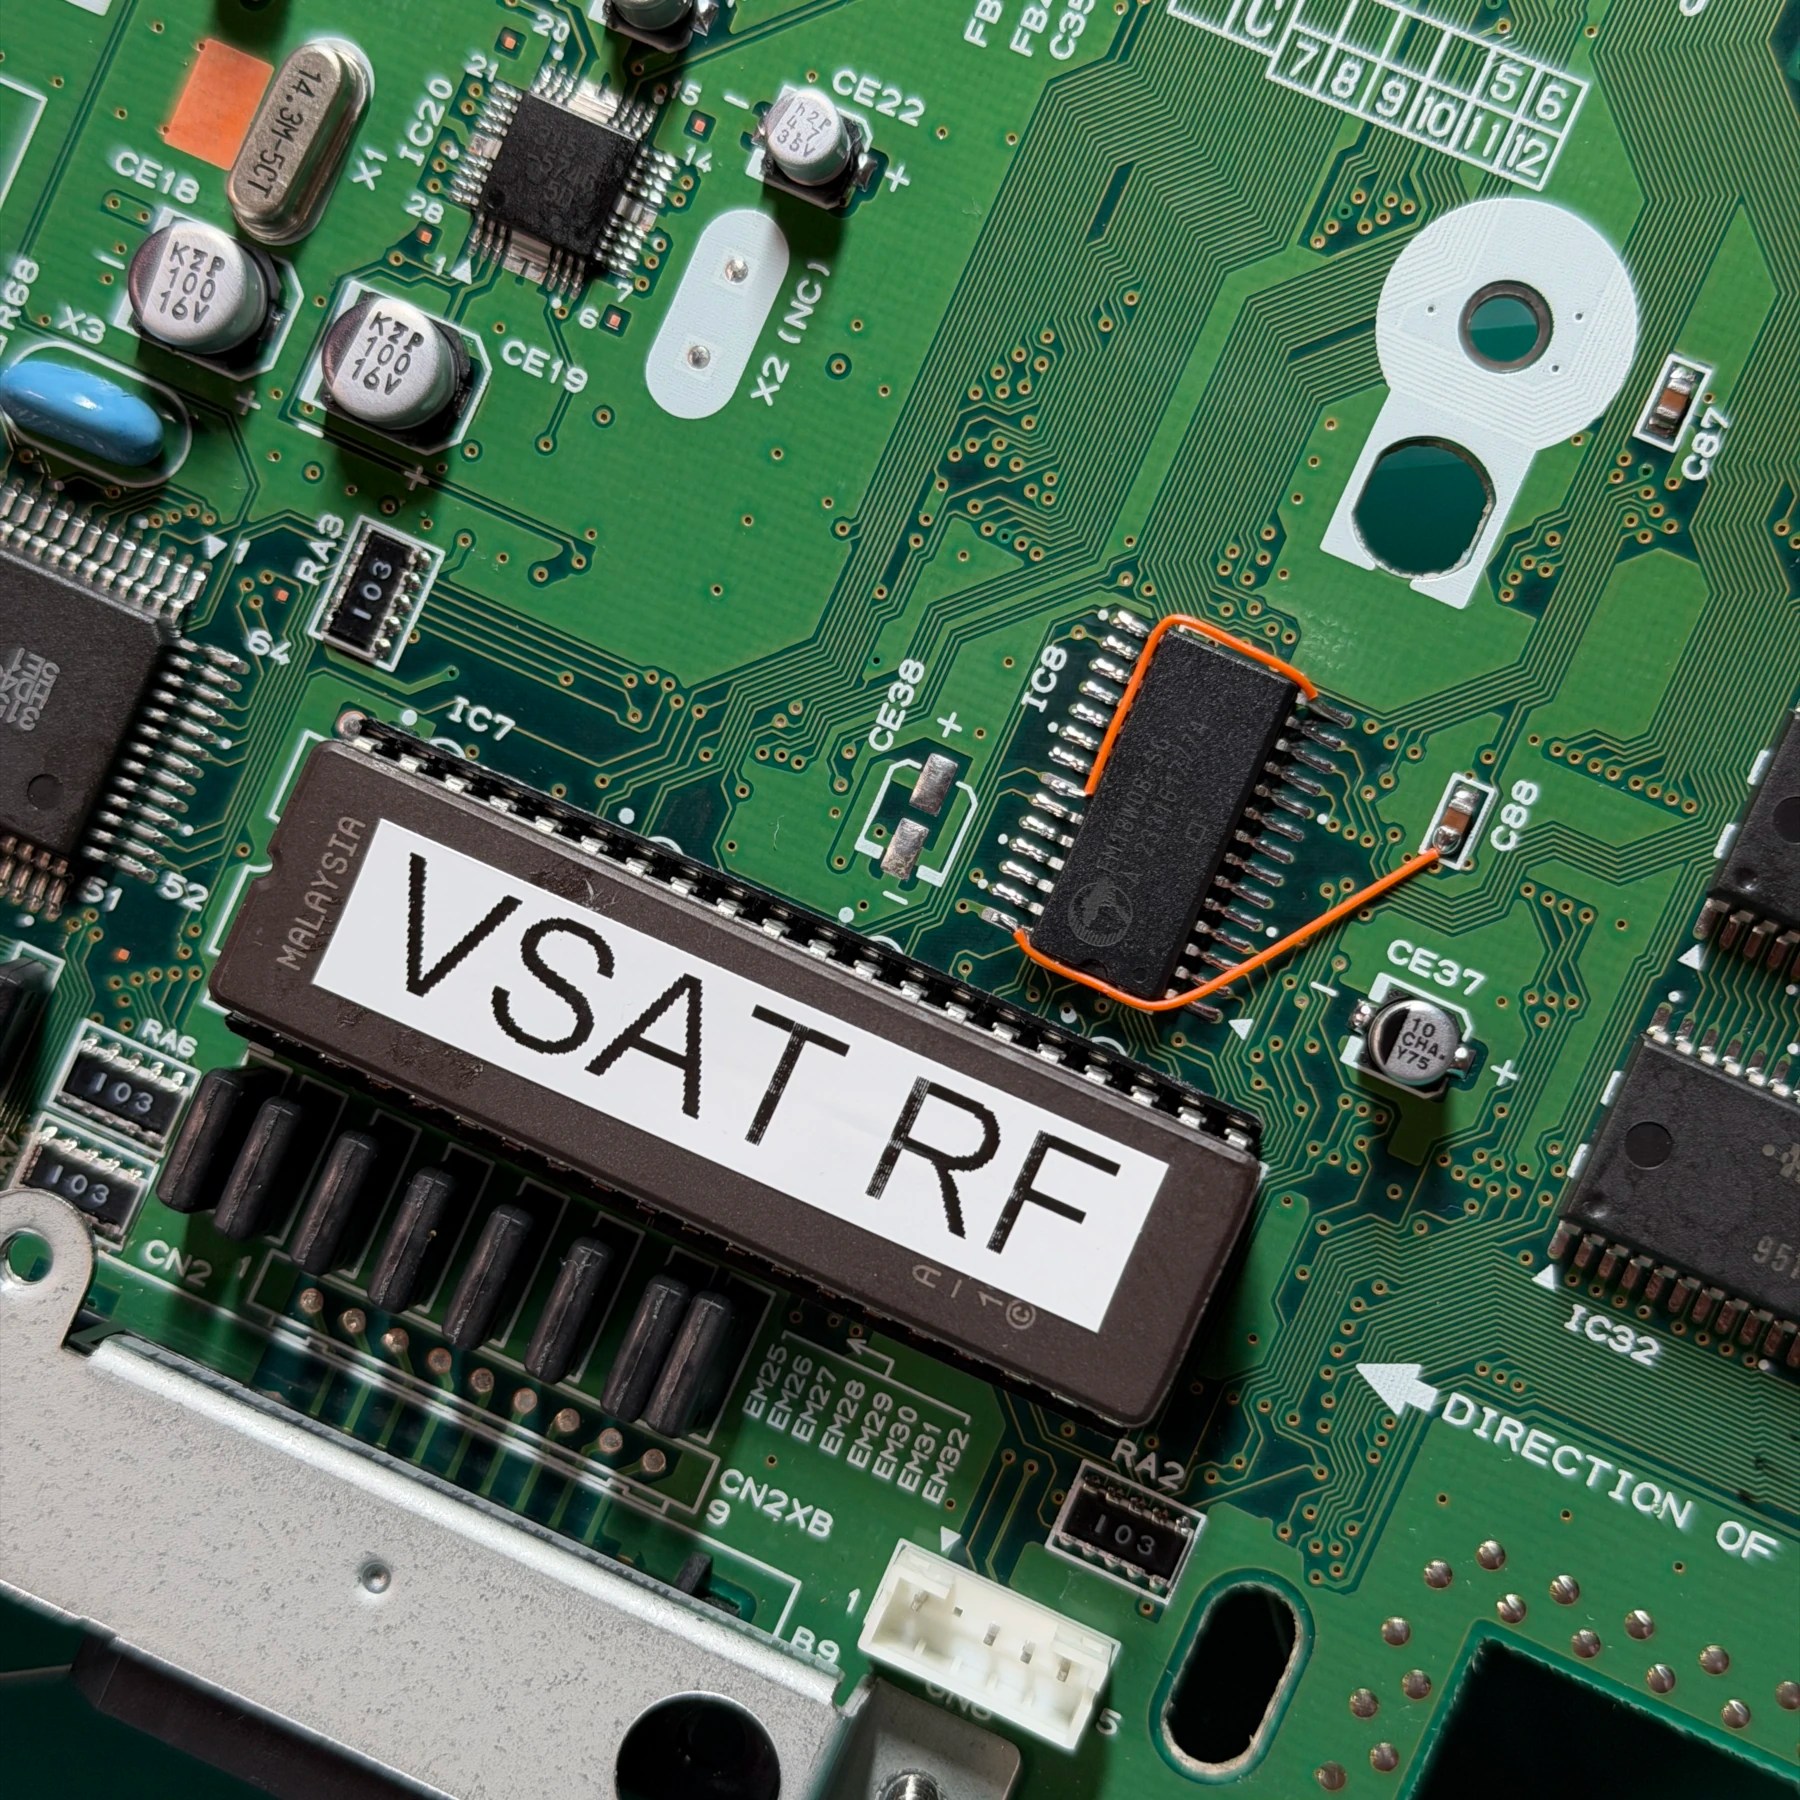
Some models of the Saturn have the BIOS and FRAM chips on the underside and some have them topside. This was one of the latter and that overall makes for a much easier job as they don’t use the annoying epoxy on the topside chips. To make things even easier on the BIOS front there are no legs to lift or wires to run its a 1:1 chip swap the ONLY downside on these models is it’s a 40-pin dip chip requiring a good desoldering gun and then socket install (no reason not to install socket, makes future swaps easier if desired) but that’s no problem for my Hakko gun that makes these jobs a sinch!
First up I desoldered the OEM BIOS and cleaned the board, then used hot air gun to heat up area and loosen the SRAM chip and carefully remove with some tweezers. The FRAM is much easier to install and wire up without the BIOS chip in the way especially once a socket is installed as the height does get in the way a tiny bit.
FRAM is lifting pins 22 and 28 then wiring to 5V and GND, went with orange wiring this time (I try and use different color wires on jobs just to spice it up for a bit 😆). Once the FRAM was installed I then snapped in the new chip socket, soldered all the pins and made a label for the new BIOS chip and seated in place in the socket. Mods are all done and now the customer can enjoy the V-Saturn without worrying about save data loss and playing game discs from any region!
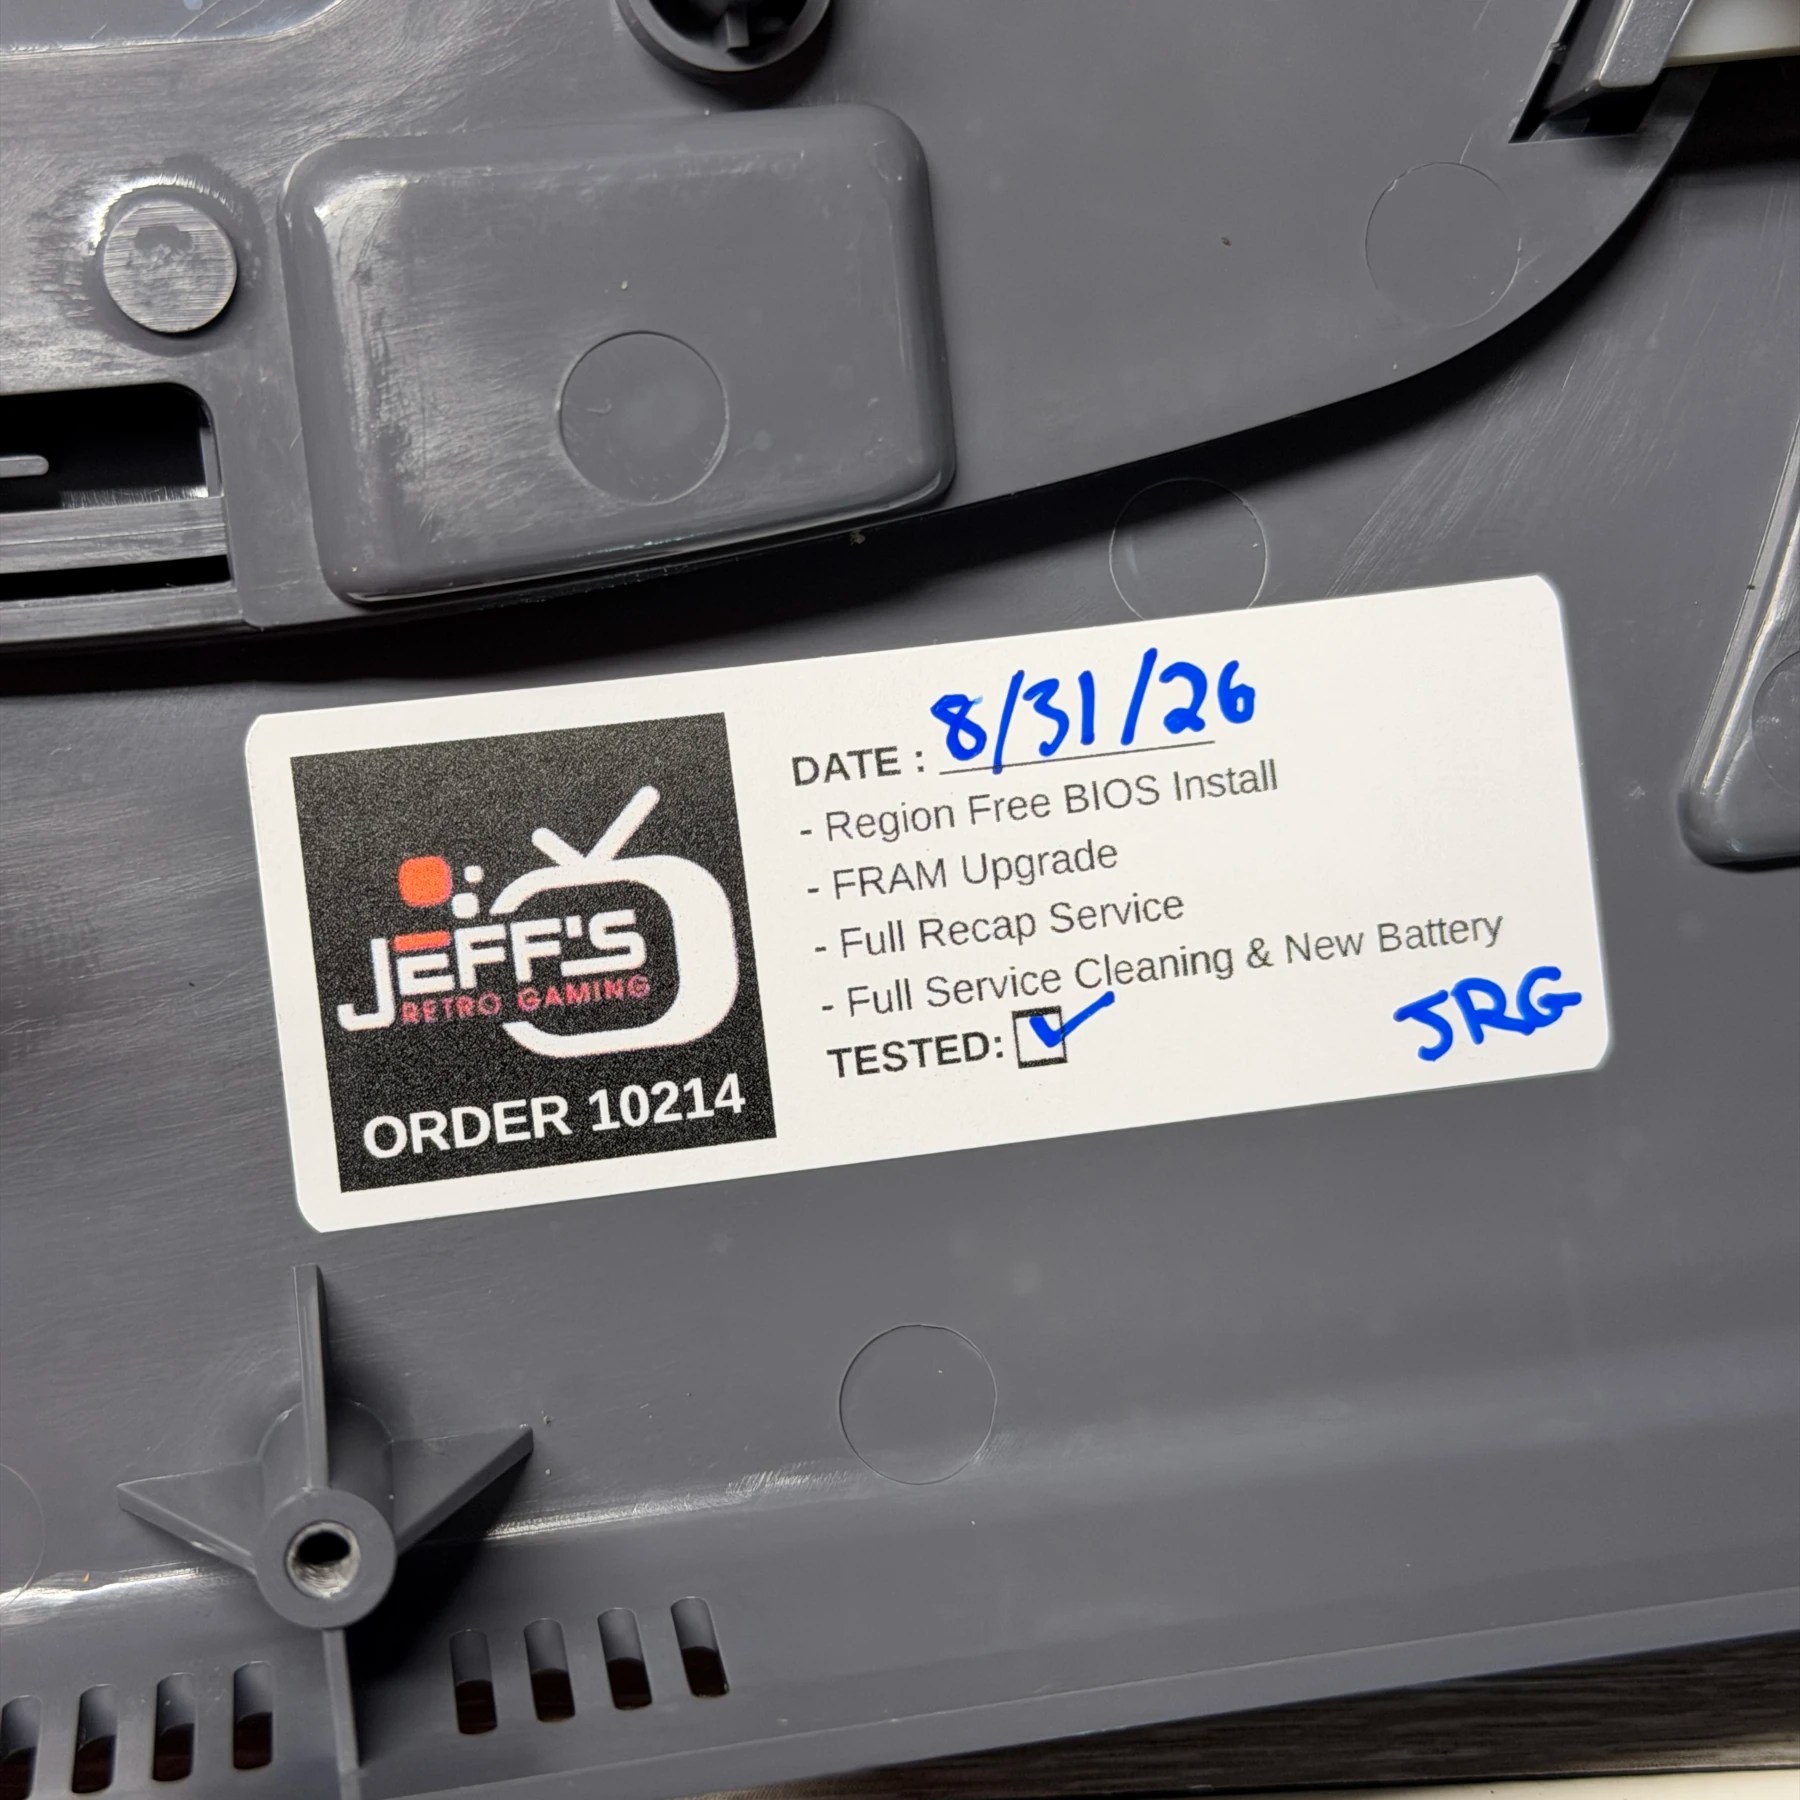
With the recap, cleaning and all mods done it was now time to re-assemble, test and confirm operation so I can add my JRG sticker then hopefully close it up for good.
I got everything assembled including the top shell and all related parts like lid, cart slot flap and open button mechanism. Without screwing the shell back together I was able to plug it in and fire it up to see… a clock screen and working audio as I moved the cursor around! As expected the recap fixed the output. So, I proceeded to run it for a bit with no battery, loaded up my copy of Panzer Dragoon II and played for a few hours to ensure disc reading was good and it created save data (this also confirmed Region Free was functioning).
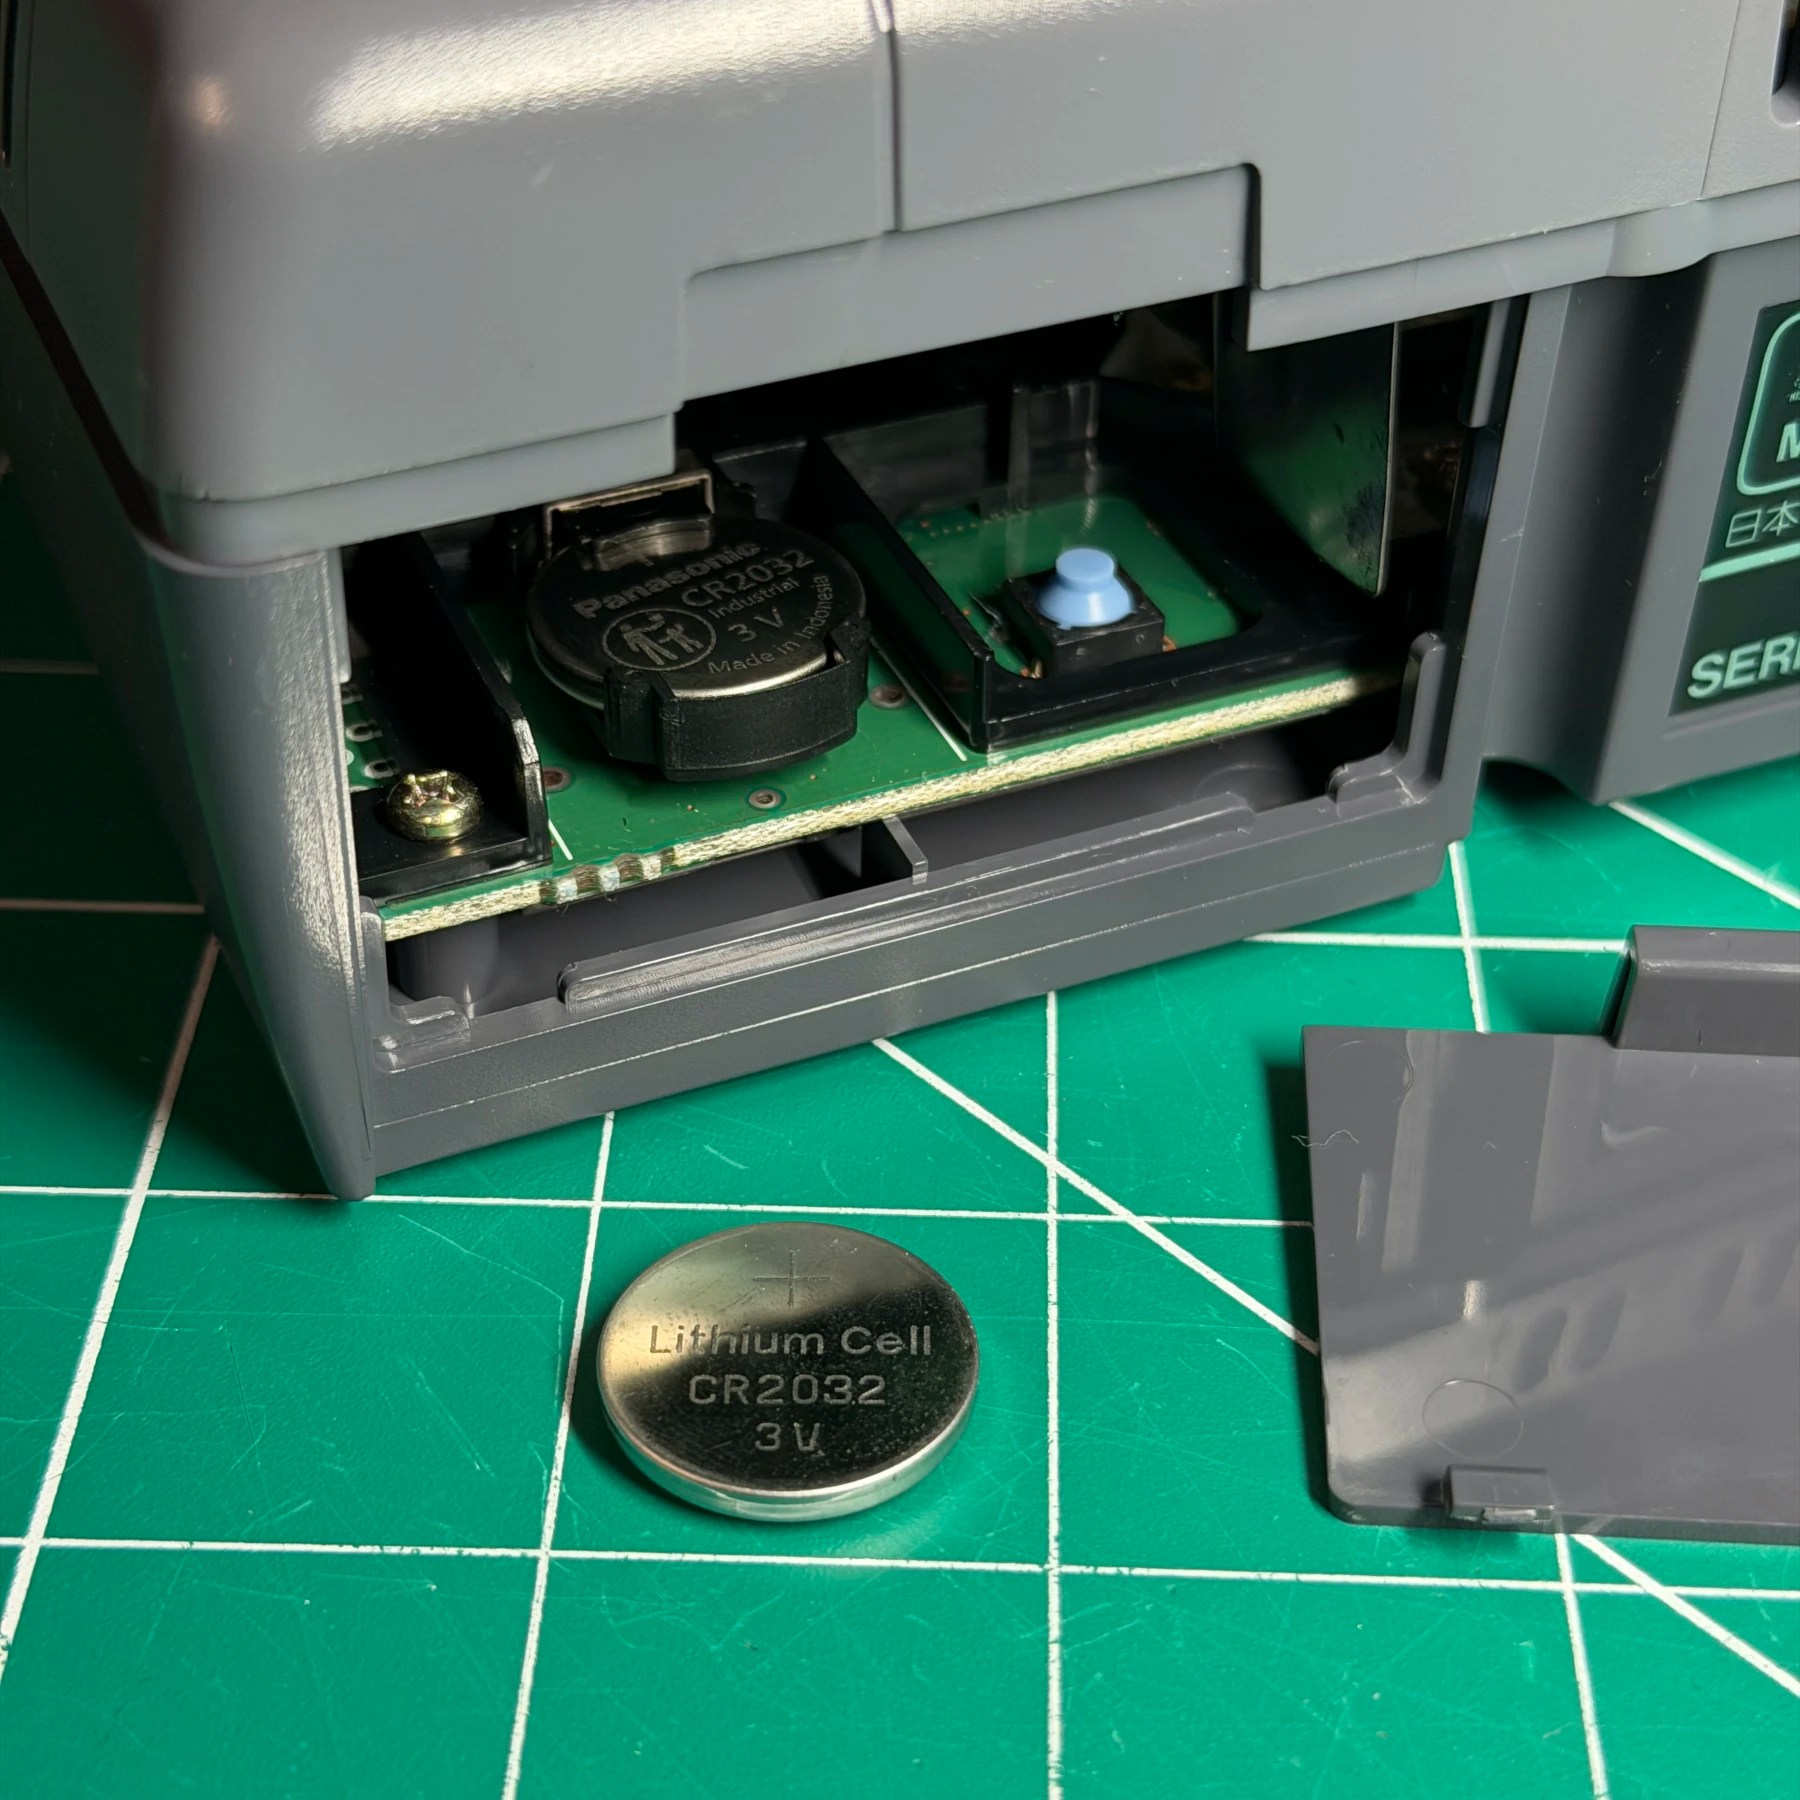
I then powered it off and unplugged for a while and then was able to confirm save data was retained confirming FRAM operating properly. I then inserted a battery for date/time and set that plus the language (these default to Japanese of course) and finished off with my JRG sticker and closing up the shell. One more pass with the UV coat and staged it for the photo and this V-Saturn is a beauty and headed home working better than it ever has before!
Amazing work, as always Jeff!
Thank you I appreciate that and you always trusting me with your cool rare stuff!