
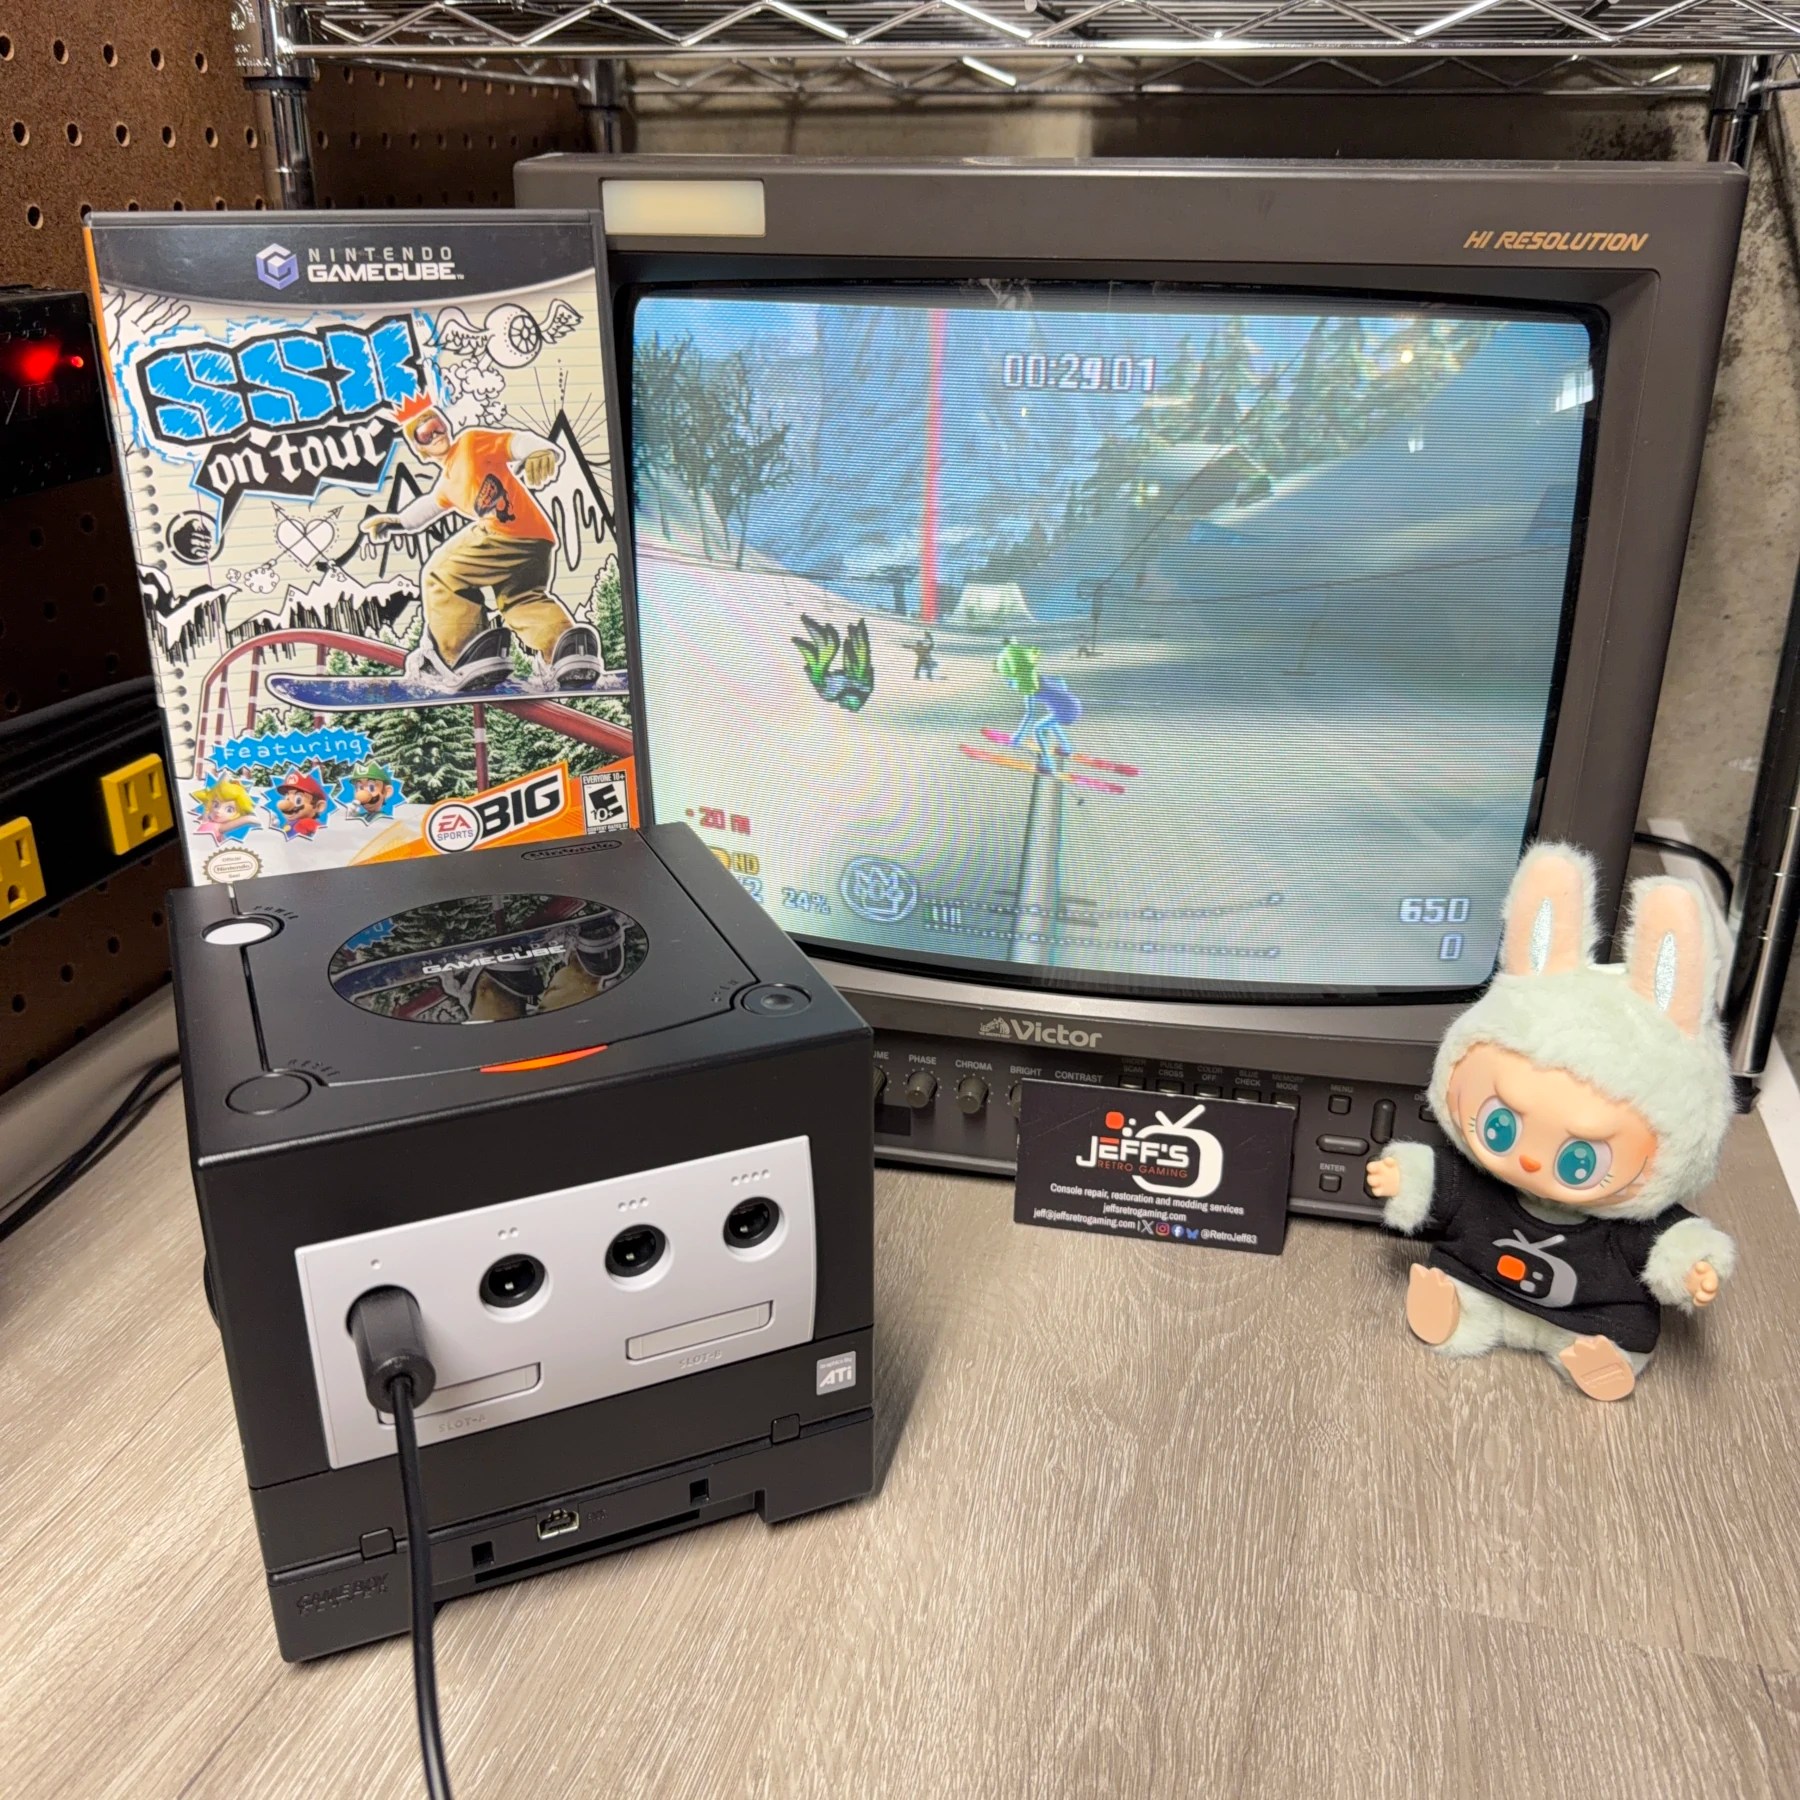
This request came in after the customer asked about having their GameCube serviced due to it no longer reading discs. This is a very common issue and 99% of the time its bad caps on the optical drive PCB instead of a bad laser which is the much better outcome especially compared to a lot of other retro consoles where finding a working laser is an absolute nightmare (looking at you CDX 😡)
They also wanted their GameBoy Player refurbished as well and that makes sense to get both done at once and why I have the GBP recap service as an add-on to the GameCube service offerings. All in all, done tons of ‘Cubes just like this so it’s a quick and straightforward process, let’s begin…
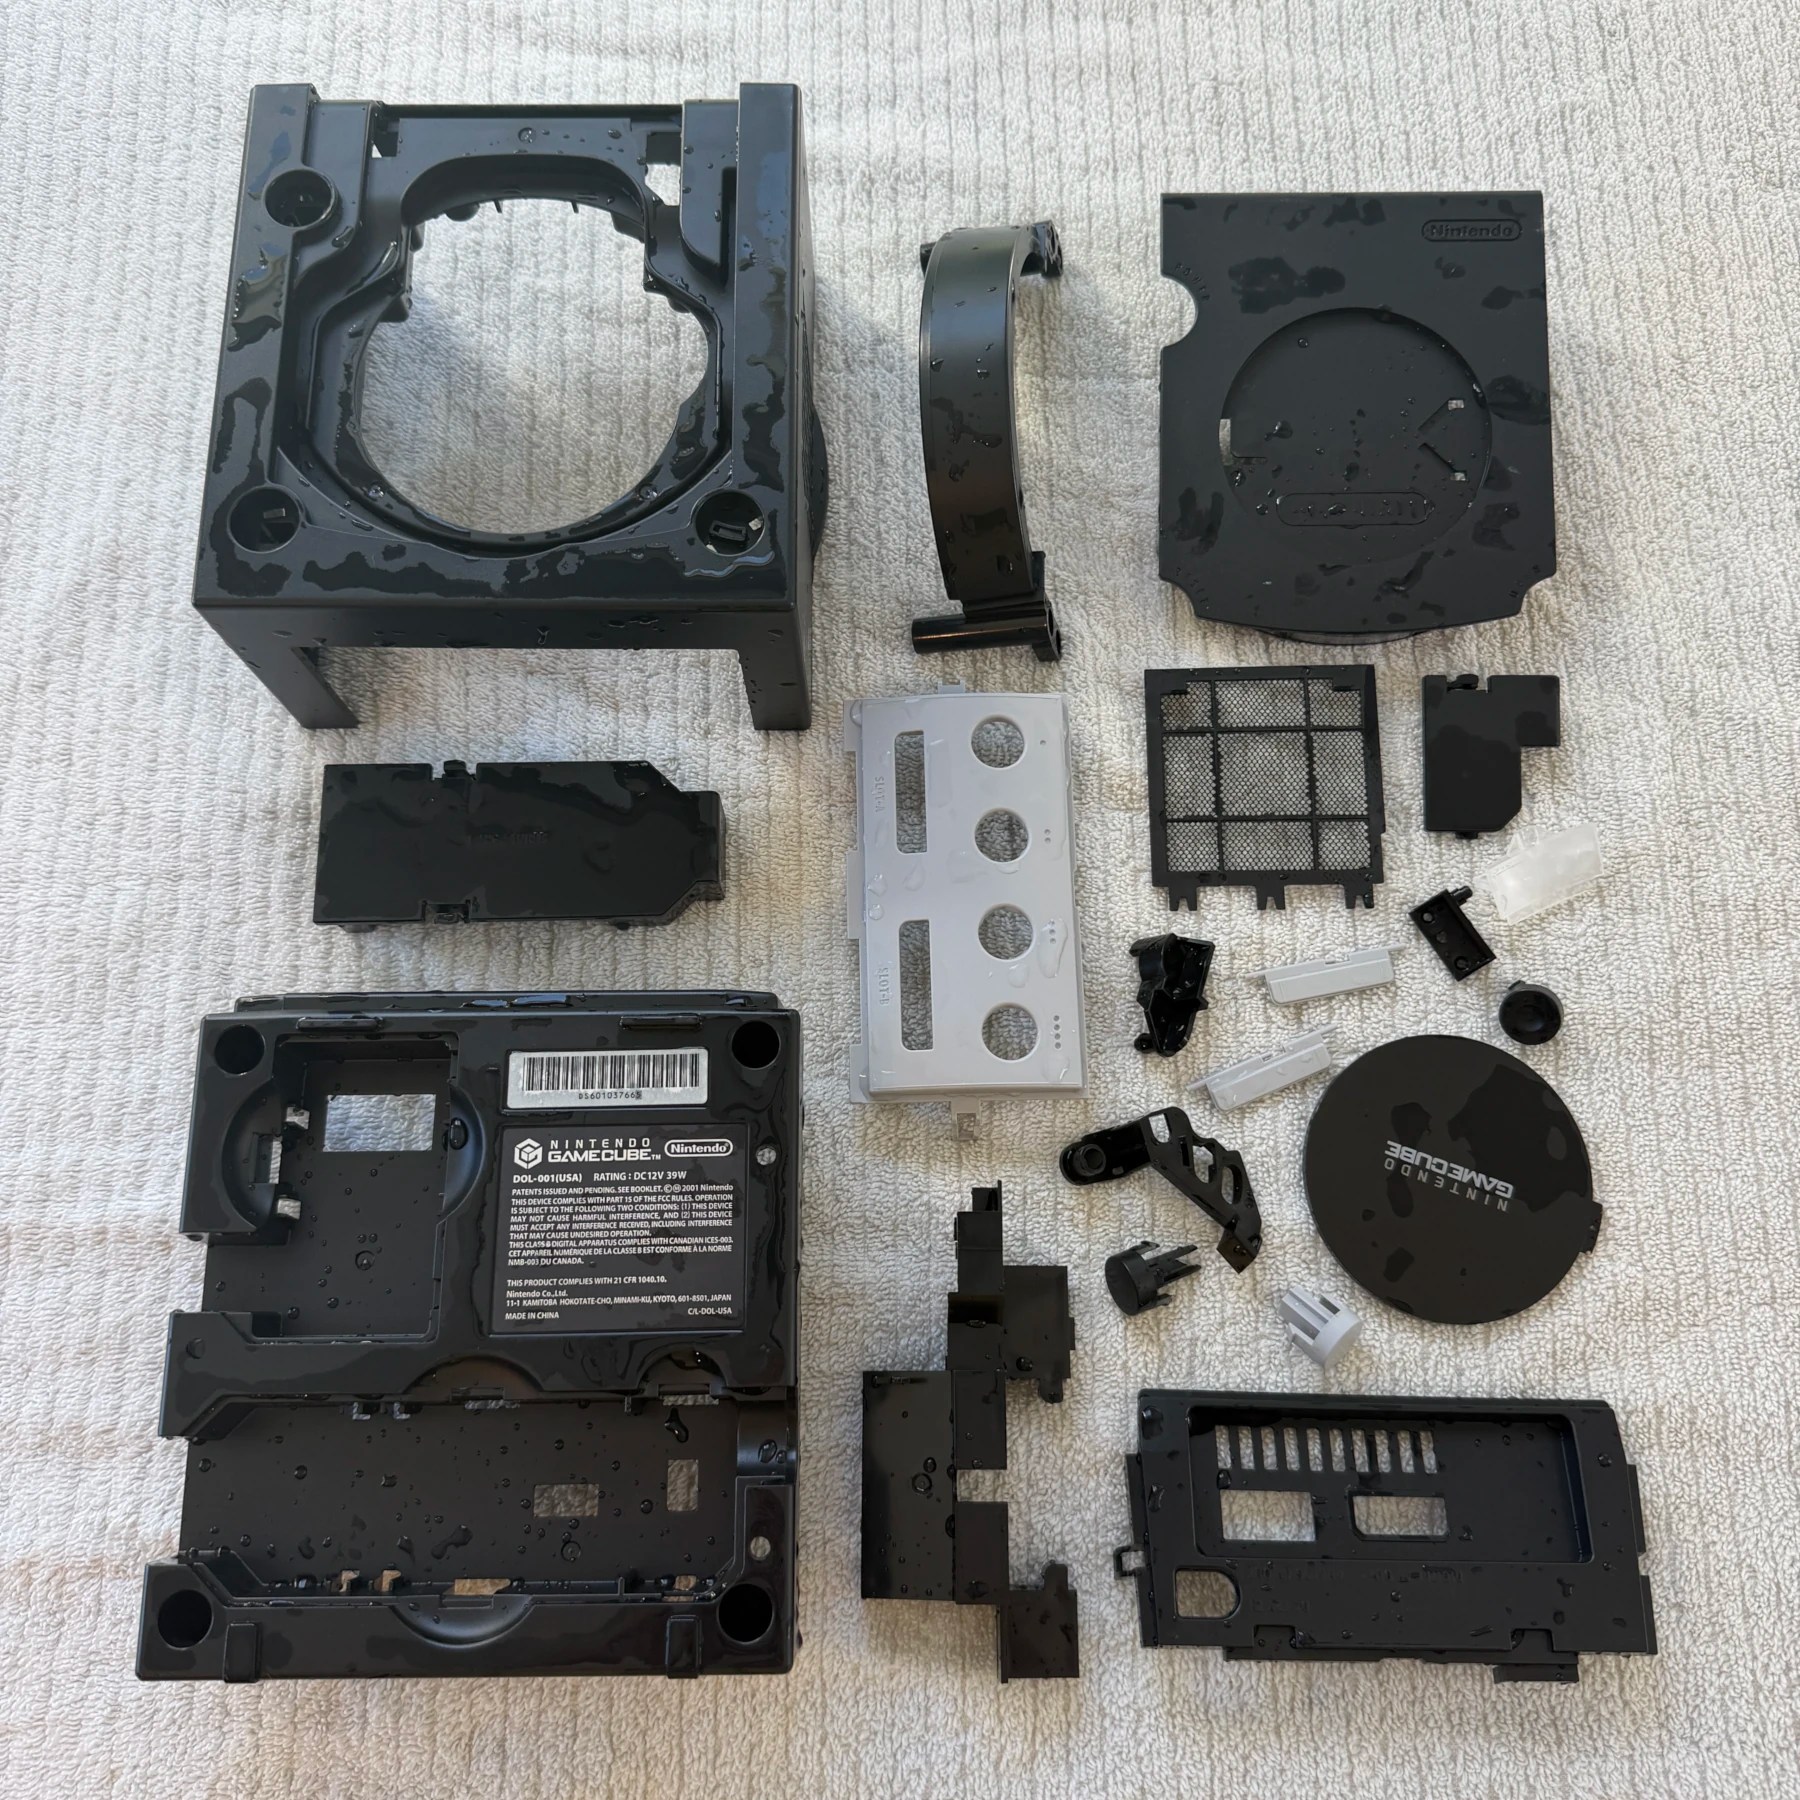
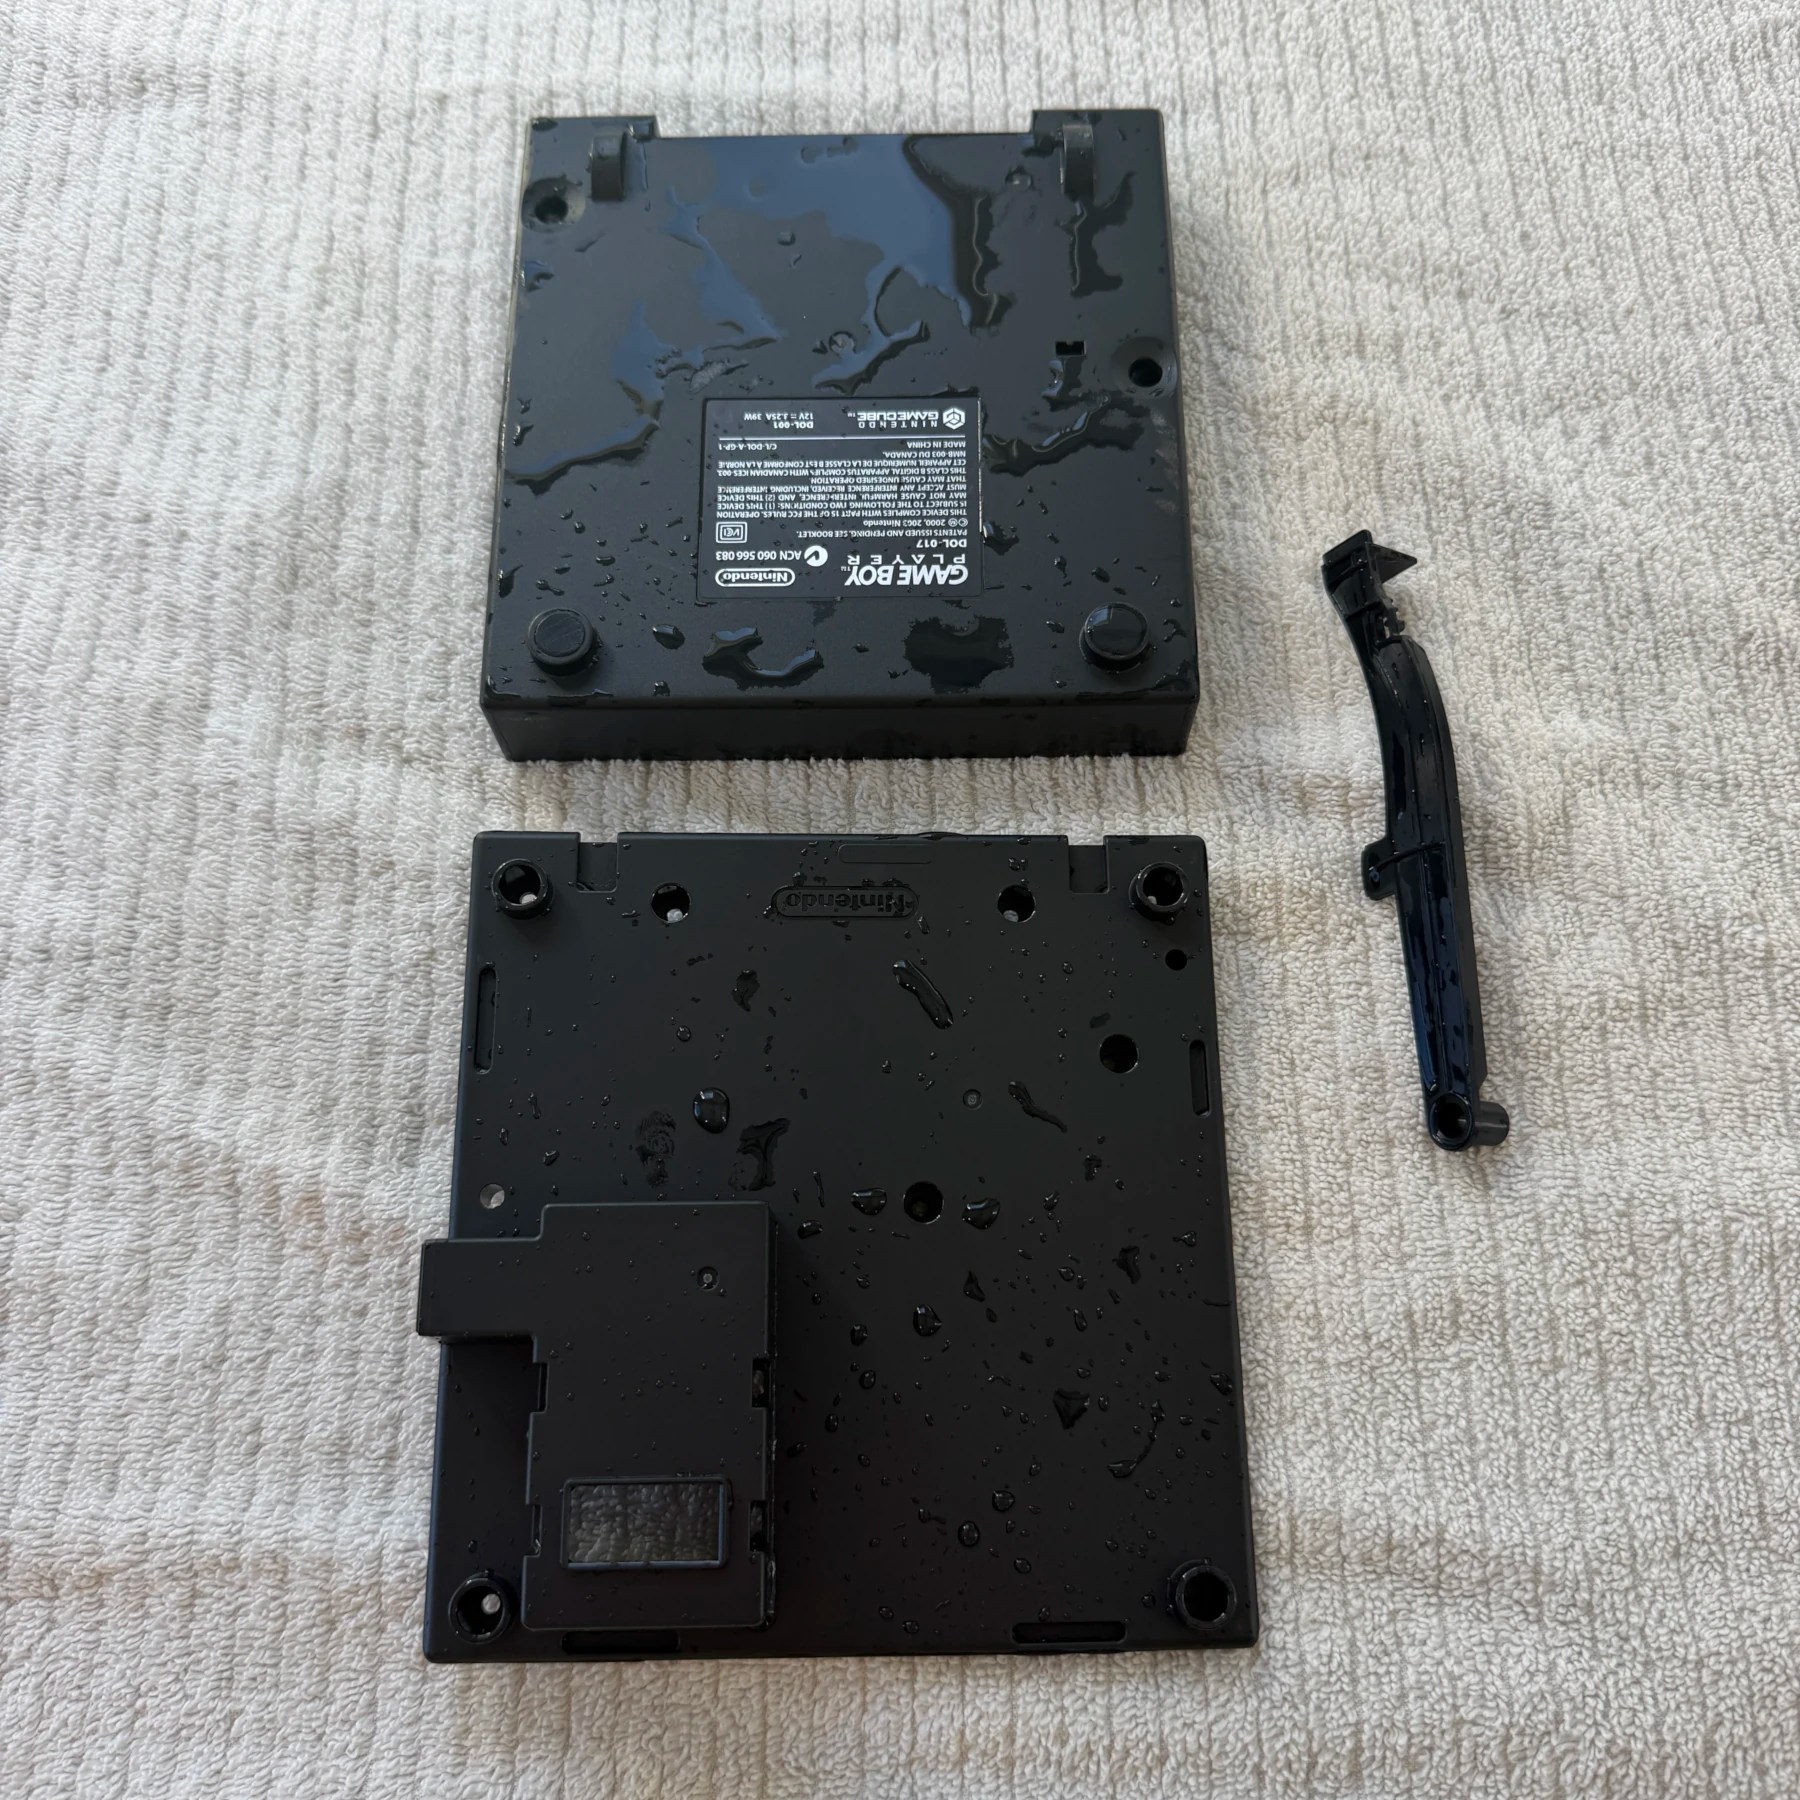
Since the cleaning service was selected I first assessed the gray plastic parts for yellowing as if a Retrobright is needed I have to account for drying and setting those in the box overnight but luckily I didn’t observe much if any at all so that seemed unnecessary. That being said, still had to get all the plastic bits washed so quickly disassembled both the GBP and GameCube itself and set in a large bin to soak, then scrub and rinse and dry overnight.
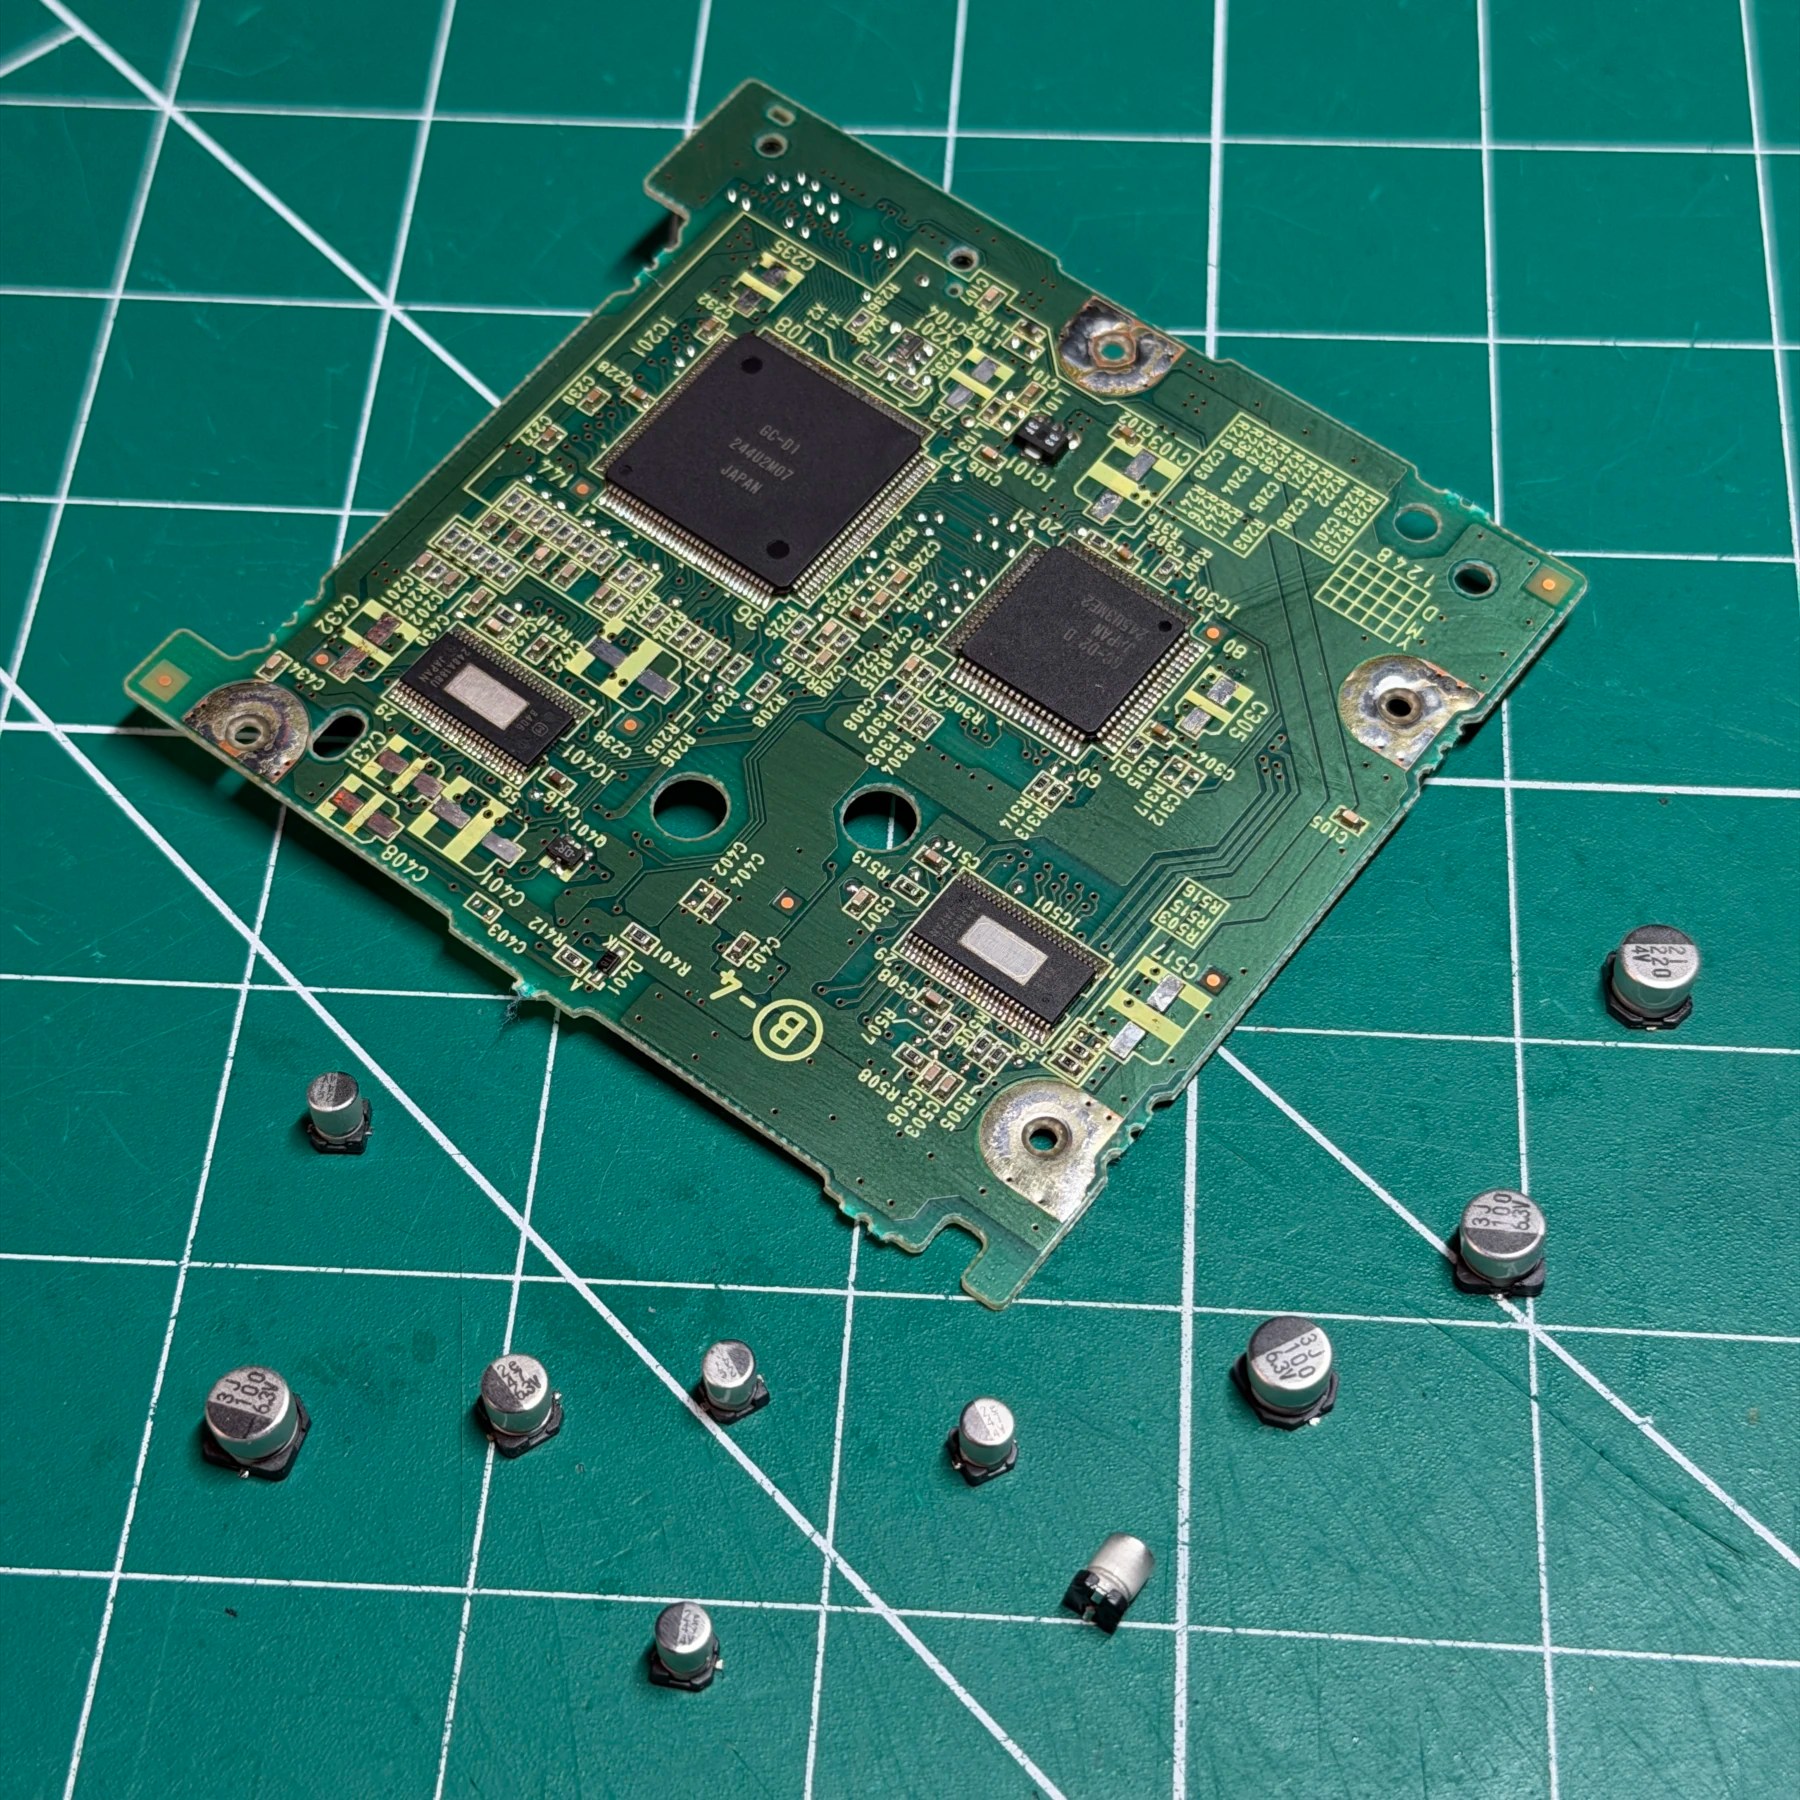
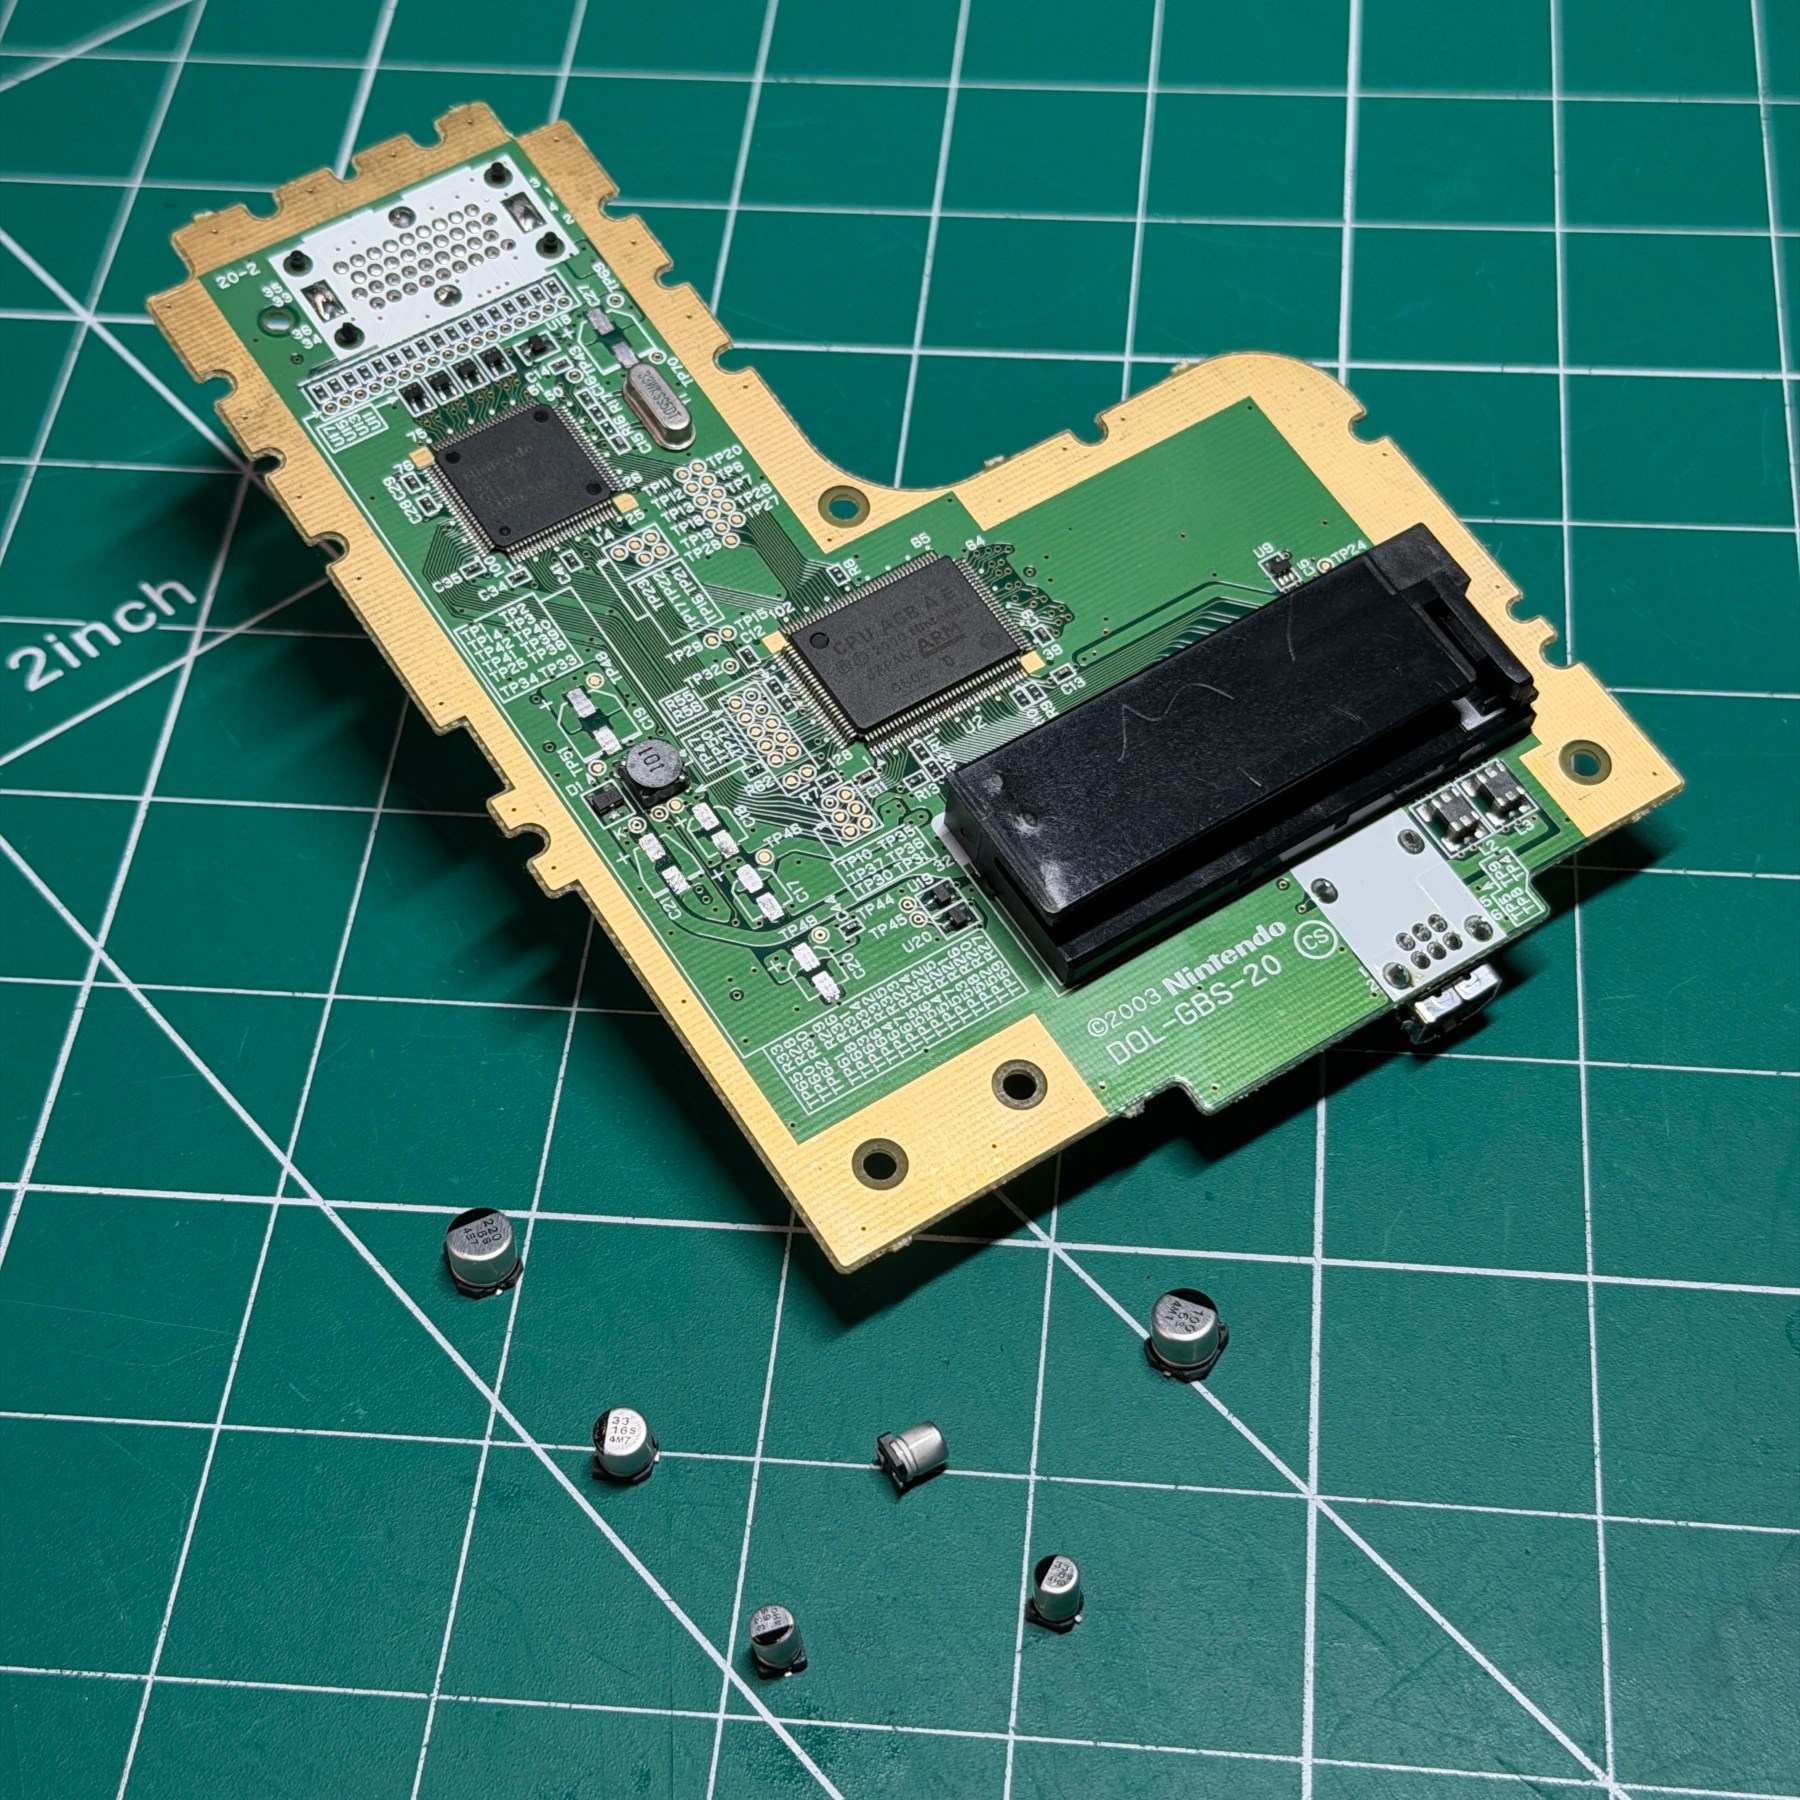
With the cleaning out of the way (external parts anyways) I always prefer to tackle the 2 systems separately and since the GBP is a much quicker process, I got that mainboard on the bench and made quick work of removing the six capacitors, wiping the board down and then installing the new ones from a Console5 GBP SMD kit. Can’t reassemble until the plastic is dry so set the board and metal shielding/brackets to the side for now and moved on to the ‘Cube itself…
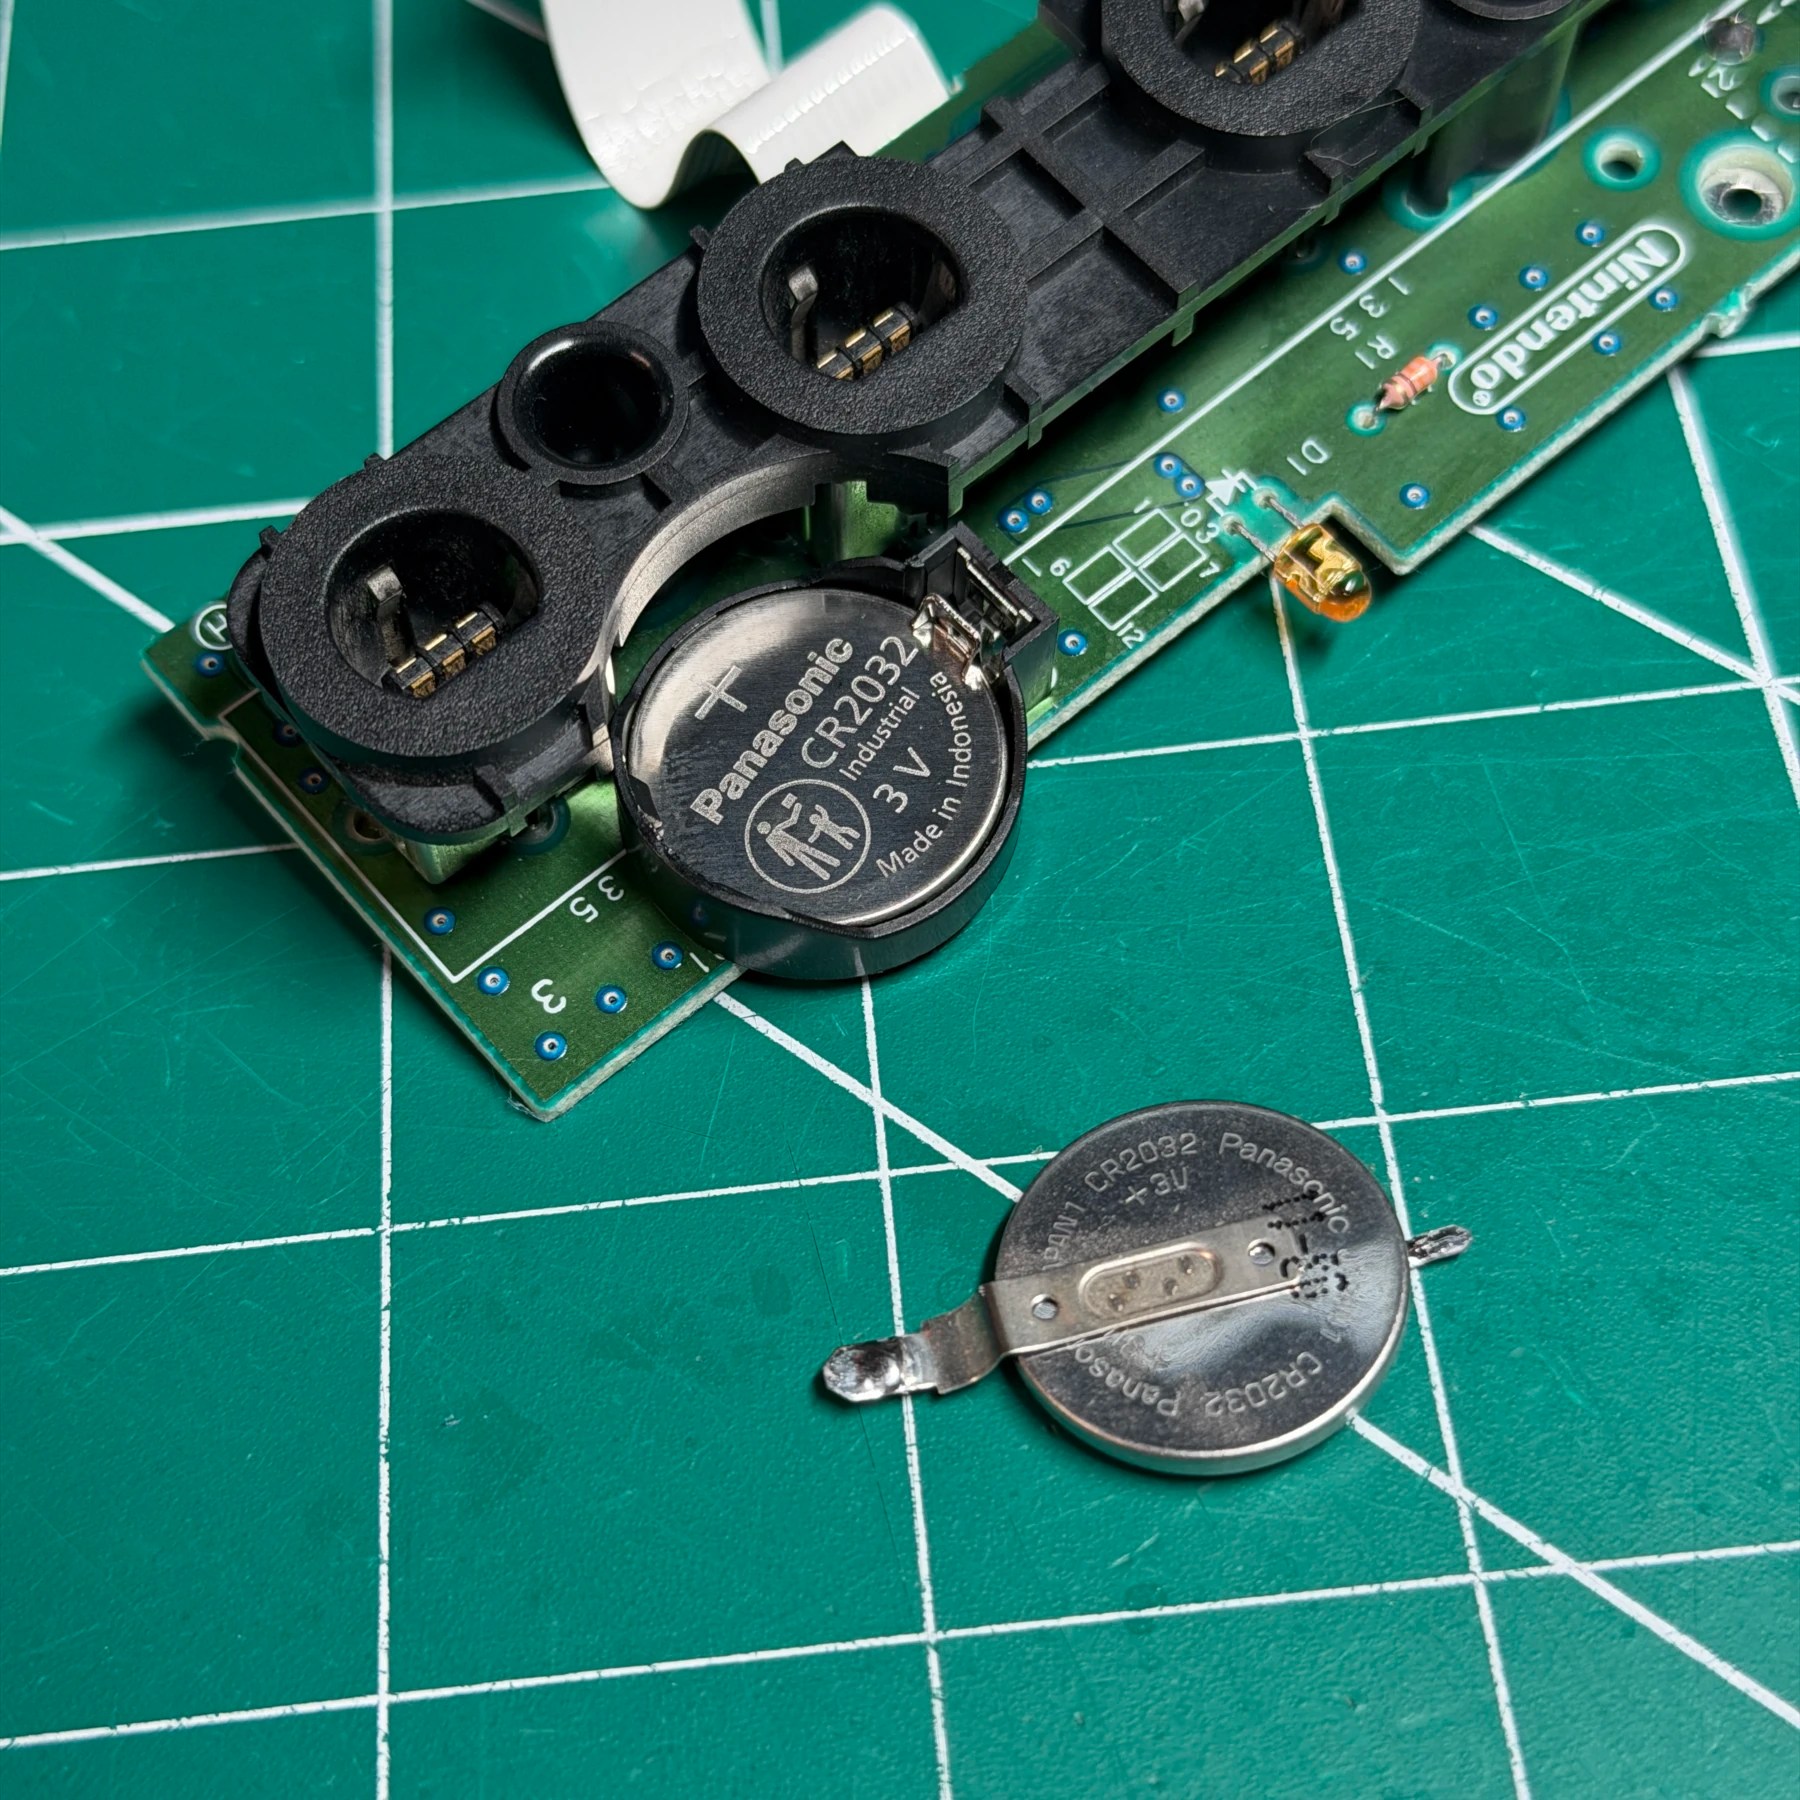
Following my normal process for these I like to work the 2-3 smaller components first and do the mainboard last. In this case, I first desolder the original CR2032 battery, clean the pads then solder in a horizontal coin cell holder and install a brand-new battery. That plate gets set to the side and now it’s time to tackle the fan portion of the job.
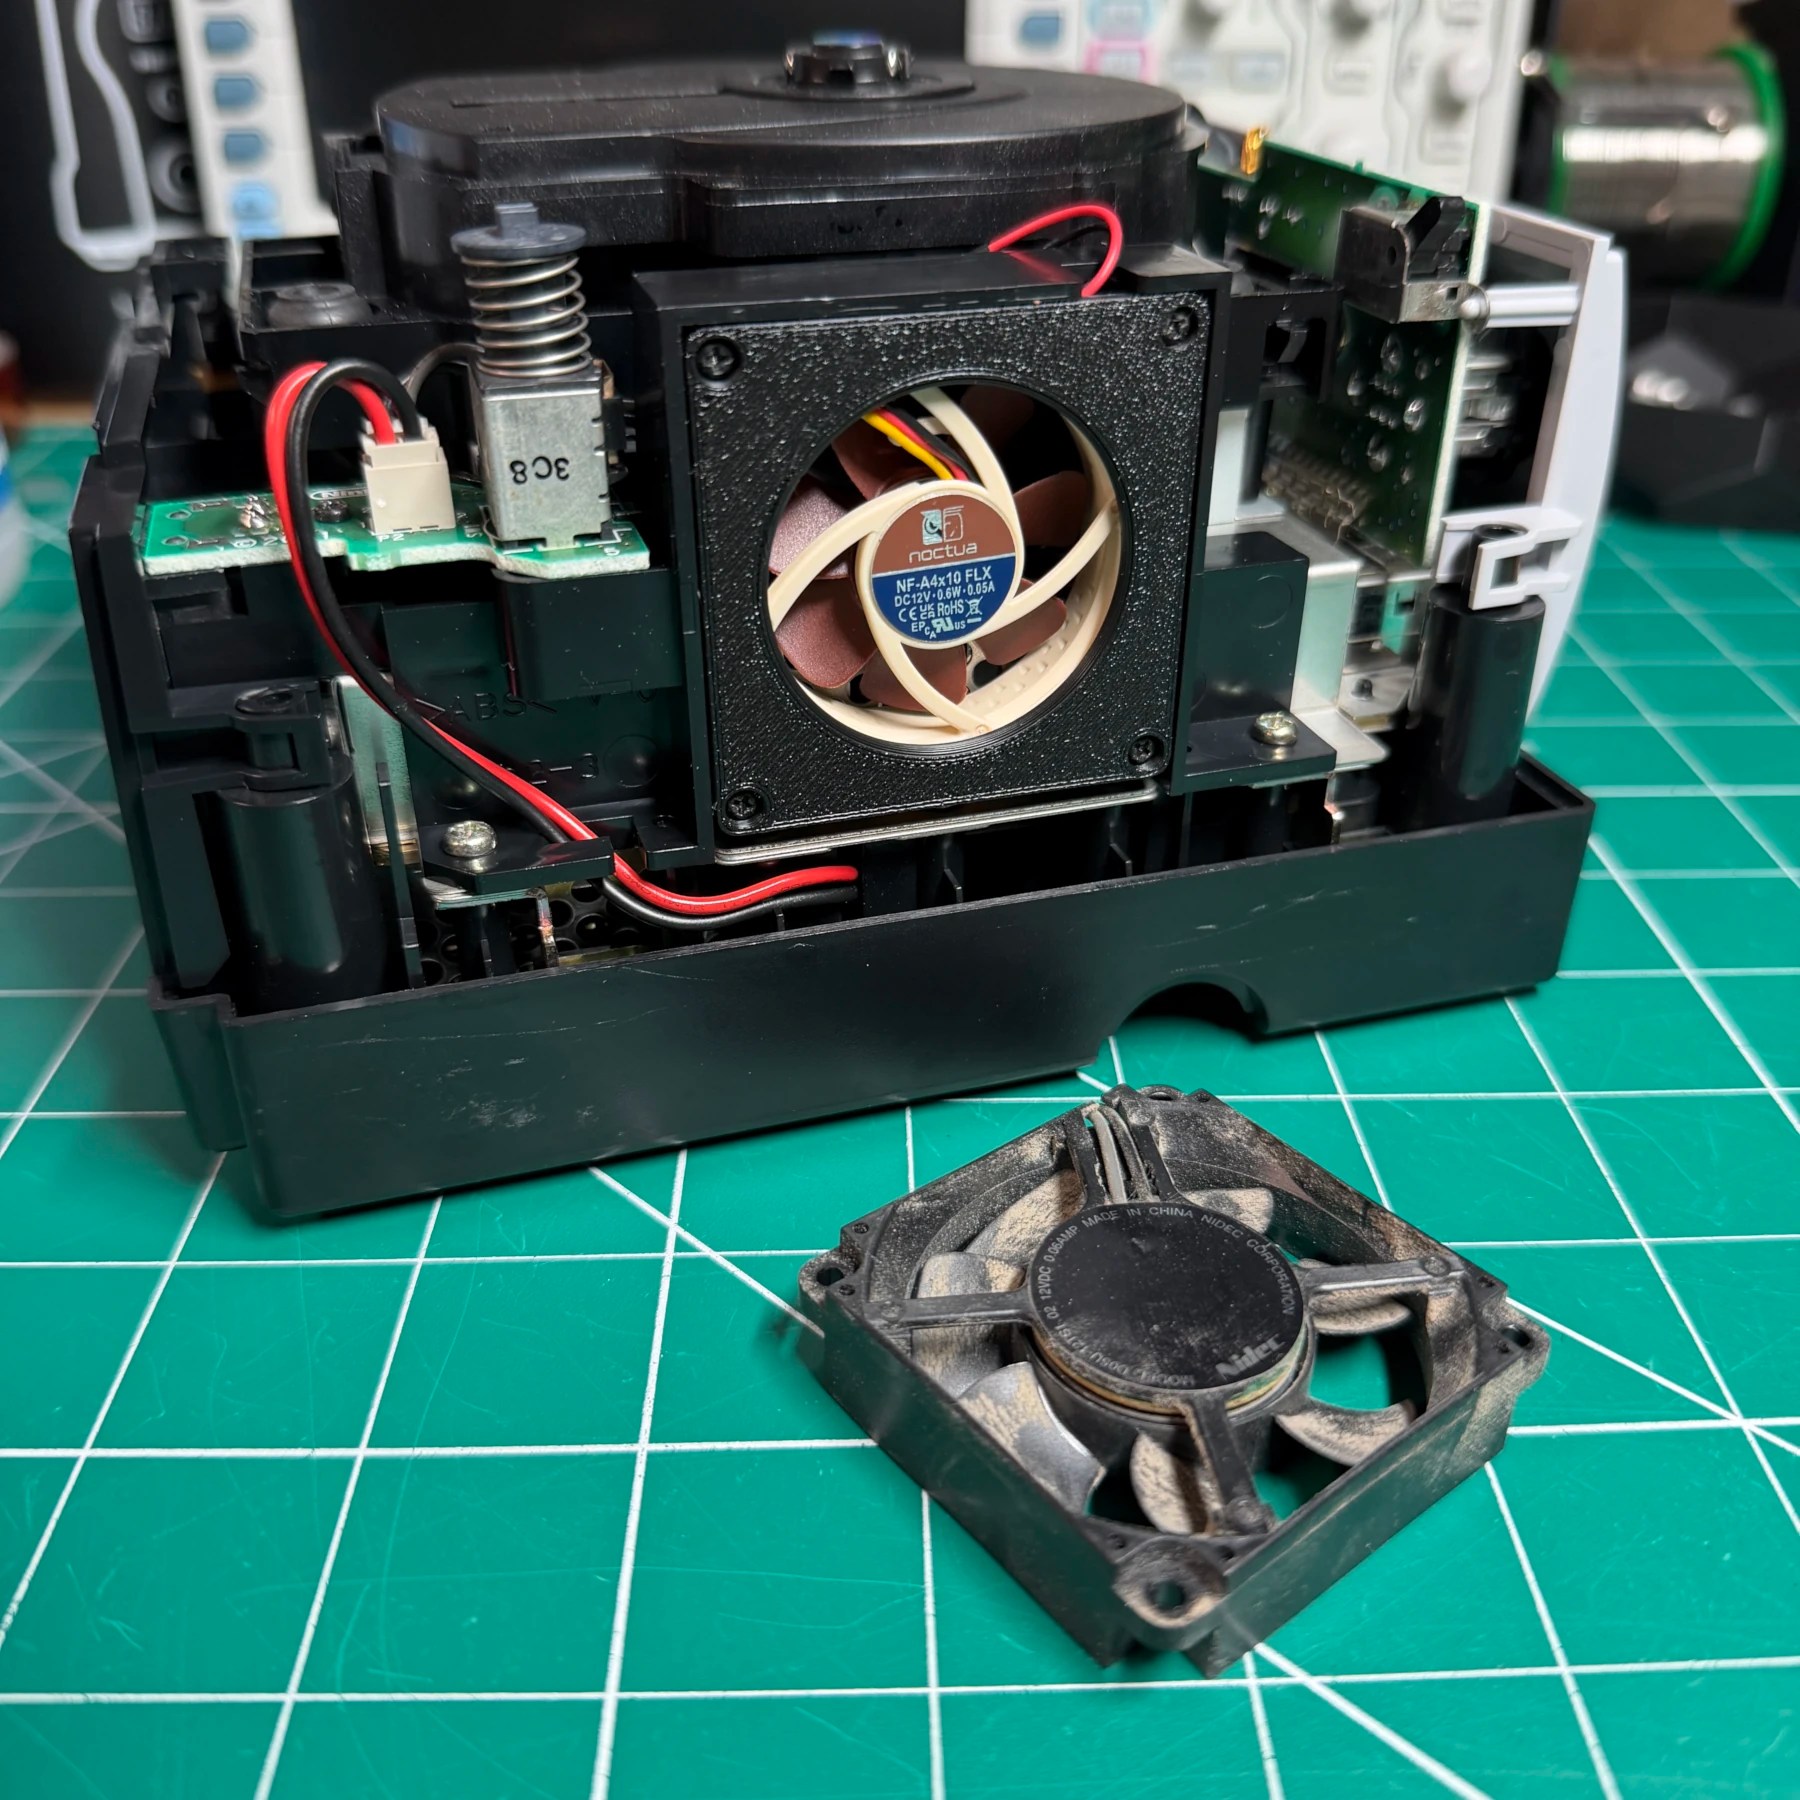
For this I simply snip the stock fan wires near the fan itself, then snip the ends off the Noctua fan while adding a 100ohm resistor in line on the red to gray wire splice. You simply join black to black and cut the yellow fully and that’s really the whole process from a connection perspective. I of course add some heat shrink tubing on both wire splices and then pull the RetroFrog bracket off my 3D printer bed and snap the fan in then route the wires out the topside and screw in the fan and power connector so the entire fan/power module is done. I set that to the side and now it’s time to tackle one of the more annoying parts…
Getting to the optical drive is a little bit of work. You have to unscrew the metal shield from below and then unscrew the optical drive PCB and detach a few wires and flexes so the PCB can come straight out for easy access to the caps. I work around the board and remove all the original SMD caps with my hot tweezers and then clean the board and solder in a new pack of 10 SMD caps from the Console5 kit and clean all my unspent flux.
Since the drive is apart I then remove the rails and laser assembly and clean out any hairs and debris (very common) and apply some fresh grease and work it in, then reassemble the entire optical drive block. All done and should be reading discs perfectly now!
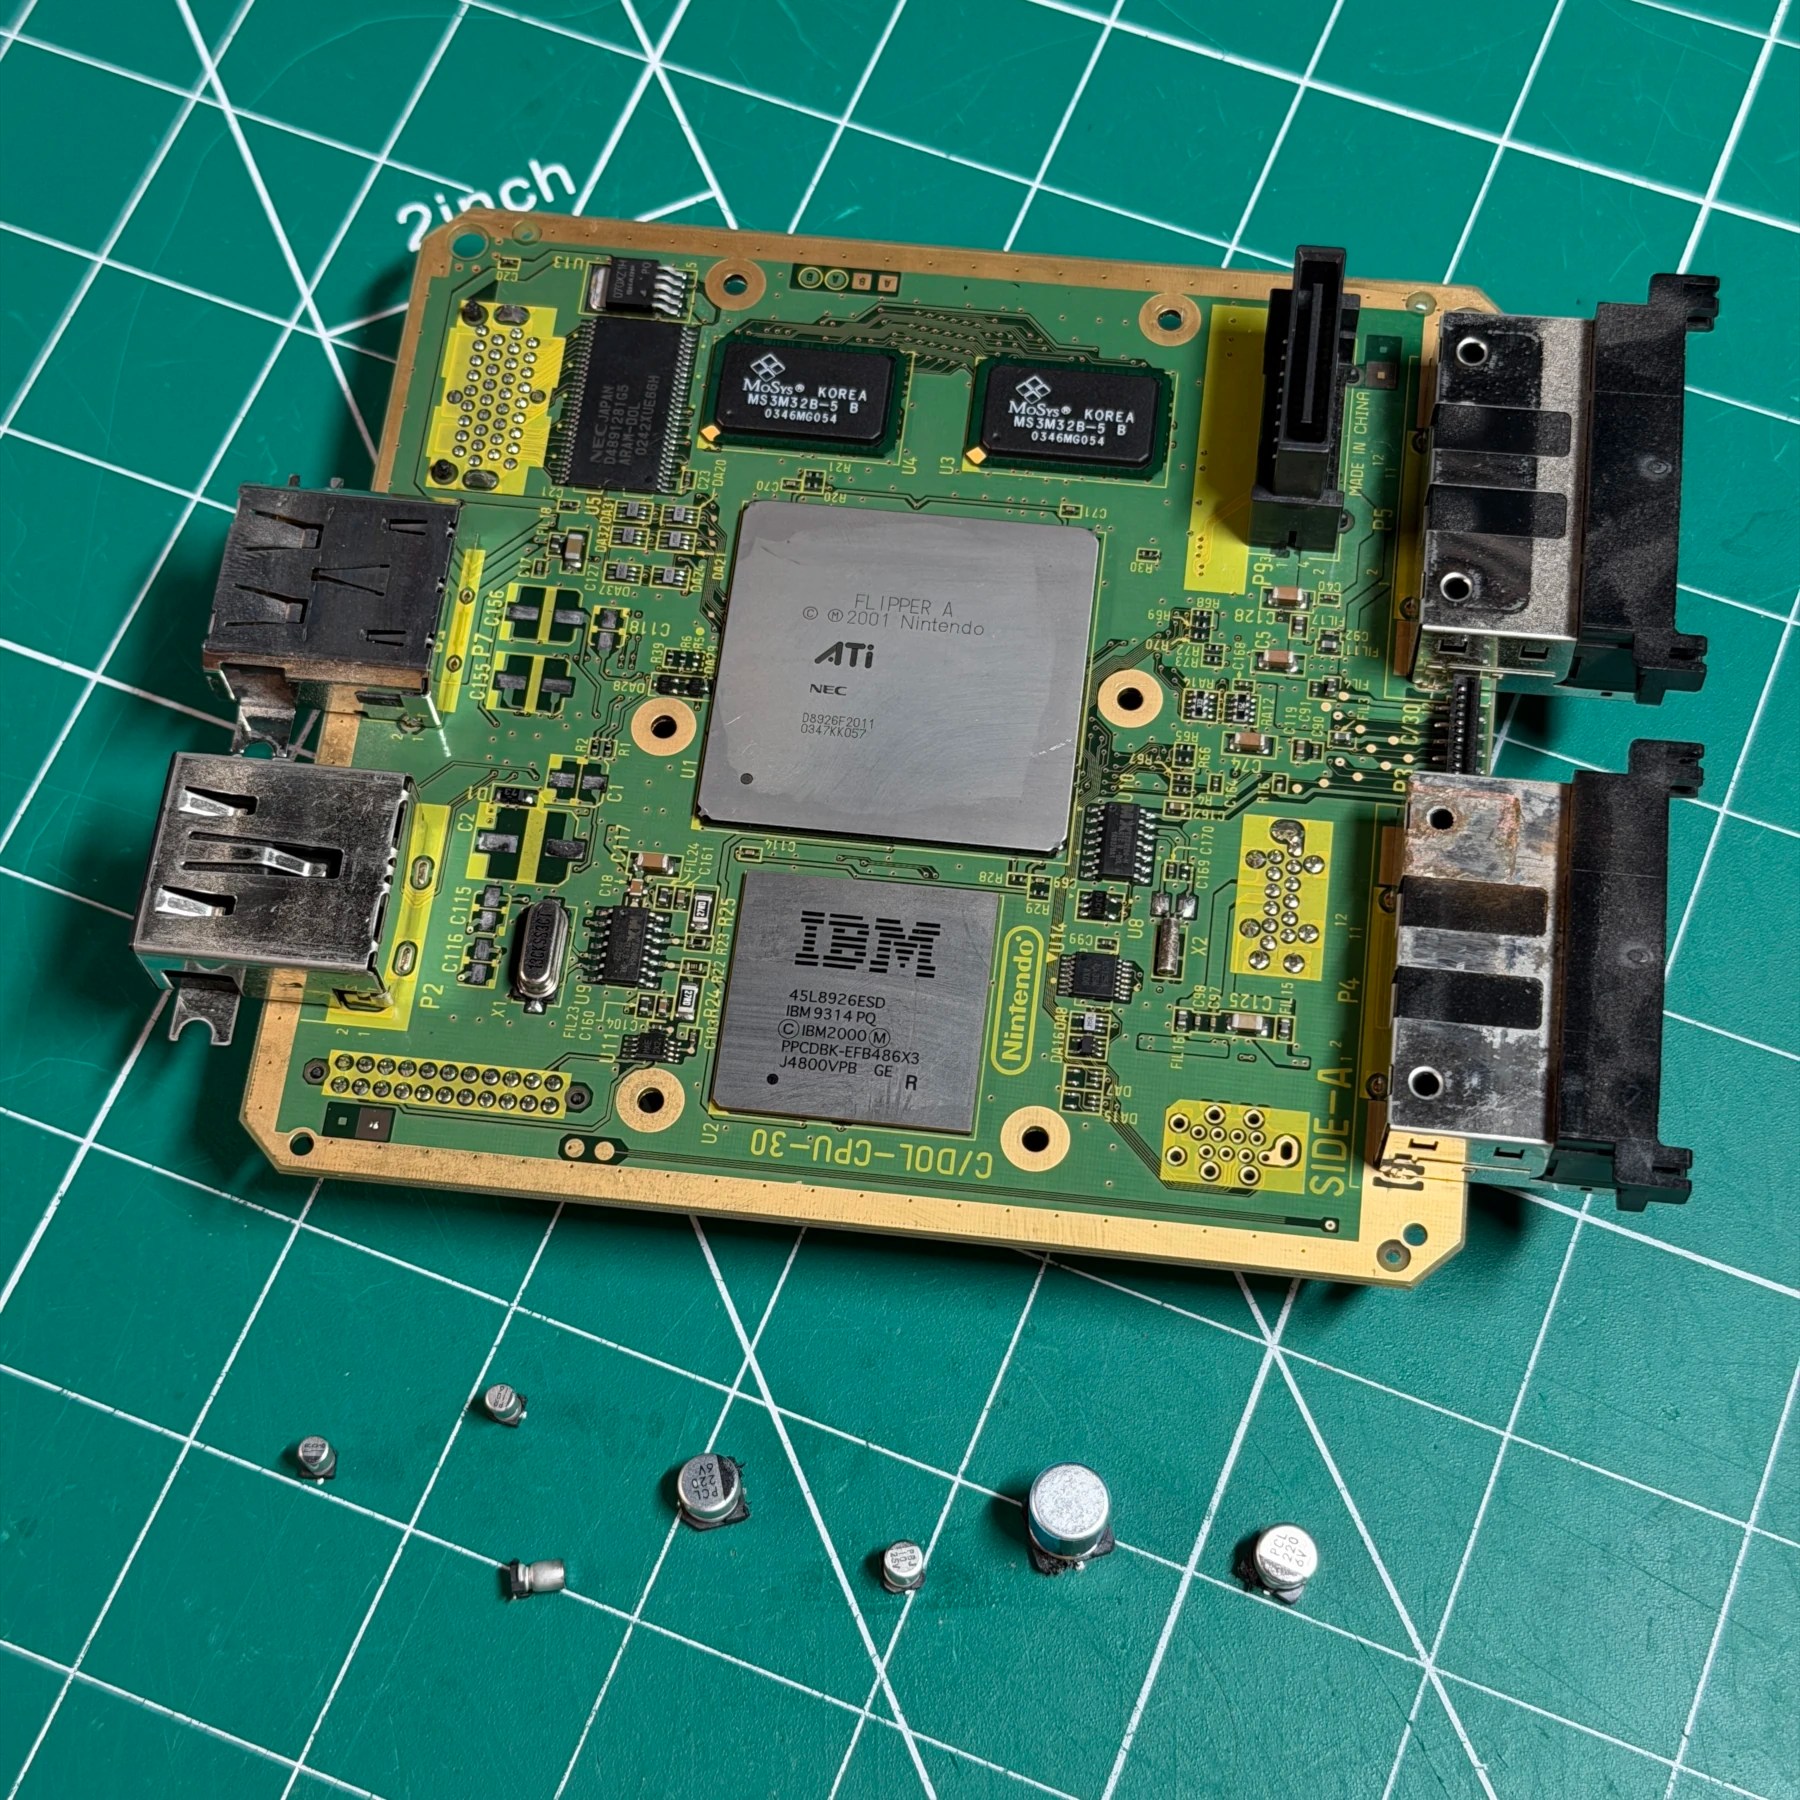
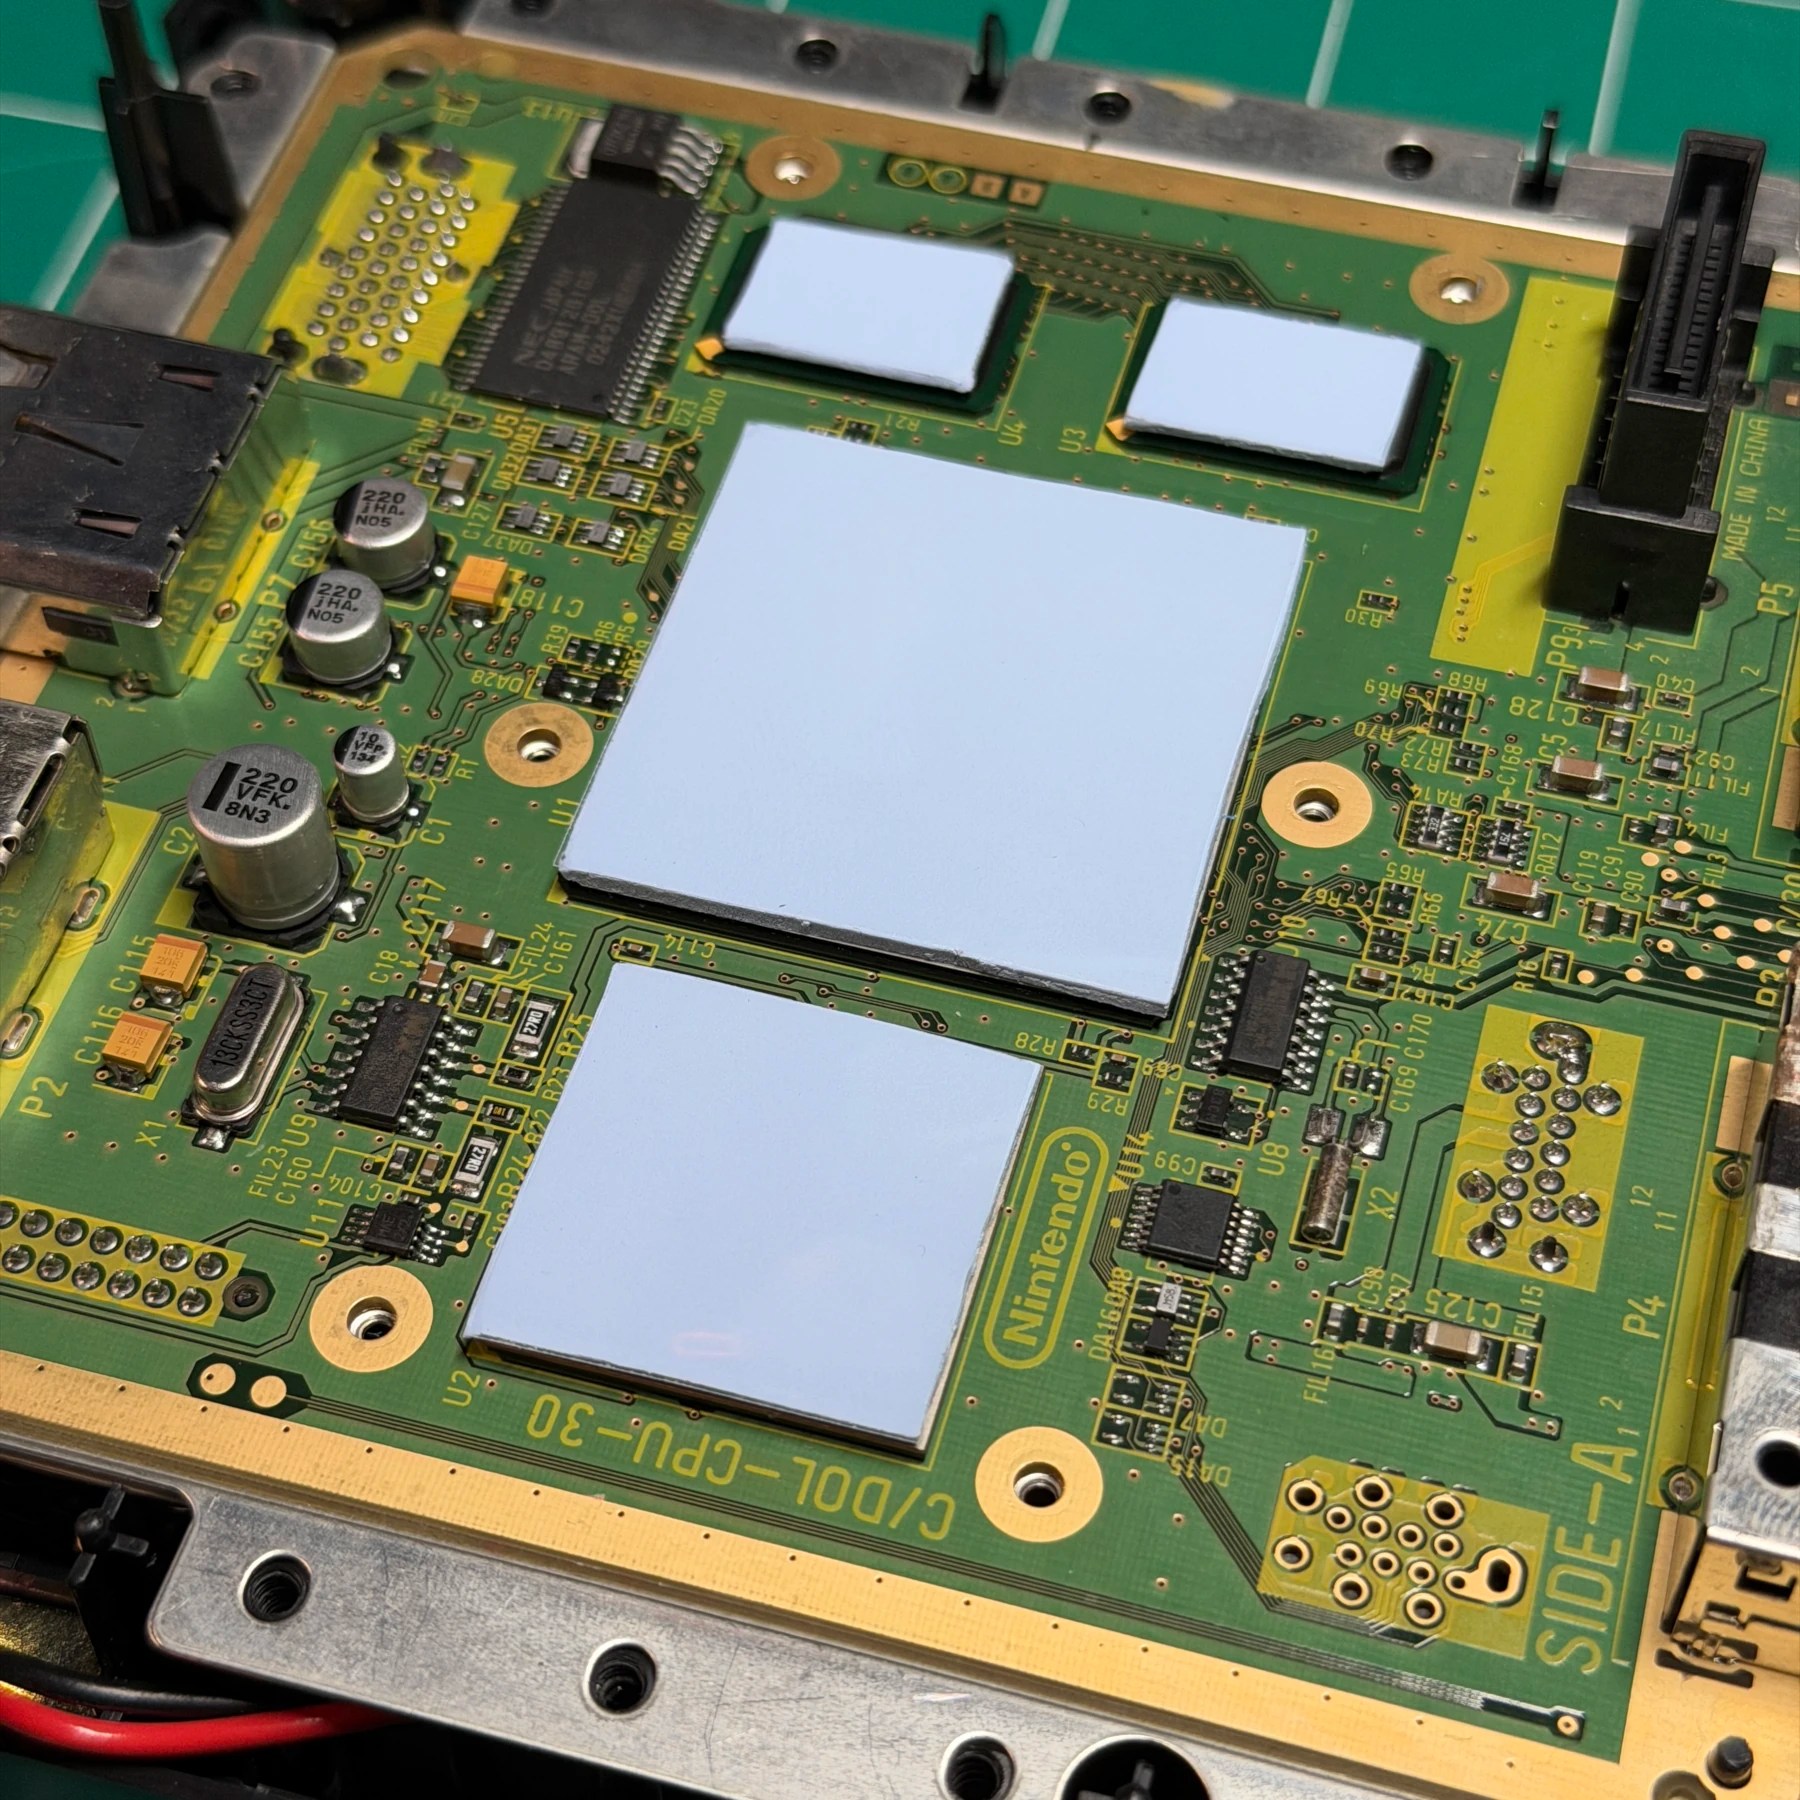
On to the last part, the mainboard work! For this I use my hot air station to heat up the heatsink and remove safely, then remove and clean the old thermal pad residue. With easy access to the mainboard caps I remove them with my Hakko tweezers and clean the pads, then solder on the new ones from Console5 including the 10uF which are tantalums these days.
Once I clean up any leftover flux I then use my handy GamerGhosts GameCube thermal pad templates to cut 4 new pads for the RAM and CPU/GPU. With those adhered and the board cleaned I peel off the thermal pad top plastic and stick the heatsink I have cleaned back on and the mainboard work is done, on to the re-assembly!
Since all the of the shell and plastic parts are clean and dry I can now begin the assembly process starting with the GBP first and then the GameCube itself. Everything just goes on in reverse order and added back on from bottom to top.
With it all put together minus the top shell on, it’s time to test and in this case I need to test two scenarios – playing GameCube discs AND GameBoy Advance carts via the attached GBP! First up is the disc testing and I deliberately chose a few scratched games and the good news… they all fired up and read ok! For testing the GBP I luckily have an OEM GBP boot disc I keep in my shop and it loaded and then I played a few original carts plus my Everdrive and they all worked perfect.
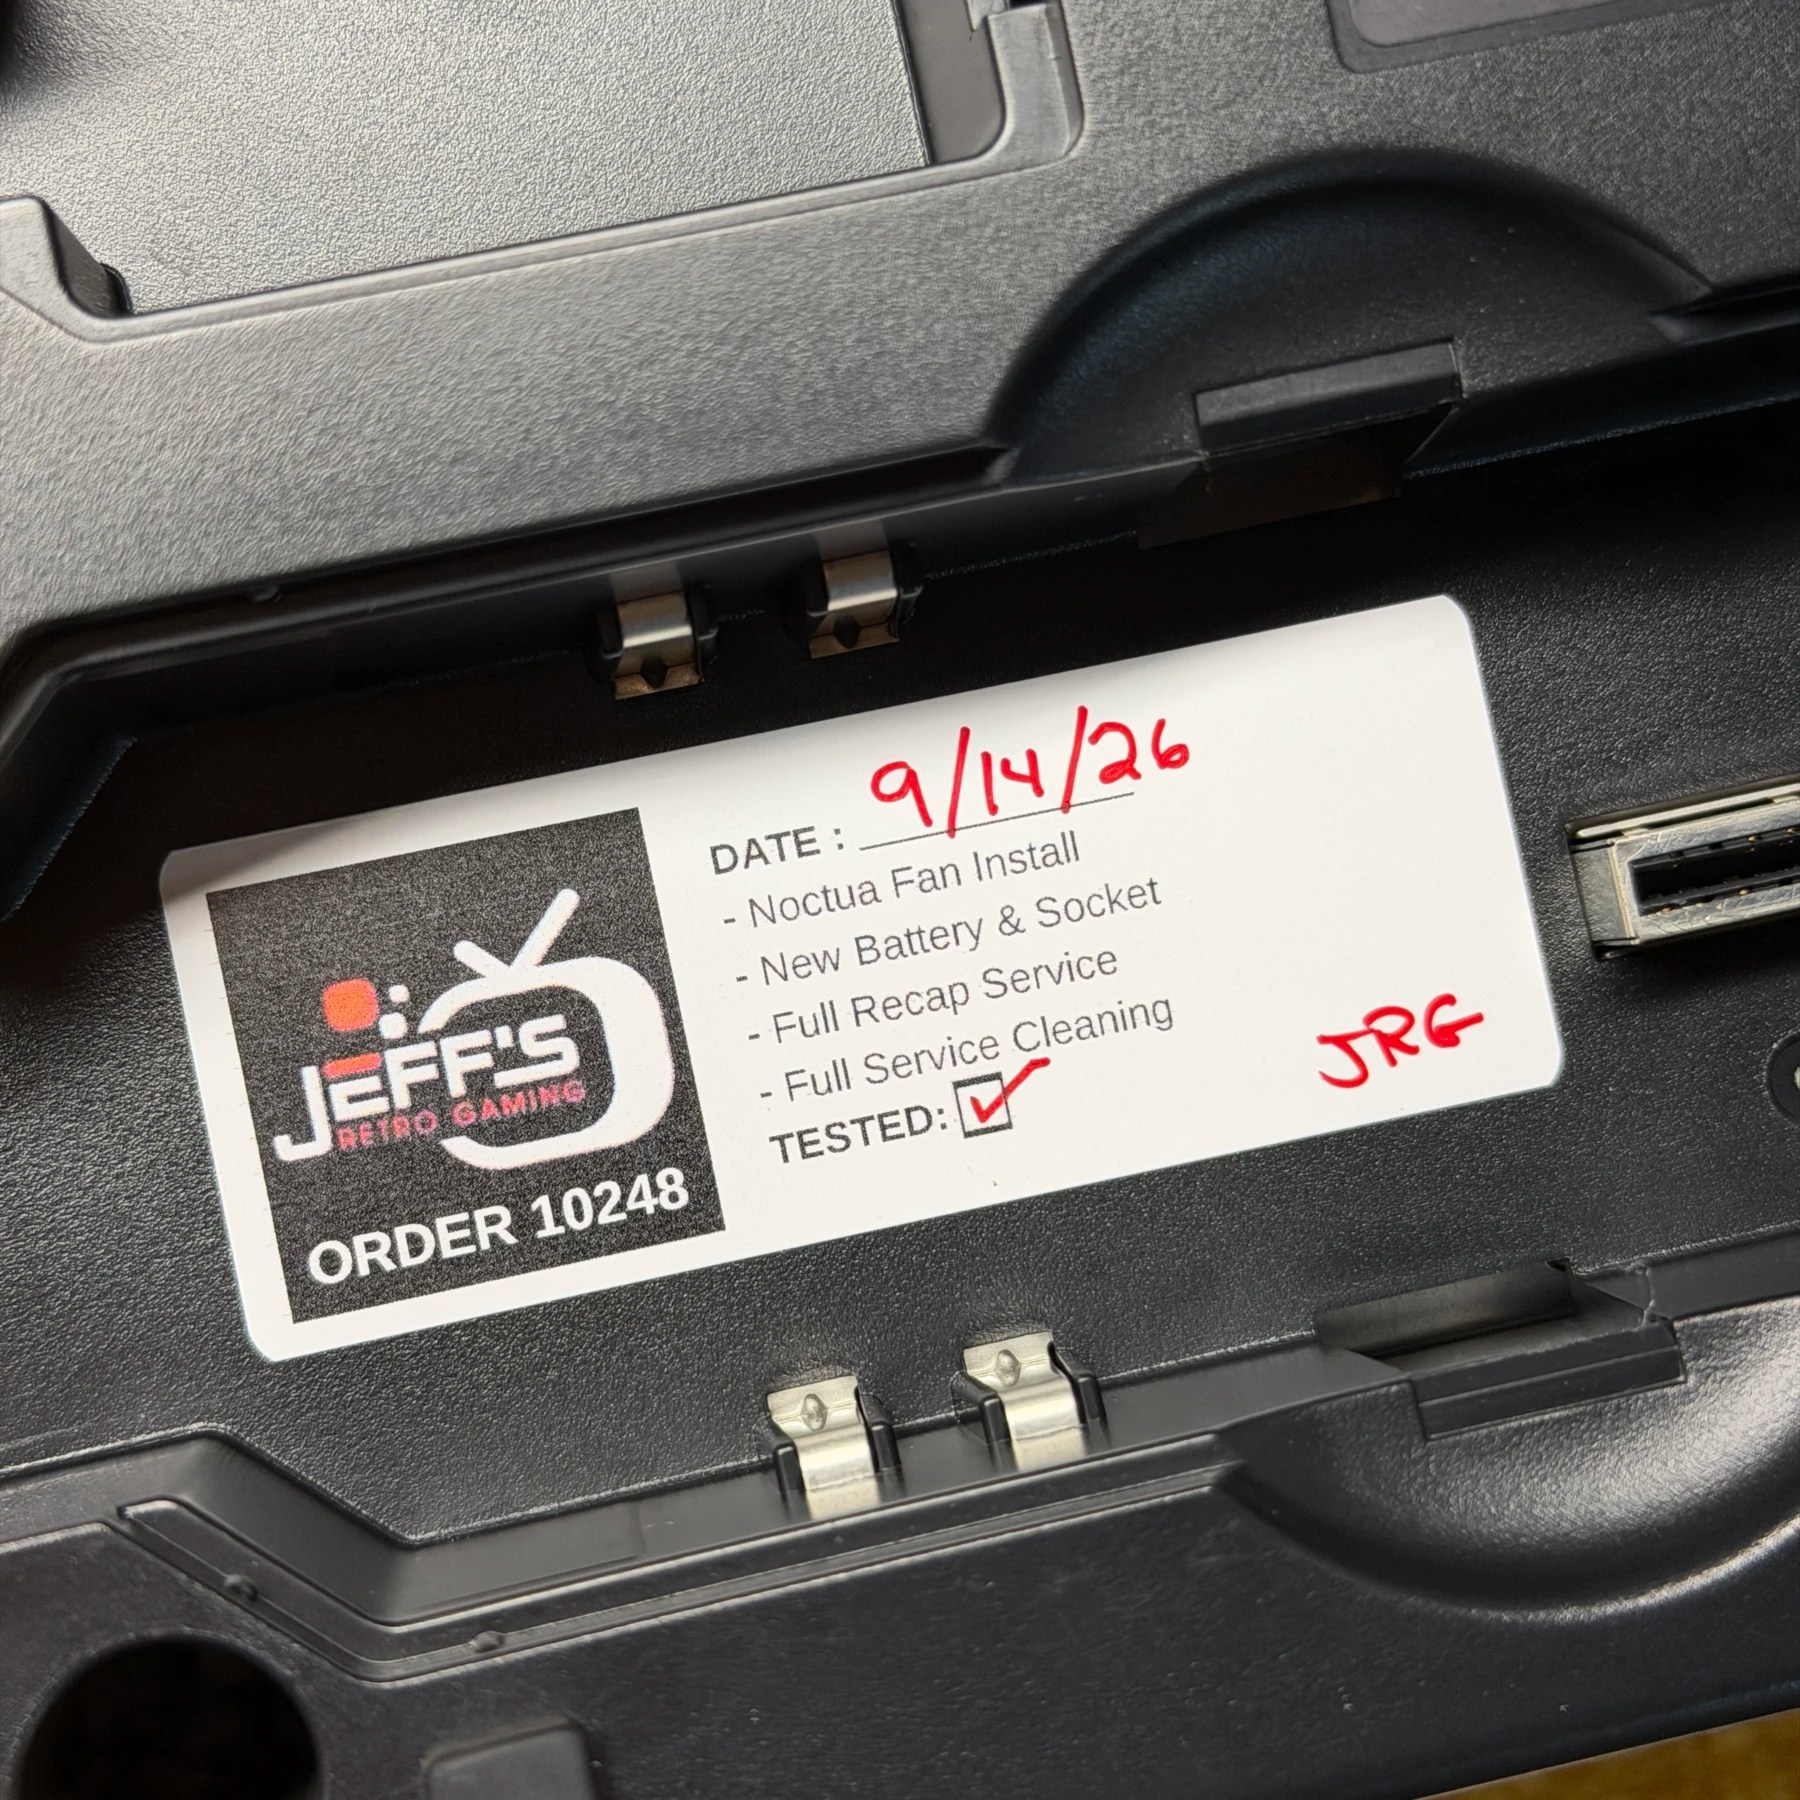
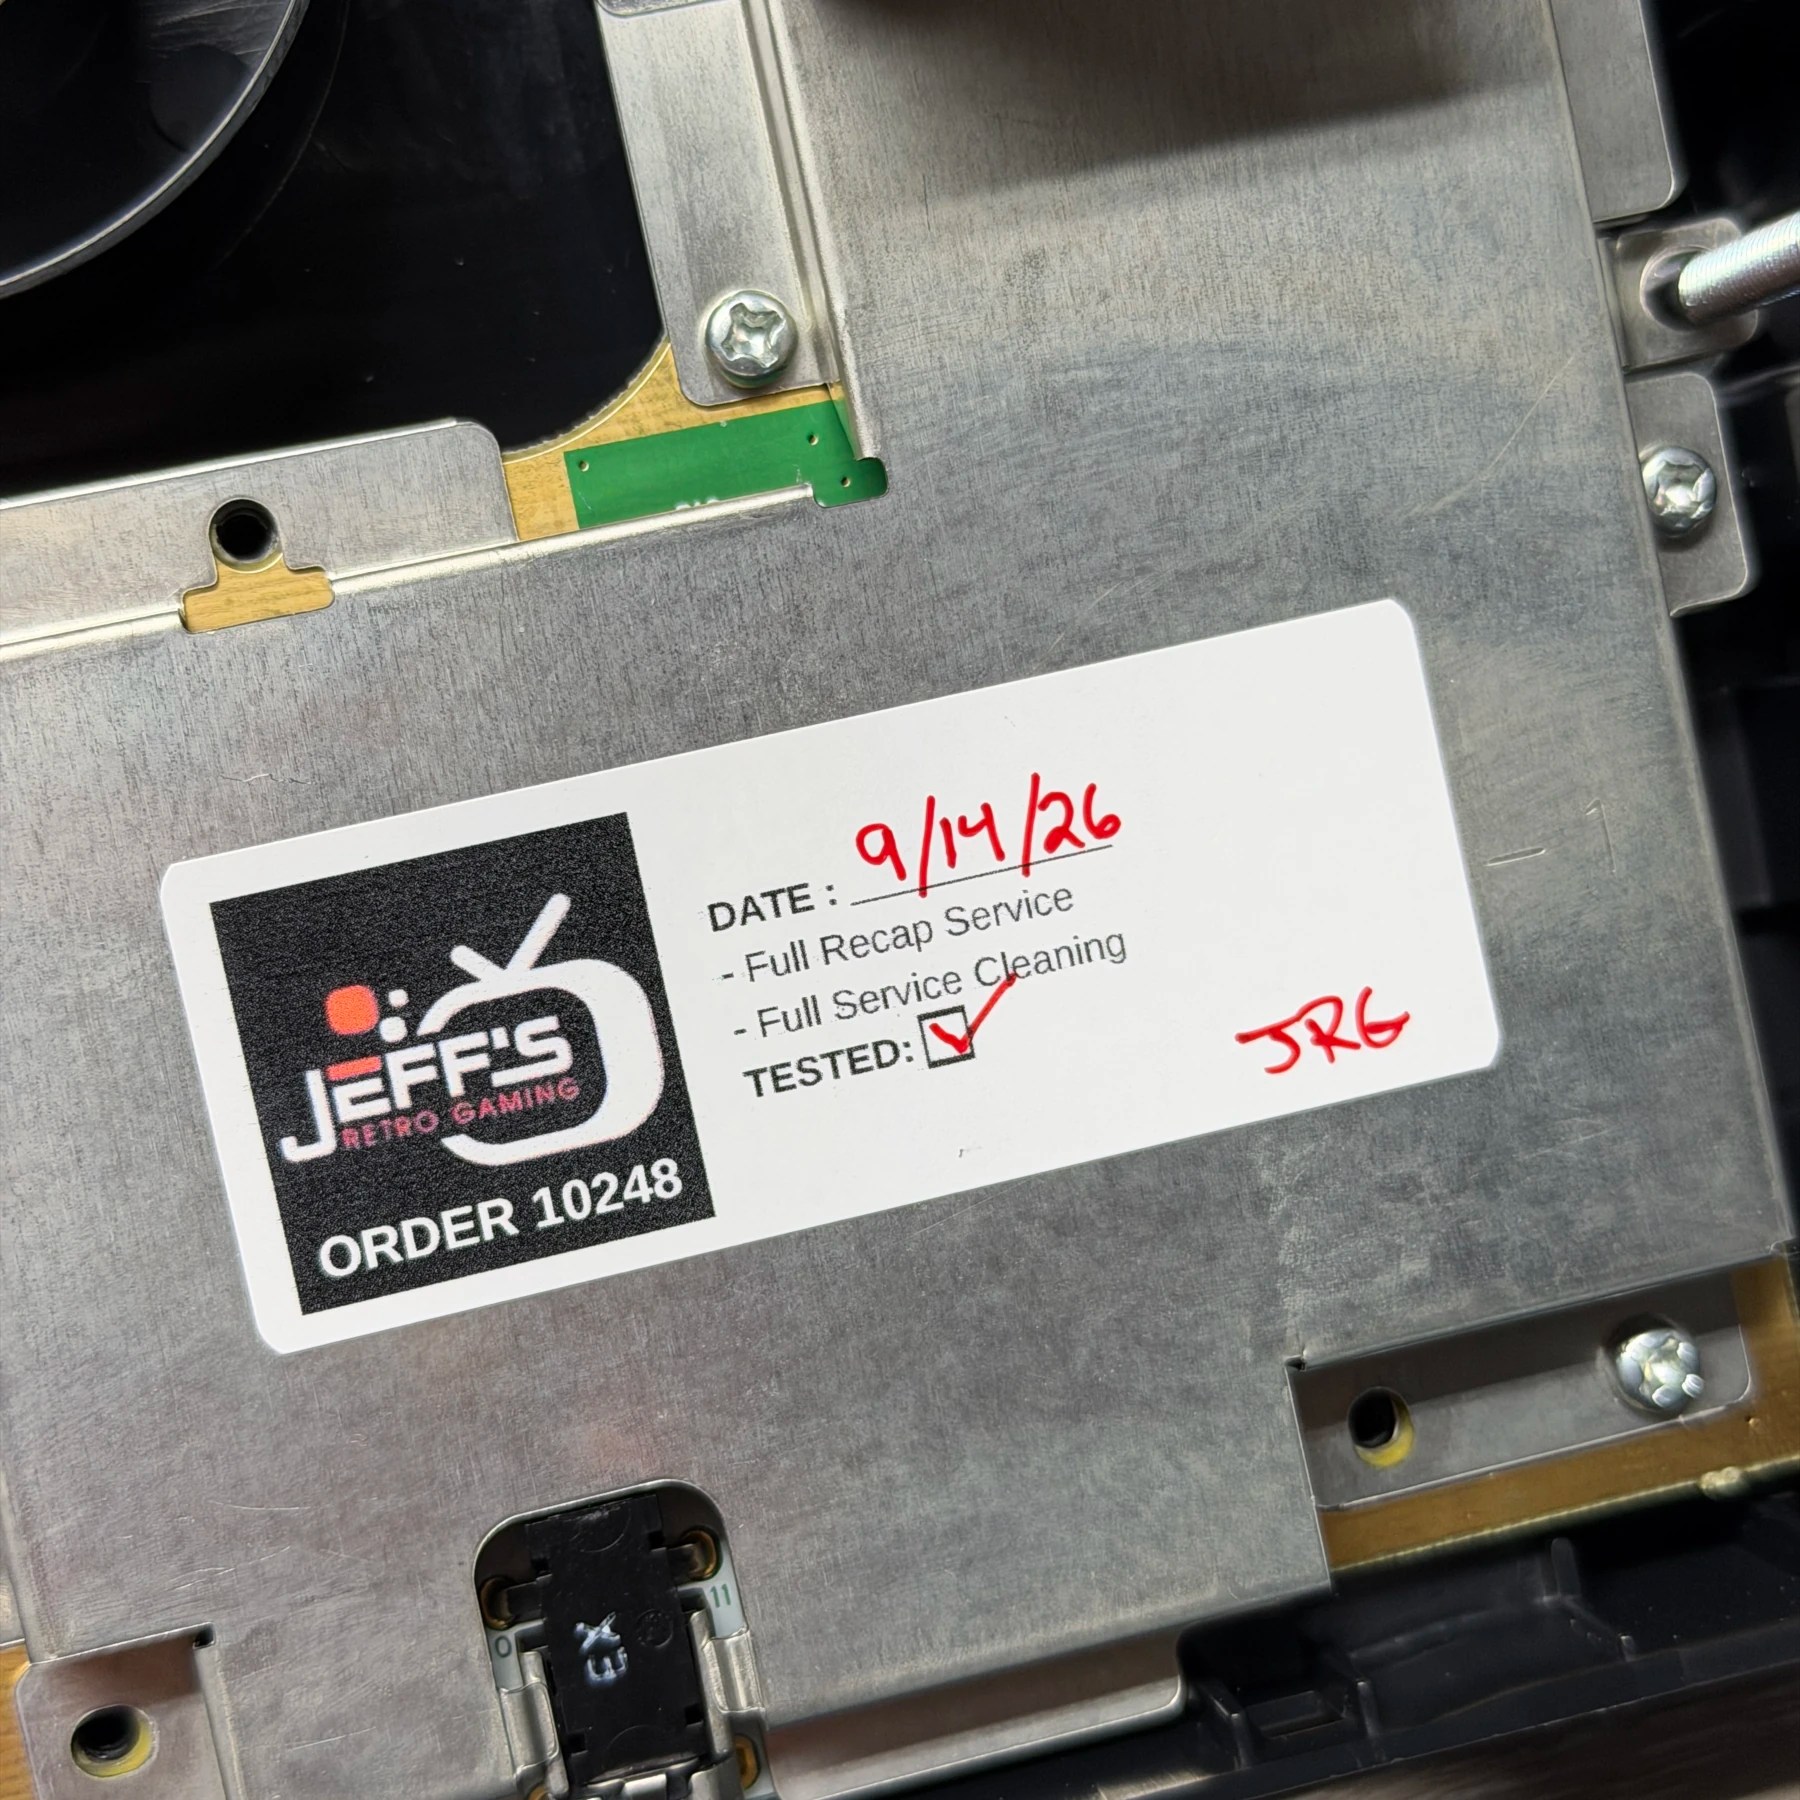
While it was being tested I also went in and set the date/time in the menu and then added my JRG sticker validating the test to both (be sure to have lid in UP position when sitting back on top of the console!) and also screwed the GBP top shell in now that it was tested and sticker installed.
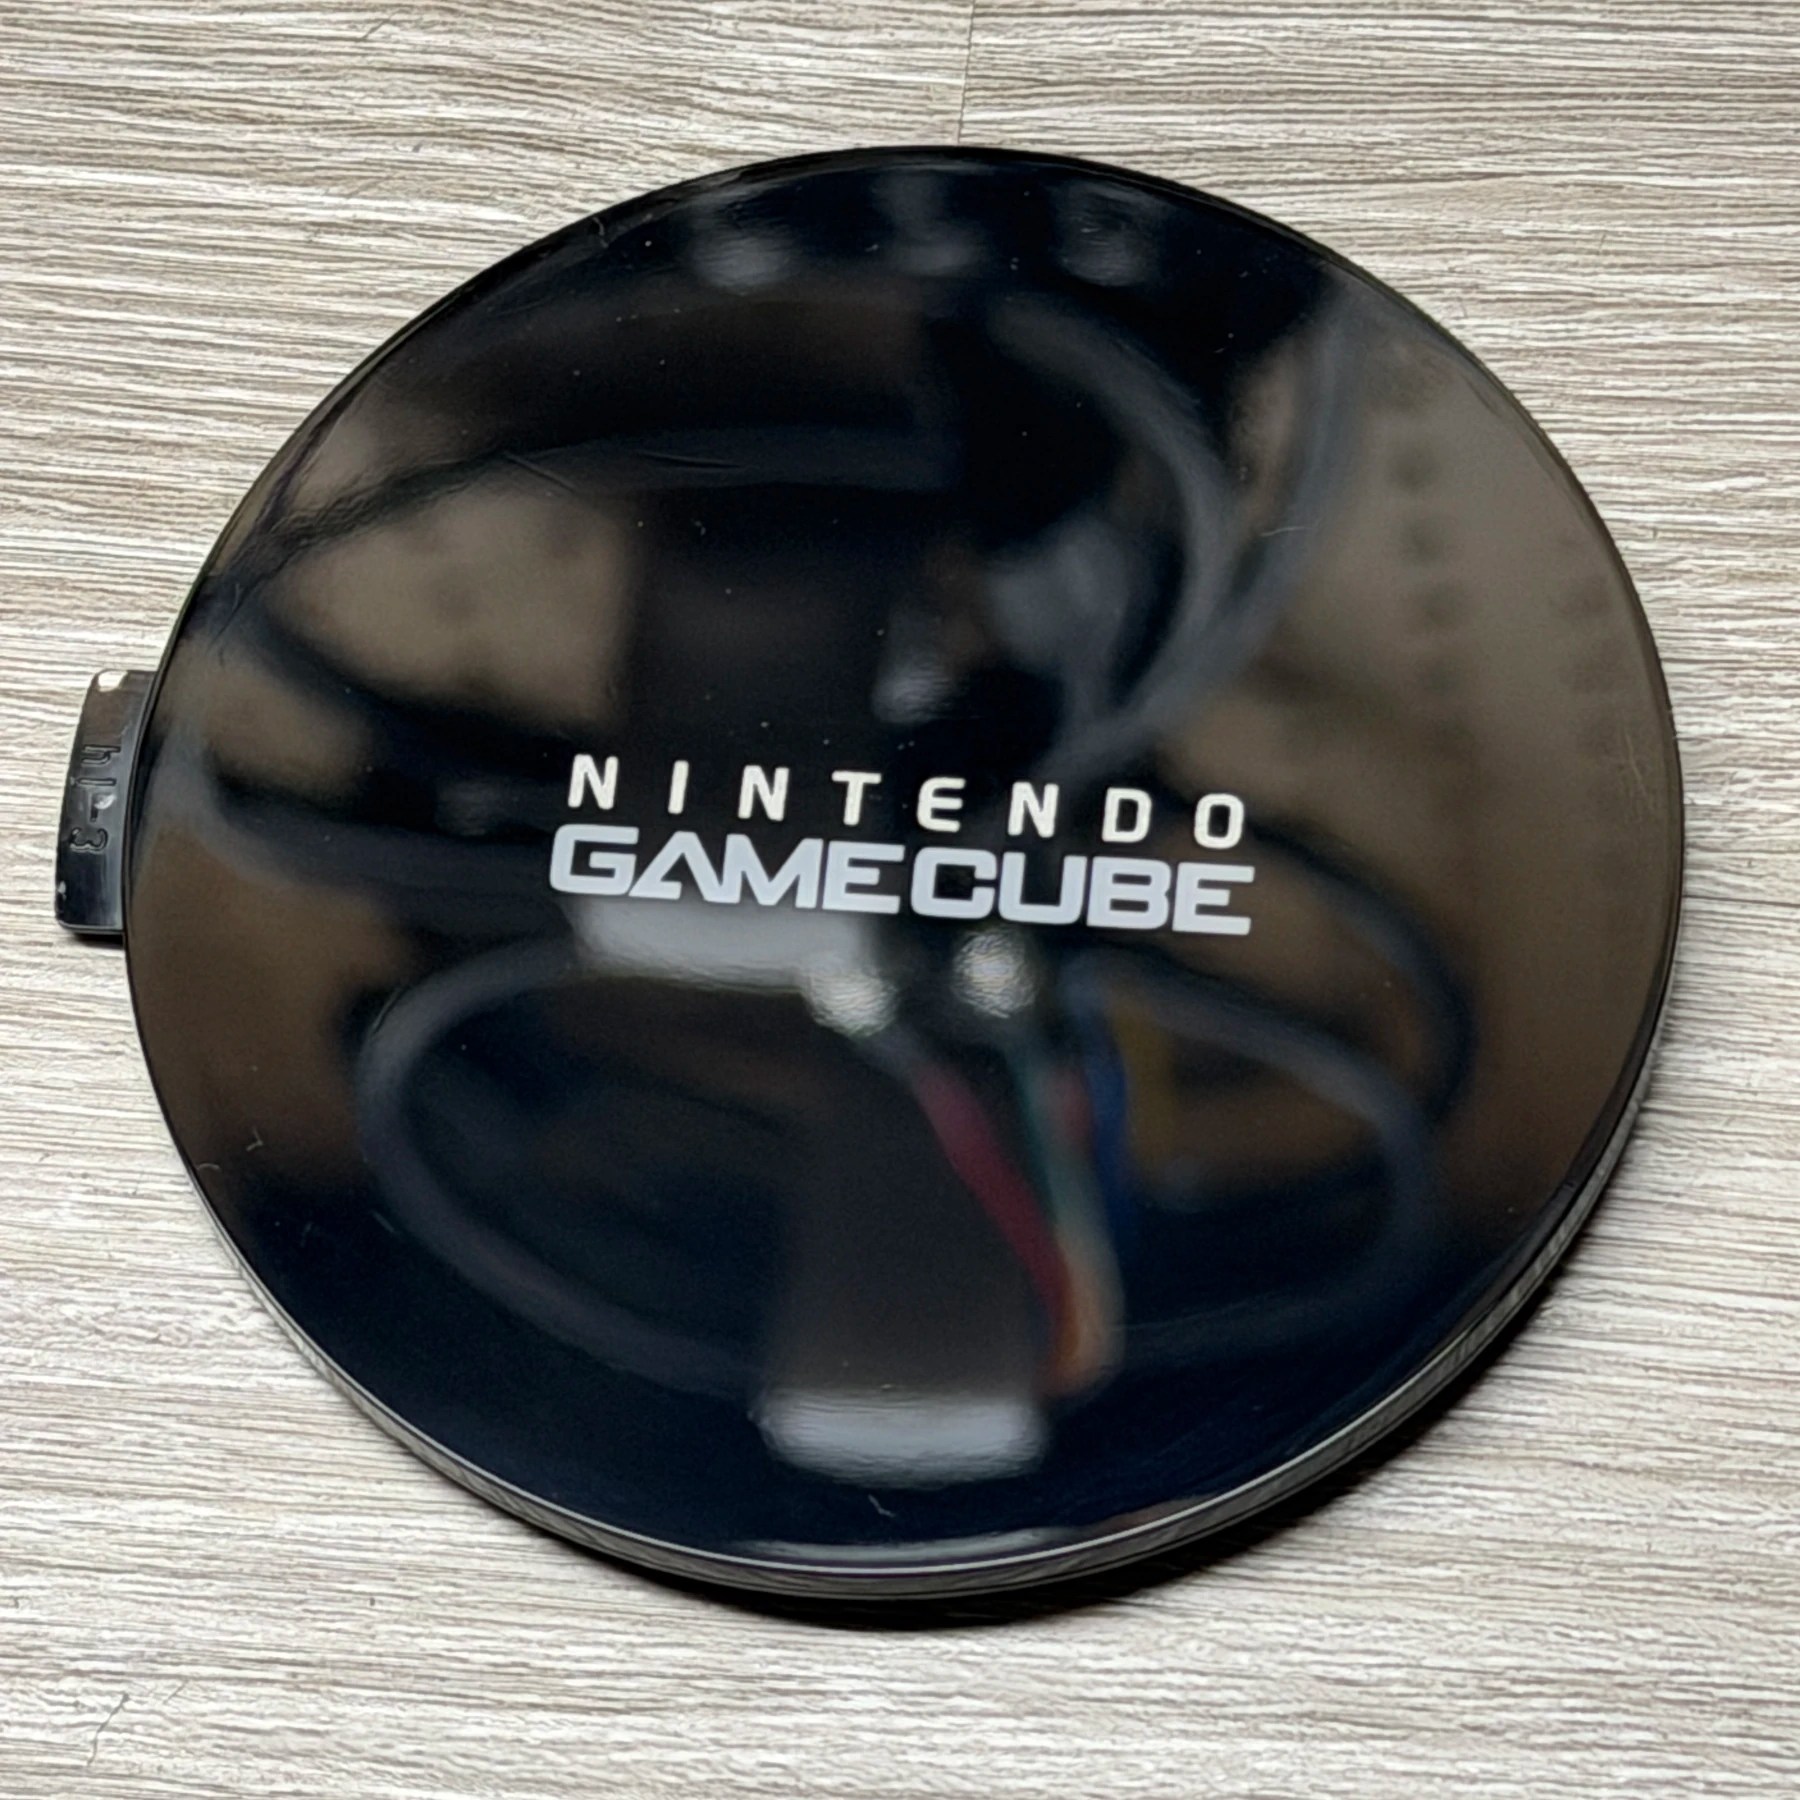
All in all, a pretty quick job and this GameCube looks nice and clean and runs both discs and carts great… another one in the books!