
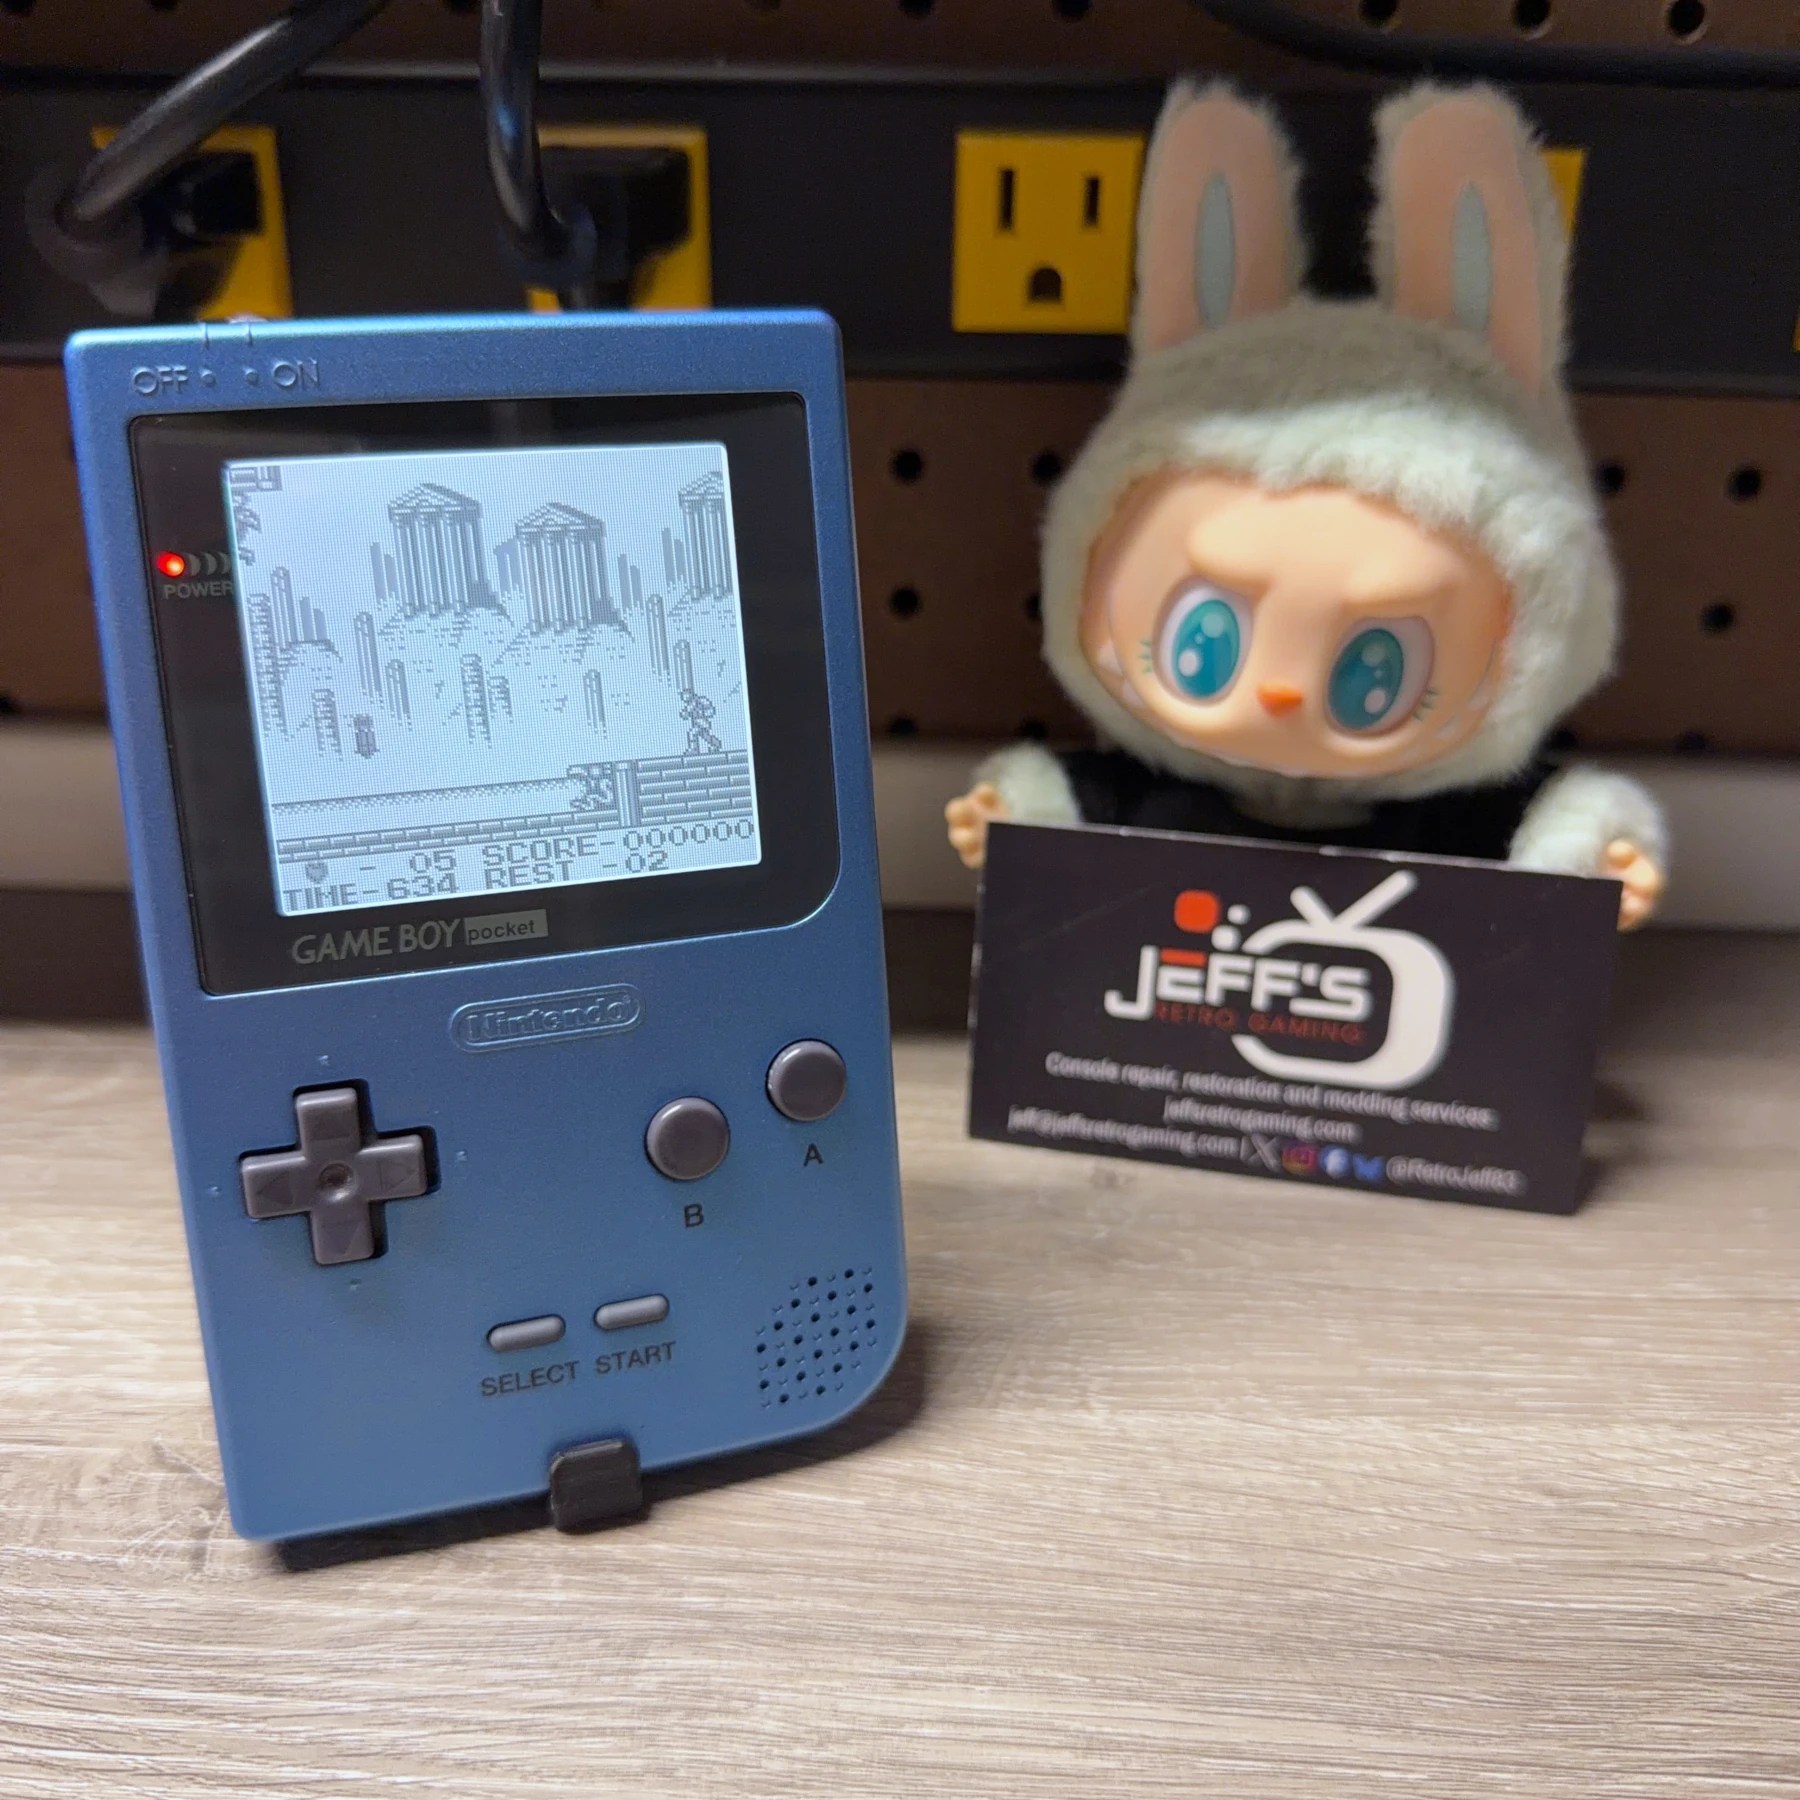
Originally when I saw this job enter the queue it was under the ‘DMG’ GameBoy Services and for a new screen, audio amp and power regulation mod. When it arrived here in the shop I was quite surprised opening the box and discovering it was in fact a pocket GameBoy! I have actually not ever worked on this specific variant (just DMG and Color) and wasn’t even sure the screen kit or other mods would be interchangeable but quickly found out the answer was… no 😔
I was able to find an equivalent mod kit for the screen luckily in stock via HandHeldLegend but the other 2 were out of stock. Instead of waiting (with no ETA) customer agreed to proceed with the recap and IPS screen mod for this pocket so I got the kits ordered and then it was just a waiting game for them to arrive and start the work!
Once the kits arrived I quickly fired up the GameBoy to test function and saw the completely messed up polarizer on the stock screen! Unplayable really but at least this proved the unit itself was operational so with a screen upgrade it should be a successful restoration. I always recommend new lenses with these screen kits as if you are going to drop the money on a nice new screen there is no reason to do so behind a scratched-up lens, so one was ordered and these are glass so much more scratch resistant going forward!
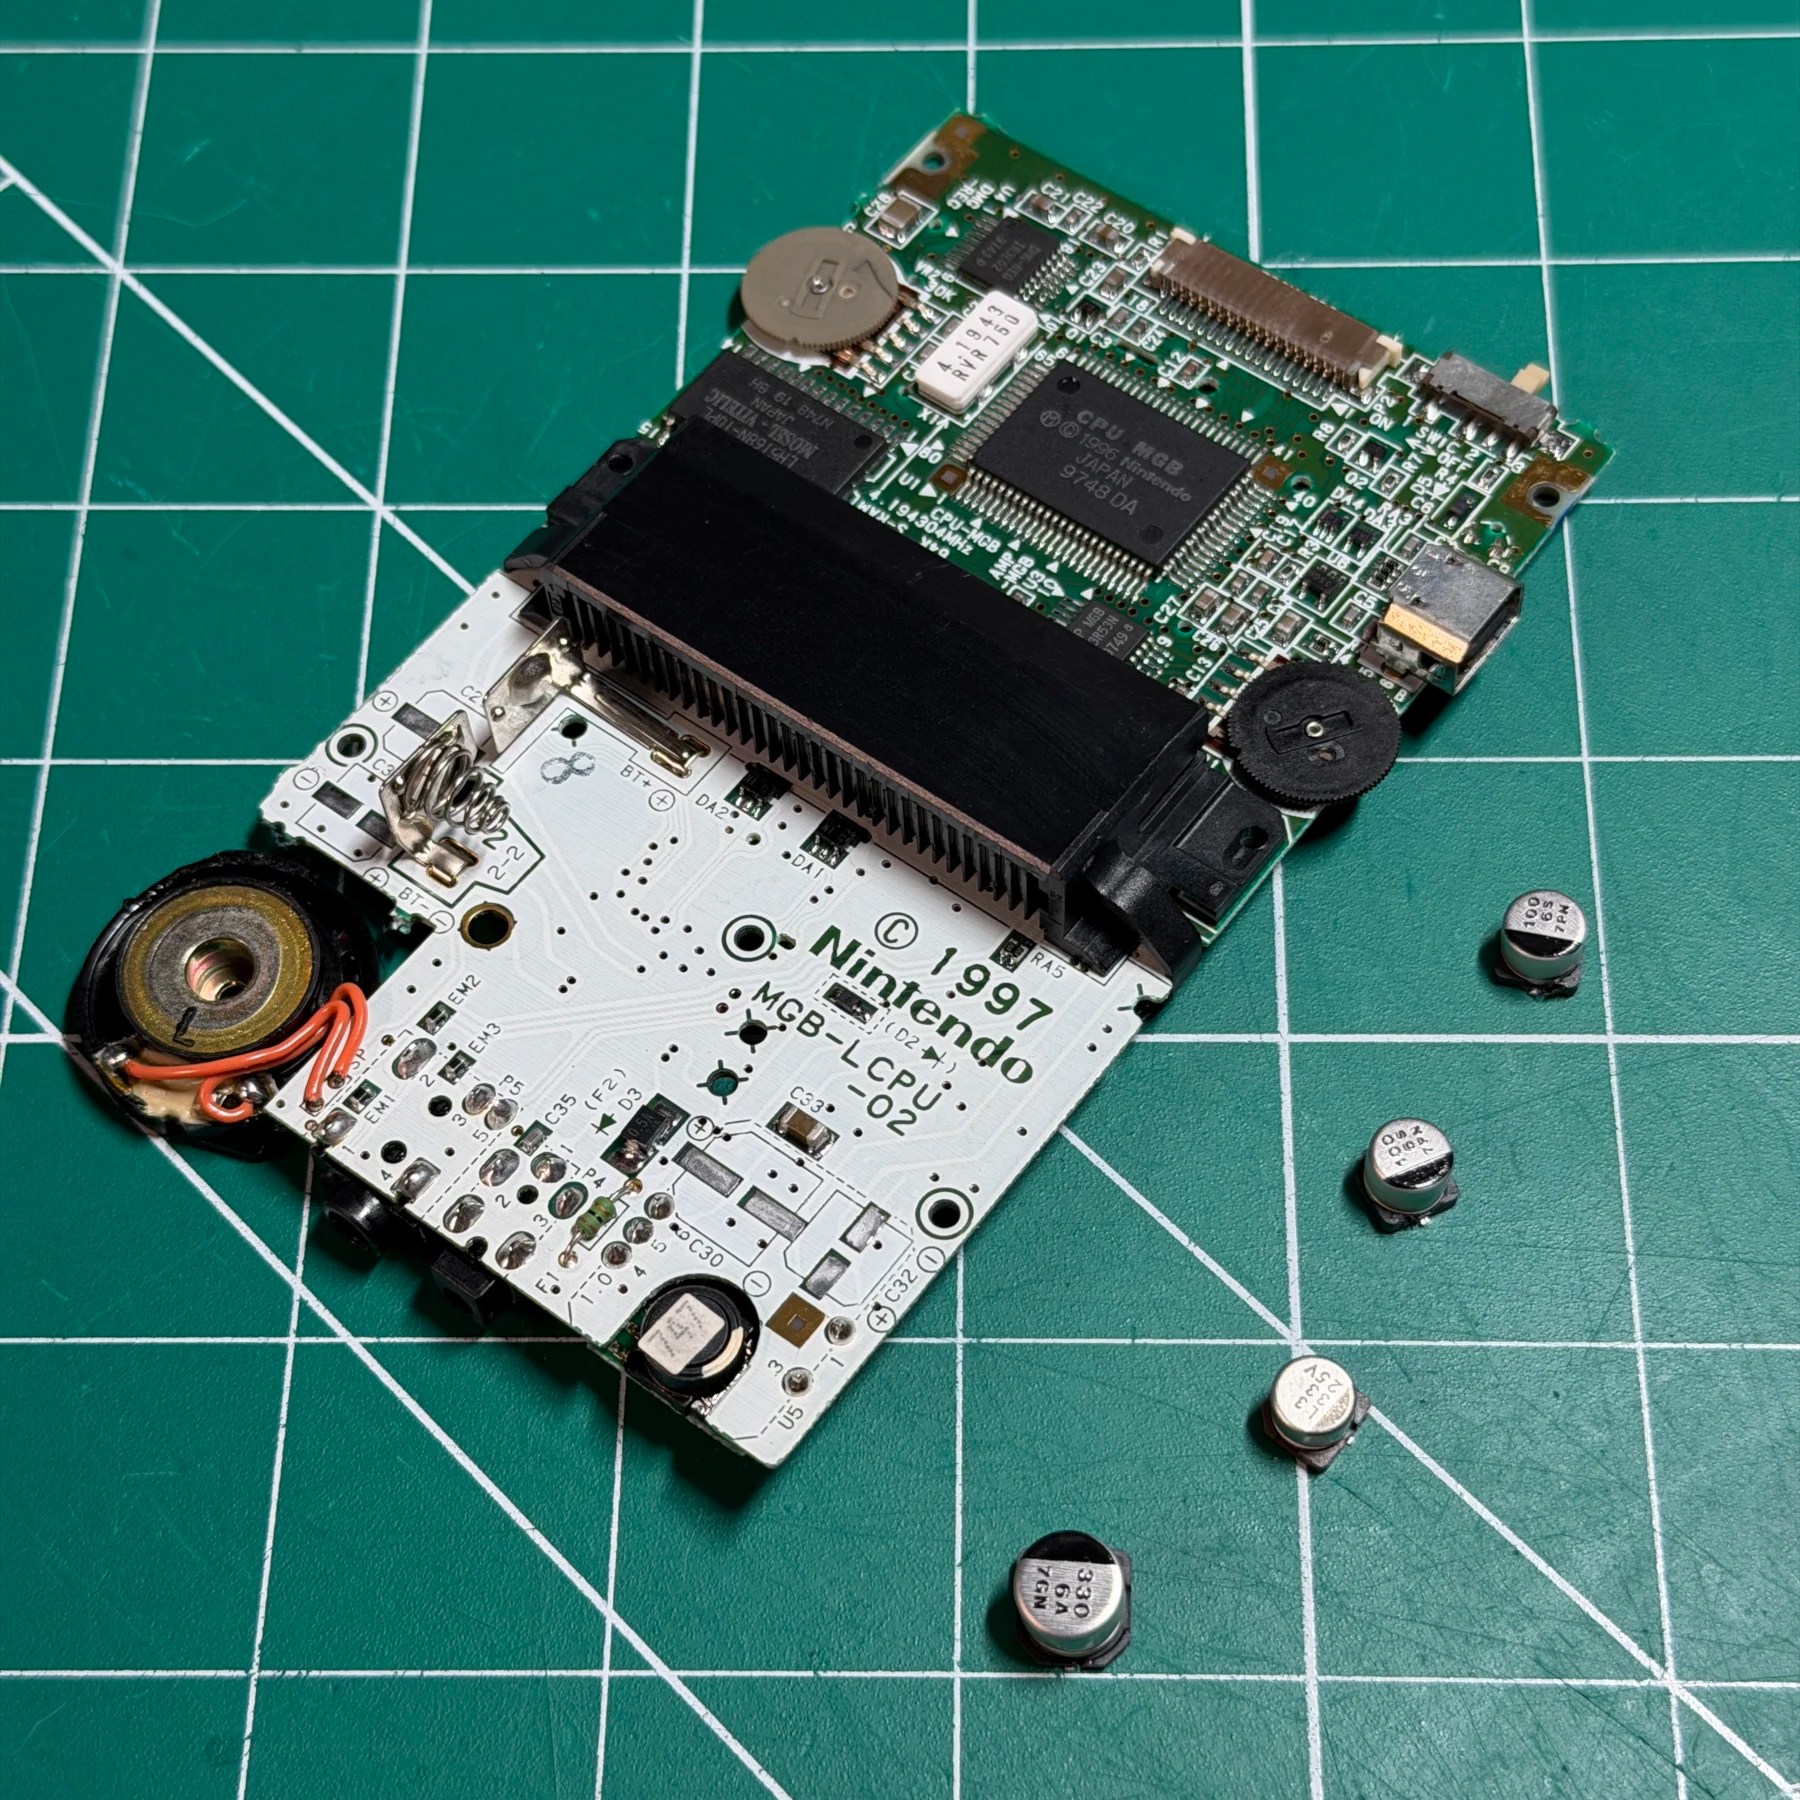
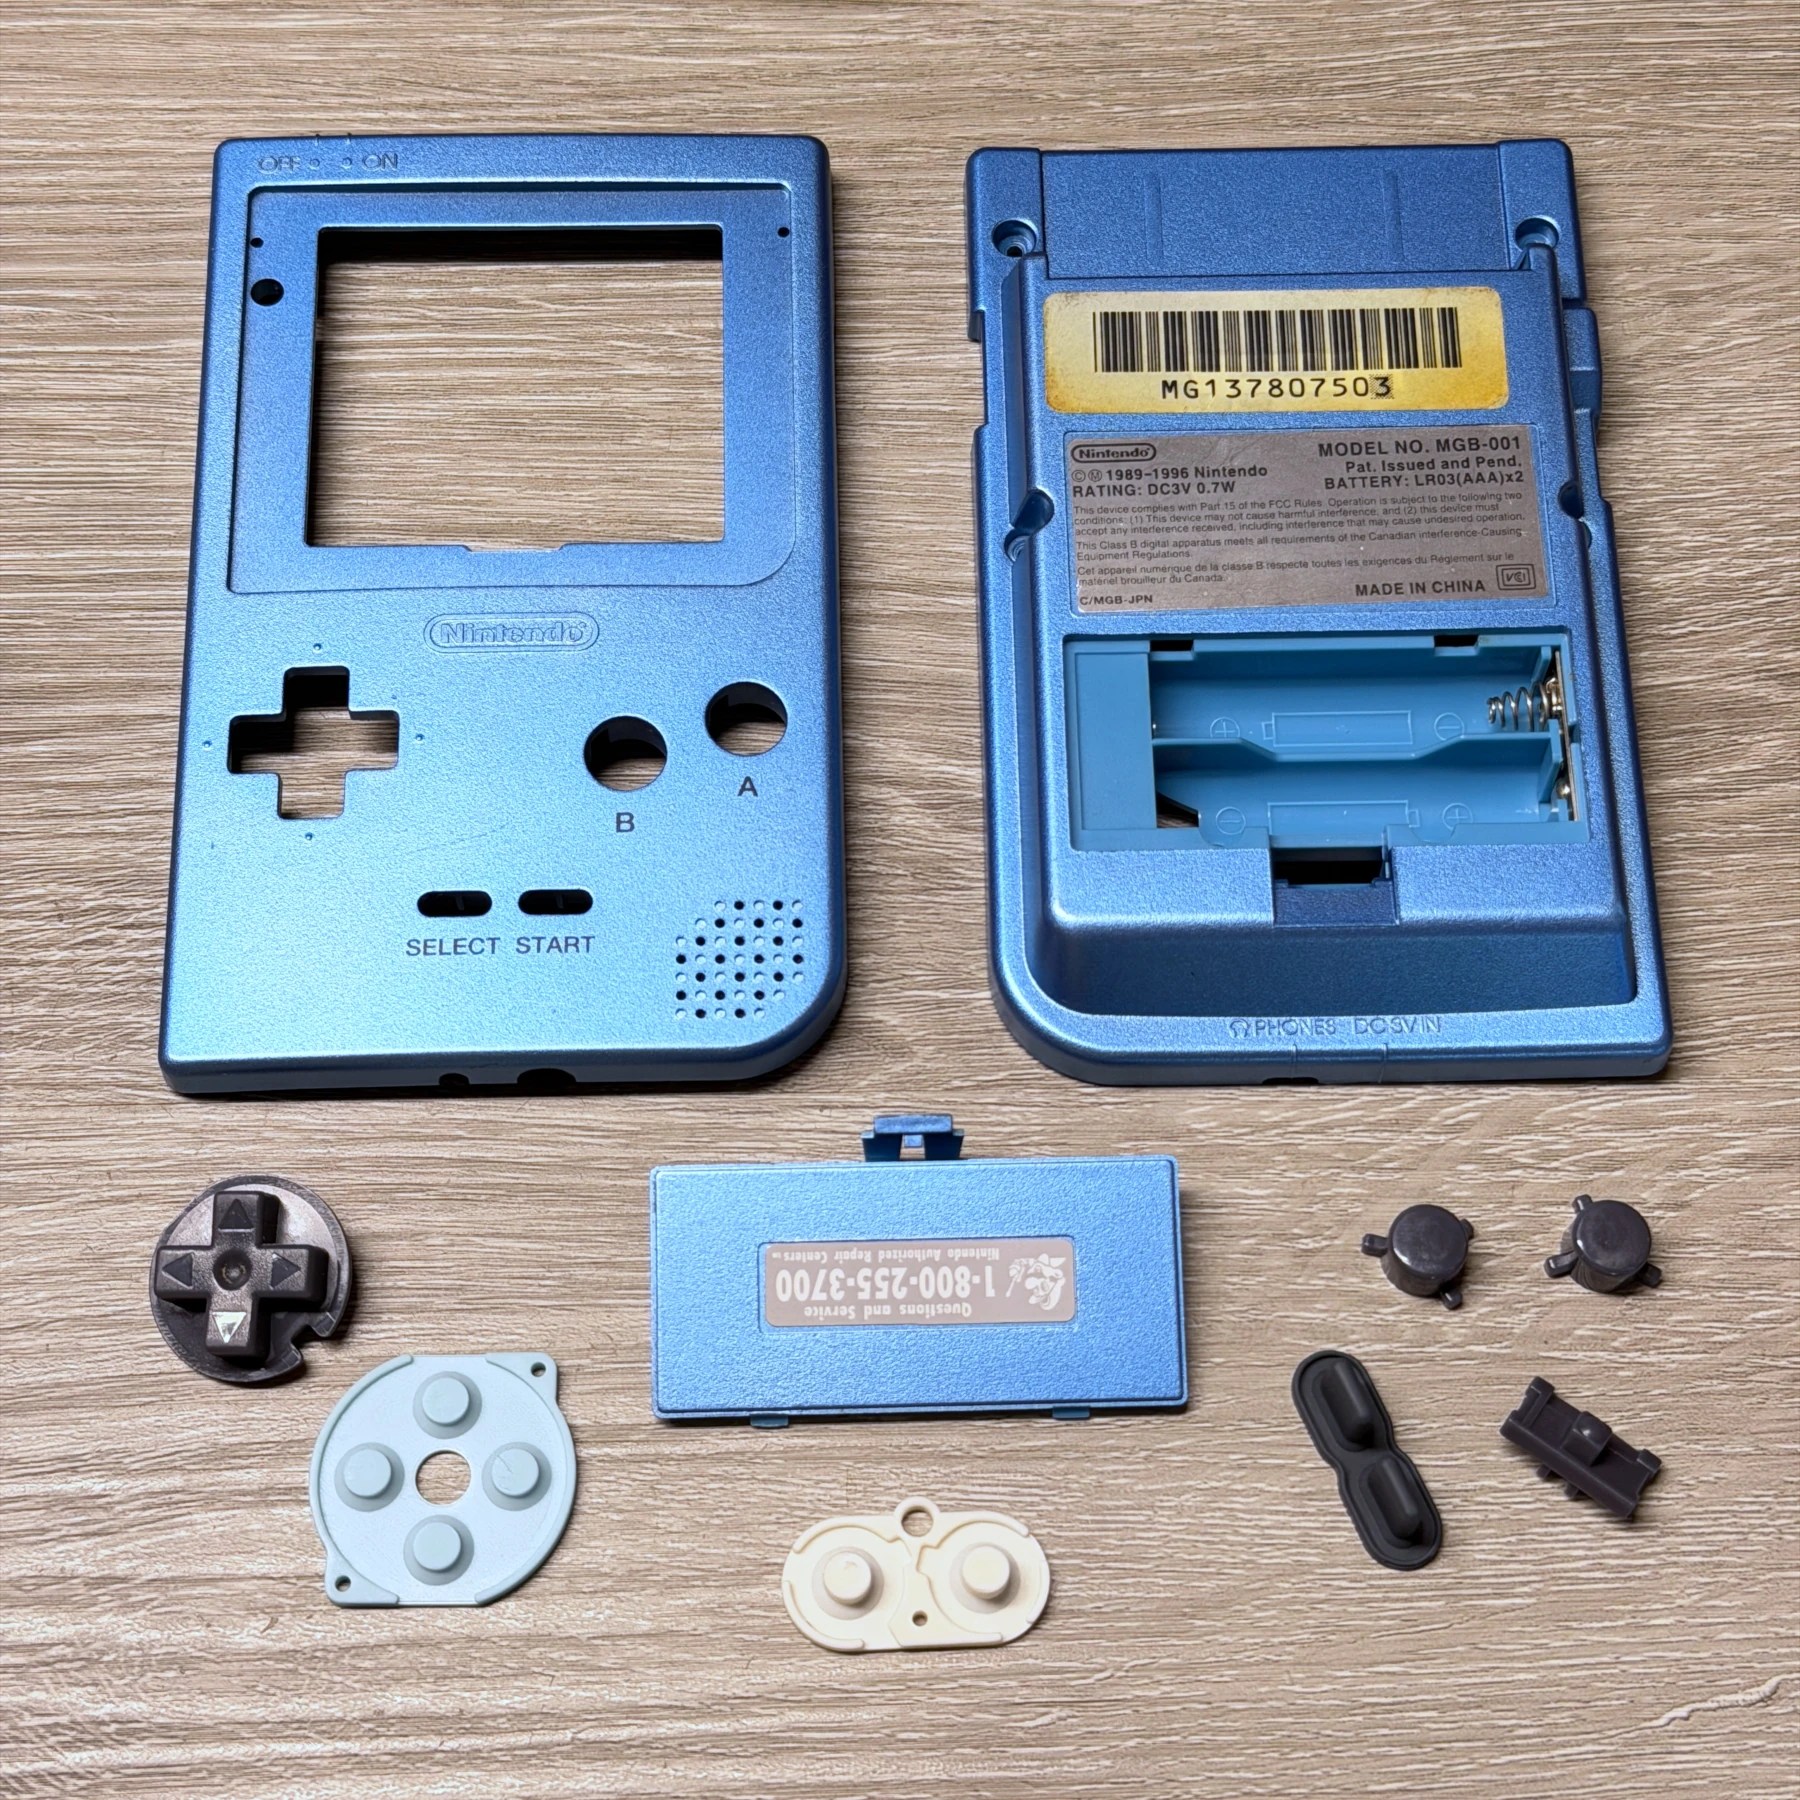
To begin I disassembled the unit and fully cleaned all shell components, buttons and membranes after removing the stock lens and cleaning the old adhesive residue out from around the border. With all the plastic parts cleaned I could set those aside and work on the internals! Recap first so with only 4 SMD caps I was able to remove quickly with a combo tweezers and hot air usage and then clean the board and prep the pads, then installing the brand new SMD caps from the Console5 kit.
With the recap done it was now time to look over the IPS kit and see what shell modifications would need to be done. In this case, nothing too bad just snipping and sanding flush the original screen bracket INSIDE the shell not the actual display opening which is much easier as I just work my way around with my side cutter and then my Dremel to smooth/shave the ridges down flush with the surrounding area. I then blasted out the shell of any plastic residue and aligned the adhesive pad around the opening and did a dry fit of the new screen BEFORE sticking it in permanently as they never remove safely without damage so it’s a good idea to make sure all will fit ok!
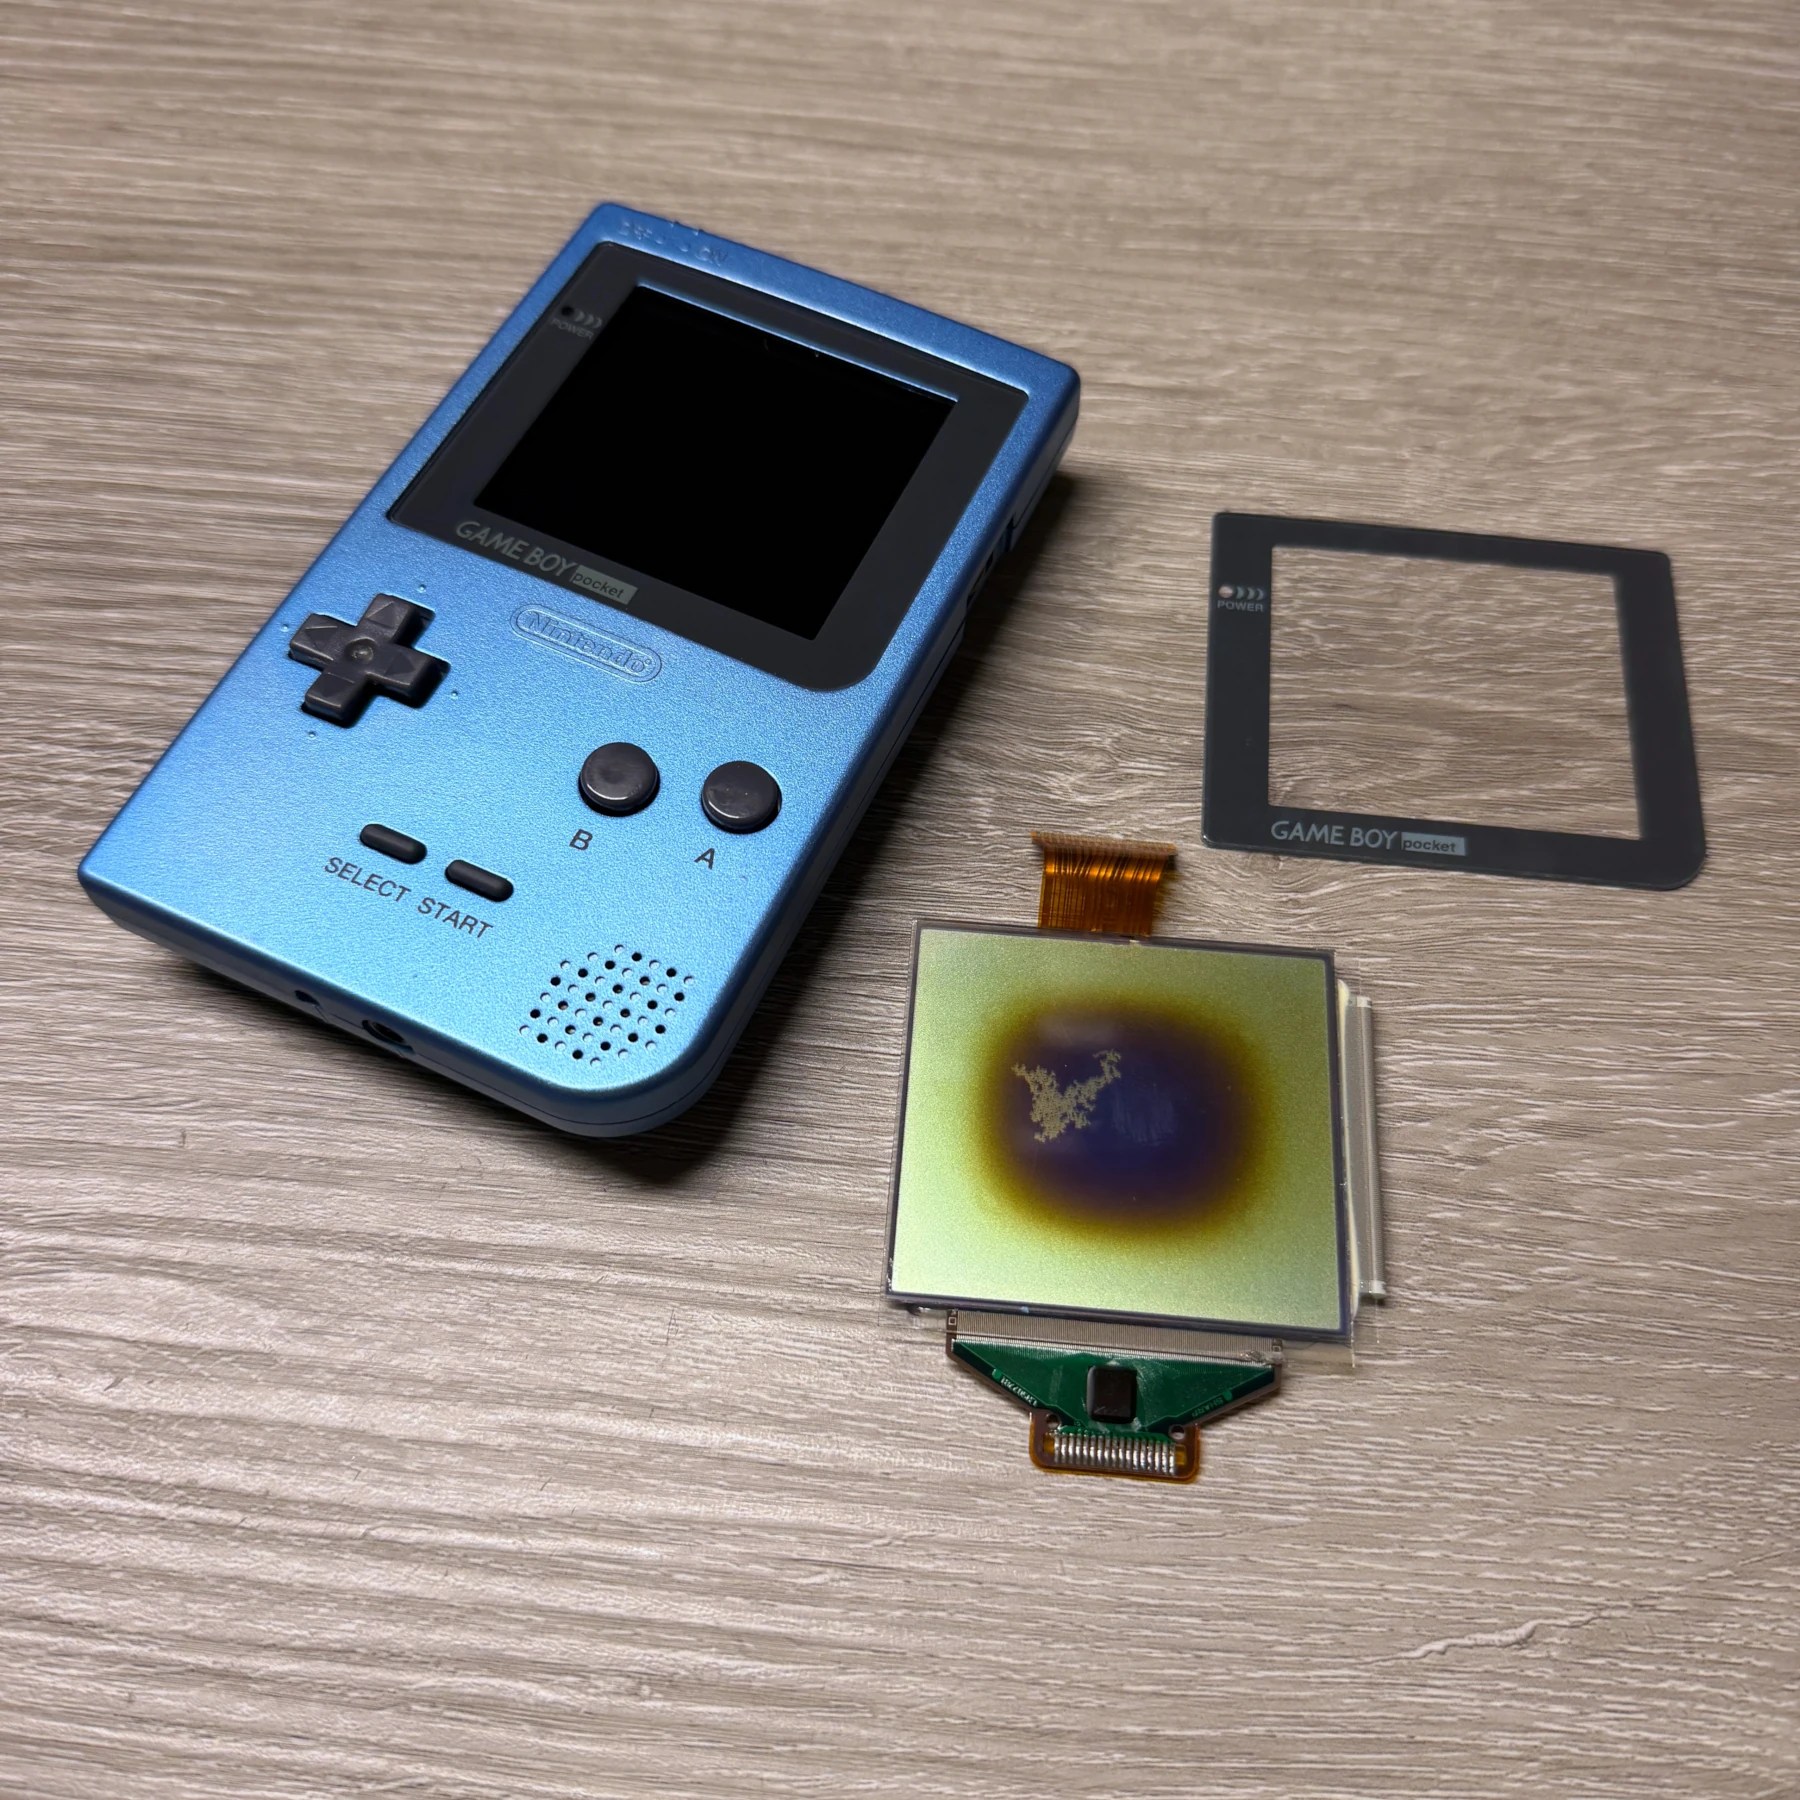
With the screen placed inside and the shell closed up I looked around the opening and made sure it closed flush and the spacing was good, then I took the protective film off the adhesive and prepped the screen and lens. The key with this part is to have both the lens and screen ready so neither sits exposed to the open air for long or you risk really large dust/fibers/hair getting sandwiched in between. In this case I peeled the protective layer off the screen itself and then stuck it down onto the front shell adhesive and kept the front of the GameBoy facing downwards. I then peeled the unneeded covering off the lens and quickly flipped the unit over and stuck the new glass lens down.
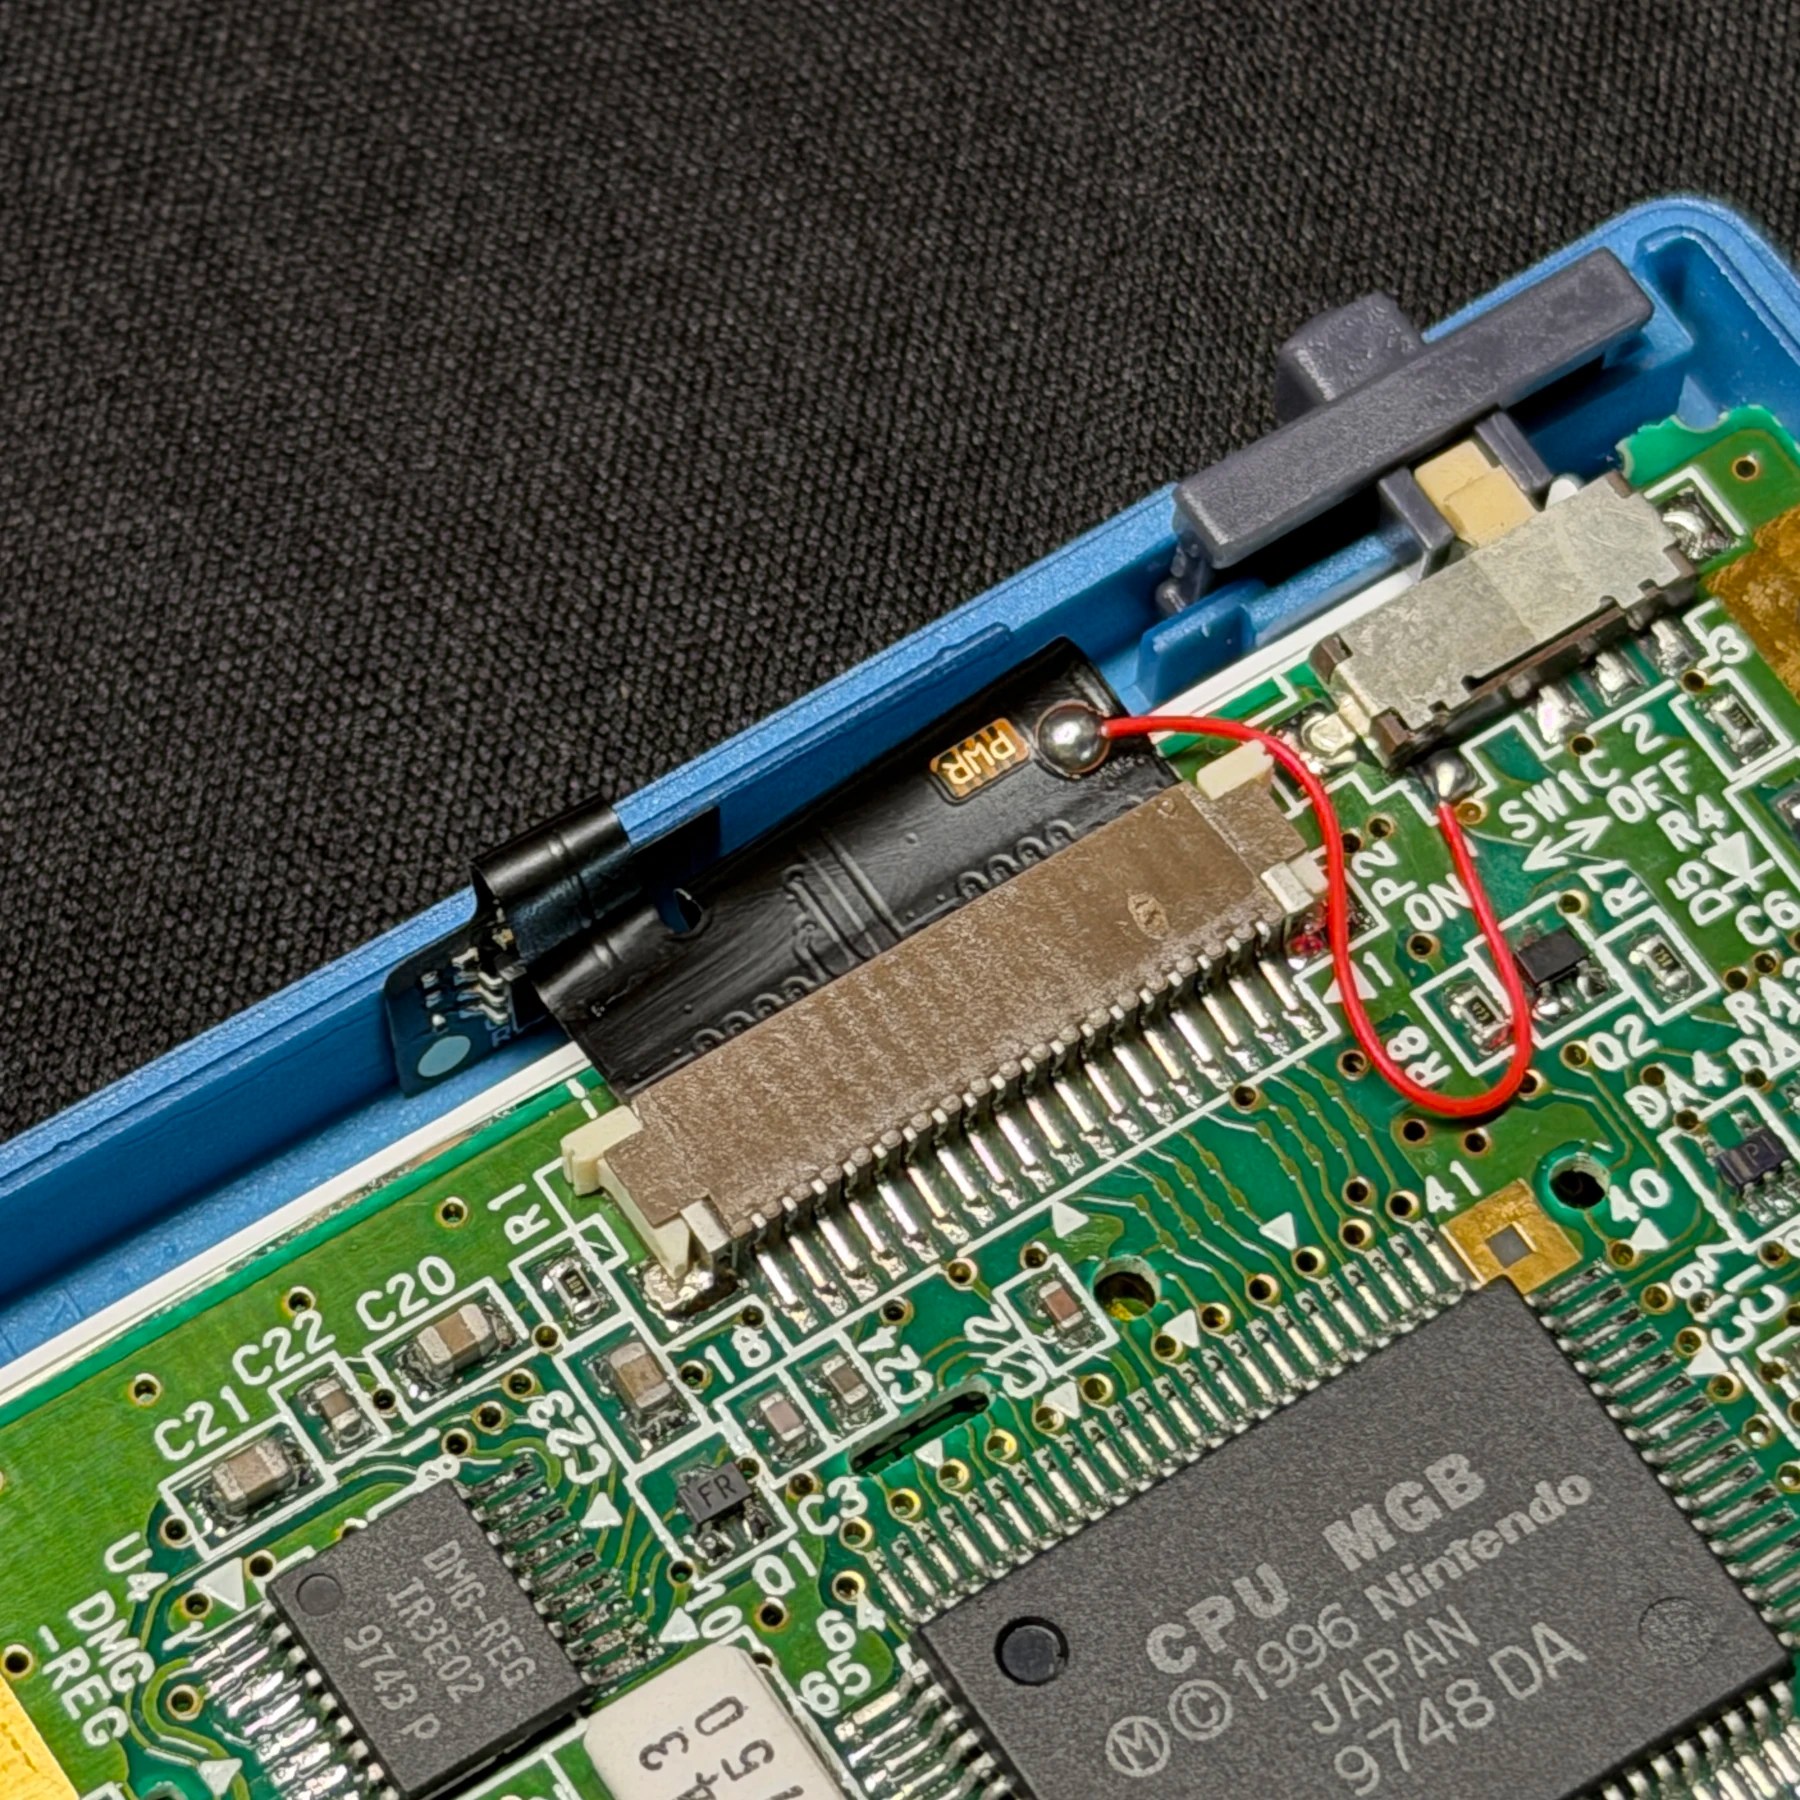
With all that done, it was just a matter of feeding the new screen flex up above the mainboard and dropping that in, being sure to put the power slide switch back in place too and the buttons and membranes. The new screen flex just connects into the mainboard connector like the OEM screen but this one comes with a touch sensor pad that you push up and stick to the top shell so you can activate the menu and adjust settings during use. This IPS kit also requires one single wire soldered from a pad on the flex to the slide switch which I did and confirmed operation once more.
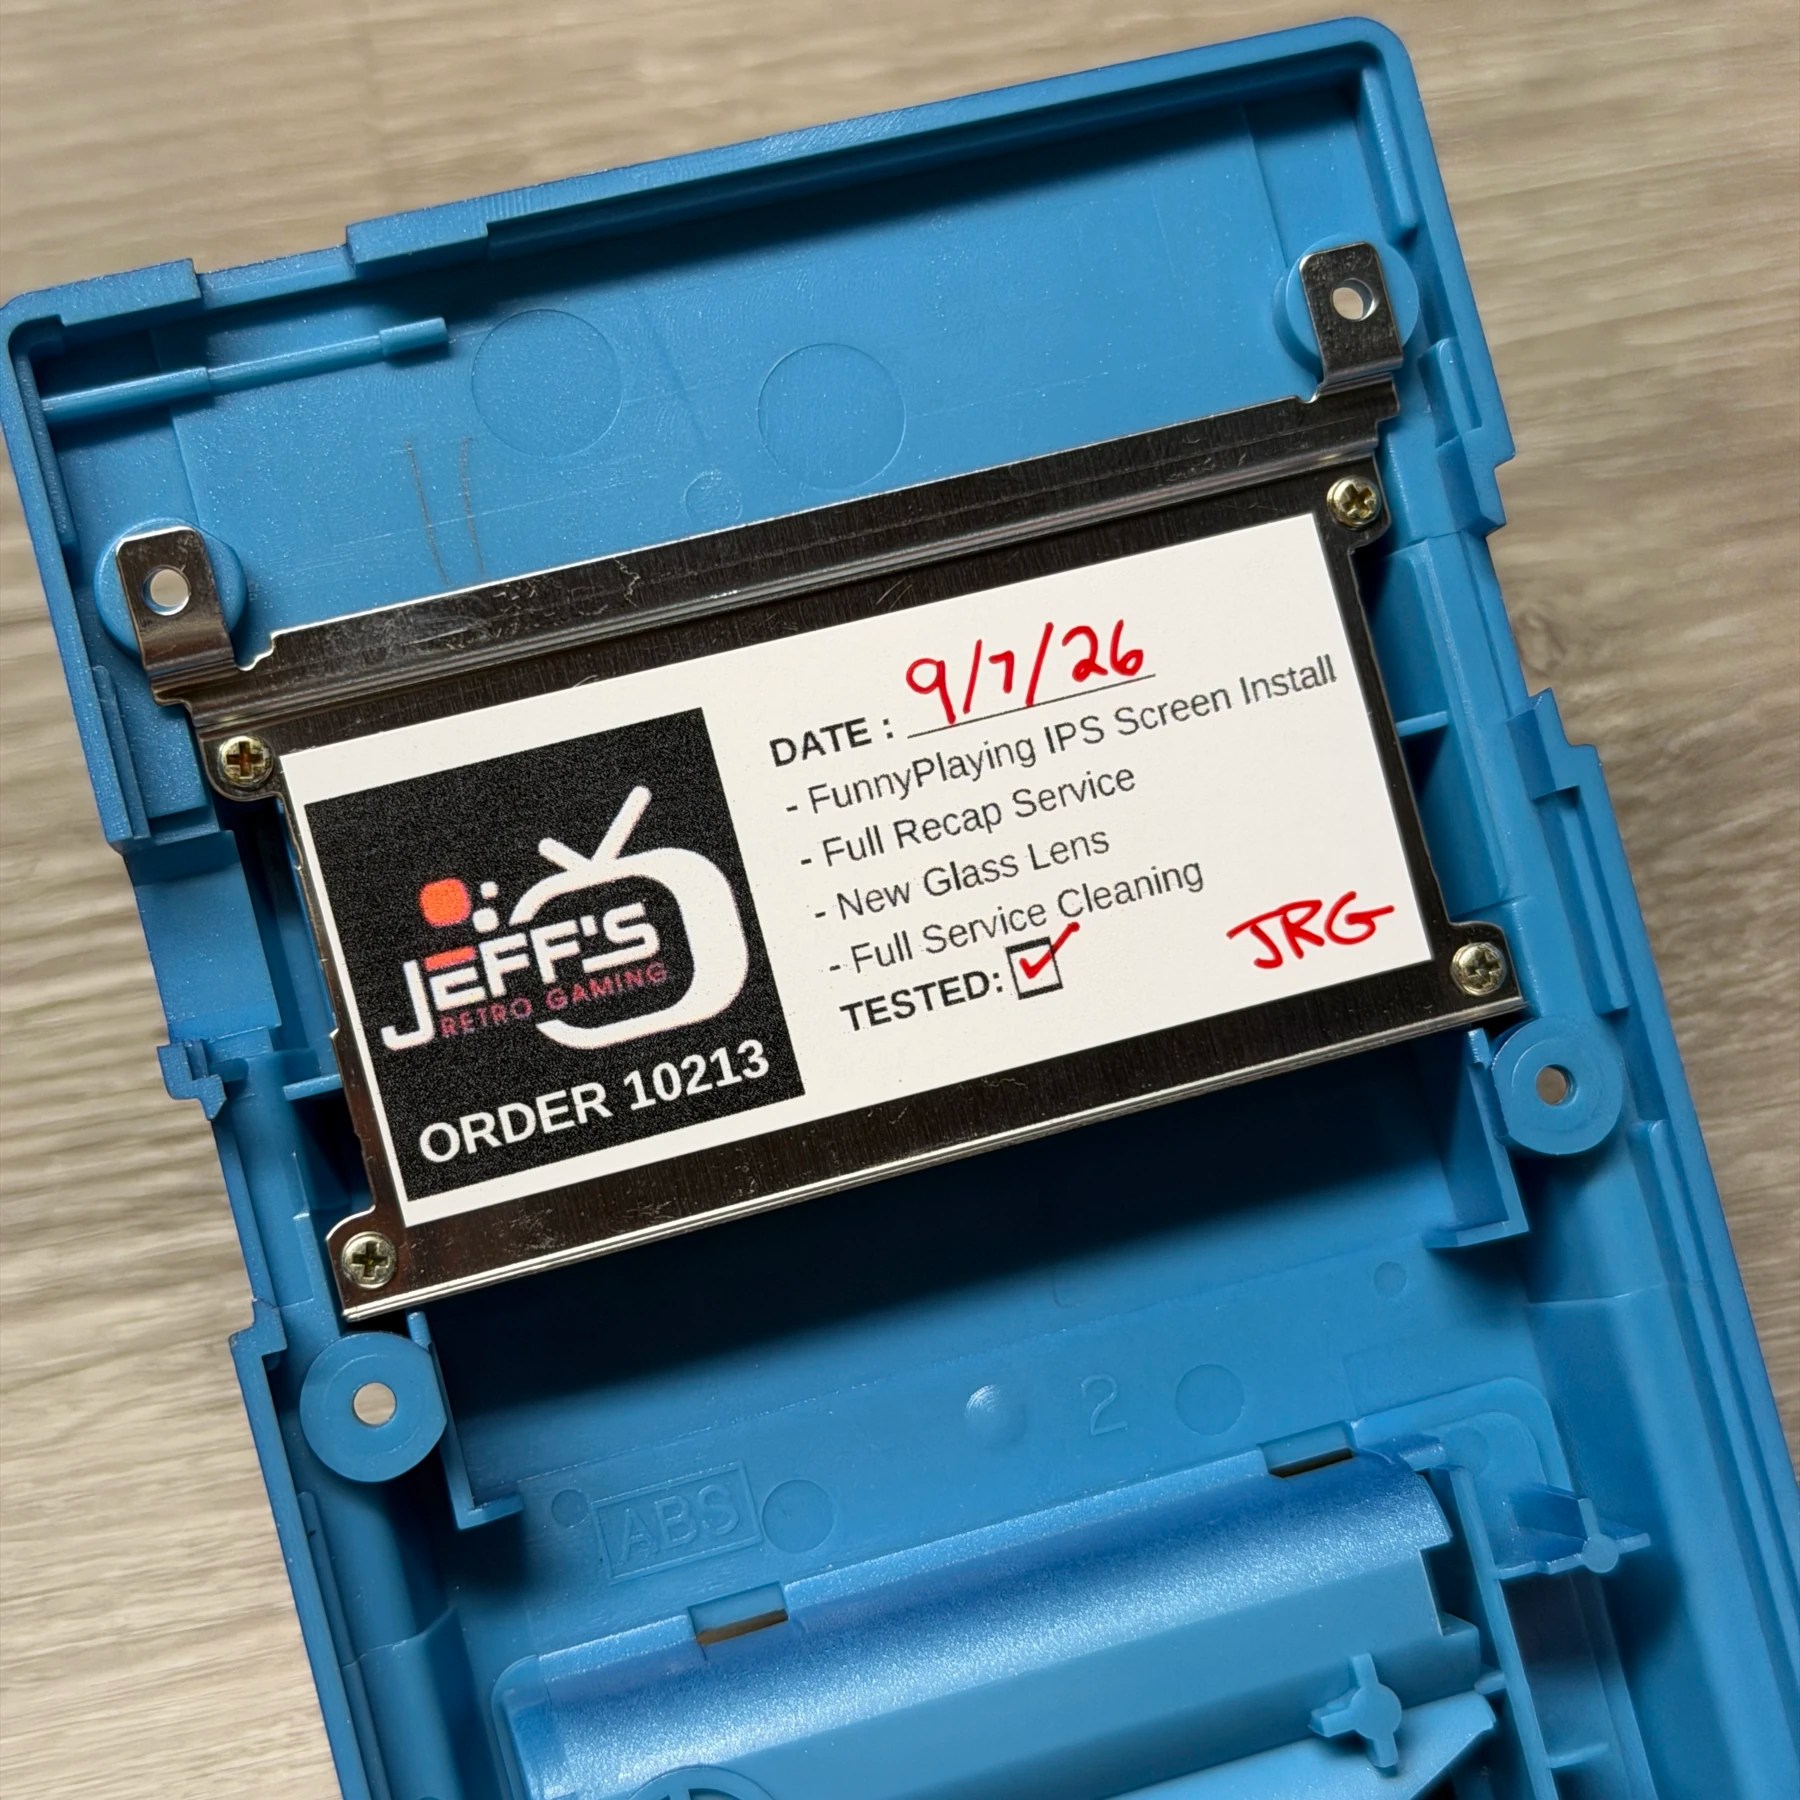
Seeing the screen was good to go I screwed down the mainboard and tested the buttons and touch sensor operation so I could sign off on the sticker and close up the rear shell. As to be expected, the alignment starts off wrong because of how much larger the LCD is so I used the touch menu to adjust the X and Y positioning and save the config. I then let it run for a while, messed with color schemes and confirmed the contrast wheel was working correctly which it was.
Between the cleaning and new screen and lens this GameBoy Pocket is looking properly refurbished and not only is it a better screen than stock but they can play in the dark now too!
Another order done and it was cool seeing a Pocket in person for the first time 👍