Been seeing a lot of GameCube action lately, mostly straightforward refurbishments but in between 2 Jet Black ‘Cube & GameBoy Player combos came this one for a PixelFX HDMI Install!
I love installing these kits especially on GameCube and N64 as they are on the easier side but still a lot of fun to do. This one had been previously modded by an Etsy seller apparently and while you never know what you are getting into, it did arrive working and looking over the Noctua fan upgrade and Picoboot Install it was actually done pretty well compared to some of the work I see come in here! Wires could be shorter but the joints were solid and it booted the SD2SP2 card perfectly so can’t really ask for much more than that!
Either way, I knew it would be a slight bump in difficult to work around those (in the case of the Picoboot it was about supporting the chip and wires while moving everything around to avoid having any connections break loose) but doable so I got to work…
I tested the GameCube with both its ODE and optical drive and to no surprise it was not reading discs. Customer informed me they knew this and were hoping recap would fix (it usually does) but not the end of the world if not.
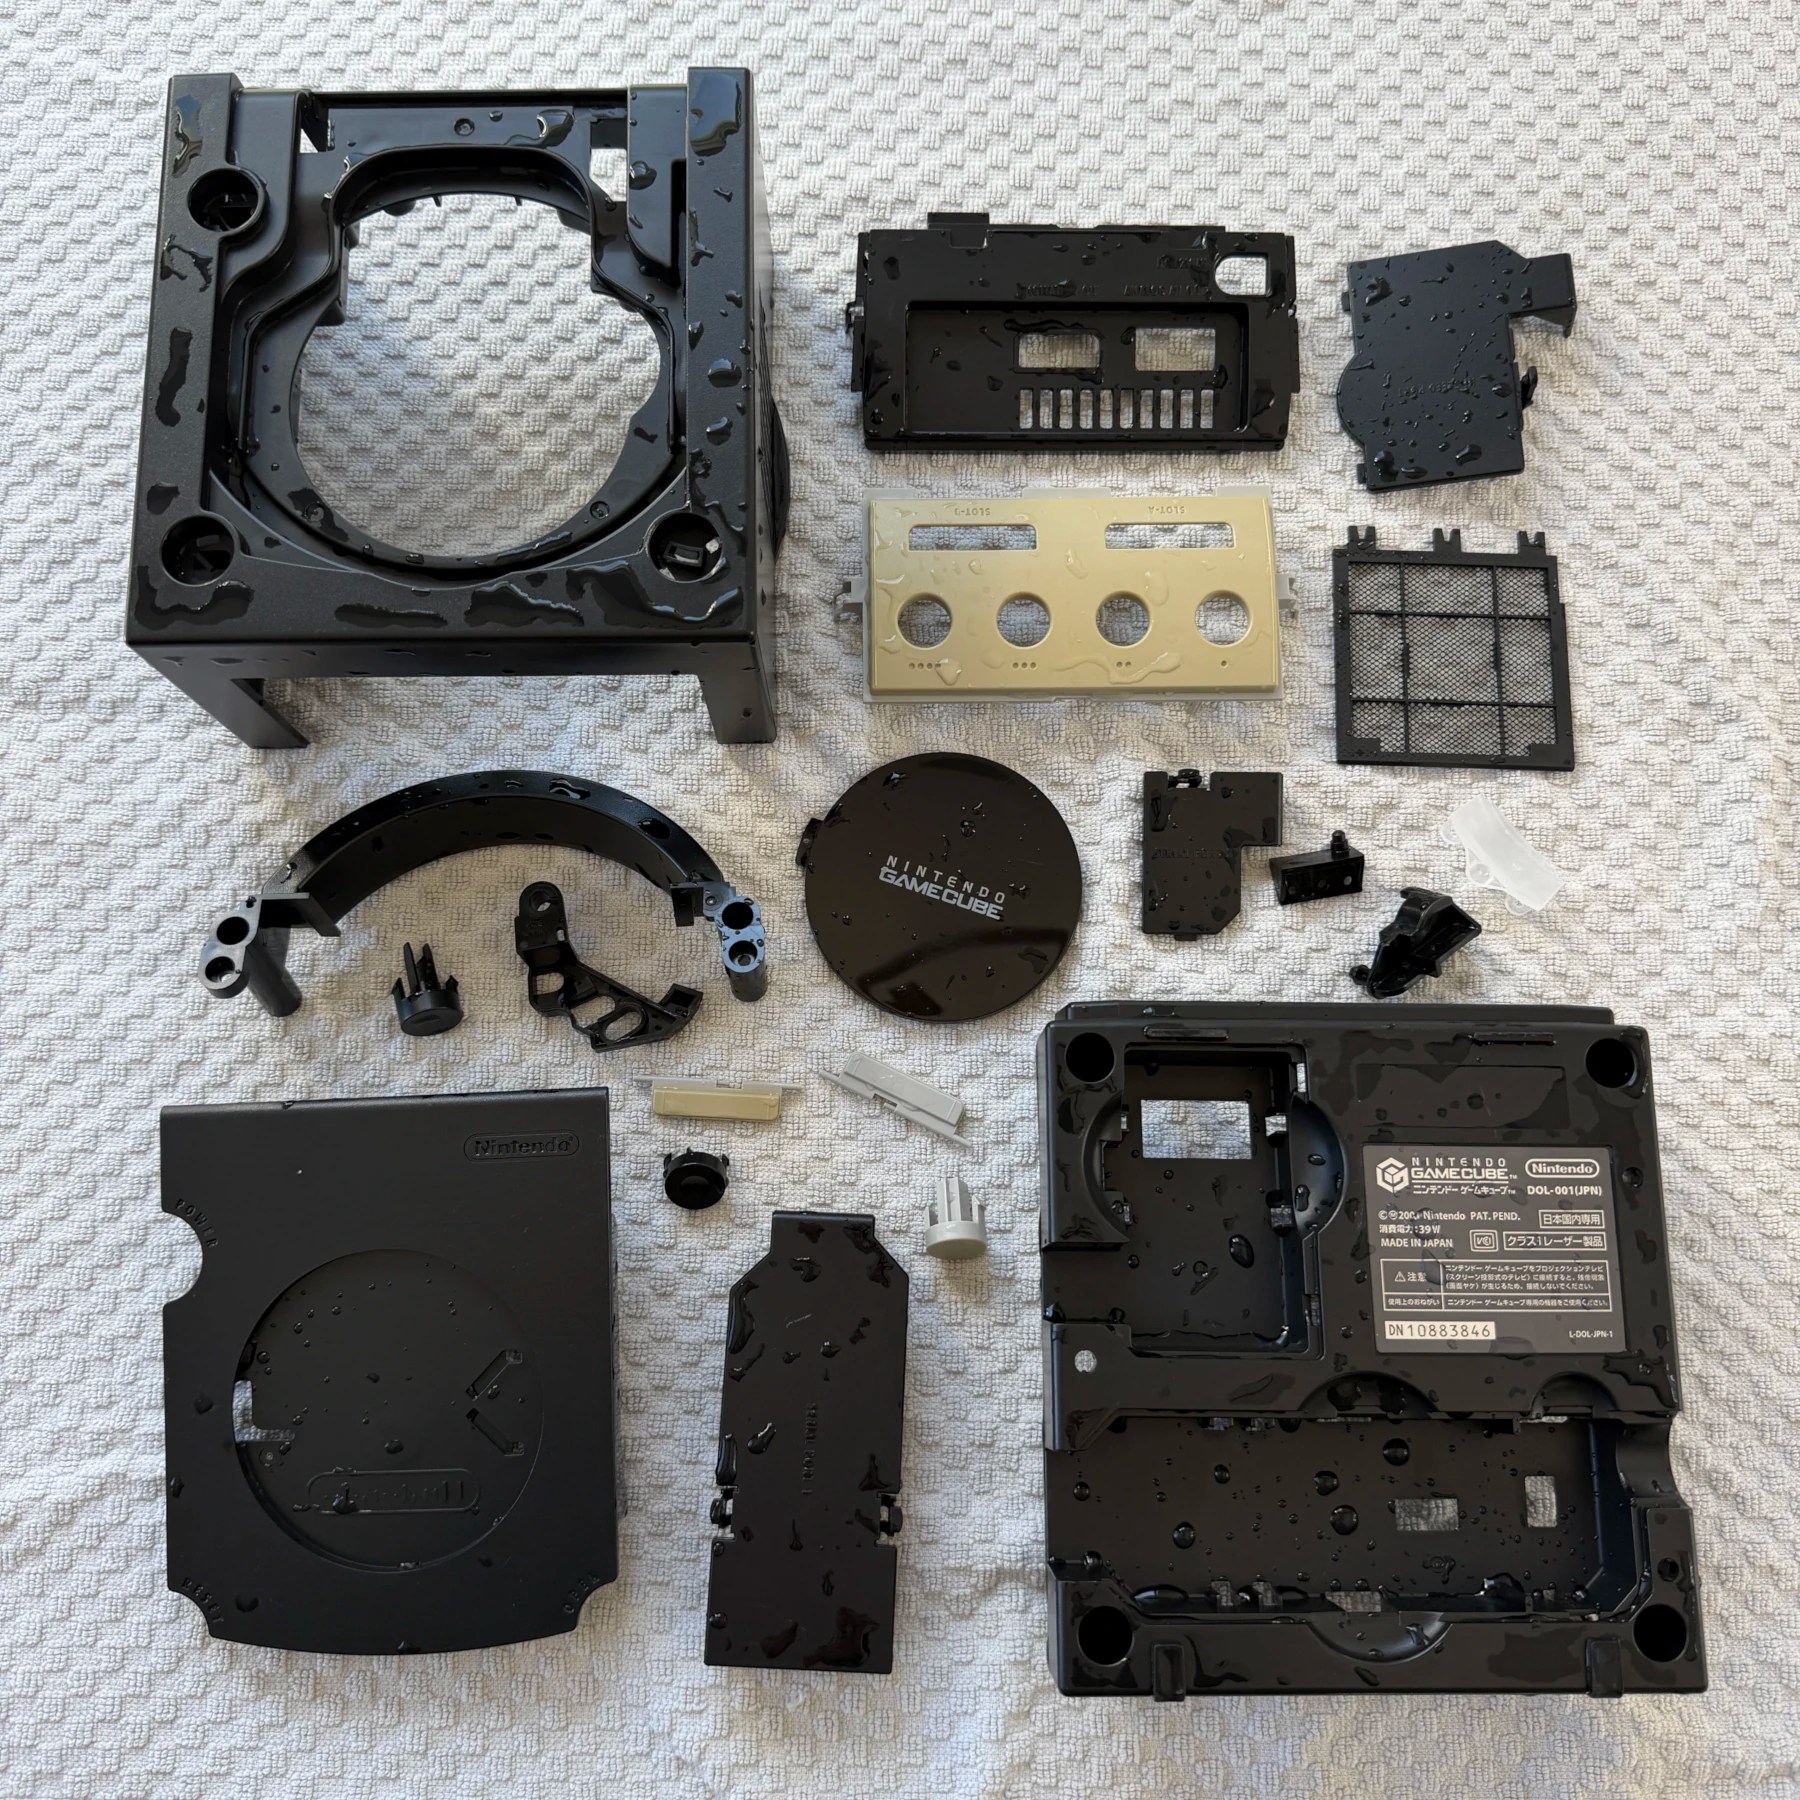
Since this also already had a battery holder outside of taking off the faceplate to wash and RetroBright I knew I could leave that board alone so I set that to the side, got the rest of the console torn down and all plastic bits into the wash. Once soaked and scrubbed I put all the grey parts in my RetroBright box overnight for a restoration and the rest to dry in my shop.
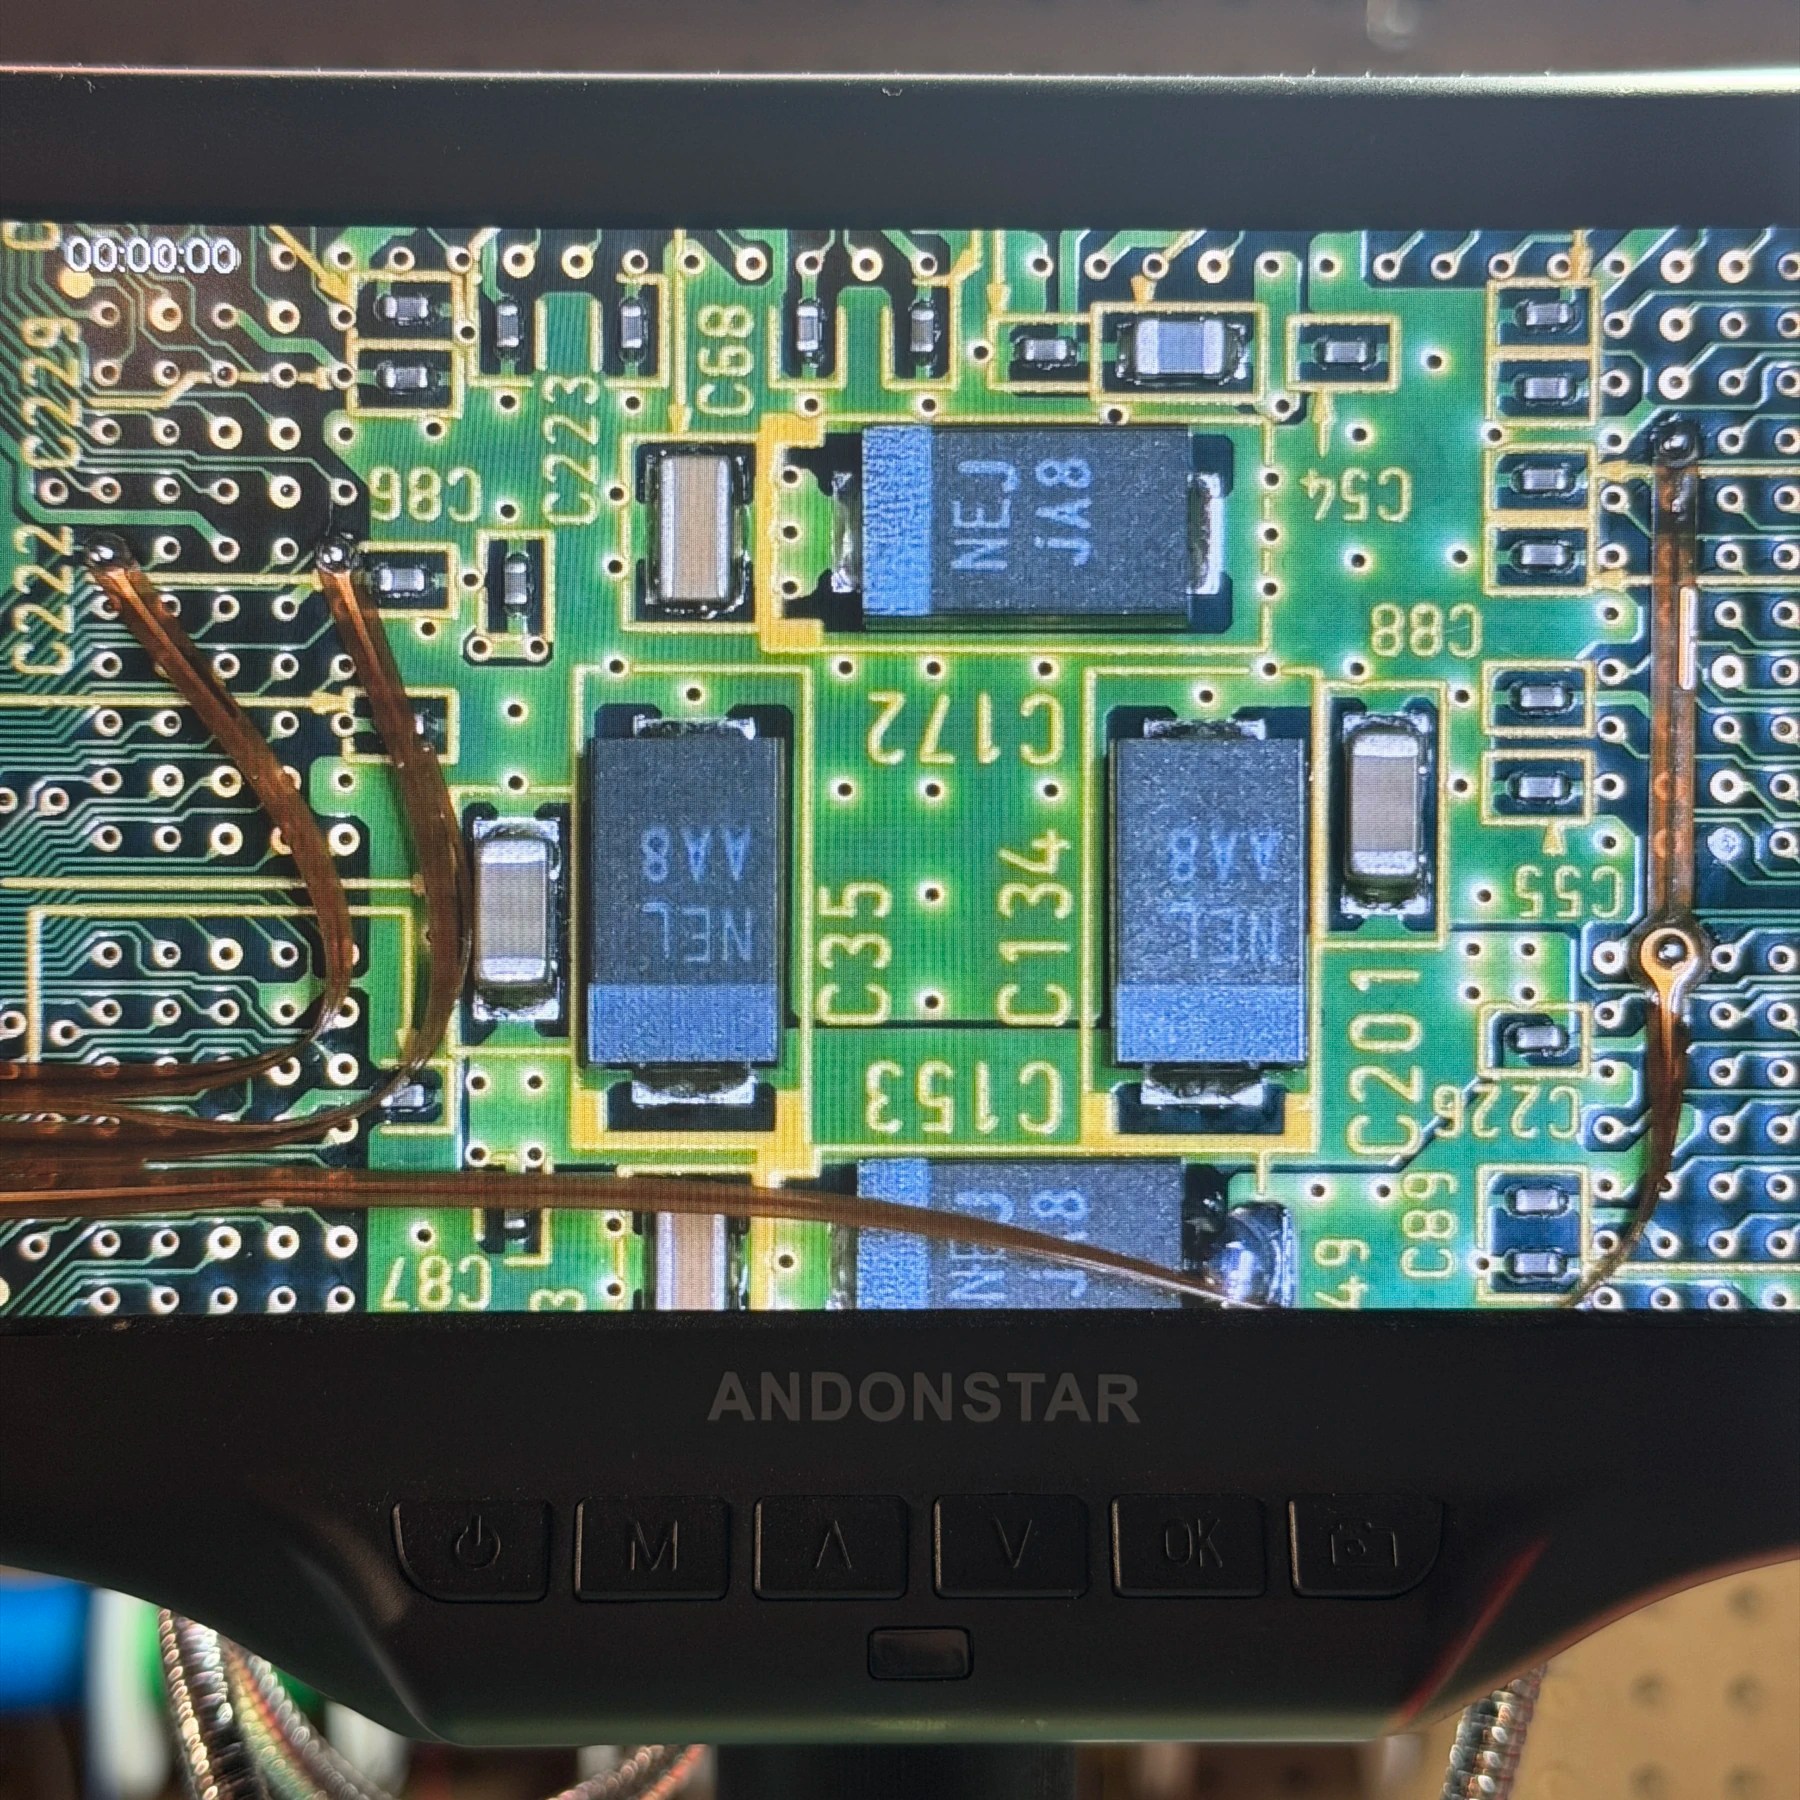
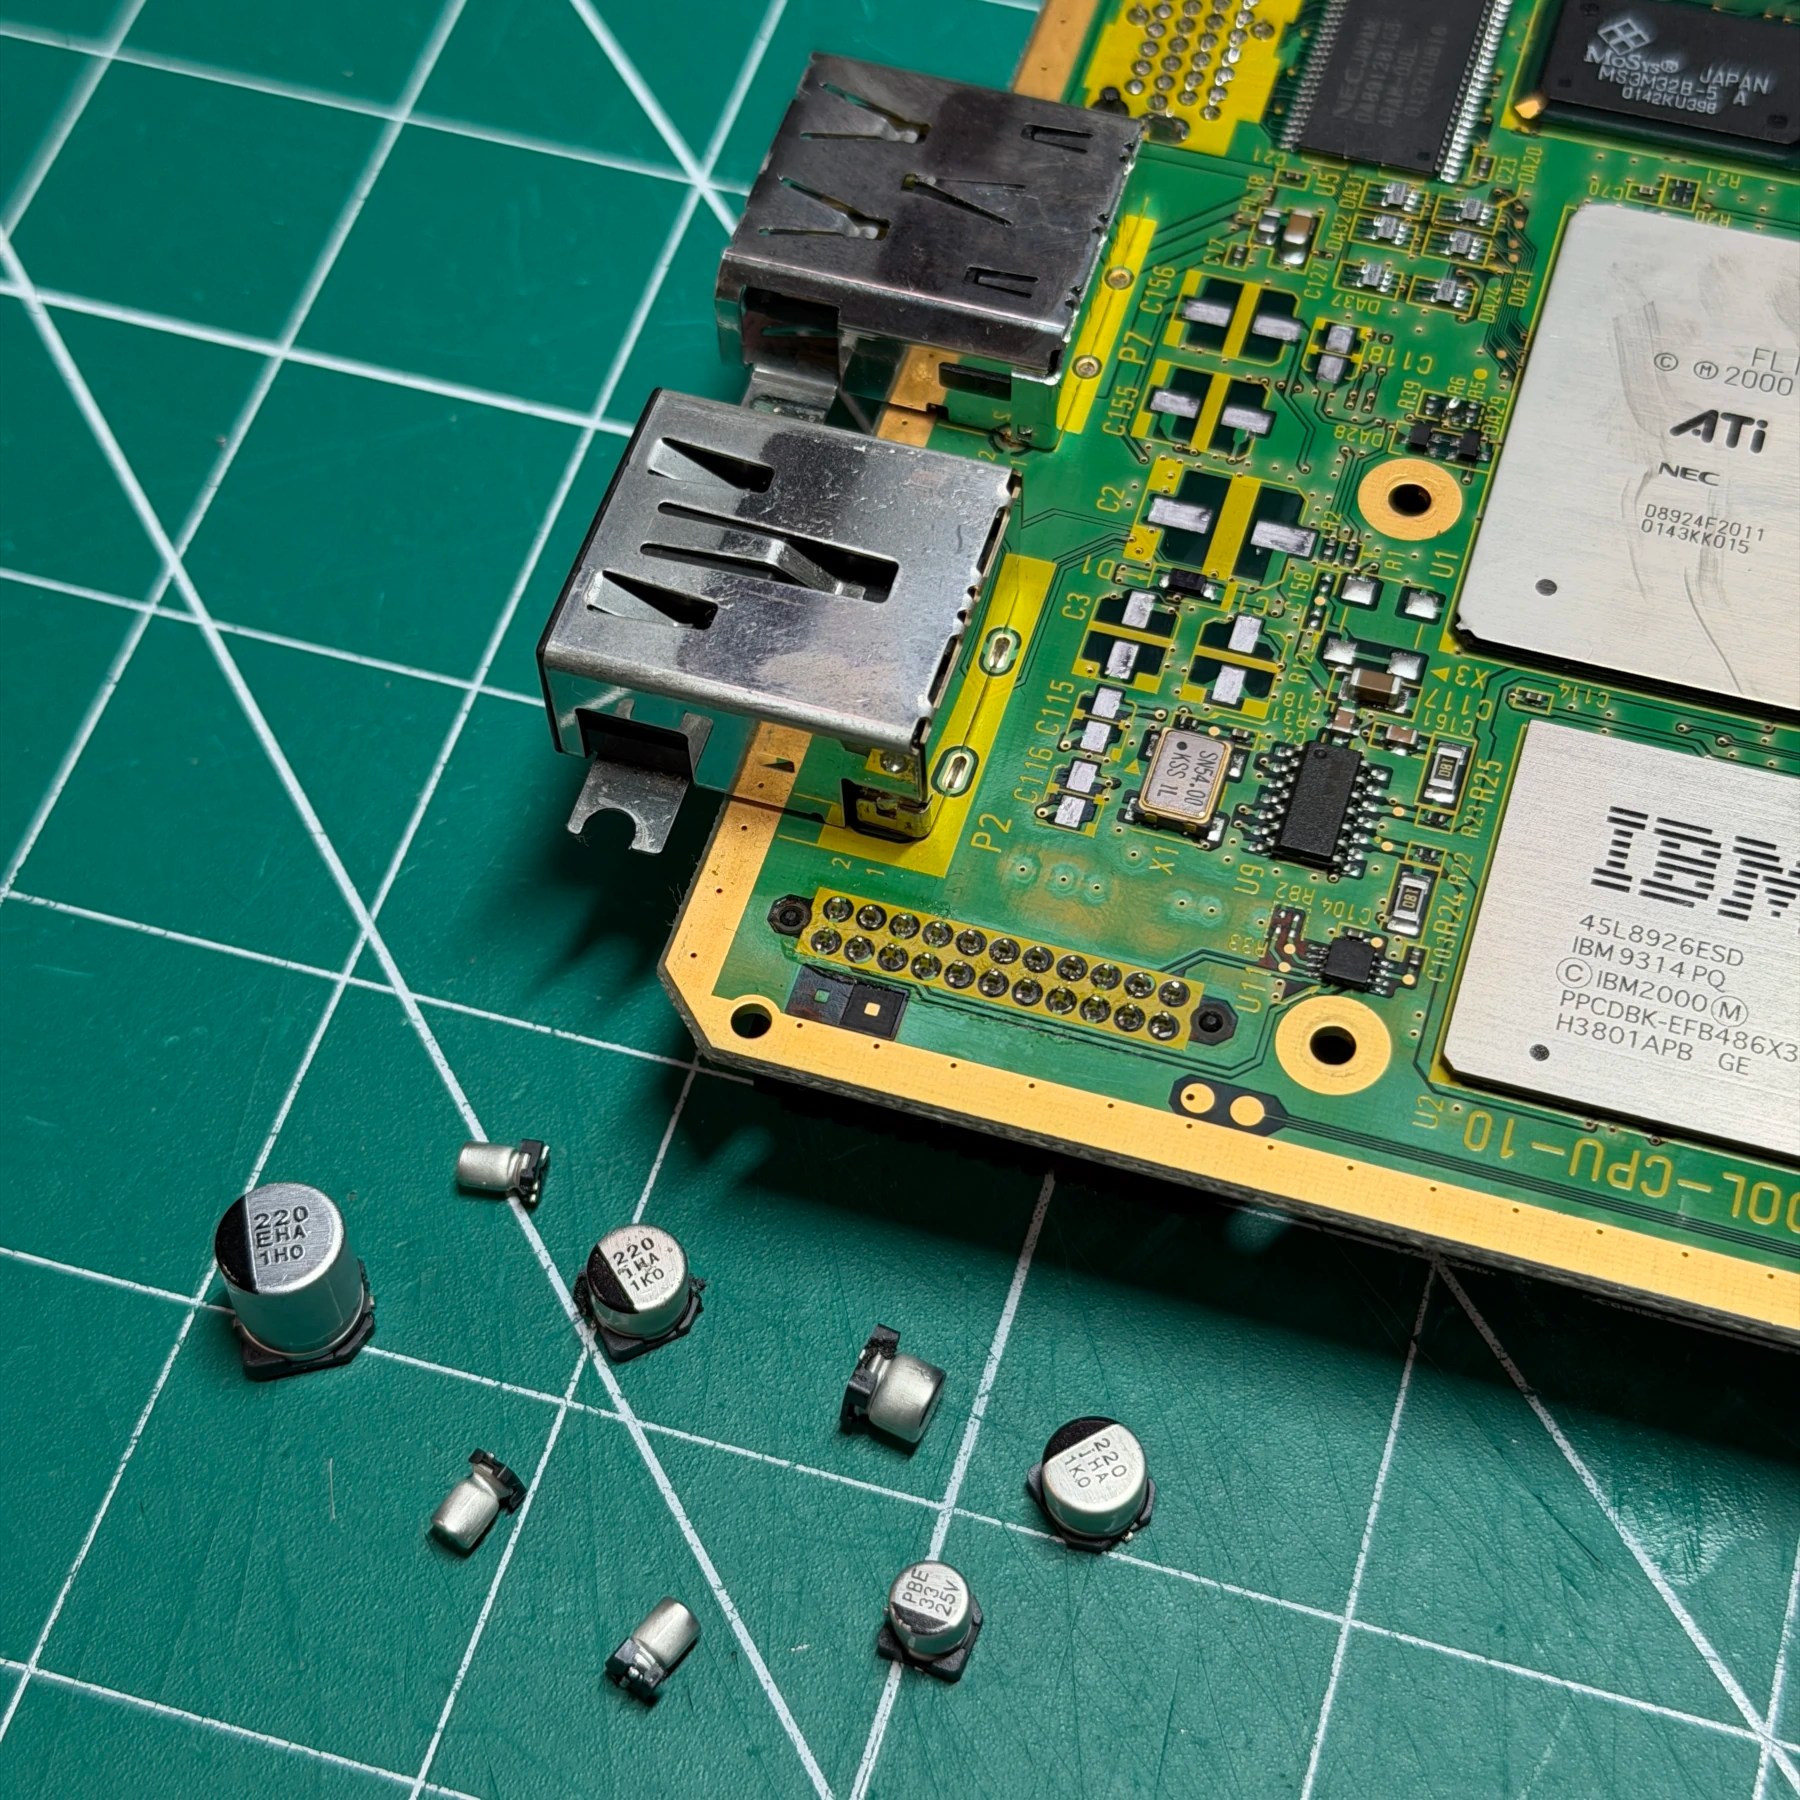
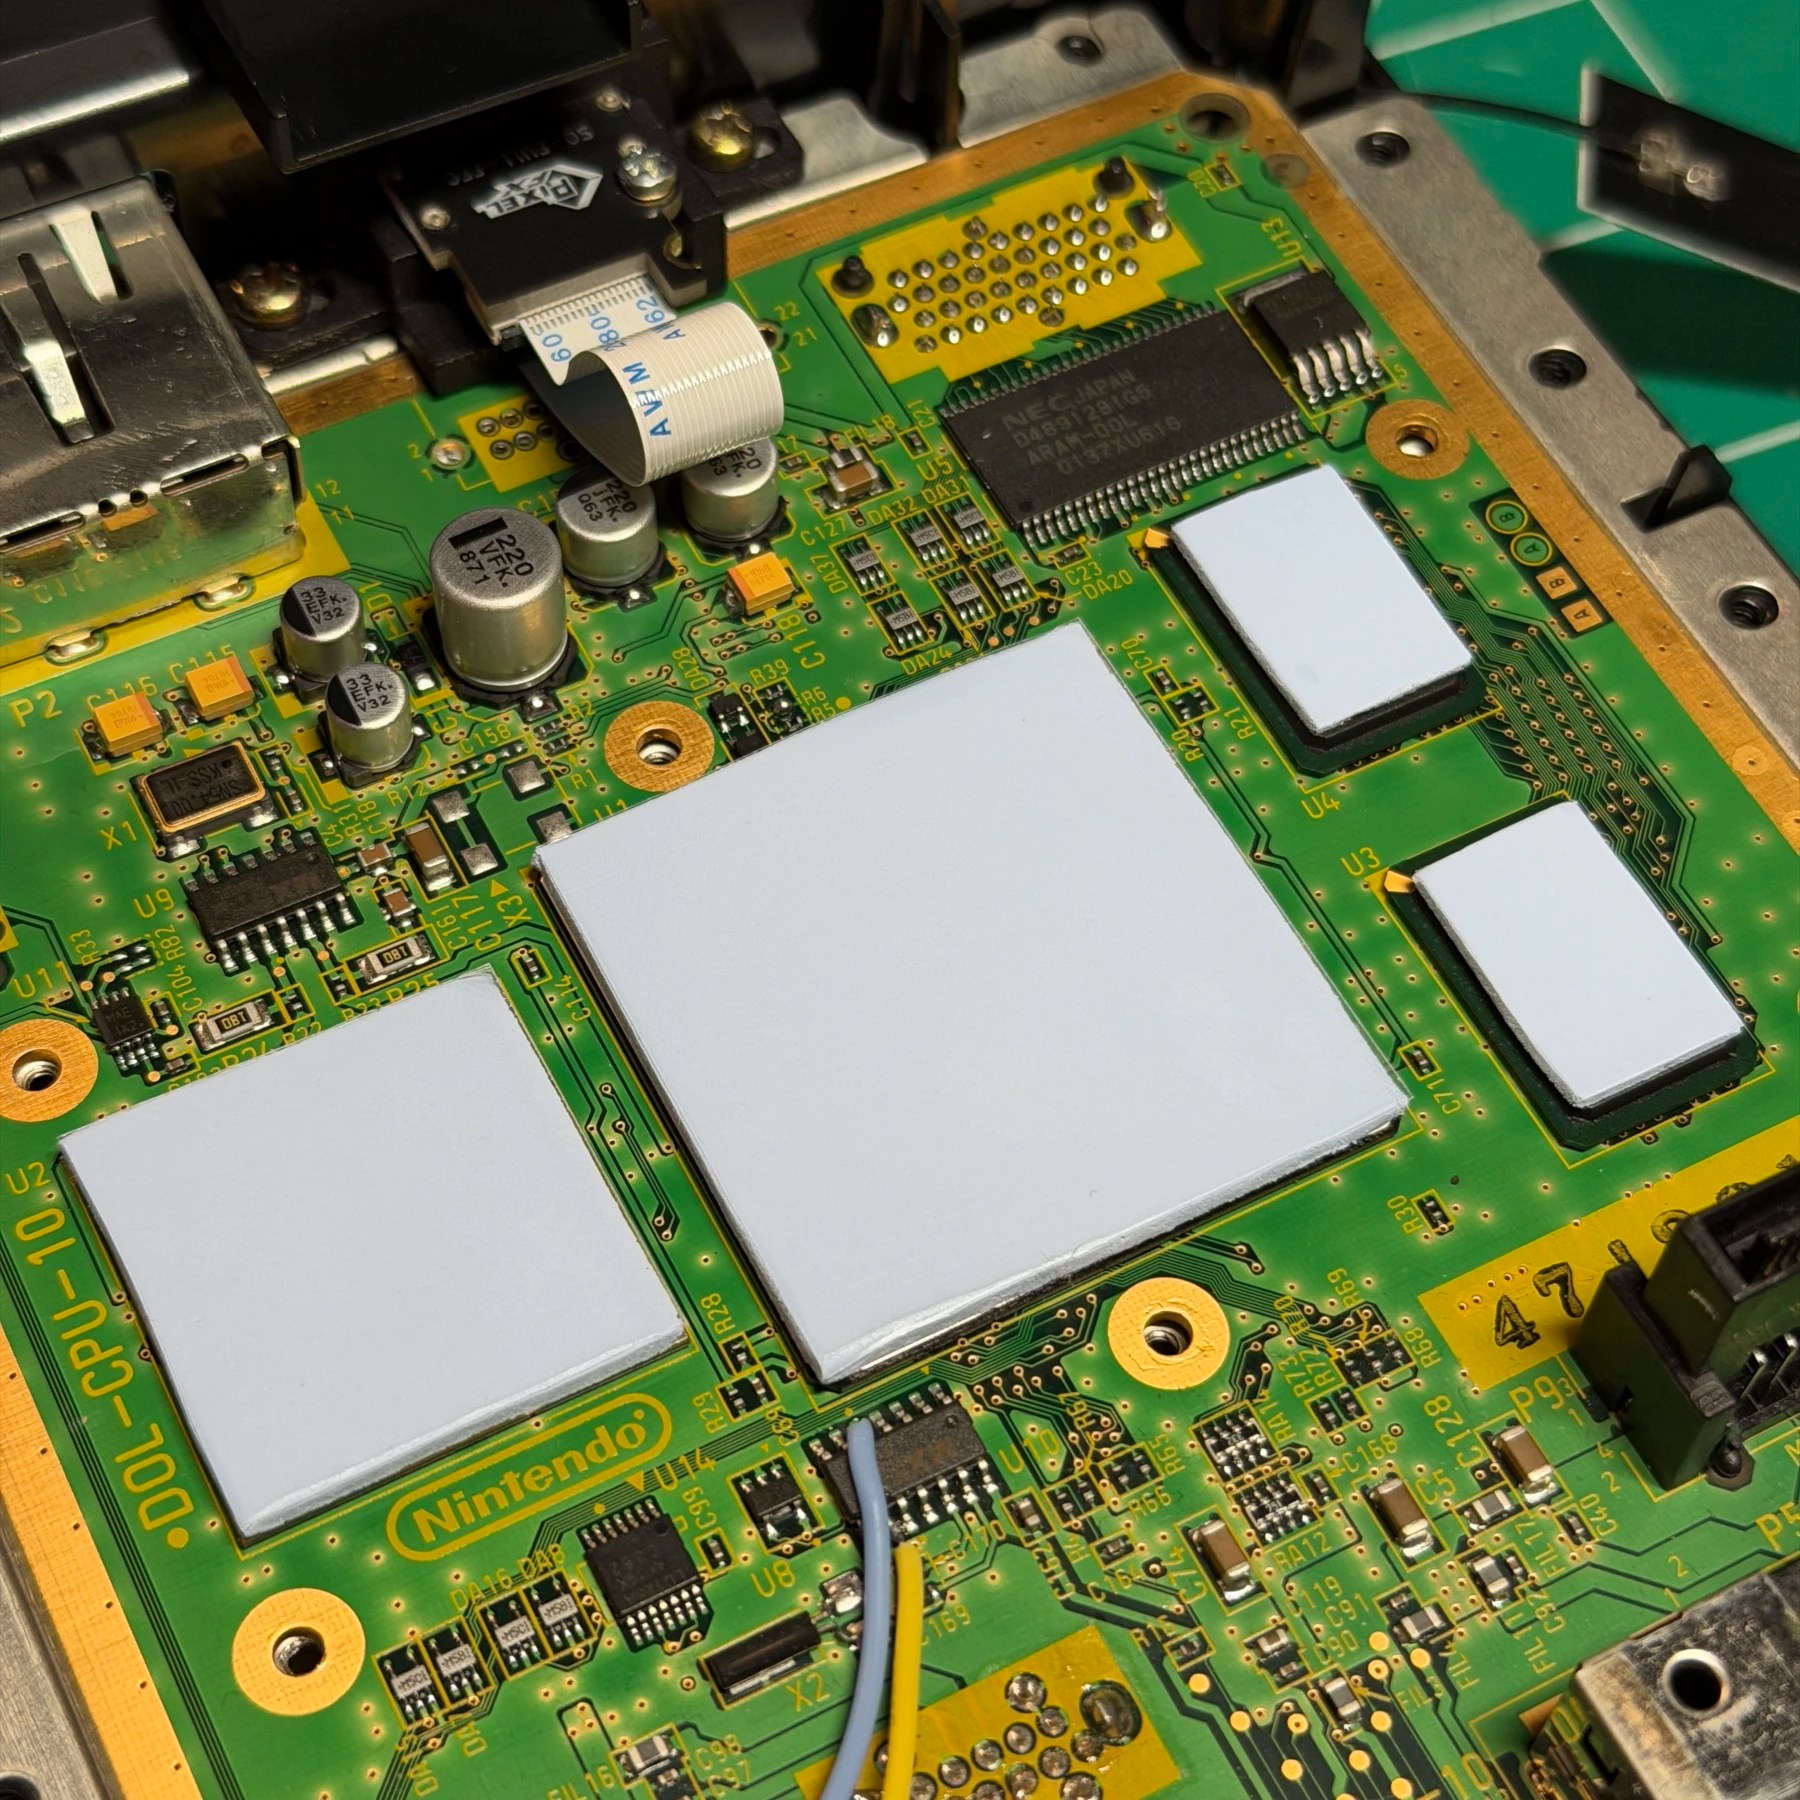
Since most of the work was going to happen to the mainboard I decided to tackle that first. I heated up the heatsink then popped it off, cleaned it and carefully cleaned the thermal pad residue off the 4 chips. With access to the capacitors now I removed them with my Hakko tweezers and prepped the pads and soldered on the new ones from a Console5 kit (including tantalums for the 10uF caps). The only other topside work is putting on the new thermal pads so I decided to go ahead and cut out 4 new ones and stick them on now while I was working in the area, all the rest will be on the underside for the PixelFX install…
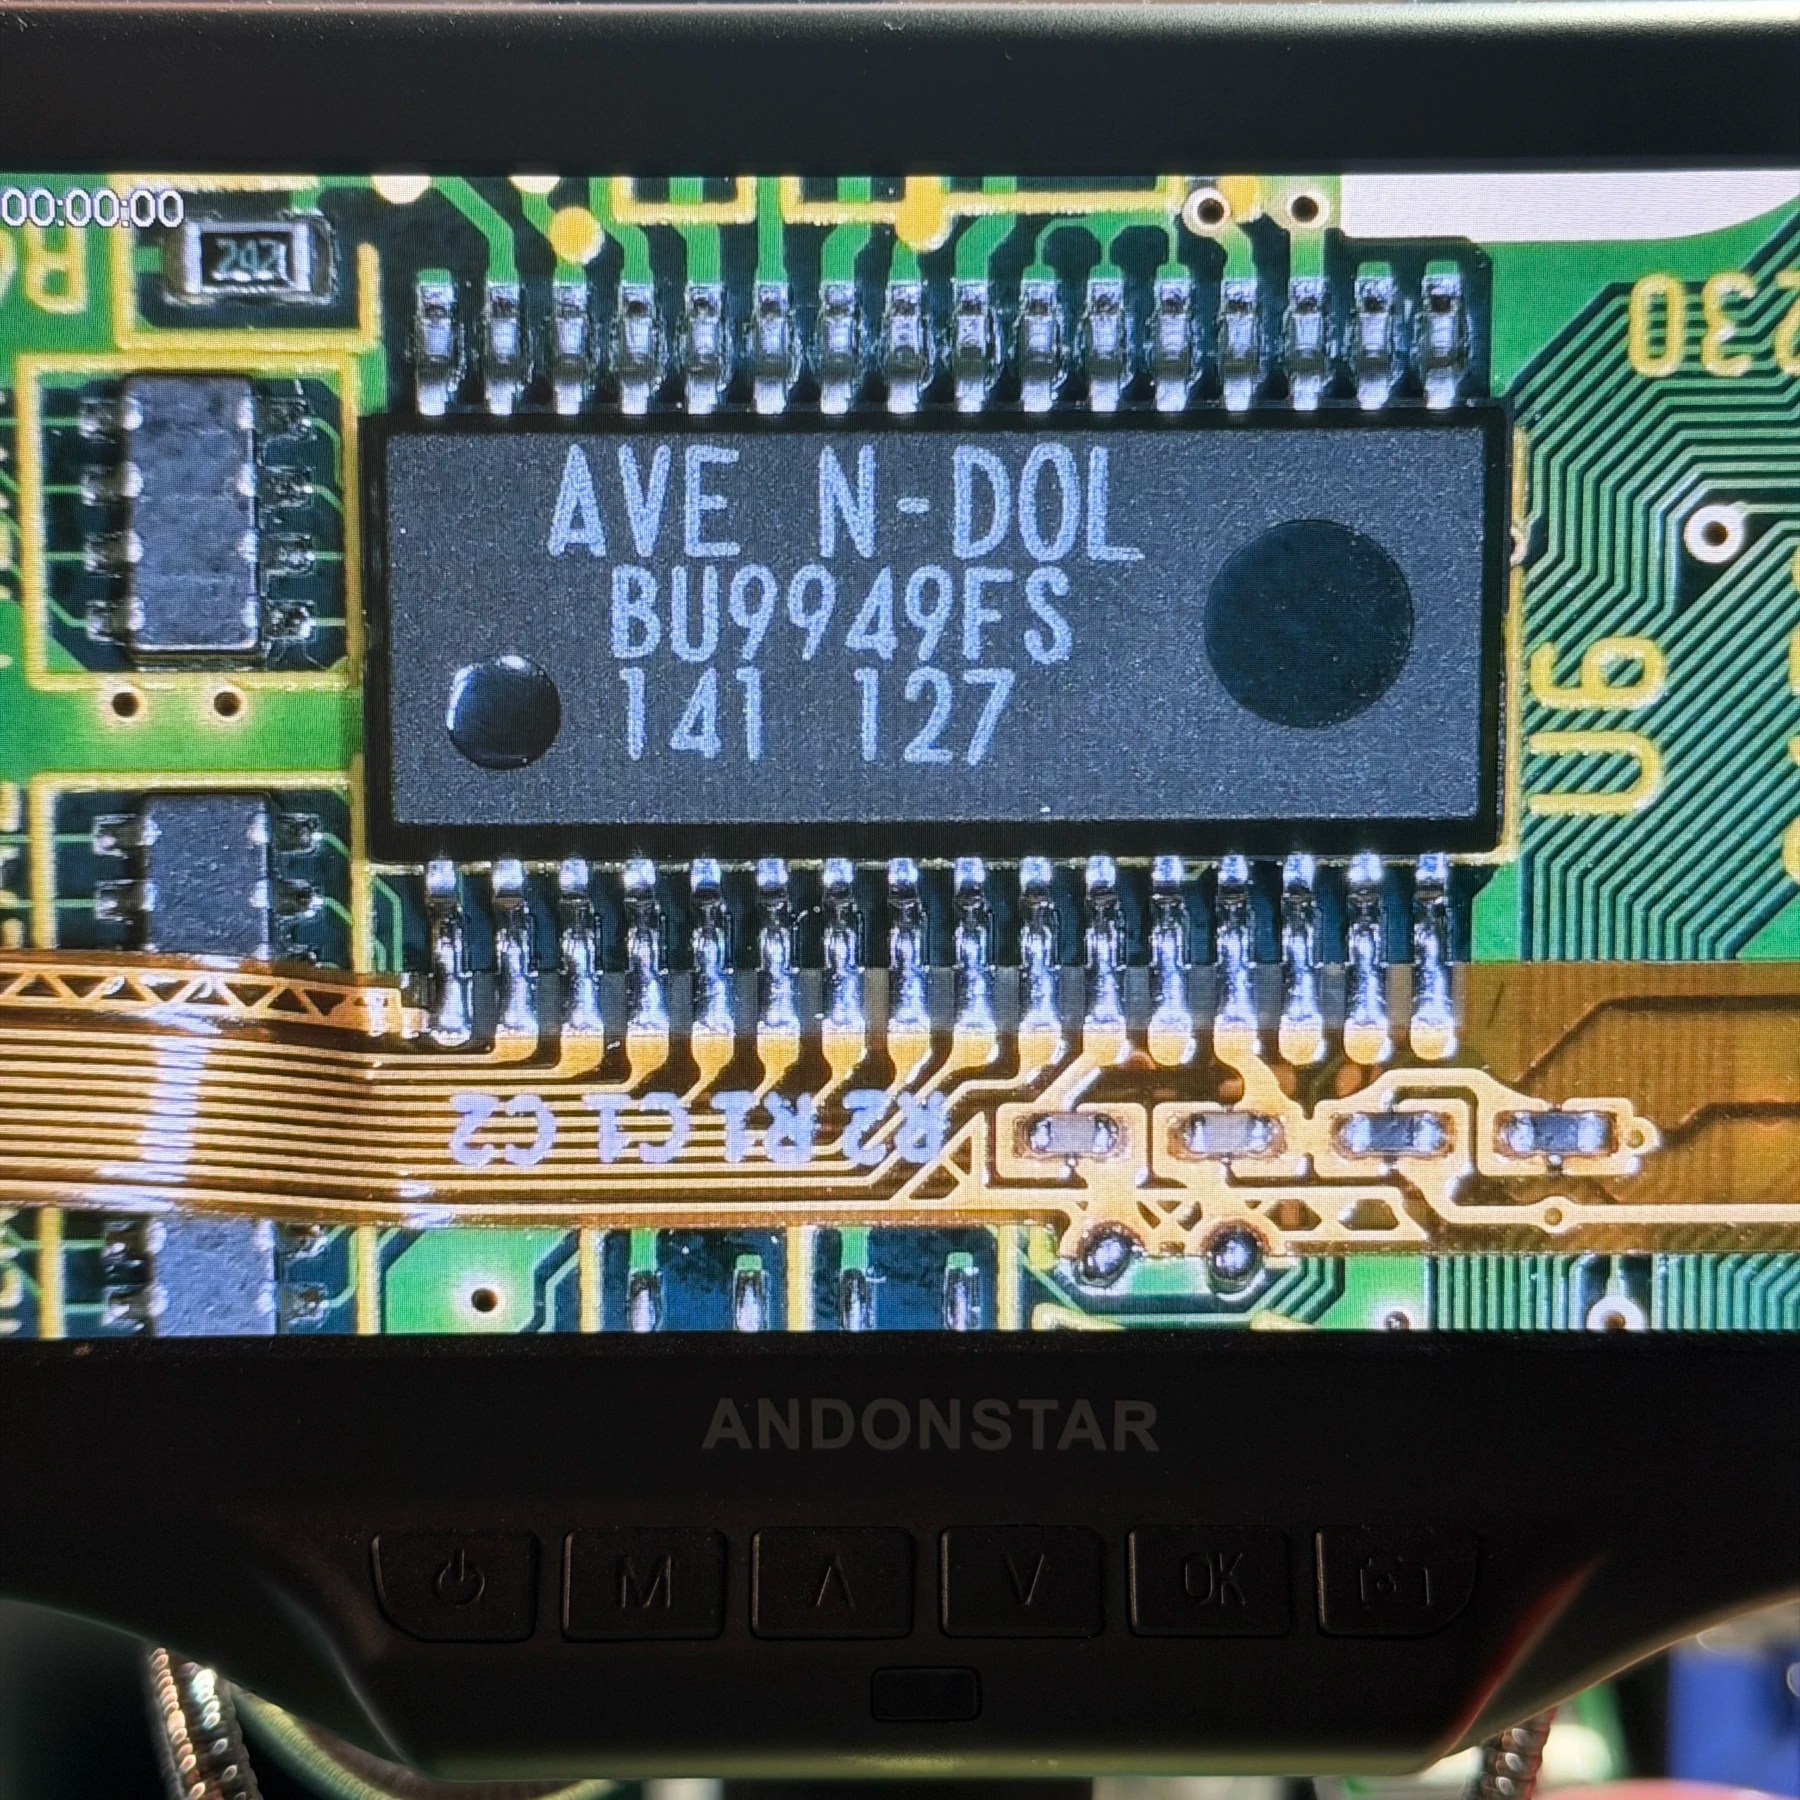
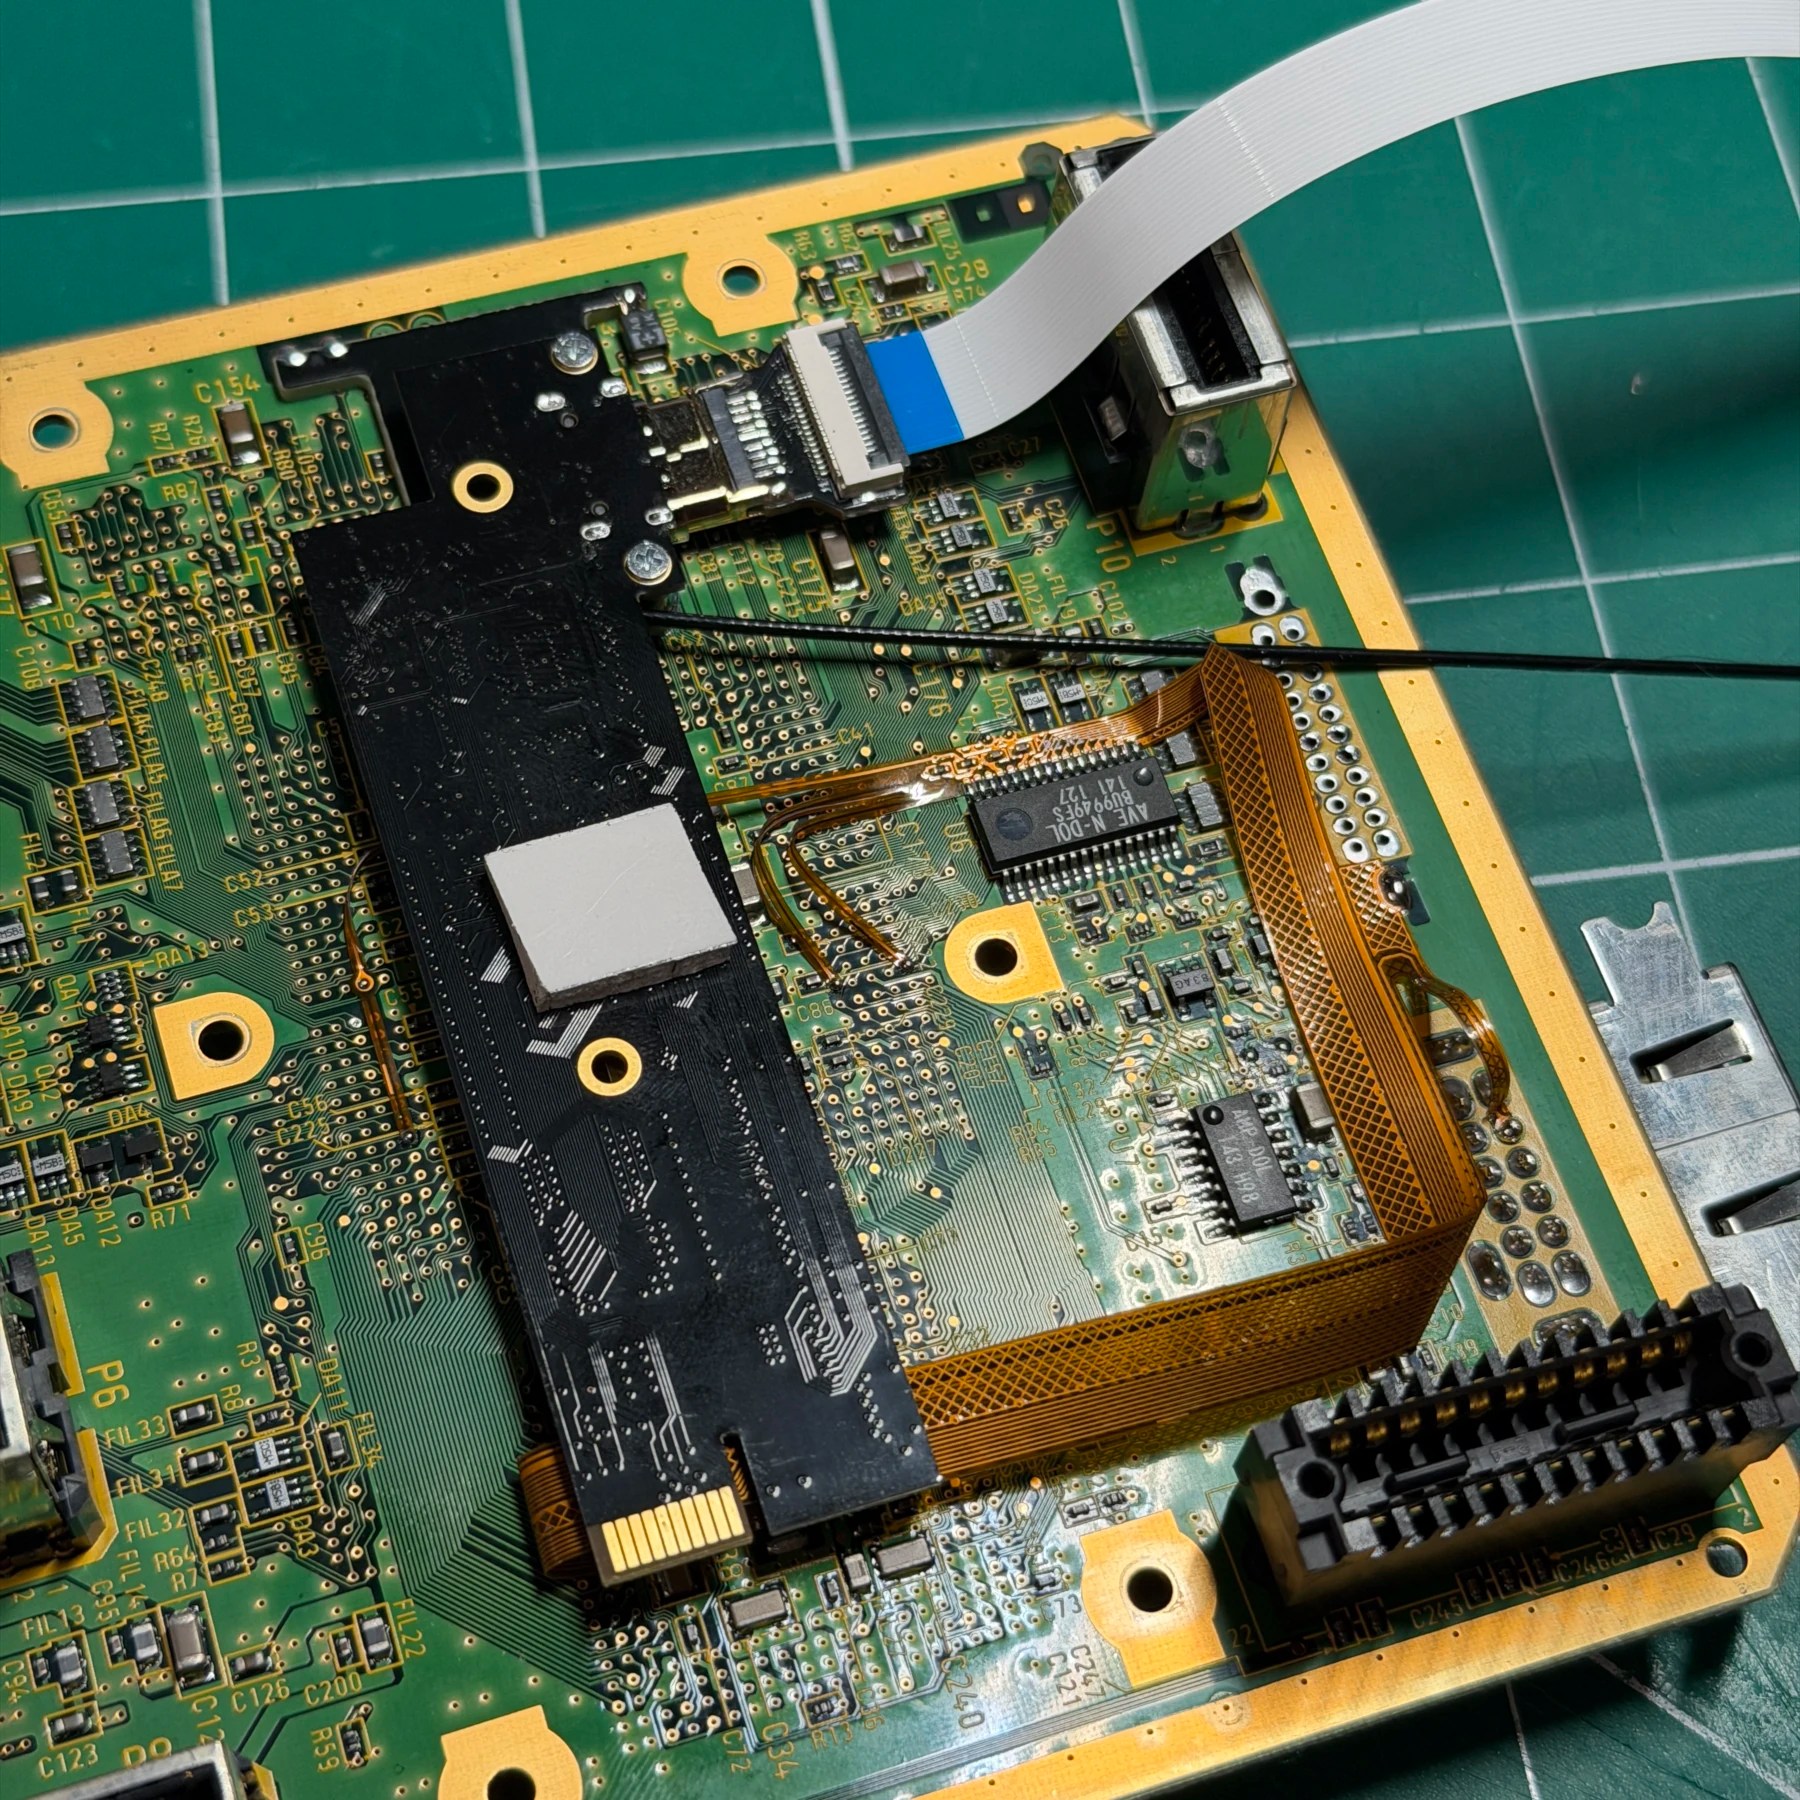
I always follow the instructions in exact order to make sure I dont miss a step especially something as simple but crucial as setting the correct jumpers on the GEM board itself. The GameCube install is really not too bad. Trickiest part is the flex soldered to the AVE chip and being very gentle with the 4 ‘arms’ that come off it you need to solder to 4 scraped via’s.
Alongside that portion removing the port where HDMI will go can be a bit stubborn but with a quick dab of my low melt solder on the pins and my hot air gun it fell right out of the board at only 275C for just a minute or so. I then used some wick to clean any low melt left and the pads then wiped the entire board down especially in that area as dirt can accumulate under the port. The customer had agreed to remove the digital out port since that’s really only useful for the OEM component cables or Carby HDMI mod (the latter of which would make no sense with this internal HDMI anyways) so they get to keep the analog port and could move this between an LCD TV and an old CRT!
With the flex soldered on, GEM mount installed and jumpers set plus antenna and HDMI flex all connected I just bent the flex around and soldered to GND and 5V then screwed the GEM board into the posts to secure to the underside.
The best place for the antenna is on the right side of the optical drive plastic surface (just about fan venting) so it’s critical to carefully route the wire out the back and to that side before securing the optical drive to the mainboard and risking pinching anything. The shielding did have to be snipped/filed back for the port but no biggie there!
With the full-size HDMI port assembled and left hanging out the back as well as the antenna, the GEM install is all done so time to work on the optical drive then reassemble for a test!
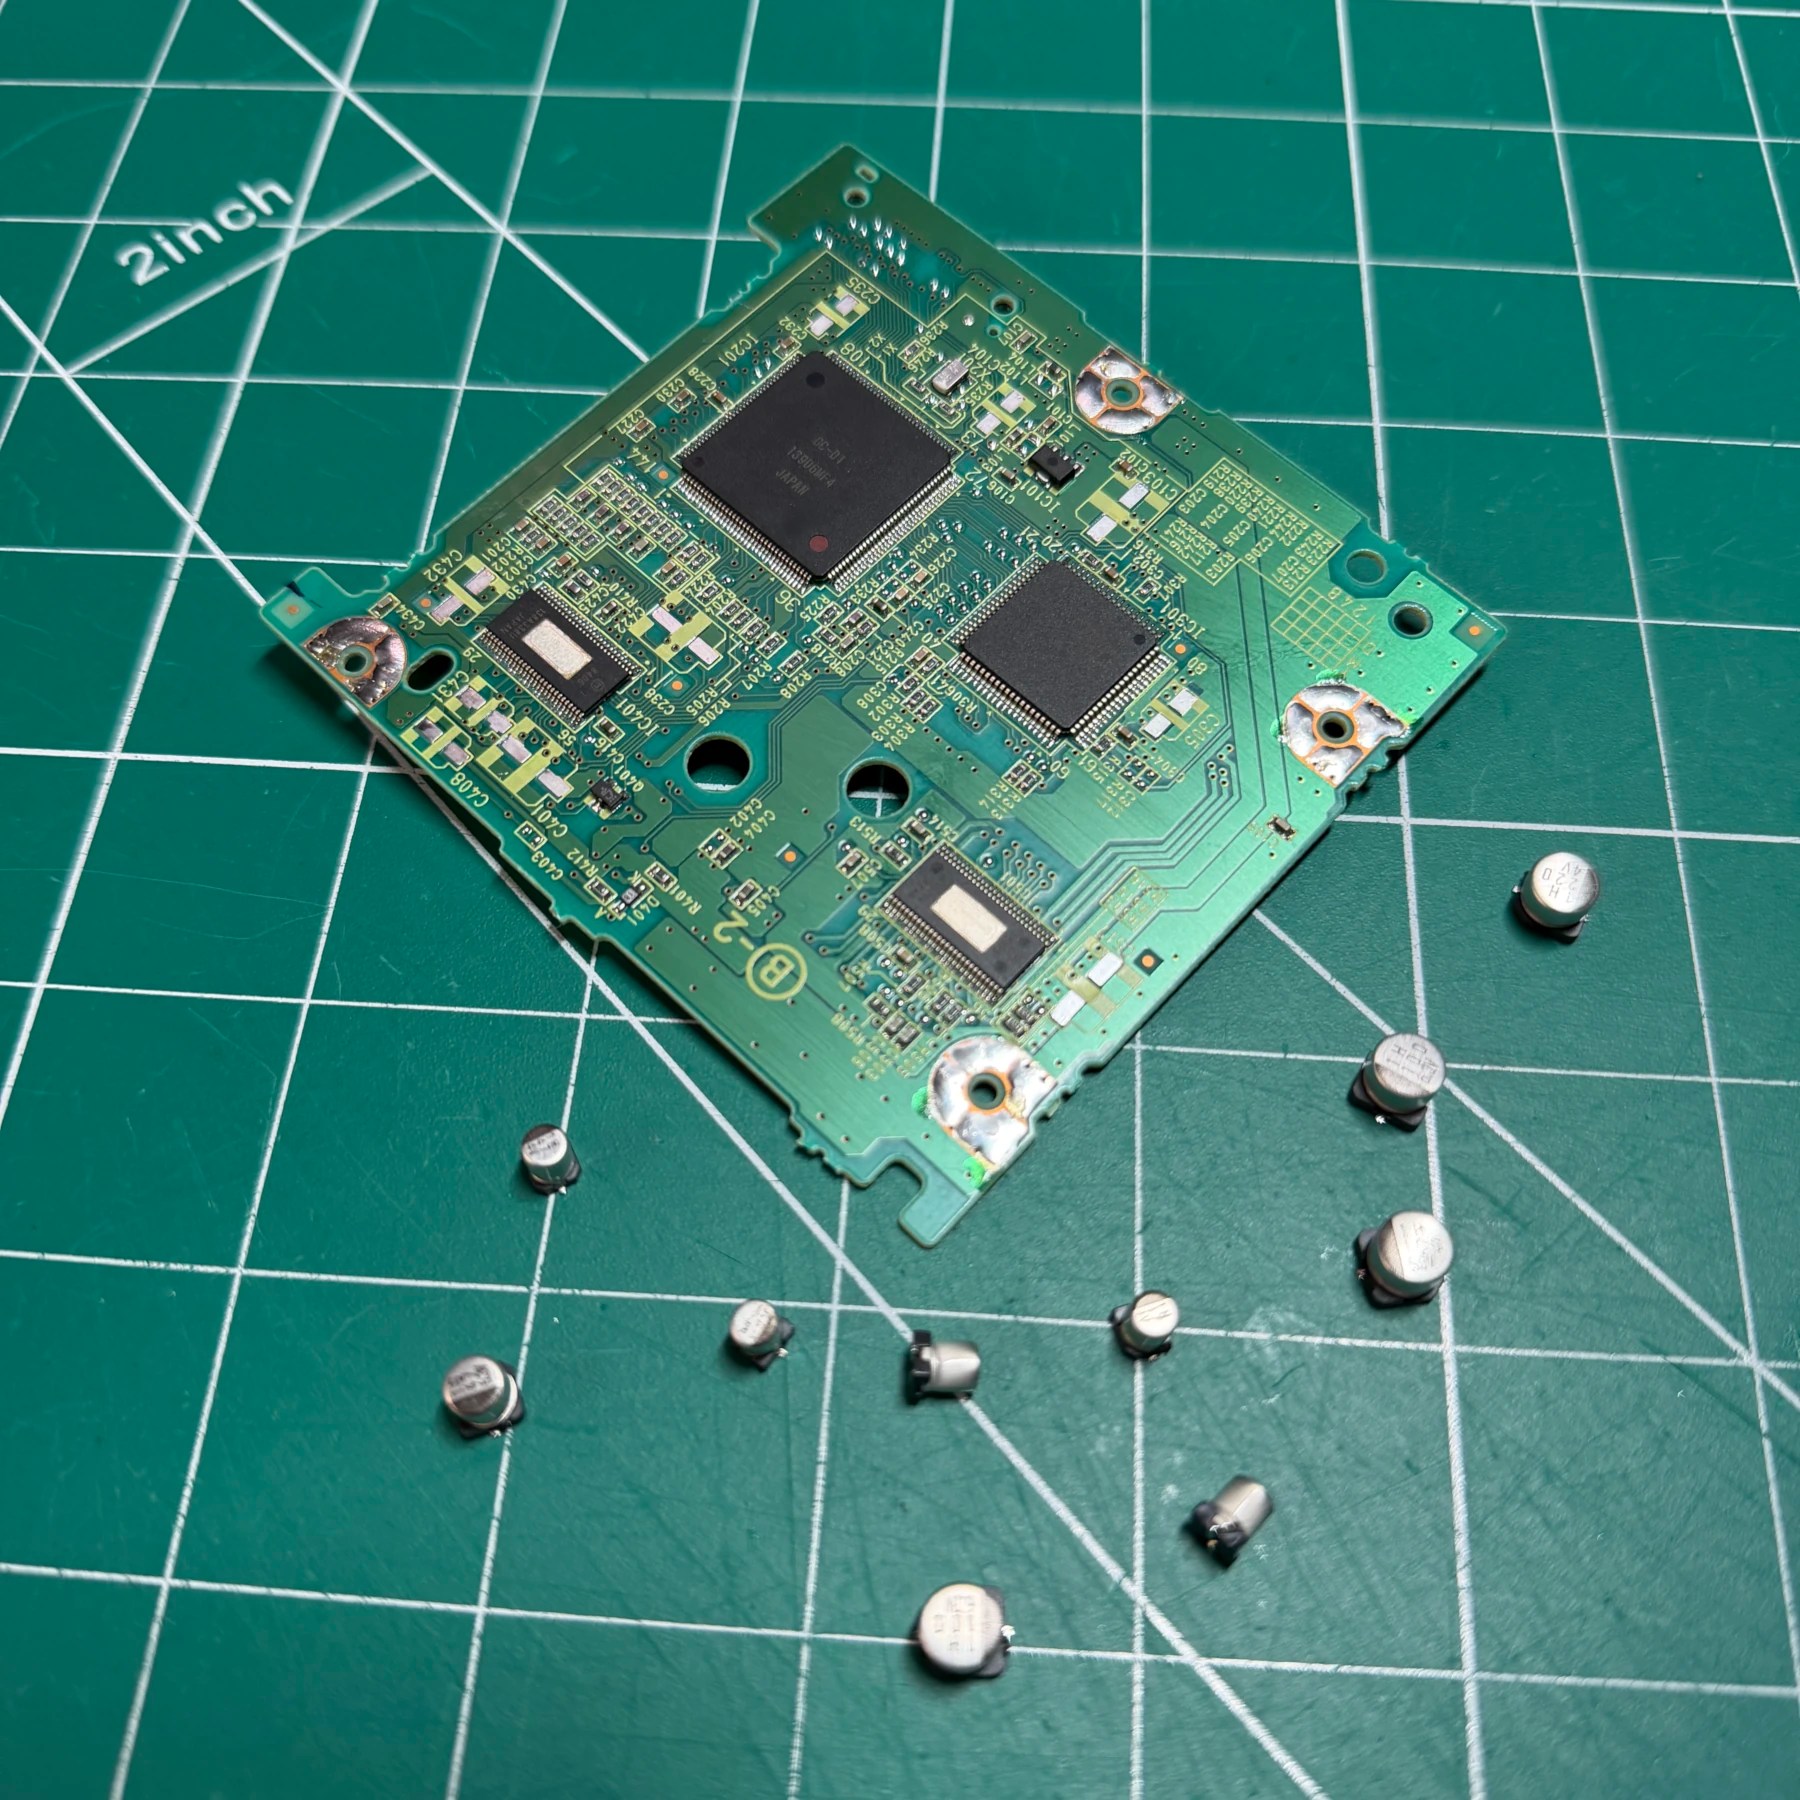
On the optical drive front it was business as usual… replace the 10 caps on the PCB and deep clean the assembly and laser rail/gear mechanisms. This also included a fresh coat of grease and cleaning the laser lens itself.
Once the drive was put back together I then peeled the protective plastic off the top of the new thermal pads, stuck the heatsink back down and screwed that in to secure the mainboard (while again – making sure the flex and antenna were not being pinched). I then seated the optical drive block down very carefully while making sure the PicoBoot wiring didn’t get caught and secured the 4 corners with at least one screw and tightened down the new HDMI port, enough to be able to safely insert an HDMI cord.
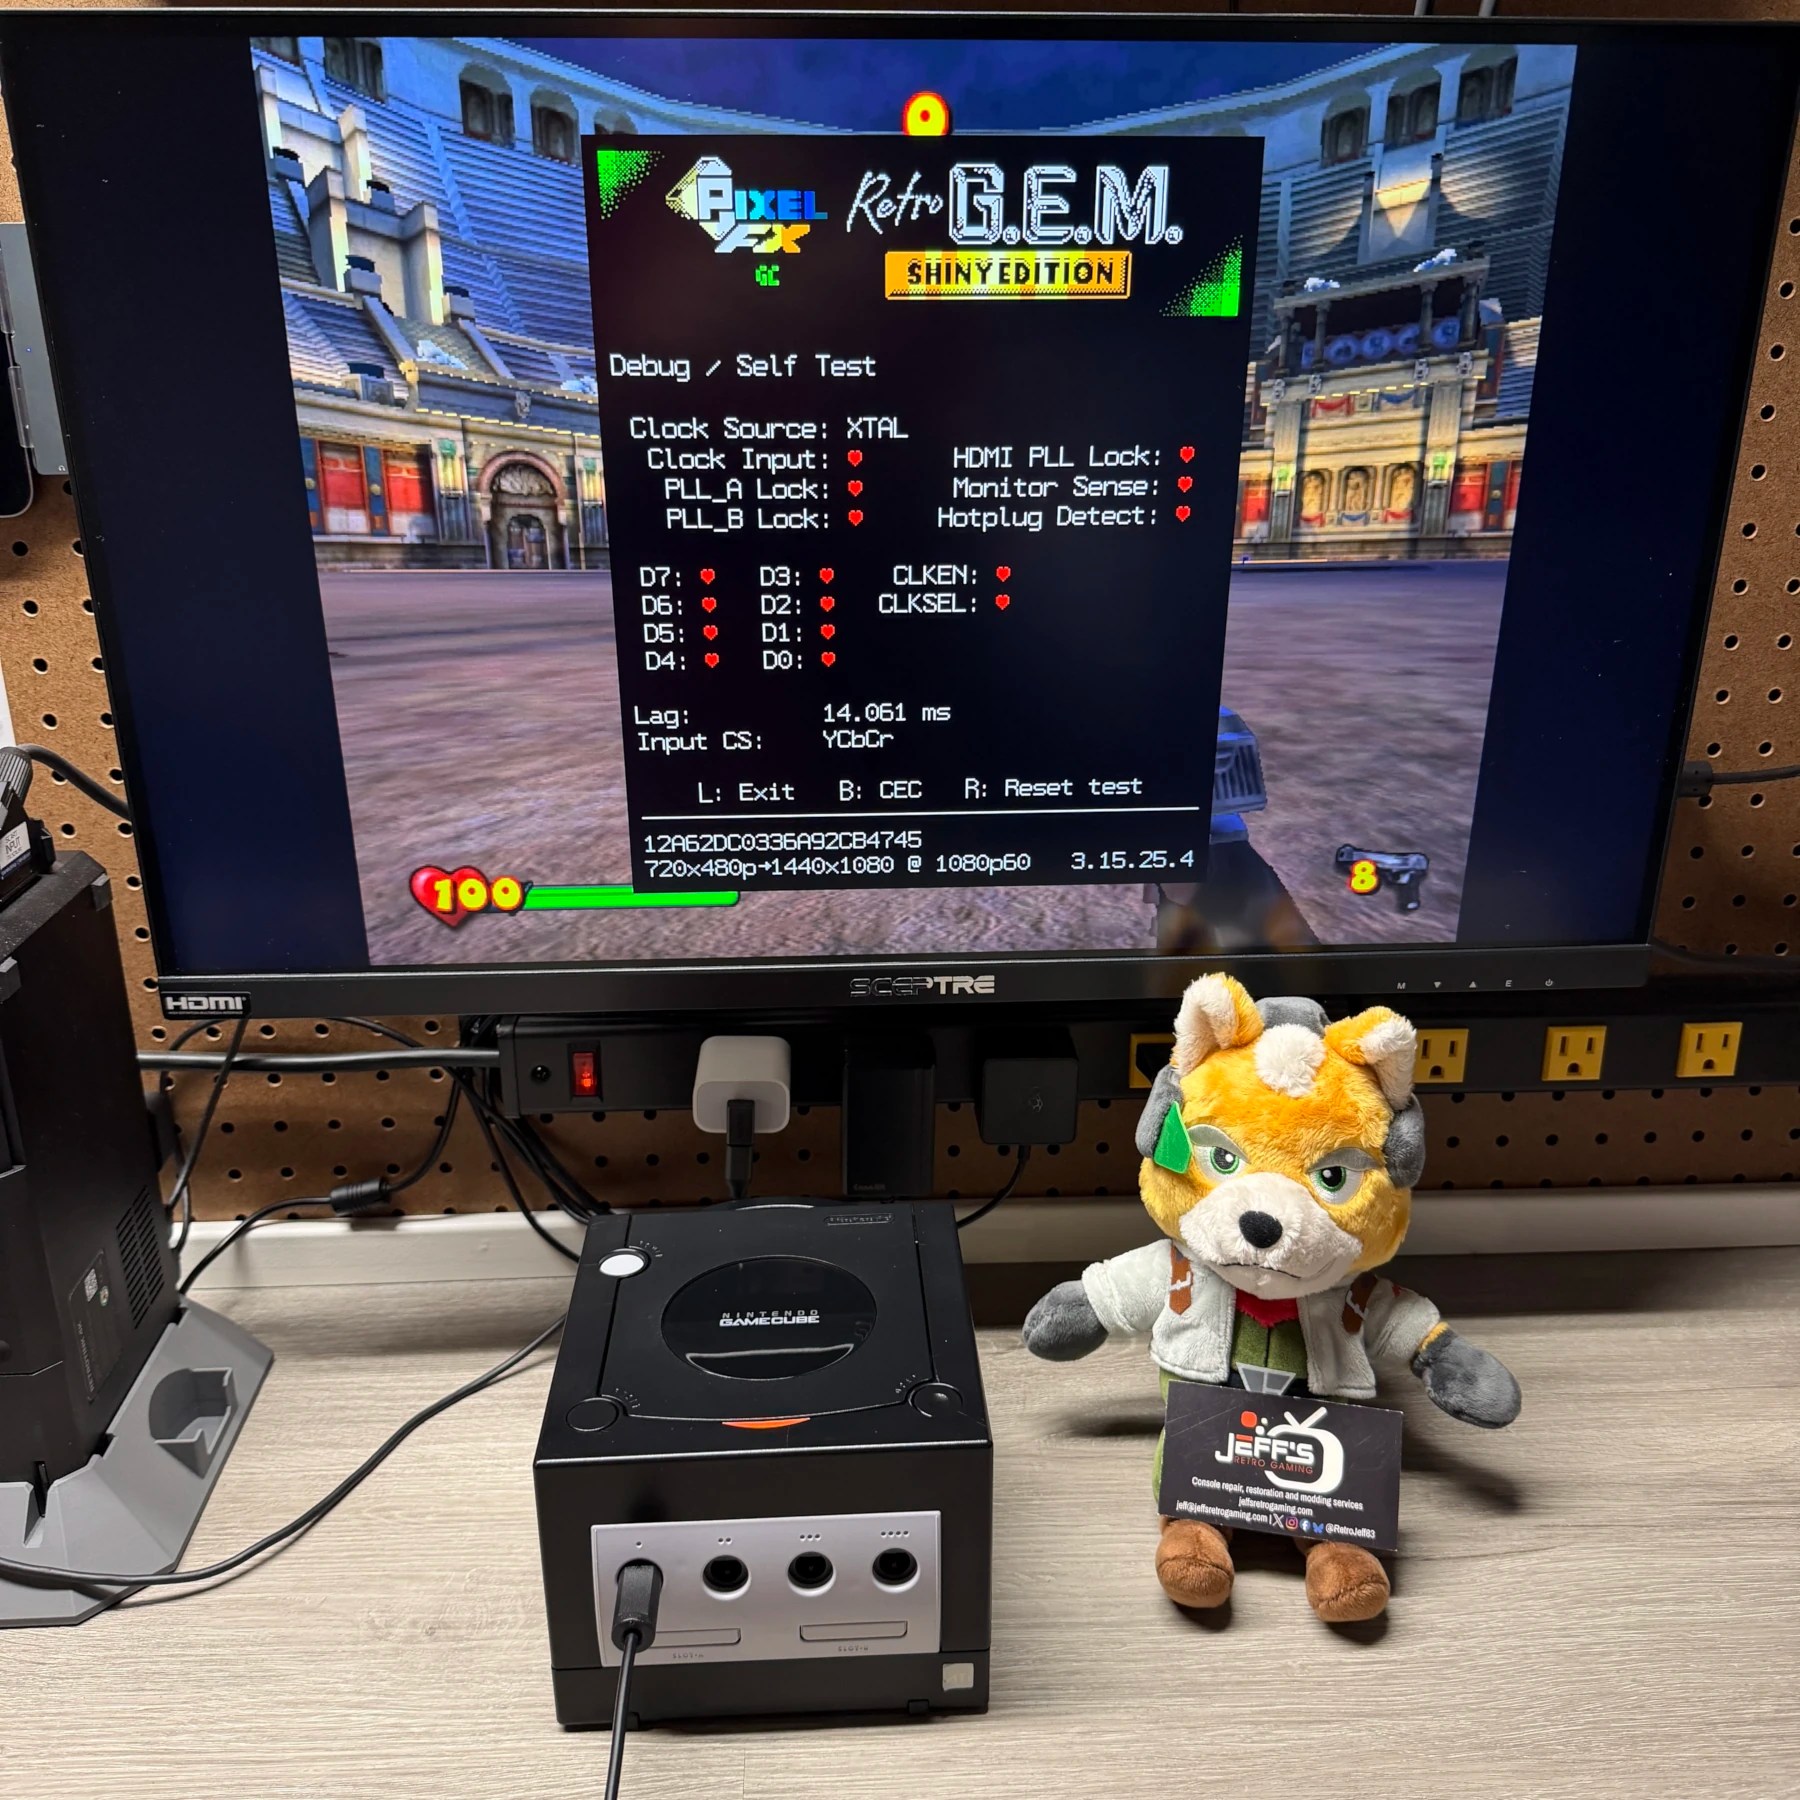
I plugged the unit in and fired it up and was greeted with the PicoBoot menu but in crisp digital out from the HDMI! I launched a game and then brought up the OSD menu because we have some stuff to do in here. First order of business is always check the debug screen and make sure we have all hearts – we do! Then I set the resolution to the more common 1080P and join my home Wi-Fi so I can update firmware. Once its online I check and there is a new version so I downloaded and flashed that, then let it run with the OSD up for a bit and made sure it was working ok. Knowing the HDMI mod was good I then exited Picoboot to stock menu and set date/time and then tested an original disc… no luck 😔
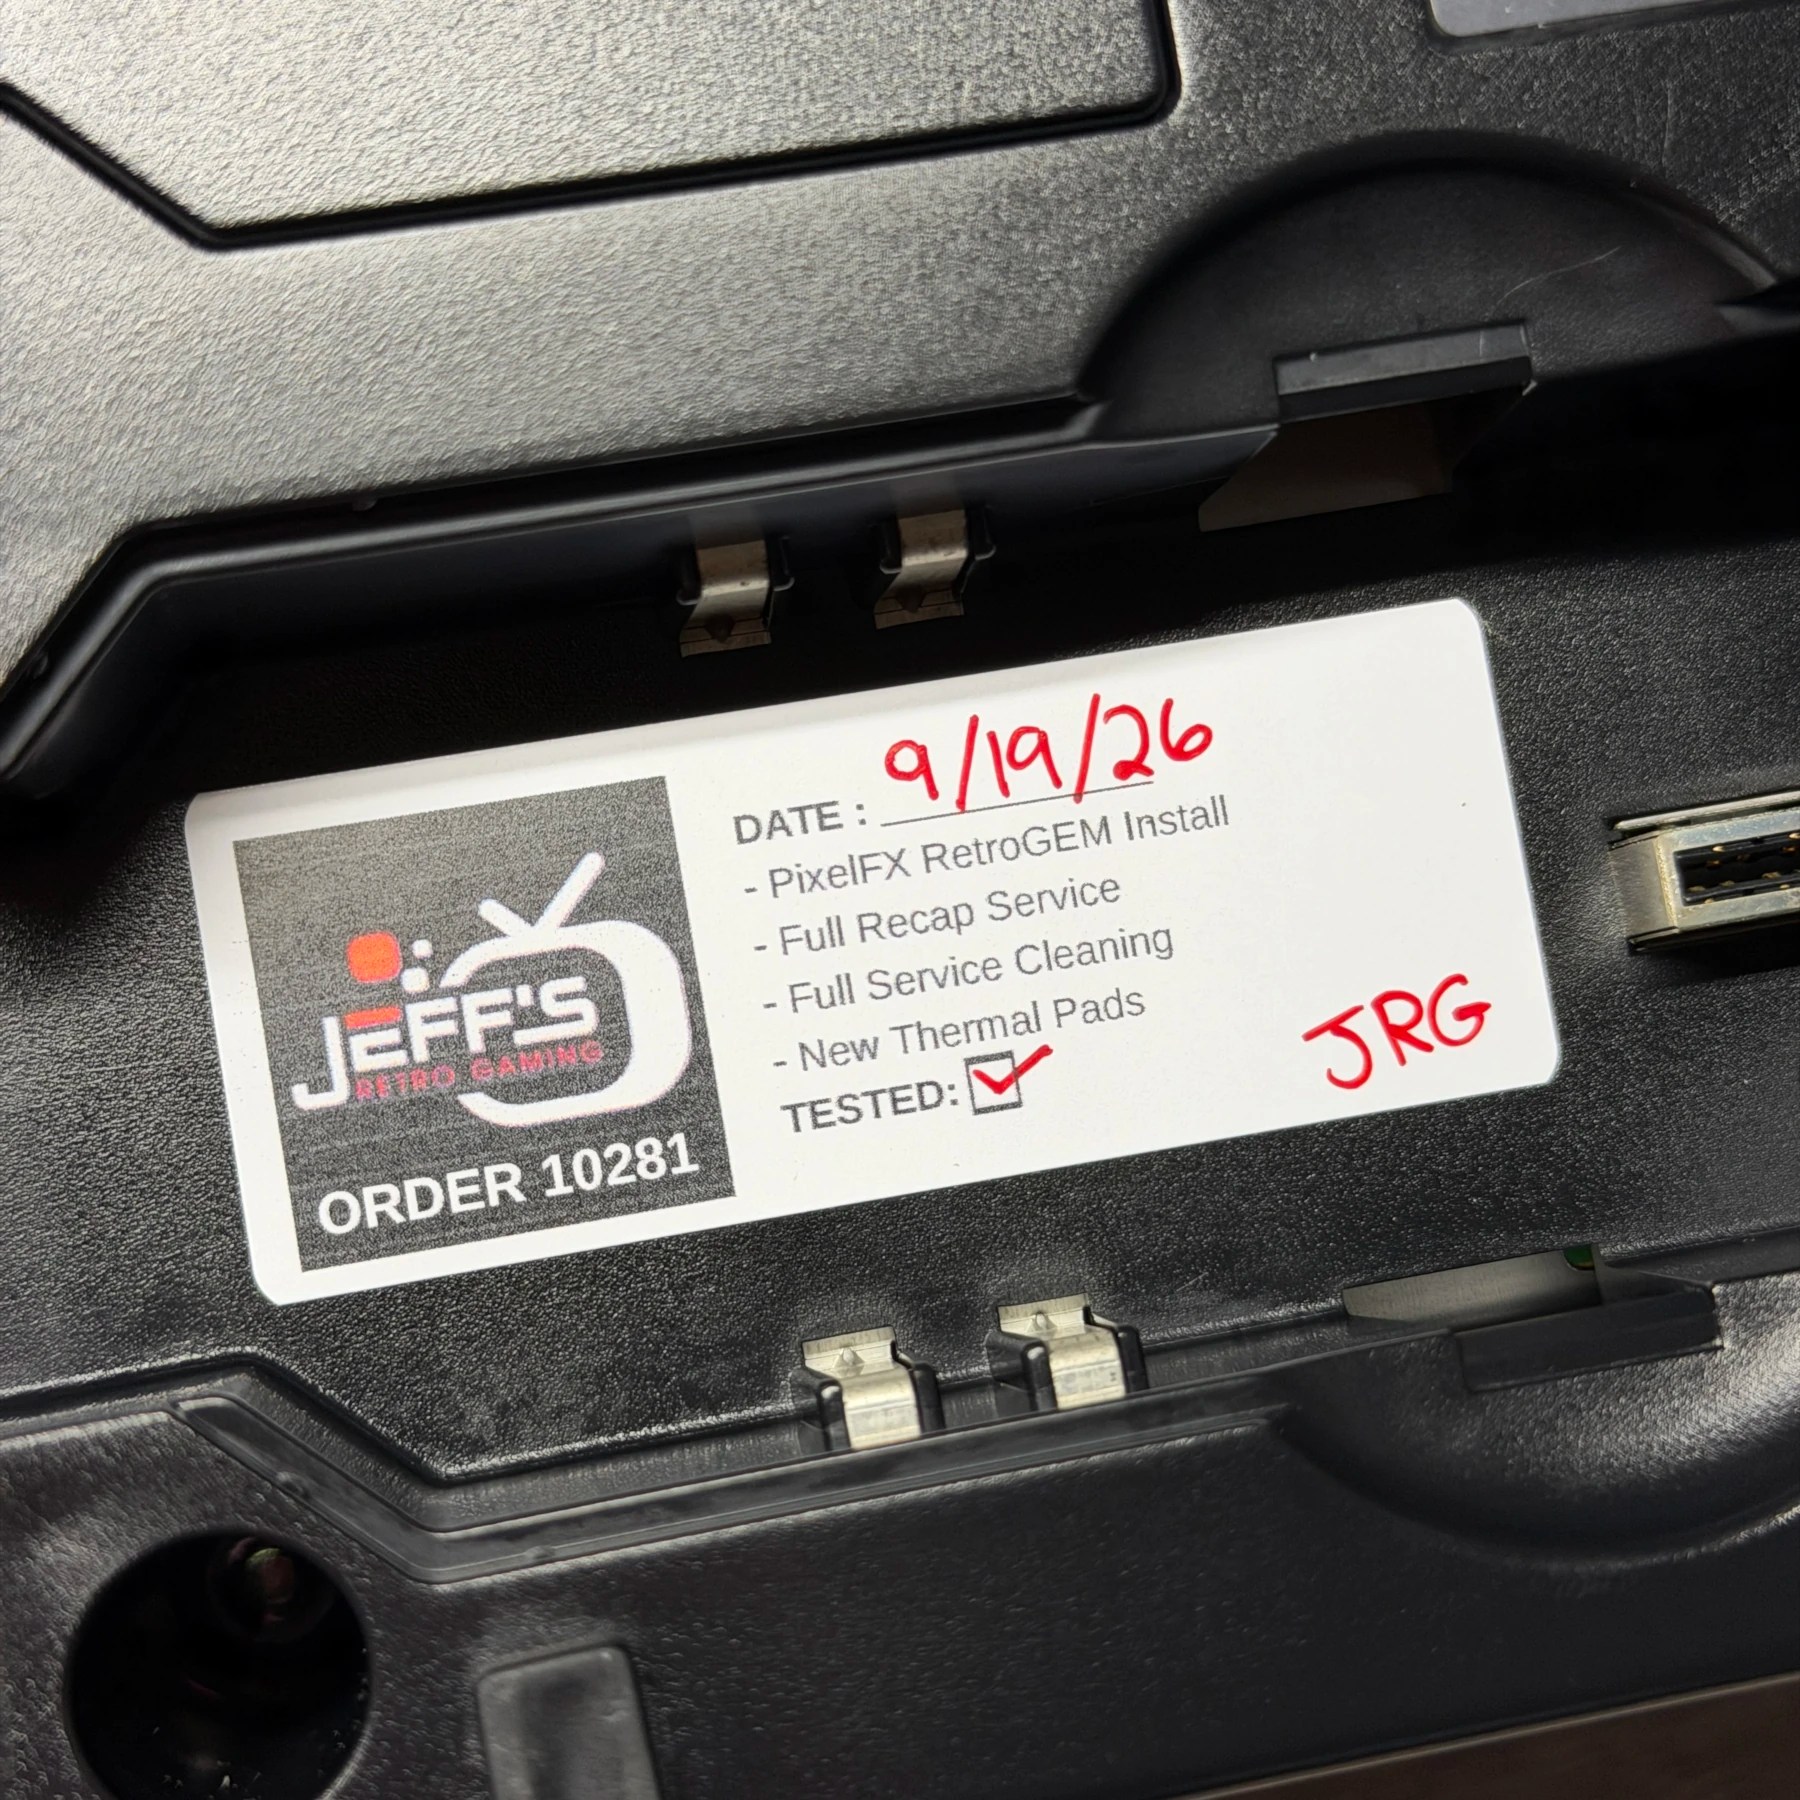
Since I don’t offer a laser replacement service and customer didn’t think it was a dealbreaker I was ready to ship the unit home but then I thought… What if the previous modder was not aware a recap was the correct fix for disc read issues and tried messing with the laser pots? I popped the unit back open and took a reading with my multimeter.. DOL-001 is supposed to be between 400-600ohms from factory but I was getting over 1.1Kohms resistance on that POT! Way too high… So I carefully dialed it down to precisely in the middle at 500ohms and put it back together and tested and voila… it was reading discs now!
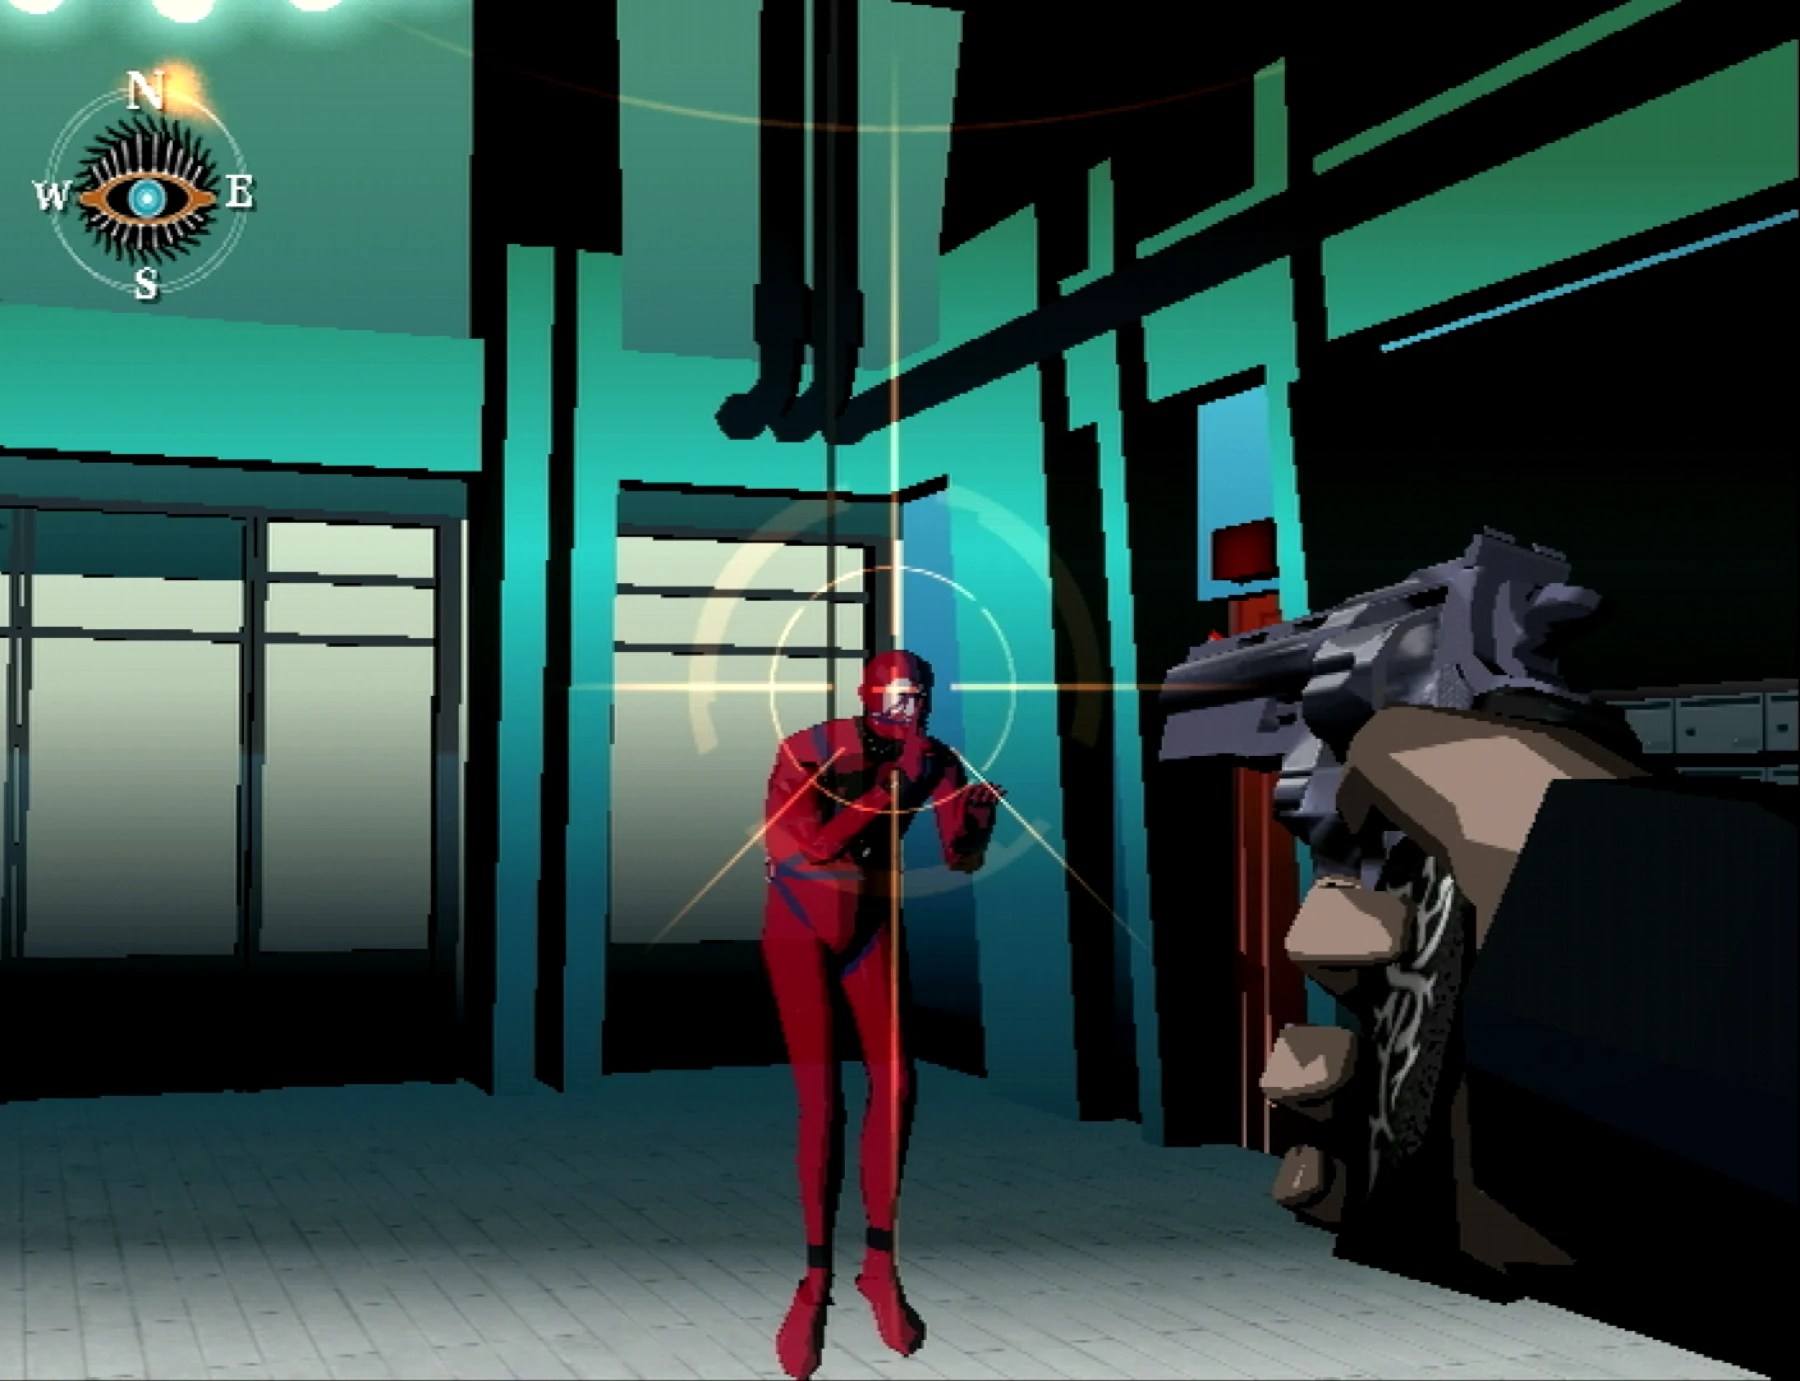
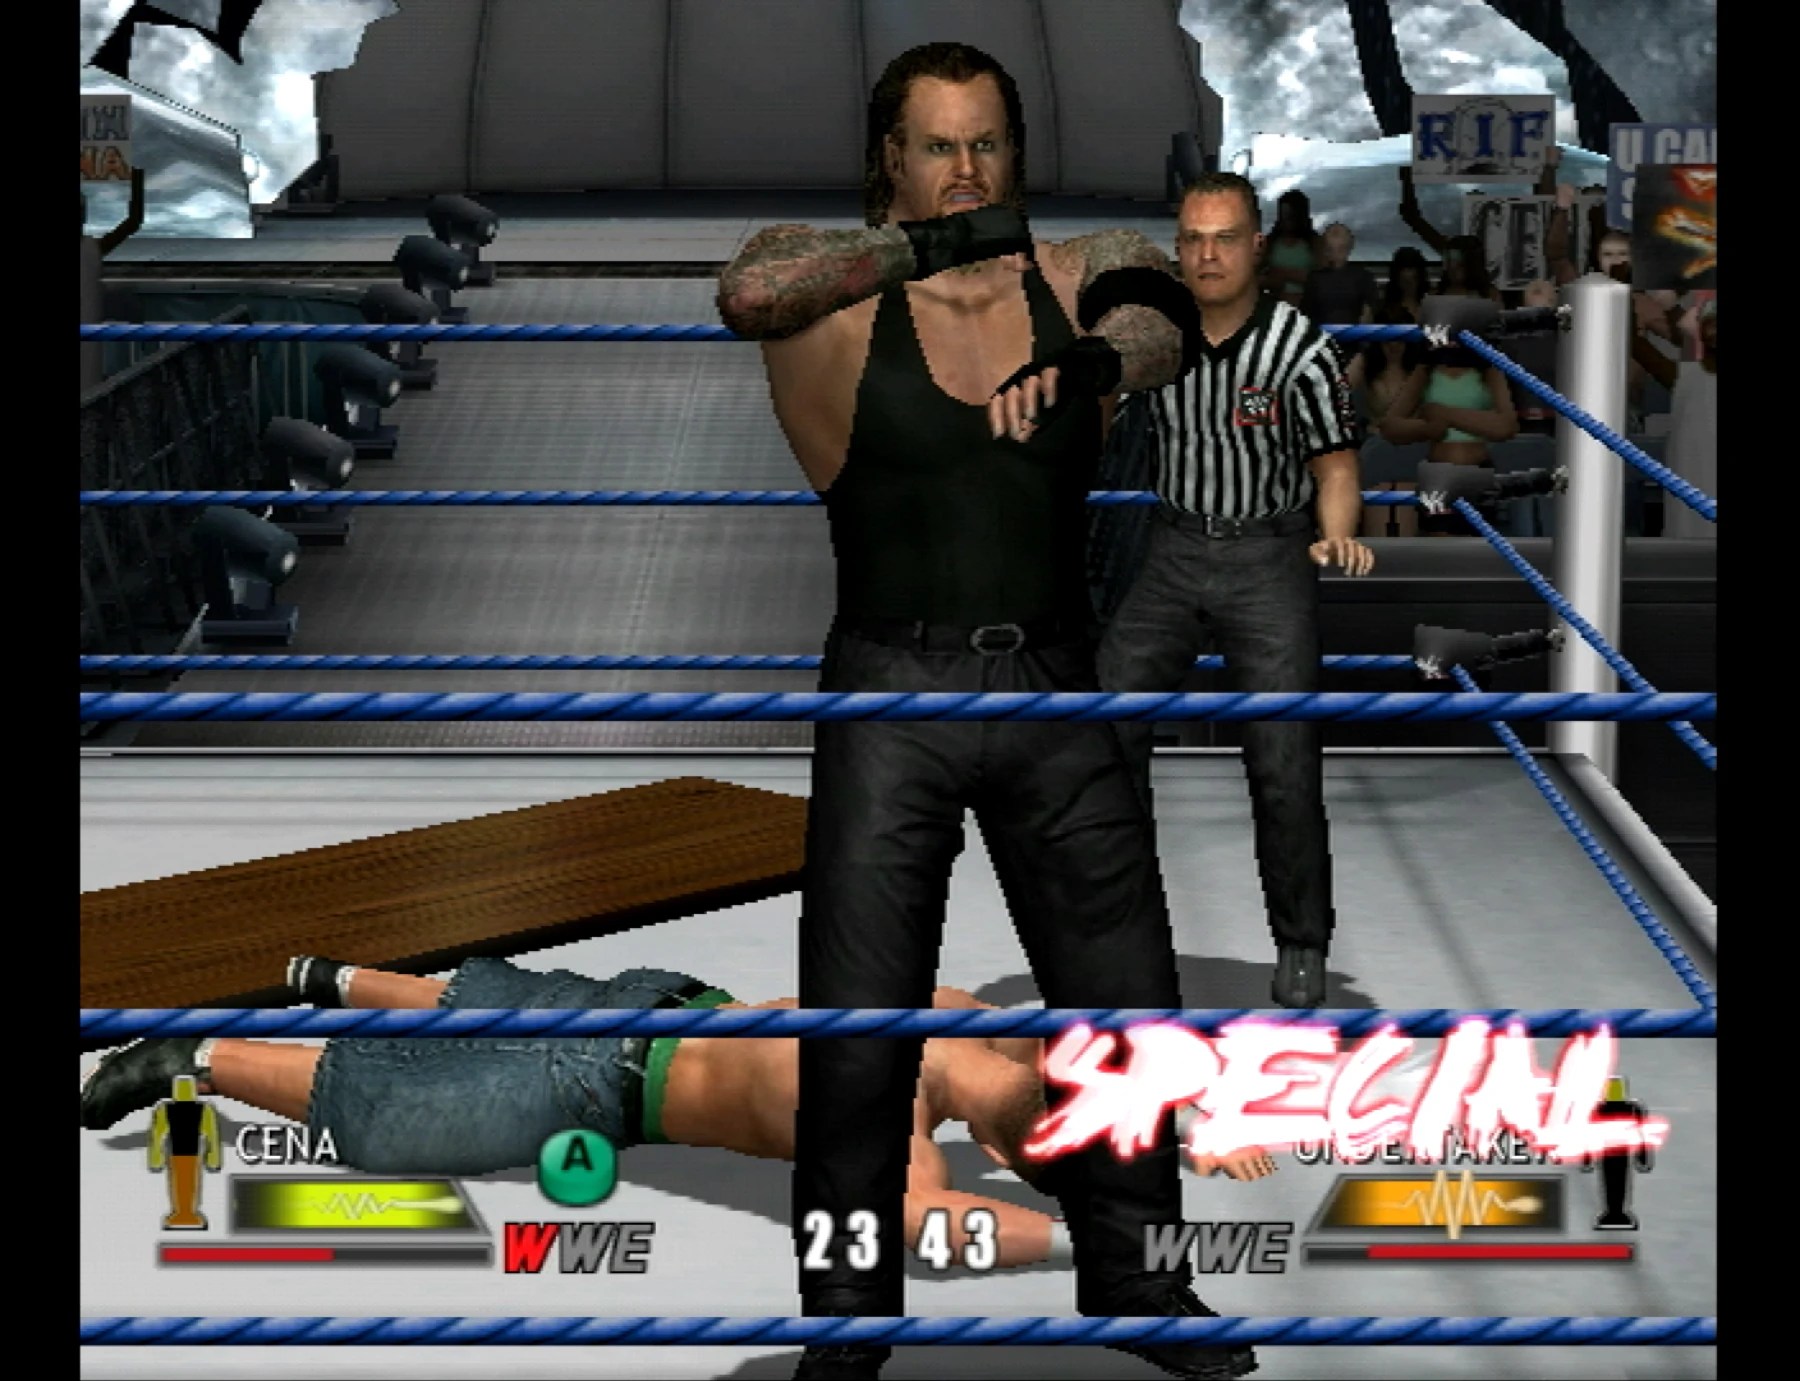
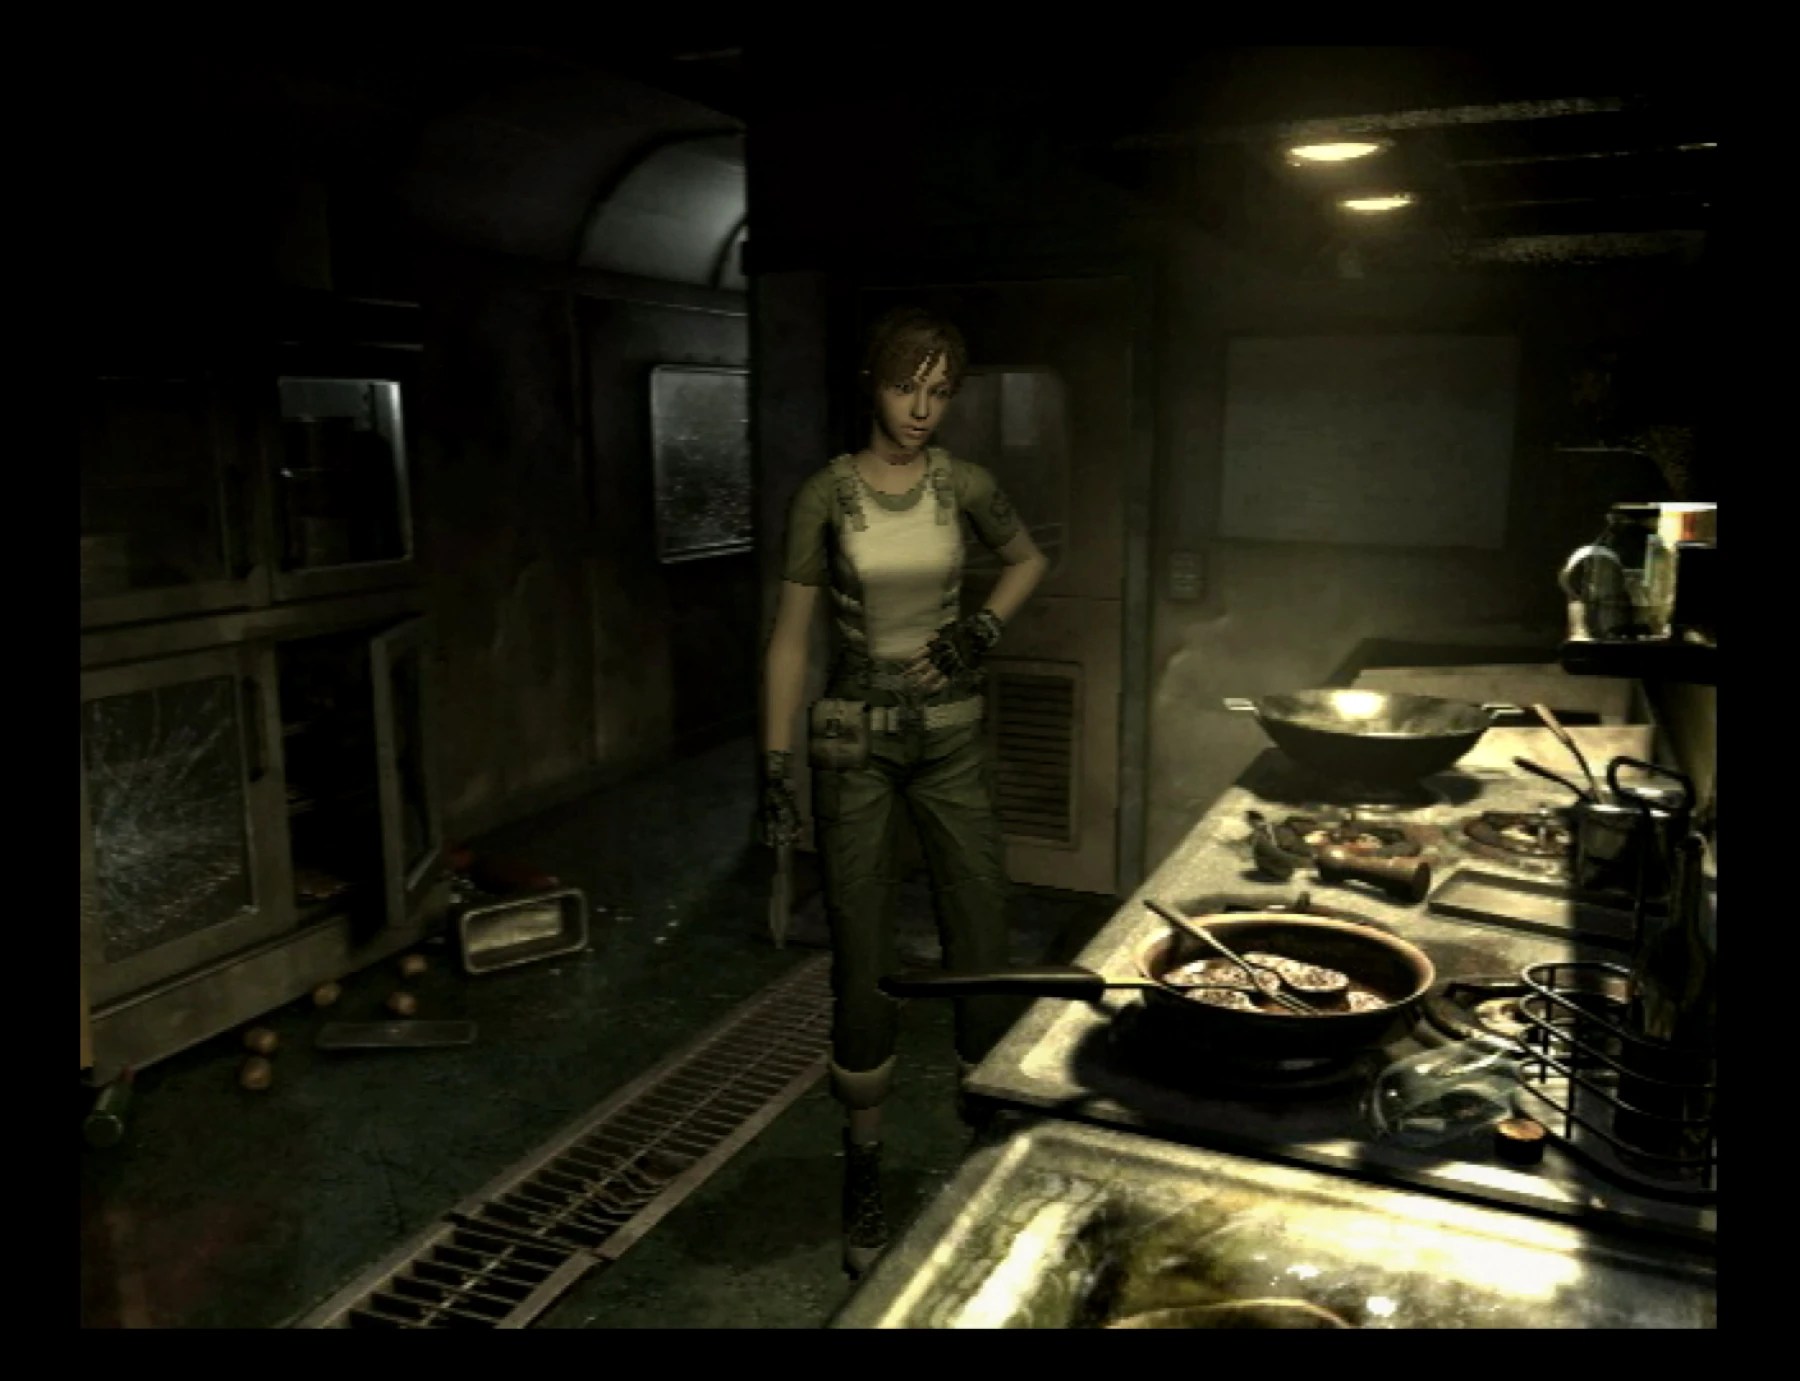
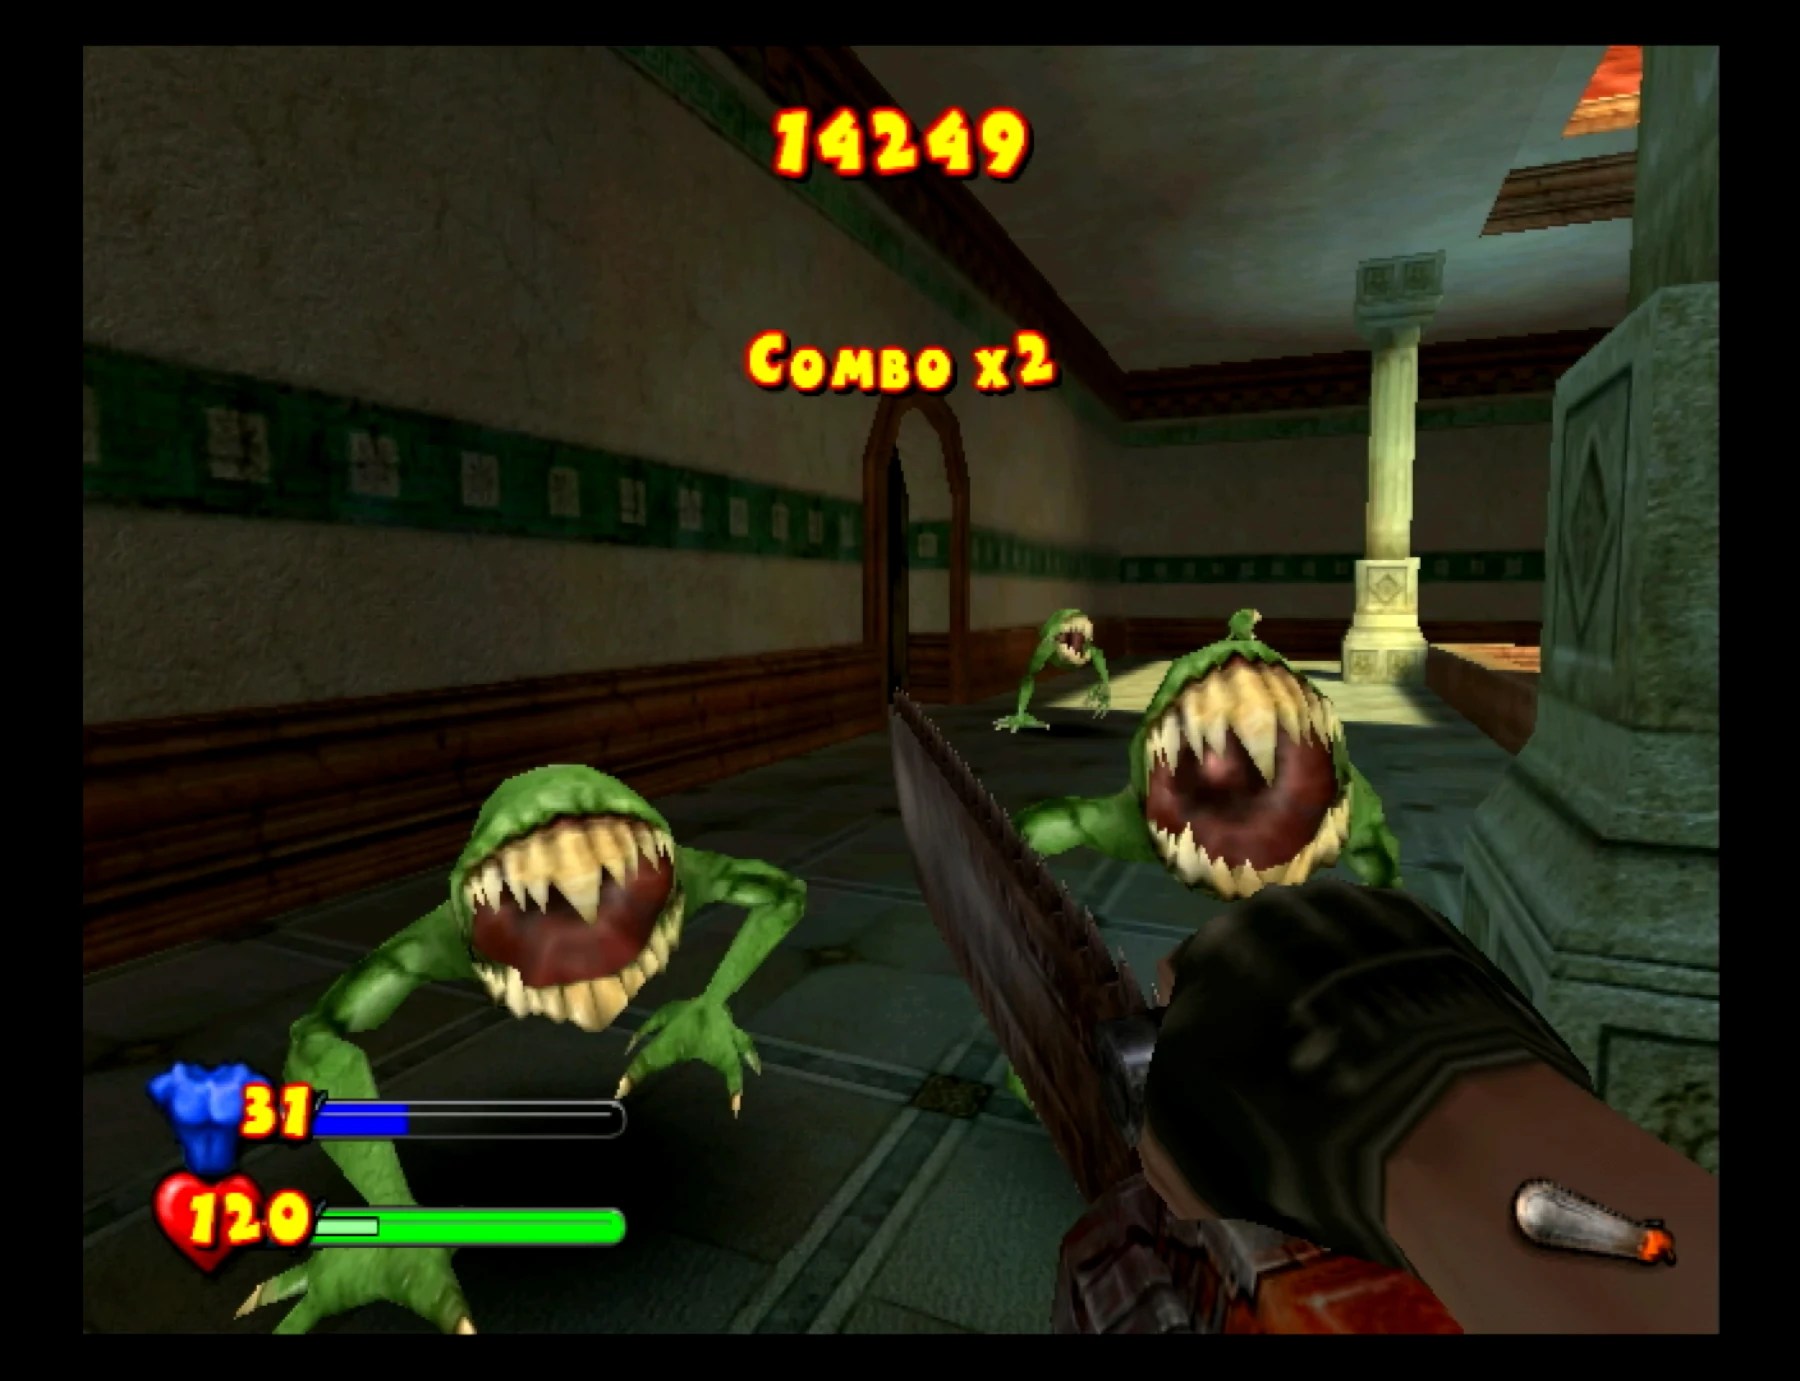
Since that finished all my testing I fully reassembled all the screws, shell parts and polished the jewel and applied a light coat of UV protectant and got it hooked up on the bench for a staged shot plus getting the below captures in 4K!
Another ‘Cube in the books and this one is getting packed up to return home safely!