
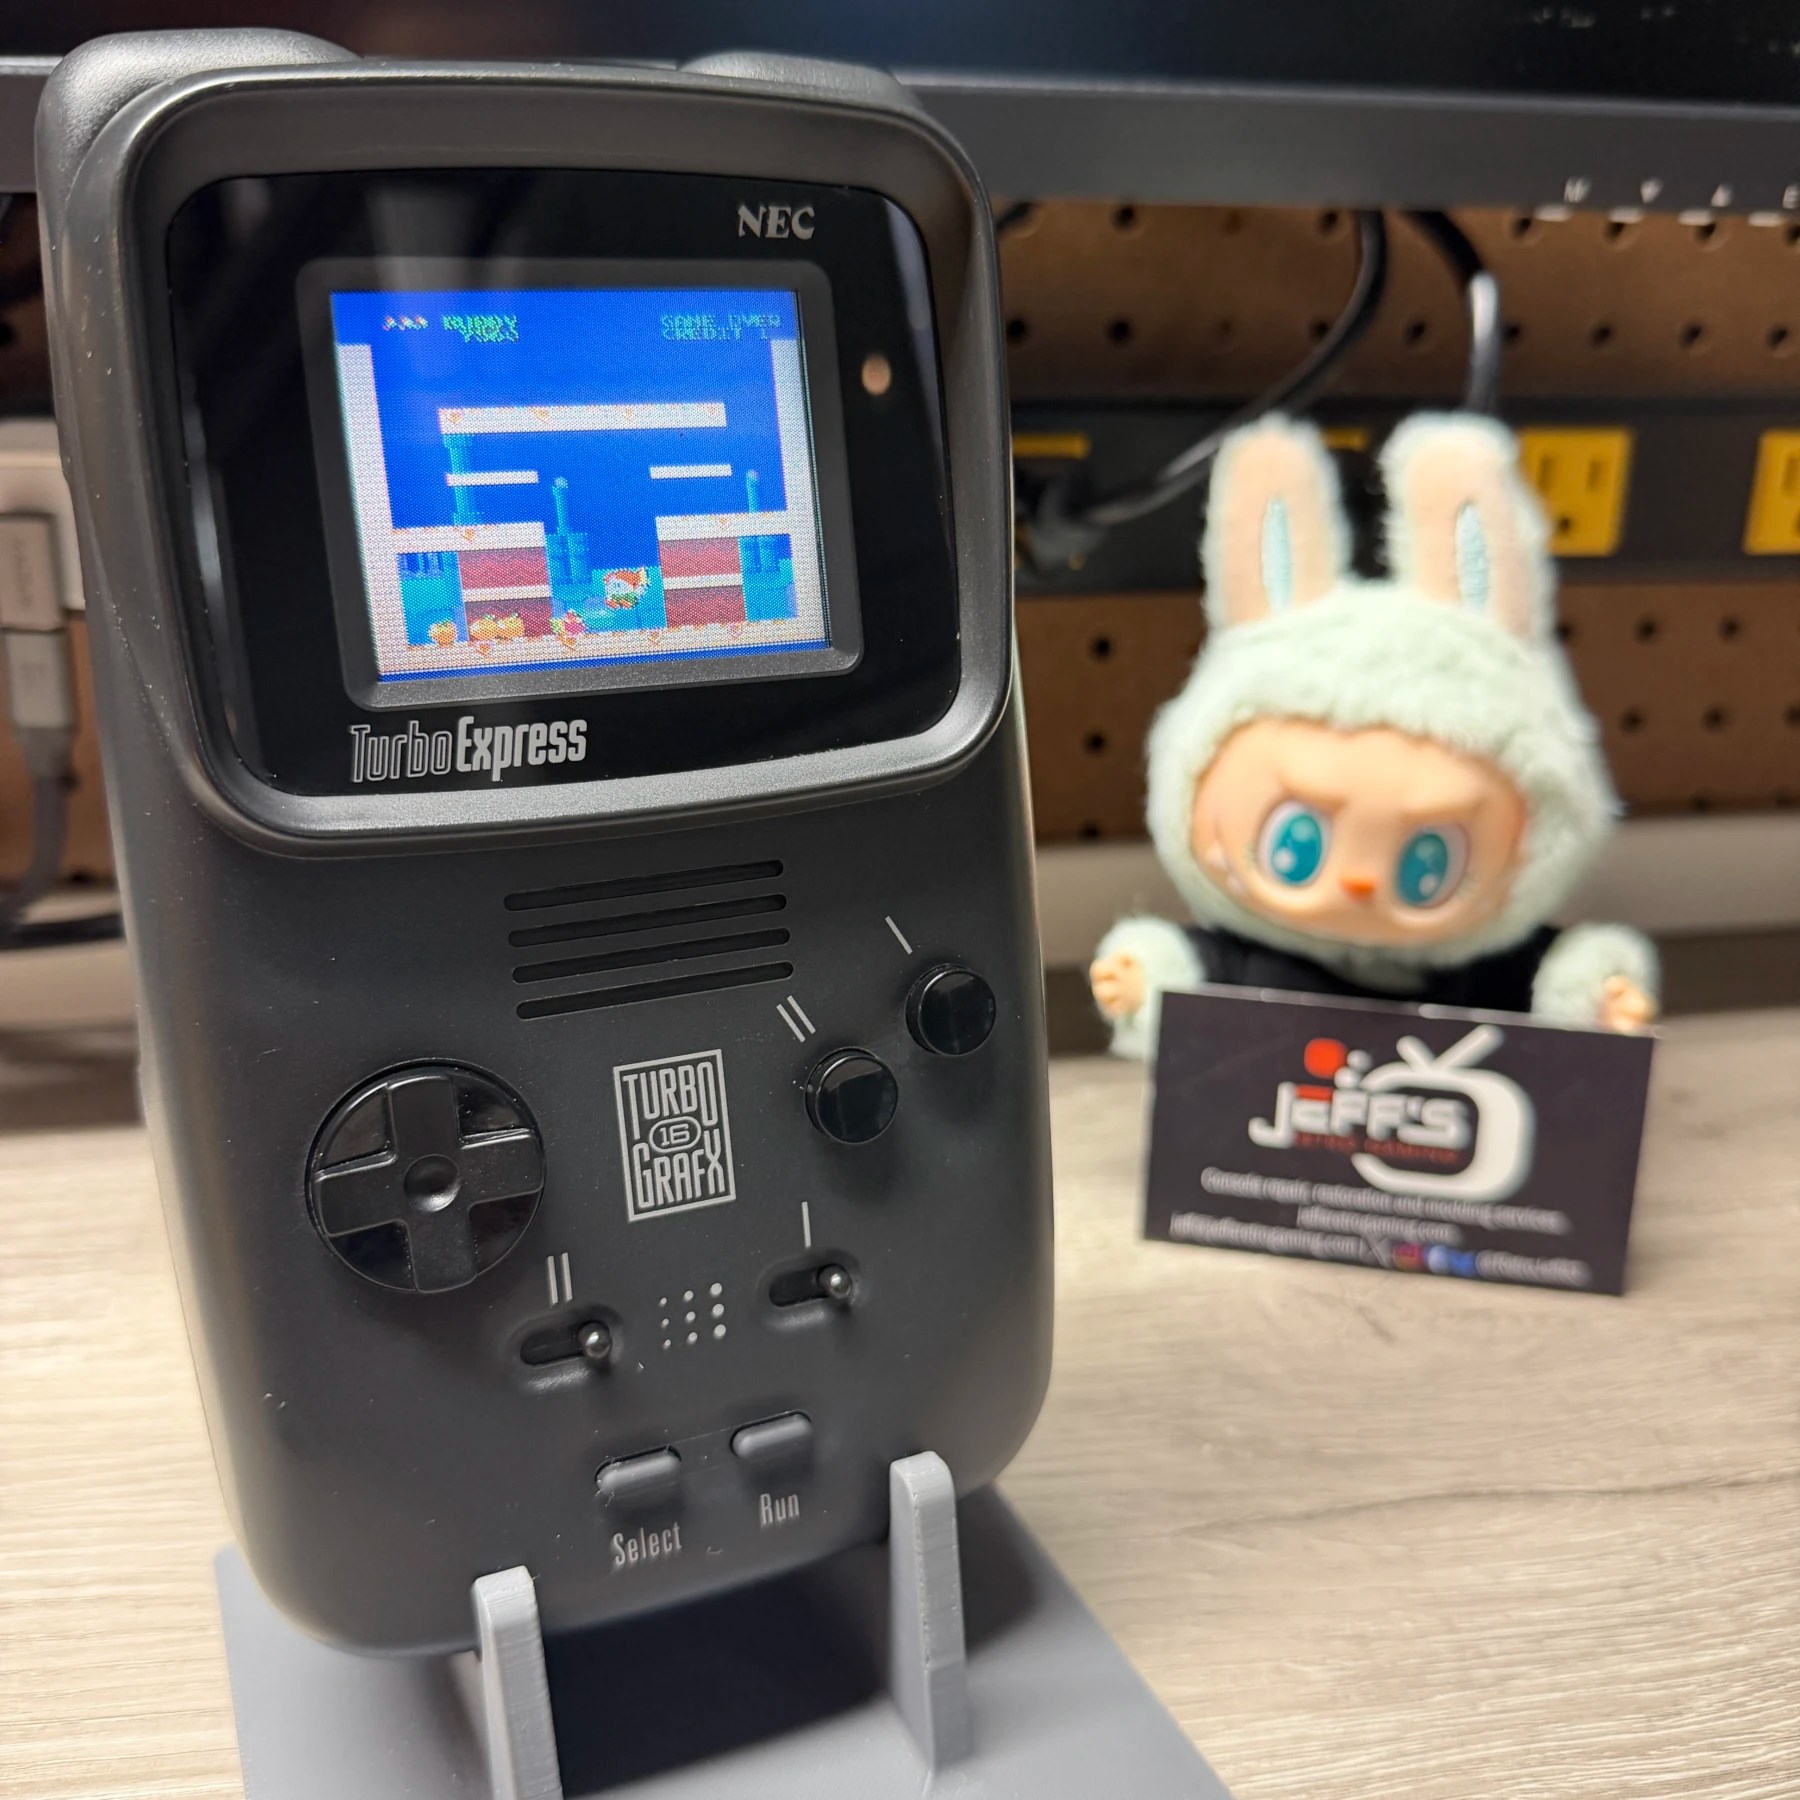
It’s not often these days I see a console/handheld come in for only one service but if you’re going to choose just one for a TurboExpress it HAS to be a recap. Similar to another NEC product the PC Engine Duo / Turbo Duo a full capacitor replacement should be considered an absolutely mandatory service on these.
The best case scenario is usually extremely dull and compromised solder joints on the SMD caps and no video/audio. Worst case, I have seen many of these boards full of trace and board damage and just absolute carnage on all surrounding areas. This customer reached out indicating it was last working around 10 years ago and it’s been sitting ever since. That made me really nervous as the caps being that bad for so long I was expecting a pure nightmare when I got inside but honestly, this one really wasn’t that bad. They indicated the system showed signs of powering on, just a black screen (I validated this myself before starting work on it) and that’s usually a good sign a recap will fix. Worst case if the OEM screen had issues I have OEM spares on hand from another modder (thank you to George @ 1UpRestorations!!!)
Once the outer shell of these is opened up the first order of business is to separate the front and back by disconnecting the wire bundles and flex ribbons that secure the screen, controller board and mainboard all together. Once you get access to the mainboard you have to remove these 2 metal shields that are a PITA as the solder joints are partially obscured by the opposite shield. I never reinstall these as they are not necessary at all and it will just make it more difficult for the next person going in there (or me, if customer perhaps decides to do upgrades later on).
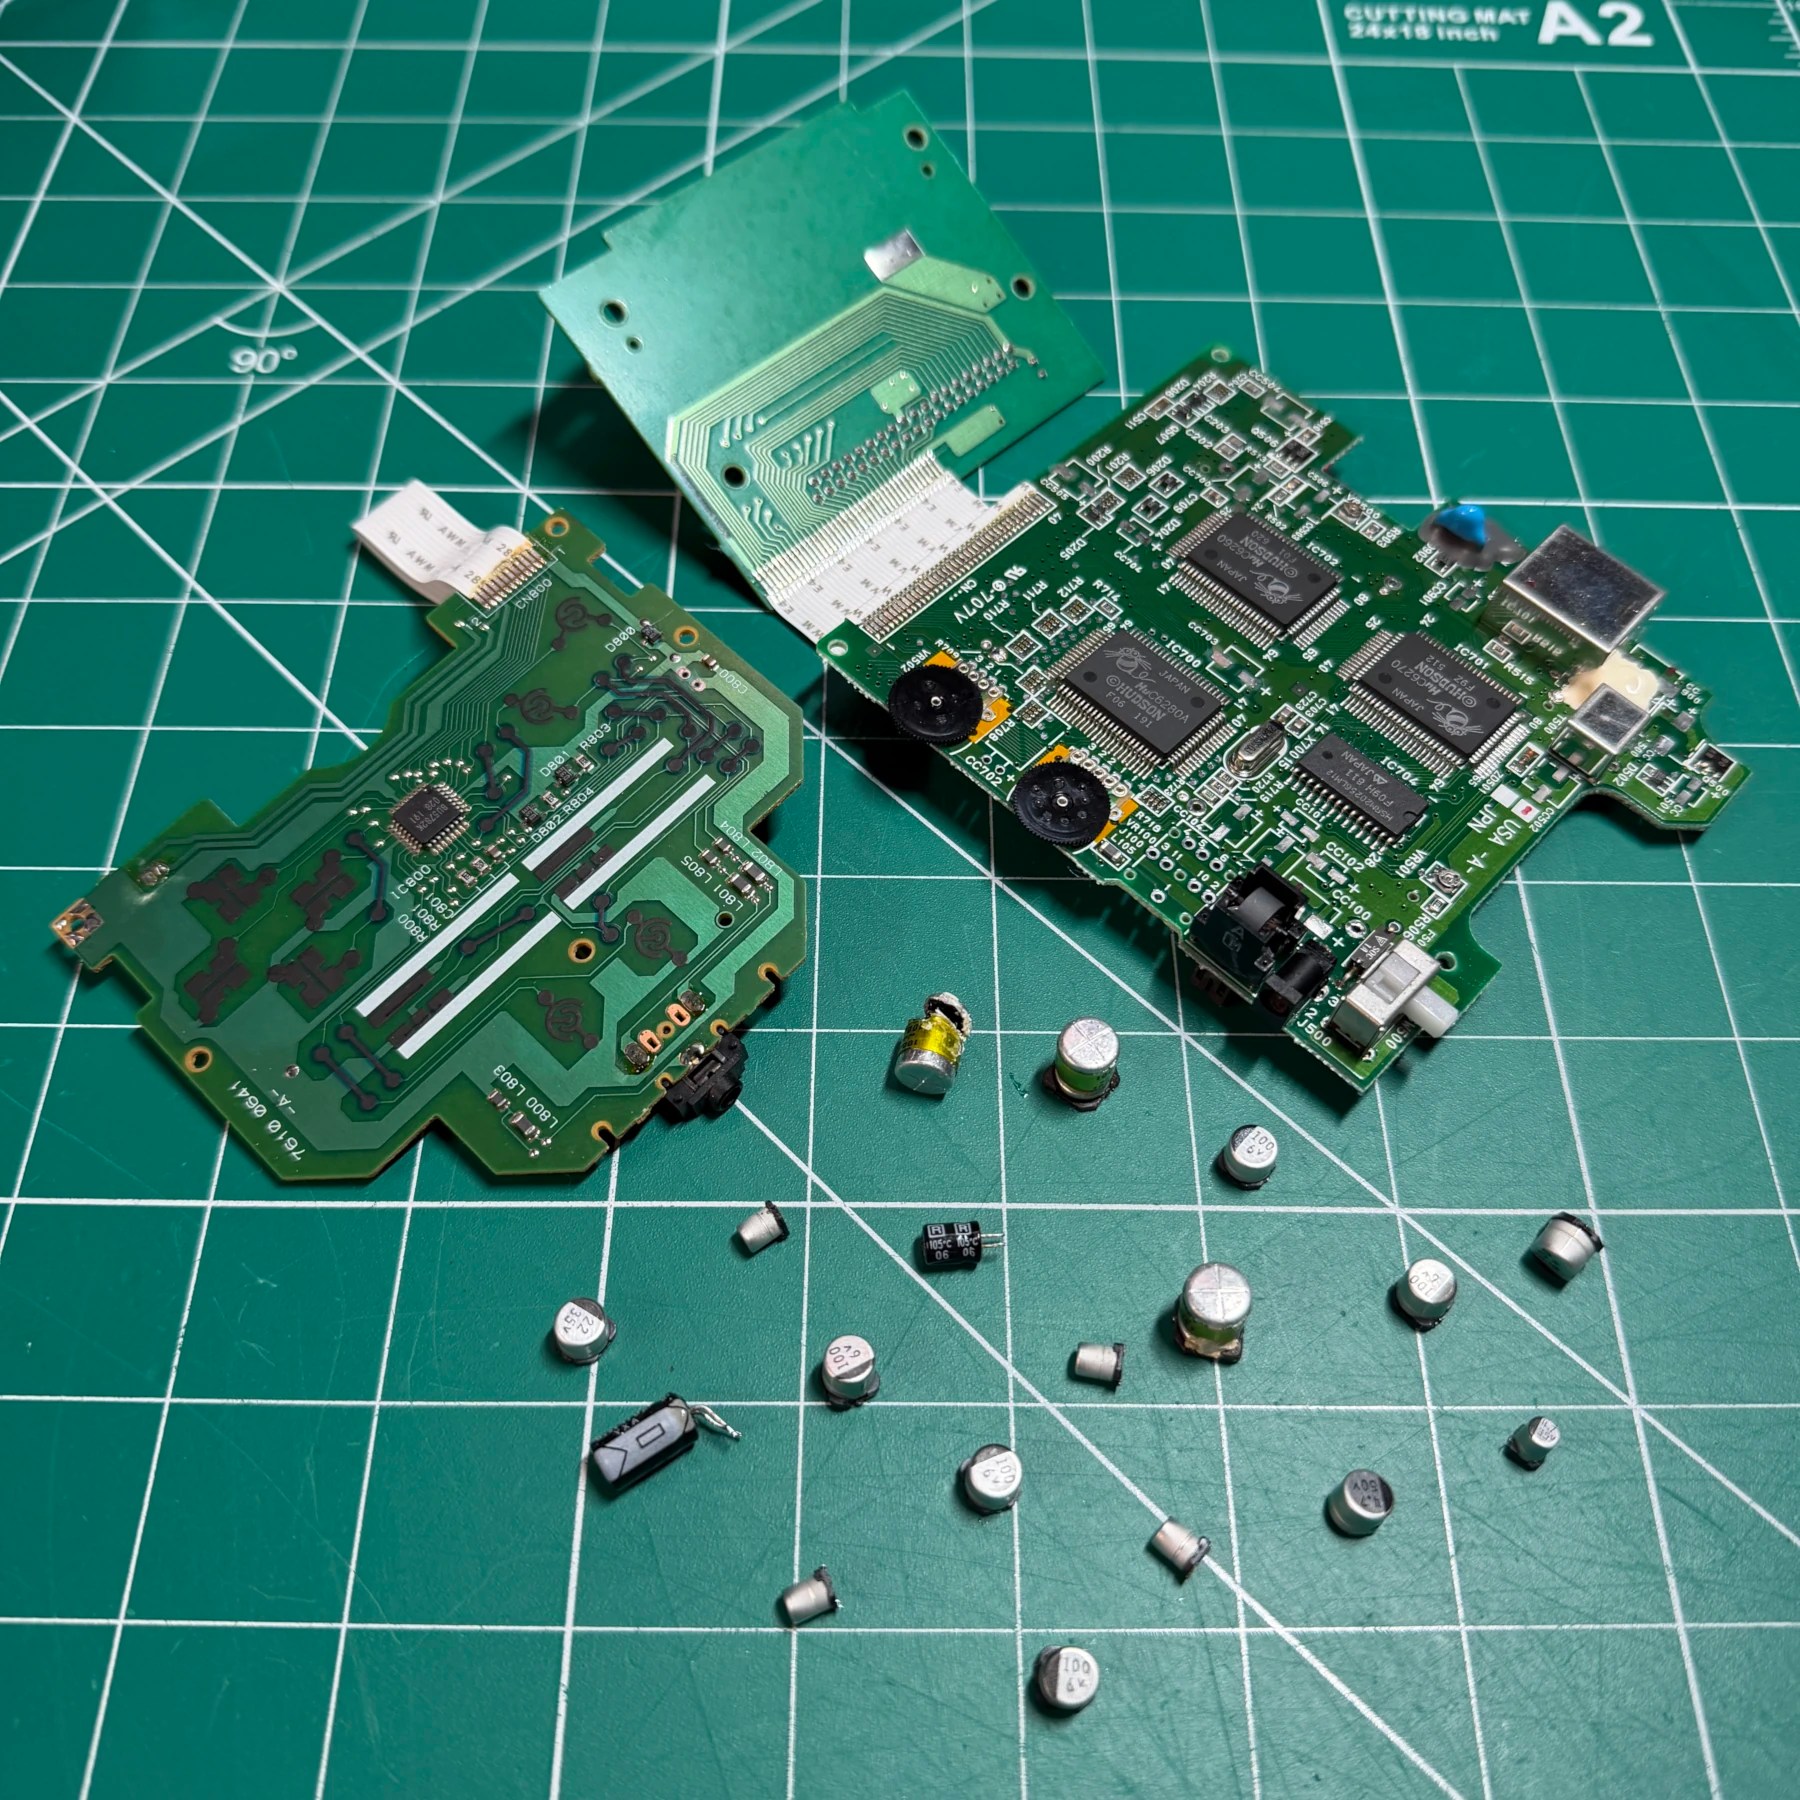
Once those were off I took a quick glance over the board and didn’t see anything alarming so got to work scraping and reflowing the SMD joints for easier removal, then getting in there with my hot tweezers and removing all but 2 SMD caps and the 1 through-hole which I will take out with my gun when I work on the controller board. The 2 SMD caps I don’t remove are in the upper left corner as even with my finest tips they are too close to some metal shielding to get in their properly so for those I just apply downward pressure and snip the can to get access to the legs then swipe them off. I also remove the headphone jack to get easy access to those nearby caps and clean the board more thoroughly. Once all SMD caps are gone I add more fresh solder to all pads then wick them away and clean thoroughly with 99% ISO.
For the controller board there is only one single TH cap but the joints were very dull so they need a good reflow before they will turn molten enough to get sucked up by my Hakko gun. I then remove that one TH cap from the mainboard as well and check over all the carbon traces on the controller board. These can be compromised by that one leaking cap and it can cause issues with certain buttons or turbo settings being responsive. Luckily the controller board looked almost mint and later tested totally fine!
With all the caps removed and both boards cleaned I then replaced 2 small ceramics as part of the “Jailbar Fix” which come in the Console5 kit and improves video quality. I solder in all the new SMD caps and 2 TH caps and clean up any and all unspent flux.
Even though the cleaning service was not selected I observed some residue from leaking batteries in the battery compartment so neutralized that and then cleaned up the coils and plastic tray the best I could. I connected everything back together without screwing the other shell closed and then quickly fired it up to test… I was getting an image! With my Turbo EverDrive I picked a random game and once it booted confirmed I had nice loud audio and after dialing in the contrast wheel I had a pretty nice looking image for a 35+ year old OEM screen! It really is a crapshoot with these depending often on how much use it received while working, storage condition etc. Often times you get a faded/dull image or horizontal lines of missing pixels but this one was pretty vibrant and absolutely playable which is great news.
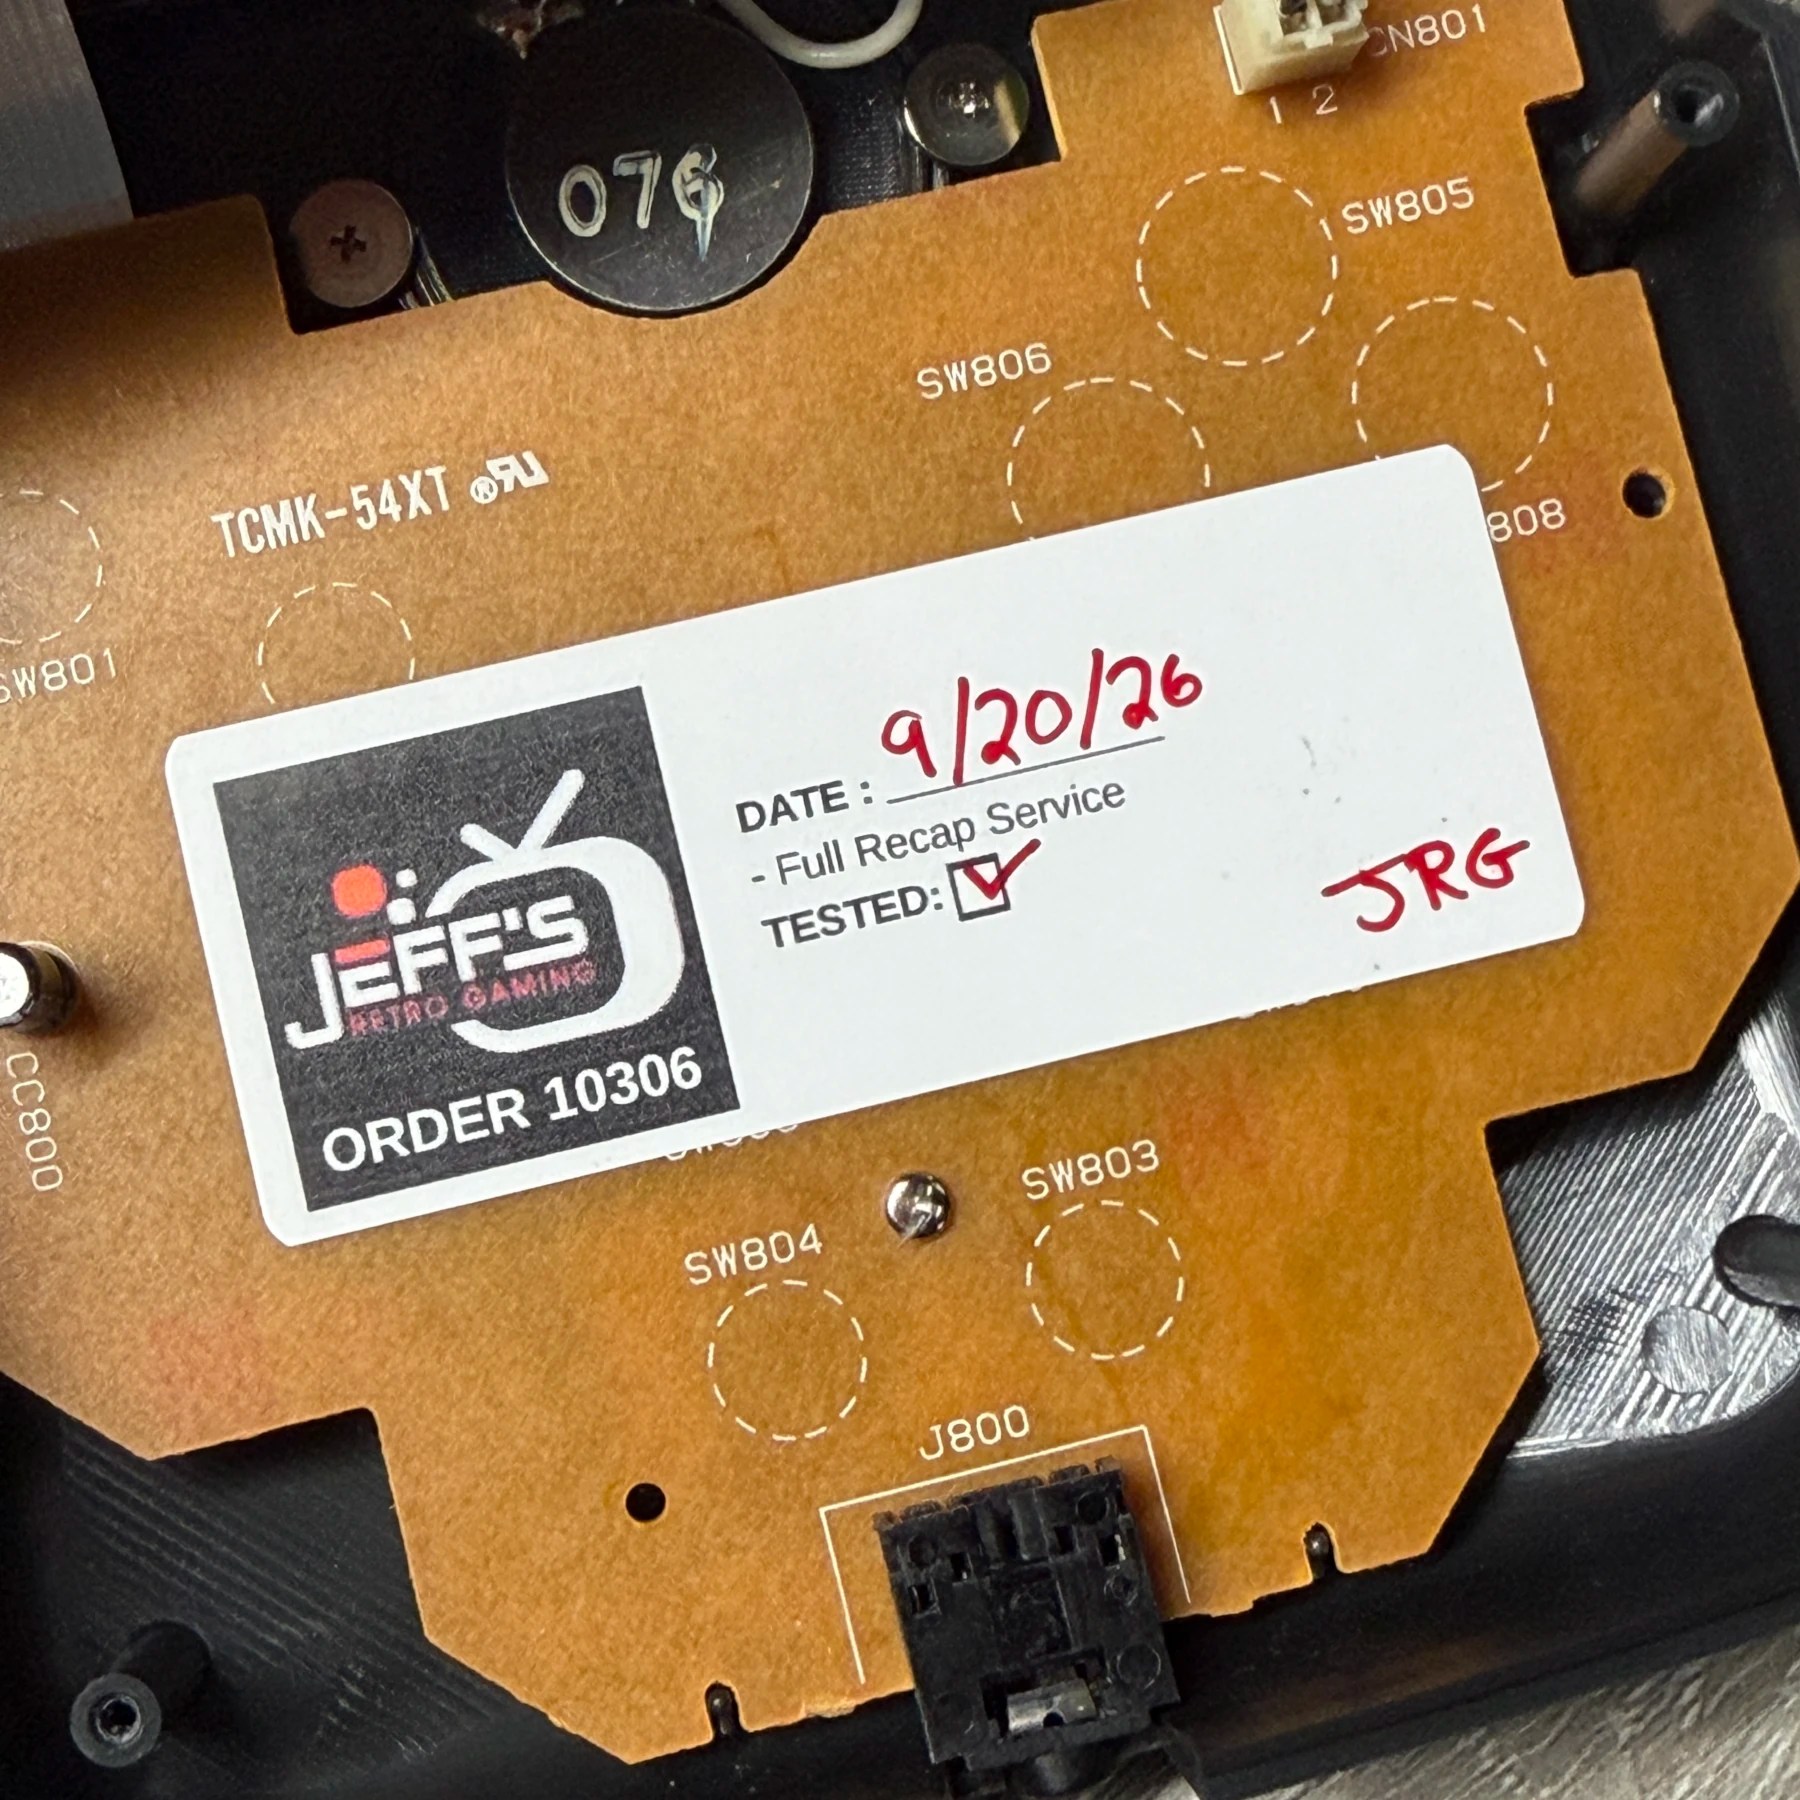
Once I knew it was good I put a service sticker inside on the back of the controller board then closed it up for good. This is headed back home and we have saved another TurboExpress 👍