
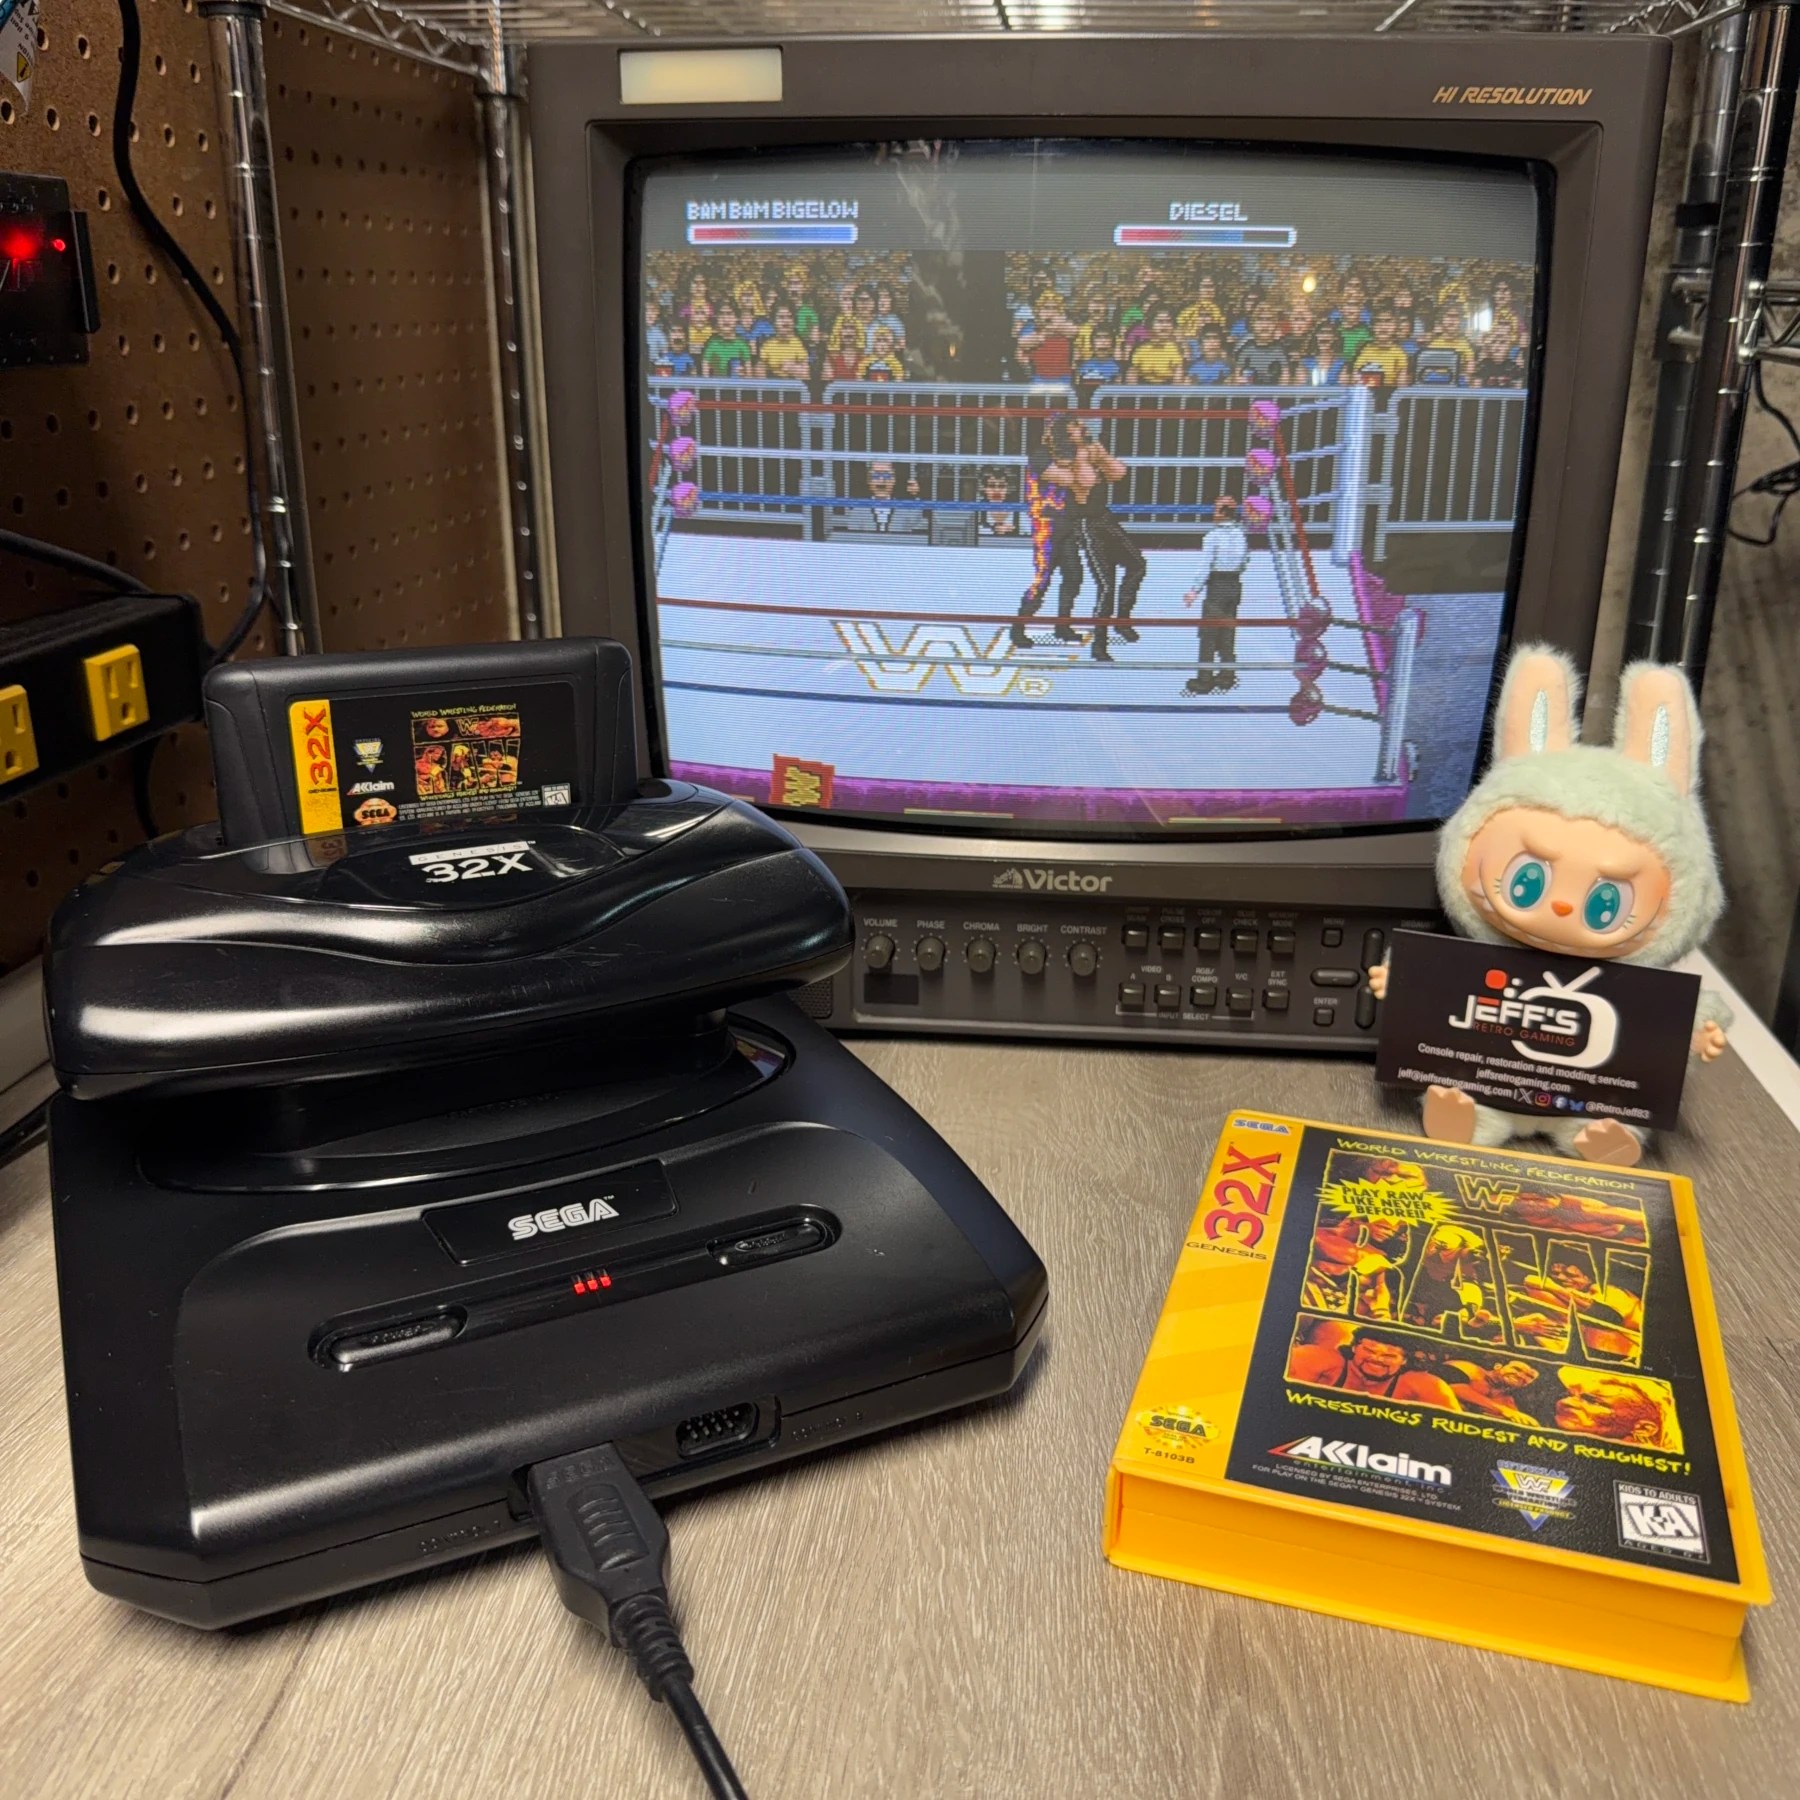
As part of a two-console order (along with an OG Xbox) was this Sega 32X the customer wanted recapped and the Buzzkill mod installed in!
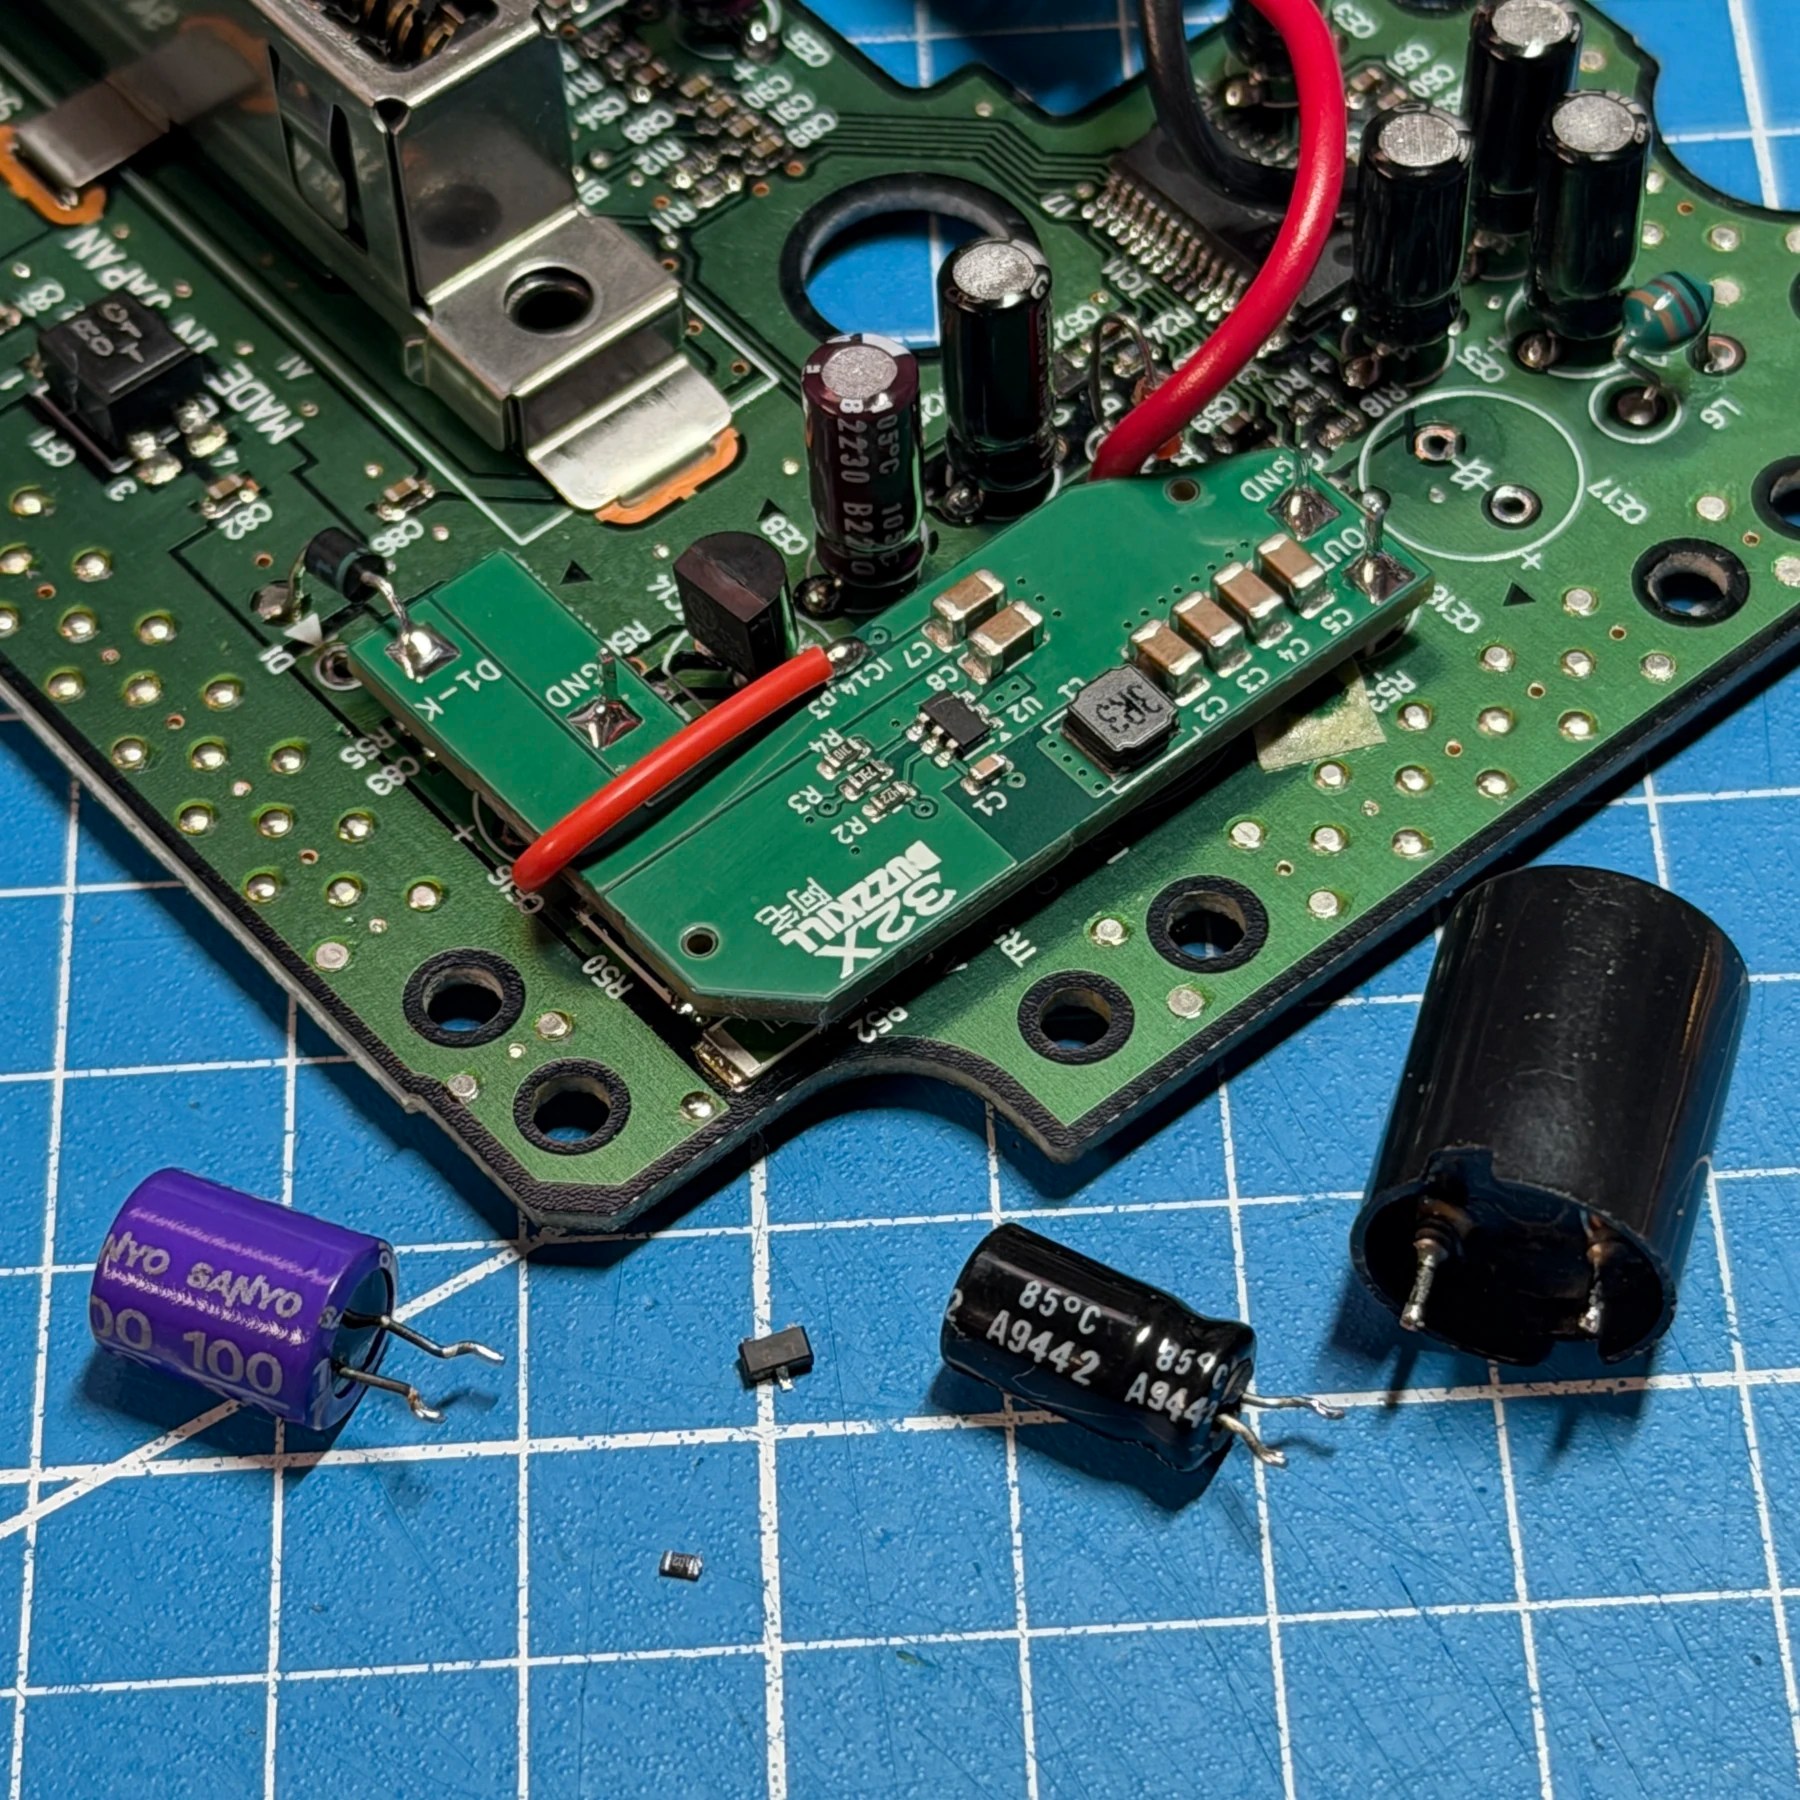
The Buzzkill mod replaces the original power circuit with a more efficient one and also helps remove the very common buzzing/humming noise caused by the original (often mistaken for just the inductor coil itself). This and the recap process itself is pretty straightforward and simple compared to a lot of the console work I see so I never mind getting a 32X in, plus I think they are quite underrated as I own one myself so always happy to see more 32X owners out there.
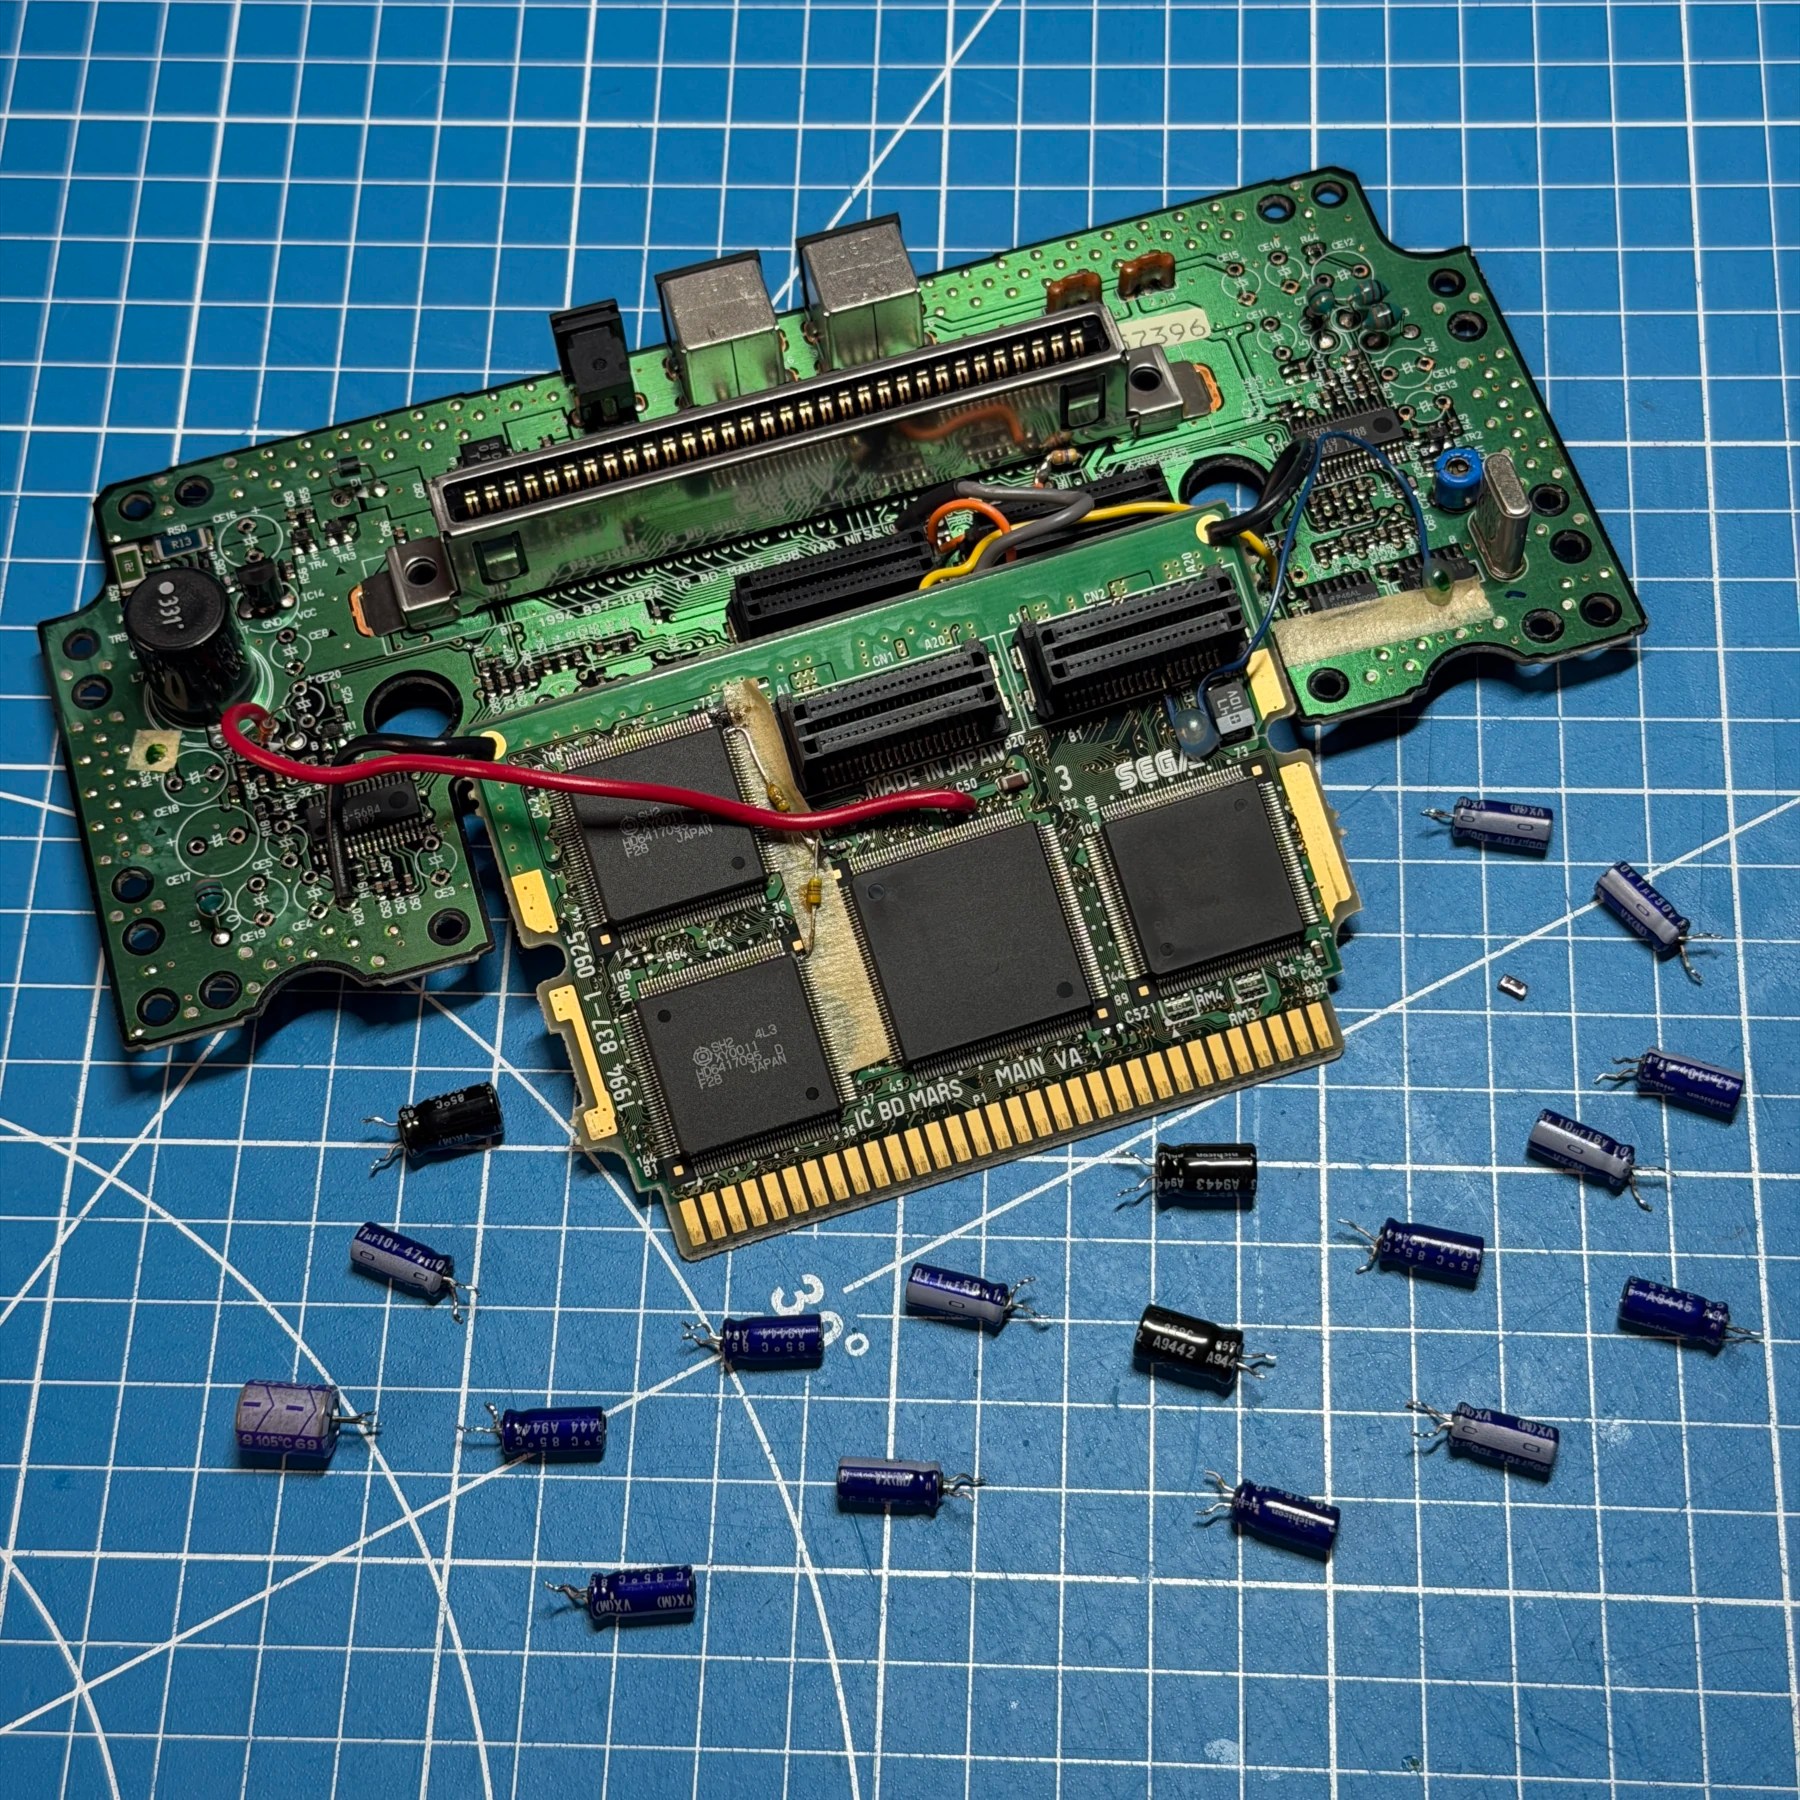
Since several caps (including the 2000uF cap as part of video noise fix) are to be left off the board for the Buzzkill I always do the full capacitor removal first, then simply leave those ones out when soldering all the new ones on. The insides of this 32X were pretty clean but the cap leg joints were quite dull and didn’t turn molten easily so I quickly reflowed all of them with some fresh leaded solder then removed all with my Hakko gun. I then proceeded to clean the board top and bottom side and also used my tweezers to remove C30 on the secondary board as part of the video noise fix (still worth doing!)
With a map handy I soldered on all the new ones from the Console5 kit including the ceramic and then snipped the leads of the through-hole caps and cleaned any leftover flux from the board underside.
For the Buzzkill it’s a pretty simple process you just need to remove the inductor coil, a transistor and resistor and lift the leg of a diode to prep for the board. I then will seat the board in place to hold down the pin header legs and solder those to the underside but before soldering the board to those legs I always run the wire to IC14 pin 3 first as it’s much trickier to get in there with the board in the way.
Once that’s done, the Buzzkill board gets soldered to all 3 pins and then you lower and attach the previously lifted diode leg and connect the IC14 wire to the board. After all that I just clean up any leftover flux from the board and surrounding area and the Buzzkill install is complete!
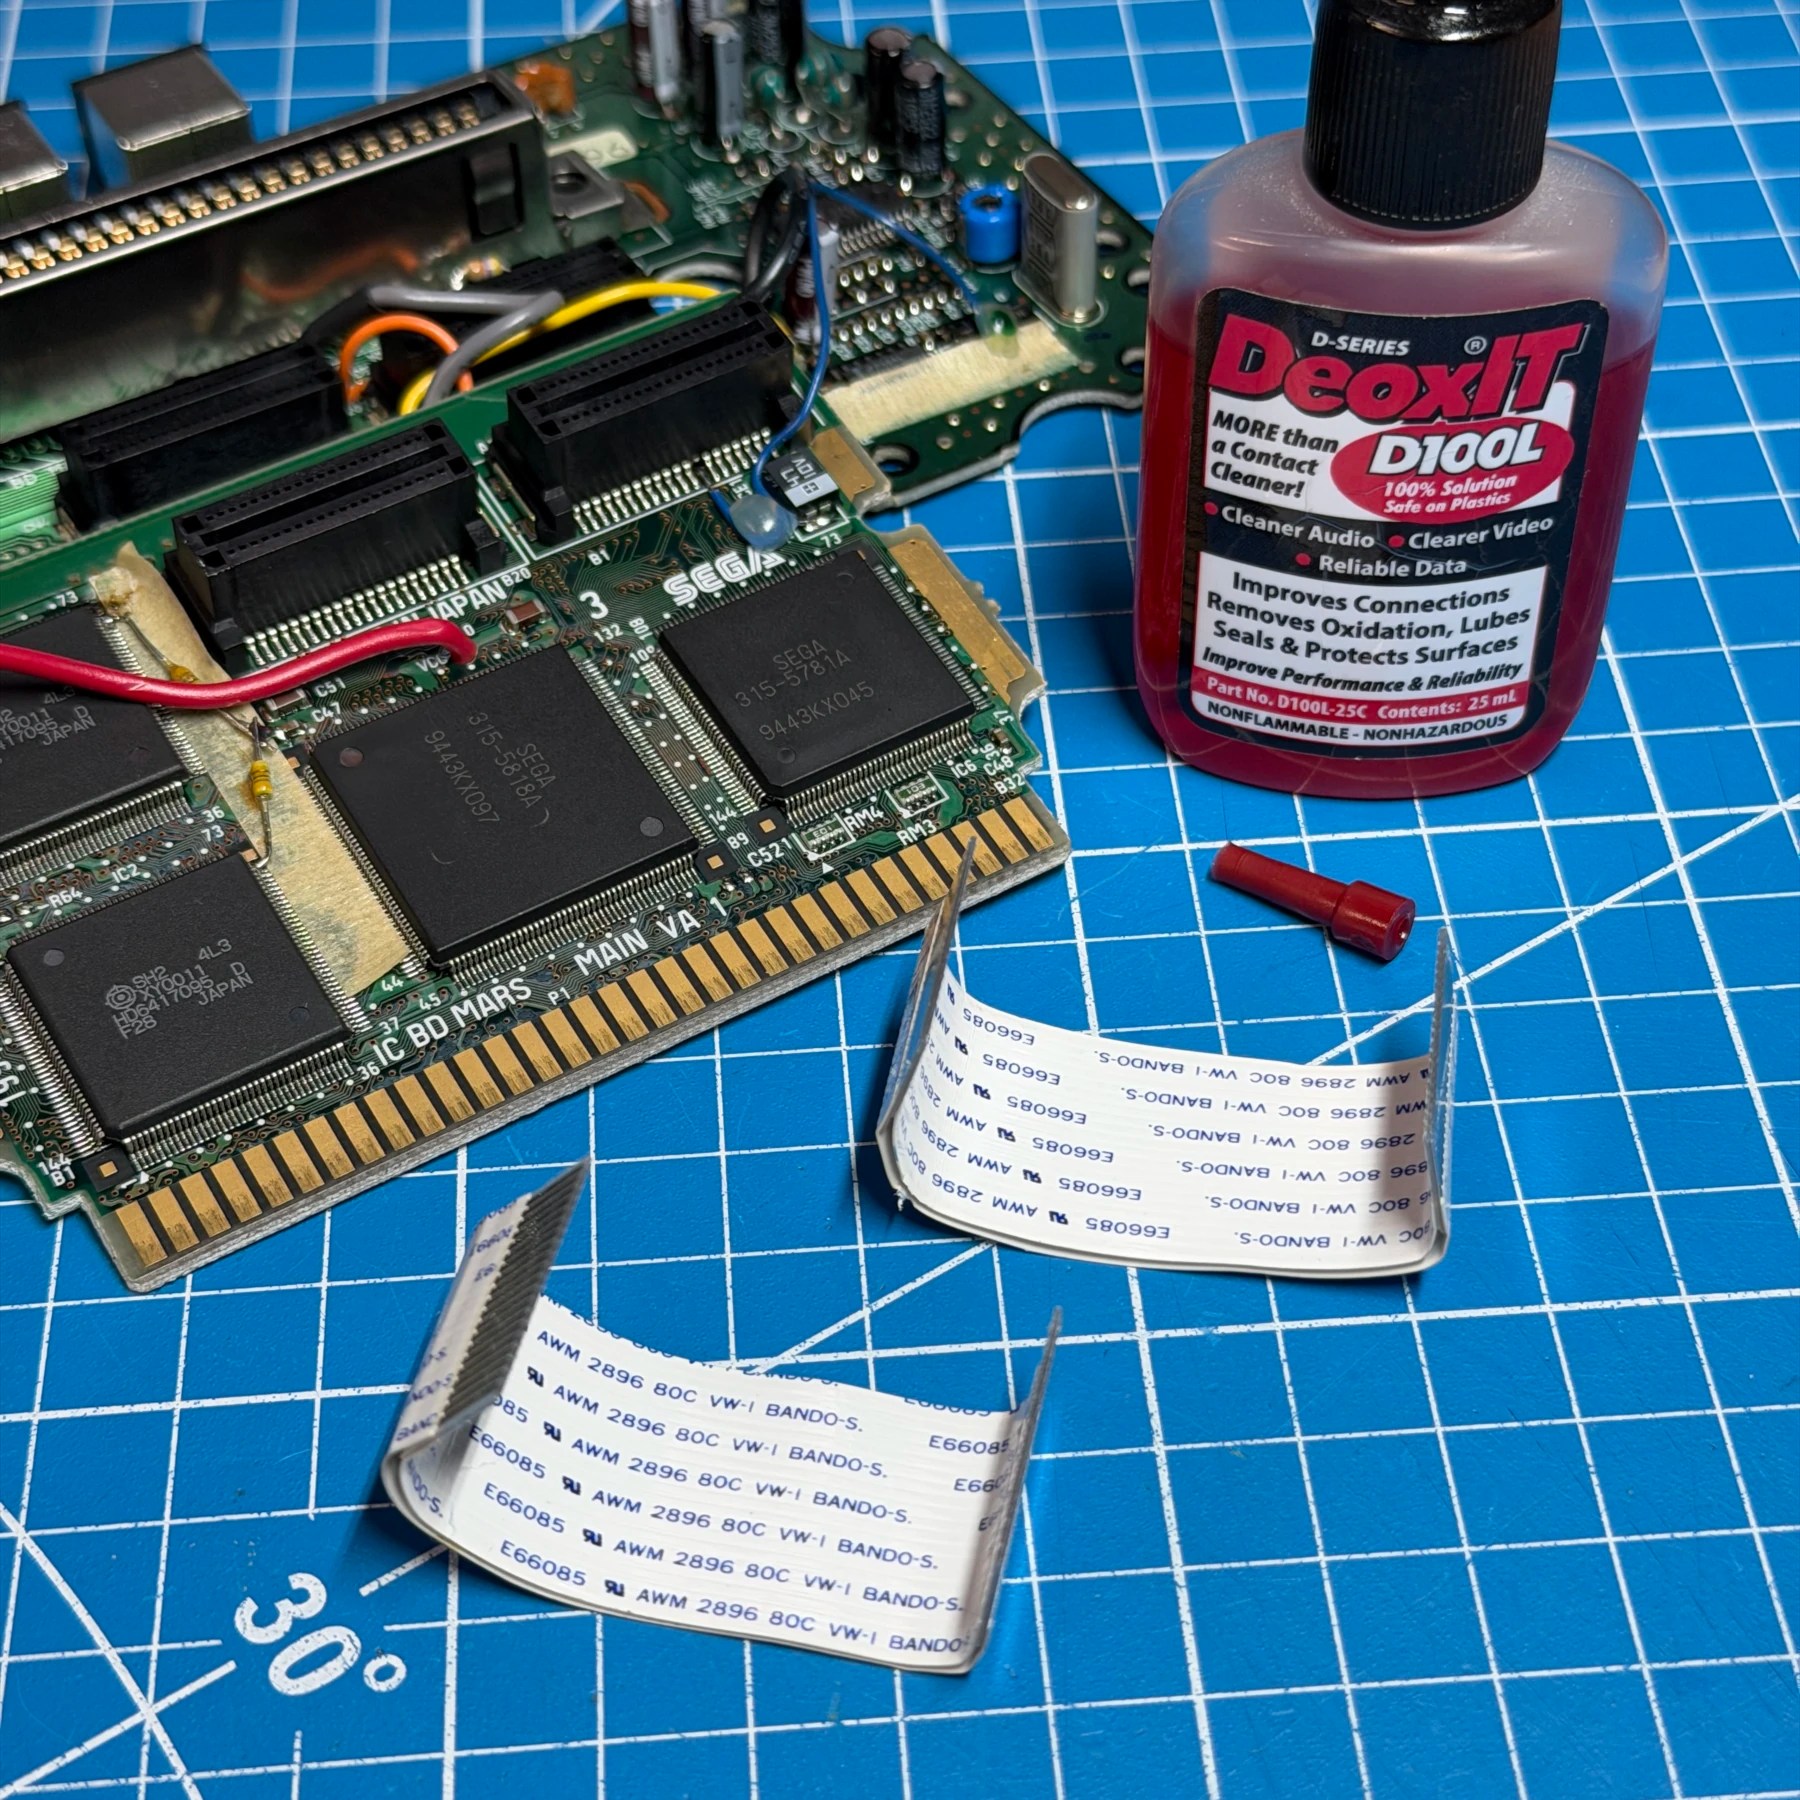
While the cleaning service wasn’t requested I always do the ribbon cleaning while any 32X is in my shop at no cost. This is the number one culprit in faulty 32X units and its good practice to proactively remove the ribbons, clean them and I like to add a small thin film of DeoxIT to the pins to ensure stable conductivity long term.
With the ribbons cleaned and snapped back in I reassemble the cart slot assembly and rest of the 32X back into the lower shell. One interesting thing about this 32X was it had NO metal shields anywhere inside. The top and bottom mainboard shield was missing as was the cart slot shields on both sides. Not sure if certain revision ones didn’t come with them or (more likely) these often get quite dirty/corroded/rusted and a previous owner tossed them when cleaning the unit. Either way that didn’t seem to impede function before or after my work so no major red flags there.
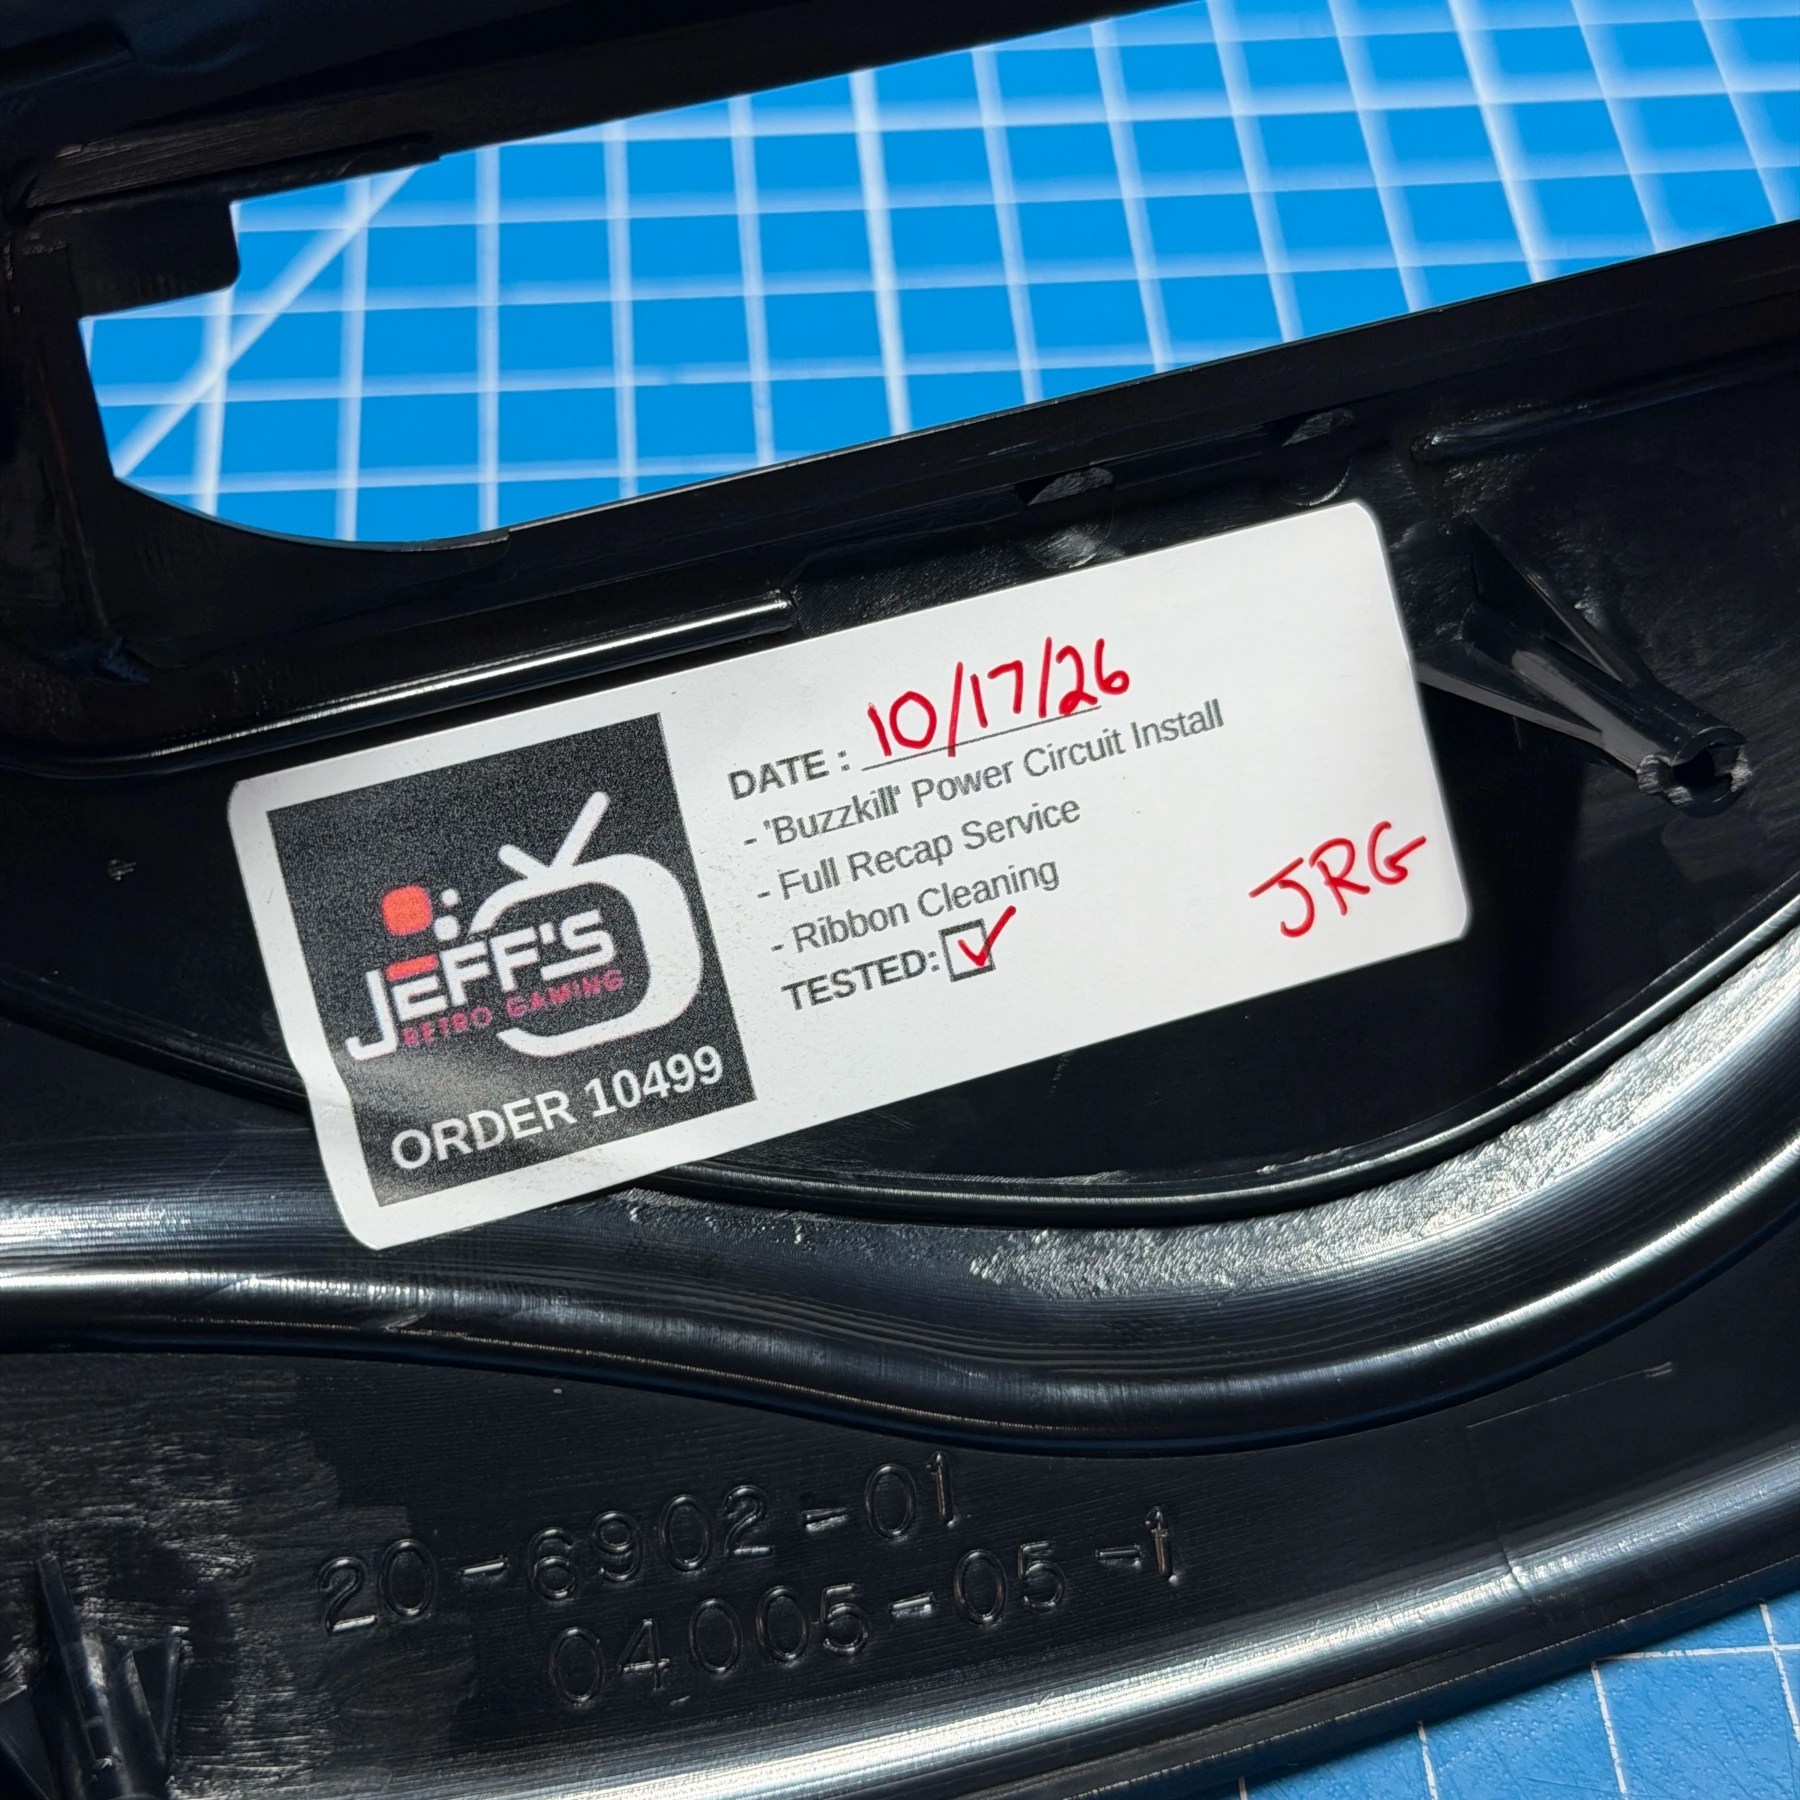
I tested the unit with my shop spare Genesis 2 and it worked great for both Genesis and 32X carts and ran the MARS test program just fine! I then put my sticker on the interior top shell plastic (not a lot of good places for stickers in these tiny guys!) and closed it up for good and it was time to move on to the second part of the order 🫡