
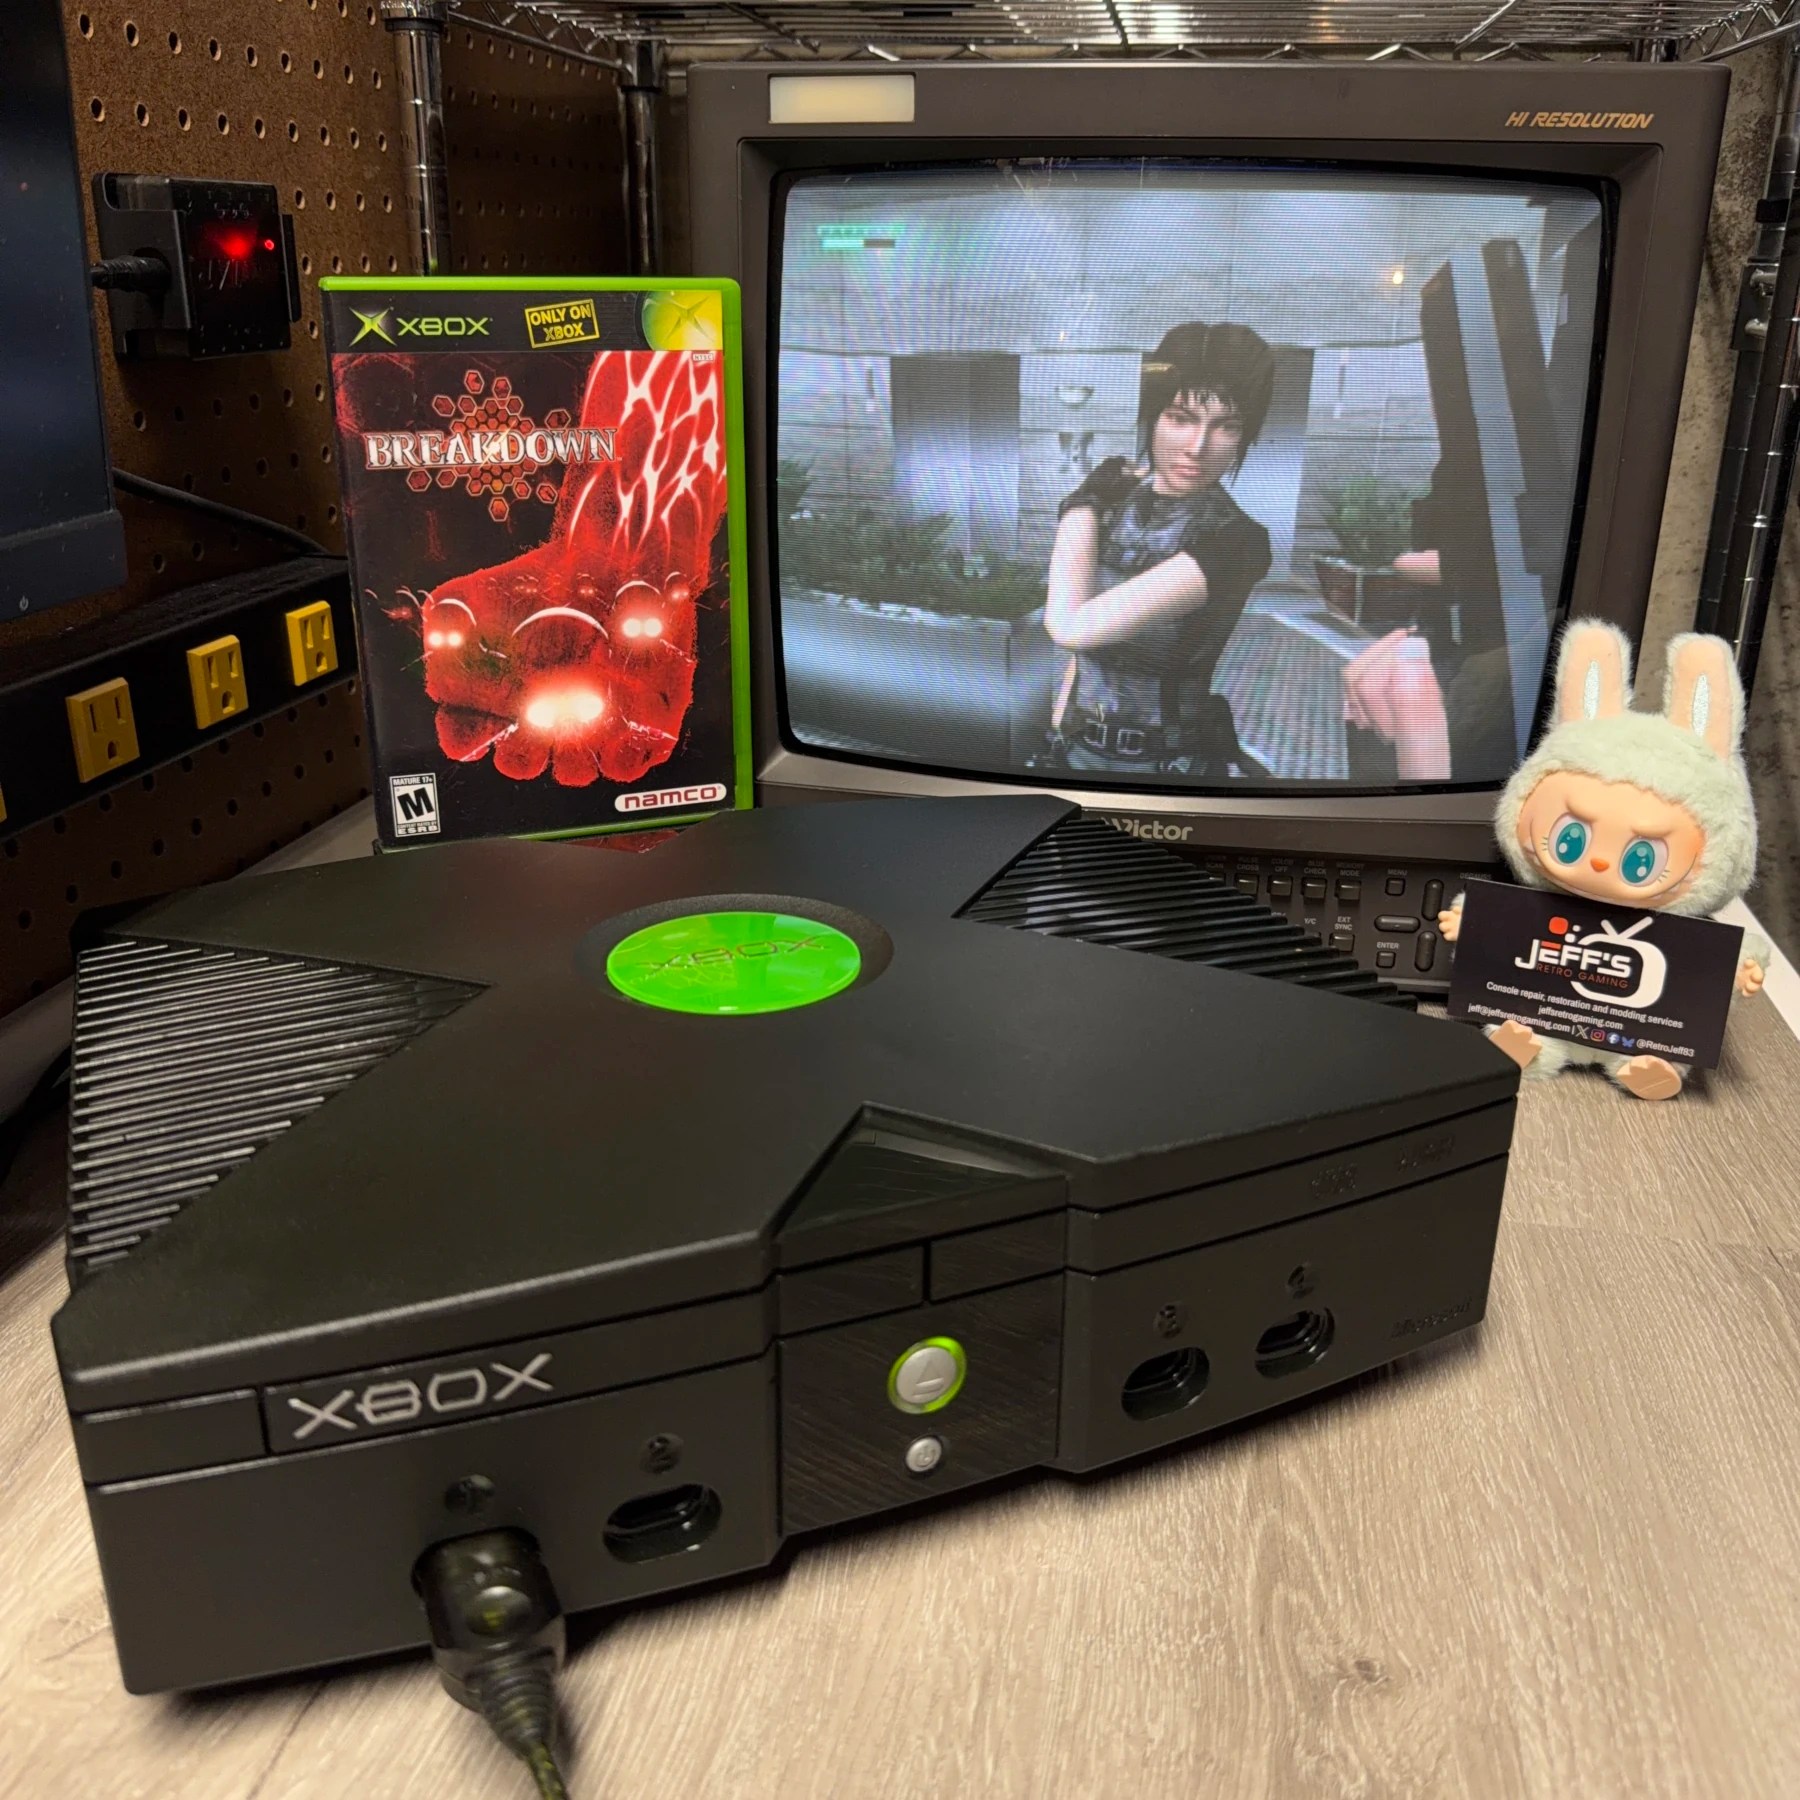
While the XBOX is a pretty popular console to see here in my shop, I’m usually working on untouched ones that are often in need of a serious cleaning and/or repair. I had this customer reach out to me with an XBOX that had already been softmodded and cleaned, heatsinks with fresh thermal paste and aftermarket fans (Noctua) installed in both the chassis and GPU. However, the capacitors had never been replaced and they were also concerned about the DVD drive longevity as it still had the original belt and could use a cleaning.
So we decided to proceed with just a Full Recap Service and DVD drive belt replacement/cleaning, a pretty straightforward job for me!
Since the cleaning service was not requested and there was no shielding inside the XBOX (customer had removed it previously due to extensive rust and had experienced no video noise issues without it so we decided to leave as is since I also did not observe any noise problems during my testing) the teardown was much quicker than most! The original rubber feet were also gone and replaced with TPU printed ones with screw access holes so I had immediate access to the Torx screws and got the top shell off, then worked my way down removing all the components to the mainboard.
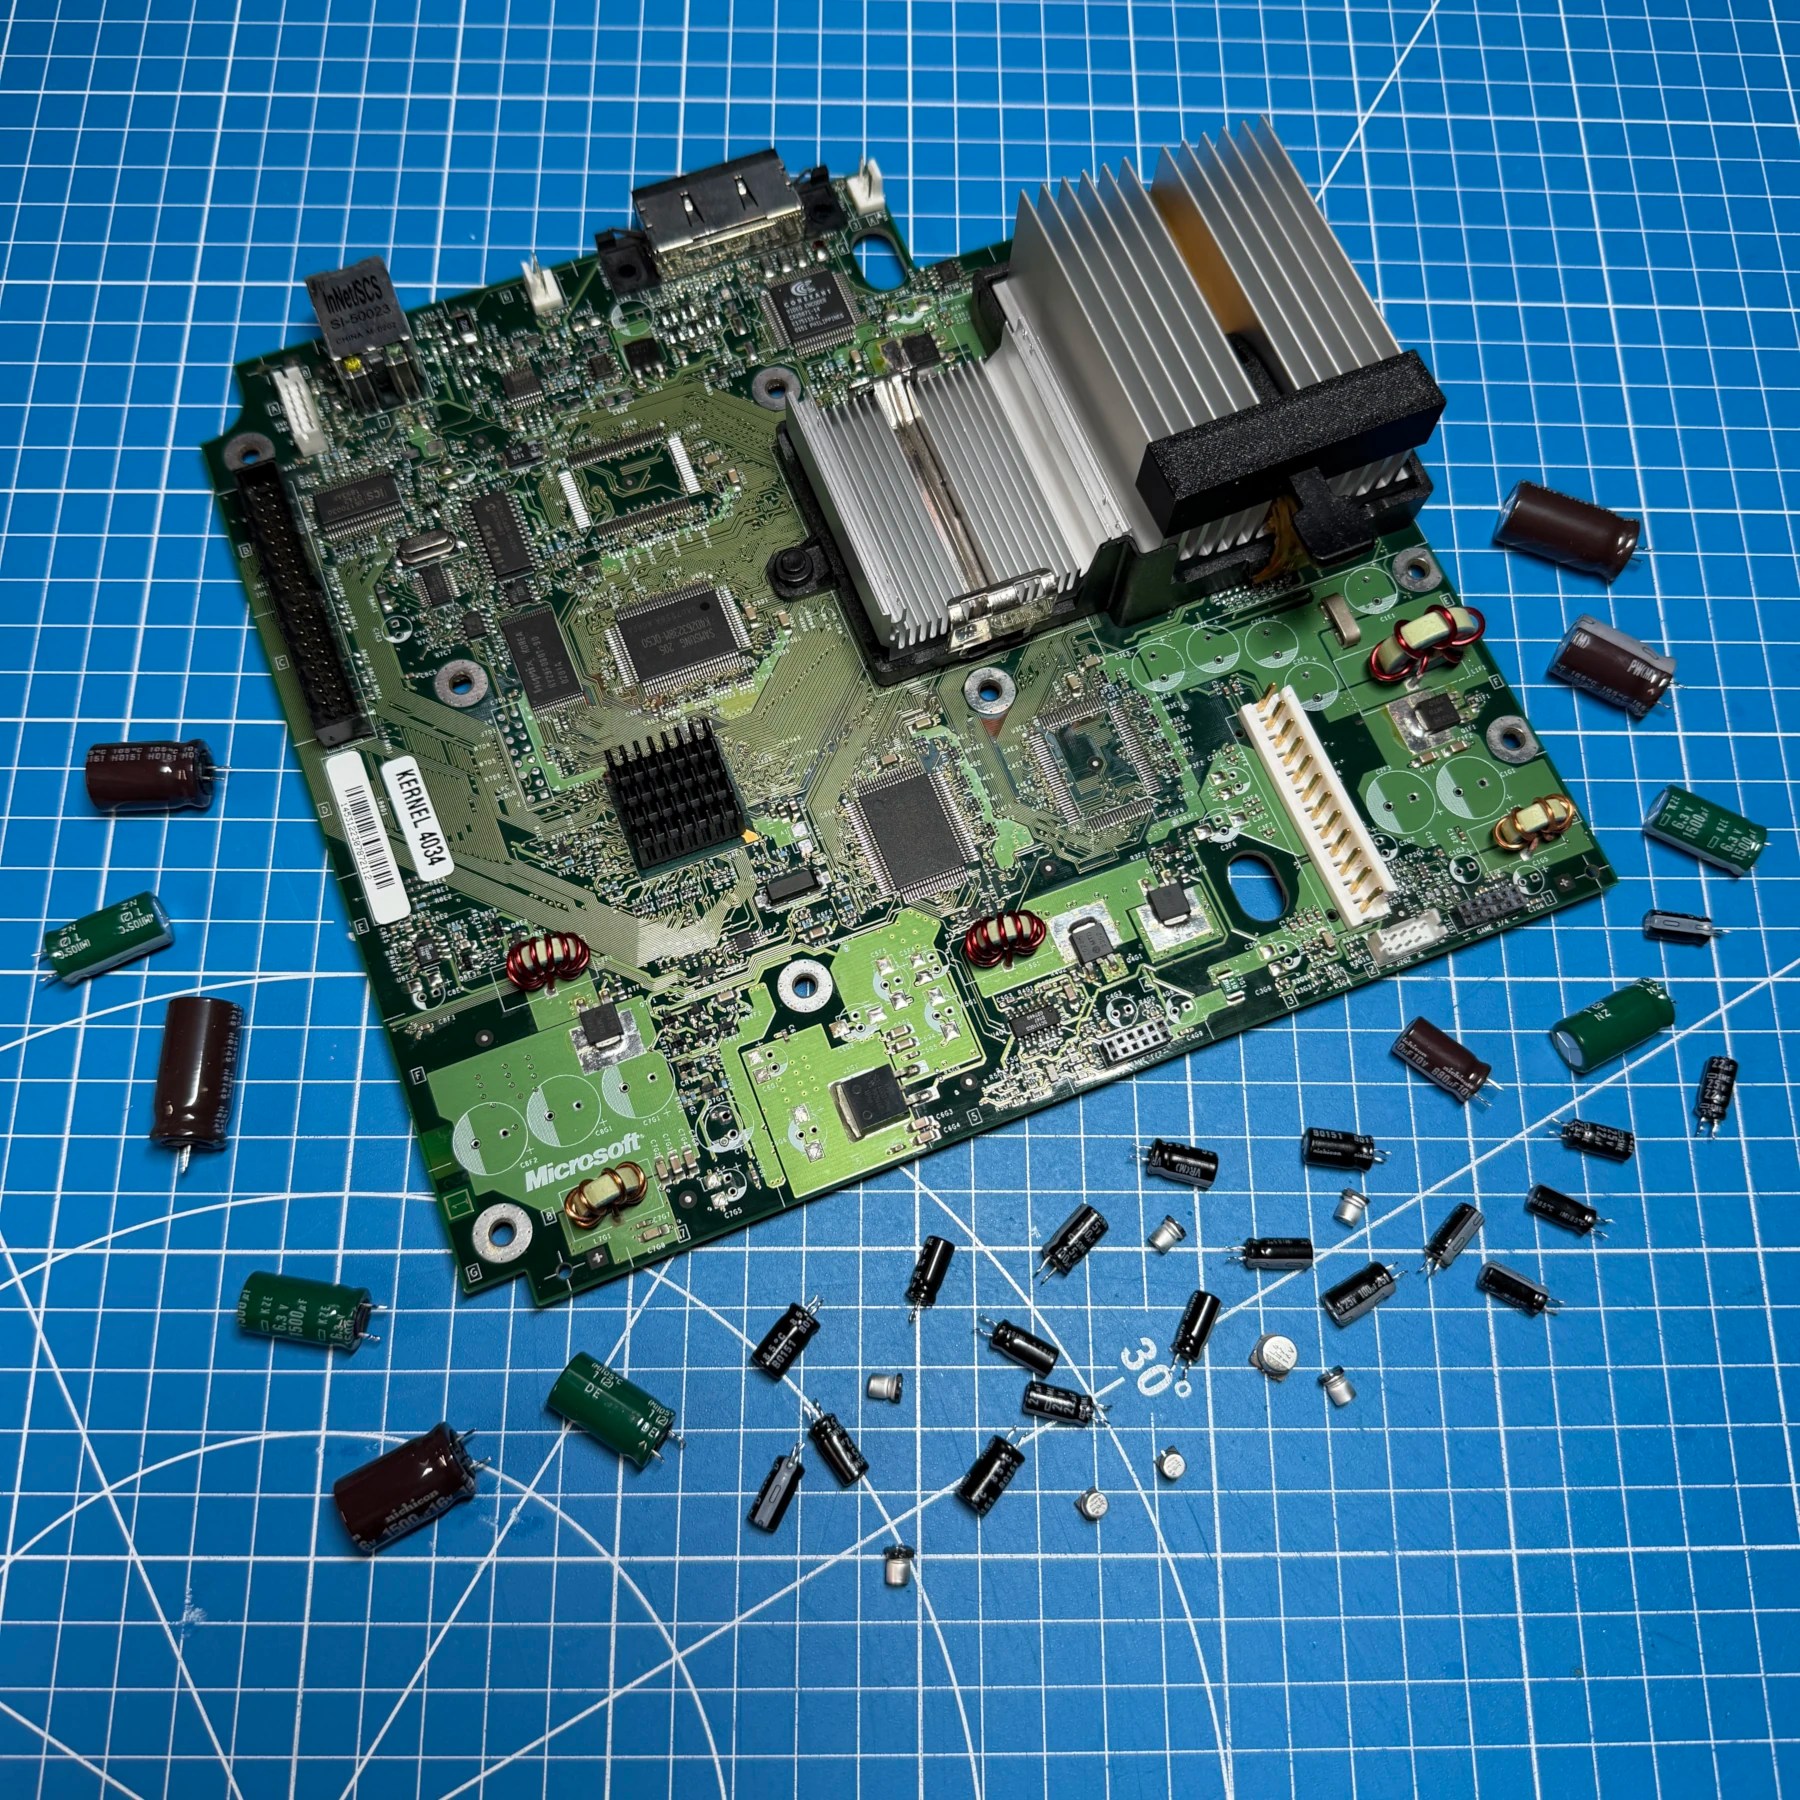
Everything looked pretty clean though I did spot a lot of surface corrosion/residue in the clock cap area as expected. Luckily this customer (or previous owner) had removed the clock cap at one point so the damage was limited. I started by reflowing and then removing all the mainboard caps with my Hakko gun. As I was moving board around I heard a rattling noise and after a few times realized what was going on… the CPU heatsink clamp had cracked and was broken on one end! That meant the large metal heatsink was just barely hanging on and not tightly secured. At this time I then removed it entirely and would address after recap before reinstalling board into the lower shell.
Since the board was clean already I focused on the clock cap area and scrubbed the area and reflowed a few dodgy looking joints, then extracted the snipped clock cap legs and drilled the holes to clear them of the contaminated solder that would not extract. Once that area looked good I worked my way around the board and installed all the new through-hold and SMD caps using a Console 5 kit and snipped my leads then scrubbed the board underside to remove any unspent flux. This did include a new clock capacitor as modern caps don’t have the reliability issues the originals had and I always like to restore original functionality/design whenever possible.
For the aforementioned heatsink issue, luckily I have a ton of spare clamps so I grabbed one, cleaned it up and then applied fresh Arctic MX paste and secured the heatsink once more. At this point the mainboard work was done so I screwed it back into place in the shell and re-attached the GPU fan.
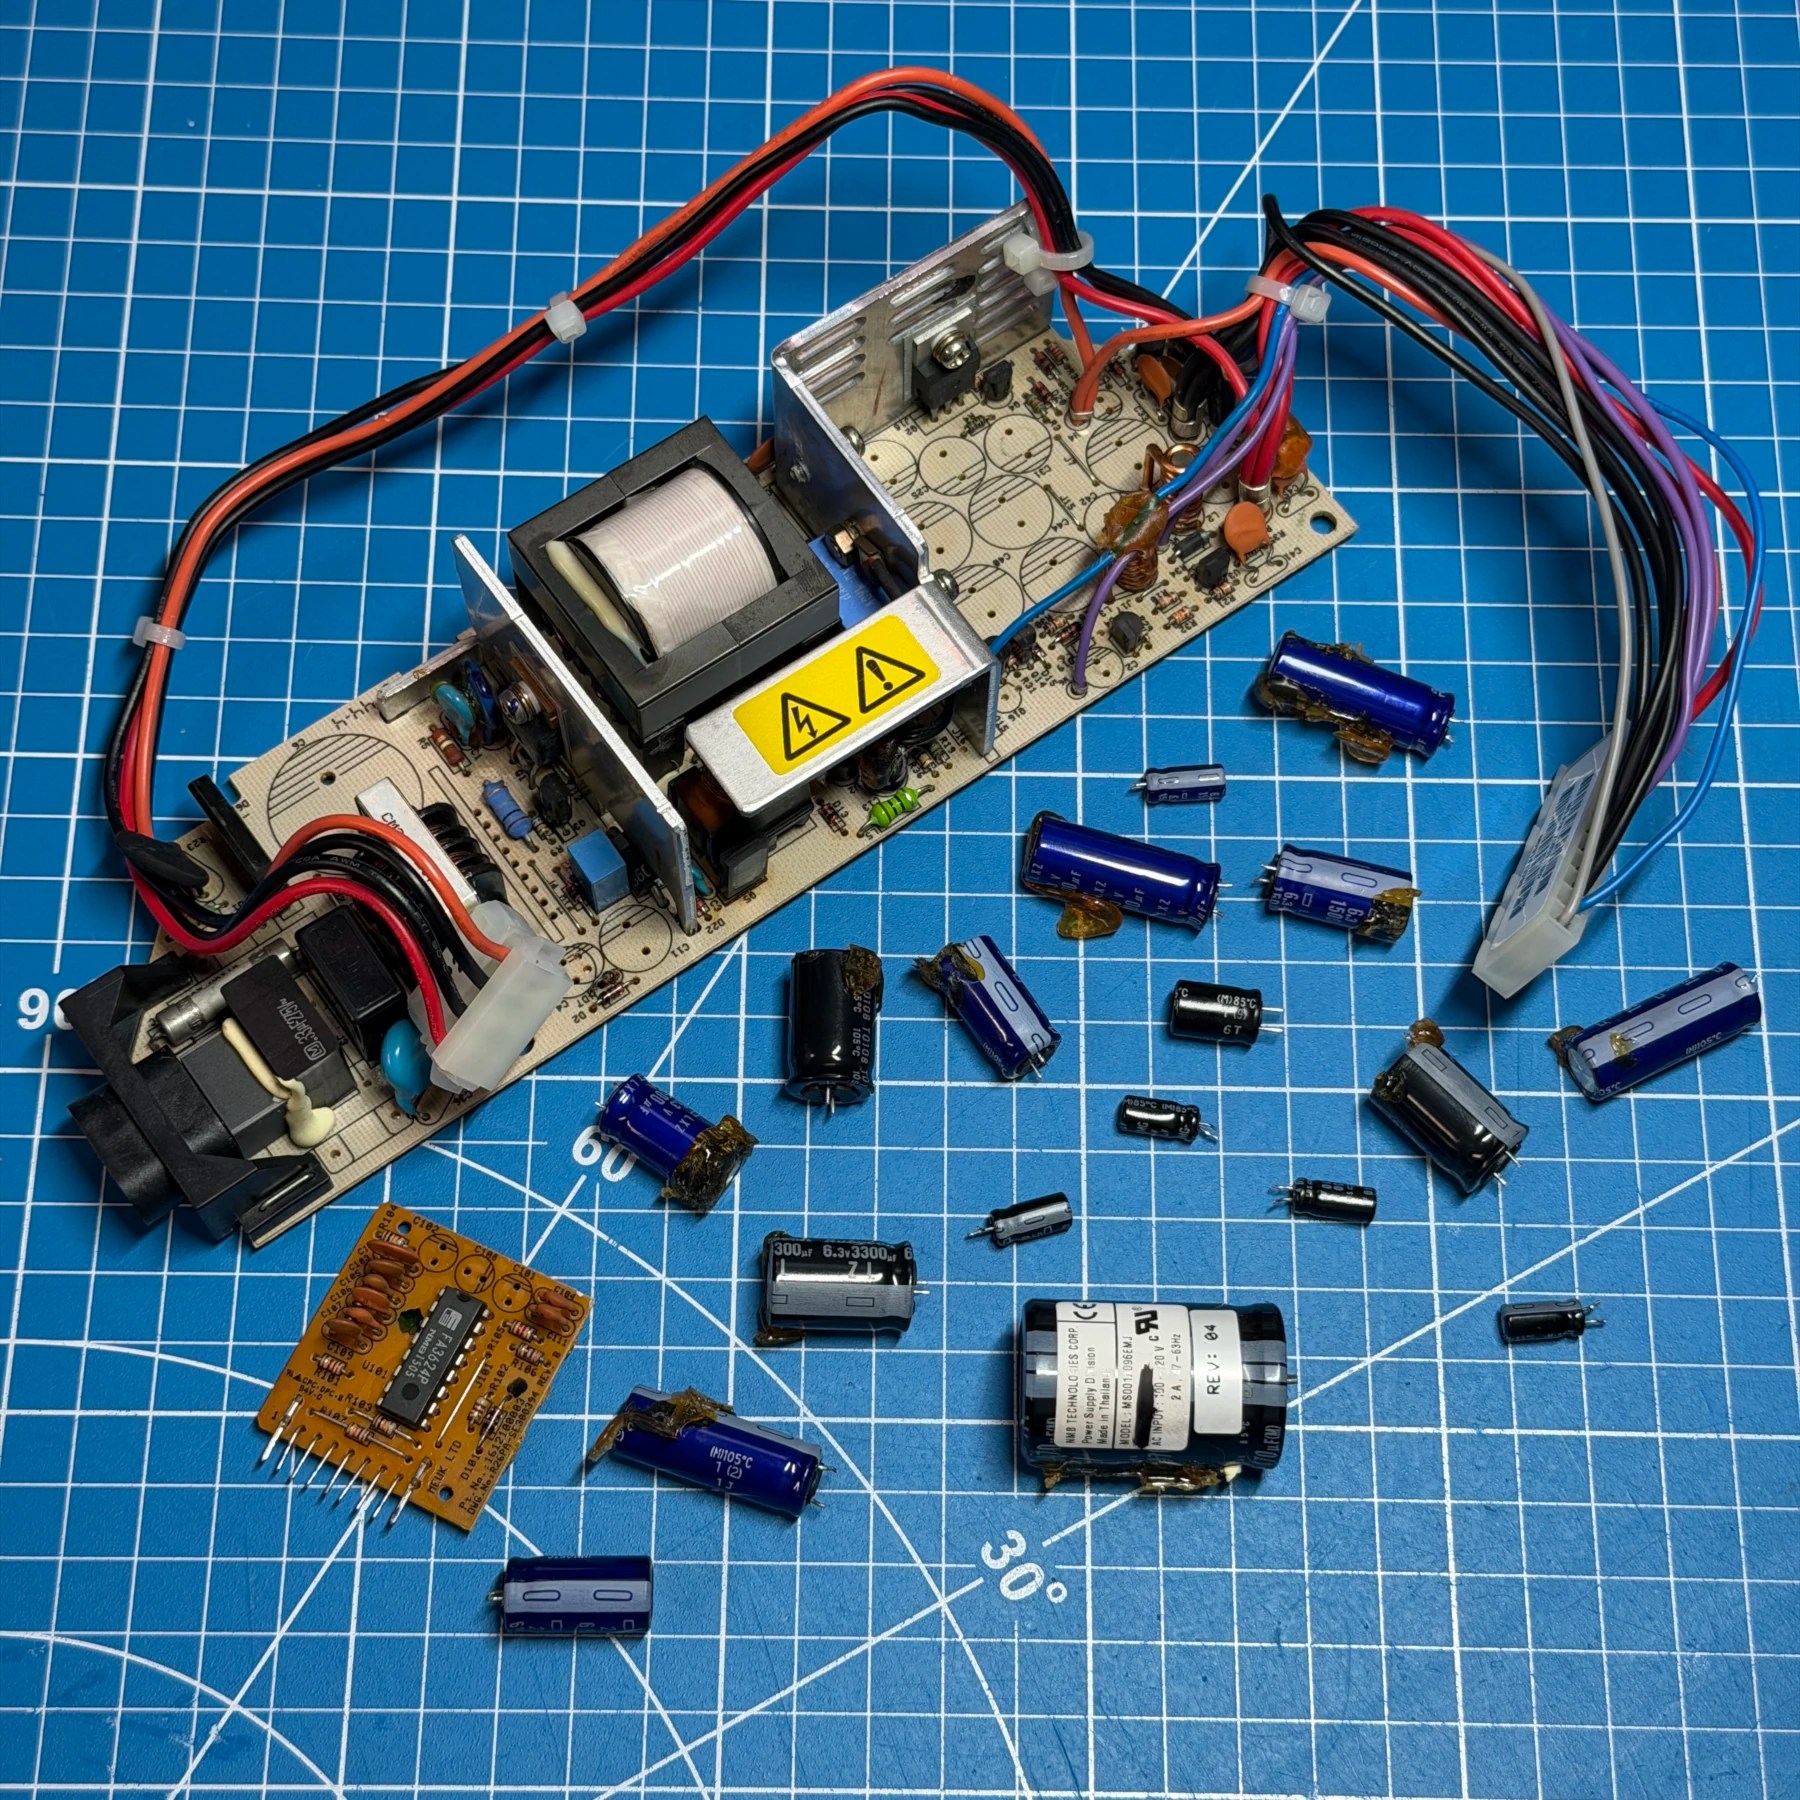
The PSU was a Minebea with the small daughter board which is always a bit of a pain, but got it extracted along with all the other caps and cleaned the board then soldered the replacements in from Console5. If you look really carefully at the PSU pic above you can see I missed one, hidden under the metal plate with the electrical warning… I only noticed this while installing the new kit as I had one cap I couldnt figure out where it was supposed to go (there is no map for these boards) until I looked under there and realized I had overlooked it during extraction. So, I desoldered that one and replaced and we now have ALL the caps swapped on the PSU for good 😂
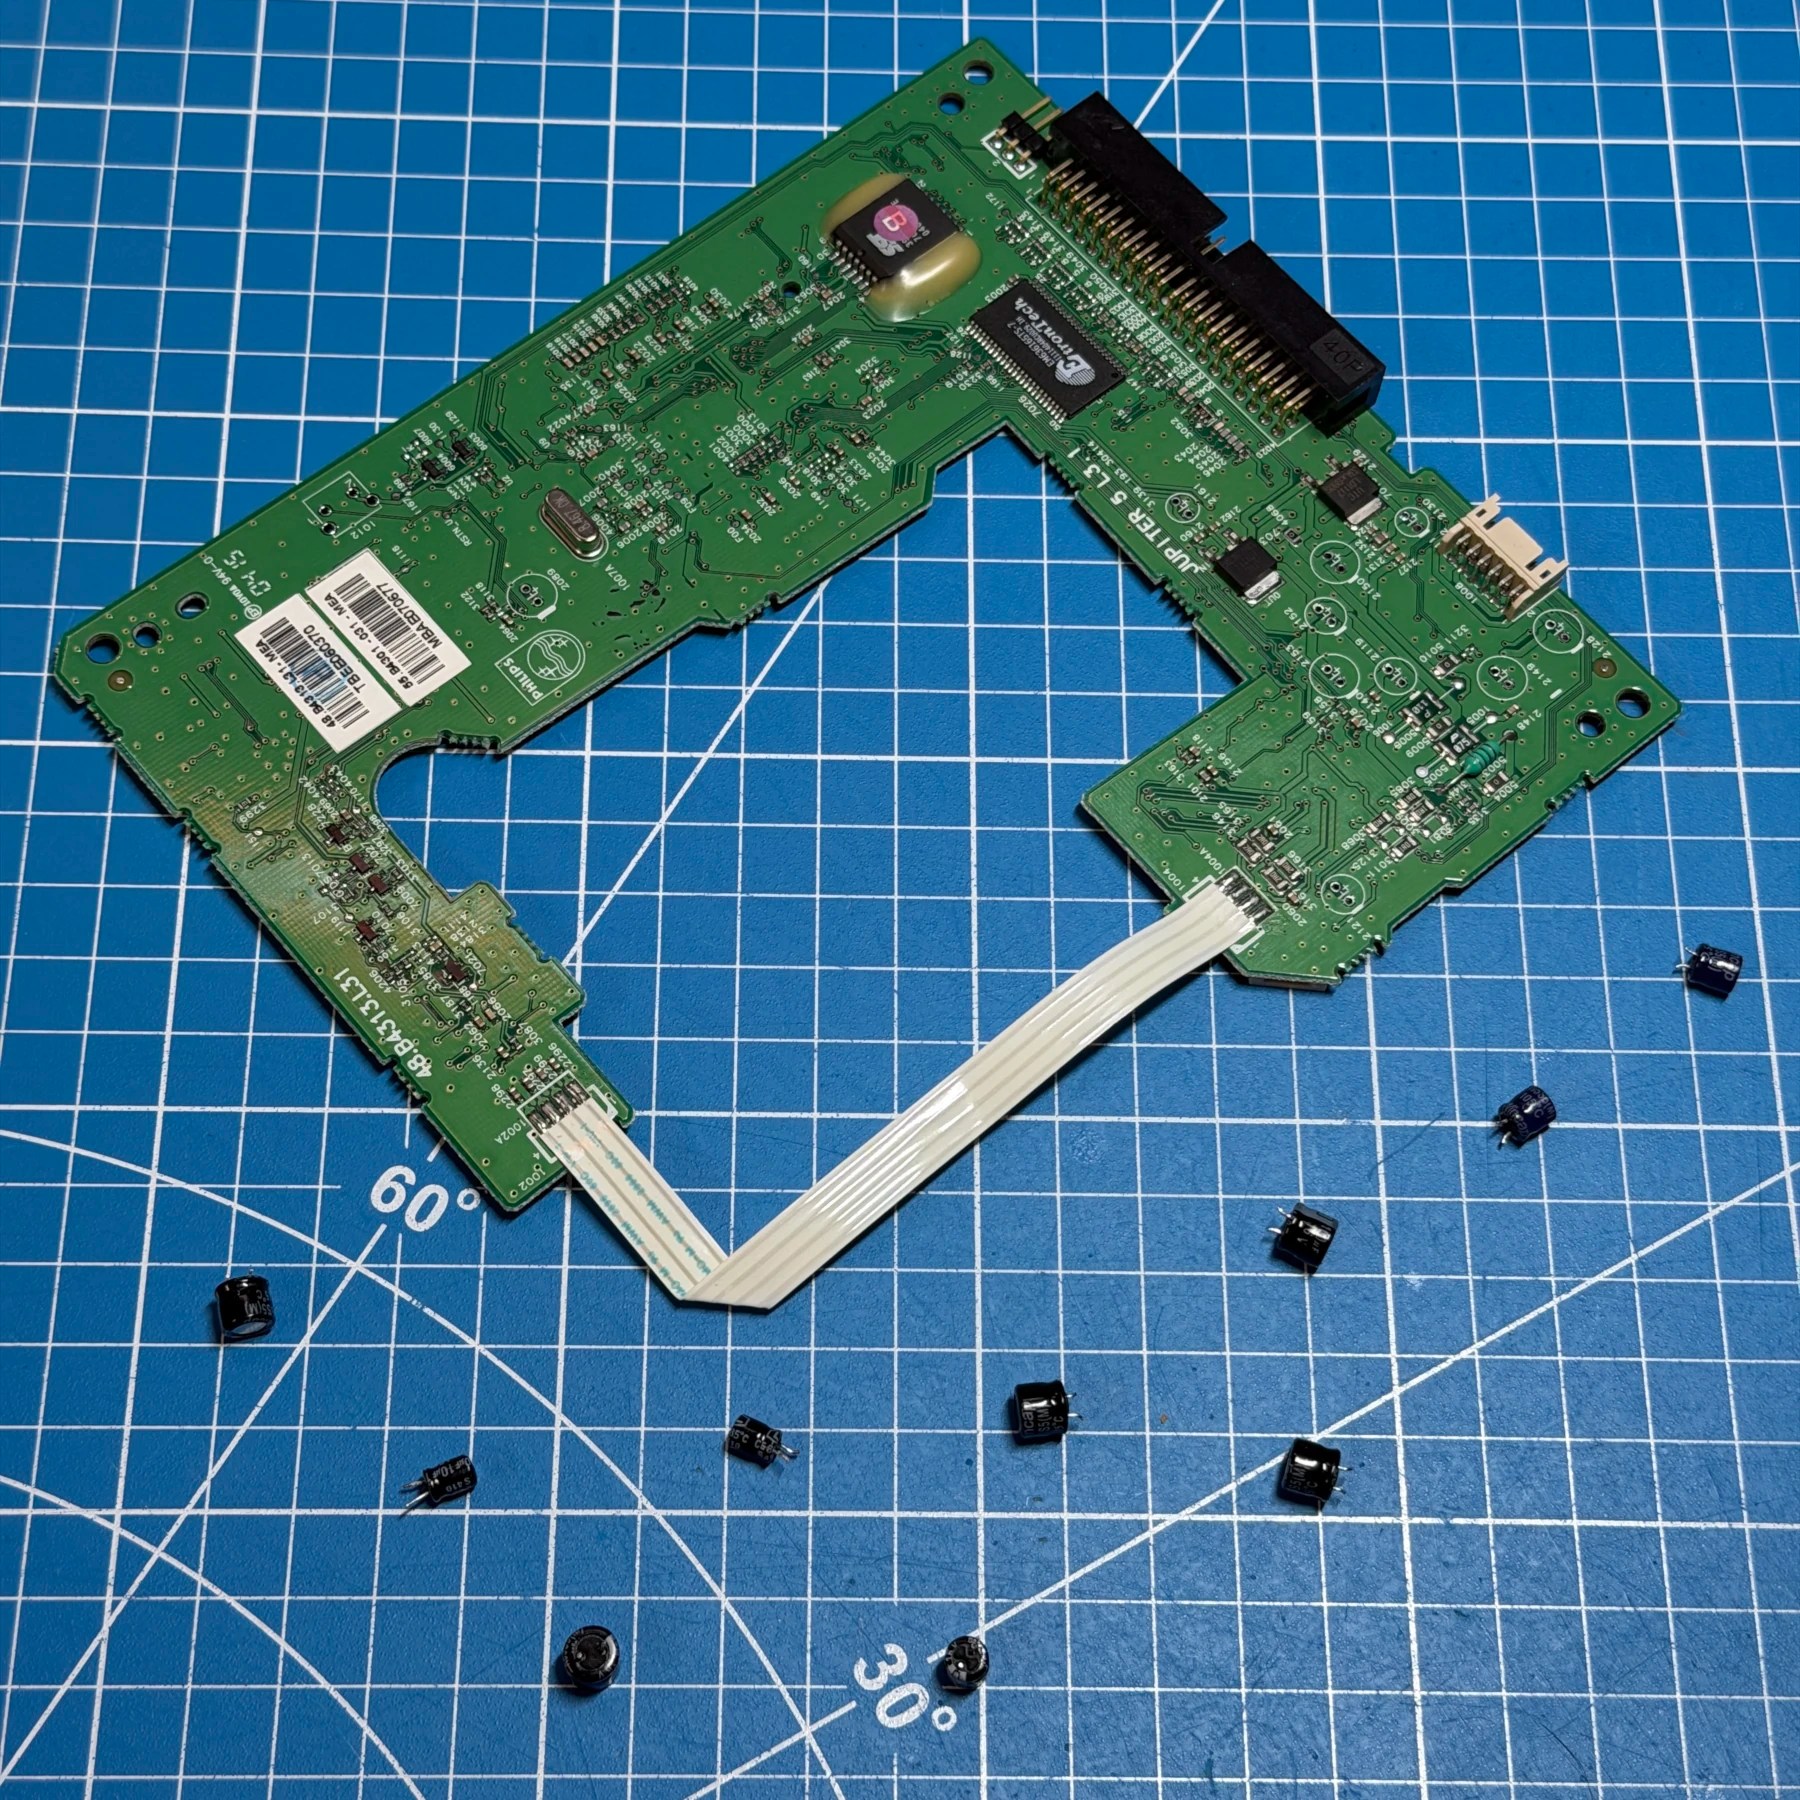
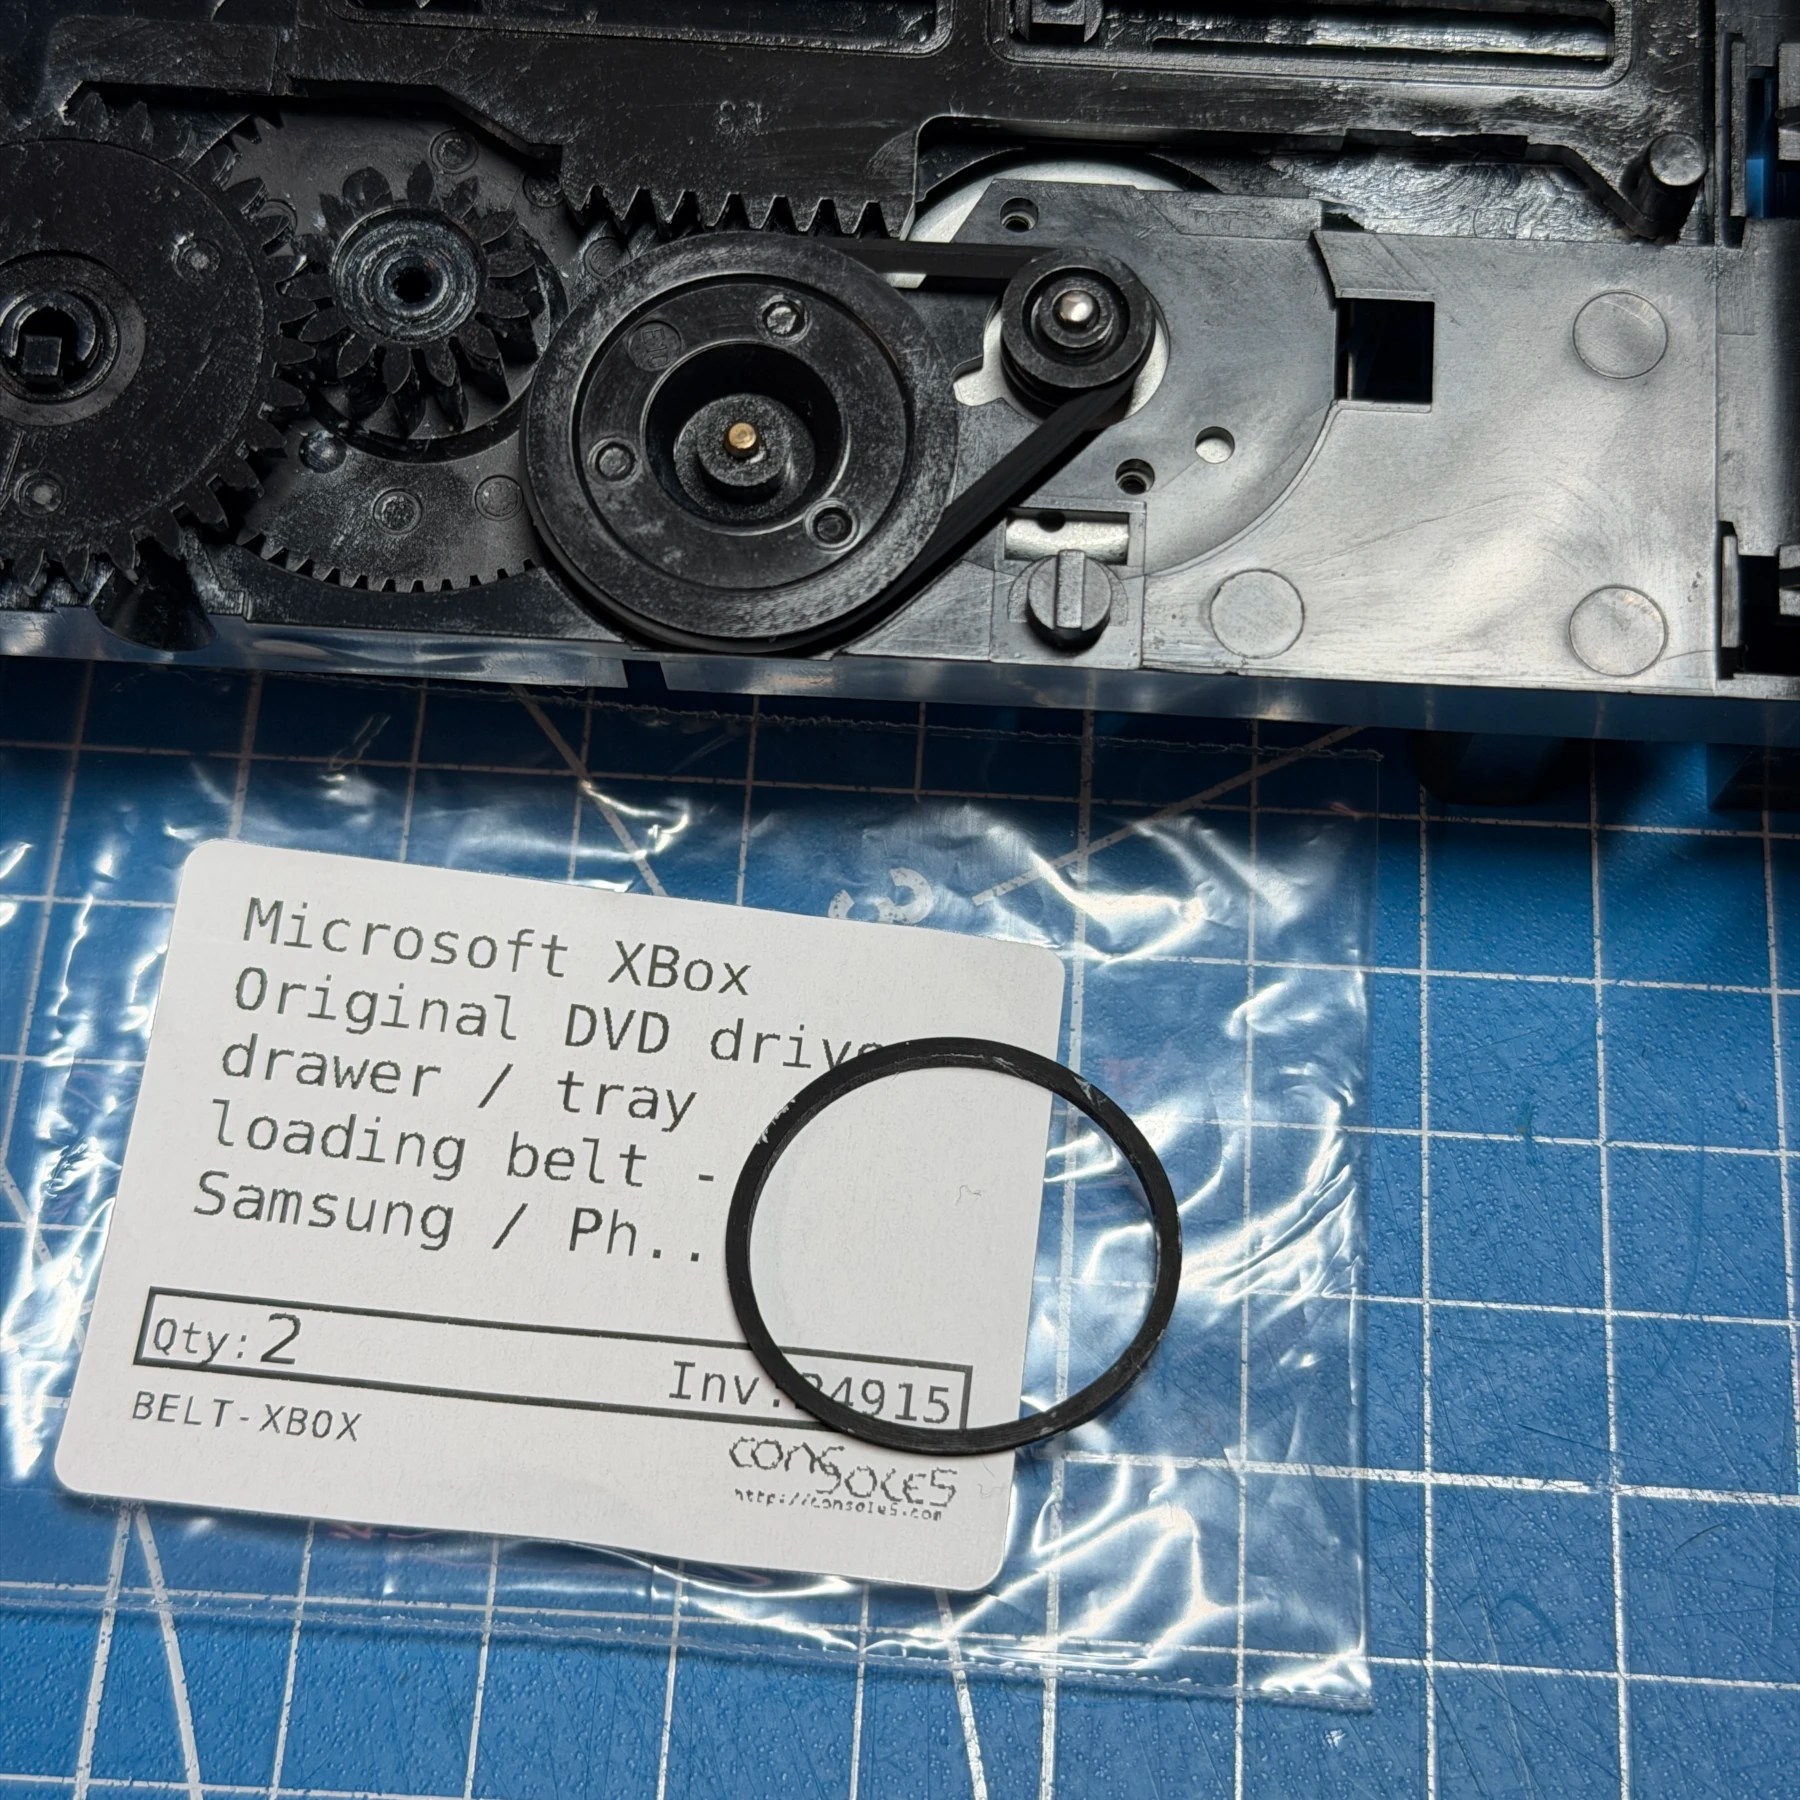
On to the last part of the job – the DVD drive. This one is a Philips drive which in my experience seem to hold up better and be more reliable these days, but who can tell so many are dying all the time its becoming rare to find an XBOX with working drive in my shop. Got it opened and sure enough there was a decent amount of dust and debris in there so I removed the tray, deep cleaned all the plastic and swapped out the drive belt for a brand new one from Console5. I also redistributed the good grease on the gears and added new grease to the tray rails and contact points and wiped the lens clean carefully since it was accessible.
I then worked in reverse installing the components until all but the top shell was installed, then fired it up to test and confirm everything looked good! Normally these 1.0 XBOX are obnoxiously loud but thanks to the Noctua fans they were pretty quiet and with all new caps and a drive belt it should be running great for some time to come 👍