

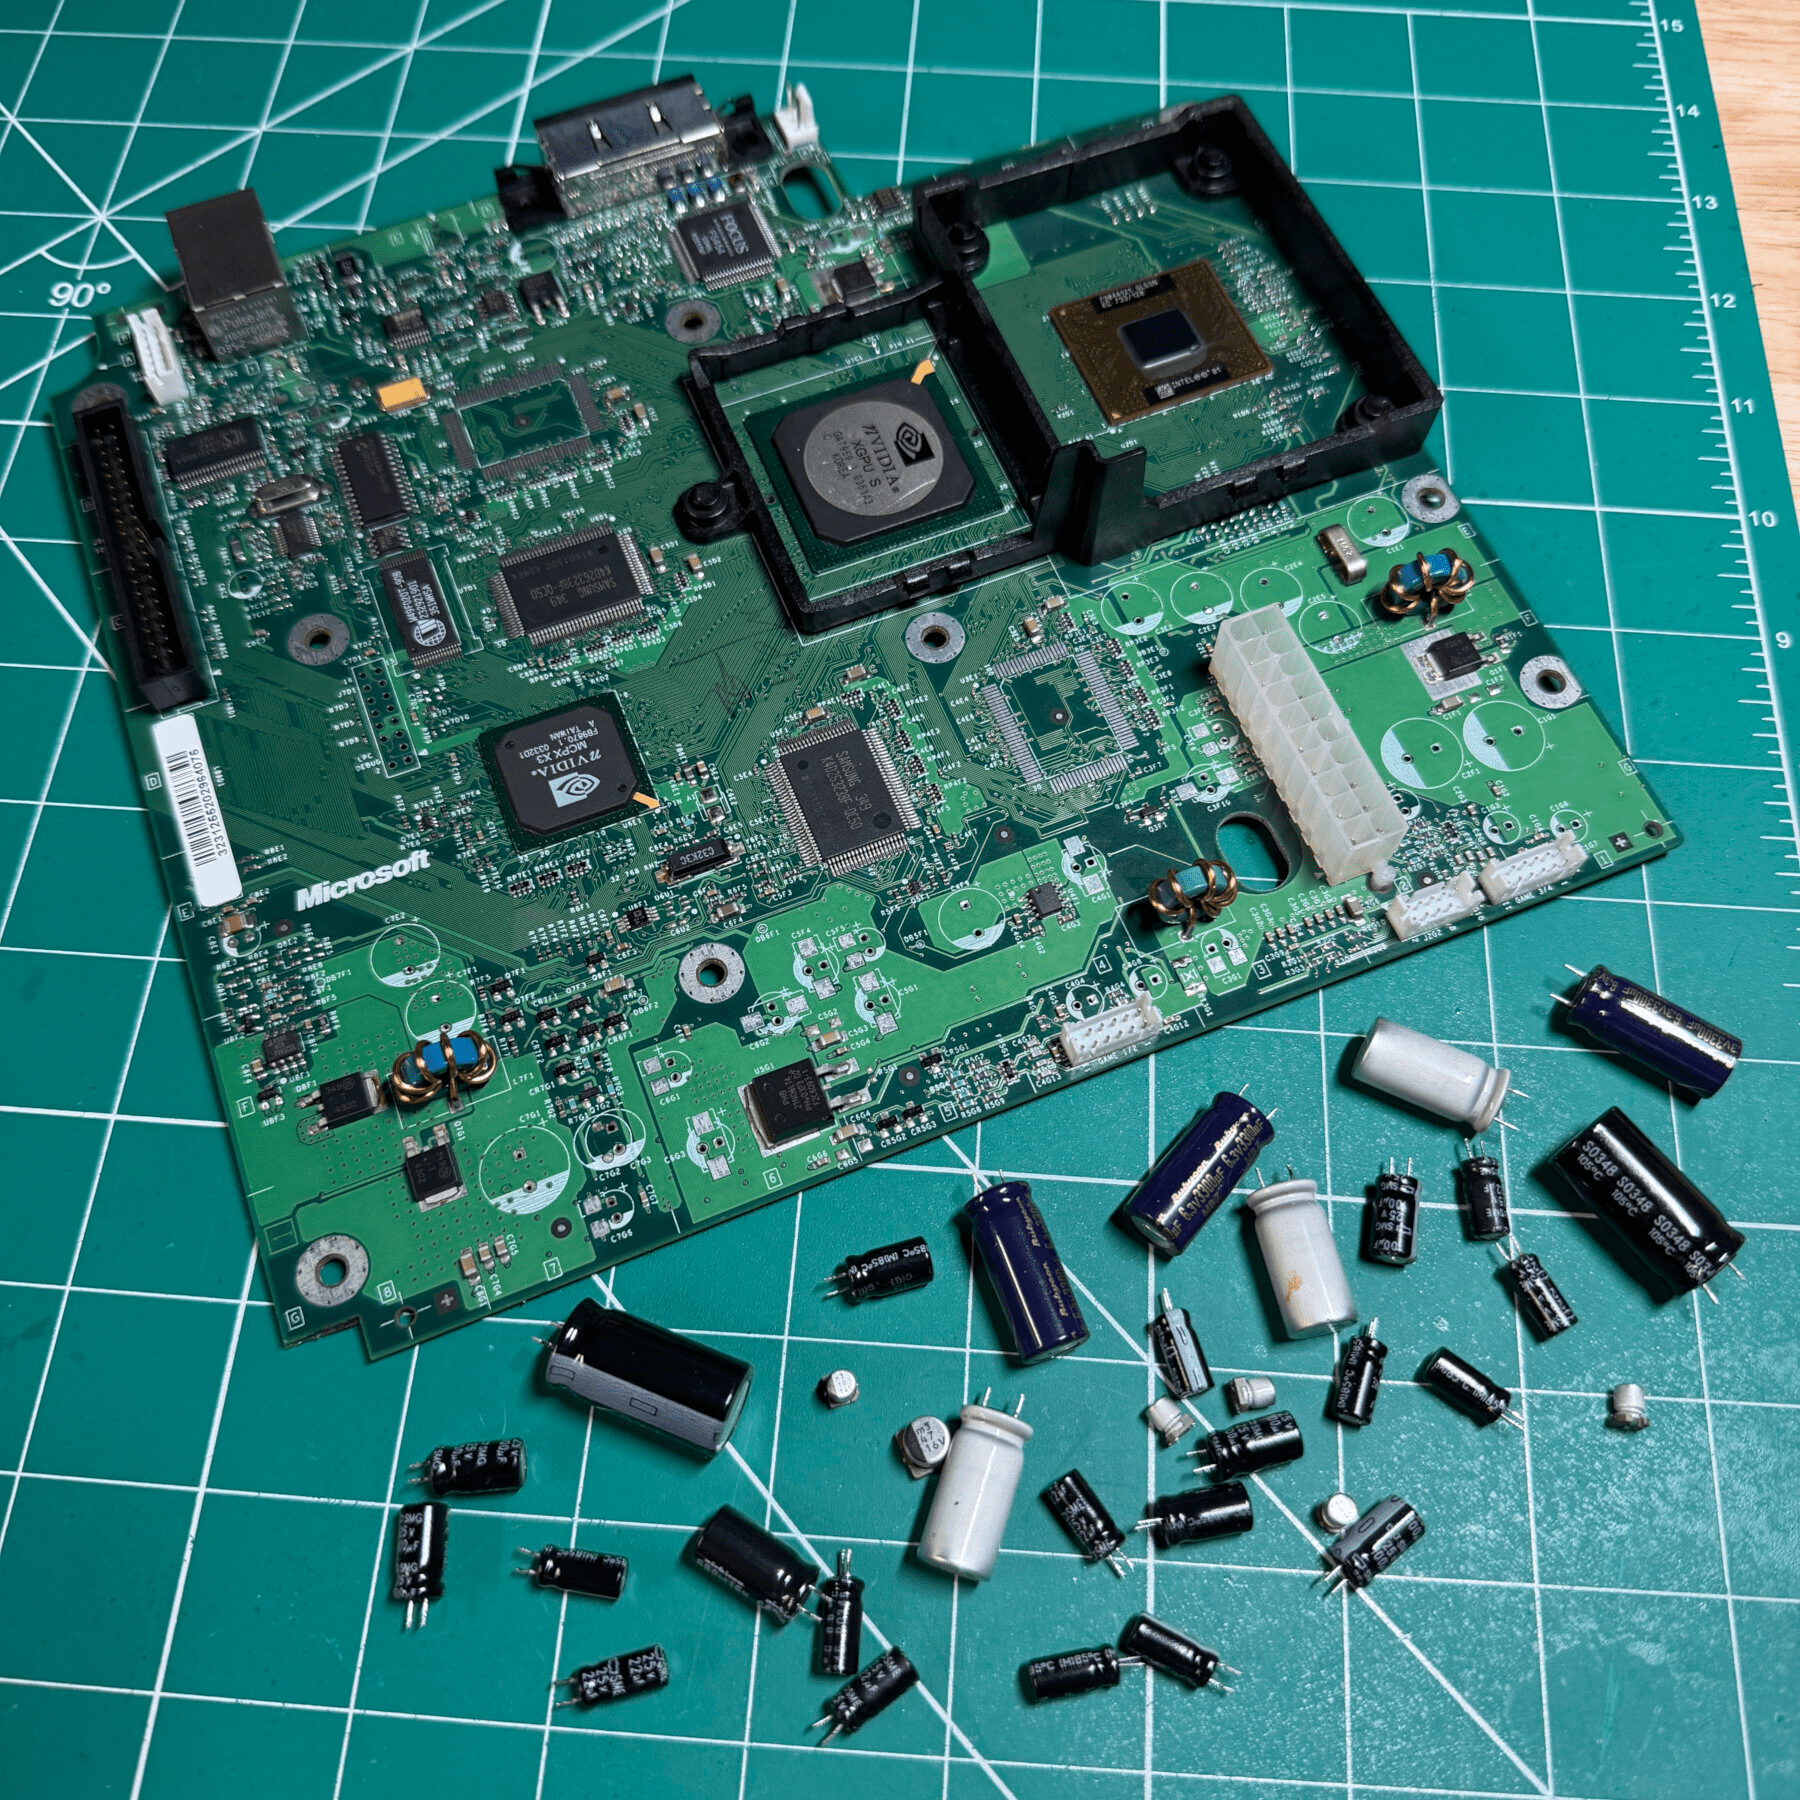
I work on a ton of XBOX consoles but still always cool to see a special edition (like this Halo version) come into the shop! This unit was fully functional, customer just wanted it to have a complete overhaul and refurbishment.
The biggest concern on all but the 1.6 models is the infamous clock capacitor and unless the customer states it’s been removed previously, I never know if it’s still inside and what kind of havoc it has reeked… luckily this one had it removed and the leaking had been pretty minimal all things considered!


Customer had selected the ‘Full Service Cleaning’ option so I started with a complete teardown of the shell and removal of all plastic parts including DVD bracket and HDD bracket. During disassembly I noted that a support post in the back right near PSU had broken off and was loose inside the shell, so I set it aside for repair later after the cleaning. All plastic parts were soaked, scrubbed, washed and dried overnight.
I always tackle OG Xbox the same way, PSU first. Recap process is a bit tedious on the PSU because of the potting/epoxy material they used to secure some of the caps, requiring careful cutting with Xacto knife, but still made quick work of the removal, dusted and cleaned the board then installed the new DPSN-96BP cap kit from Console5!
Next up was the DVD drive recap and refurbishment. It was a Philips model, requiring a disconnect of 3 flexes and removal of 4 wires to get the PCB off. Once that was done, desoldered the old caps, cleaned the board and installed the new caps using a the matching Console5 kit. With all new caps on, I removed the drive tray, swapped in a fresh belt and then cleaned up the drive and added some fresh grease to the rails and gears! Reassembled the drive and set off to the side with the PSU so I could move onto the biggest step of the project…


There are 3 main things I need to accomplish with the mainboard area – recap, cleaning, thermals and fan maintenance. Its best to save the thermals for last once the board is completely cleaned so I set off to get the mainboard recap and cleaning done.
First, you have to get both heatsinks off so with some 200C heat and patience I warmed up both GPU and CPU heatsinks until they popped right off without much force. I then soaked the underside in Goo Gone to release the old thermal material, wiped it down and cleaned the heatsinks themselves and set aside. The CPU and GPU area also need some attention, so I carefully use a small plastic spudger and Goo Gone there as well then wipe with ISO!
It was now time to recap the mainboard so I removed all the OEM caps with my Hakko Gun and also removed the snipped legs from the old clock cap. Had to deep clean and reflow several caps in that area from old, uncleaned cap fluid but eventually got them all cleared and deep cleaned the board with ISO and made sure all plated TH were ready for new caps!

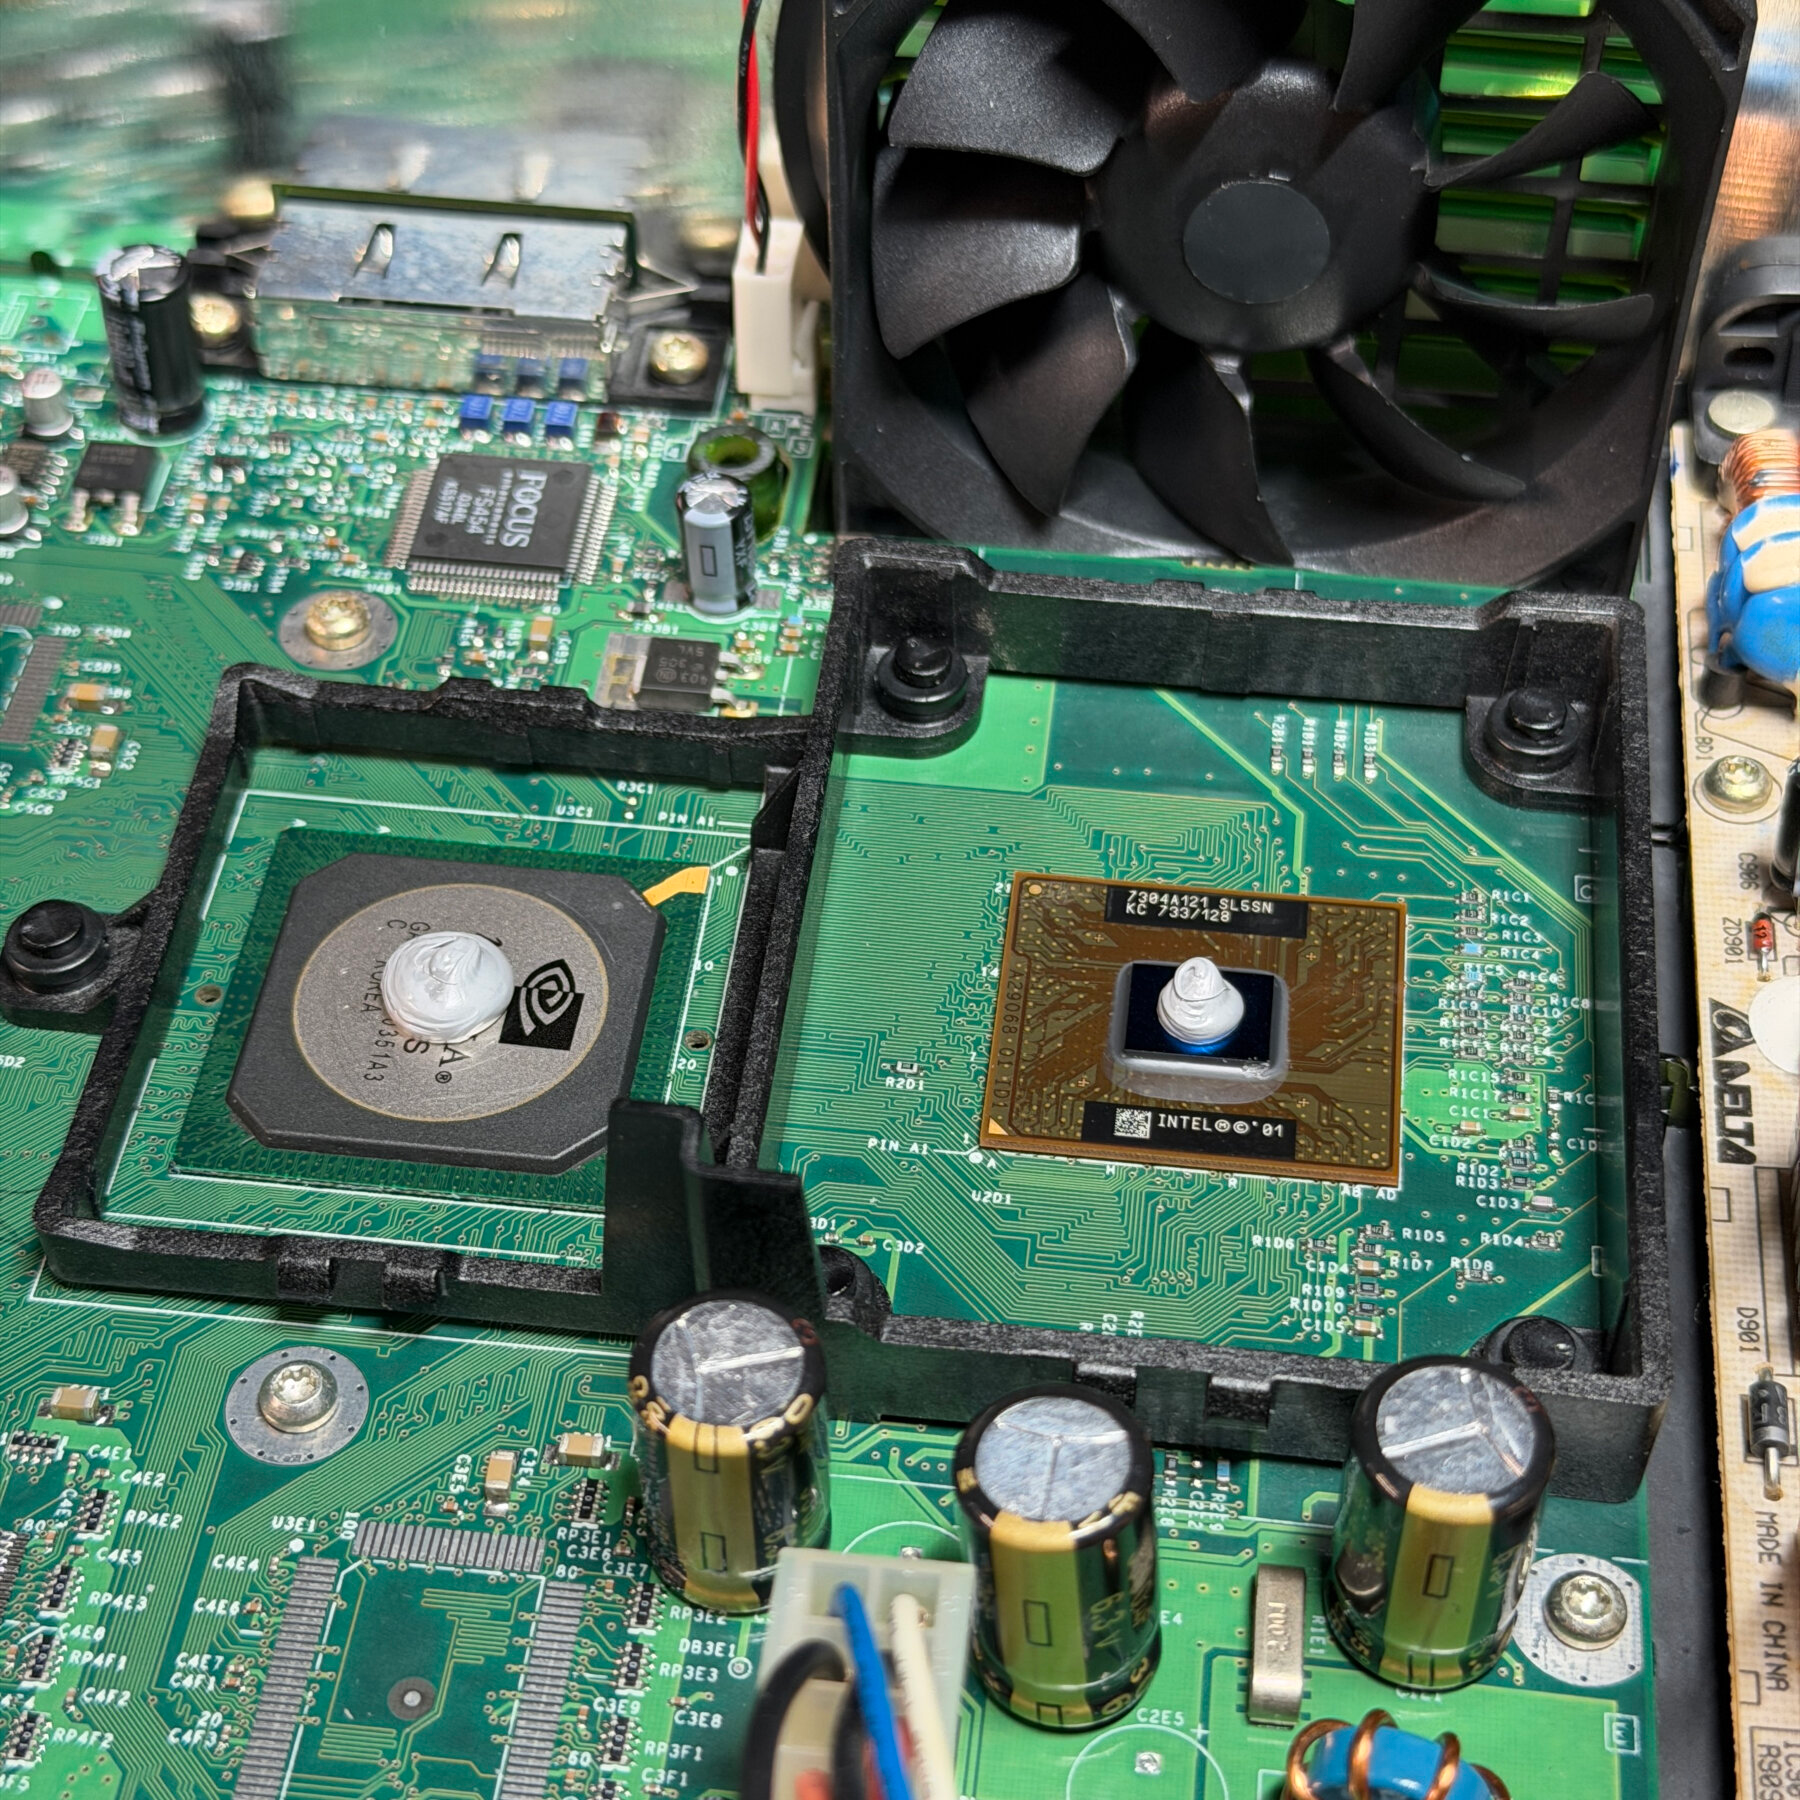
Console5 cap kit is assembled to cover all revisions from 1.2-1.5, this one being a 1.4 (notice the Focus encoder). Got all the new caps installed and I even installed a brand-new clock cap (you have to add extra to the kit). For me, if it was a functional part of the system I like to restore it and with the better life expectancy of modern electrolytics, no harm… the part is literally 50 cents.
After all the TH and SMD caps were installed and unspent flux cleaned from topside and bottom of board, I then proceeded to apply a fresh dab or thermal paste to both chips and carefully reinstall the heatsinks and clamps.
Last step here was the fan cleaning. Found a lubrication point on the backside of the fan and went through and carefully dusted and wiped down all fan blades and fan enclosure until it was completely clean, then snapped the fan back in place so the board could be reinstalled and fan plugged in.
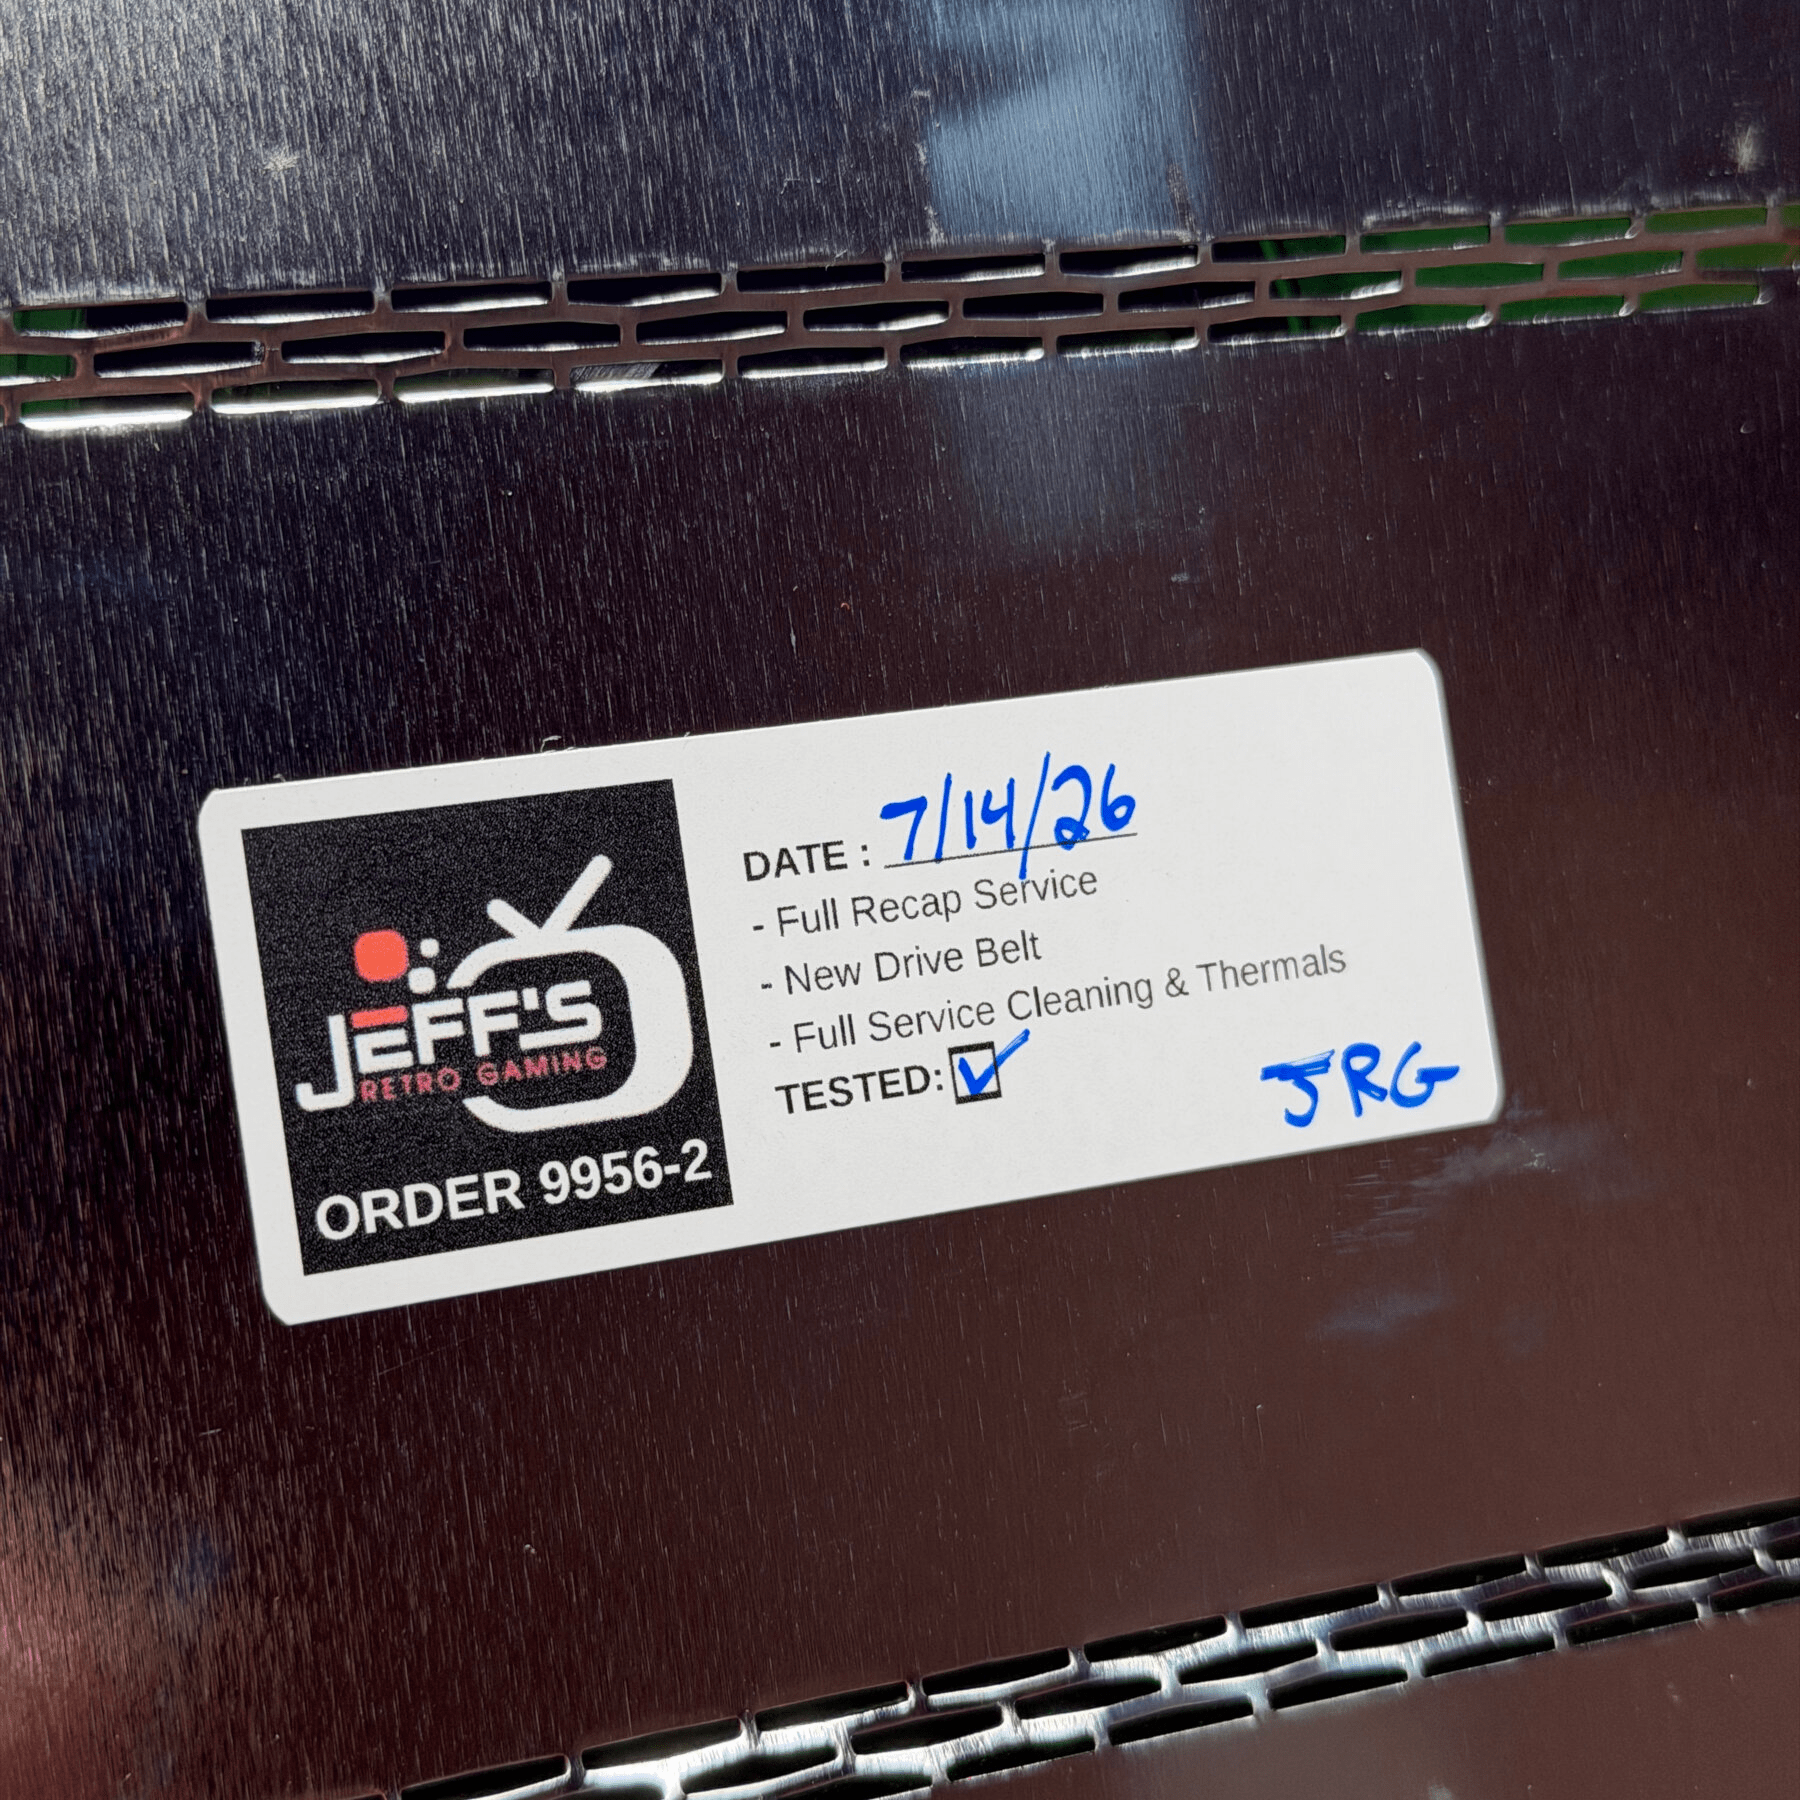
Reassembly is just the reverse process so in went the mainboard, then the controller ports, PSU and cabling for DVD drive and HDD. Before putting the top shell back on I gave it a quick fire up test and all looked good so I finished screwing everything in, put top shell and metal plate back together after applying my service sticker and did the final assembly.
I cut new double-sided tape to hold rubber feet on and polished the XBOX jewel to add a finishing touch to the shell. Came out very nice!
Fired up the XBOX and let it run for a few hours and played some Oddworld. Everything was running great, disc was reading, fan blowing out nice warm air, etc.
Since everything looked good, that’s another XBOX in the books!