
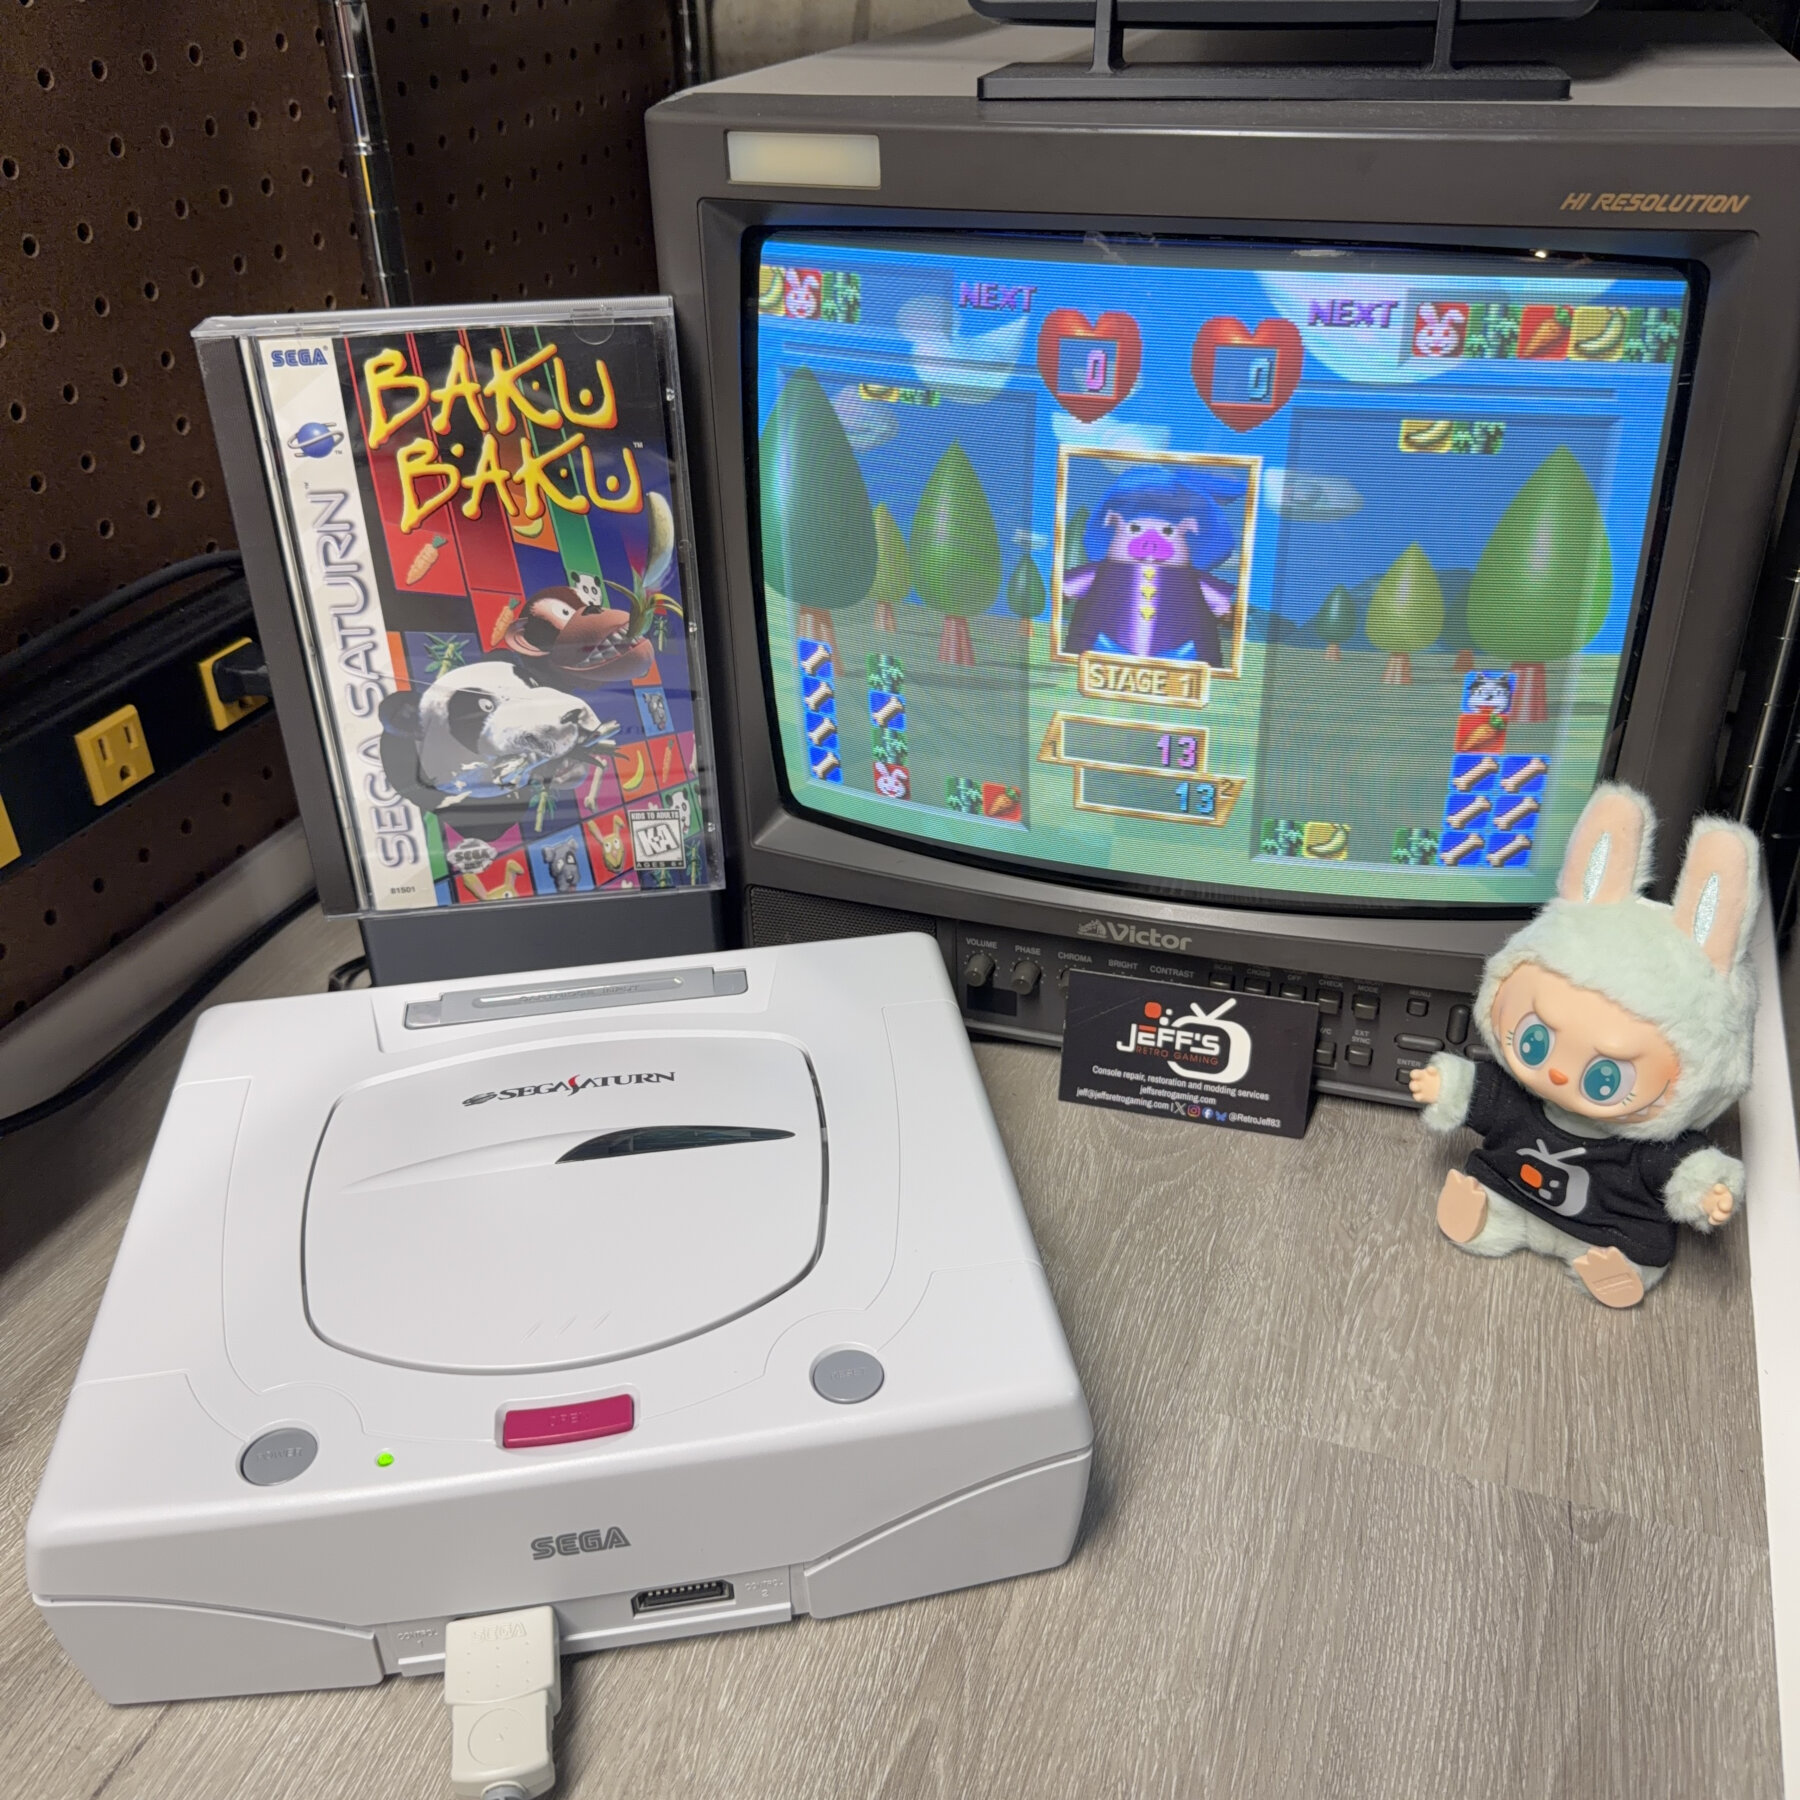
It’s been a bit since I had time to knock a Pre-Modded console out (last one I listed for sale was back in April) but with the Retro World Expo coming up in September and a local shop offering me some space for a few systems at their booth I am working to try and get 3-4 done and ready for the show!
First up was this Model 2 Sega Saturn from Japan that was functional, just dirty and in need of some upgrades. Since the optical drive was working well and knowing there are plenty who prefer the ability to play discs I decided to focus on keeping the optical drive intact and adding quality of life features around that. Disc playback is great and while Japanese games are a lot cheaper if I’m selling a console to a customer here, the ability to play USA titles is pretty important. Region free bios is the best solution IMO as its completely hidden from the end user (no using carts like the Saroo) and seamless, no need to flip any switch or choose a region if it’s an official pressed disc it will work regardless of it being Japan or USA. I considered also installing a modchip but given I wanted to add an ODE side-by-side with the optical drive I figured that didn’t make much sense. Why would anyone burn a game when you can run it off an SD card and save that wear and tear on the laser for your original discs? It also makes the installation of the ODE much more complicated with the extra flexes, bends and wiring 5V so that idea was quickly forgotten.
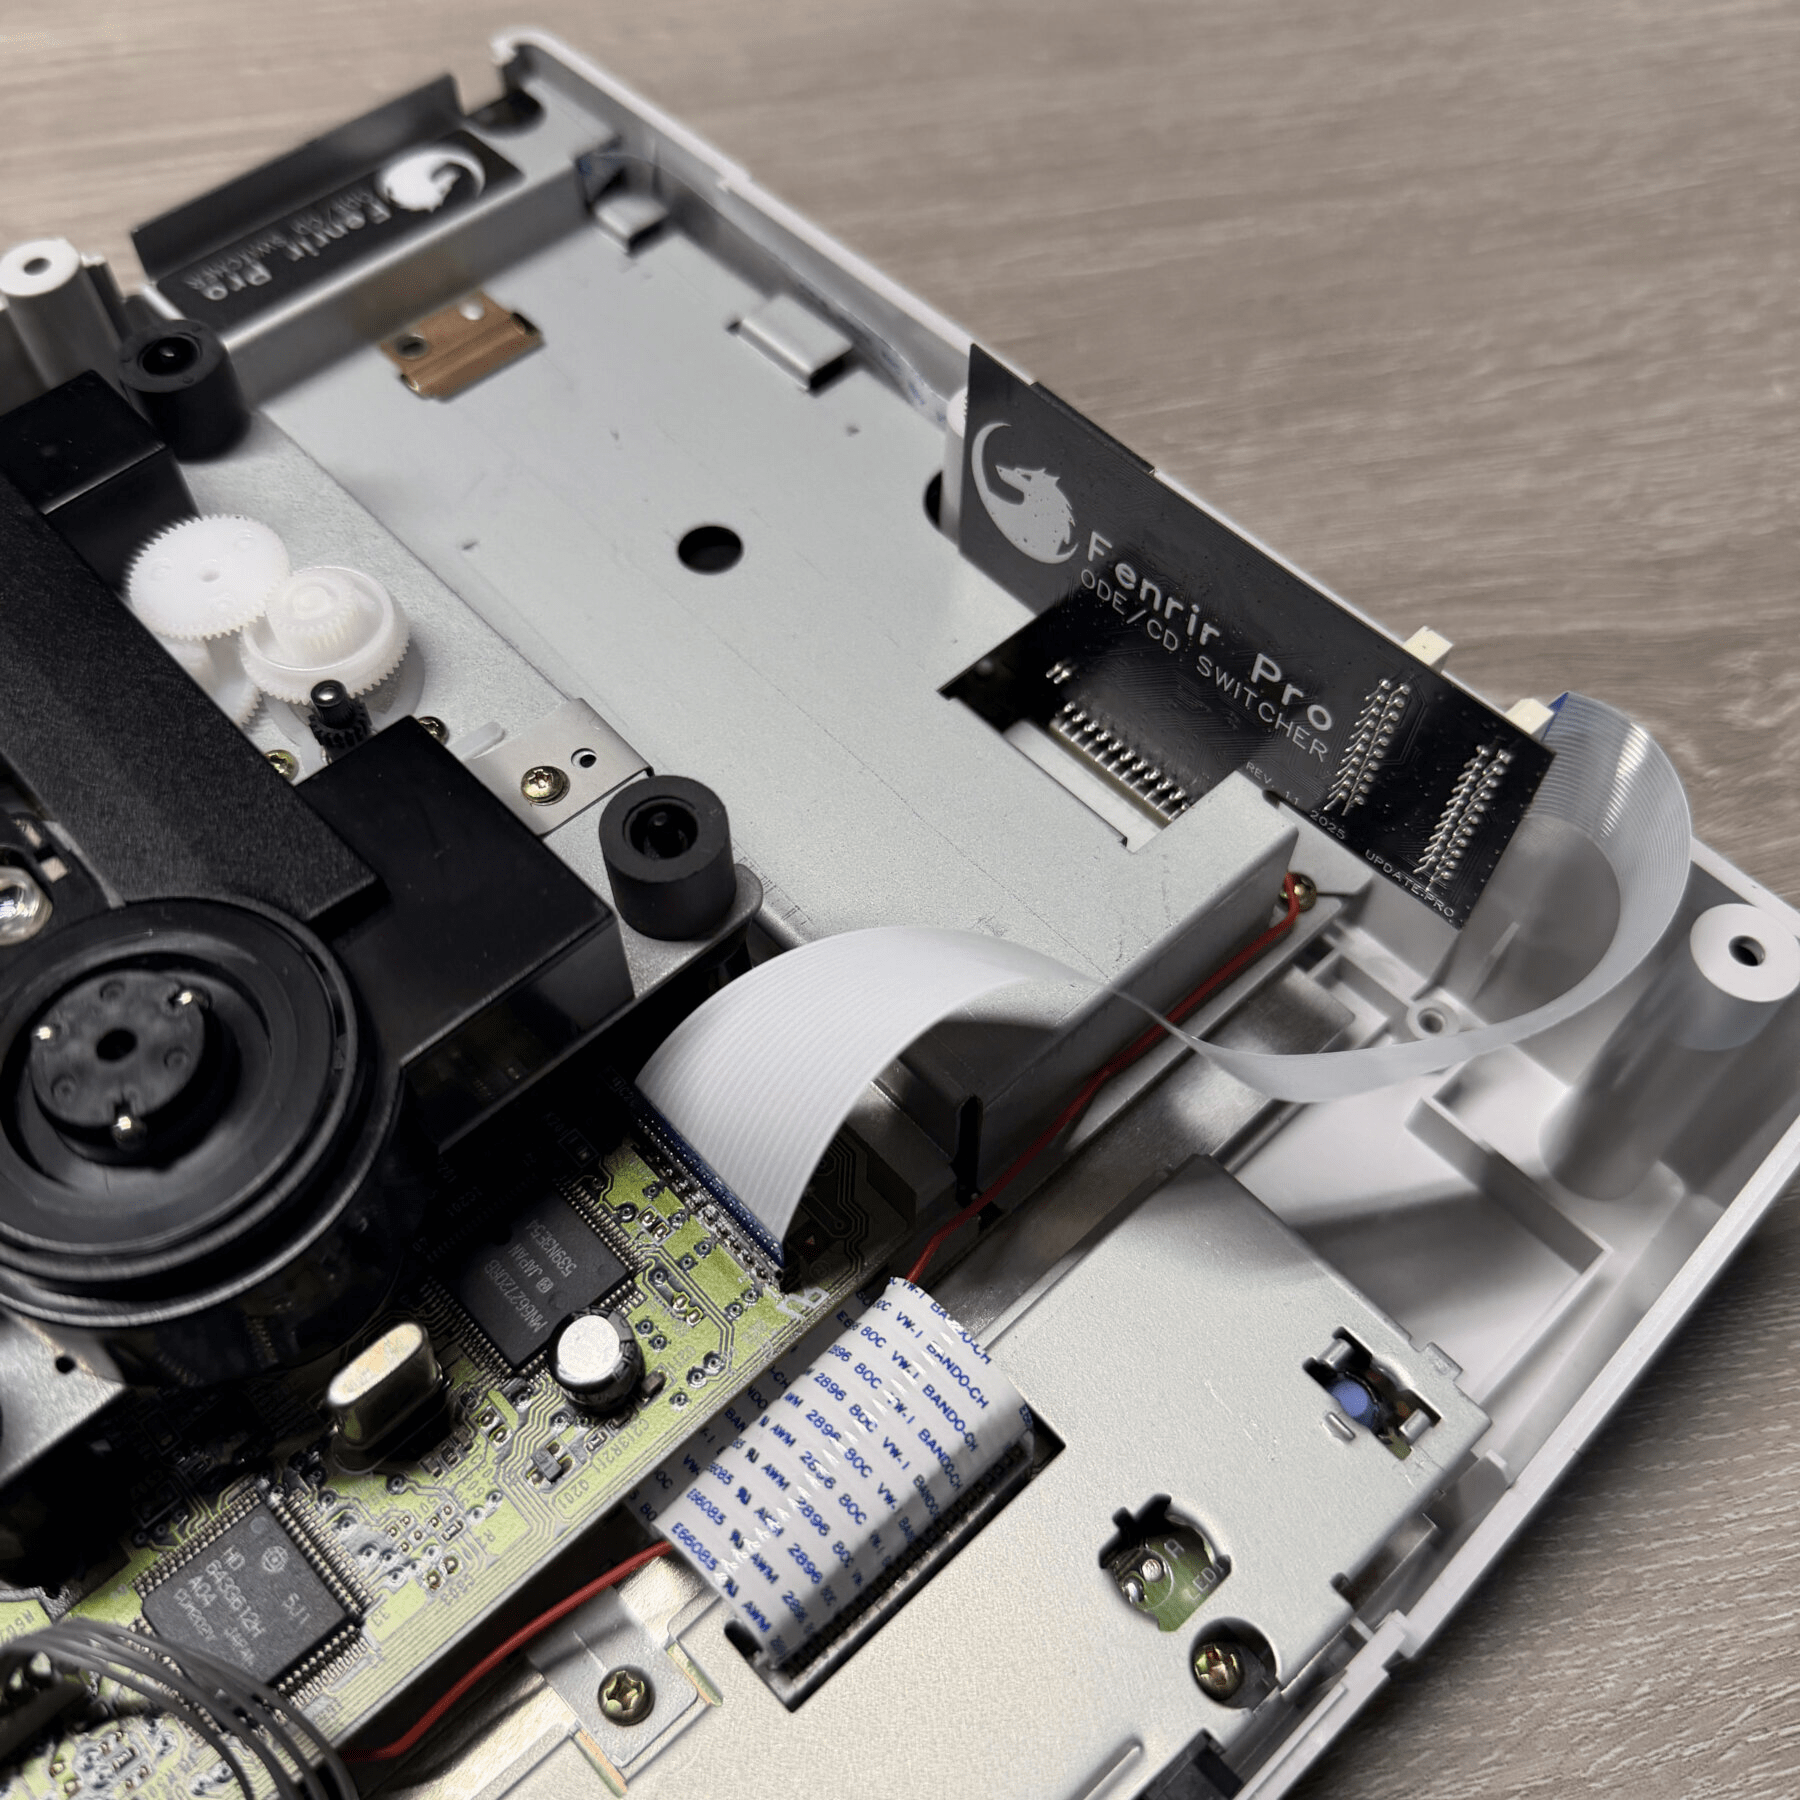
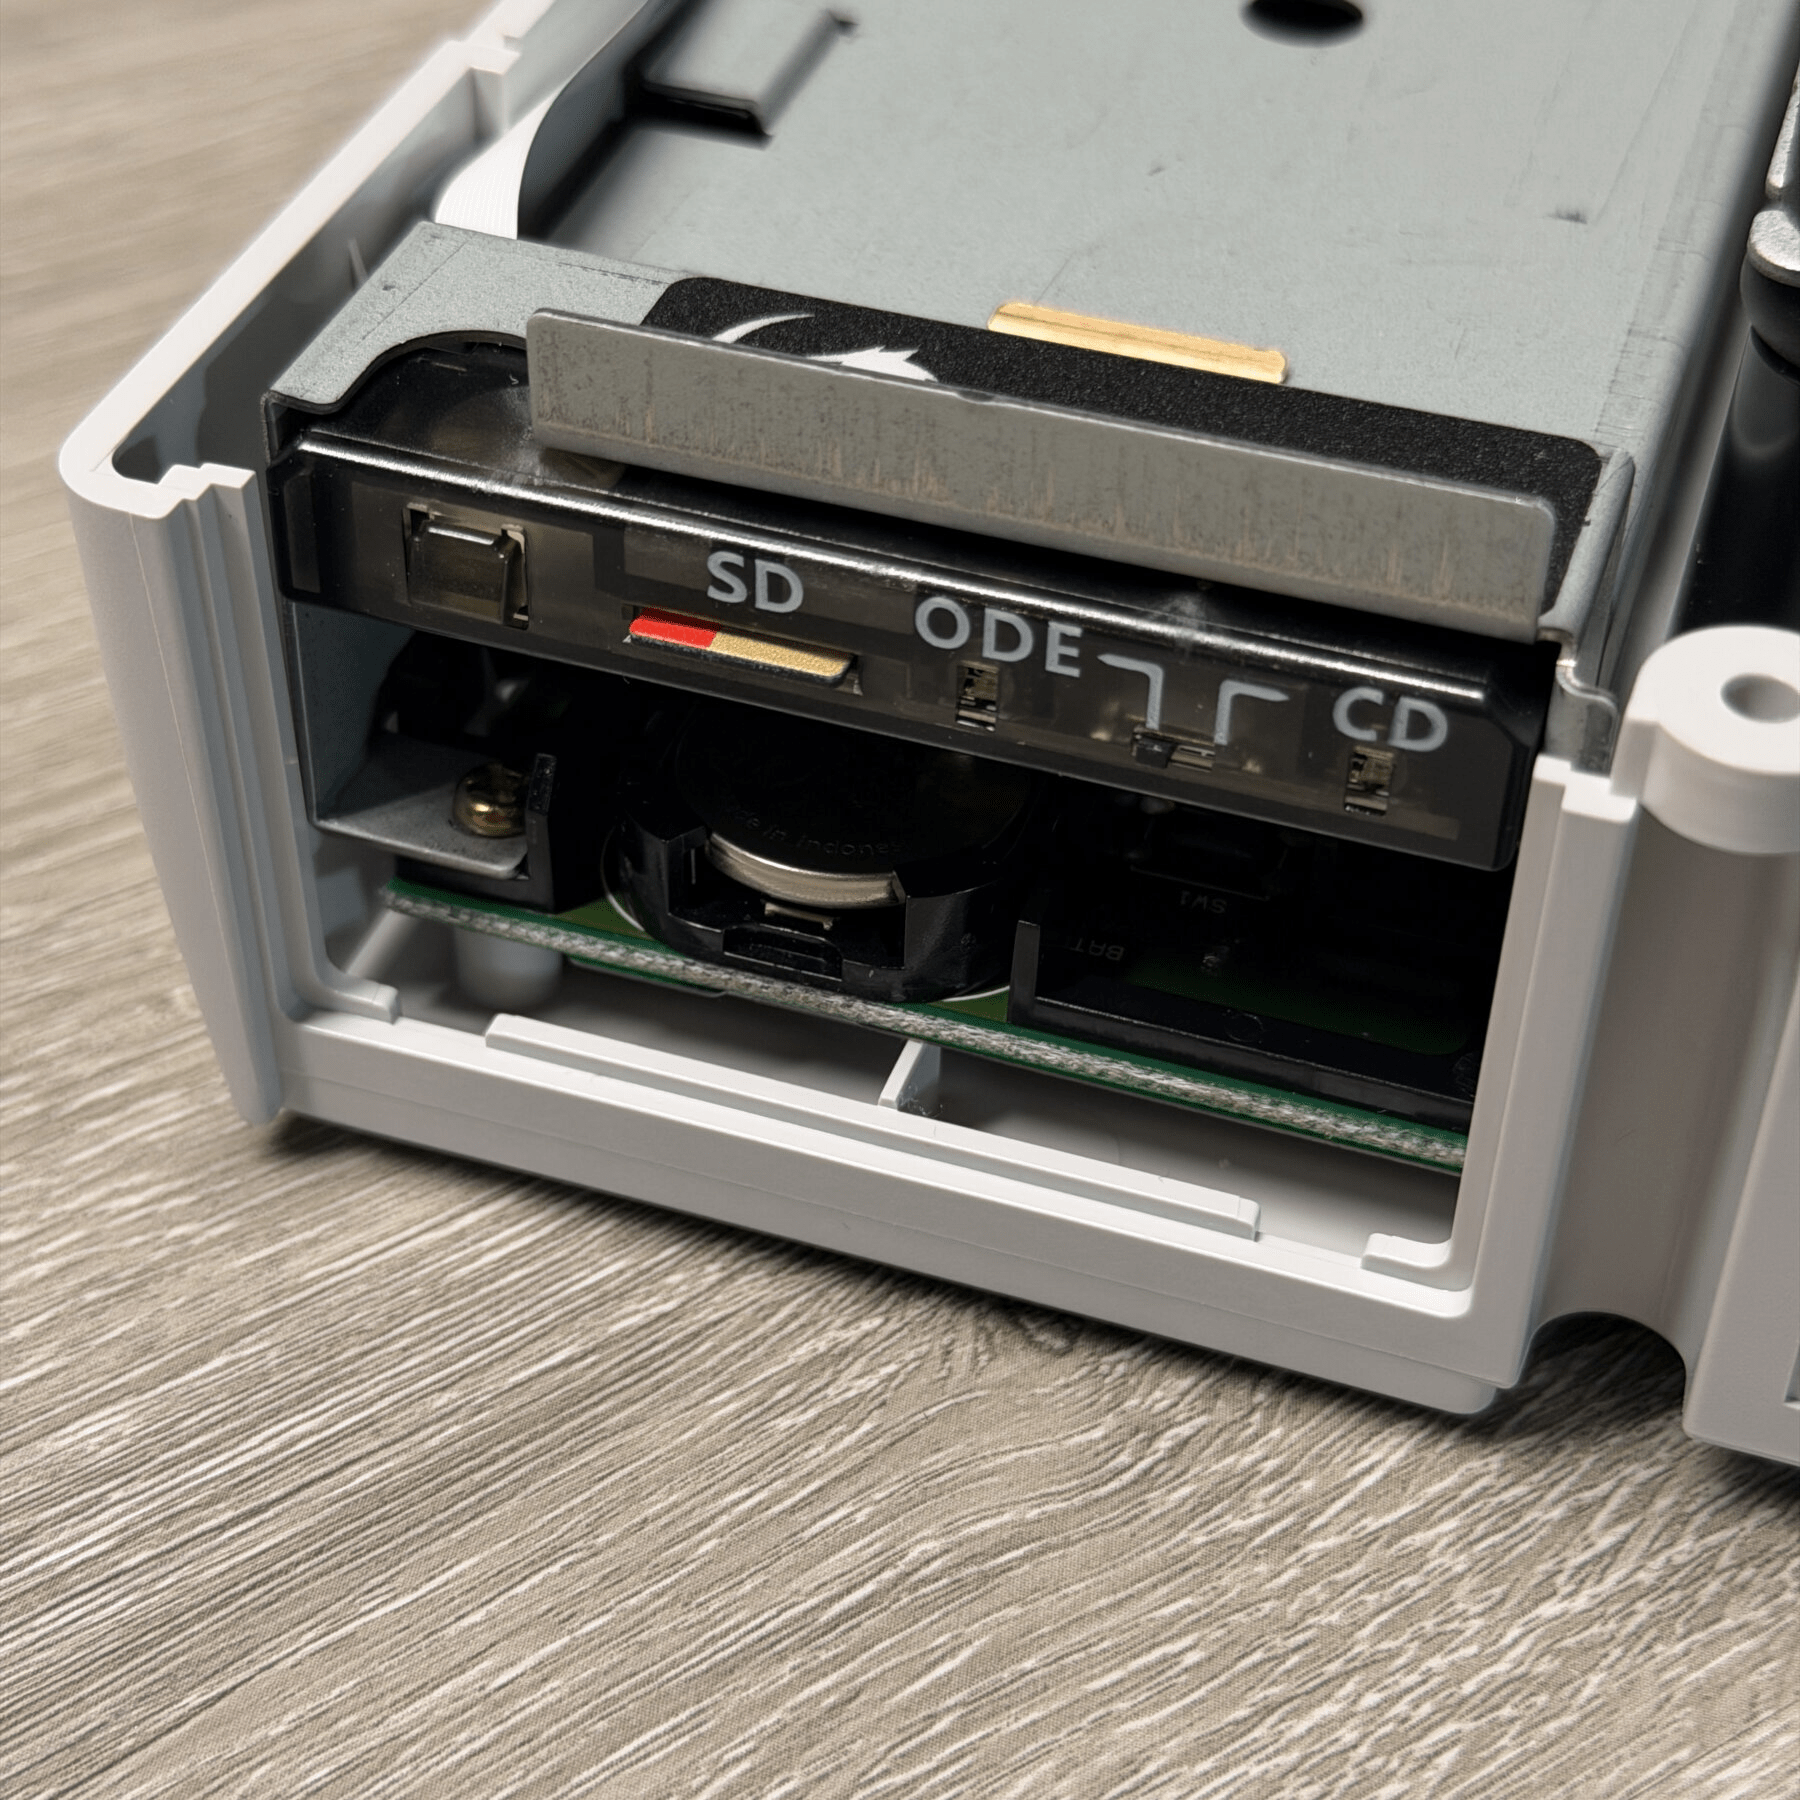
The Fenrir Pro ODE is a clone from AliExpress but I have installed several for customers before and found it extremely reliable and while I normally don’t like clones, this one is actually better than any current Fenrir offering. This is because in order to keep the drive intact with a Fenrir you have to go buy a separate Wuxi switch which is another 50 or so bucks, and the flex situation is a mess. This plugs directly into the drives original flex port and just needs one flex to the CDROM and the small one to the switch in the back (which is also nice and injection molded not 3D printed like the Wuxi).
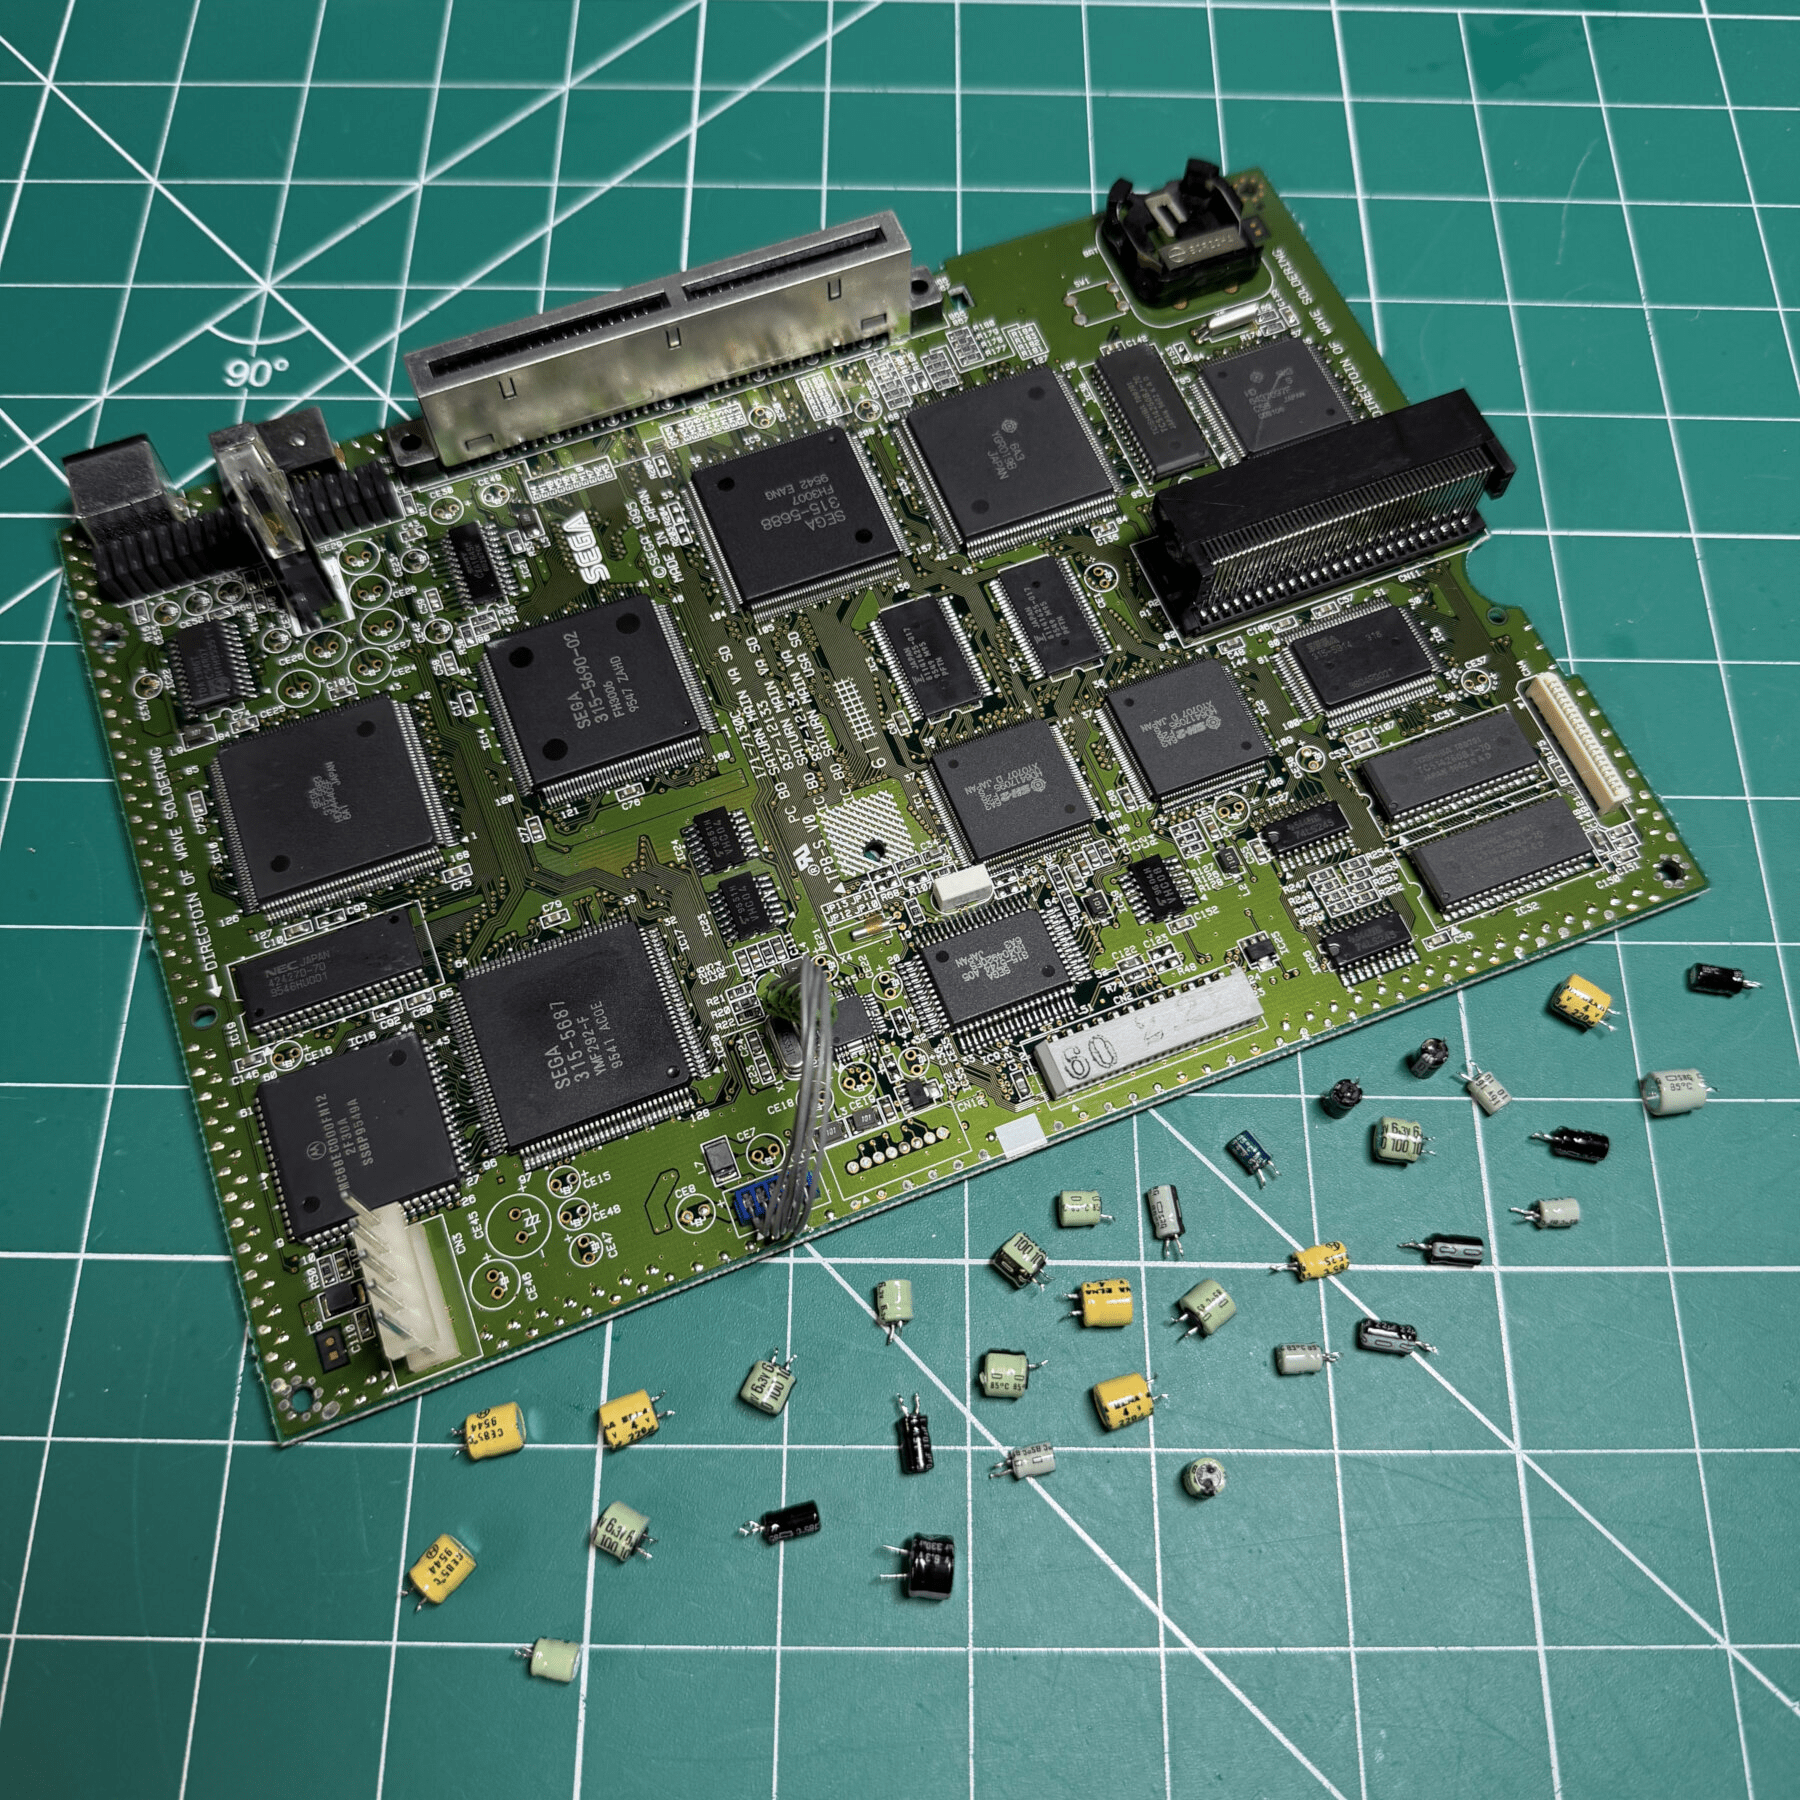
Lastly, I consider the FRAM mod essential for the Saturn so of course that and then the usual refurbishment work aka a Full Recap Service on all 3 boards, Full-Service Cleaning, and optical drive cleaning/maintenance.
Check out all the details below!
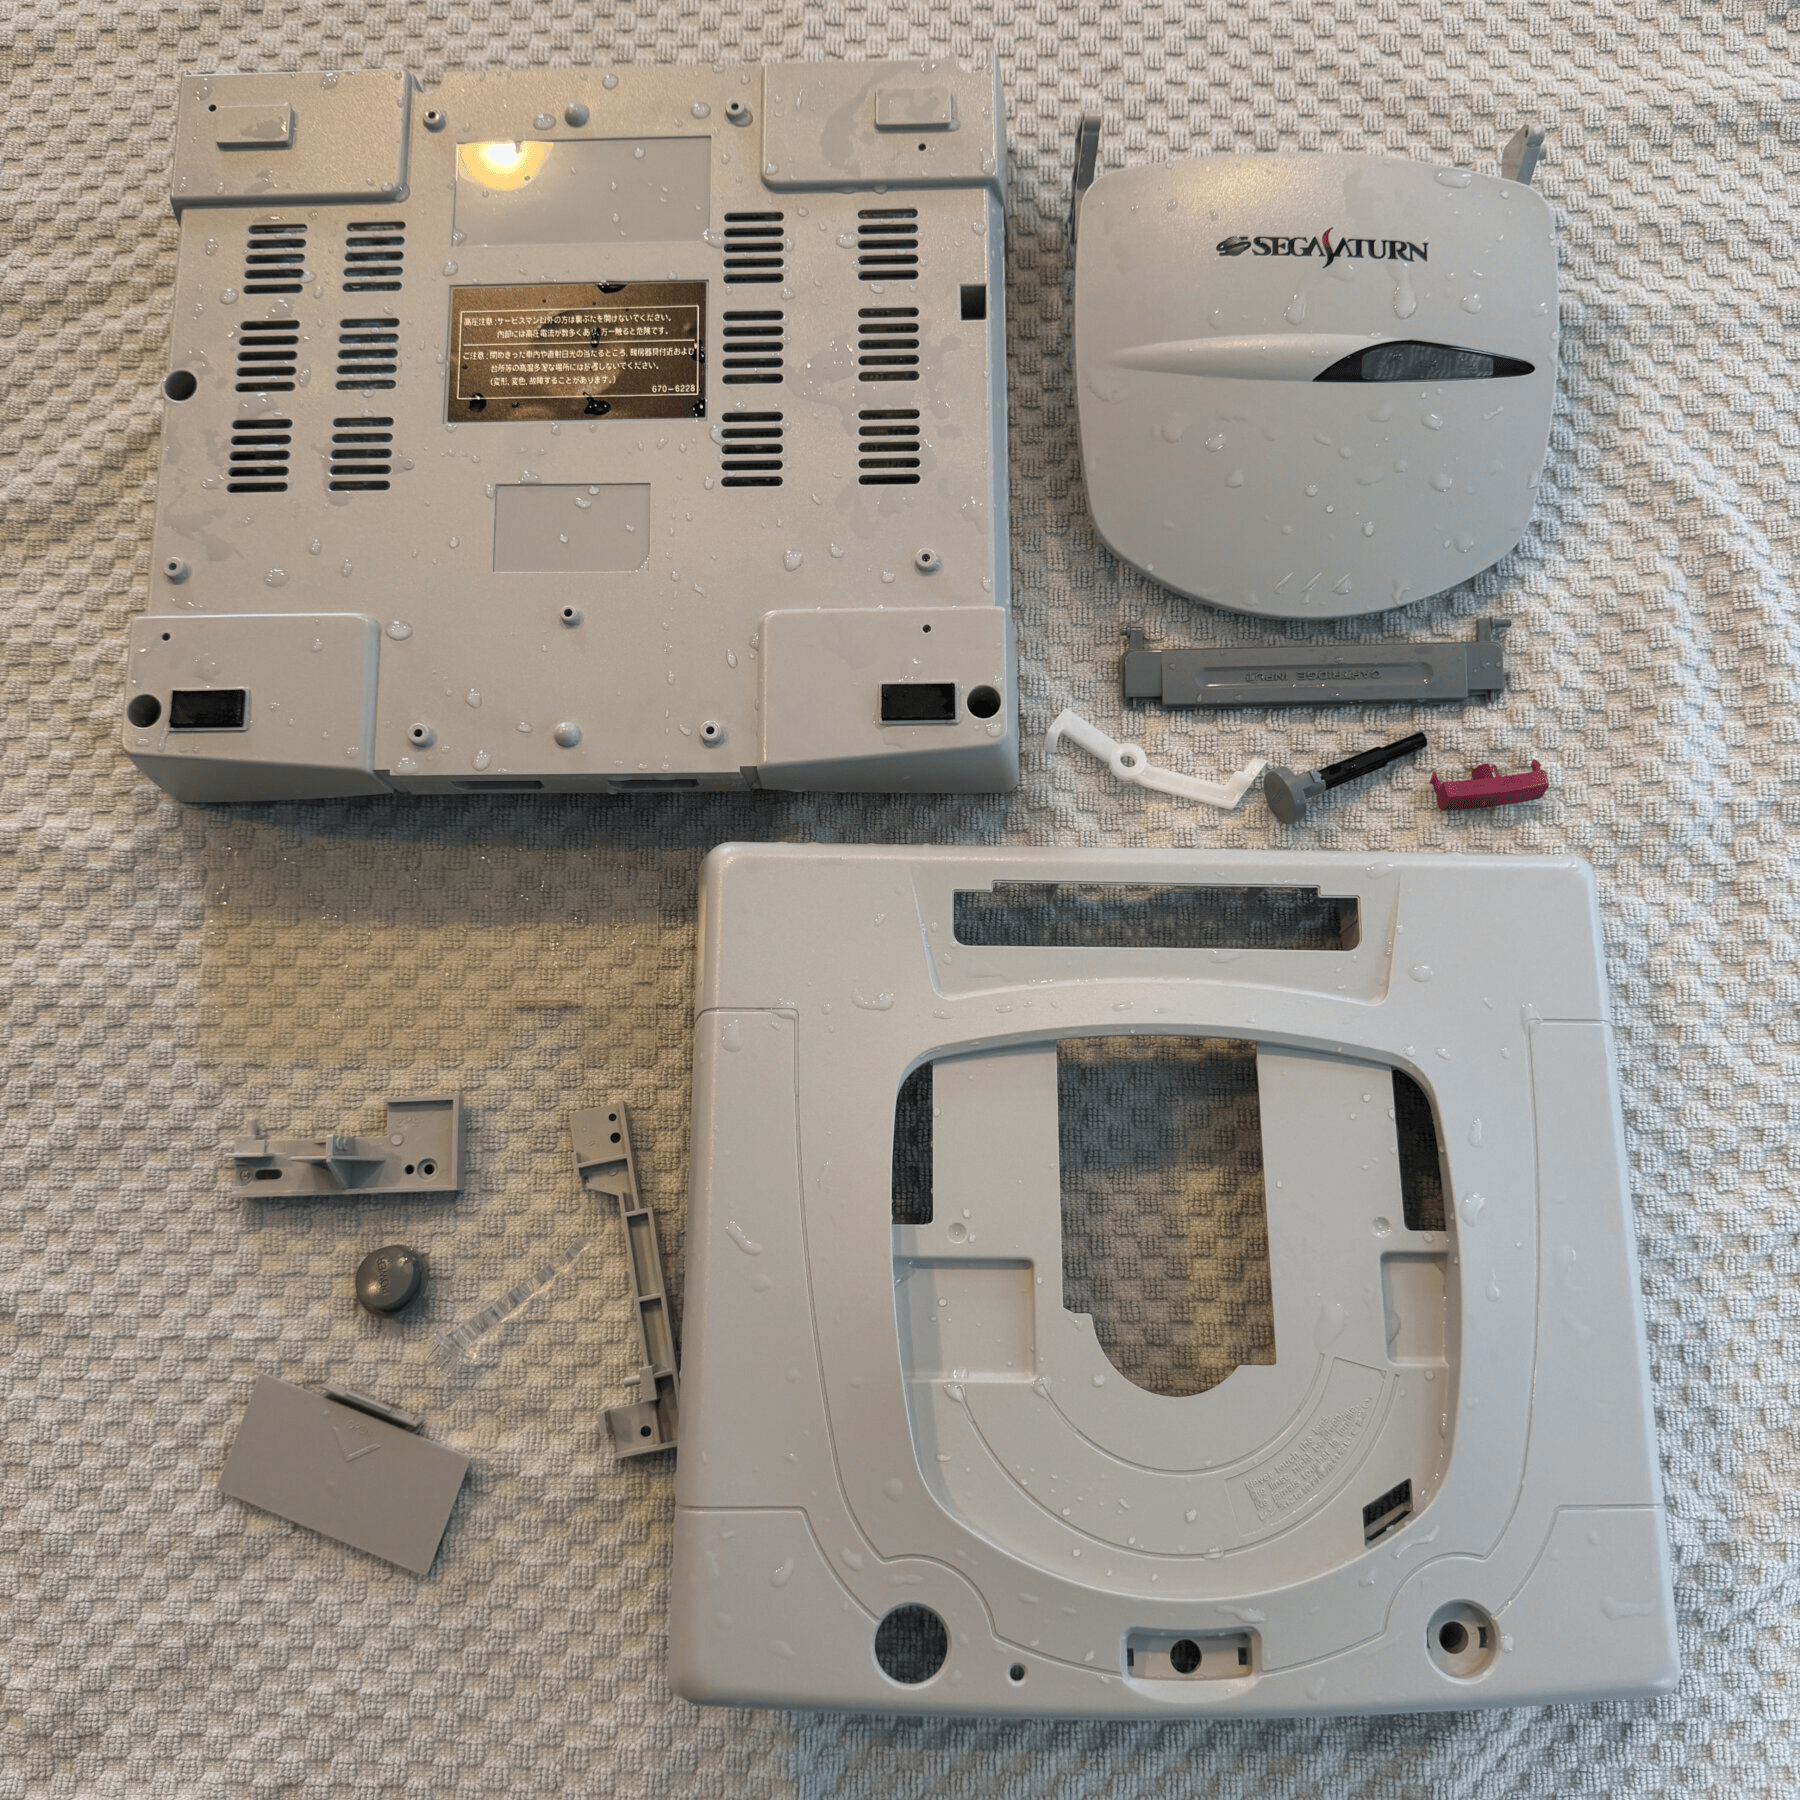
Started off with a full teardown to the internals, then tossing the disassembled shell, lid and rear battery door in the wash for a thorough cleaning and set out to dry. With the externals cleaned I then separated all the internal metal parts including top and bottom shielding and cleaned those and set aside.
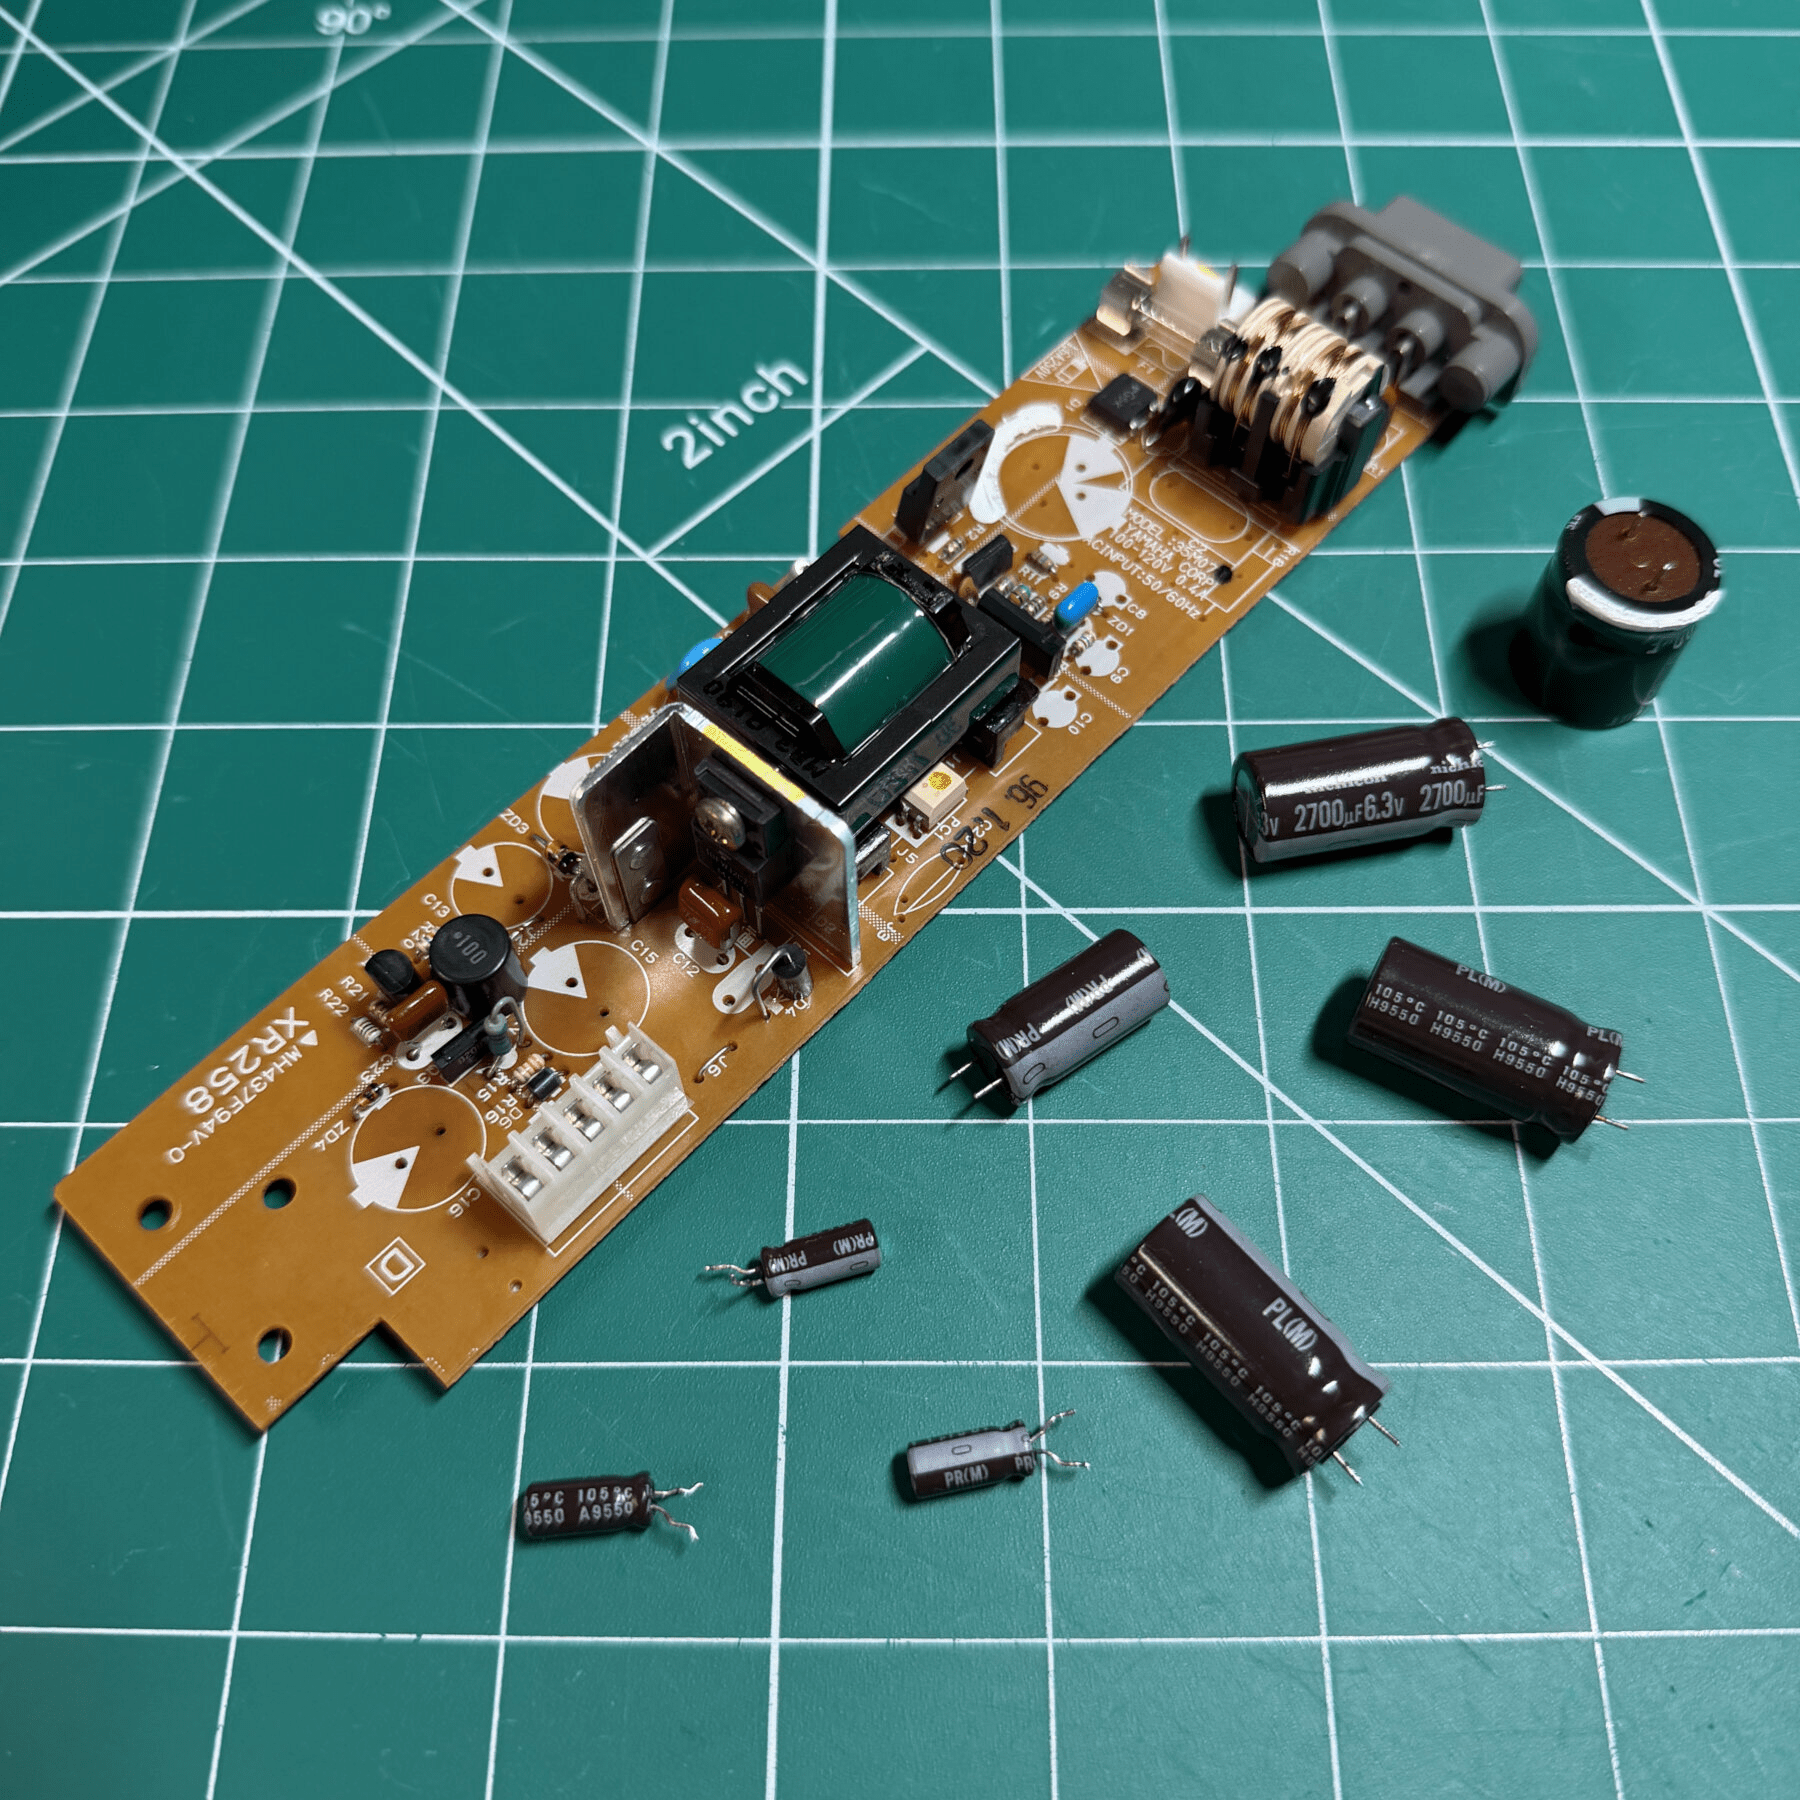
Like a lot of systems that are modular I prefer to decap, clean and recap each of the 3 main components in order they are removed from the system so in this case I’m starting with the PSU. No leaking caps observed and I tested the PSU by taking voltage readings on the pins. Removed all the OEM caps and cleaned the board then installed a brand-new Yamaha XR258 cap kit from Console5.
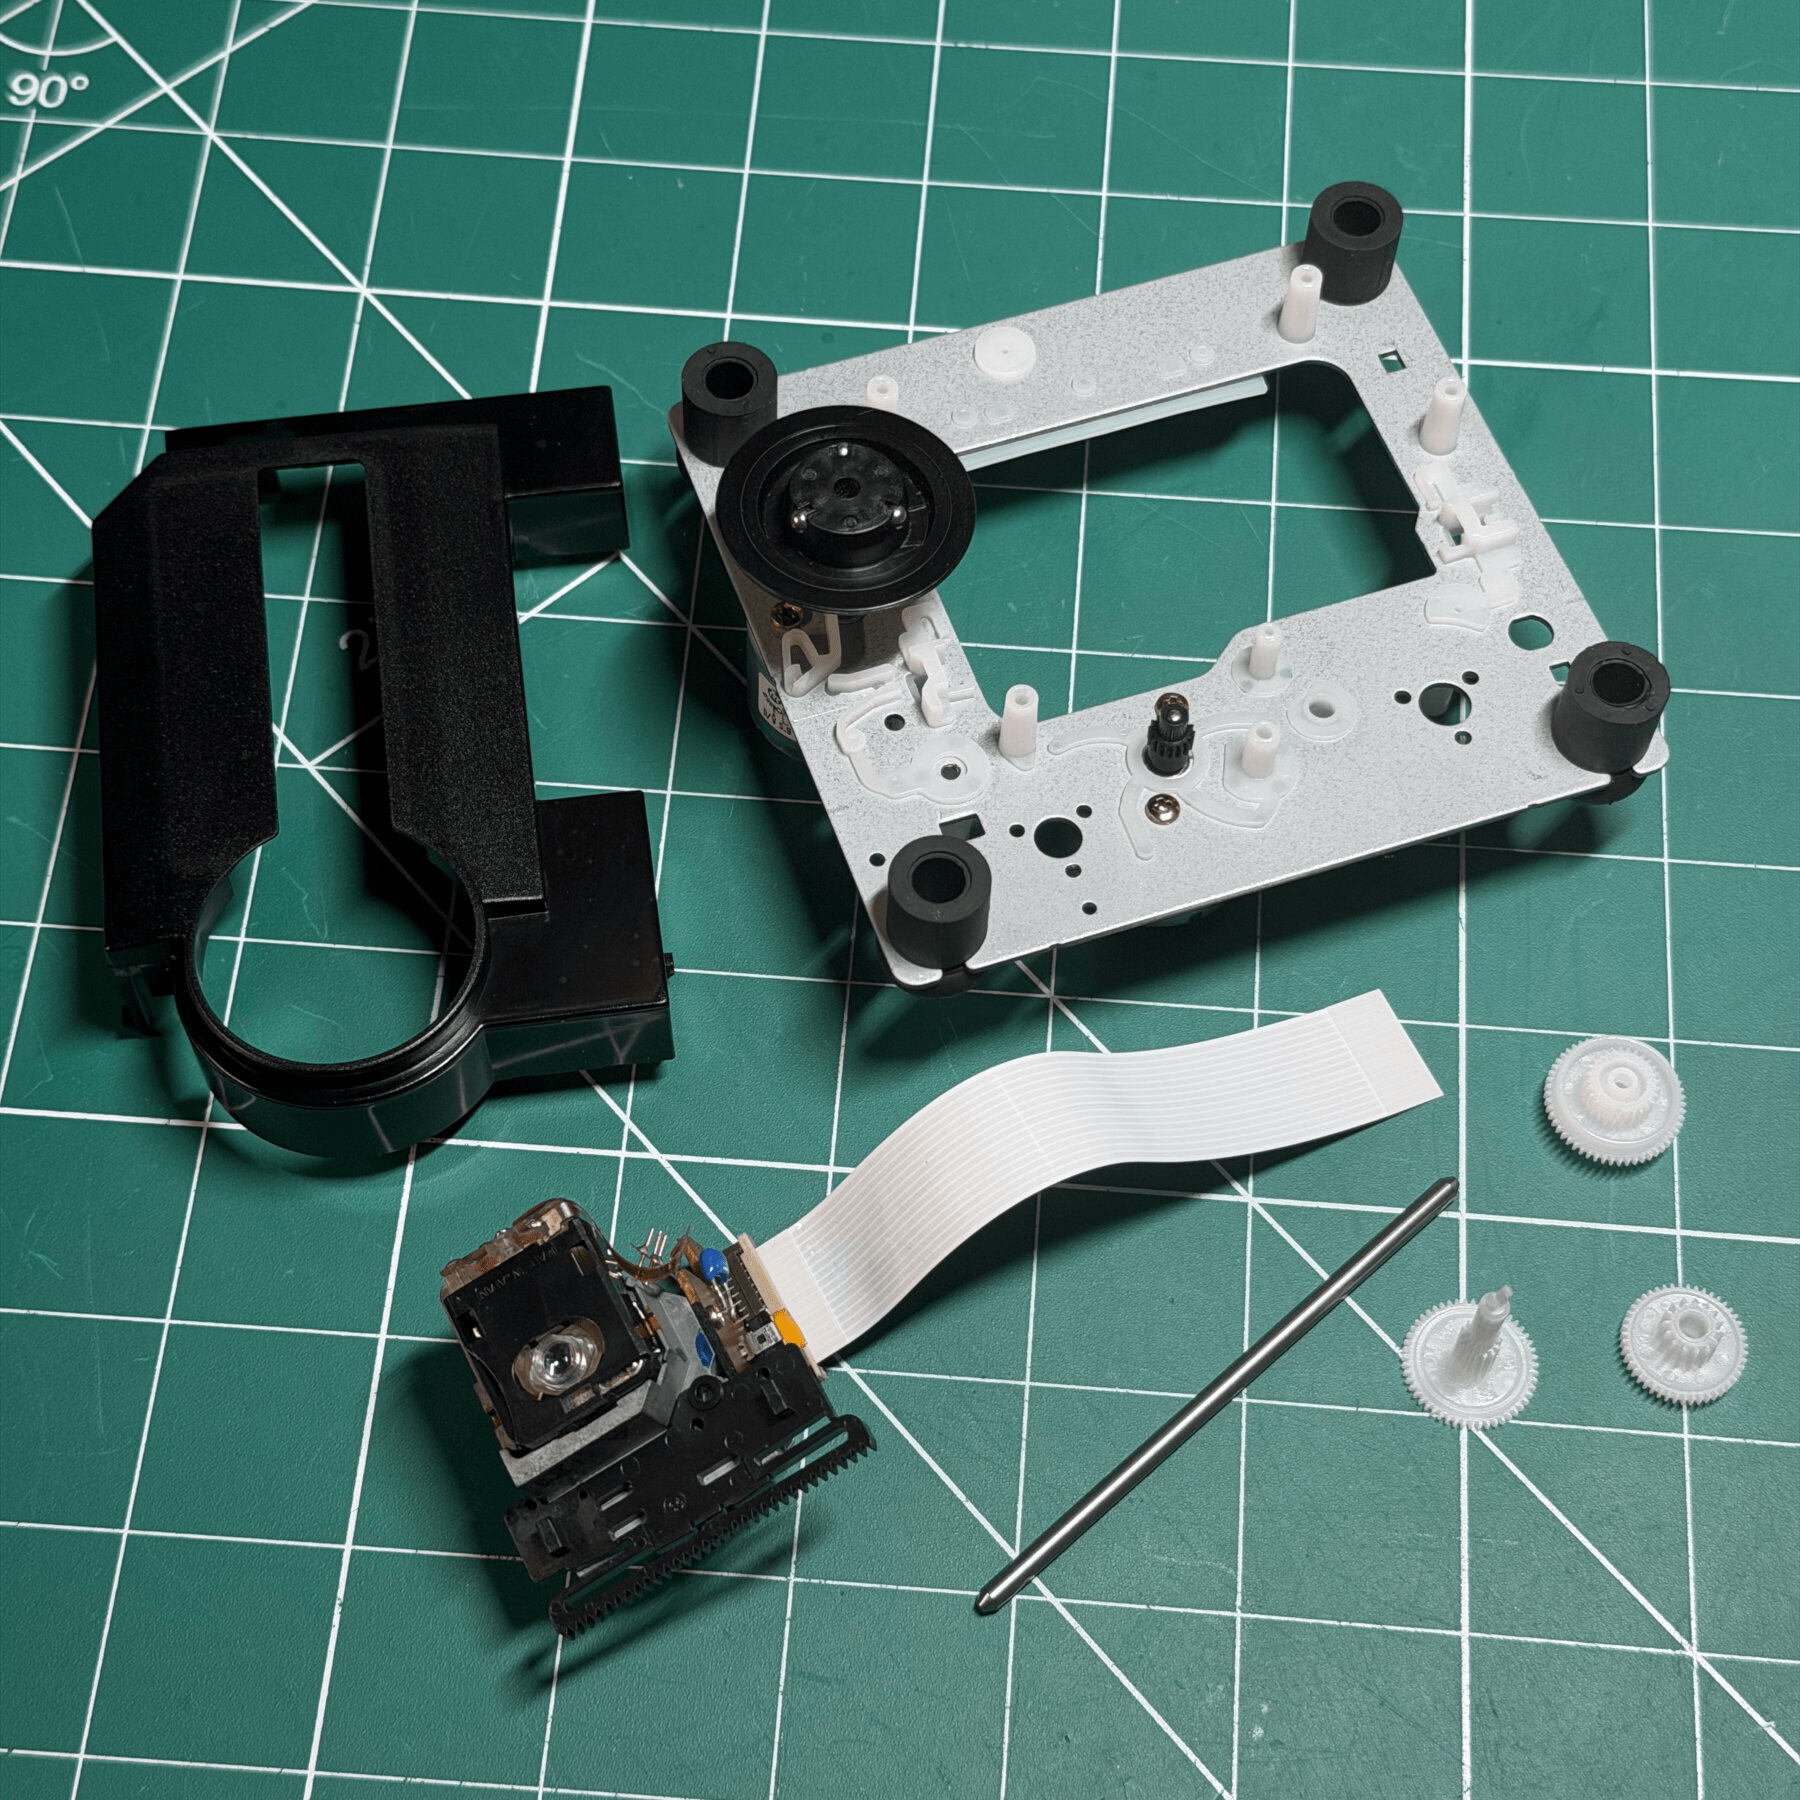
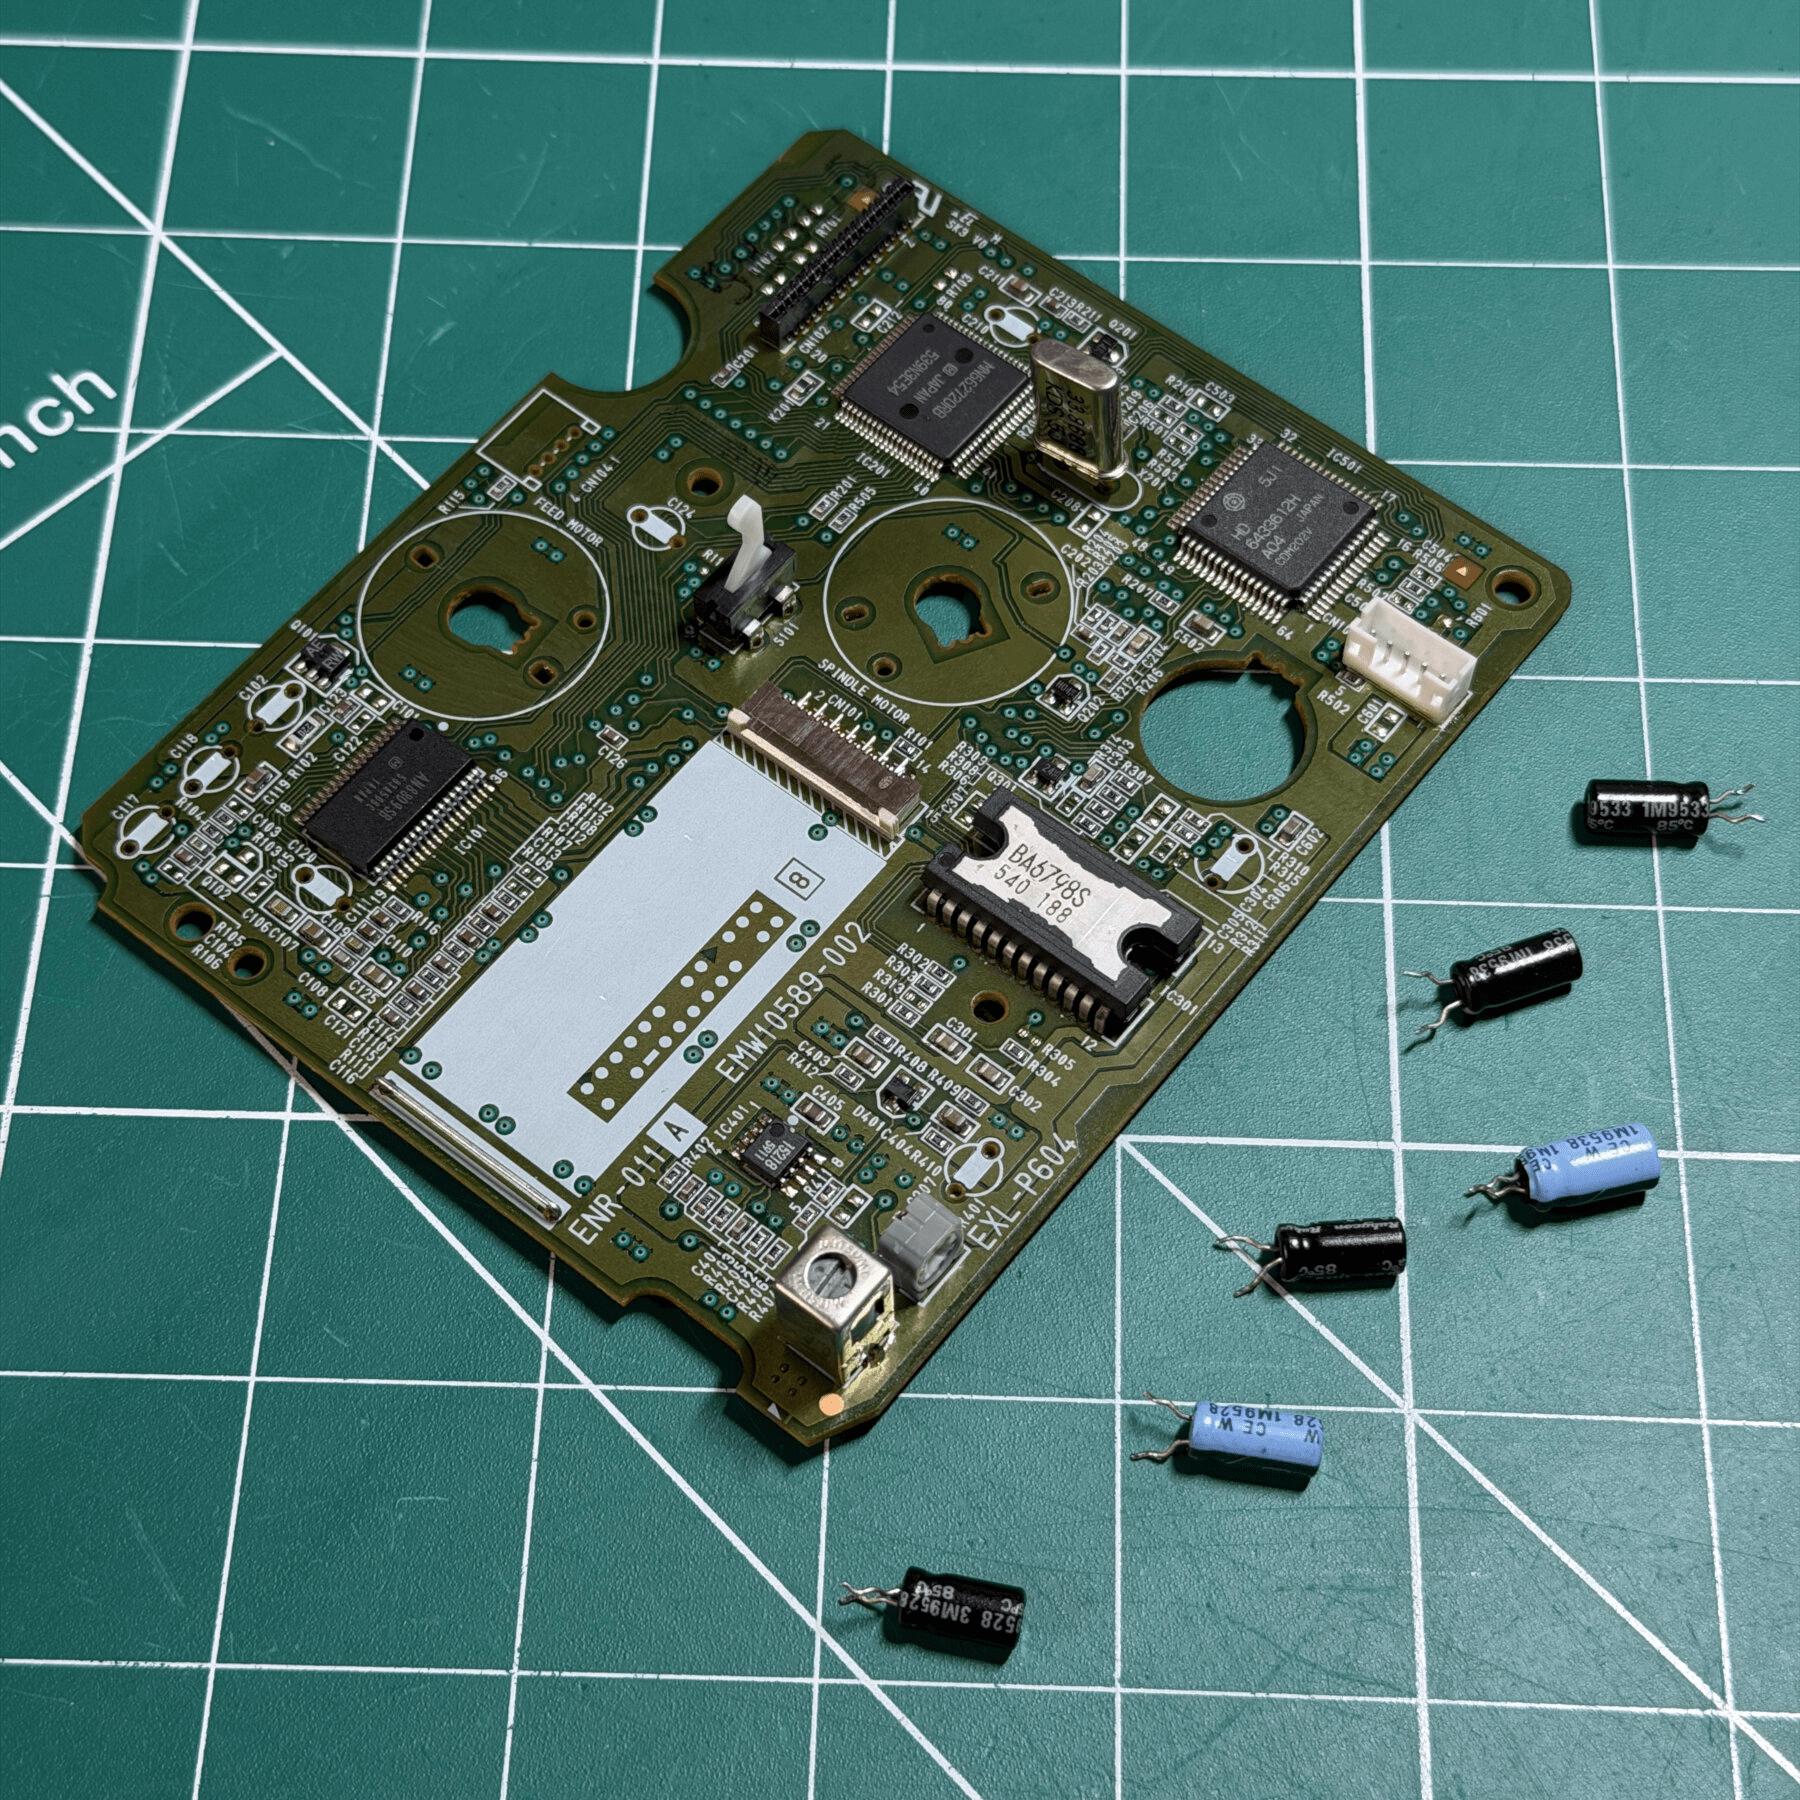
With the PSU out of the way I moved on to the CDROM drive. This was a JVC EXL-P604 model, which was completely torn down and PCB separated from the laser assembly. Removed all the old caps, cleaned the PCB and soldered in a new P604 cap kit from Console5. I then took the laser out and deep cleaned the rails and 3 gears/dust shield and applied some fresh grease where needed, then reassembled the entire drive and set to the side in an anti-static bag while I got ready to take on the largest part of the project…
I had several things to knock out on the mainboard but I don’t like moving the board around to recap it while the new BIOS/FRAM chips installed as I always get nervous the small Kynar wire might get snagged on something and pulled so the plan when doing these builds is always recap and clean first then BIOS/FRAM install!
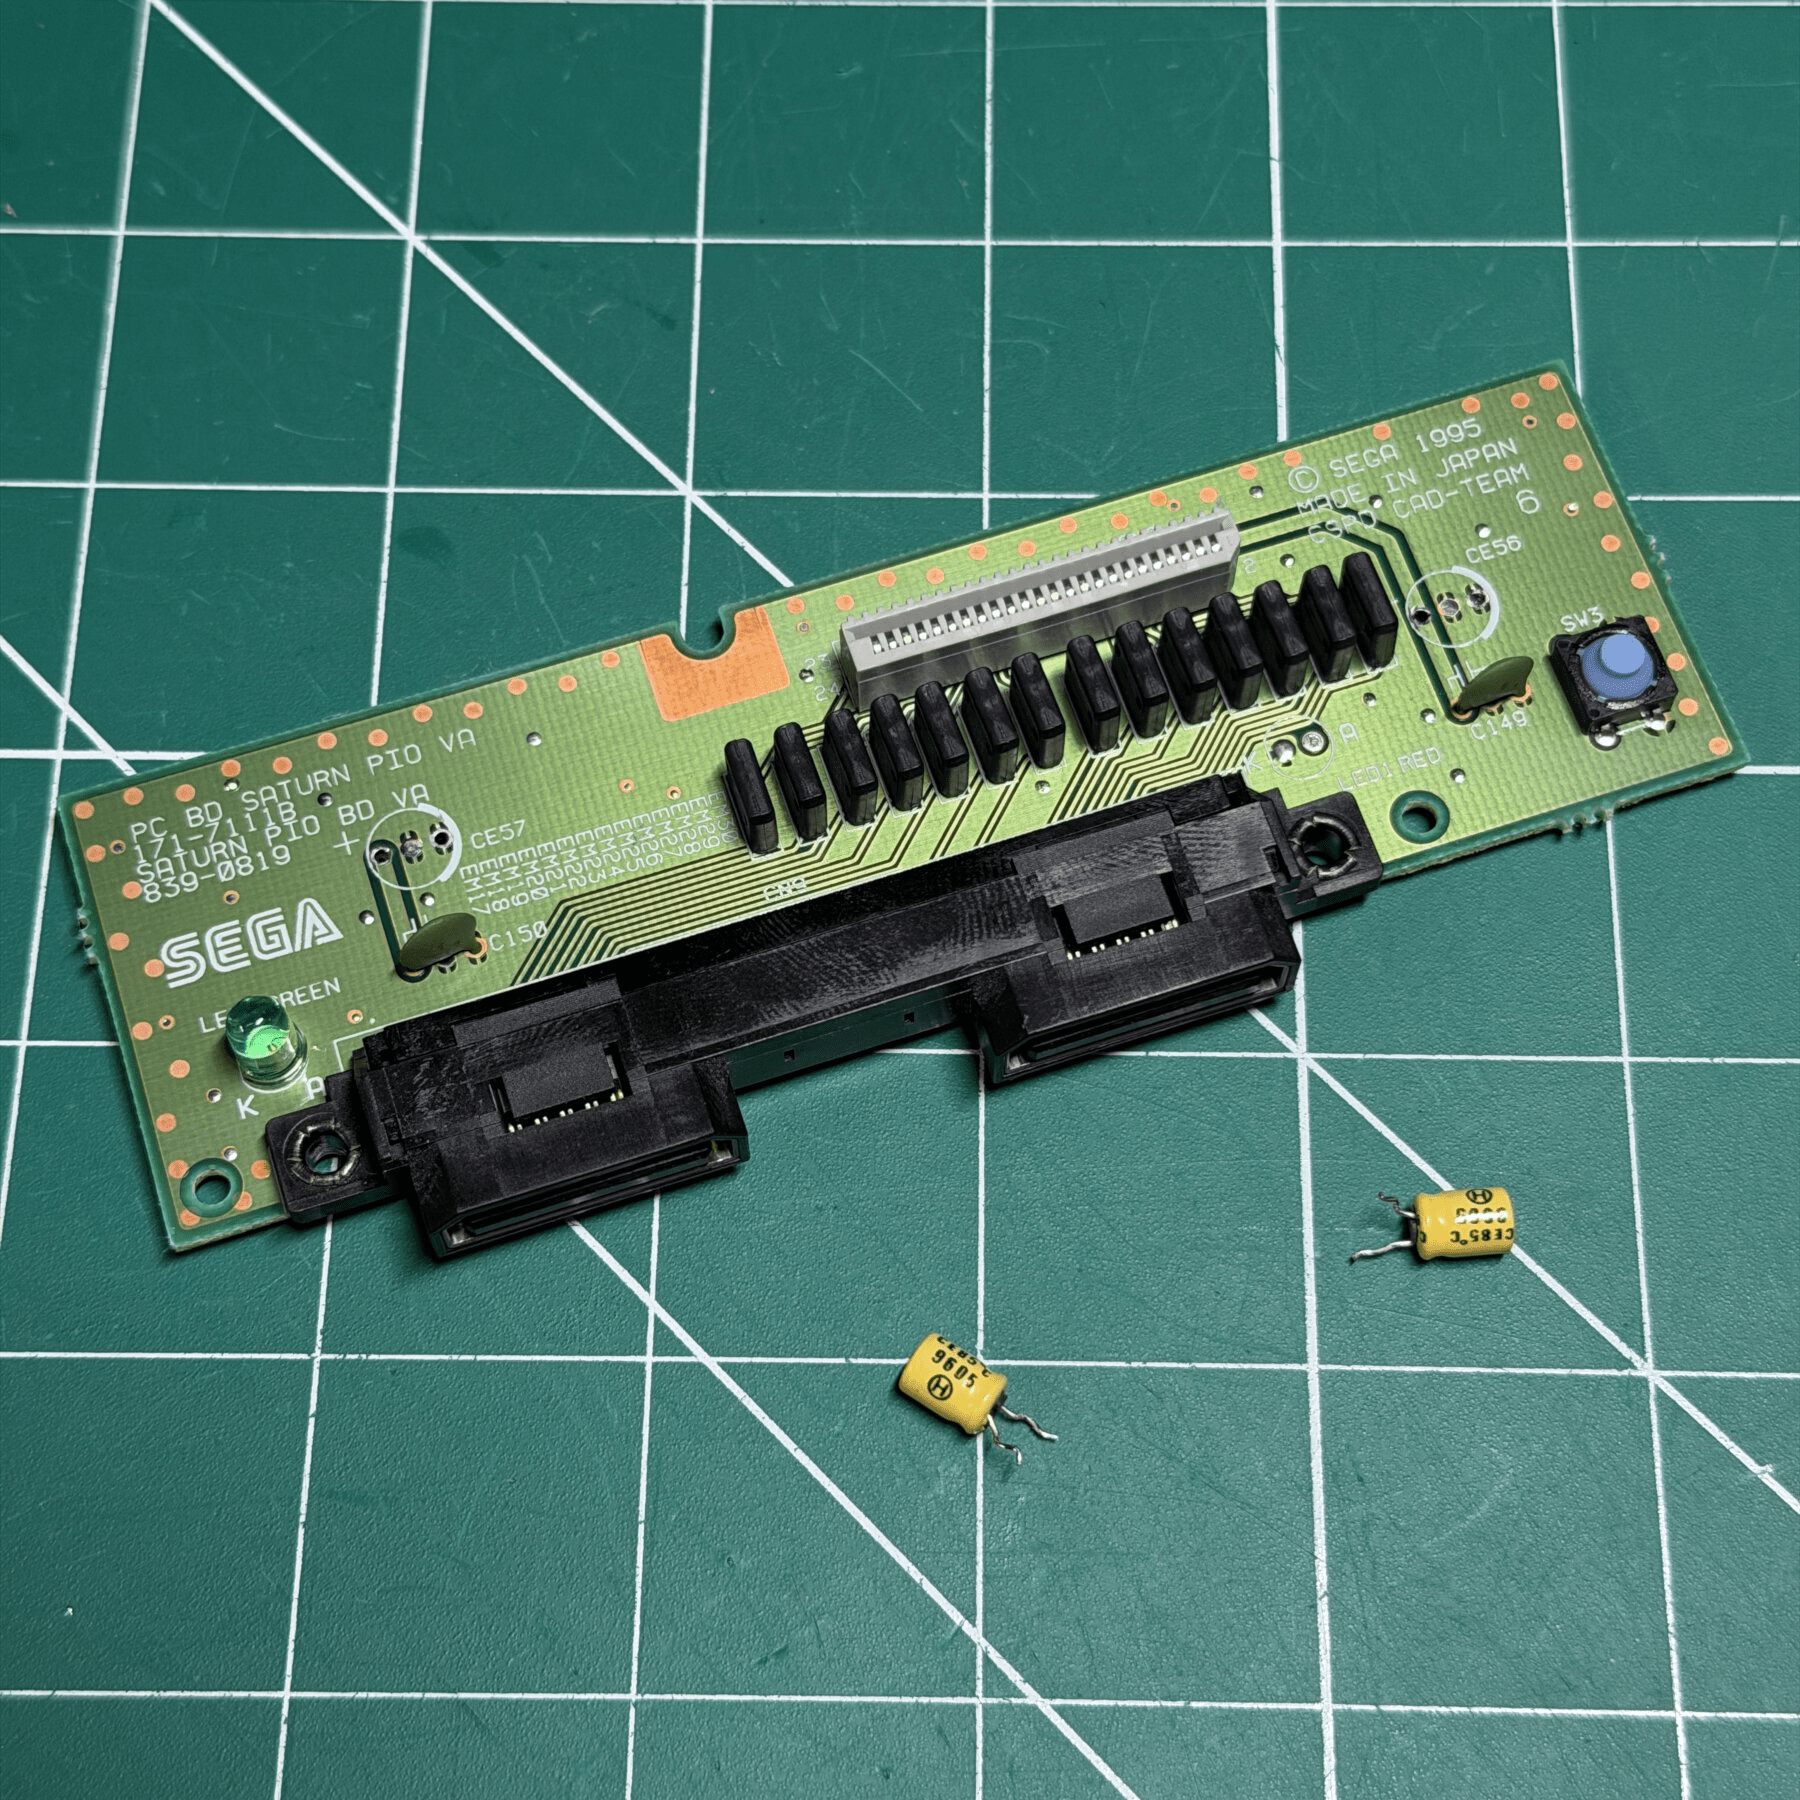
Compared to the SMD revisions I can make much quicker work of the through-hole boards with my Hakko gun so got all those removed and deep cleaned the board top and bottom to remove all dust, debris and flux present from the factory. I then used a trusty VA-SG capacitor map from Console5 and installed all new caps from the kit. With the recap and board cleaning out of the way, I flipped it over and prepped the area for the trickiest upgrades…
When it comes to the BIOS and FRAM on the models where both chips are mounted to the underside, these are infamous for having a ton of epoxy securing the chips. Since I don’t like snipping the legs on things like this I still use my hot air station but I introduce a small amount of low-melt solder to all the pins first. What this does is let me focus on heating the center body of the chip where the epoxy is located while knowing that the pins are still hot enough for the pads to be completely molten. I still keep the nozzle moving constantly (I use 325C at 30%) and take a paint knife coated in Kapton tape (to avoid accidentally scratching the board) and very gently pry from a corner (sometimes this can be tricky if the epoxy is sticking out the entire side of the chip). I also ensure the entire surrounding area is covered in Kapton before introducing any heat to the board.
Usually after about 45-60 seconds I can start to feel the chip not put up much resistance from the corner so I will usually run the heat another 10 seconds from that moment and then gently but firmly start to pry with very light pressure and if the epoxy is heated enough you should feel a gentle but clear release as the chip lifts from the epoxy and I just continue lifting with the covered knife blade until the chip is completely above. As I lift from one side if I notice any signs of a pad not being molten or the pin not coming off I can stop and focus the heat on that area and then continue.
Using this method I have not had a pad lift even once so It’s my go to method I swear by, but there are other ways (some snip the legs on the chips) if you search around. Ultimately do whatever works for you but I won’t try any other way at this point!
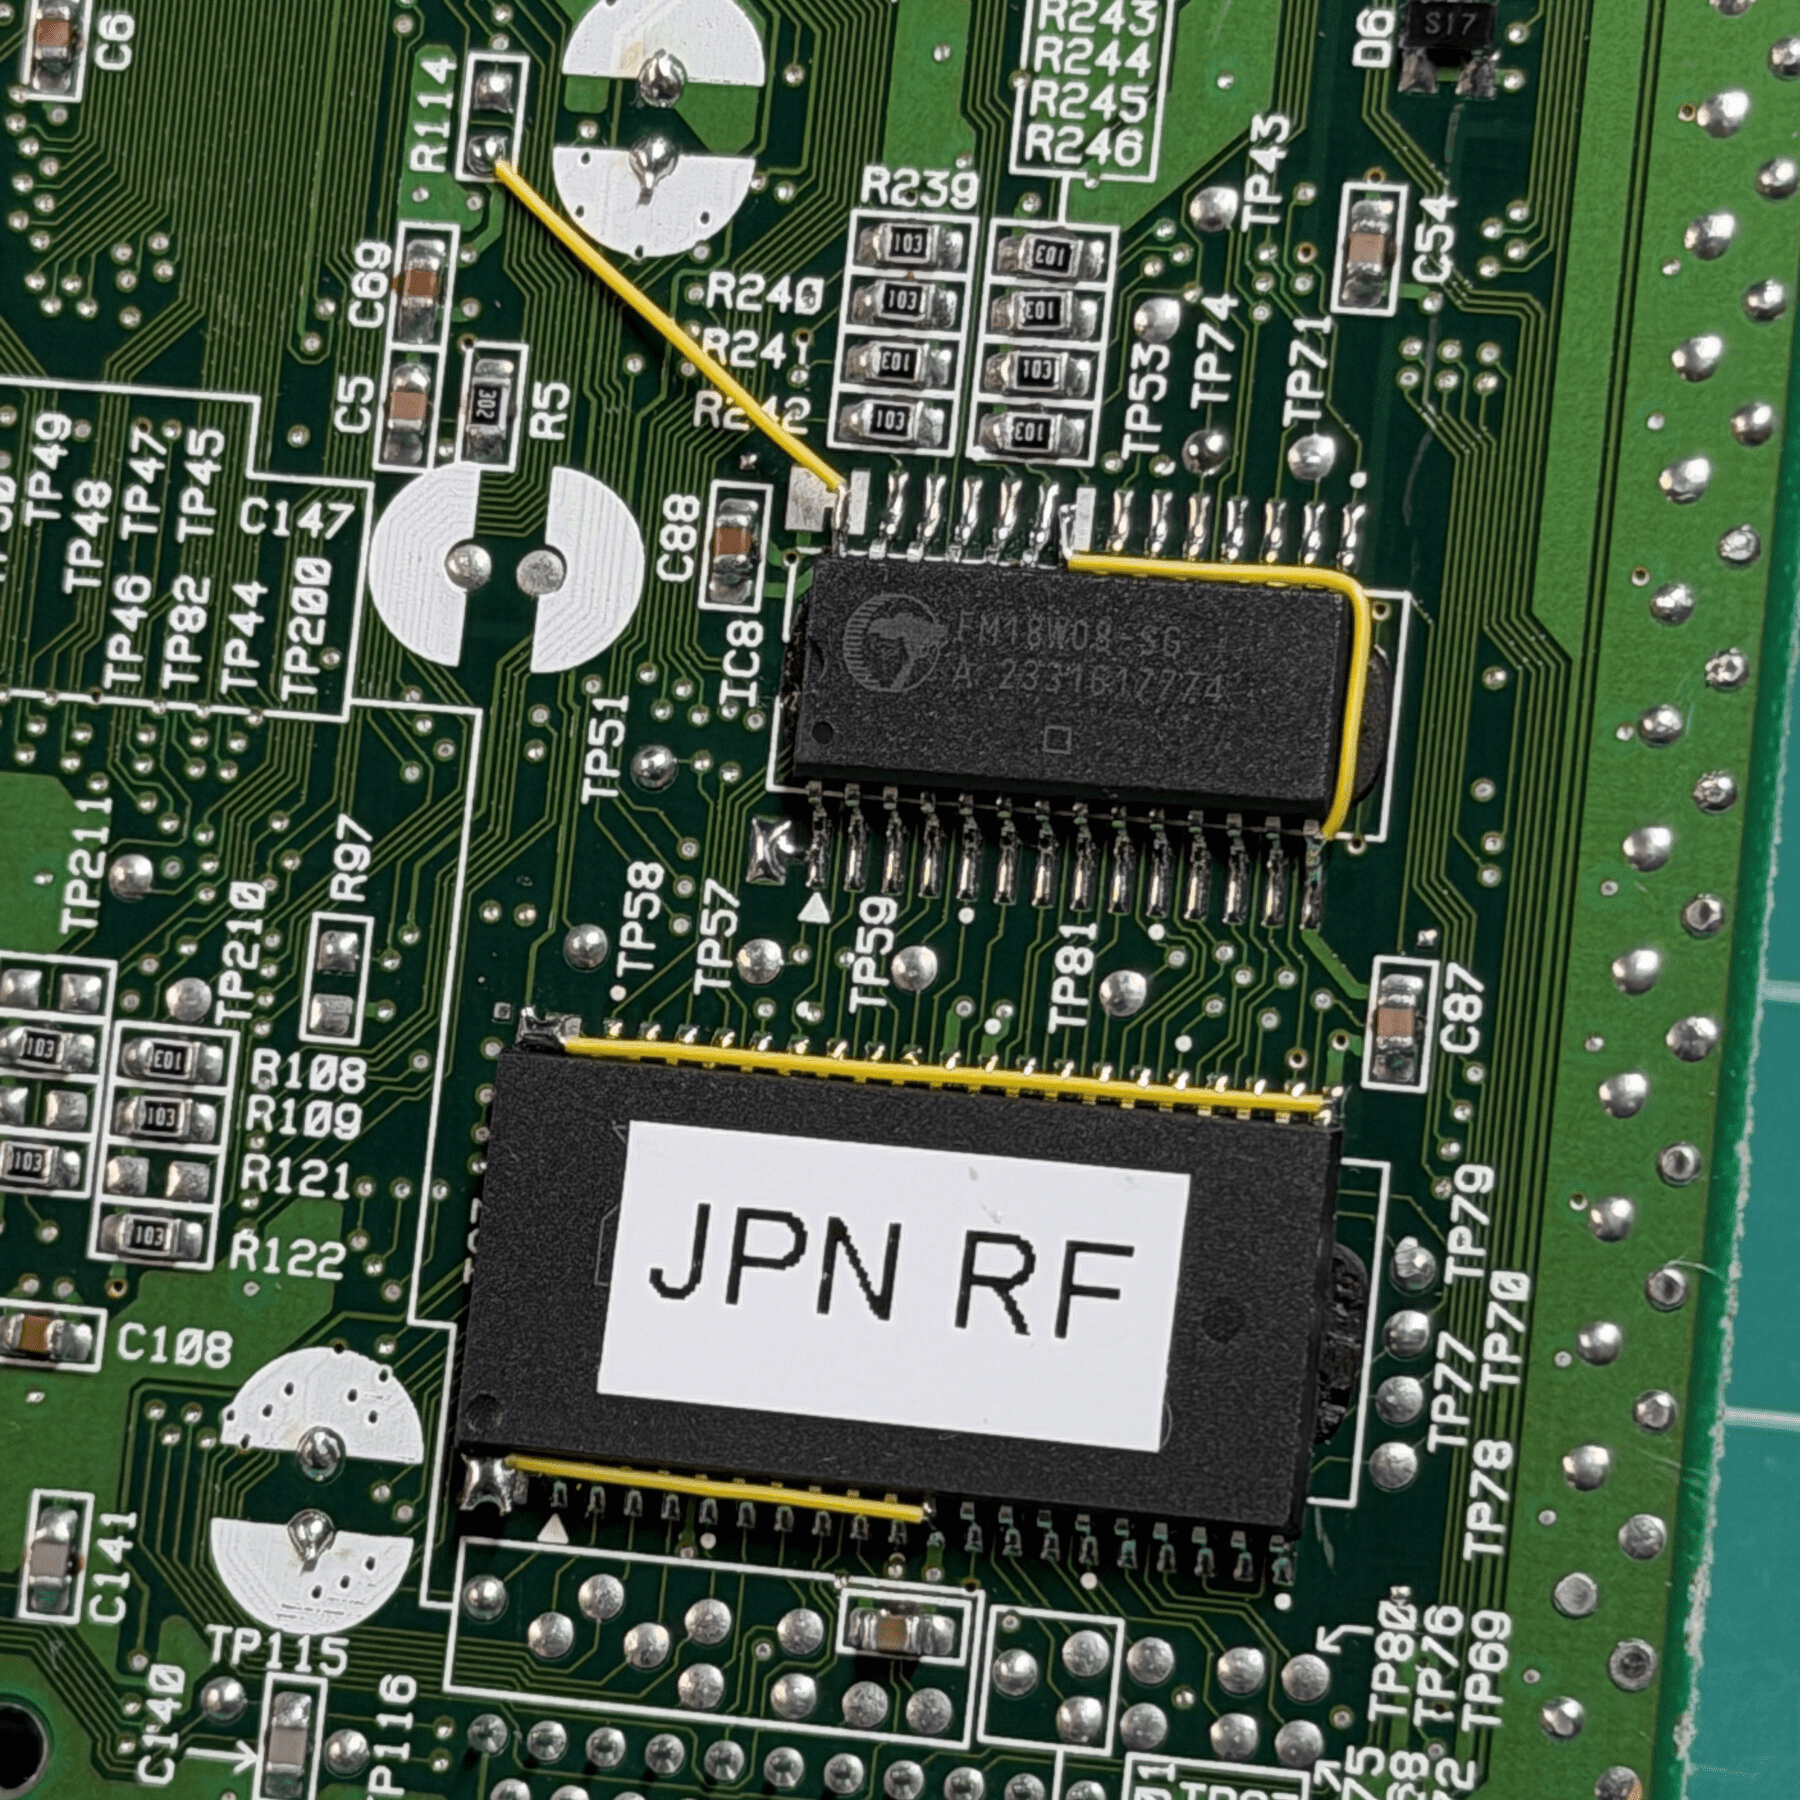
With the trickiest part done it is then just a matter of wicking all the pads clean, wiping the area with ISO and prepping the chips. The FRAM chip needs pin 28 and 22 lifted as they will be wired to 5V and GND respectively. For the BIOS chip, you need to lift pins 1-2 and 43-44. These will be bridged together then wired to other pins on the same side of the chip (with pins 1-2 and 43-44 hanging over the chip silkscreen and not connecting to the mainboard). I also find the legs are a bit too wide to have a decent joint on the pad so I carefully (before lifting the aforementioned pins) hold and push the chip down onto a hard surface like my workbench to push the legs in a tiny bit. I’m talking like 1mm on each side.
With both chips wired up I add a label indicating it’s a region free BIOS and what startup intro it has so that anyone working on this in the future knows.
The rest of the build is just reassembling the system and installing the ODE which is plug and play. Once I reach the point the top shield, CDROM and PSU are all reinstalled I can simply push the Fenrir Pro into the slot, route the flex to the CDROM and then a long wire connects to the 5V pin on the PSU. As for the switching portion it is press-fit into the rear bay above the battery and then connected to the ODE board.
I’m at the stage now where I can do all my testing so that the sticker can be placed and work signed off on, then run a burn in test!
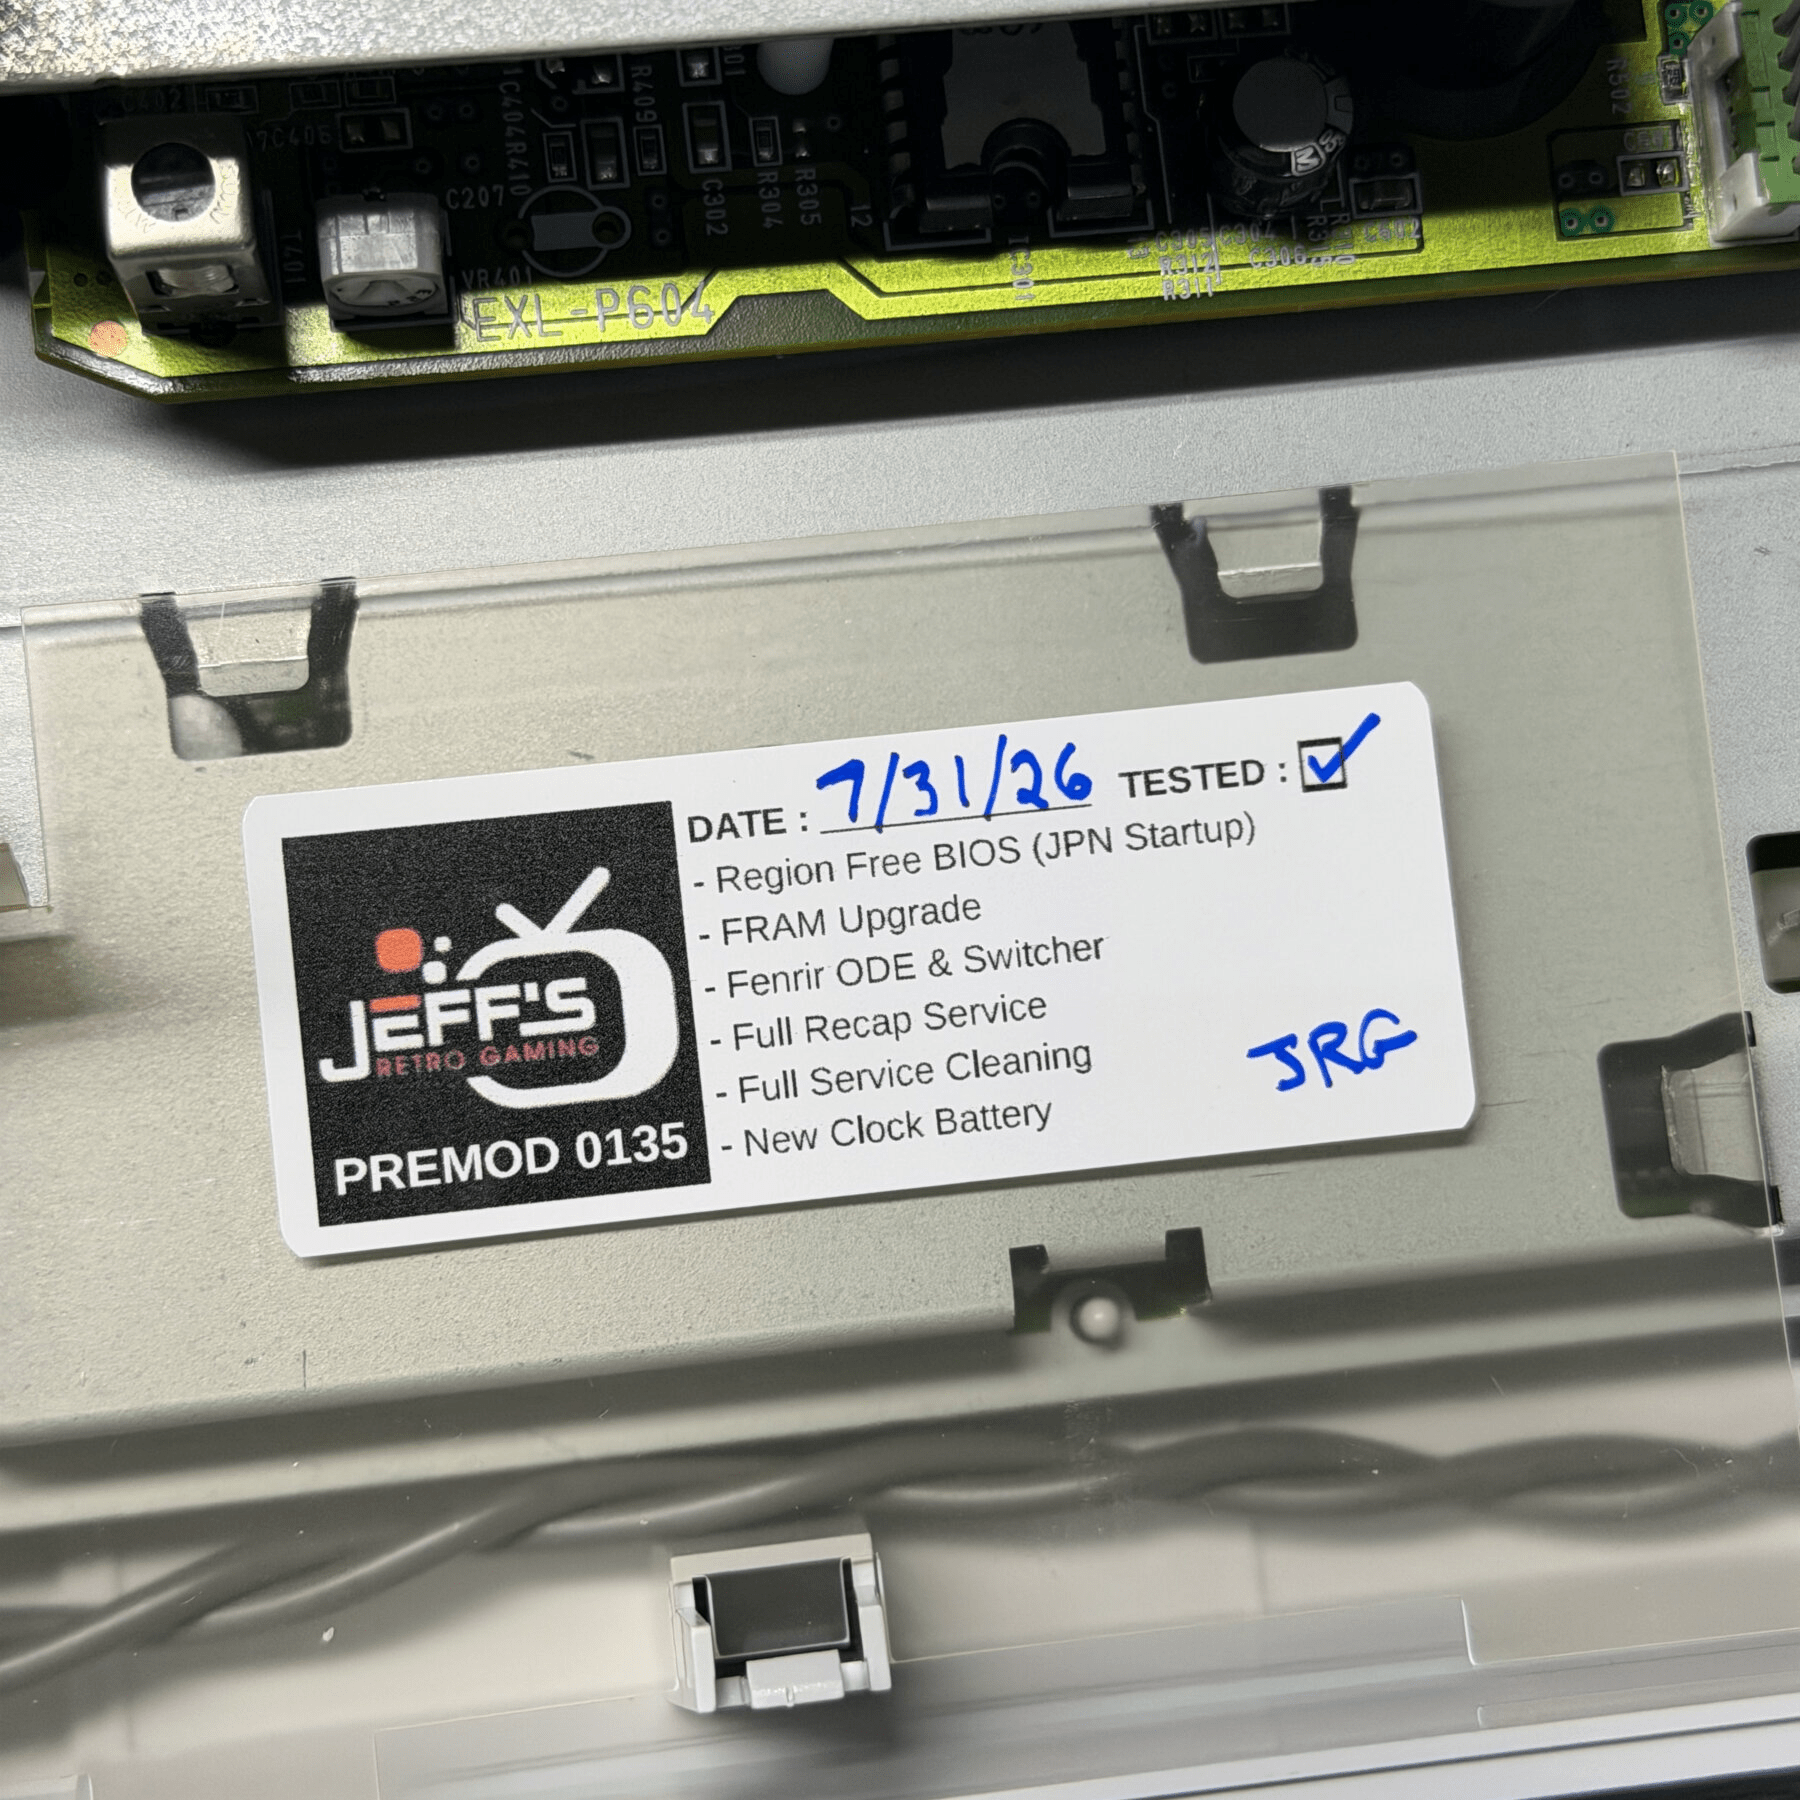
Testing the BIOS and FRAM comes first. I popped in pressed copies of several Japanese titles and several USA titles and confirmed all boot perfectly. For the FRAM, I pick any game I know saves data (in this case – Baku Baku) and with no battery inserted get far enough to have a save file created. I then power down, unplug and let sit for a while and then boot up again checking the memory manager to confirm the data survived across full power loss.
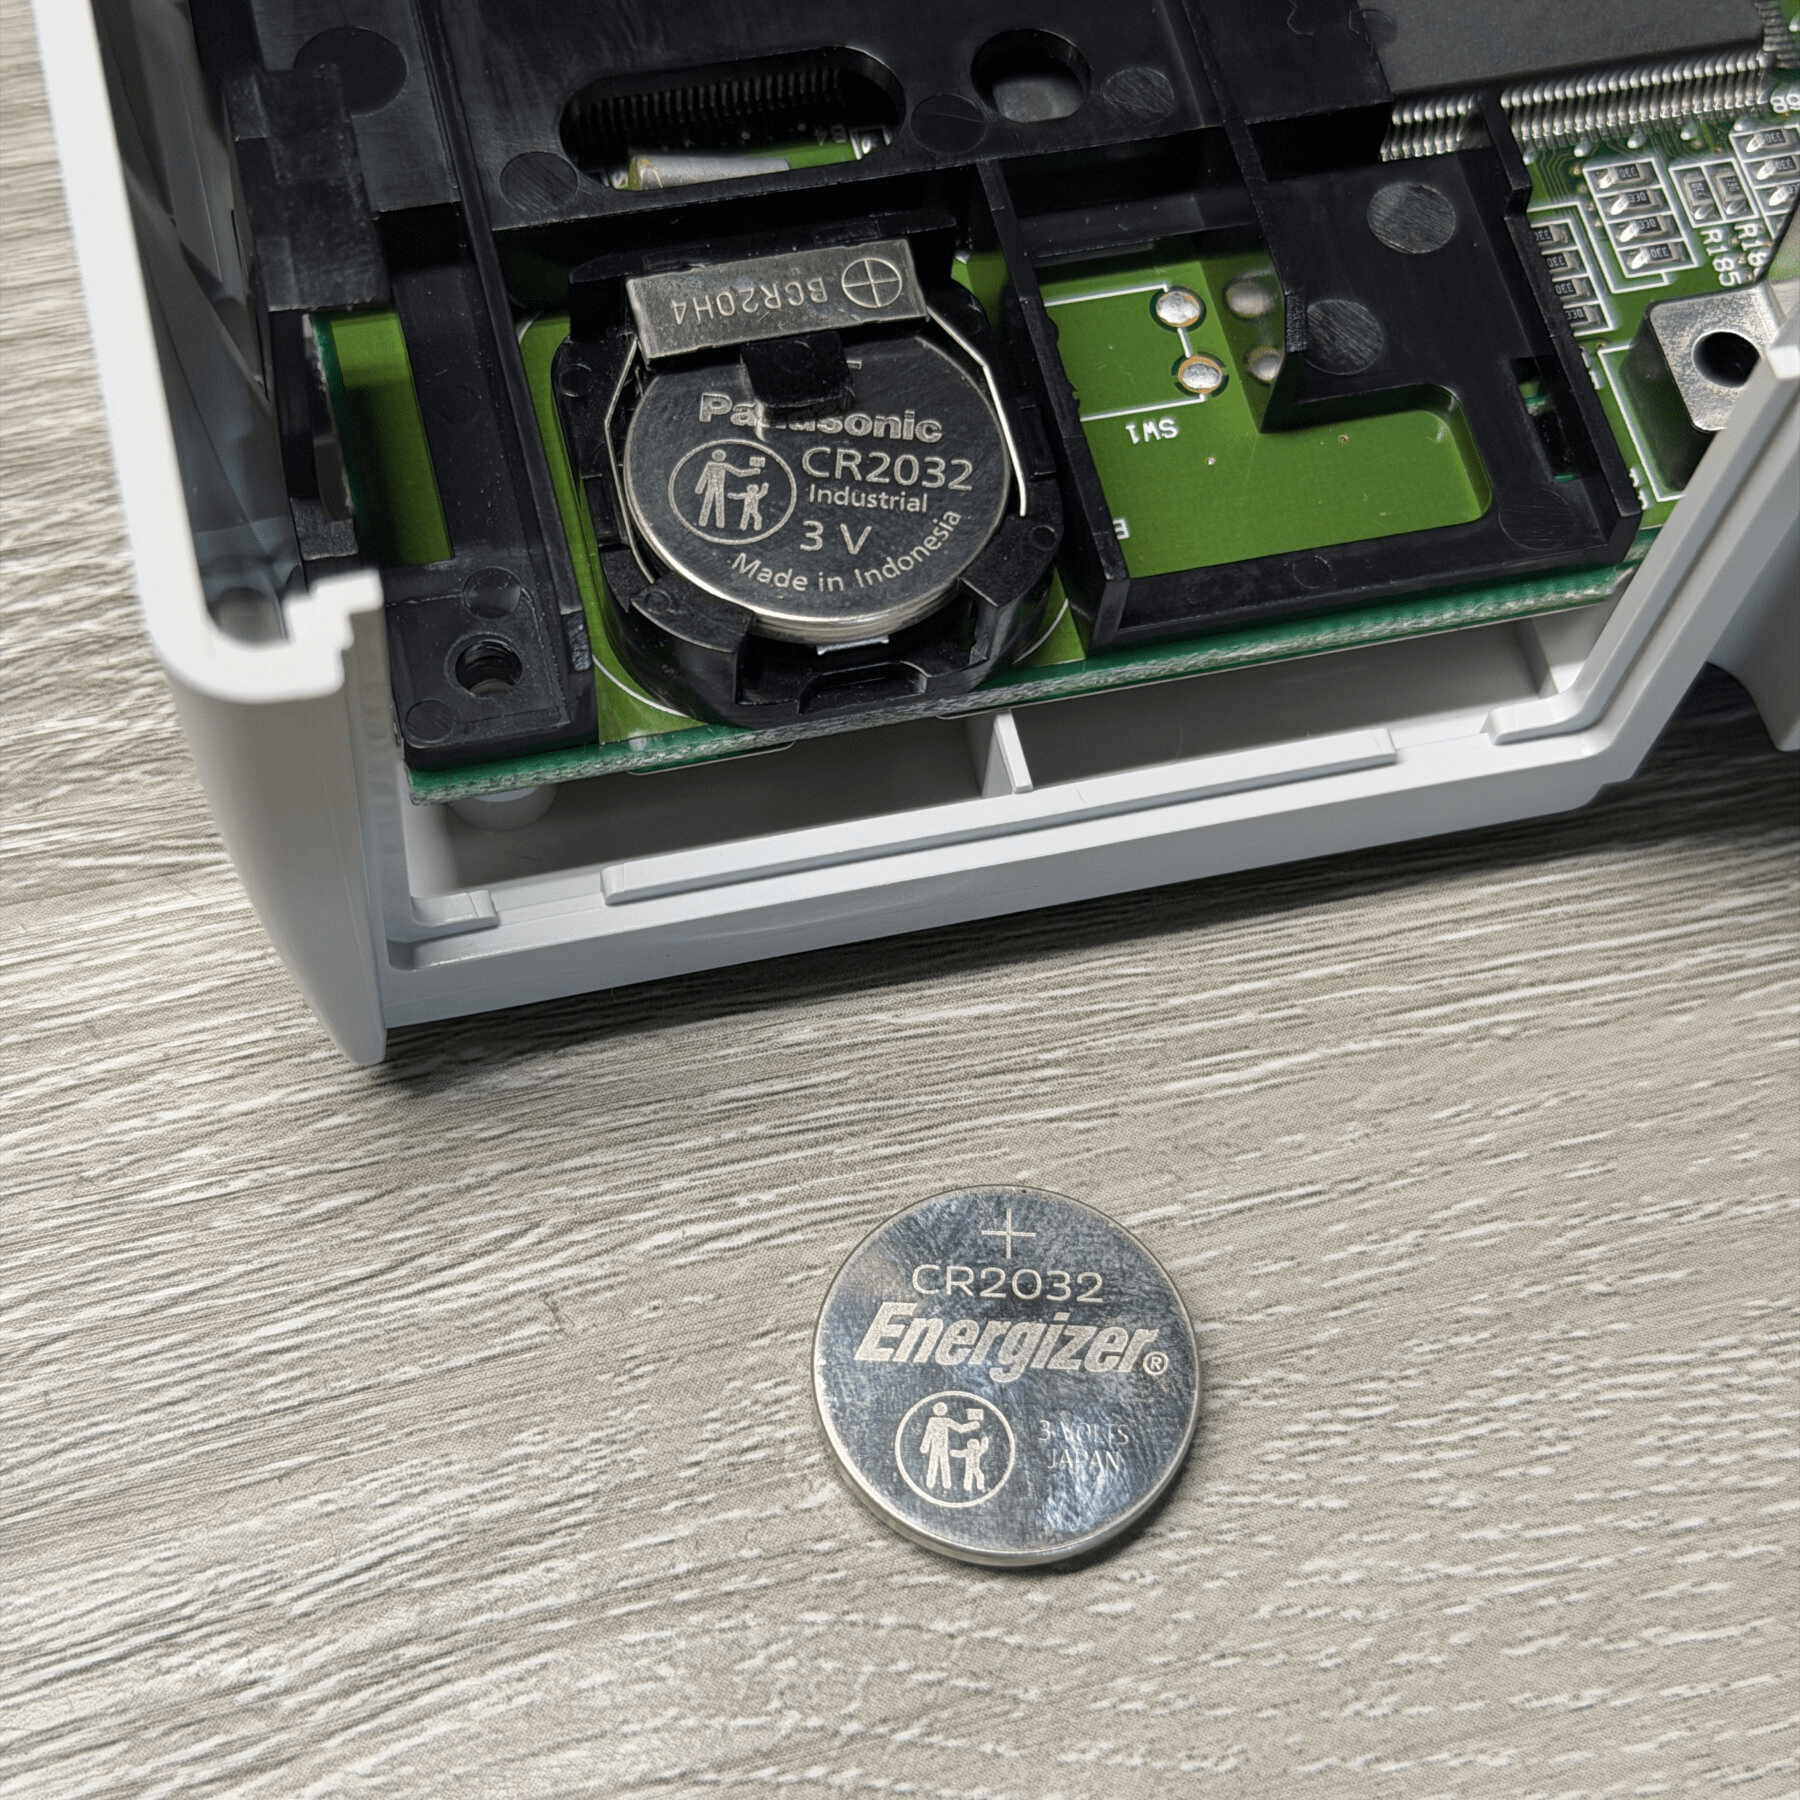
With the FRAM and BIOS confirmed I inserted a clean battery so the time/date and language can be set one final time, then tested the ODE. With the switch in CD mode the system boots stock and checks for and plays the discs as expected. When in SD mode it boots up an ODE splash screen showing the firmware version, a menu and any games stored on the SD card (I have 4 on a test card I use for these installs)
I ran and played several games from SD card, updated the firmware on the board and let the system run for several hours (including disc playback) and everything was performing perfectly, this Saturn is in great shape and now can play discs from all regions and from the SD card without worrying about losing save data. Not to mention the shell is in excellent shape, a rare sight these days!
I’m unsure of what the price point will be but I’m probably going to be targeting around $400 just for the console and cables (no controller) given the condition and parts added and amount of work but will make that decision once closer to the expo and I have more time to assess cost put into it.
Hoping to squeeze the next Pre-Modded system in after taking care of a handful of the next customer orders… a custom GameCube with new shell, ODE, PixelFX HDMI mod, silent fan, etc!
Thanks for checking out this build and if for some reason I end up unable to make it to the show or it doesnt sell there, keep your eyes out here as it will then be listed in the Pre-Modded section for sure 👍
https://jeffsretrogaming.com/pre-modded-systems/