
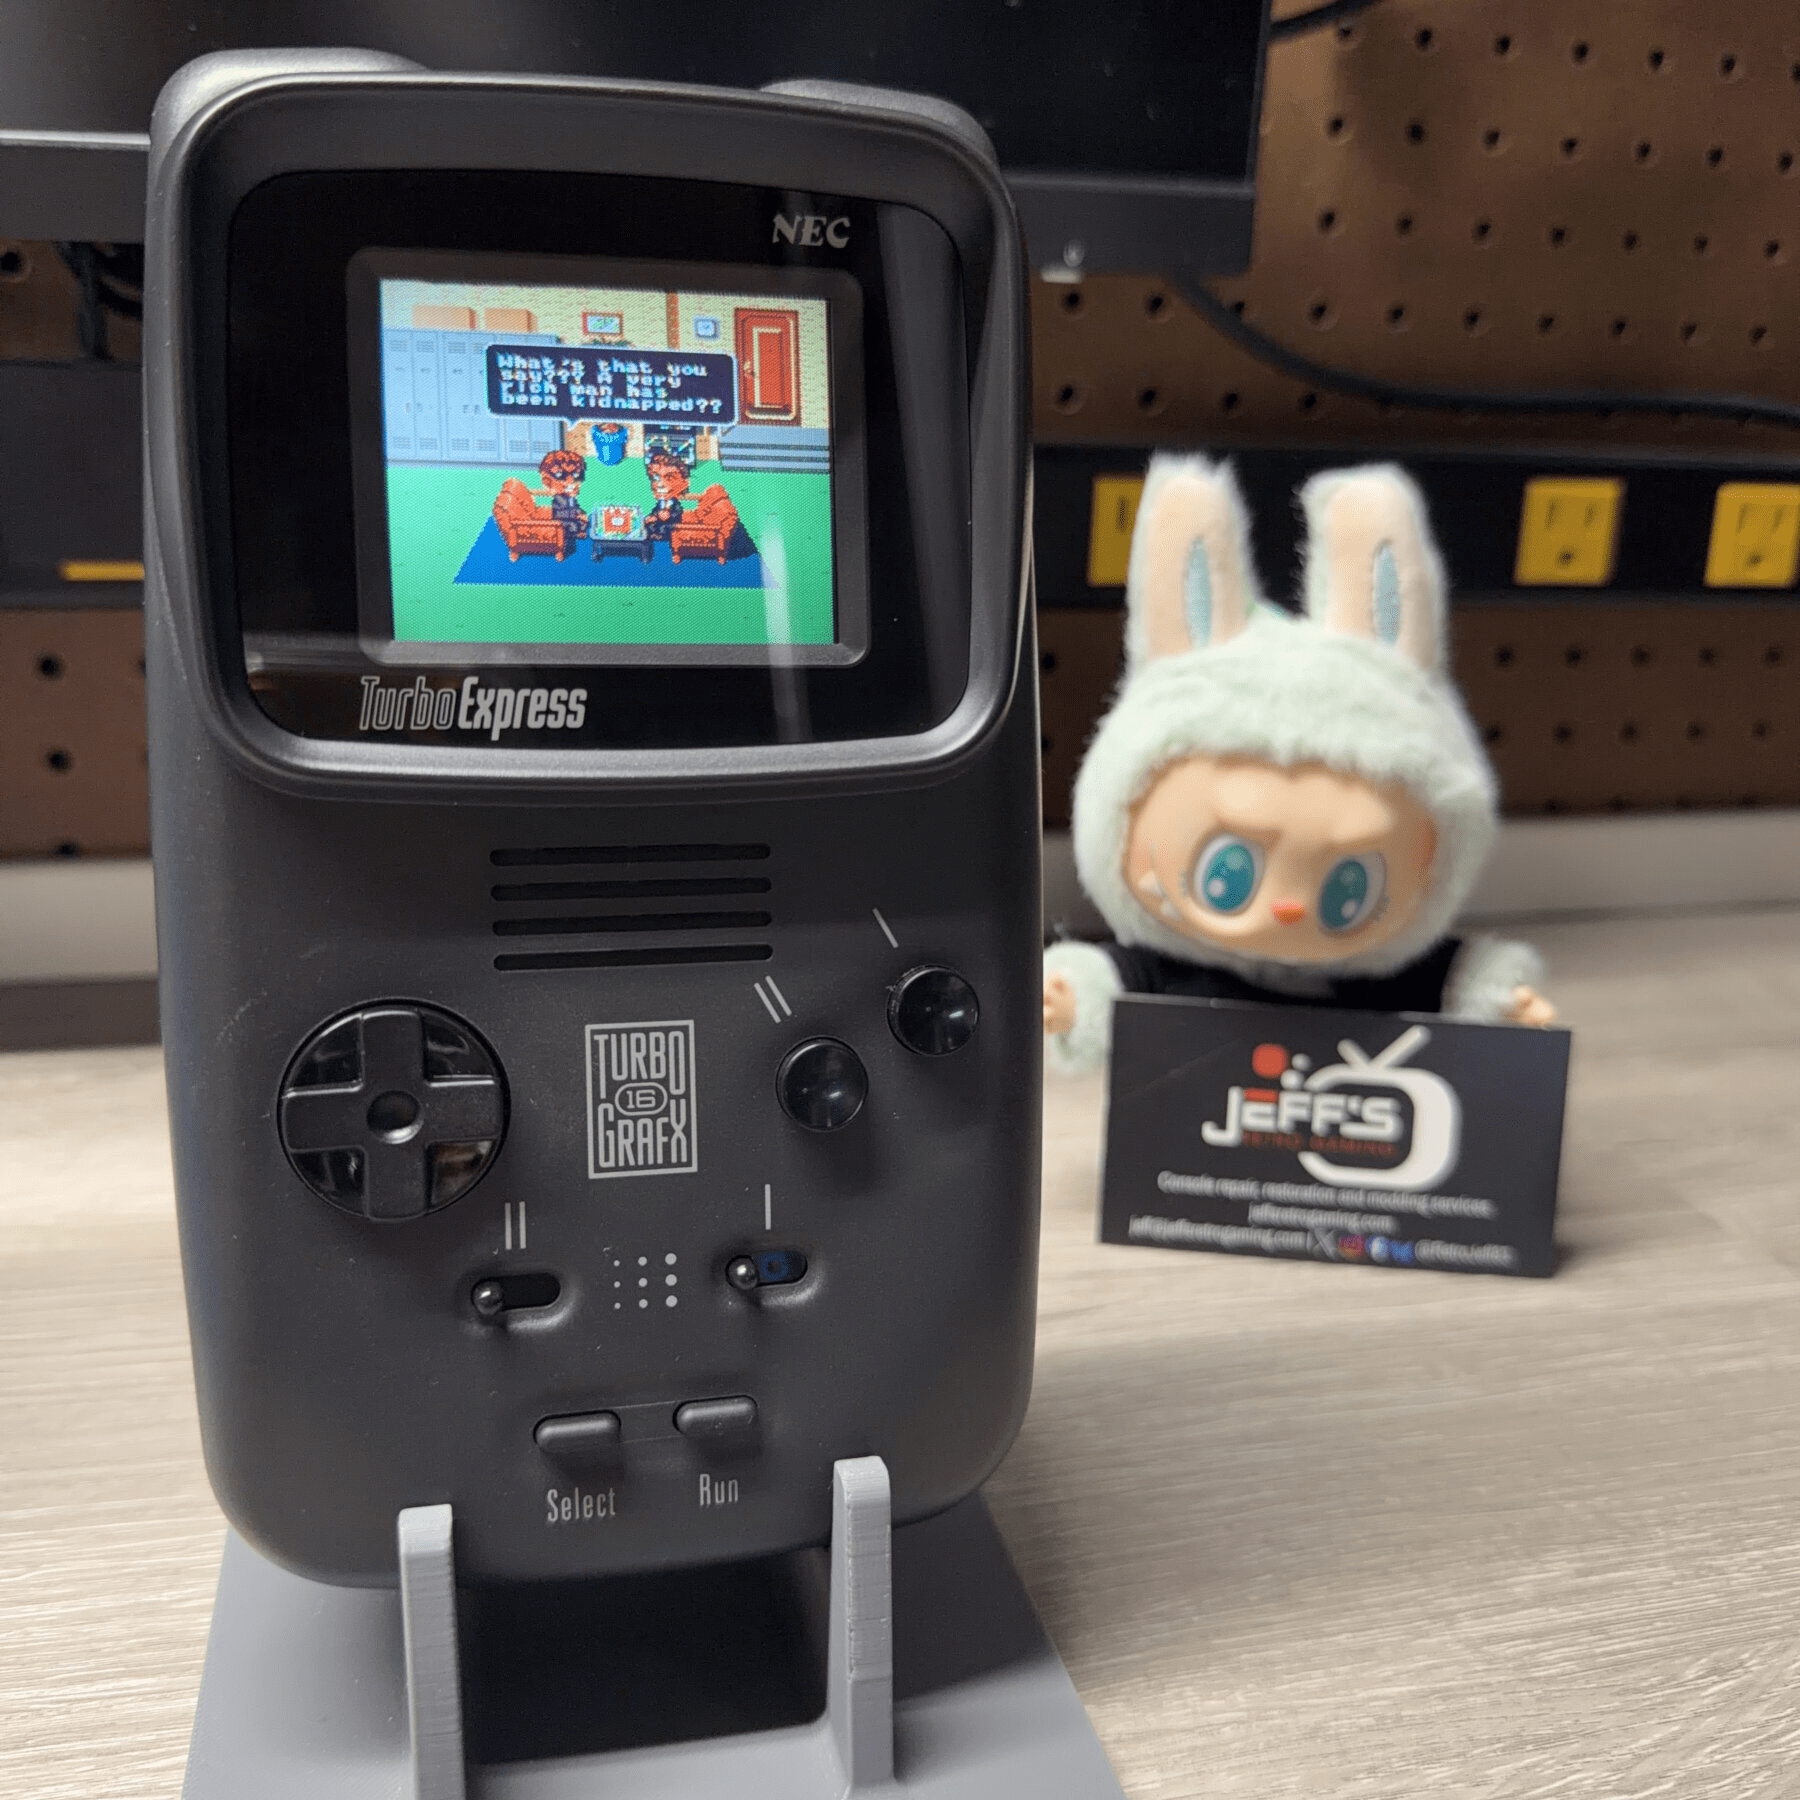
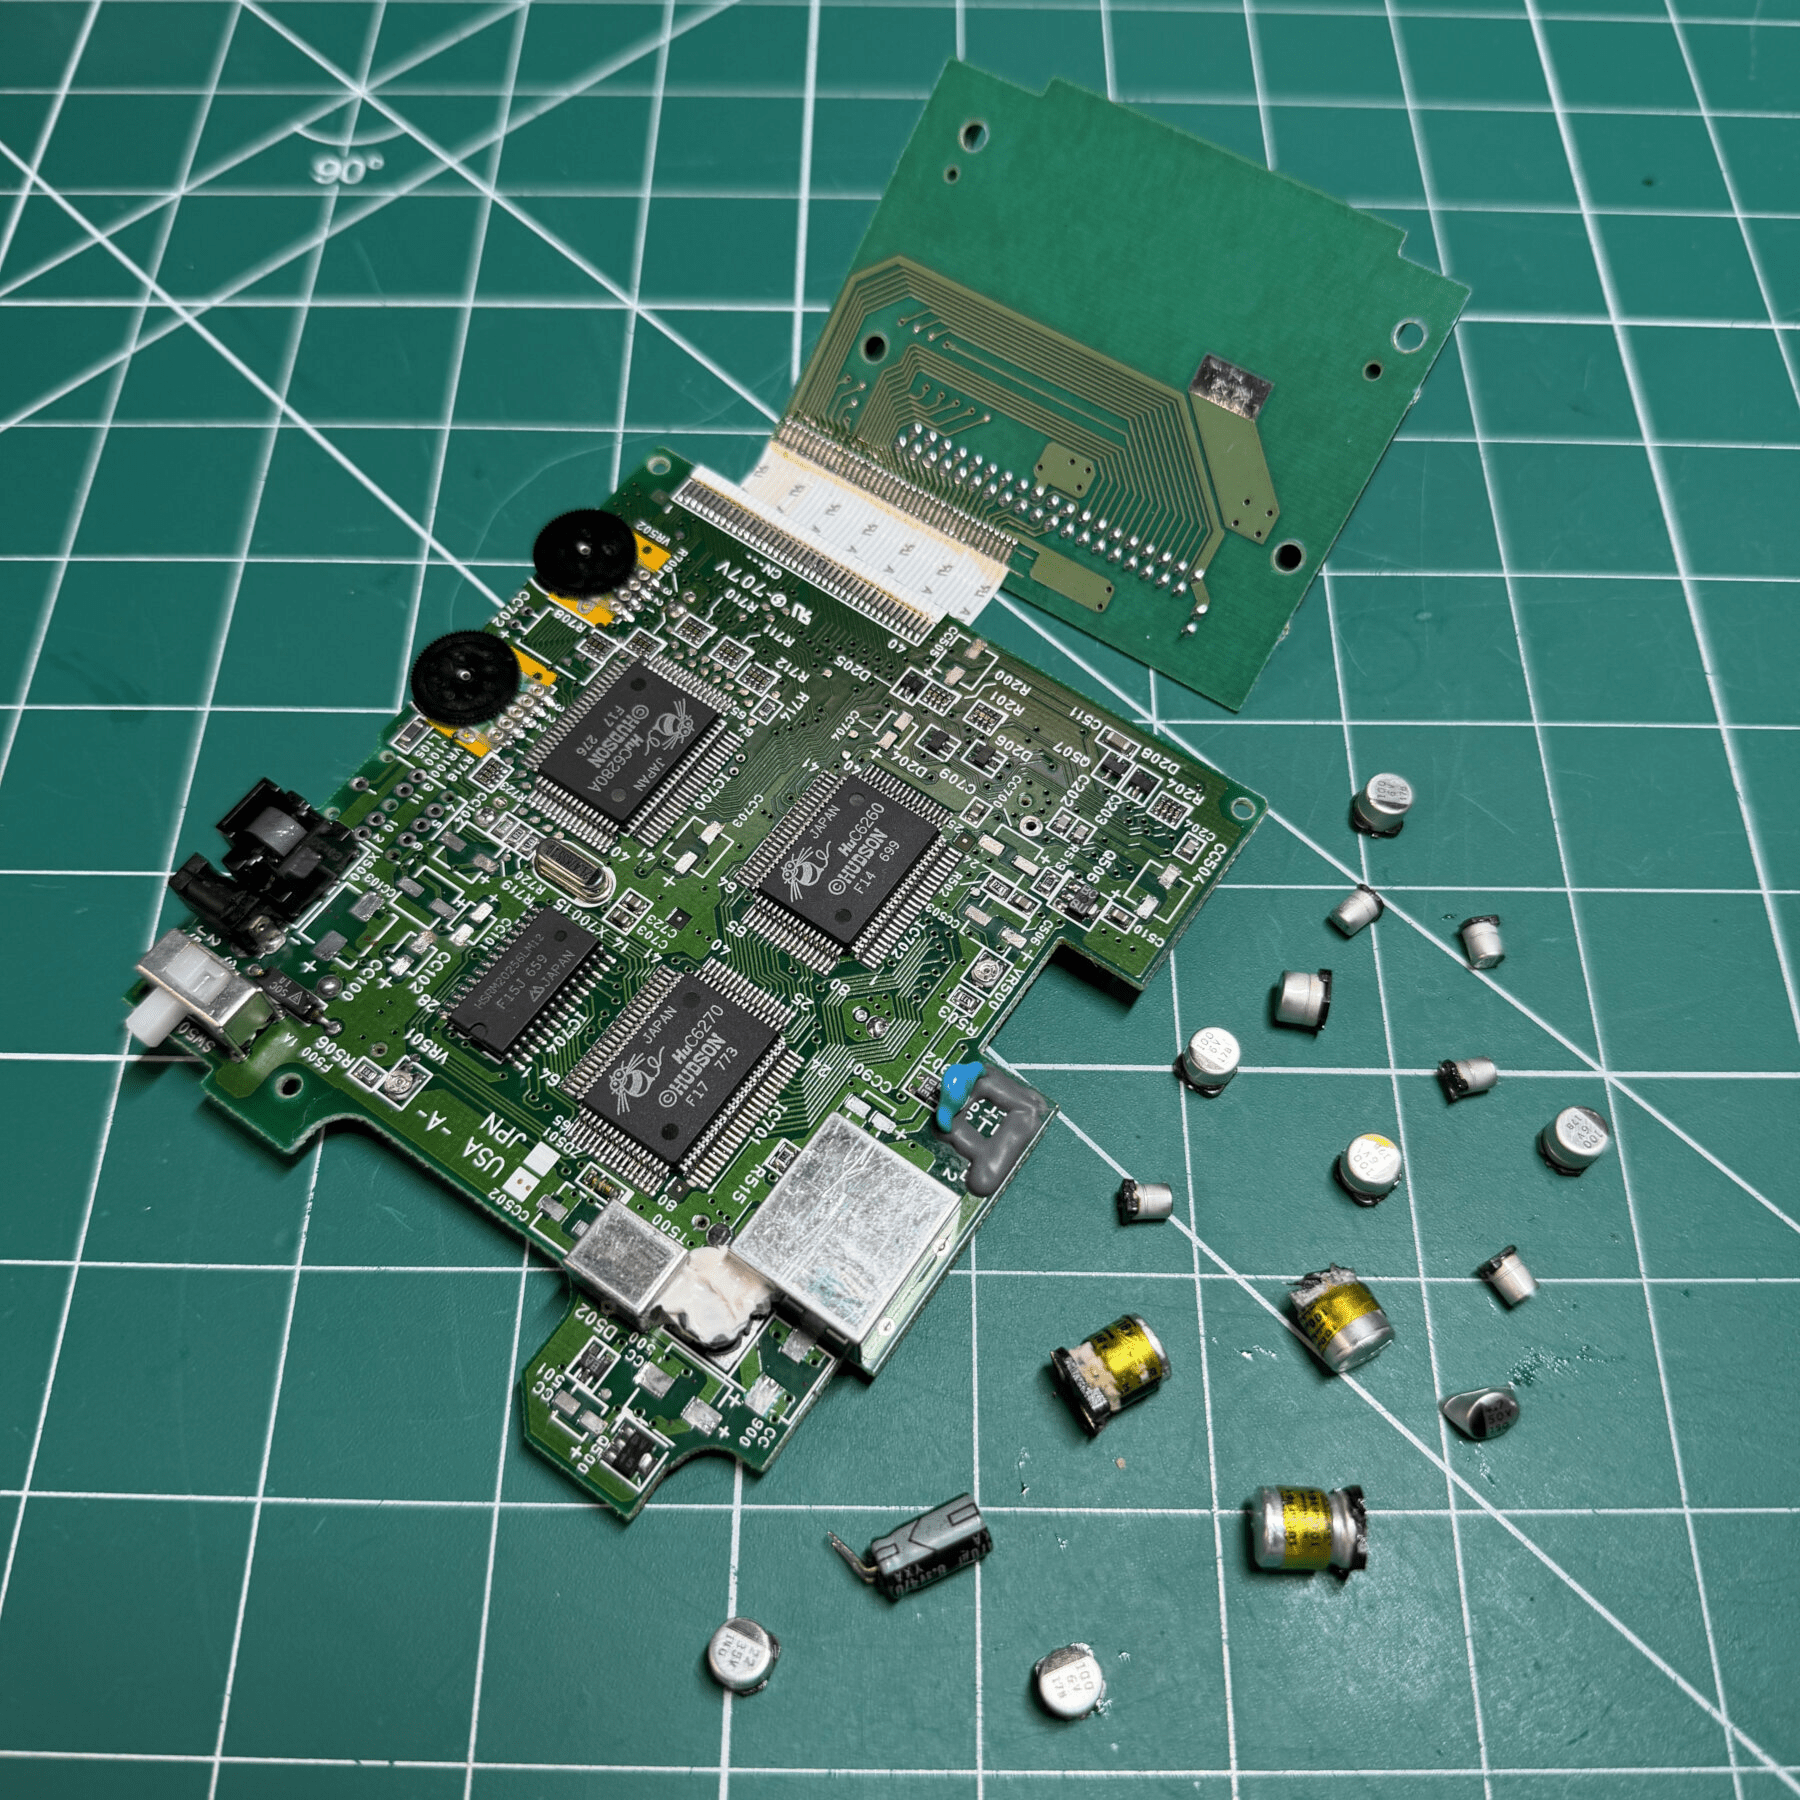
Of the handful of systems I’ll accept recap/cleaning only requests for the PC Engine GT / TurboGrafx TurboExpress is one of them. It’s not a matter of if… it’s a matter of when in regard to the caps on these guys. Every single one I’ve worked on had some amount of leaked fluid, pad corrosion, etc.
That said, I always go in assuming the worst possible scenario but once in a while I am pleasantly surprised! This one had many leaking caps and half the pads/joints were coated in electrolyte but it appears to have been on the more recent side as I did not observe any black/rotted traces or vias and the damage appeared to be all surface level. Not to mention how nice of condition the shell and other components were in. It was not working when it arrived but it was in otherwise excellent shape.
As is typical for these failed units, the system would power on but no sound and just a black screen were the only signs of life. I felt confident a recap and cleaning would get this back in operation but I still have 2 spare OEM screens ( from George @ 1UpRestorations ) on hand if needed as a last resort (some I have repaired functioned but contained dead pixels/rows making playback on the OEM screen too difficult).
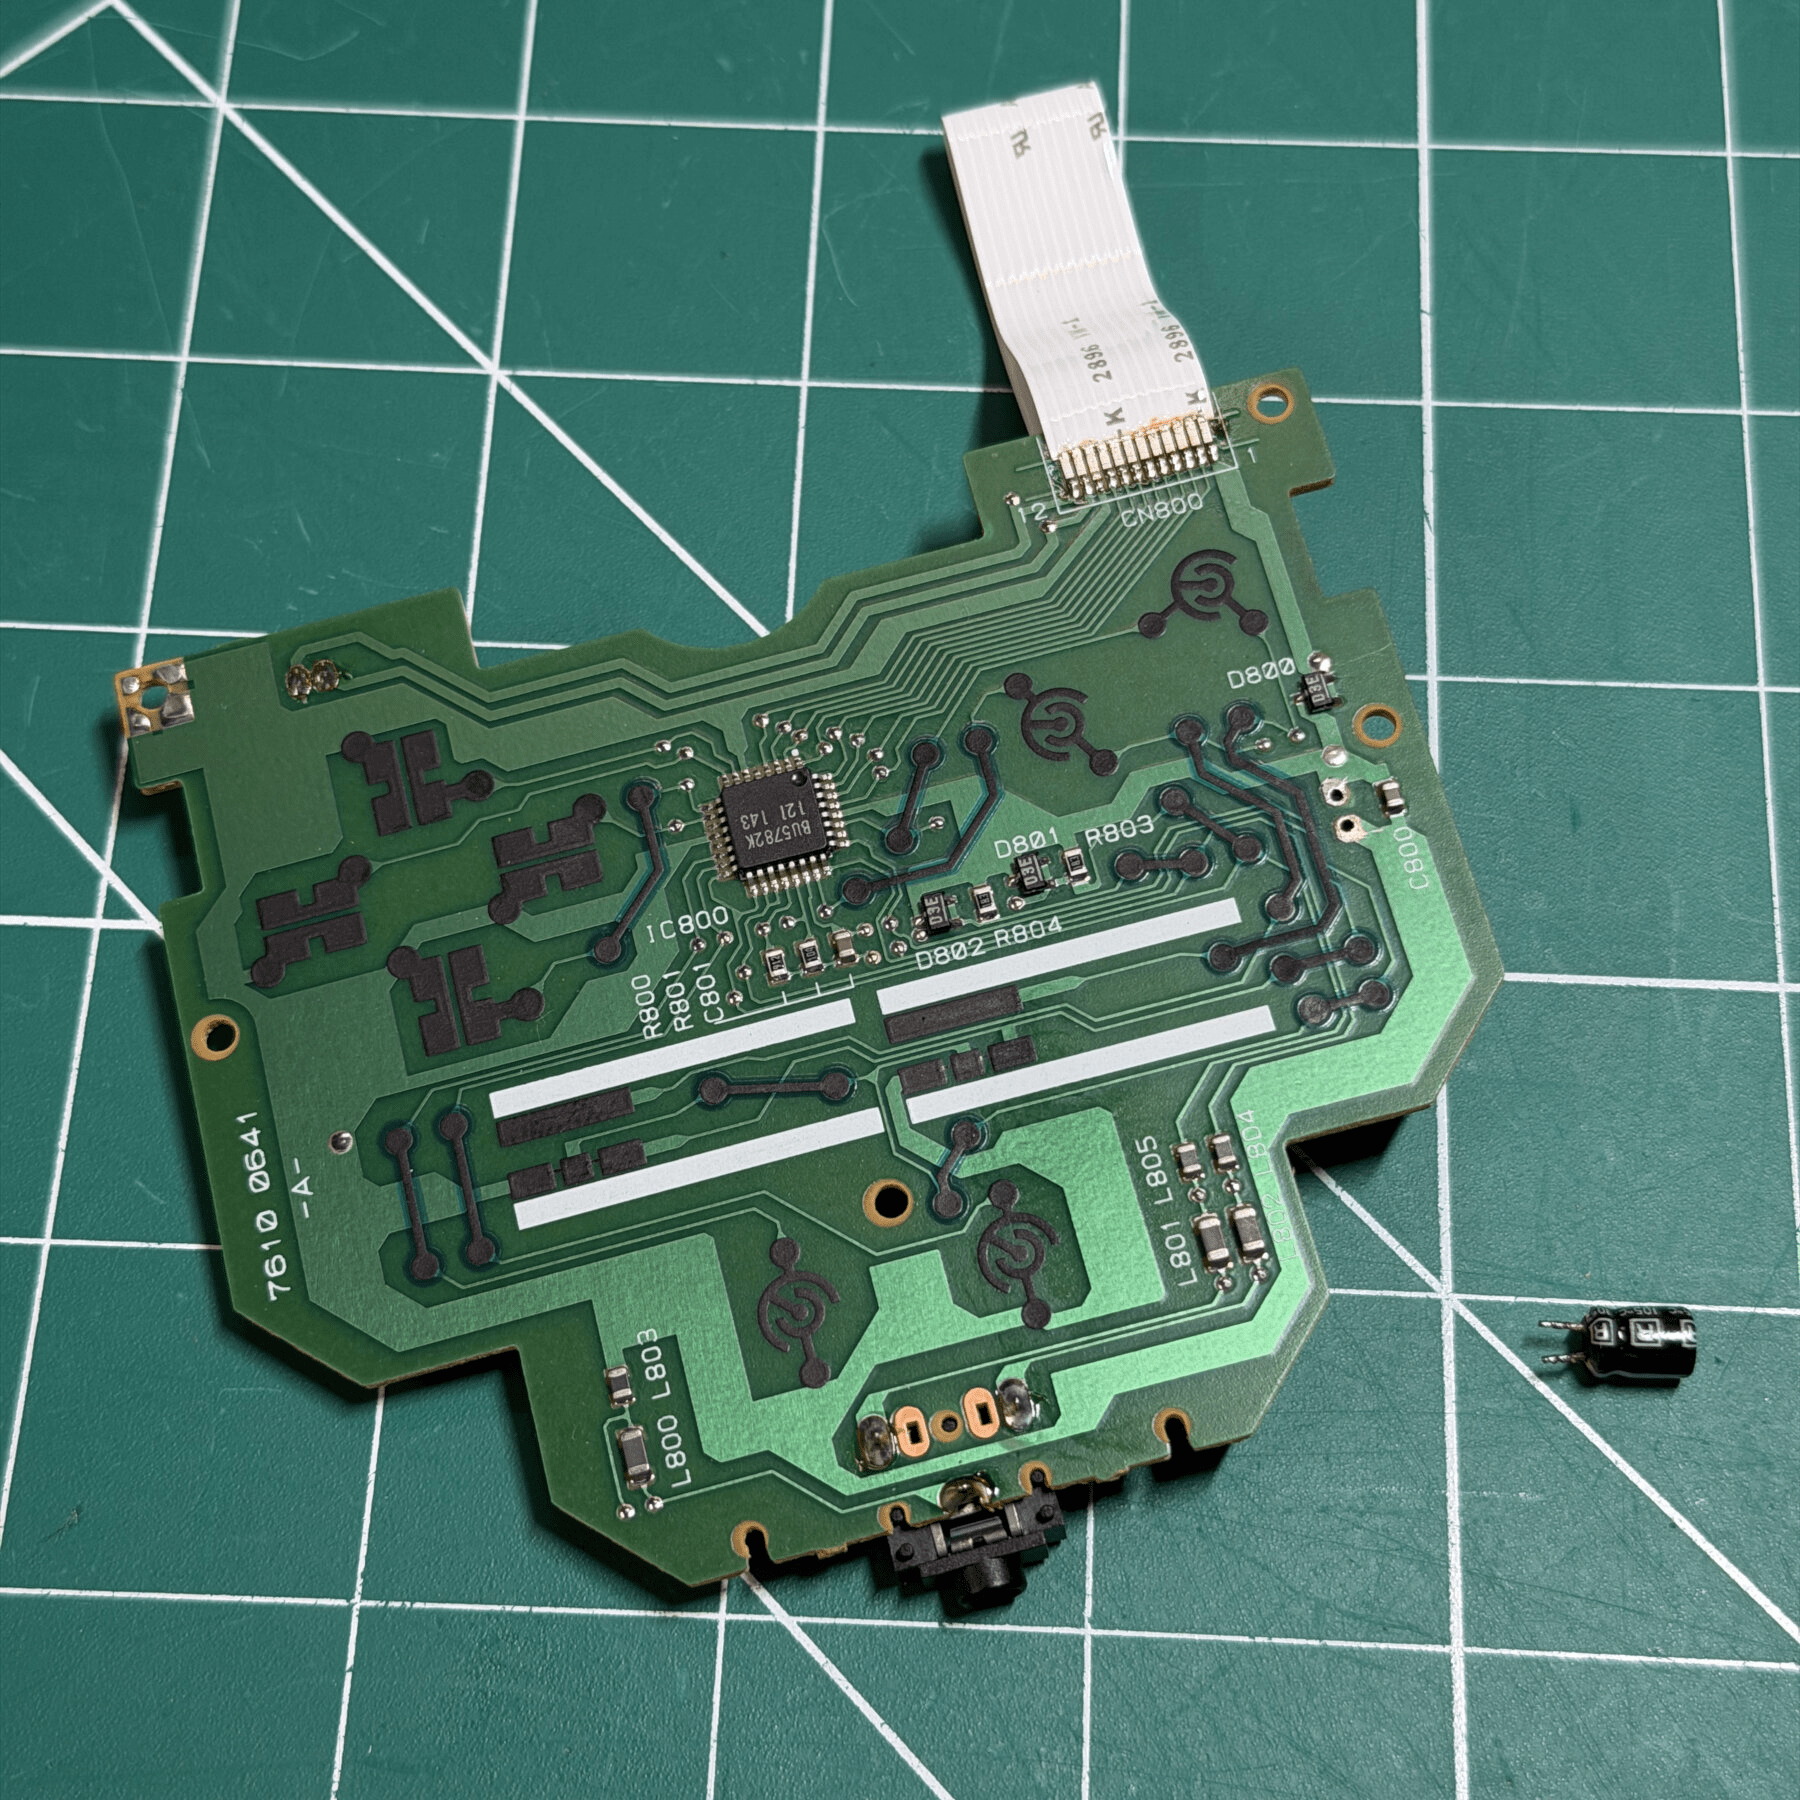
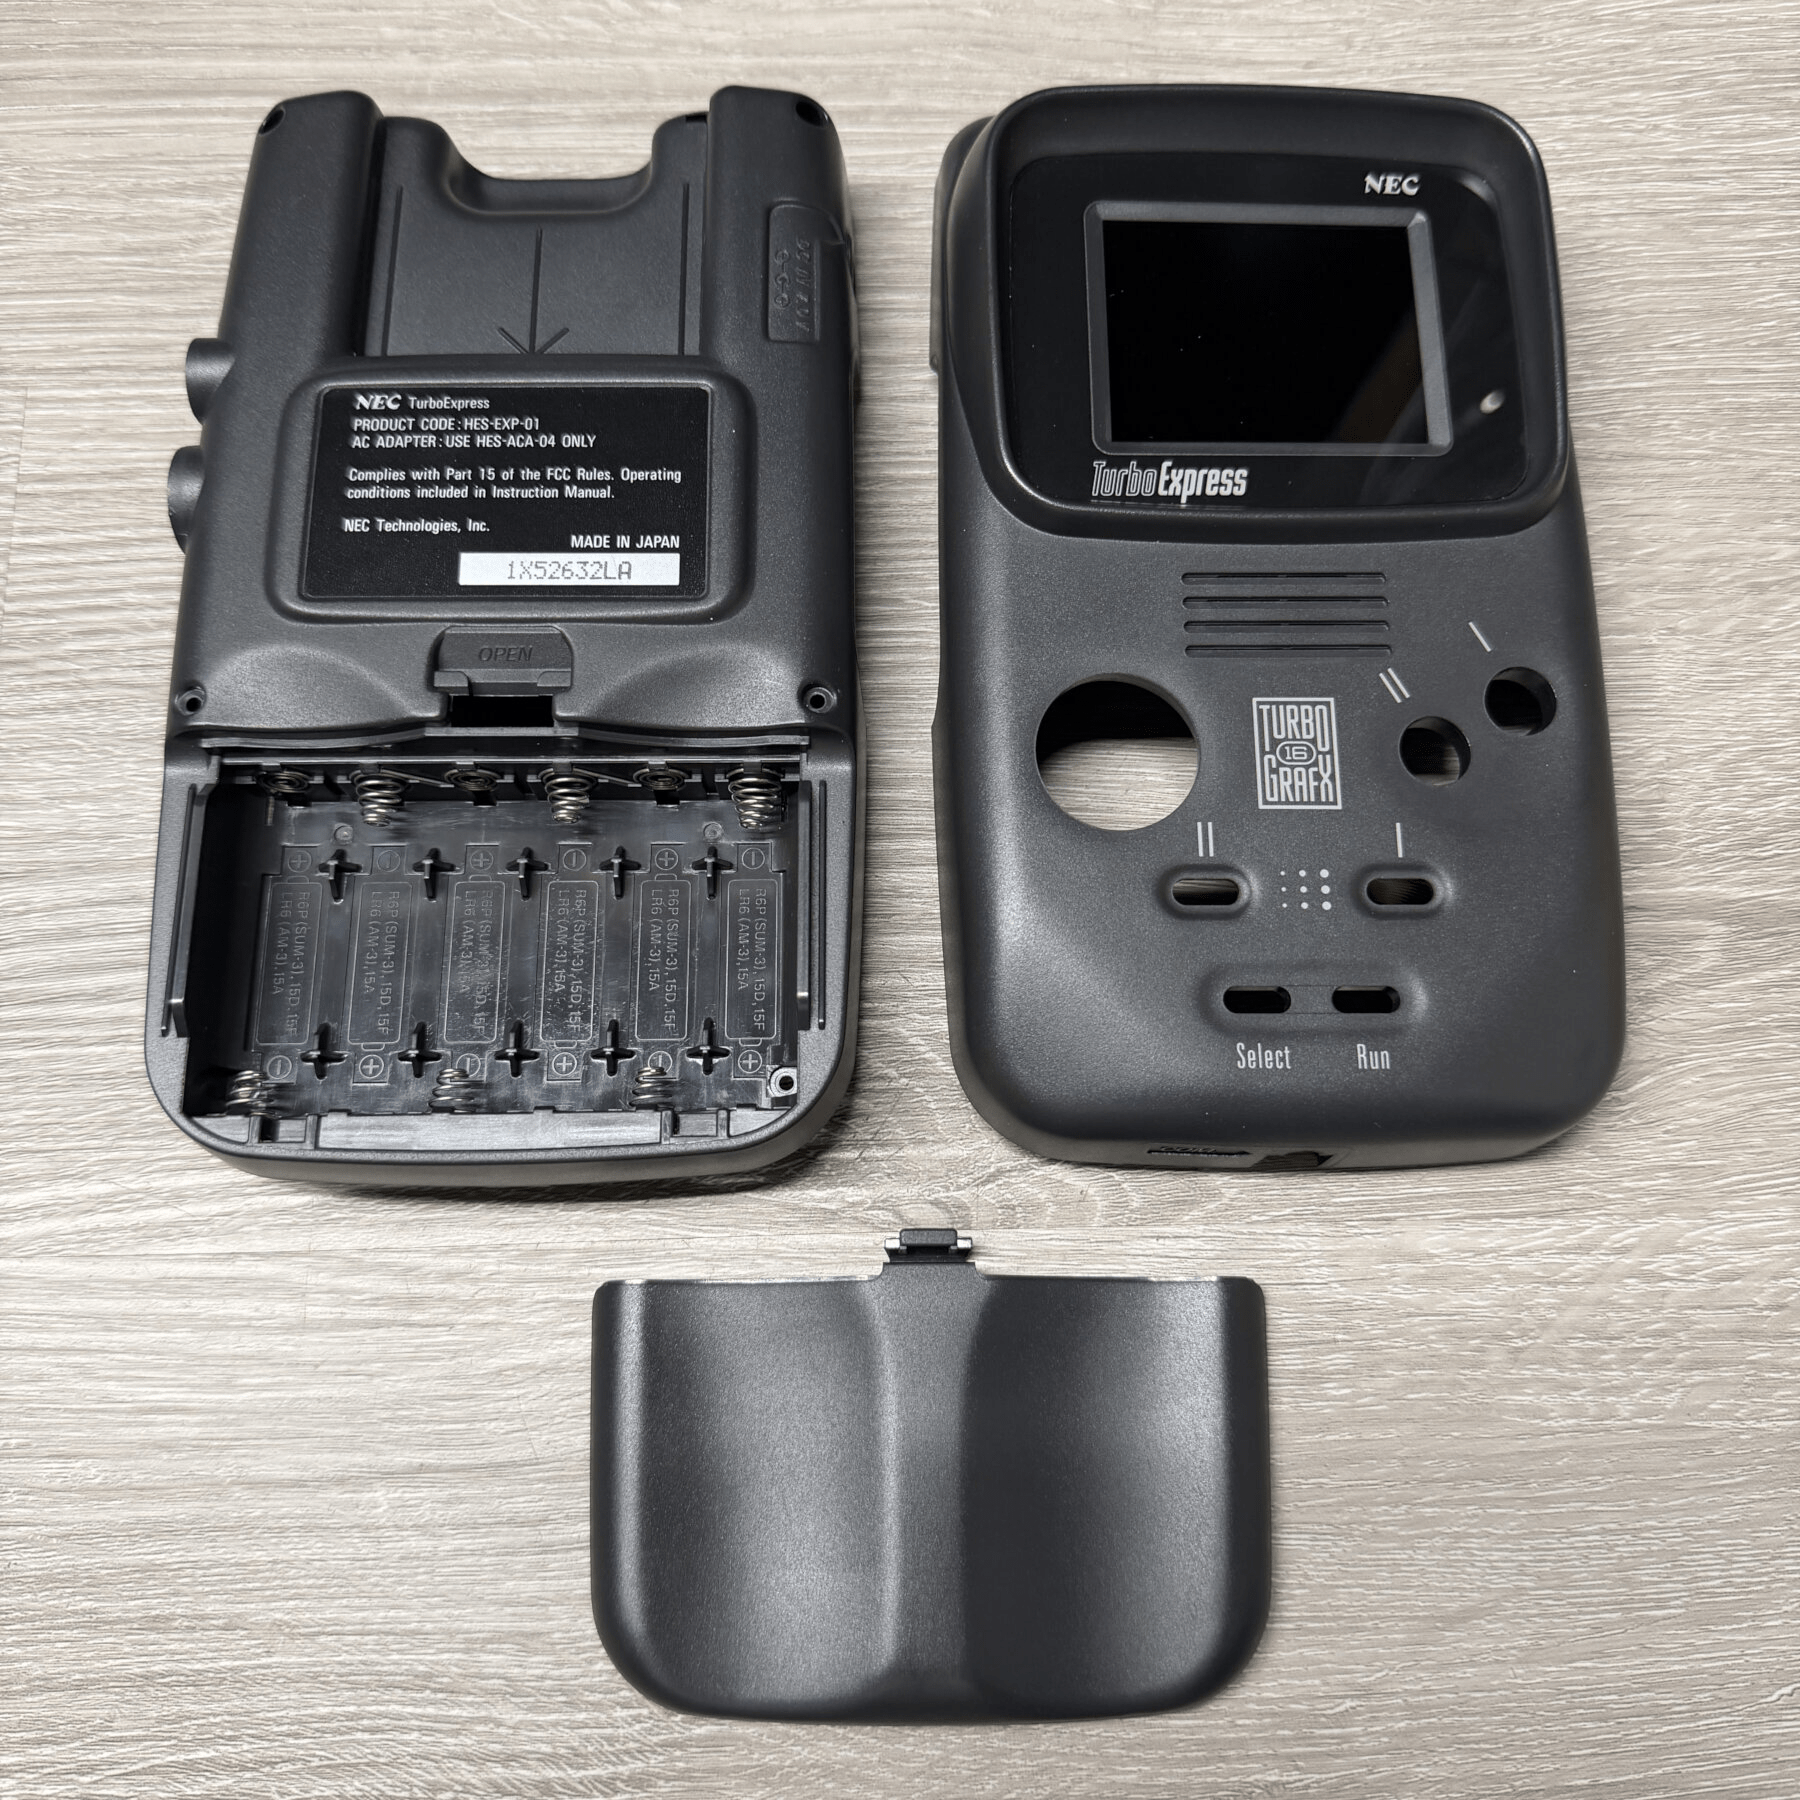
Since the cleaning service was selected, I disassembled the outer shell, removed all membranes and buttons and the misc. pieces like the turbo sliders and power switch and set aside for cleaning. Once I got it stripped down to the 2 boards I assessed before beginning the recap.
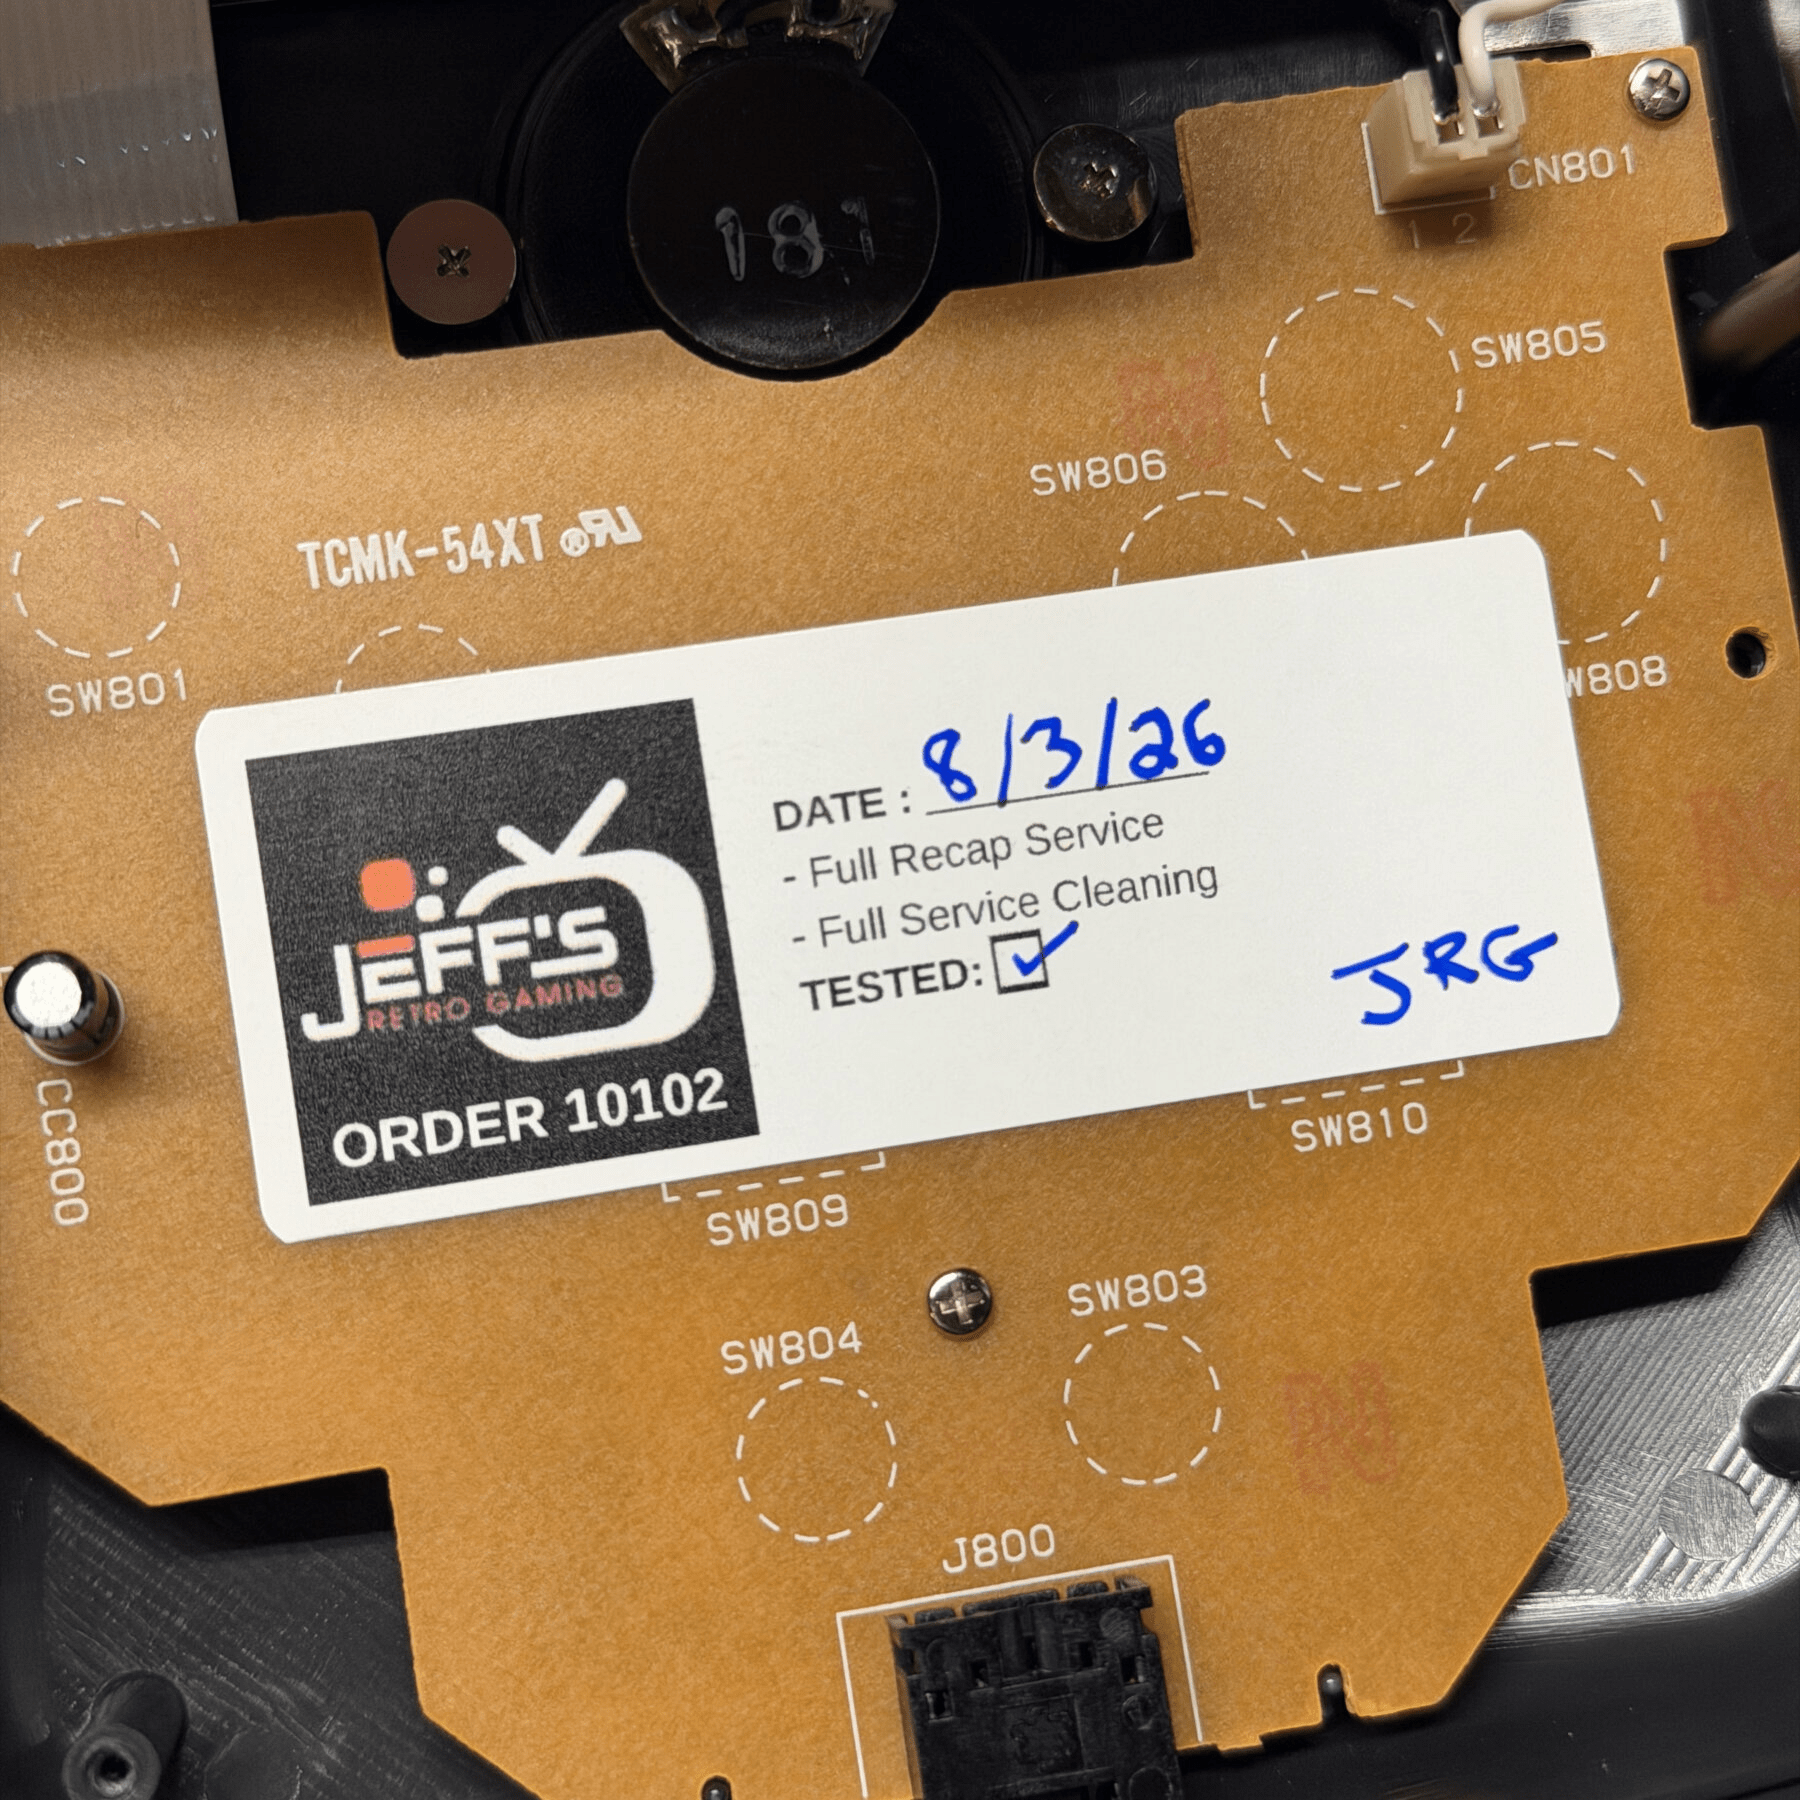
There is a separate controller board that has only 1 capacitor but it always leaks and can cause damage to the nearby copper and carbon traces making controls not function or be spotty. Luckily it was contained to the 2 cap joints mostly so I scraped all the residue off, introduced some flux and fresh solder to mix, then desoldered and scraped the pads clean of all contaminants and wiped area thoroughly with ISO. Once it looked good I soldered in the new cap from Console5, gave the rest of the controller board a once-over and set it aside for now.
Next step is the mainboard and the biggest PITA on these are the 2 metal shields that sandwich the center of the board, you have to remove both and one comes out much easier first so I held my chisel tip on each leg and pulled on the top shield and worked my way around clockwise. Once the top side is removed, the bottom is much easier as there is no opposite shield to work around. With the shields out of the way I glanced over the board and spotted the telltale signs of leaking caps on just about every single one. Since I like to use a combination of hot air and hot tweezers, I covered a few heat sensitive areas like the ribbon that connects to the HuCard slot and the power jack area. It’s much easier to remove and safely install new caps in the power switch area if you remove the headphone jack plus it allows you to clean under it and inside it easier so I removed that by desoldering the points underneath.
As for recapping, I removed 99% with my hot tweezers but a few really stubborn ones and ones too close to components to get in there I relied on my hot air station. I found 2 that simply would not turn molten and release even with flux and new solder so instead of risking board damage or damage to nearby components I made the decision to snip the cans for removal, then swipe the legs off the pads. The key to this in my experience is using tweezers to apply pressure and hold the legs down from the outside while snipping so the force doesn’t pull them in or spread them and risk pulling up a pad.
With all the caps removed I worked through every single pad and cleaned with my Xacto knife and fiberglass pen gently as well as thoroughly soaking the entire board, scrubbing and flooding under nearby chips with my 99% ISO until all was clean.
With the board fully cleaned I prepped the pads with flux and installed the new caps courtesy of a Console5 kit including 2 jailbar fix caps. I believe these don’t make much difference on a stock screen and mostly benefit a modern replacement LCD but I always replace anyways in case the customer decides to upgrade the screen in the future.
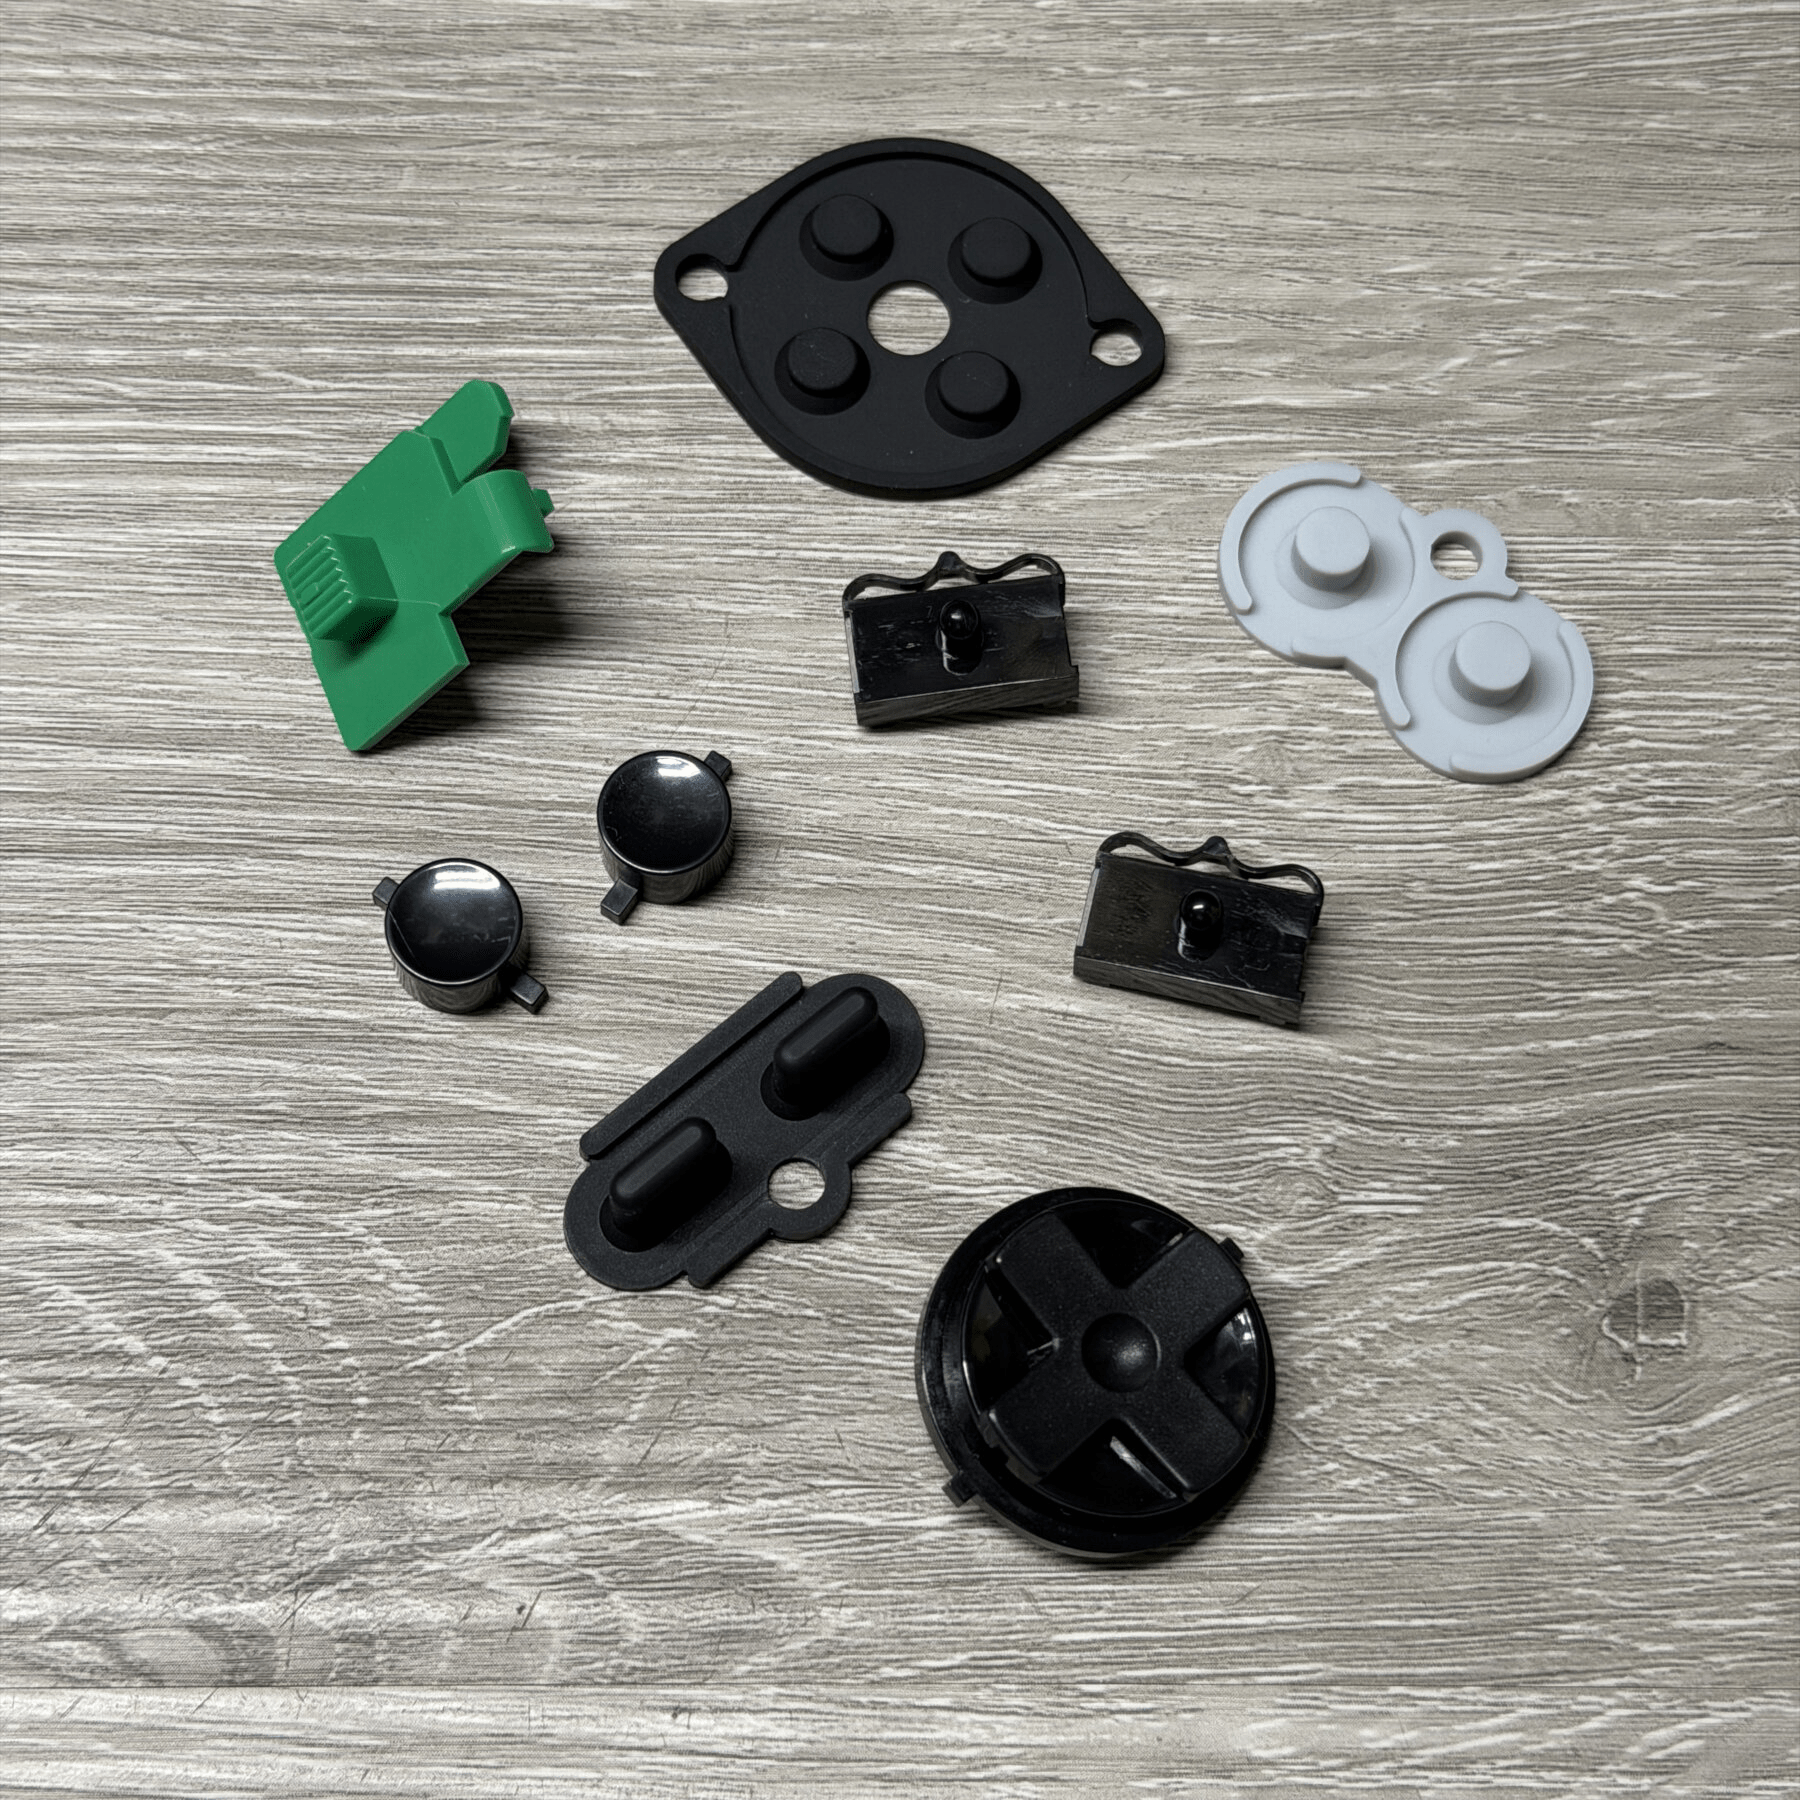
With the recap out of the way, aka the hardest work, I hooked the board up to my new bench PSU to confirm operation while disassembled and saw a working display and heard nice loud audio! Knowing that was functional I then set out to thoroughly scrub and clean all the plastic buttons and membranes/components, wiped down the front and back shell inside and out, etc.
The turbo sliders were a bit dirty so I paid extra attention to cleaning those and ever so slightly bending them out a bit to ensure reliable pressure on the carbon pads.
Once everything was cleaned I just worked backwards by installing the mainboard and hucard slot into the rear shell, screwing the controller board to the front shell (after reinstalling all the buttons and parts) then carefully sandwiching the two together after hooking up the ribbons and connectors.
With it back together I gave the shell another nice wipe down and carefully buffed the lens then staged in my 3D printed stand ( Thanks for the design Kytor! https://www.printables.com/model/255011-nec-turboexpress-pc-engine-gt-display-stand ) and let it run for a while, played some games and captured the final shot!
Another TE saved and another order down!