
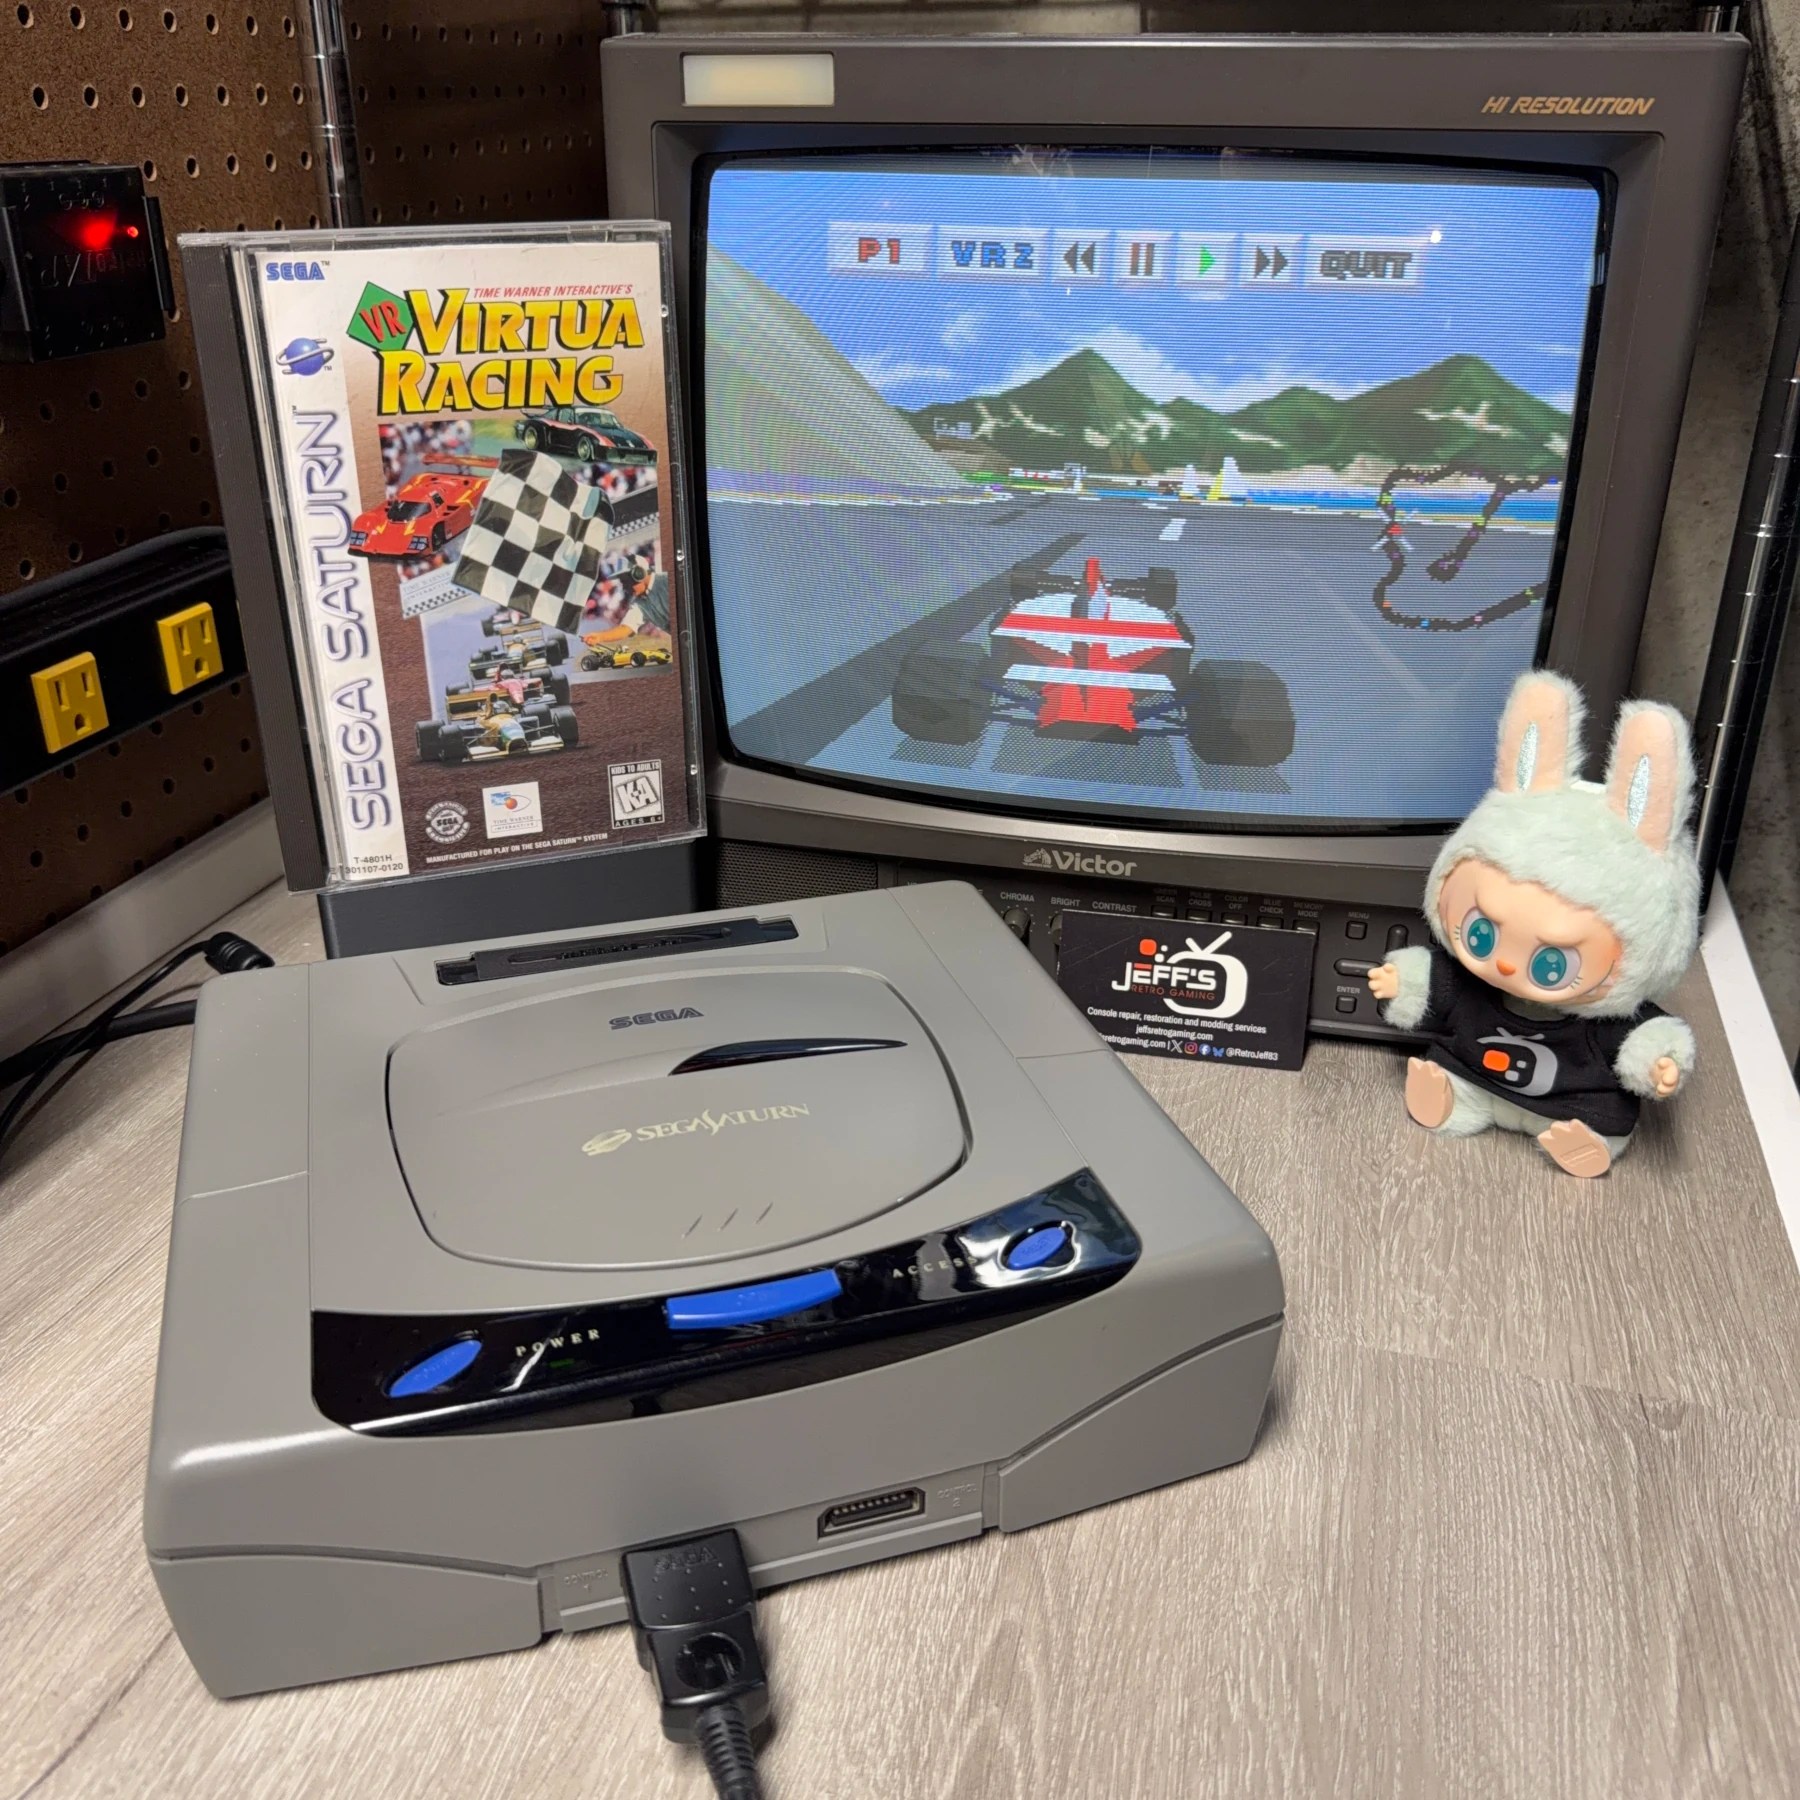
Been seeing an uptick in Saturn work just recently and have a few more on the horizon! This model 1 Japanese Saturn came in for the common request of a Full Recap Service and Full-Service Cleaning w/ FRAM upgrade. Only thing unique was the PSU had already been replaced previously with an aftermarket solution (which uses a barrel jack PSU) so I asked the customer to provide that power brick but otherwise we’ve done a lot of these so should be a quick and painless job 👍
Like many of these Japanese model 1’s before it this one had a decent amount of yellowing/browning on the top shell and lid sections of plastic. Since cleaning service was selected I opted to do a complimentary retrobright to restore it at least closer to its factory color and it ended up coming out great!
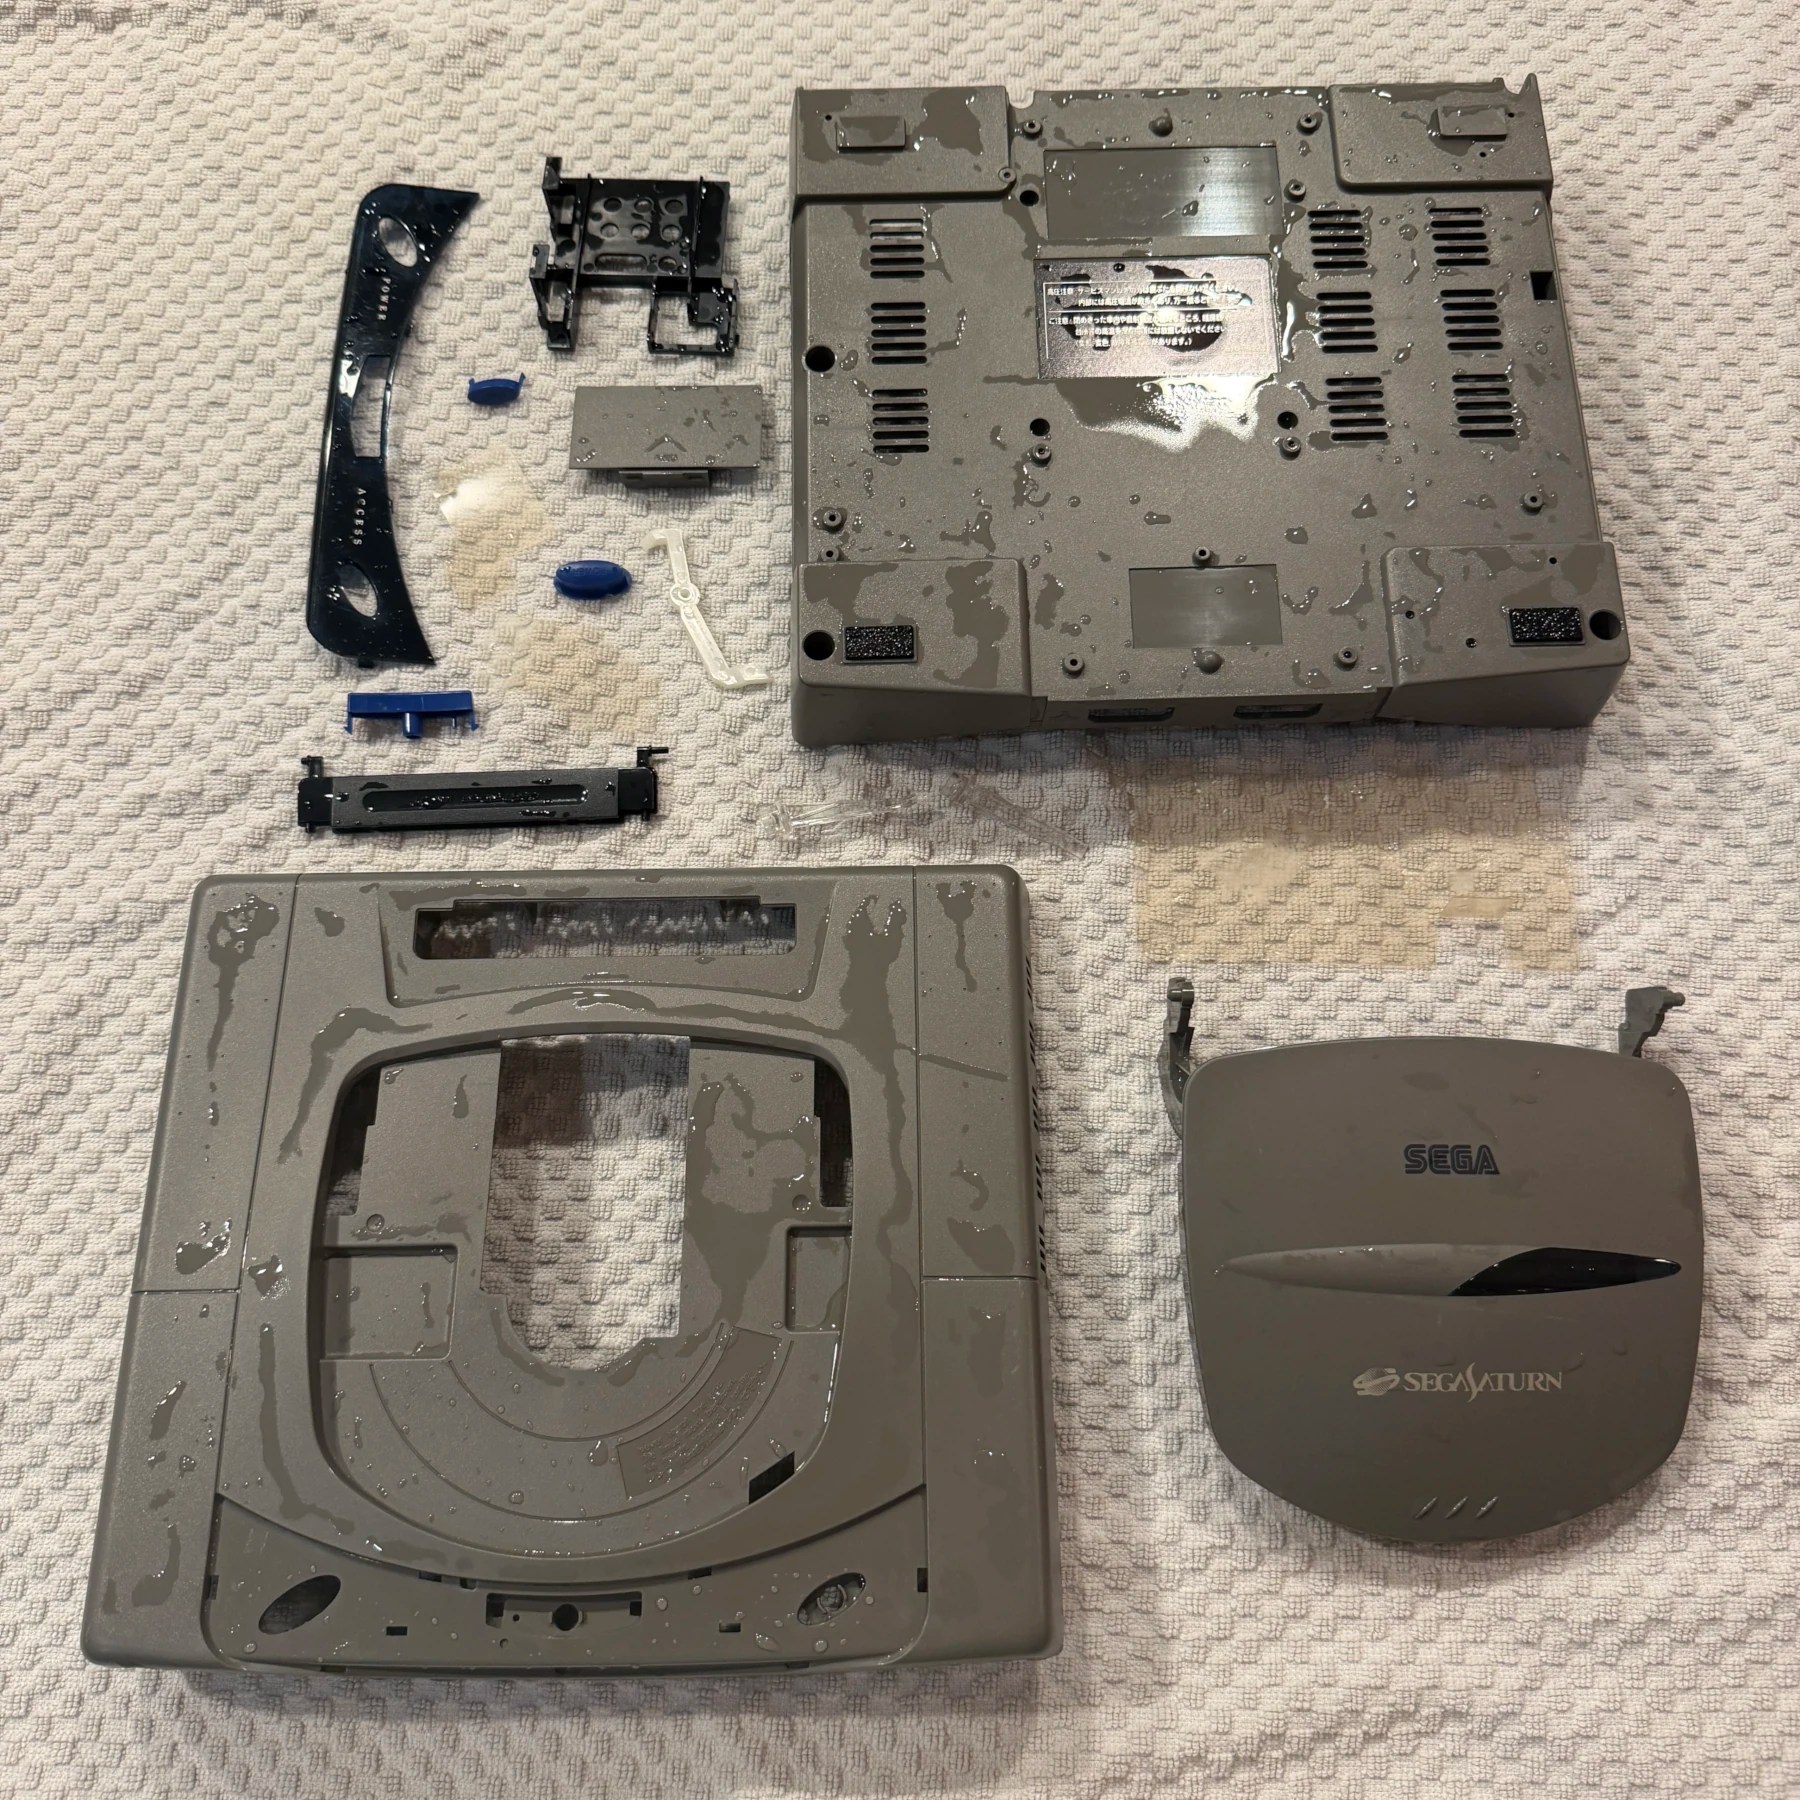
Started by completely disassembling the shell and put all plastic bits and shell pieces into the bin to soak, thoroughly scrubbed with soap and rinsed and set to dry. This shell had a ton of dirt and debris under the front panel and shell joints which is common for systems of this age. It cleaned up great and the short 8-hour retrobright session made the shell a lot closer to original and at least even (the yellowing had only hit certain spots so it was more noticeable)
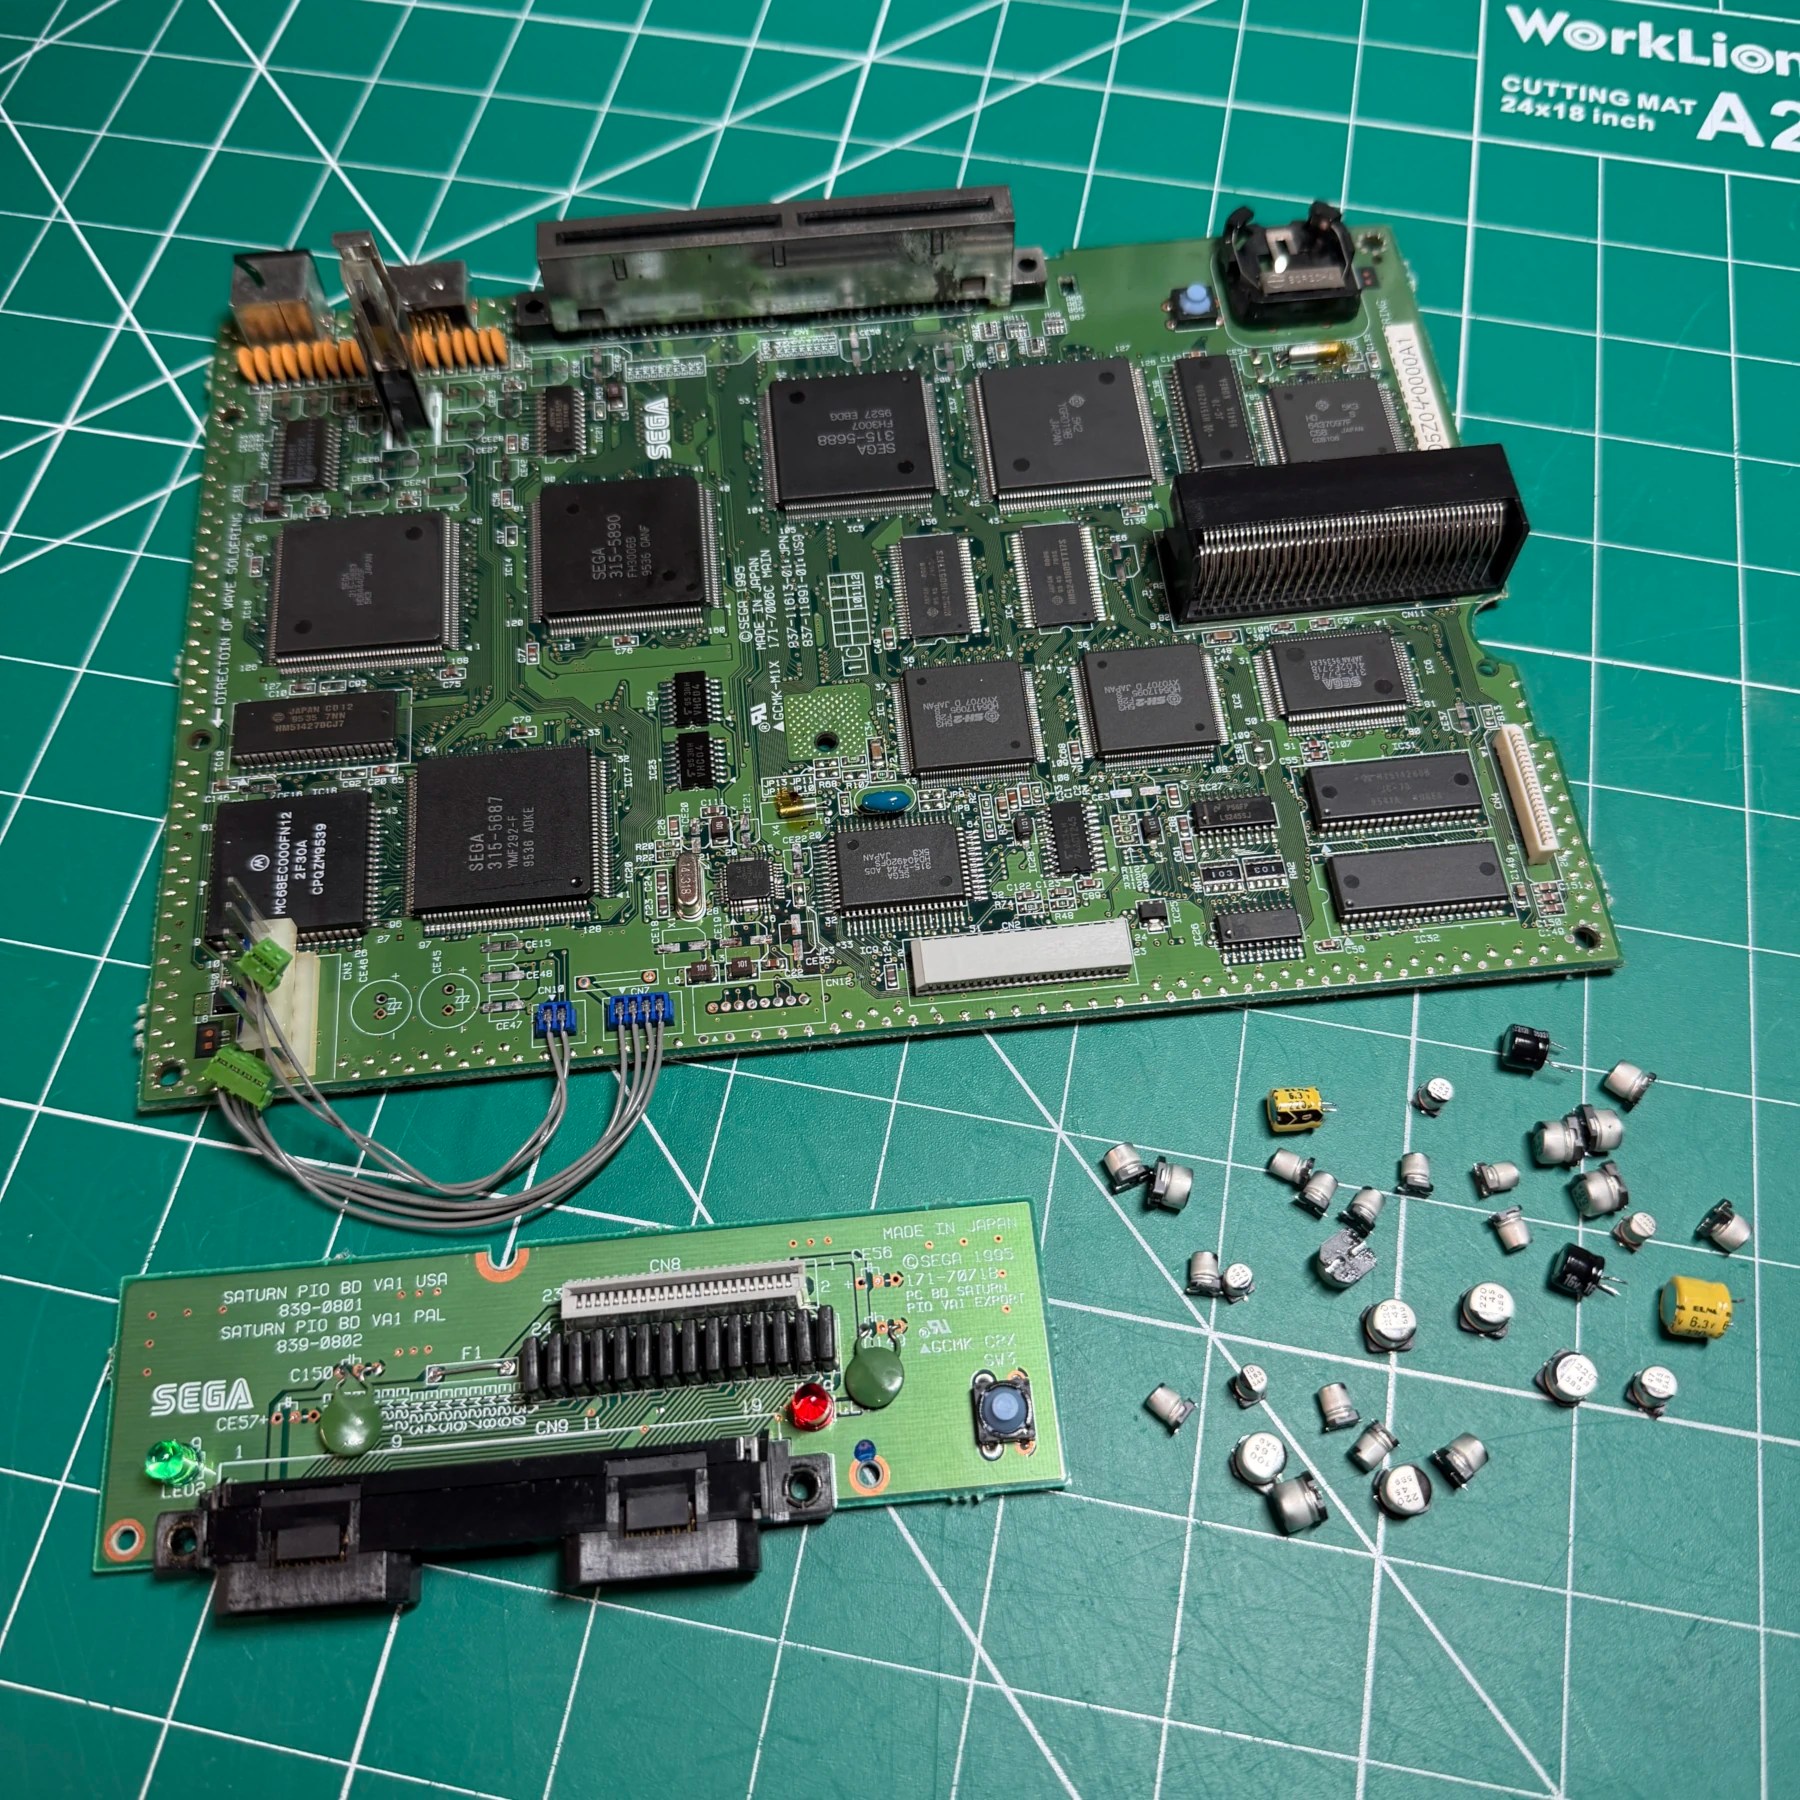
While the shell was drying (and then going through retrobright process) I started on the rest of the refurbishment and modding. I can make quick work of the SMD revisions with my hot tweezers so got all those SMD caps removed then removed the 4 TH caps (2 on mainboard 2 on the PIO board) with my Hakko gun. With all the caps removed I gave the board a much-needed cleaning and prepped the pads for the new caps. Once ready I soldered on all the new caps from the Console5 kit and cleaned up my unspent flux then moved my focus to the SRAM chip area.
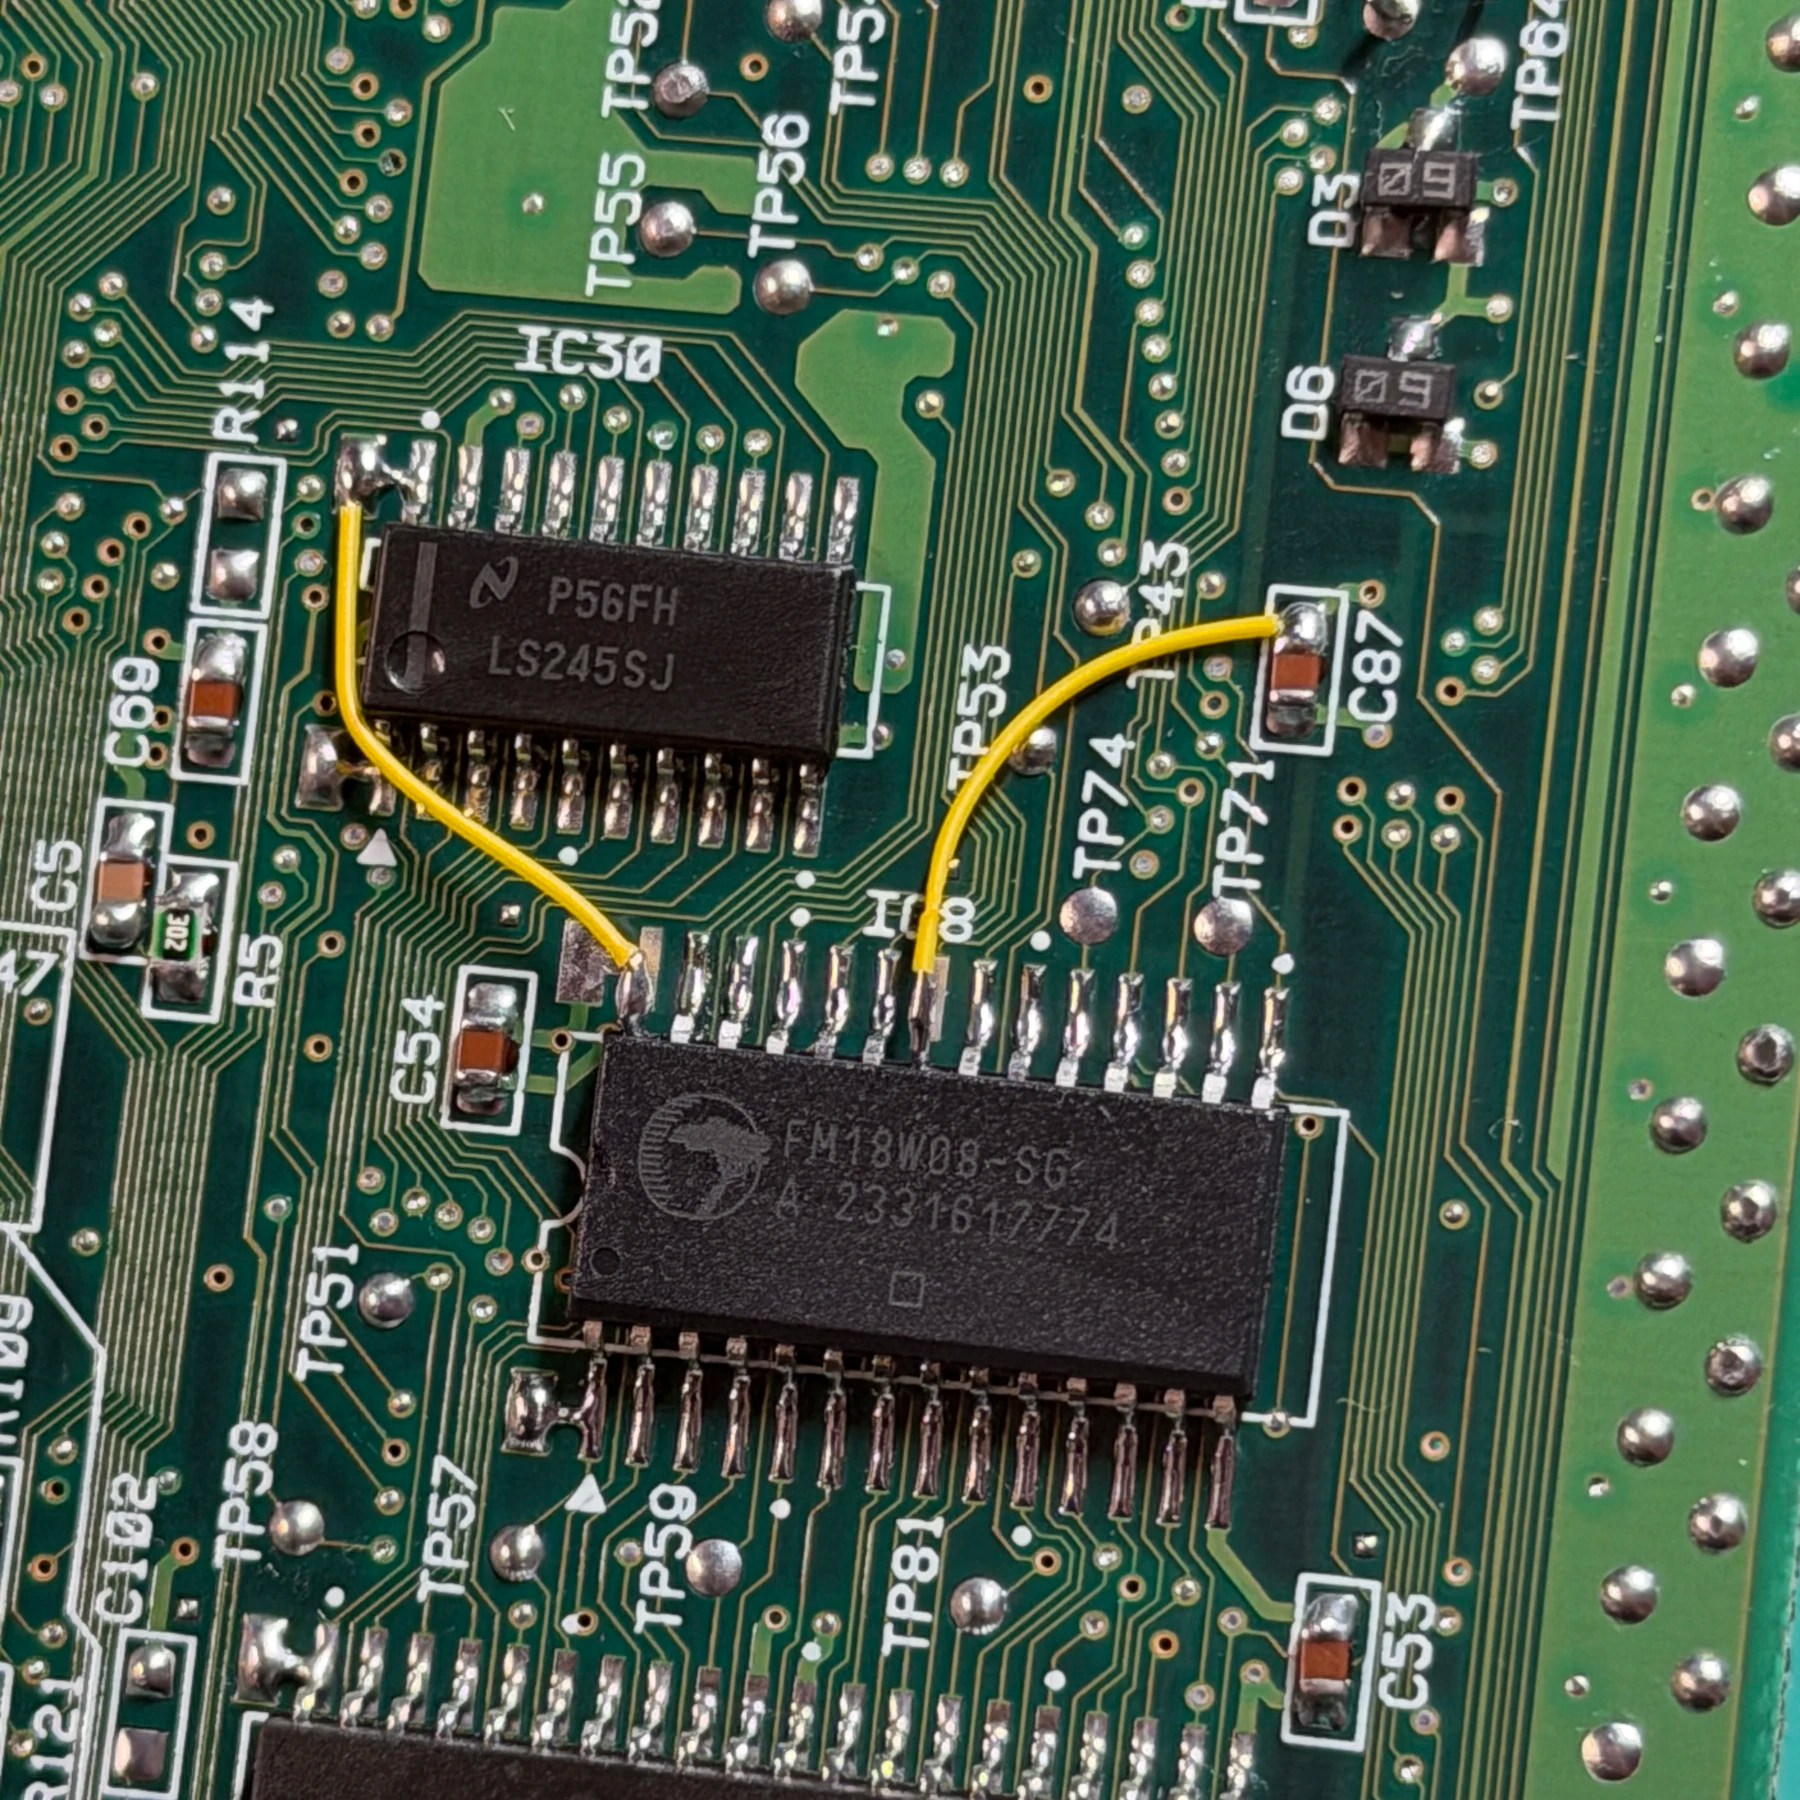
On this revision the SRAM is on the underside along with the BIOS chip but compared to later VA-SD and VA-SG models that use ridiculous amounts of epoxy to hold the chip down this one was very reasonable. Only needed about 30 seconds at 325C and it lifted right up nice and clean. Bent out legs 22 and 28 and wired to the 5V and GND points and cleaned up my flux, that’s another clean FRAM upgrade in the books!
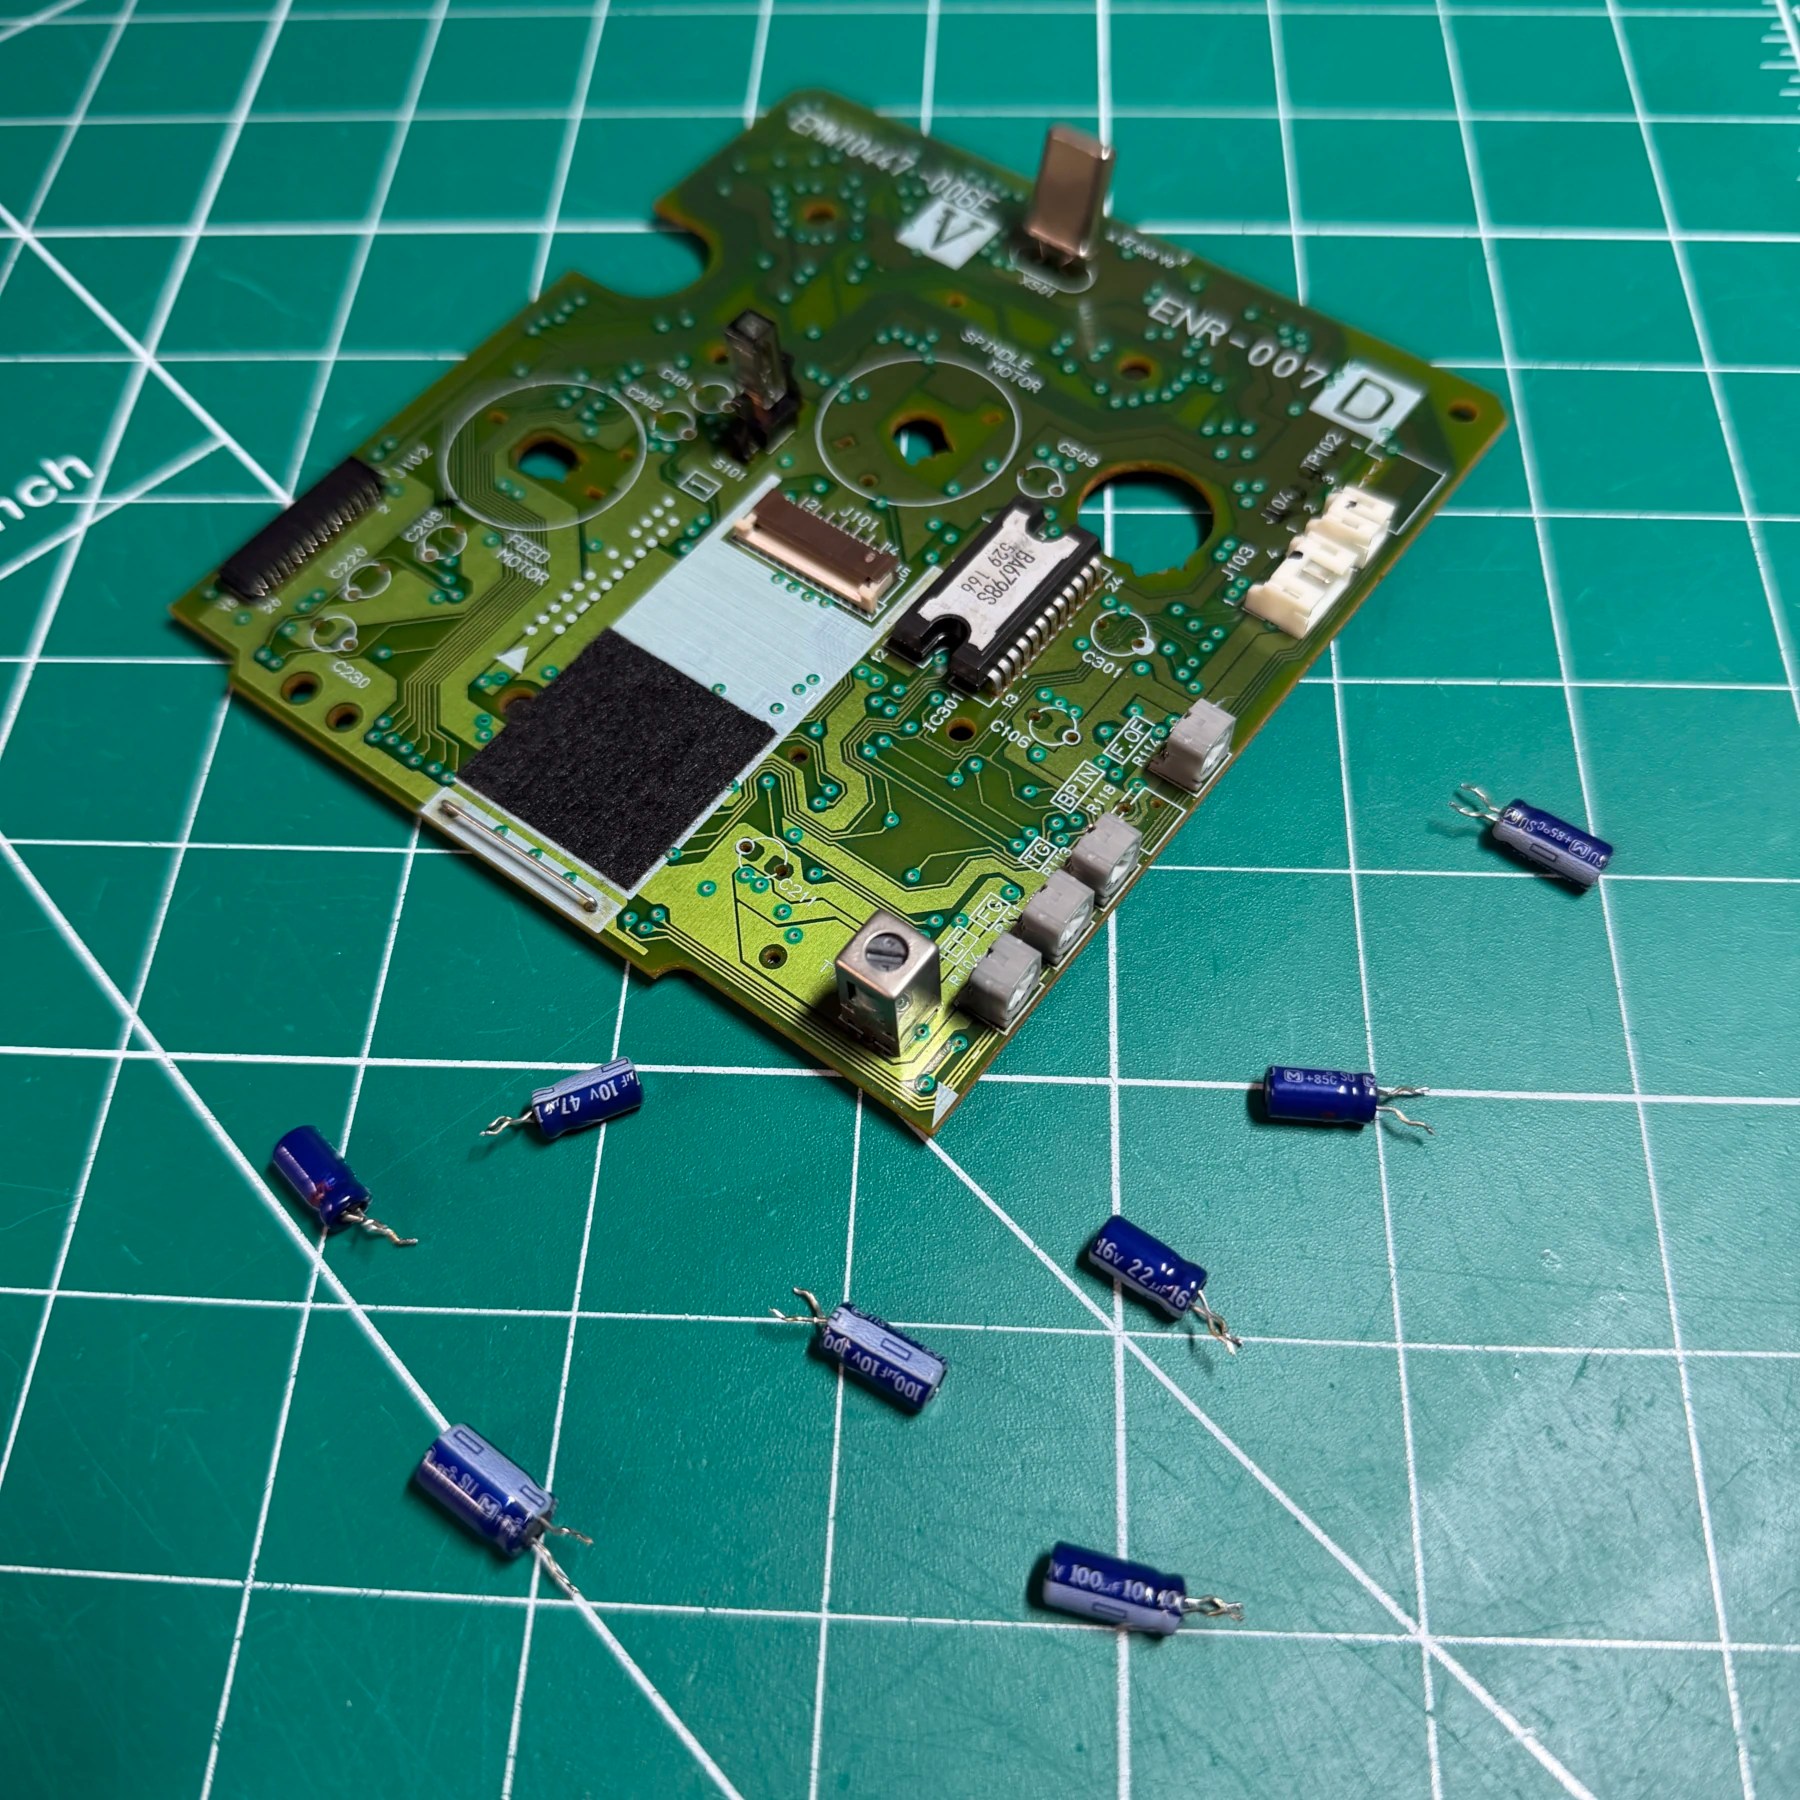
Last step before re-assembly was the optical drive. This thing was DIRTY! so I completely tore the drive down and separated it from the PCB and cleaned all the gears, rail, spindle and laser assembly itself. While it was apart I then removed the 8 or so TH caps, cleaned the PCB and then soldered in the new ones from the Console5 kit.
At that point I just needed to reassemble the drive so everything went back together (can’t forget the flex and few screws plus soldering the motor legs back on!) and added dabs of fresh grease on all contact points for the gears as they went back on in order. Also added a small amount of grease to the rail and lip the laser assembly rides on. This will help ensure years of smooth mechanical operation. To finish it off I gently dabbed and wiped off the lens itself with some ISO.
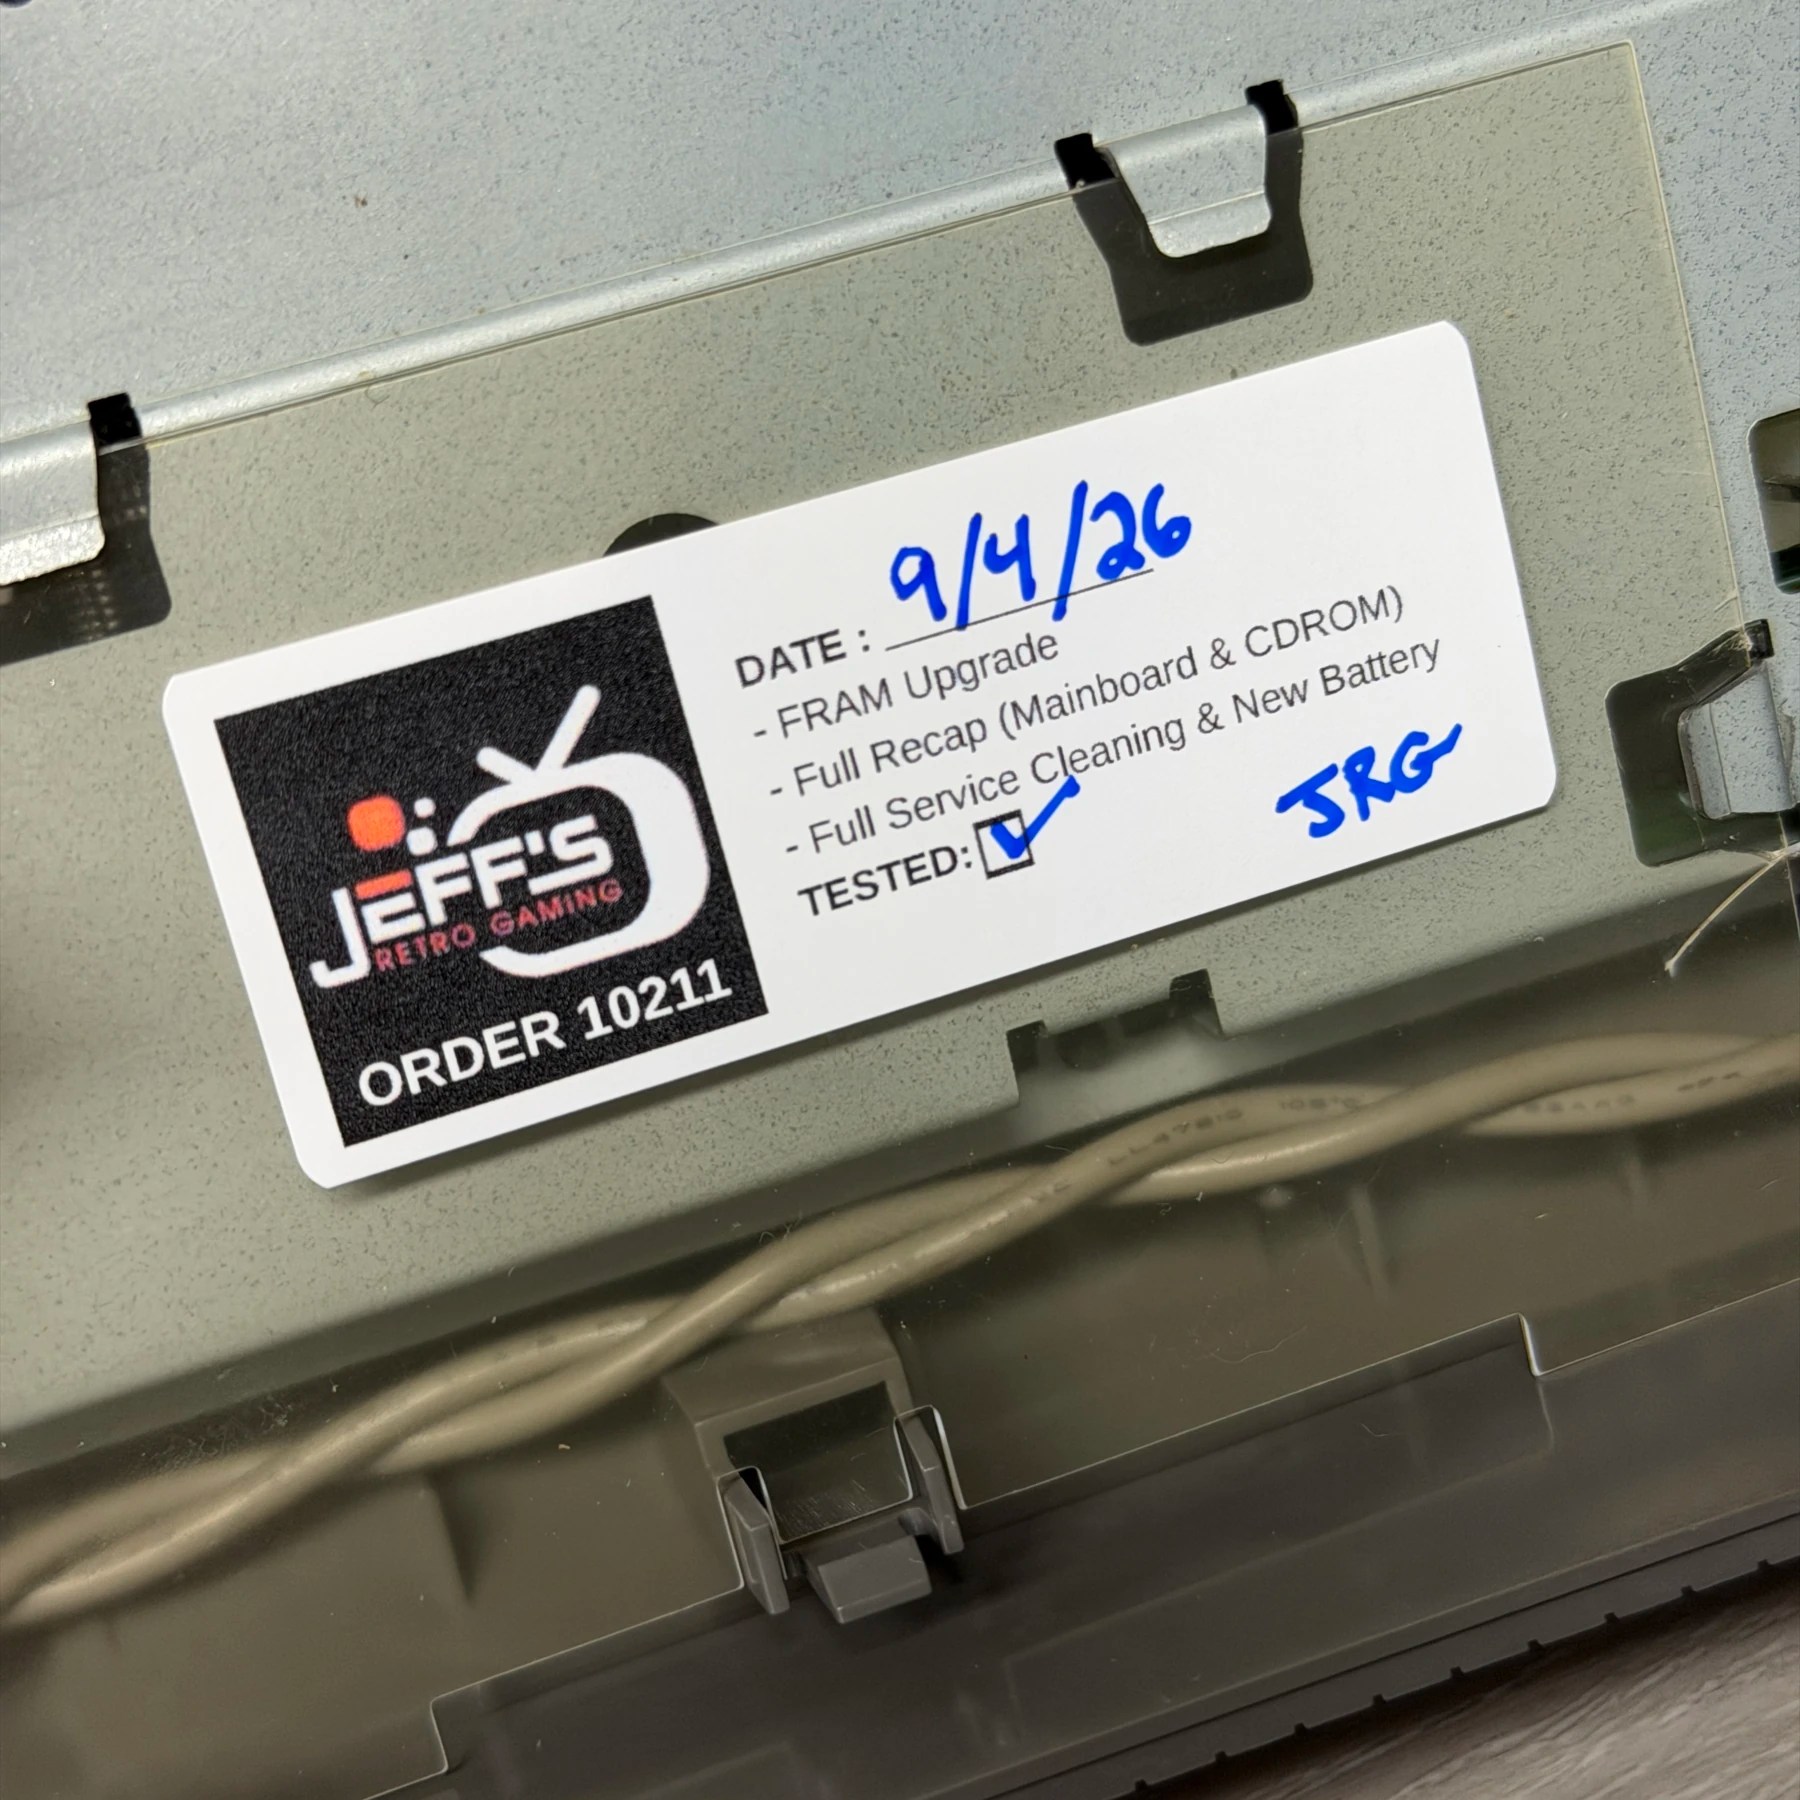
With the drive done I then got the shell components back and started re-assembling in order from the bottom up until I had at least the motherboard, CDROM and aftermarket PSU all attached. At this point I could test so I fired it up and tested FRAM by running a game, removing from power and confirming save data survived. I then tossed in a fresh CR2032 for clock/language and added my service sticker and re-assembled and installed the top shell.
With it working perfect it was just a matter of letting it run on my bench for a few hours as a burn-in test and testing out some games including Virtua Racing (had no idea that some OEM games were region free!) all of which played perfectly. With all that done, time to pack this up and get shipped home!