
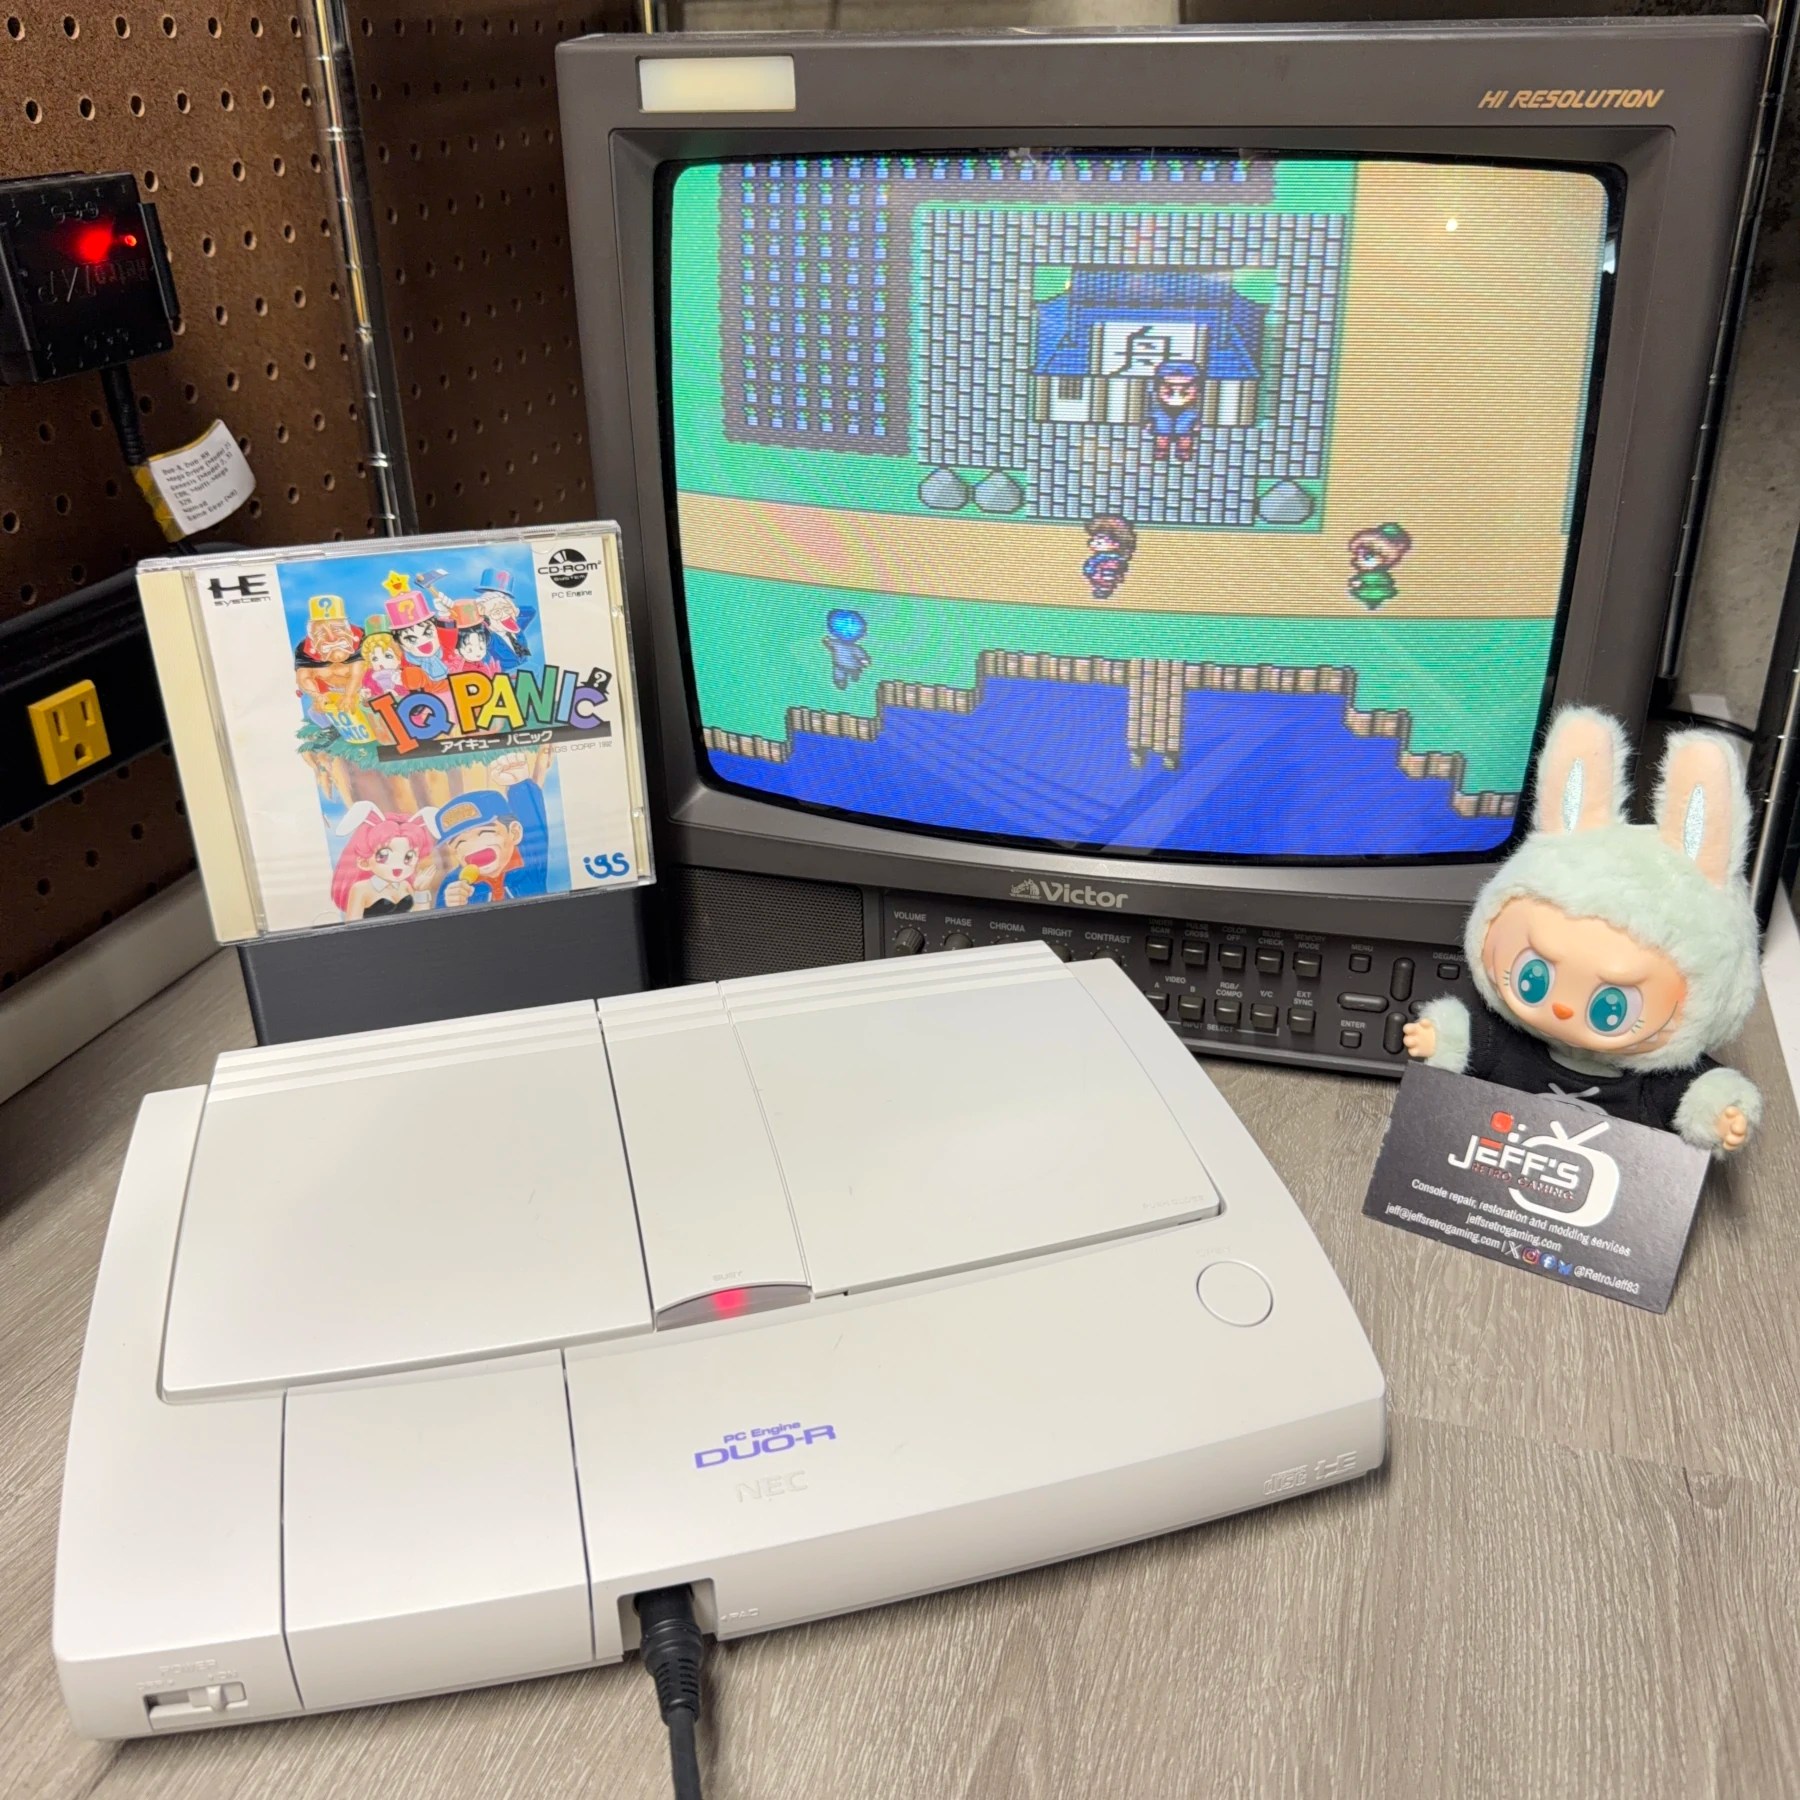
This customer reached out about their PCEngine Duo-R having some issues which they thought might be related to caps but were not sure, it didn’t sound cap-related to me but easily fixable either way so I told them to send it in for the planned recap and cleaning services and I would take a look and figure out the rest.
Luckily both issues ended up being an easy fix and between that and the MUCH-needed cleaning and retrobright it is running and looking like brand new!
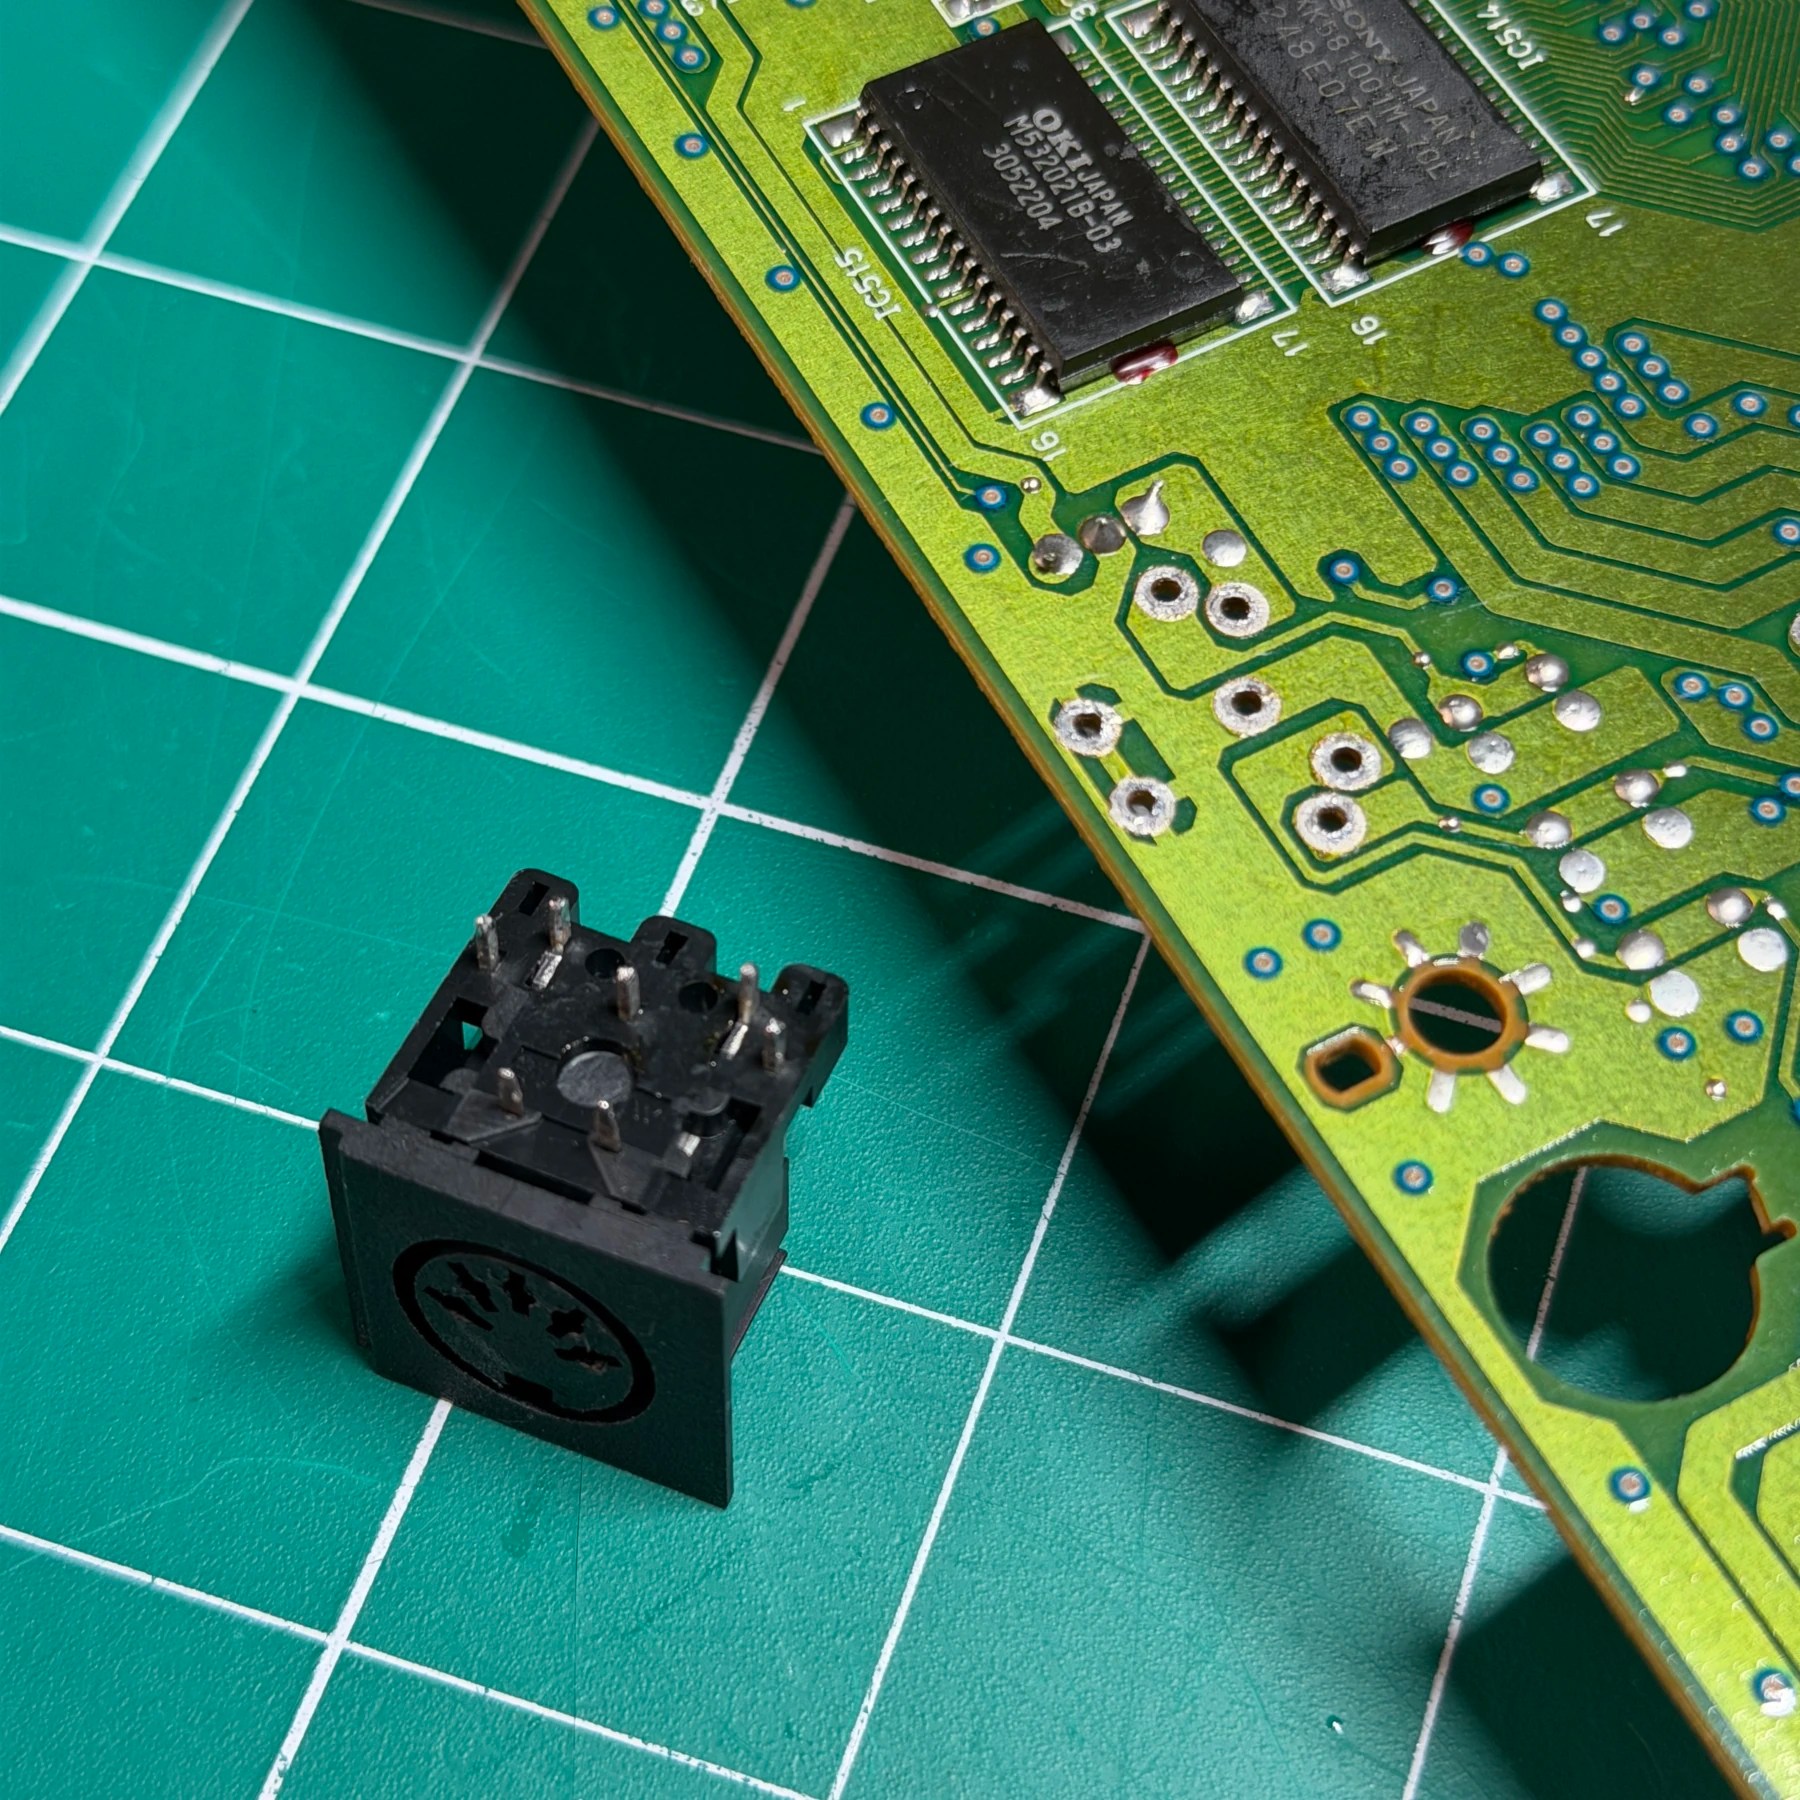
The issues mentioned were that the audio/video would show snow or act flakey if the AV cable was moved or wiggled and that the power switch was struggling to slide smoothly between positions. The former issue sounded like a classic case of a worn AV Din or cracked solder joints so I took a look at that first. Socket felt nice and tight when trying my composite cable so took a look on the underside of the board and immediately saw 3 cracked joints where the legs were barely connected, just touching purely by resting against the surface. I quickly reflowed the 3 bad joints and fired it up to confirm issue resolved, image looked perfect (well for composite anyways 😄) and I could wiggle the cable back and forth and no changes. To be more thorough however I then desoldered the DIN completely, cleaned the board and DIN and then soldered it back on so that all 7 connections were brand new and sturdy.
On the power switch front these Duo’s always have somewhat stiff sliders but this one felt worse than most I’ve worked on. Easiest way to get in there and look is to desolder it from the board, pry the metal fingers off the bottom and actually remove the switch assembly. Inside you have to VERY carefully take out a metal ball bearing and spring and I got in to see the metal contacts all looked pretty clean but it seemed to me like some accumulated dirt and grime was causing the issue. To be thorough I brushed the contacts with a fiberglass pen and cleaned then gave a light coat of deoxit and added some light grease to the plastic enclosure and contact points before re-installing the bearing and spring and then worked the switch in a dozen times or so. It felt considerably better so I soldered it back on the board and that was the two main issues fixed!
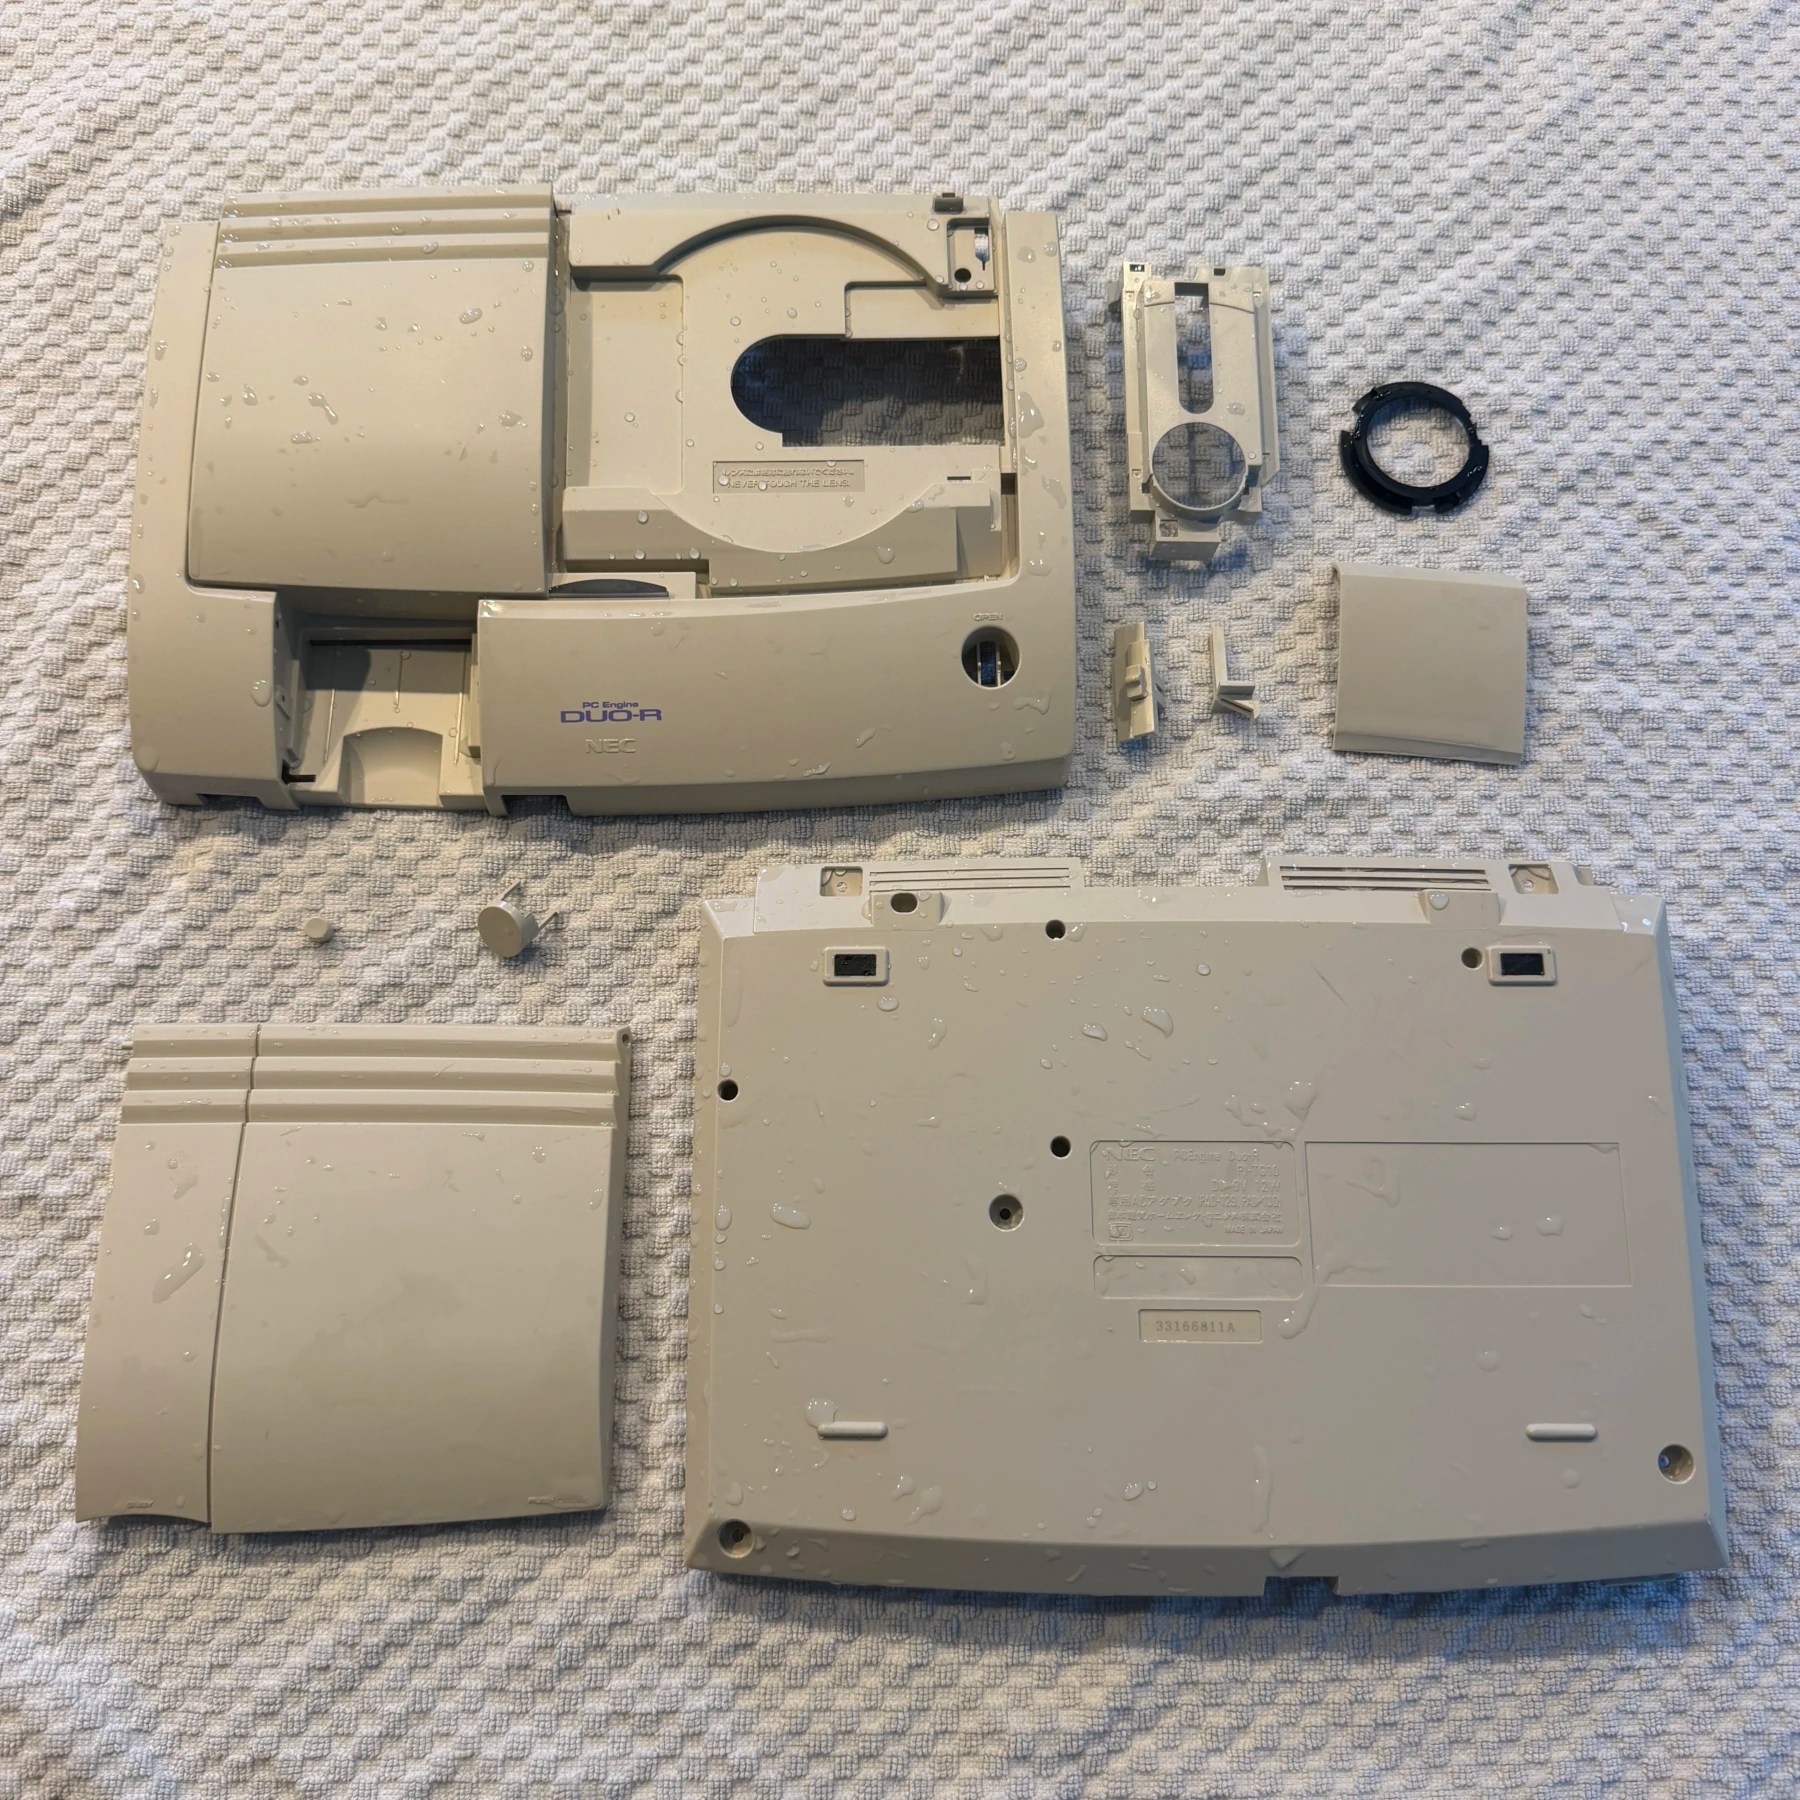
As far as the refurbishment went, the minute I unboxed the console and saw the condition of the shell I HAD to get this thing cleaned and retrobrighted! I Fully disassembled it including the optical drive lid tray and CDROM shield and did a long soak and scrub and set to dry overnight. While waiting for the shell to dry I worked my way around the board with my Hakko gun and desoldered all the OEM caps. There is a TON of them on these and it’s quite the pain. I would still choose servicing an R or RX over an original DUO which has the infamous leaking SMD caps but still, these take time!
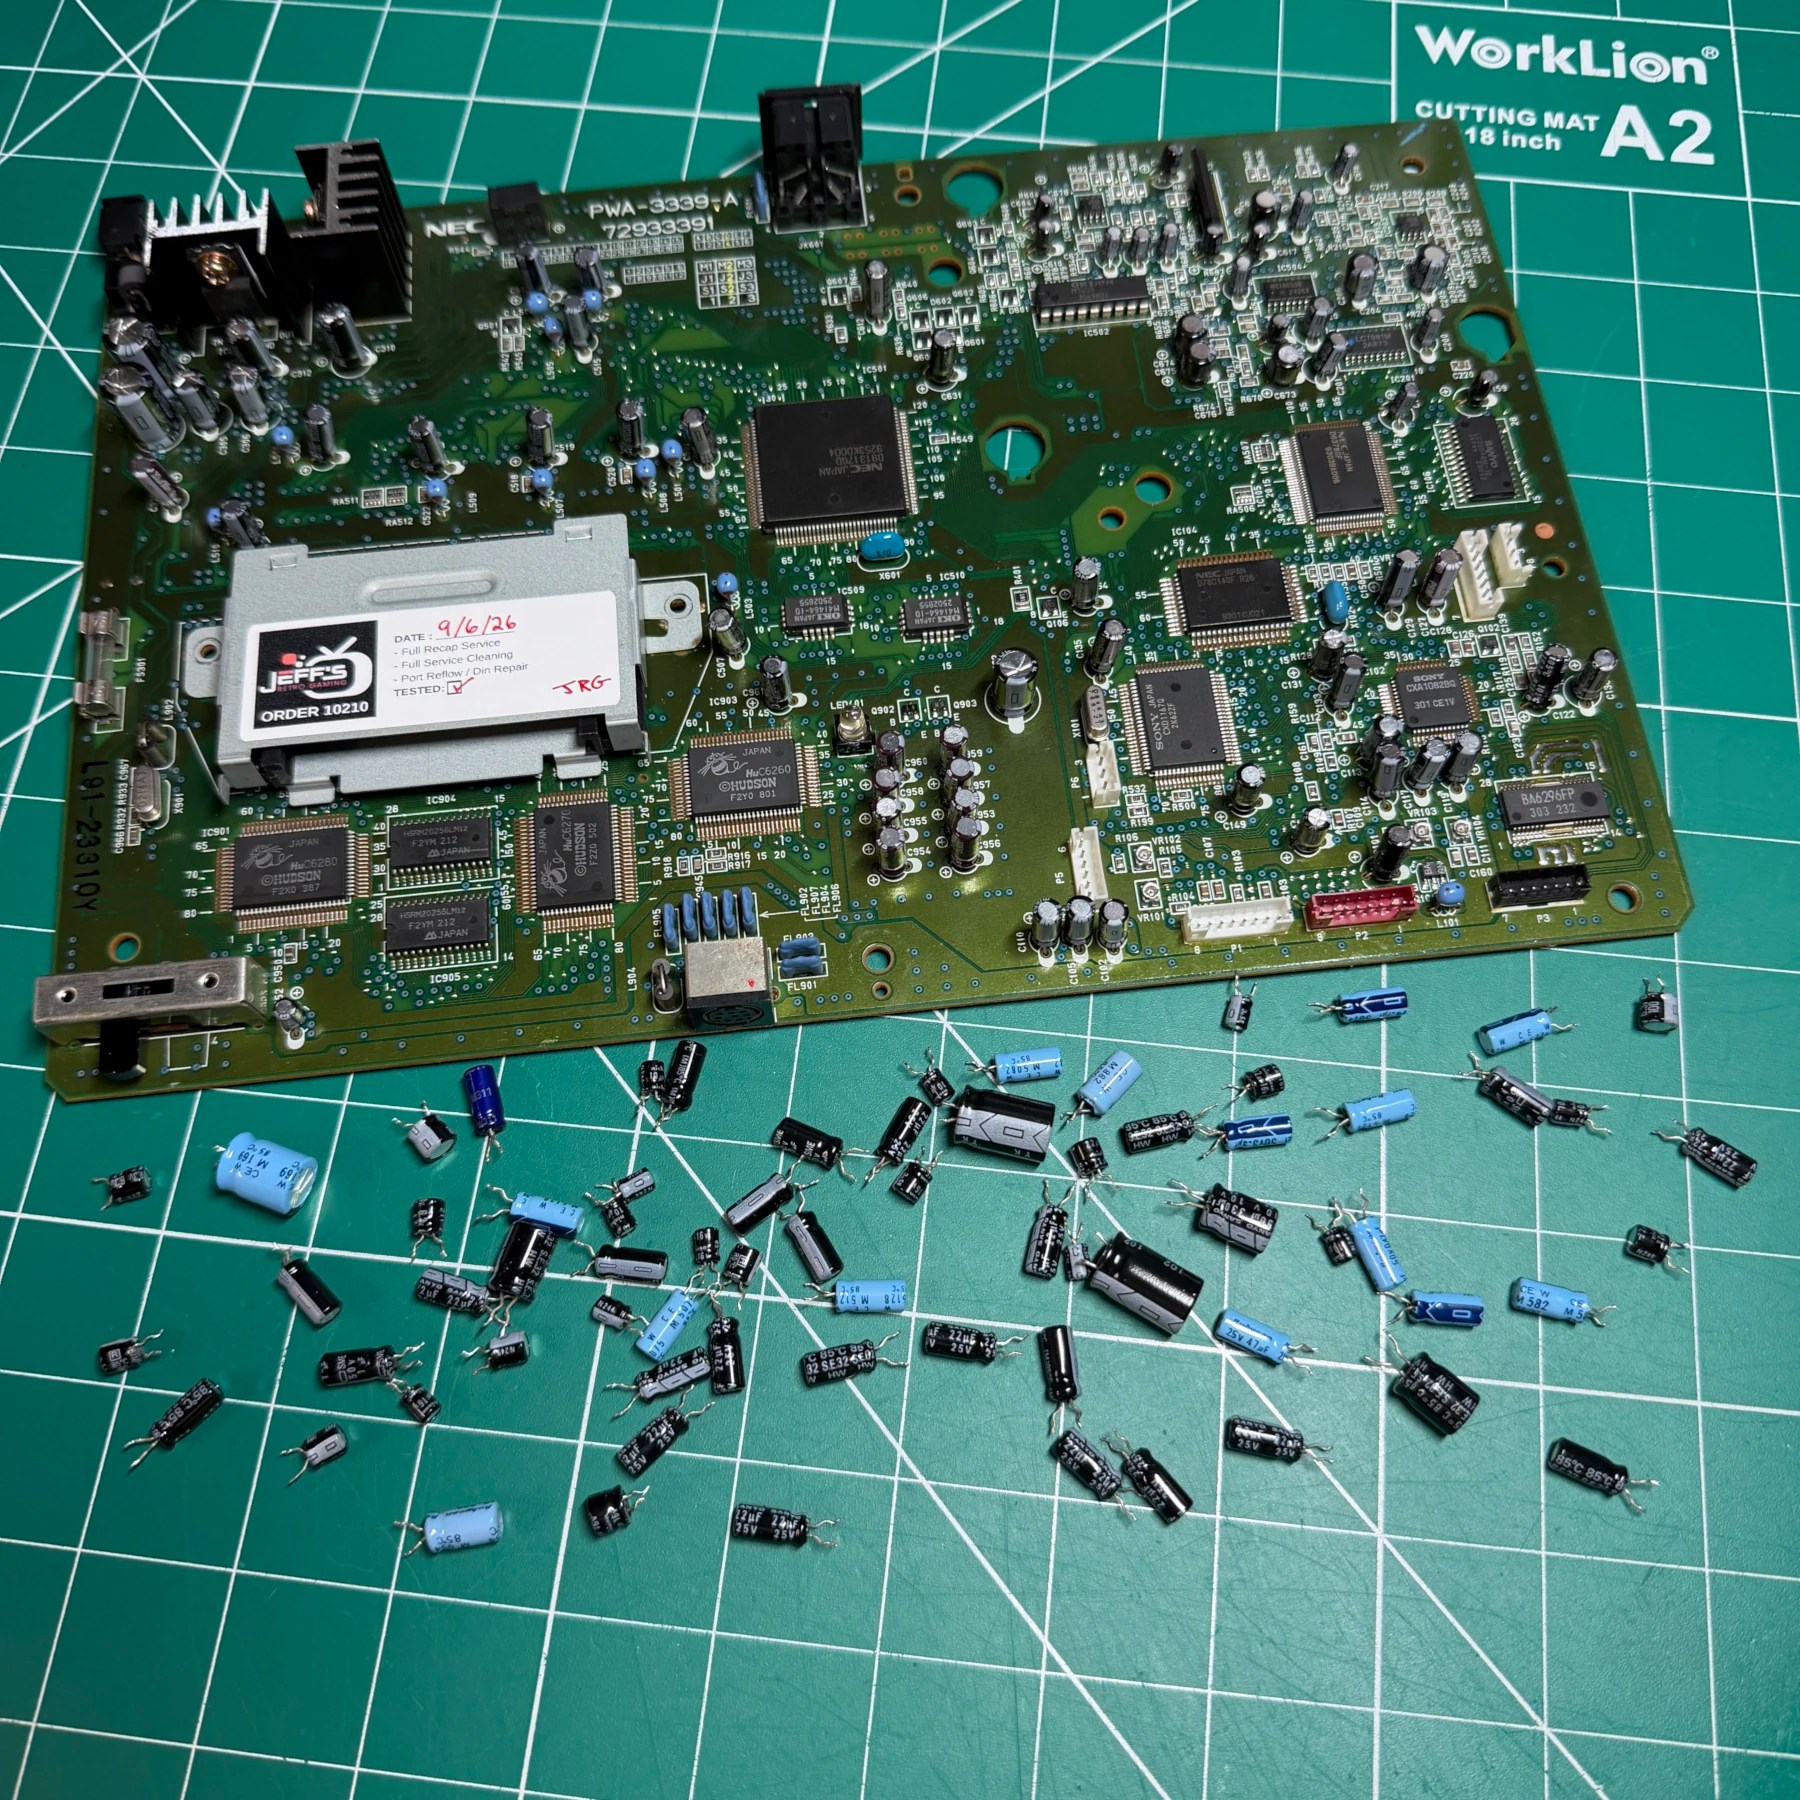
Once board was decapped I cleaned it and then went and moved the shell into the retrobright chamber and set a timer so it would run overnight into the morning, I run my batches for about 16 hours if the yellowing is quite severe. With that being restored I then went and soldered all the new caps from the Console5 kit including the 2 caps for the jailbar fix and then snipped the legs and cleaned up unspent flux. Normally I take a photo of the board with NO caps but completely forgot to thats why my recap photo is after I had already assembled, tested and THEN realized it and had to disassemble and stage with the old caps. Whoops!
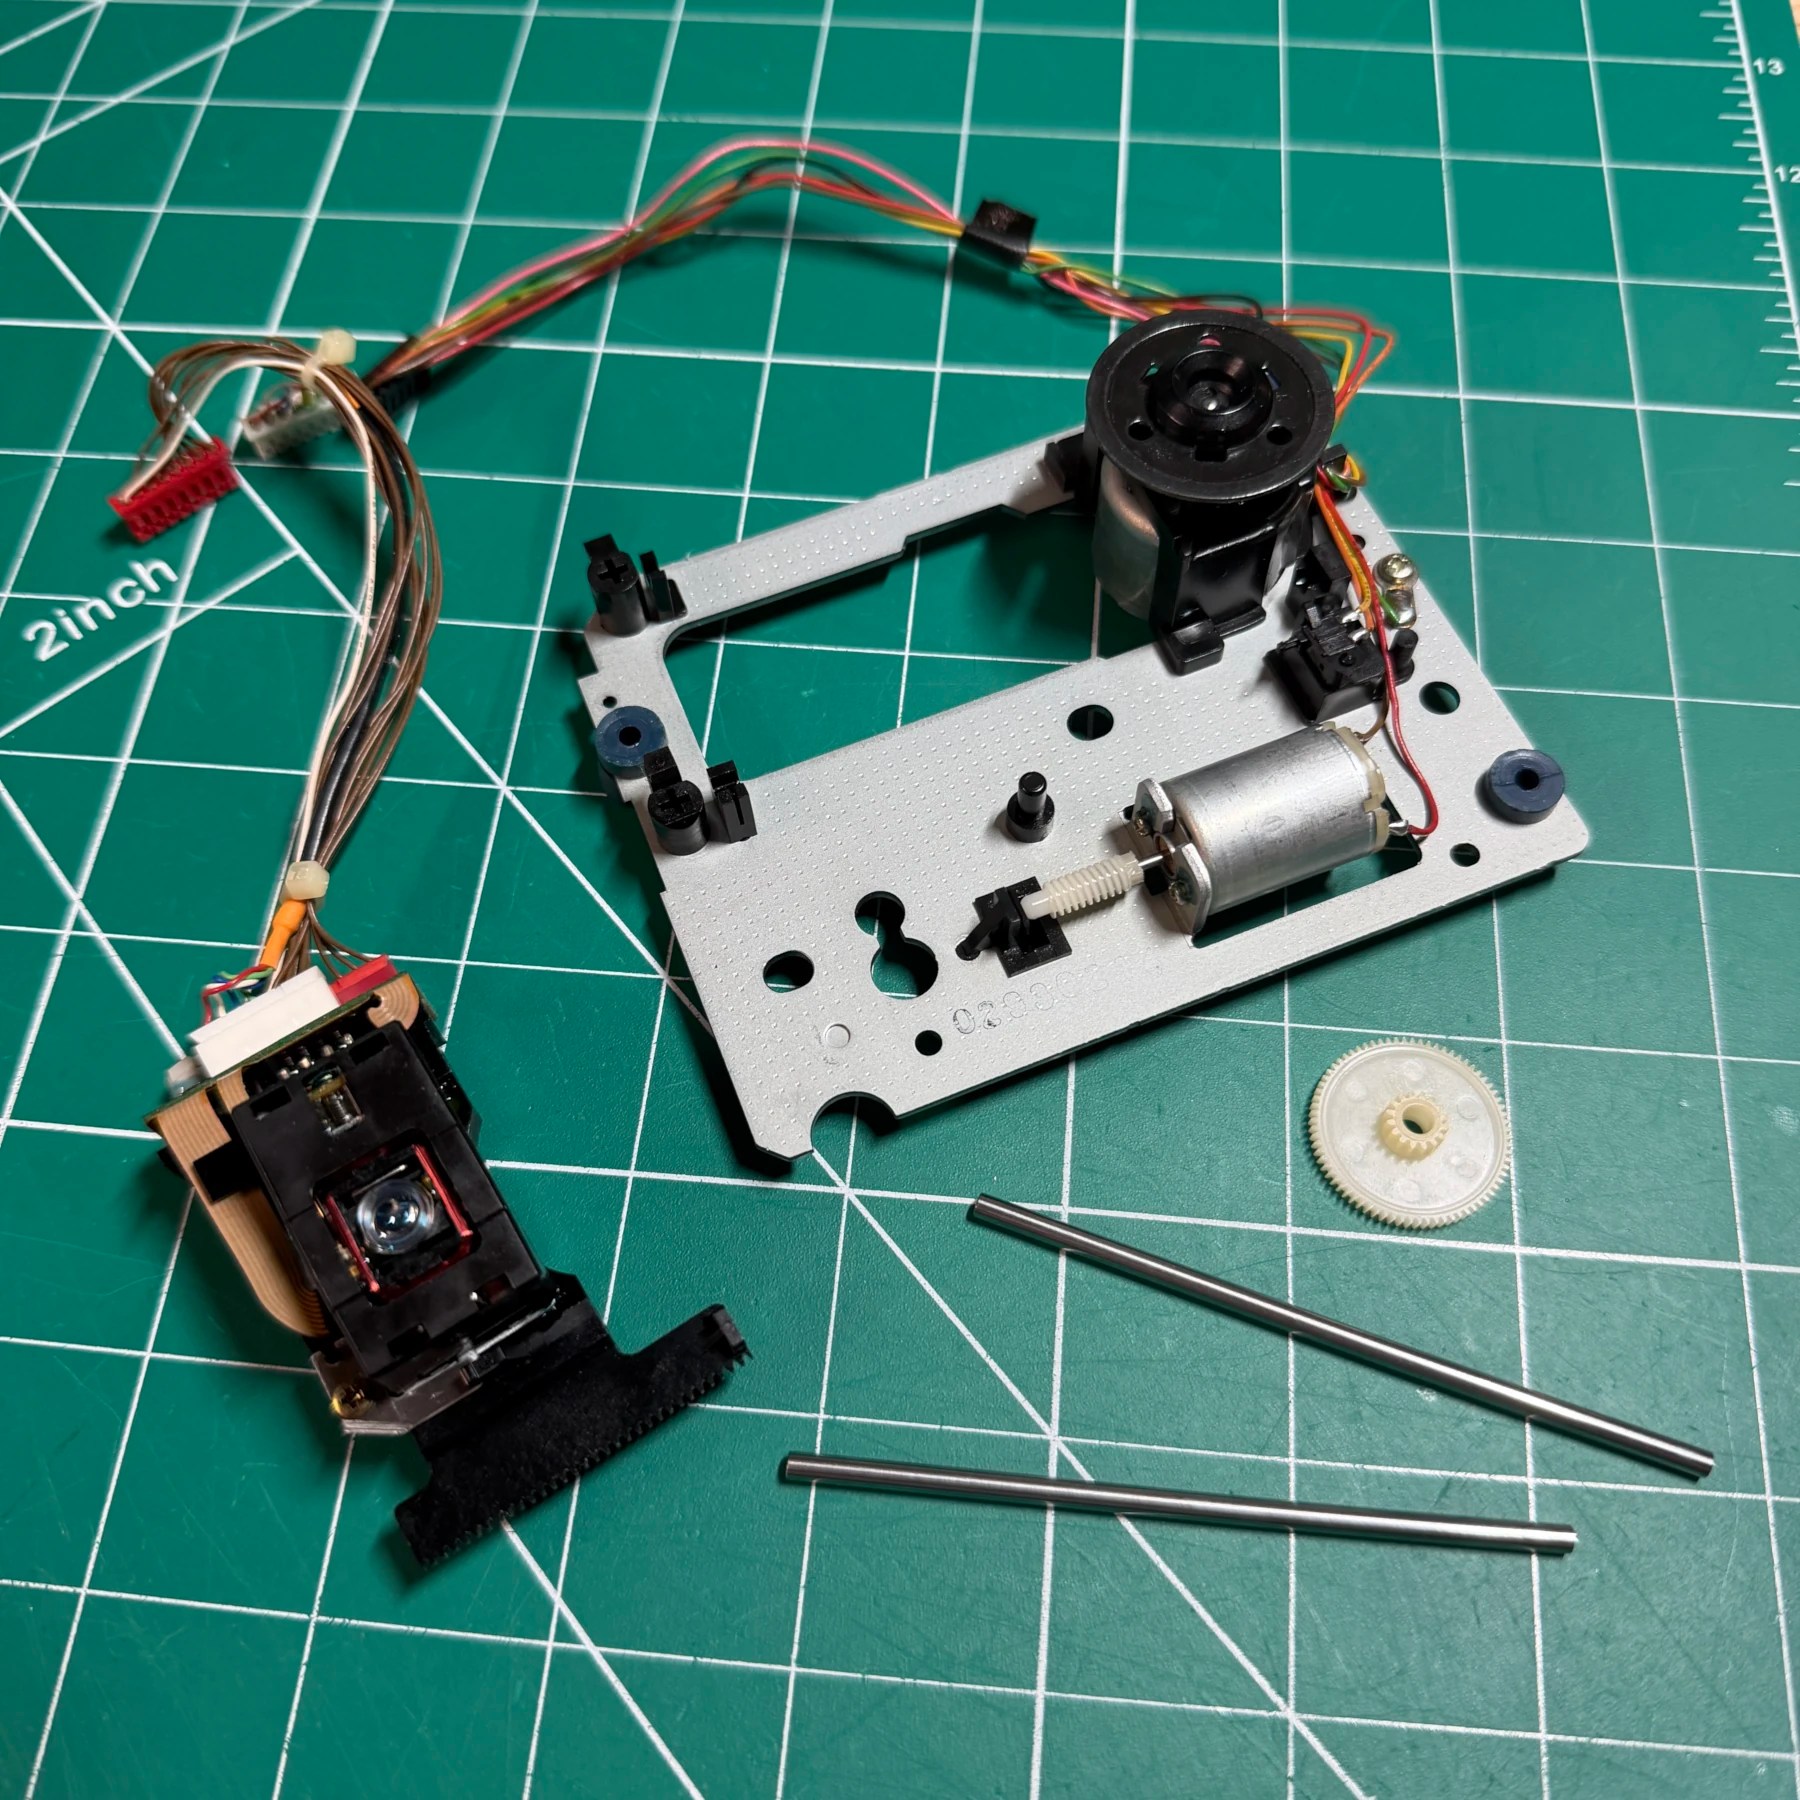
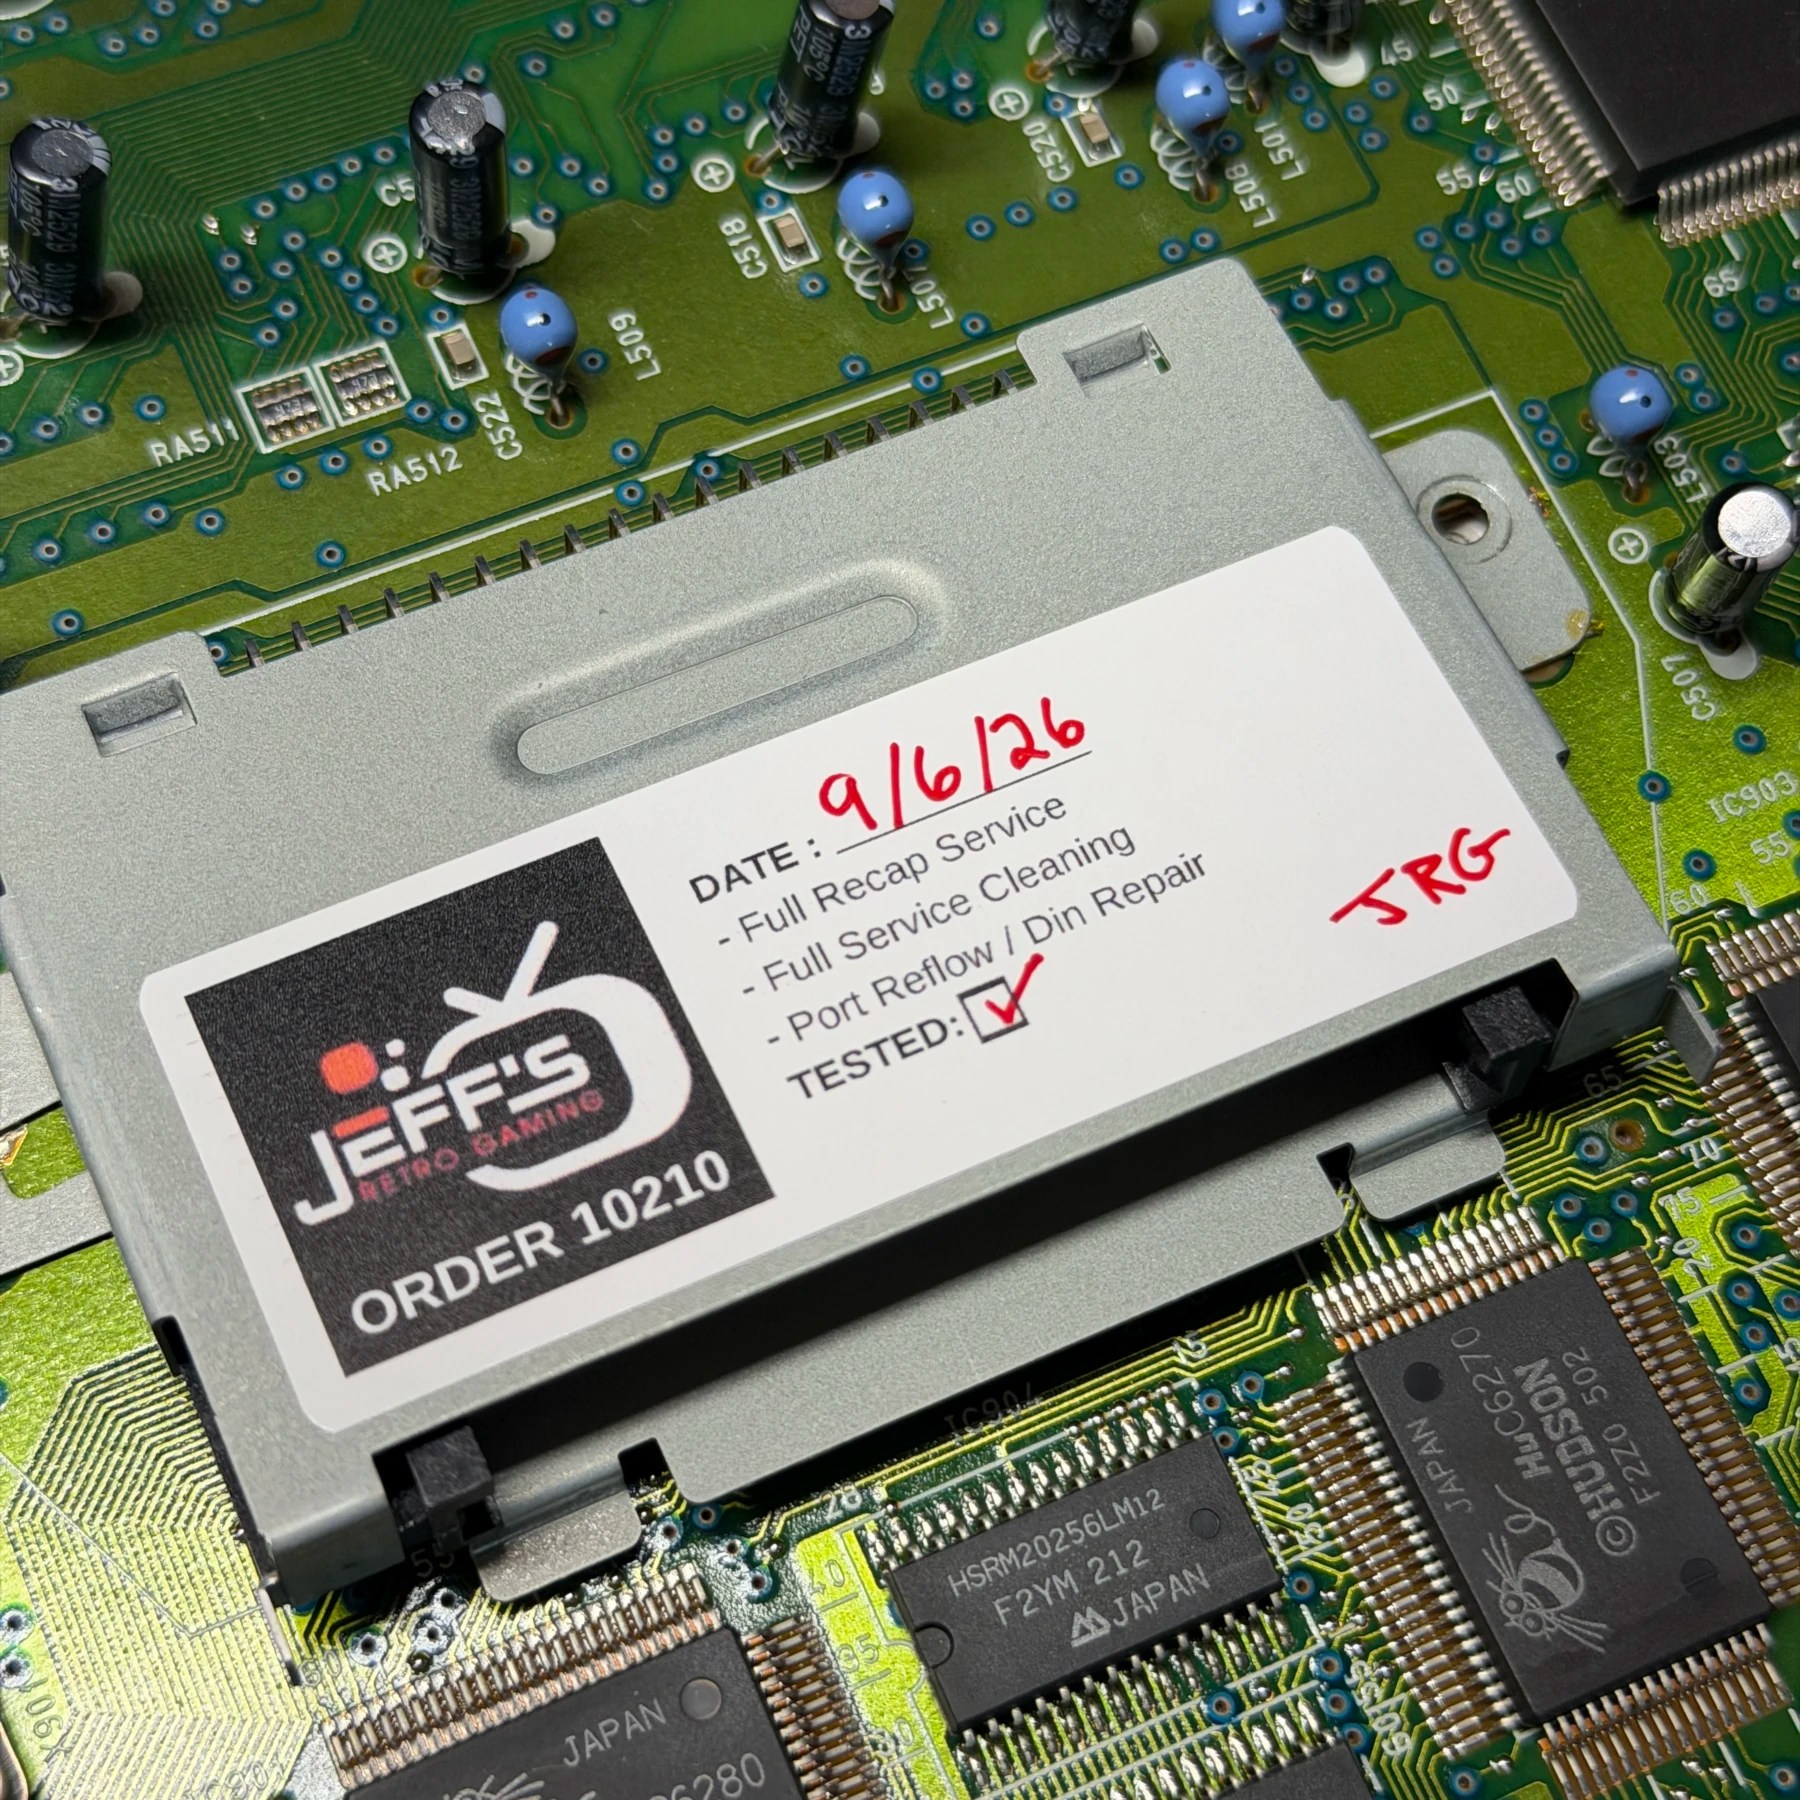
The last internal project was cleaning up the optical drive and greasing it which is a quick job in these as they are quite barebones and easy to disassemble. With all that done and the shell out of the chamber I assembled up to and including the CDROM but left the top shell off and fired it up to confirm correct operation and that it was reading discs ok so I could add my JRG sticker and sign off on the work! Once done, finished assembly and gave the shell multiple passes of UV protectant coat and let it run on the bench for burn-in testing and my staged shot.
The console came out fantastic and happy to have another Duo headed home for an excited customer!