
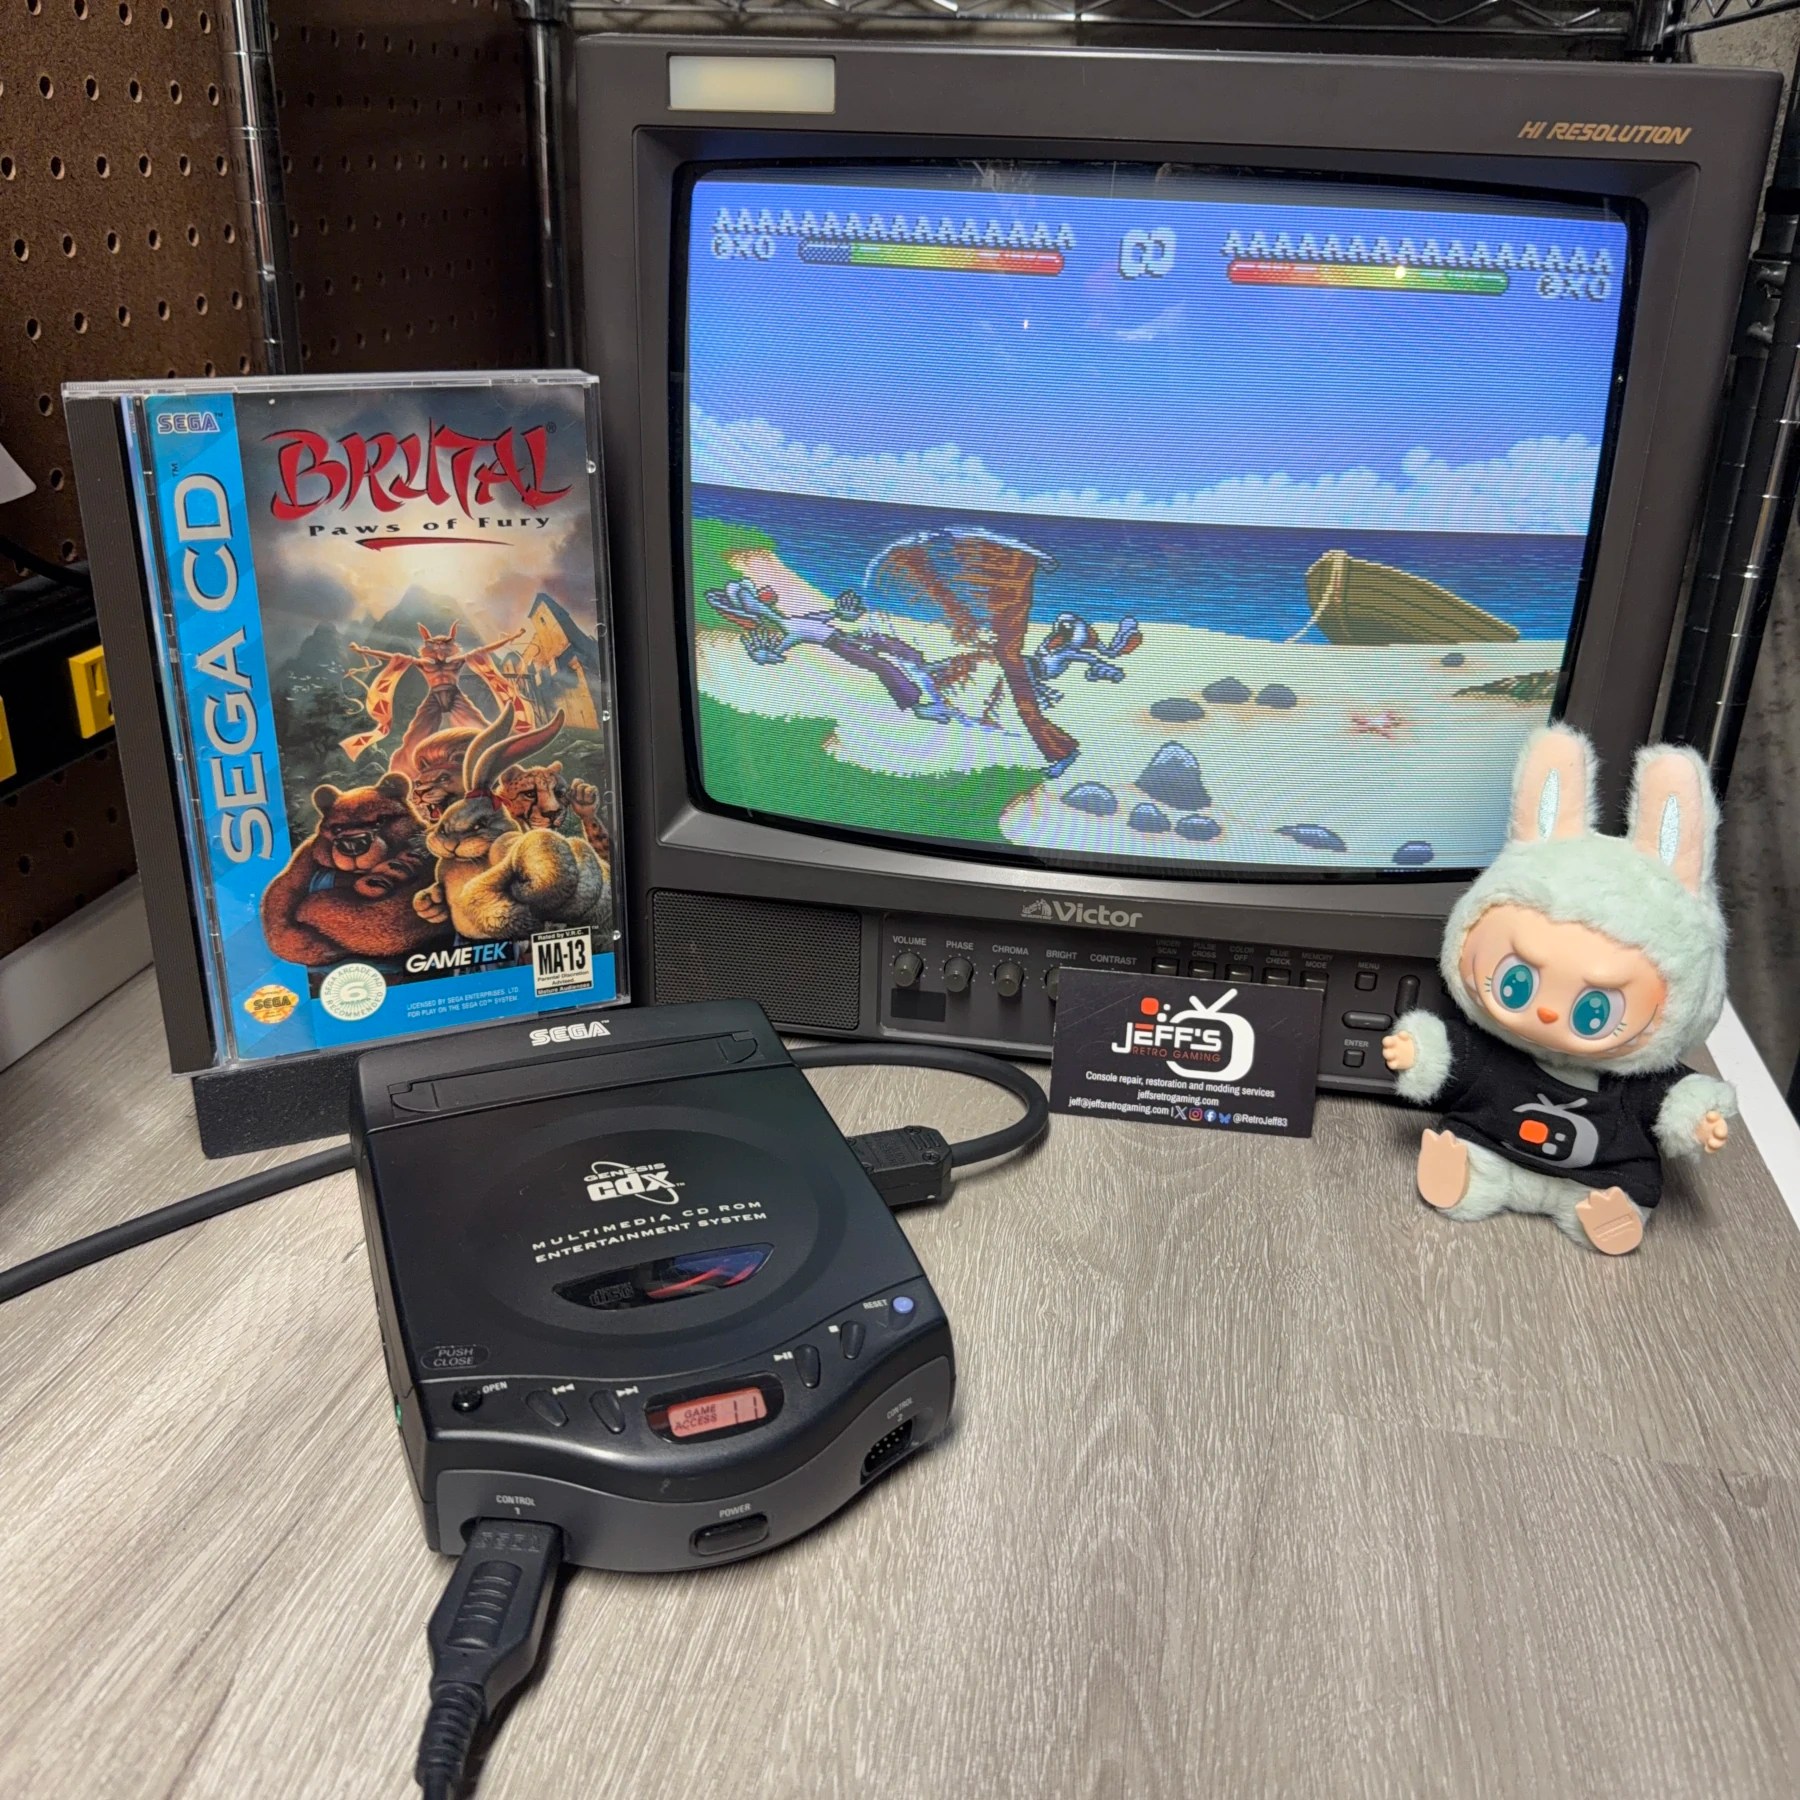
Another CDX! This one came in for more of a refurbishment than modding (except for FRAM) and the customer had indicated the unit was struggling to read discs or at times not at all, so they asked if it would be ok to send in the CDX along with a replacement laser. I indicated that was fine though warned I wasn’t entirely sure of a super reputable shop. I have had luck with Liberty Electronics in the years past and recently with a CDI laser so threw that name out there, and they acquired and sent in a laser from Liberty’s shop for us to try swapping. Otherwise it was recap and optical drive maintenance as usual on these (cleaning/grease).
When it got here I opened the new laser first to confirm it was correct model (there are variants so it’s important to check) and it was. As soon as I got the bottom shell removed it was immediately obvious someone had been in here before… I checked with the customer and they indicated someone had previously come in to fix leaked battery damage in the battery slot area but that’s all to their knowledge. Luckily the only things wrong from this work were some missing screws (though 2 of the missing ones are responsible for holding the power jack in line with rear shell hole so that had to be resolved) and a burnt-up wire that joins the PSU board to mainboard. All of this was an easy fix so time to get to work refurbishing!
On this job the laser replacement was the primary focus so I disassembled the console down to the optical PCB and laser assembly (no shell cleaning service selected on this one so I didn’t have to pop out all the buttons, tray hinge parts, etc.). After disconnecting the wires and flex I then had to take the existing laser out of the assembly carefully, transplant the flex connector over to the new laser and remove the anti-static blob. This blob protects the laser from static during transport and handling but has to be removed before actually using the drive so I like to install the laser in the assembly and then remove it. The gears and rail were also removed and deep cleaned and some fresh grease applied, then the assembly put back together and set to the side so I could work on the recap.
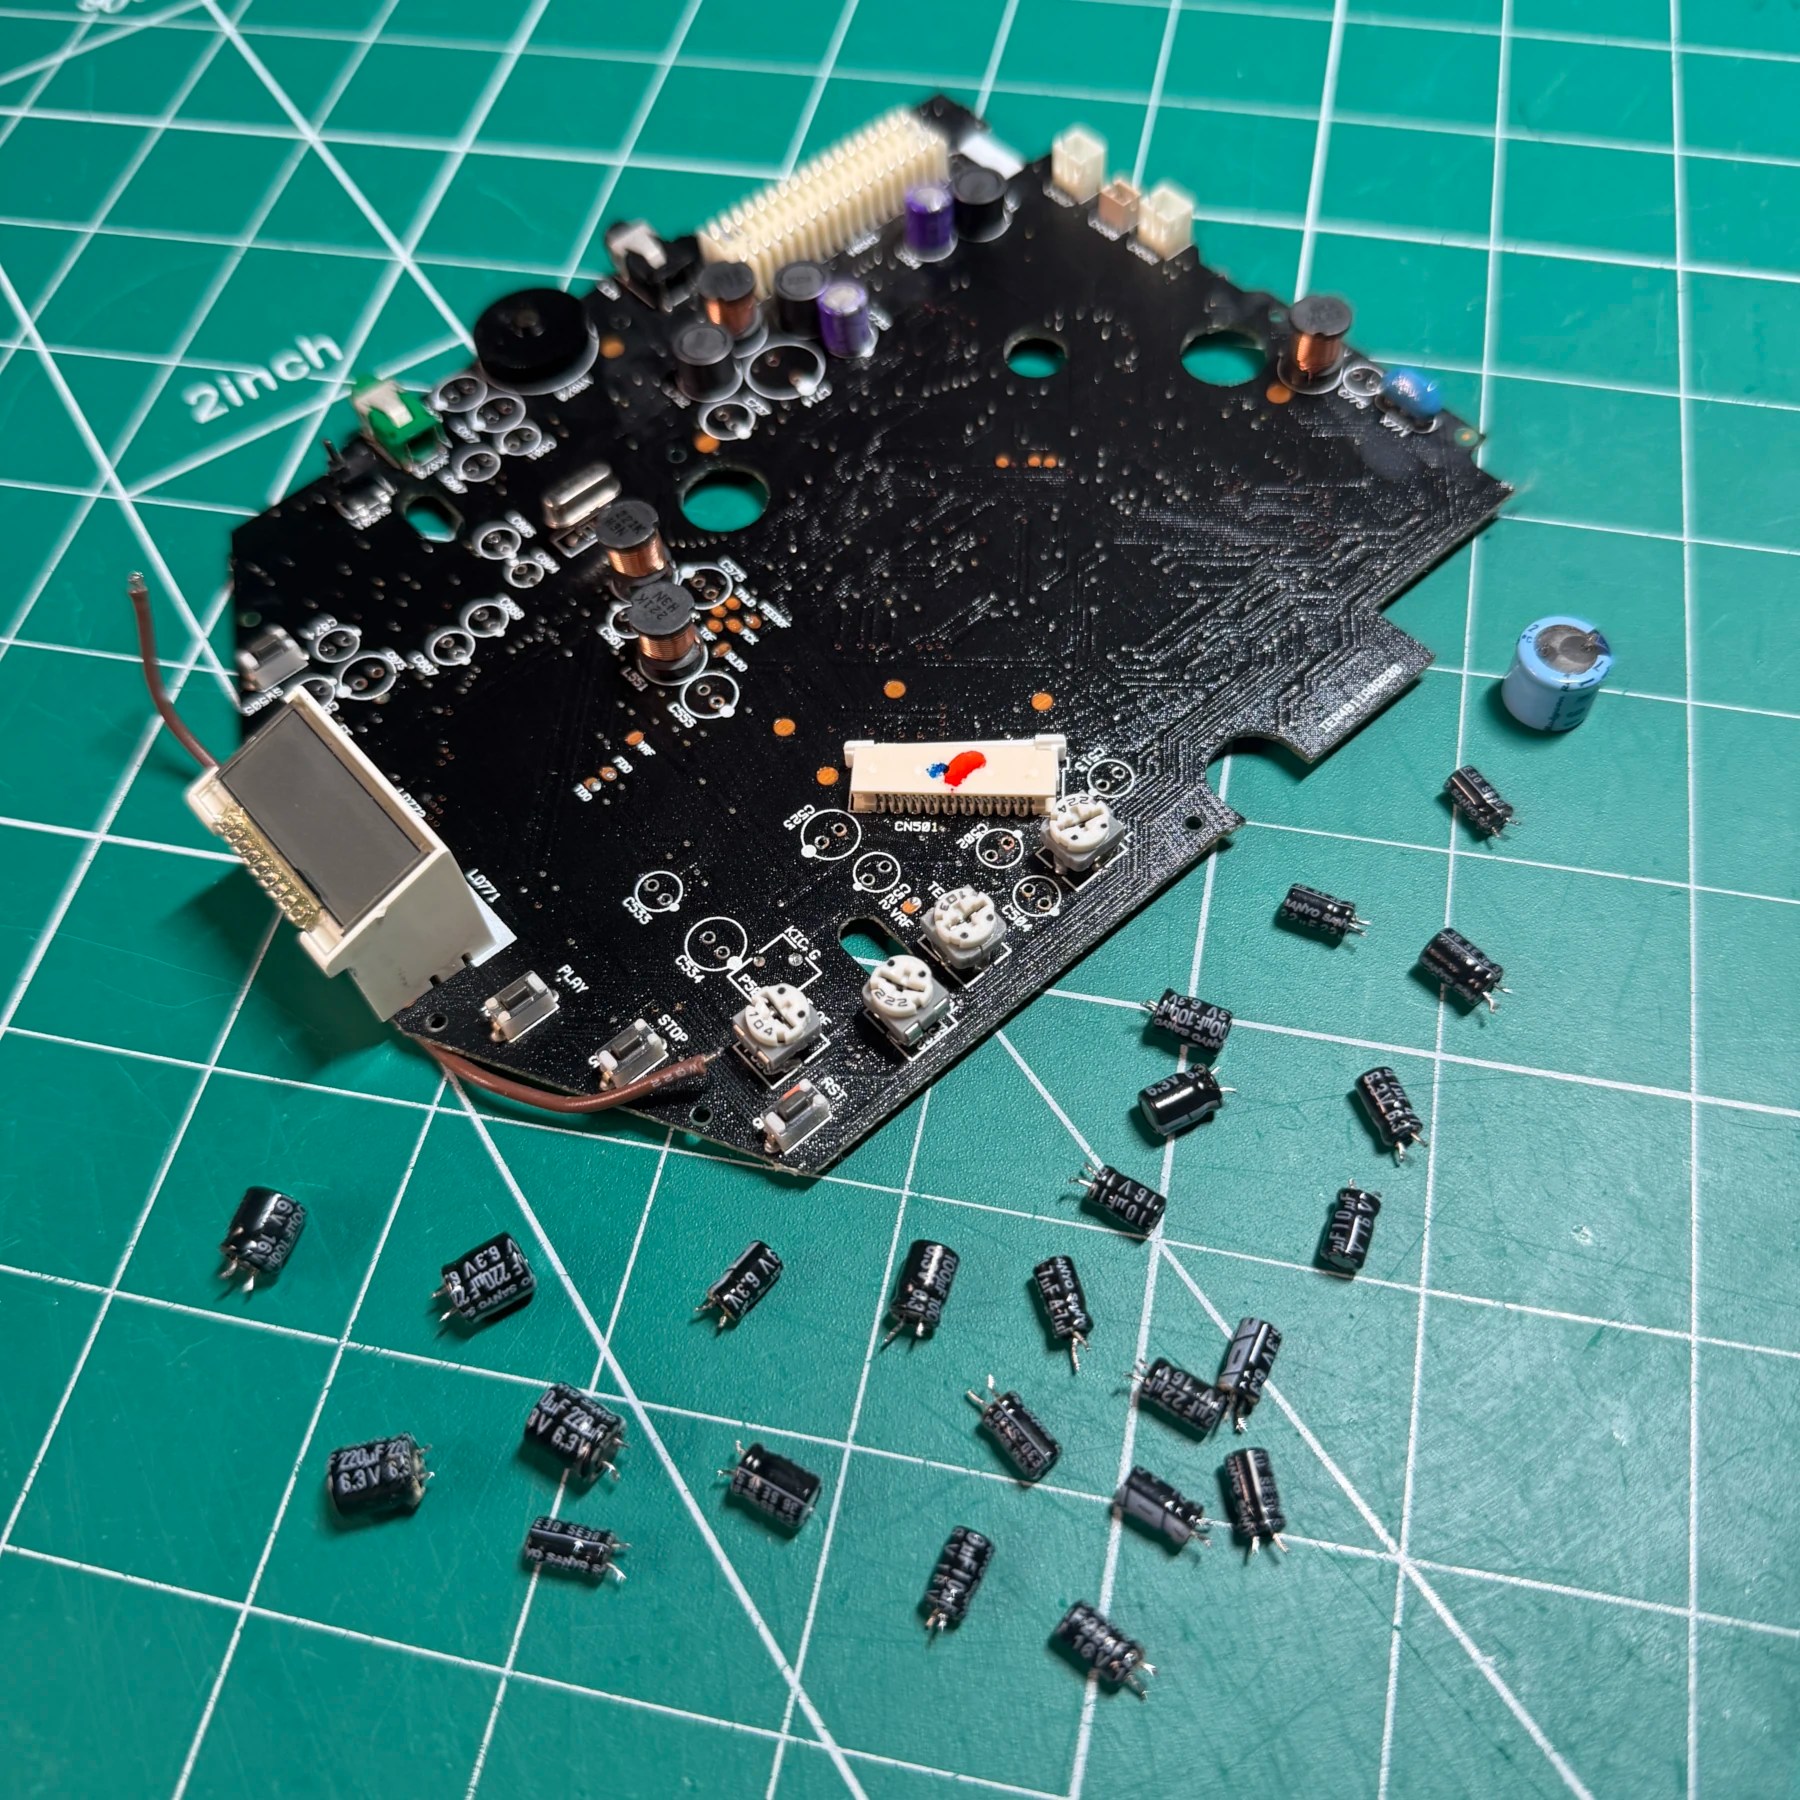
Optical drive PCB is the most work recapping as there are a lot of them and all need to be replaced minus the two polymer caps that do not get included in Console5 kit as those are lifetime parts. With all the caps removed and board cleaned I then installed the new ones from the Console5 kit and snipped legs/cleaned underside from any leftover flux. At this point the laser assembly could be put back on so the flex was connected and 3 wire bundles also reconnected.
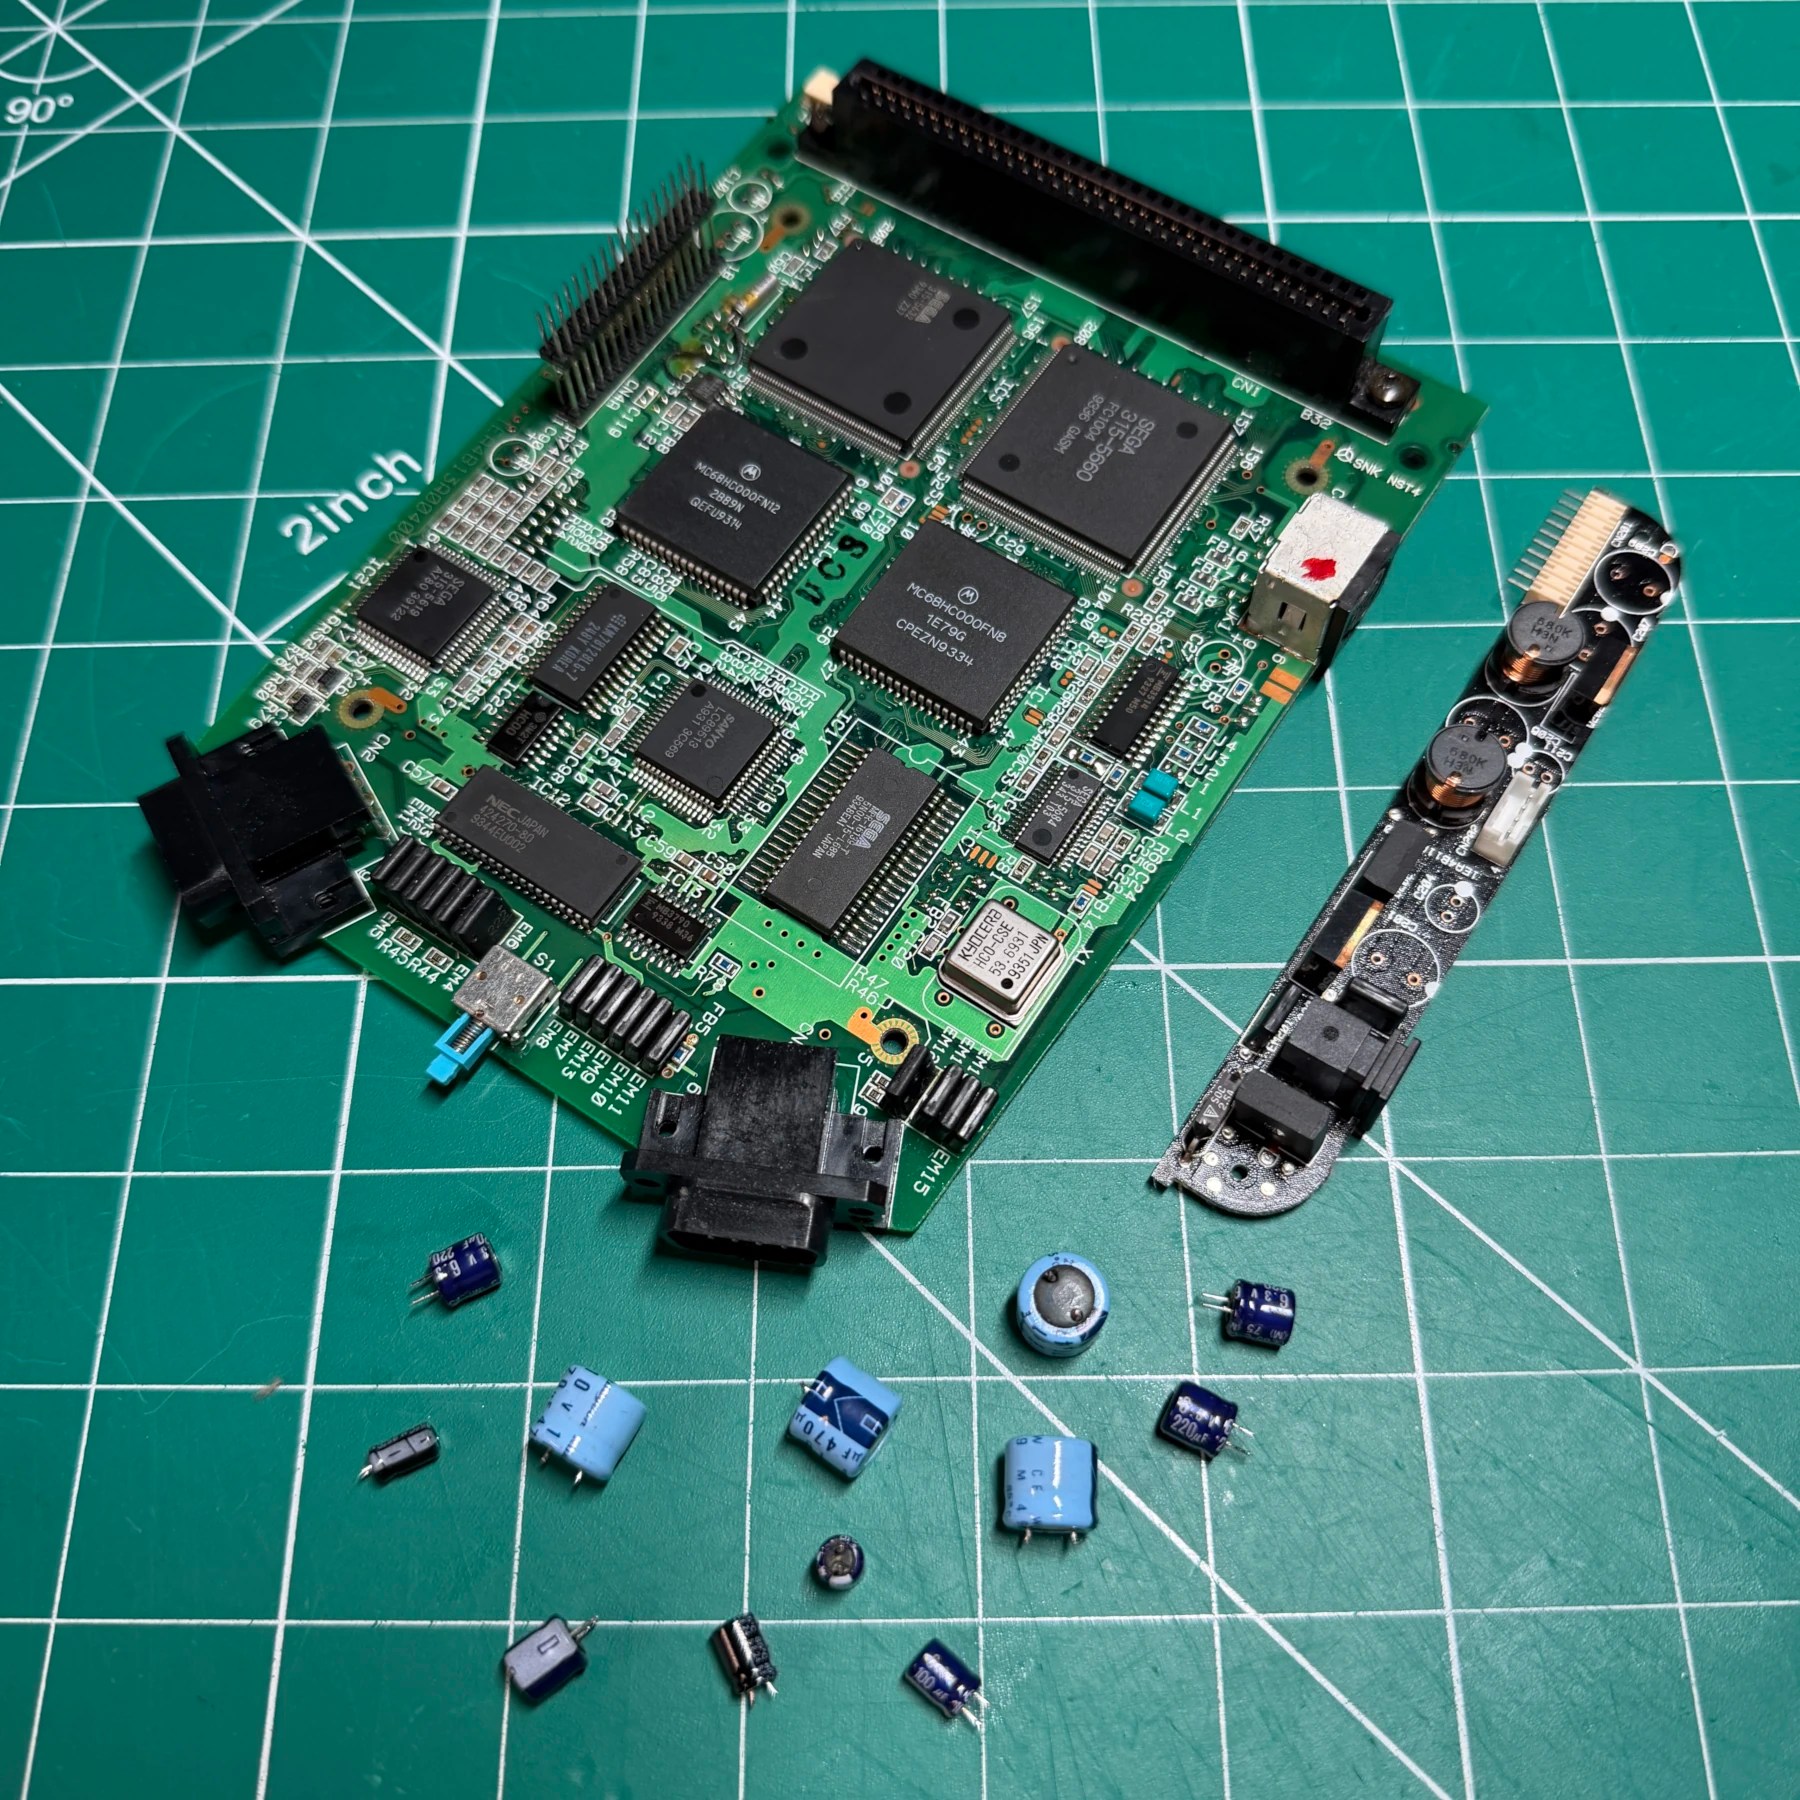
Normally I would do FRAM upgrade while board was depopulated of caps but since I wanted to confirm operation first I left that alone for now and proceeded to decap the PSU and mainboard. With all those caps removed I cleaned the board and then replaced that previously mentioned damaged wire from PSU board and installed the remainder of the new caps on these two boards, finishing the recap service.
At this point I can test the unit without it being fully closed up by socketing the bottom and top boards together and carefully placing an insulating bag in between so nothing shorts out. With it back together I fired it up and… nothing. I could see laser emitting and do a focus bob up and down after homing but it would not move to next stage of the process which is starting the motor spindle once it detects a disc is present. I then used the R6 wiki to calibrate the PLL and TOF pots (get as close to 4.32MHZ and 2.5V respectively) and tried again, still no luck. So I carefully worked on slowly adjusting the remaining (after marking start position) to try and get the laser to detect and engage the disc, but no signs of life except for focus attempt after trying every position possible.
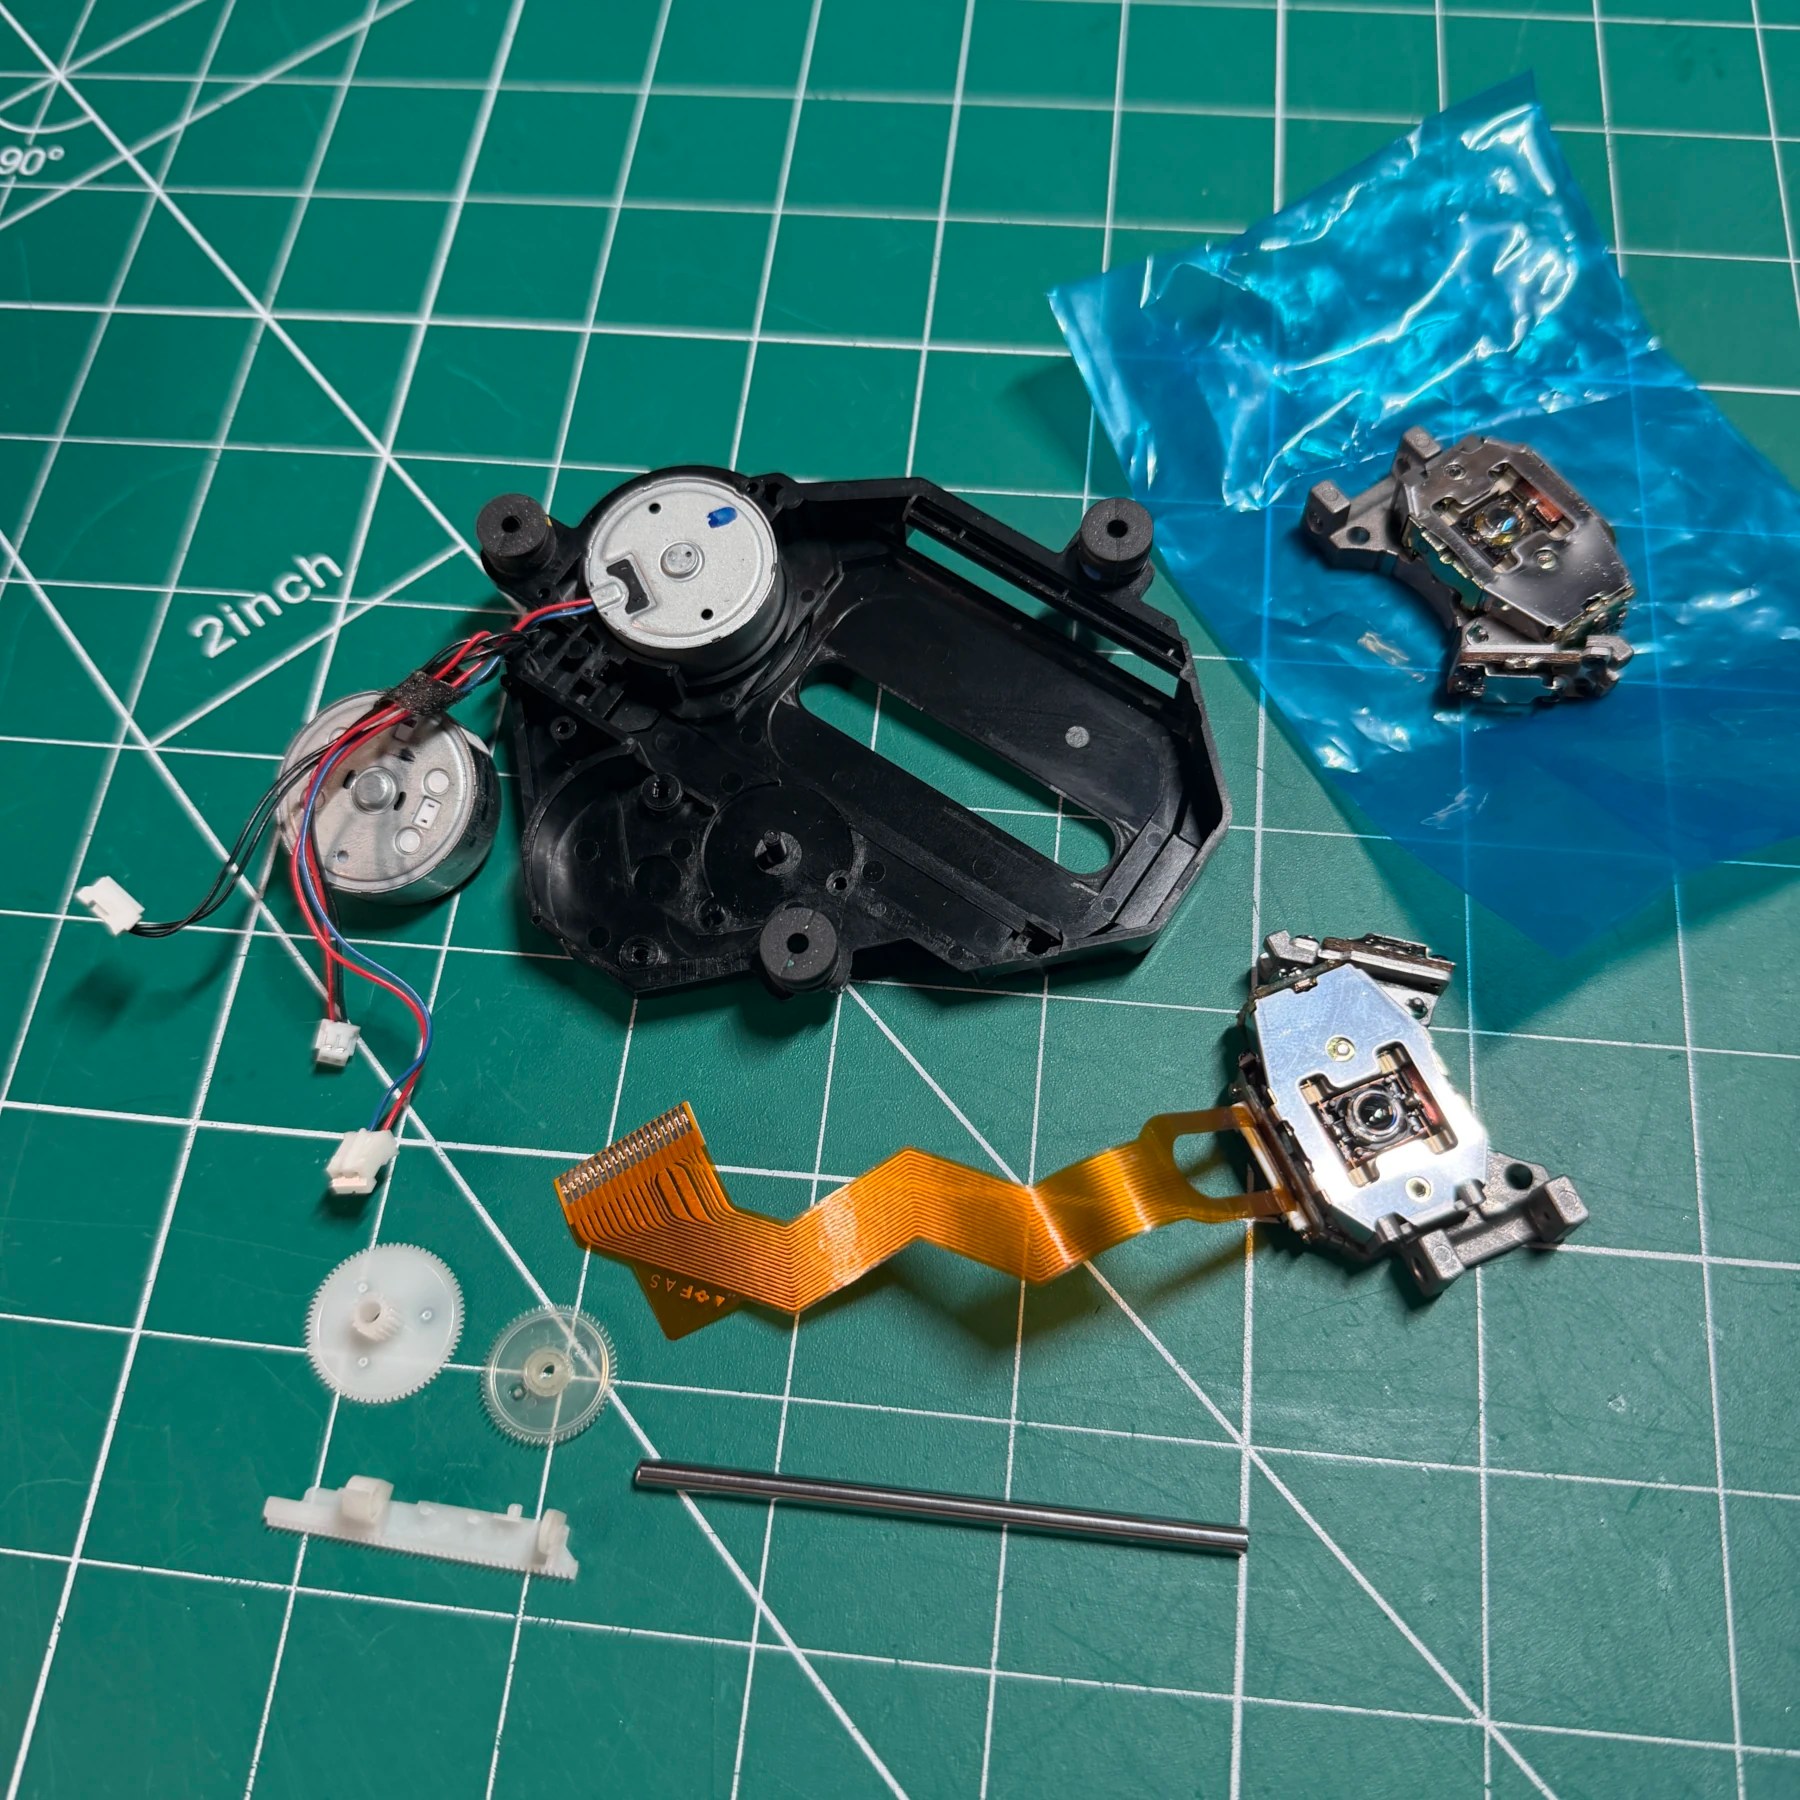
I chatted with a few other modders who have gotten a ton of bad CDX lasers lately and the issues trying to find a good one, including from Liberty and concluded a dud had been received here as well. I then made the decision to put the original laser back in and try adjusting. As soon as the original was reinstalled the CDX made it past the focus/home phase and the disc spun up and booted, I just observed some hesitation and skipping during playback. So I hooked up the scope to the RF test point and worked on carefully dialing in EFB and TGAIN while monitoring the scope for an eye pattern until it was as dialed in as best I could achieve. At this point I noticed it was booting my 3 test games quite well, though on the heavily scratched disc it still did seem to struggle on occasion, always getting into game but a few FMV’s it was not happy about.
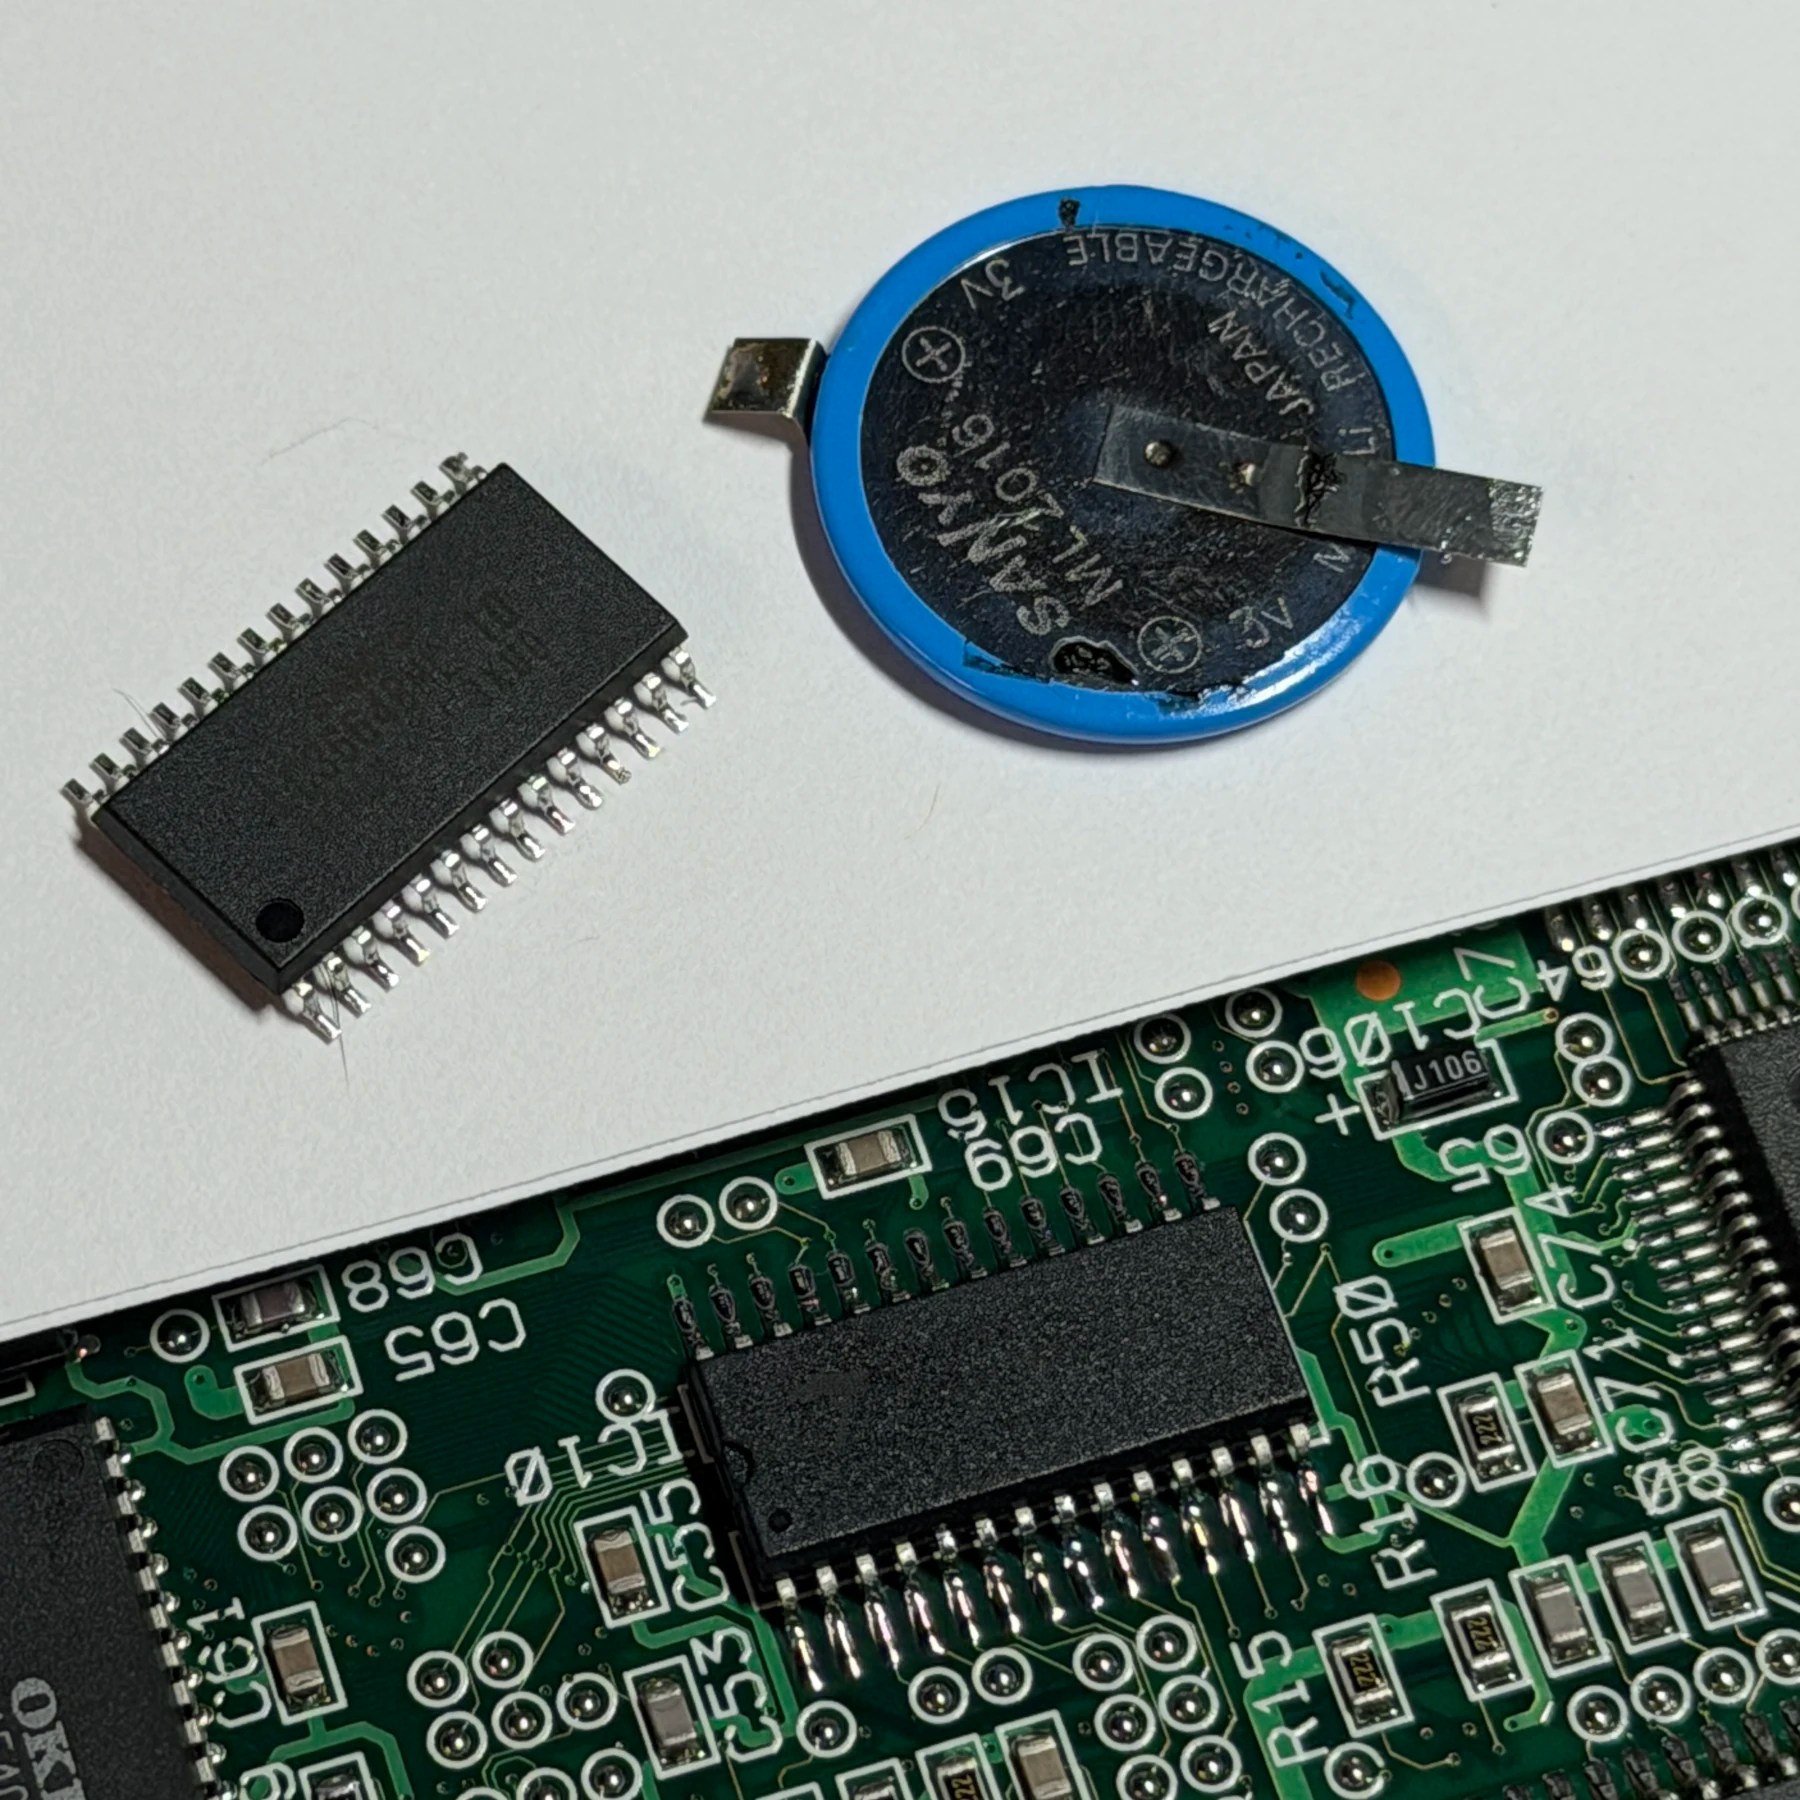
At this point knowing I got the current laser as tuned as possible I put the anti-static blob back on the replacement and boxed it up for return, then got the FRAM Install done which included battery removal and heating up the chip to 300C and lifting carefully then cleaning pads and soldering new FM16W08 chip in its place. I had backed up all the data before this process so I could transfer back once done.
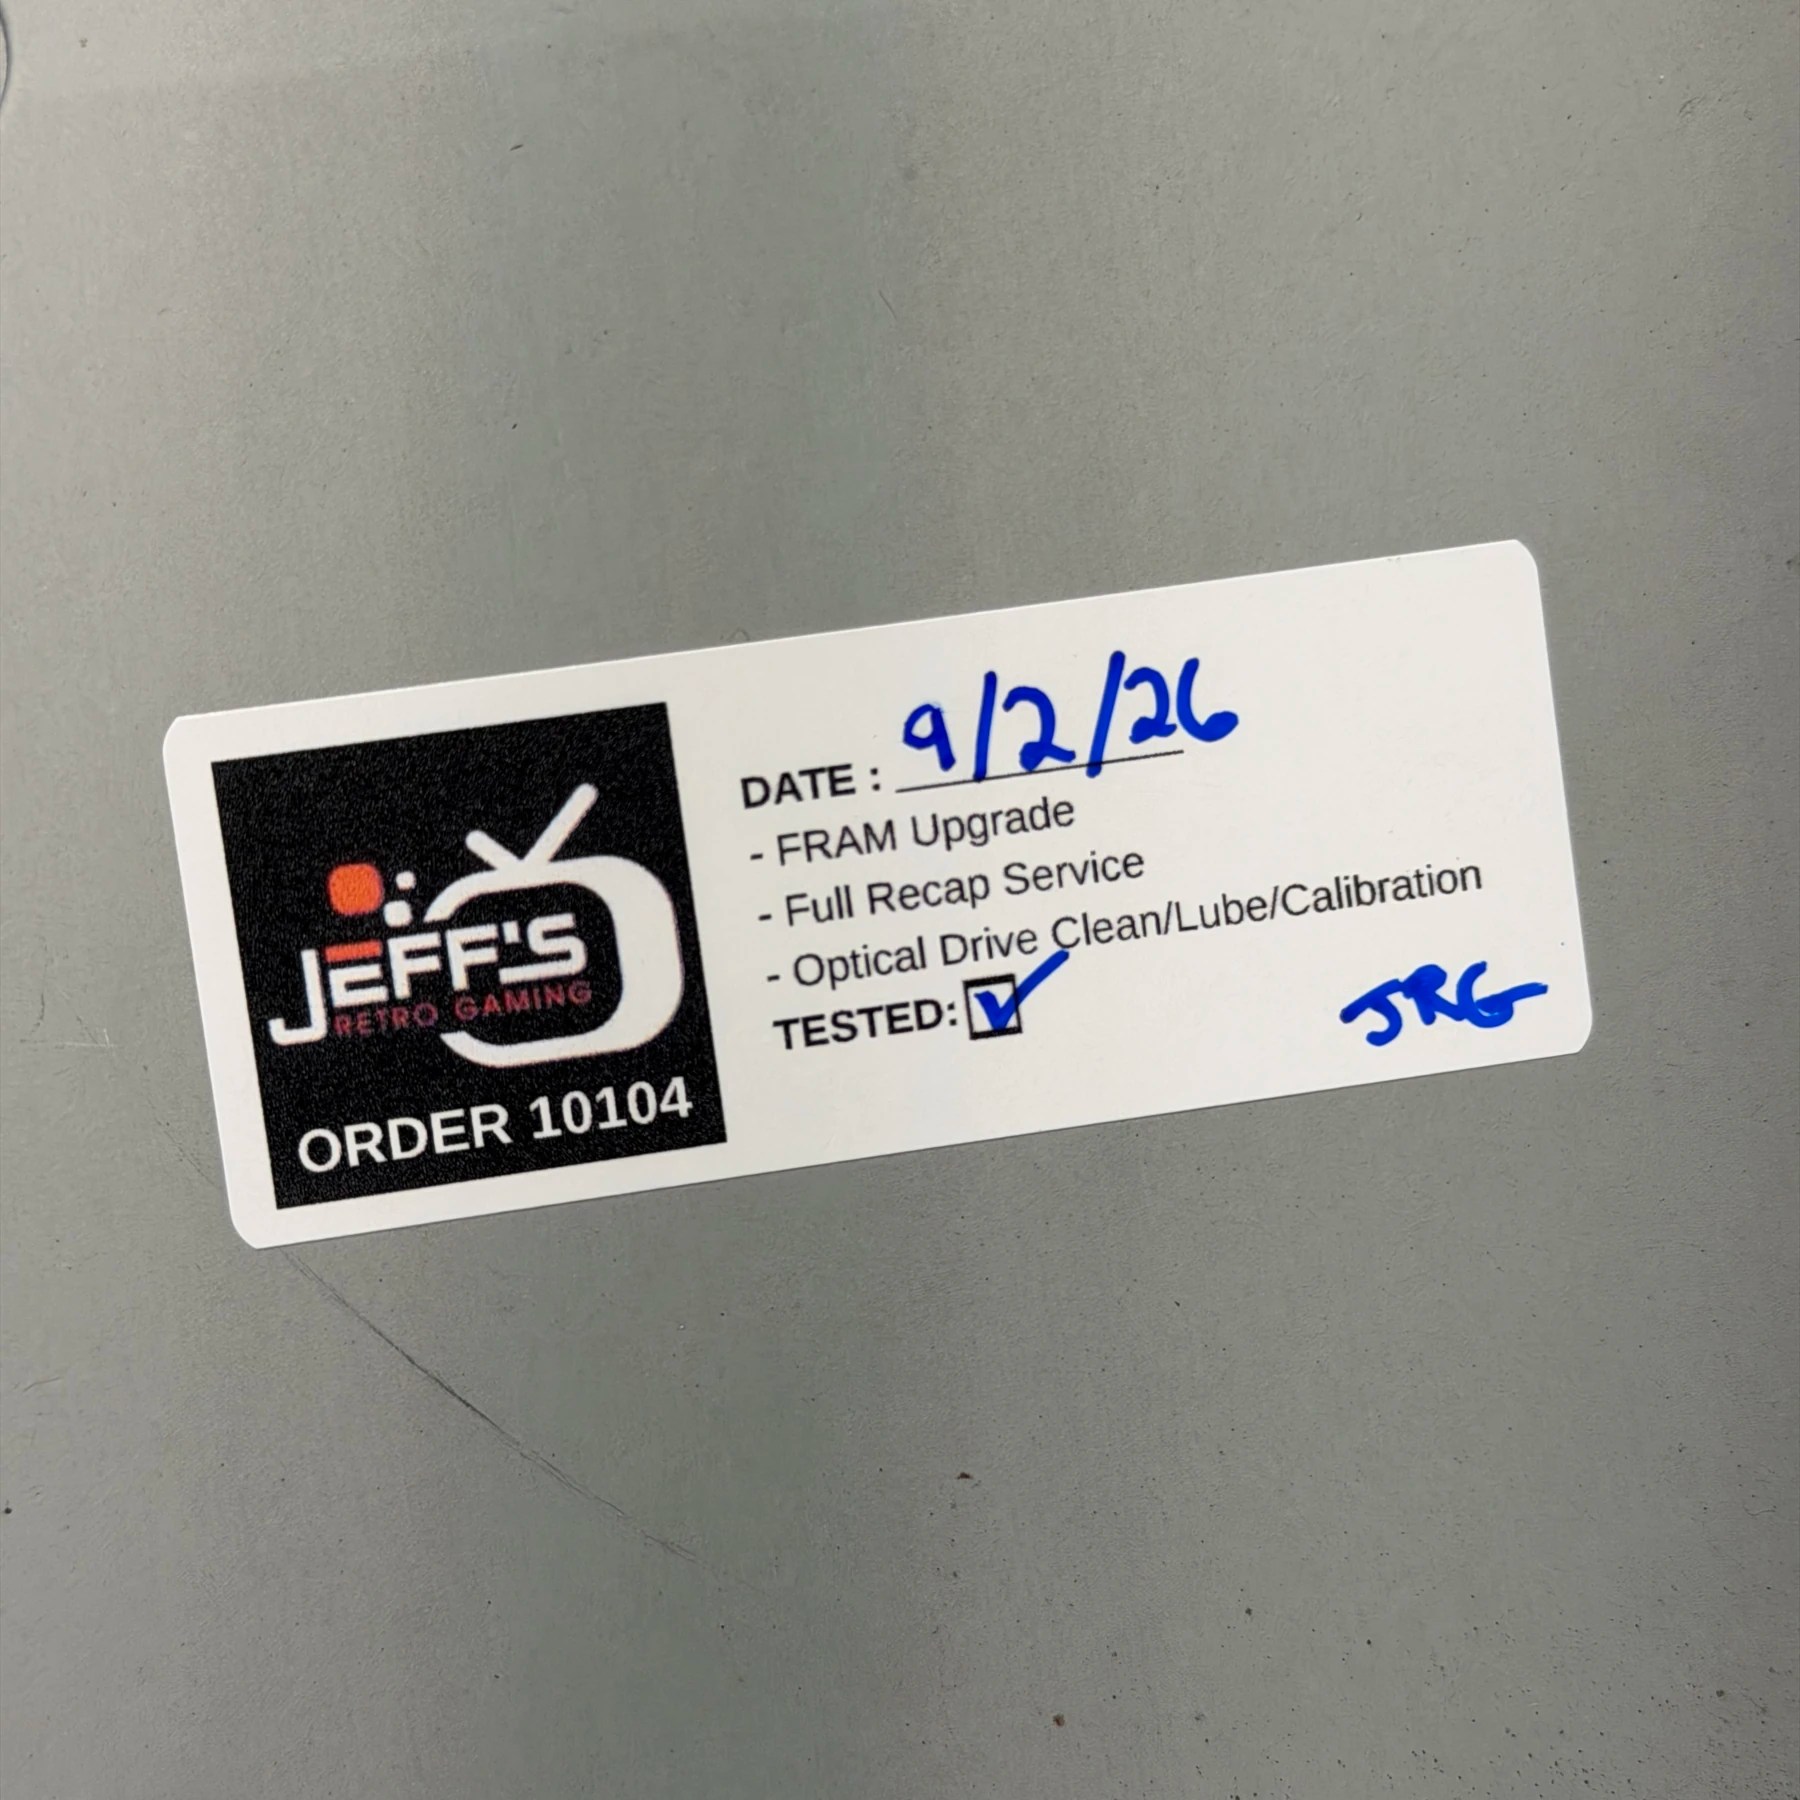
Lastly I re-assembled the machine back fully, put the sticker in the bottom shell and then used my Mega EverDrive Pro to copy the SRAM data back to the new FRAM chip and the project is complete!
While it is a bummer that a better condition laser couldnt be swapped in I did get the current one working as good as possible. These CDX are becoming increasingly difficult to keep operational so thank goodness for Zaxour’s new kit to allow playing CD games from flash carts! Going forward I will no recommend Liberty for replacements and instead steer customers to have Zaxour’s mod installed after adjusting the laser the best I can, so at least there is a backup plan/option for prolonged use of both cart and CD games from the CDX!
If you have a CDX that is struggling, grab one of his kits here: https://ko-fi.com/s/1da31851bd
I will be offering installation services for that kit and already have a few lined up, for now… another order complete!