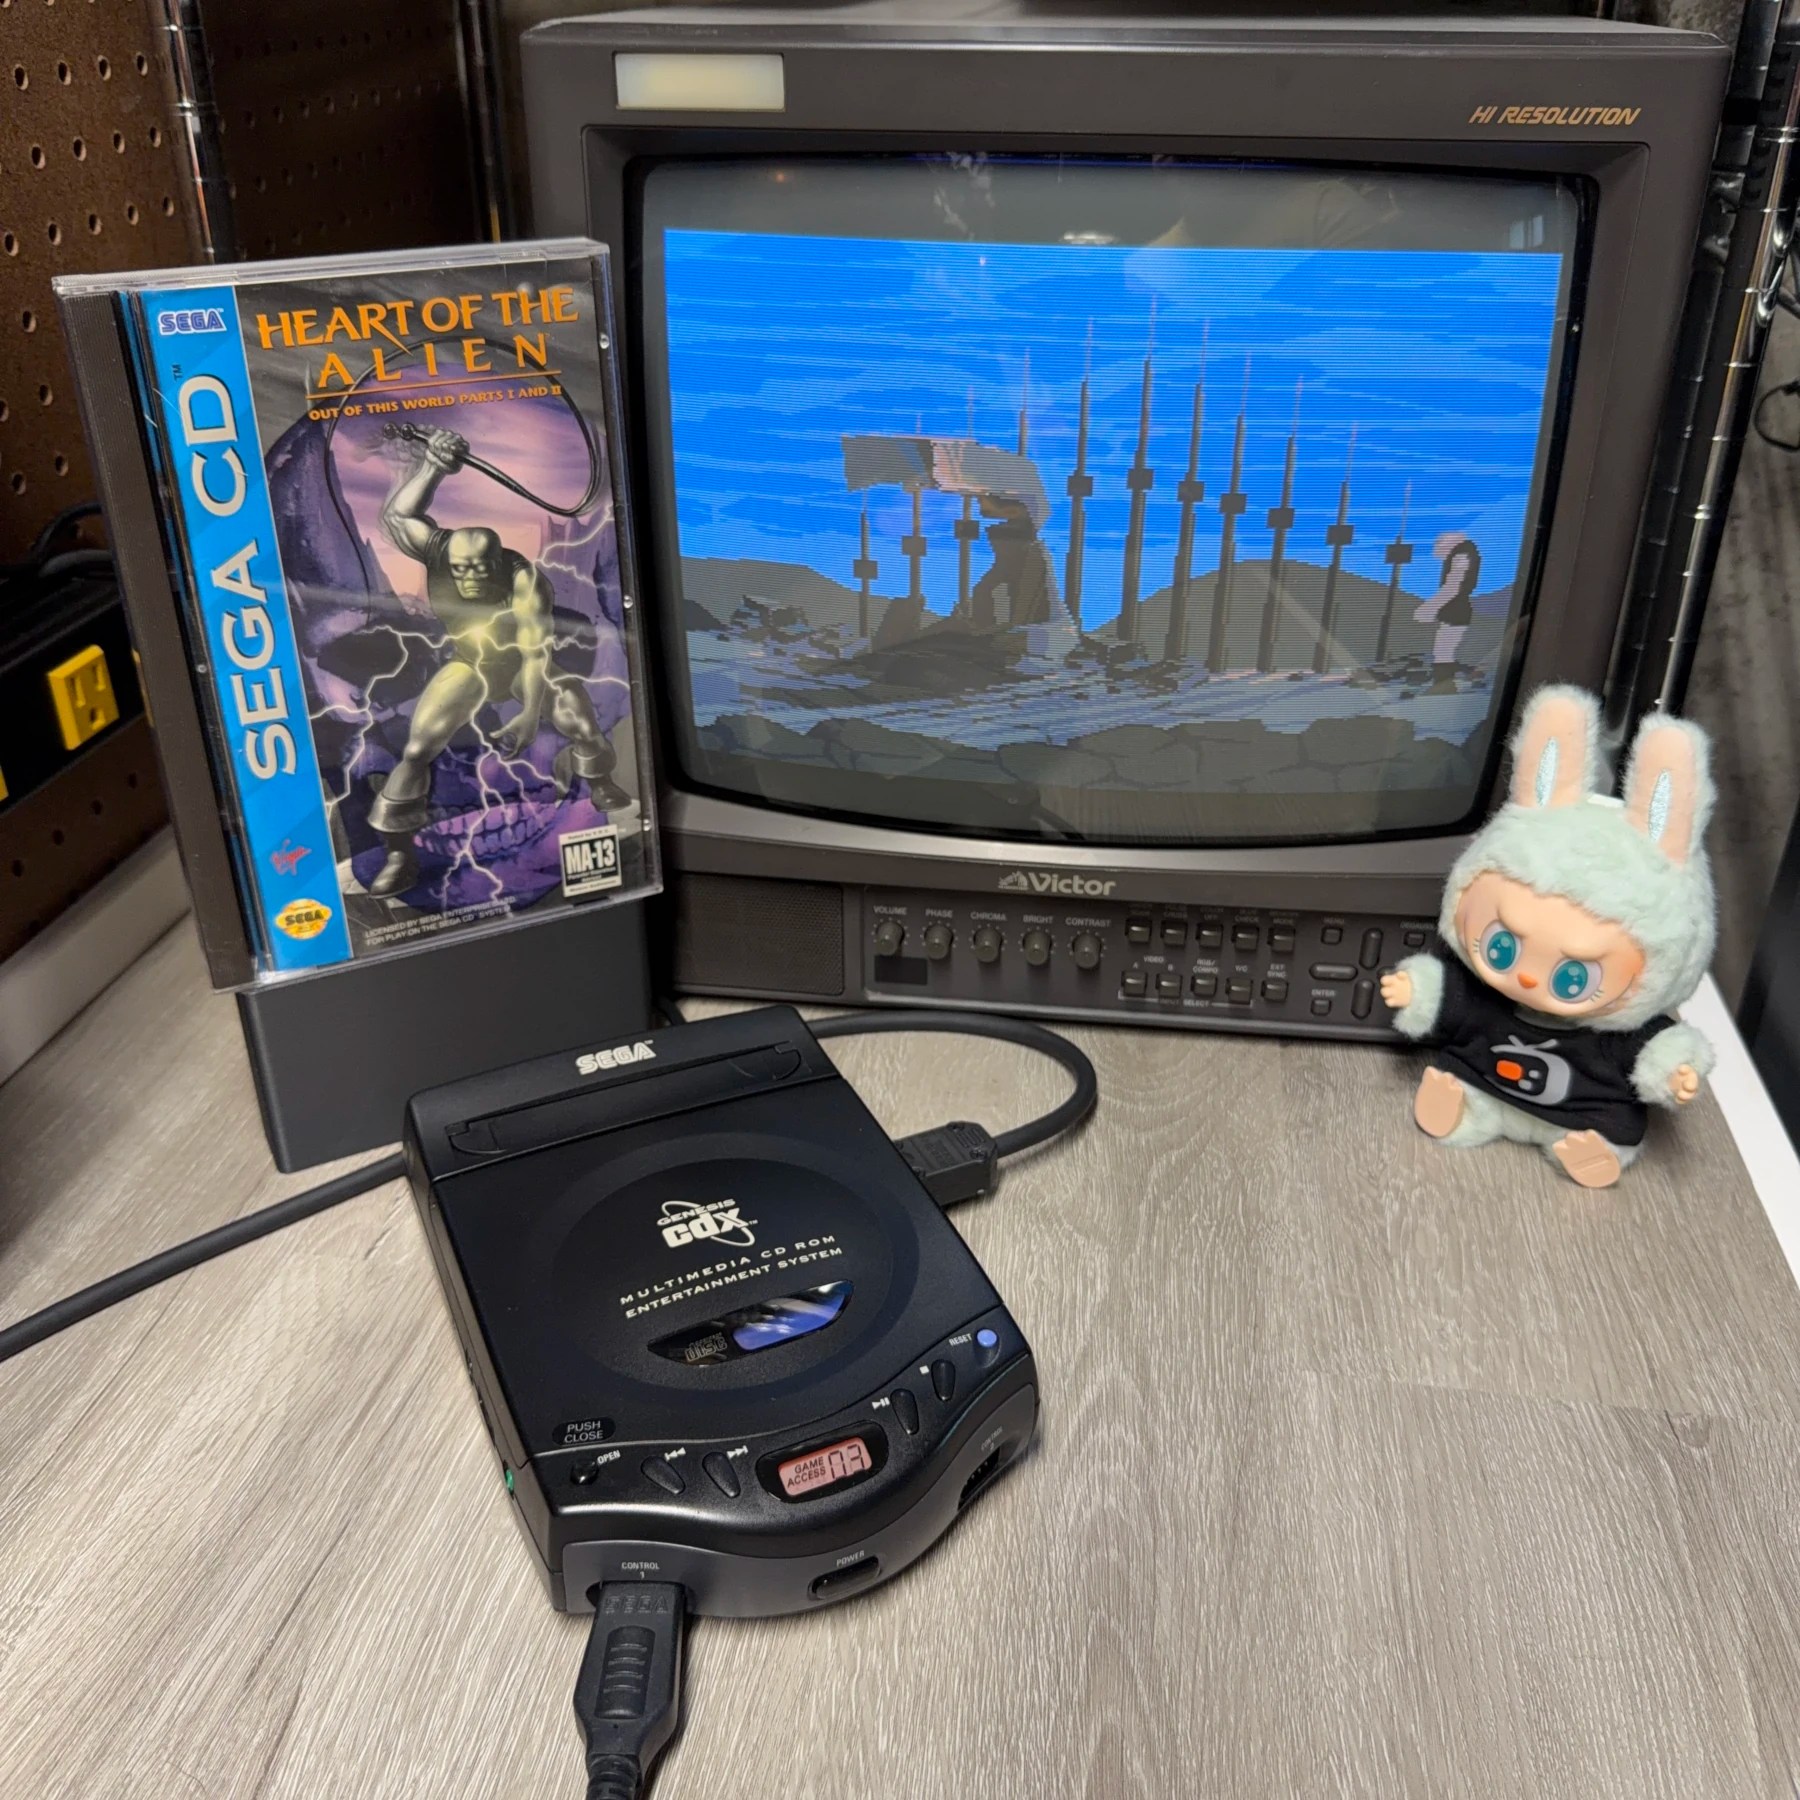
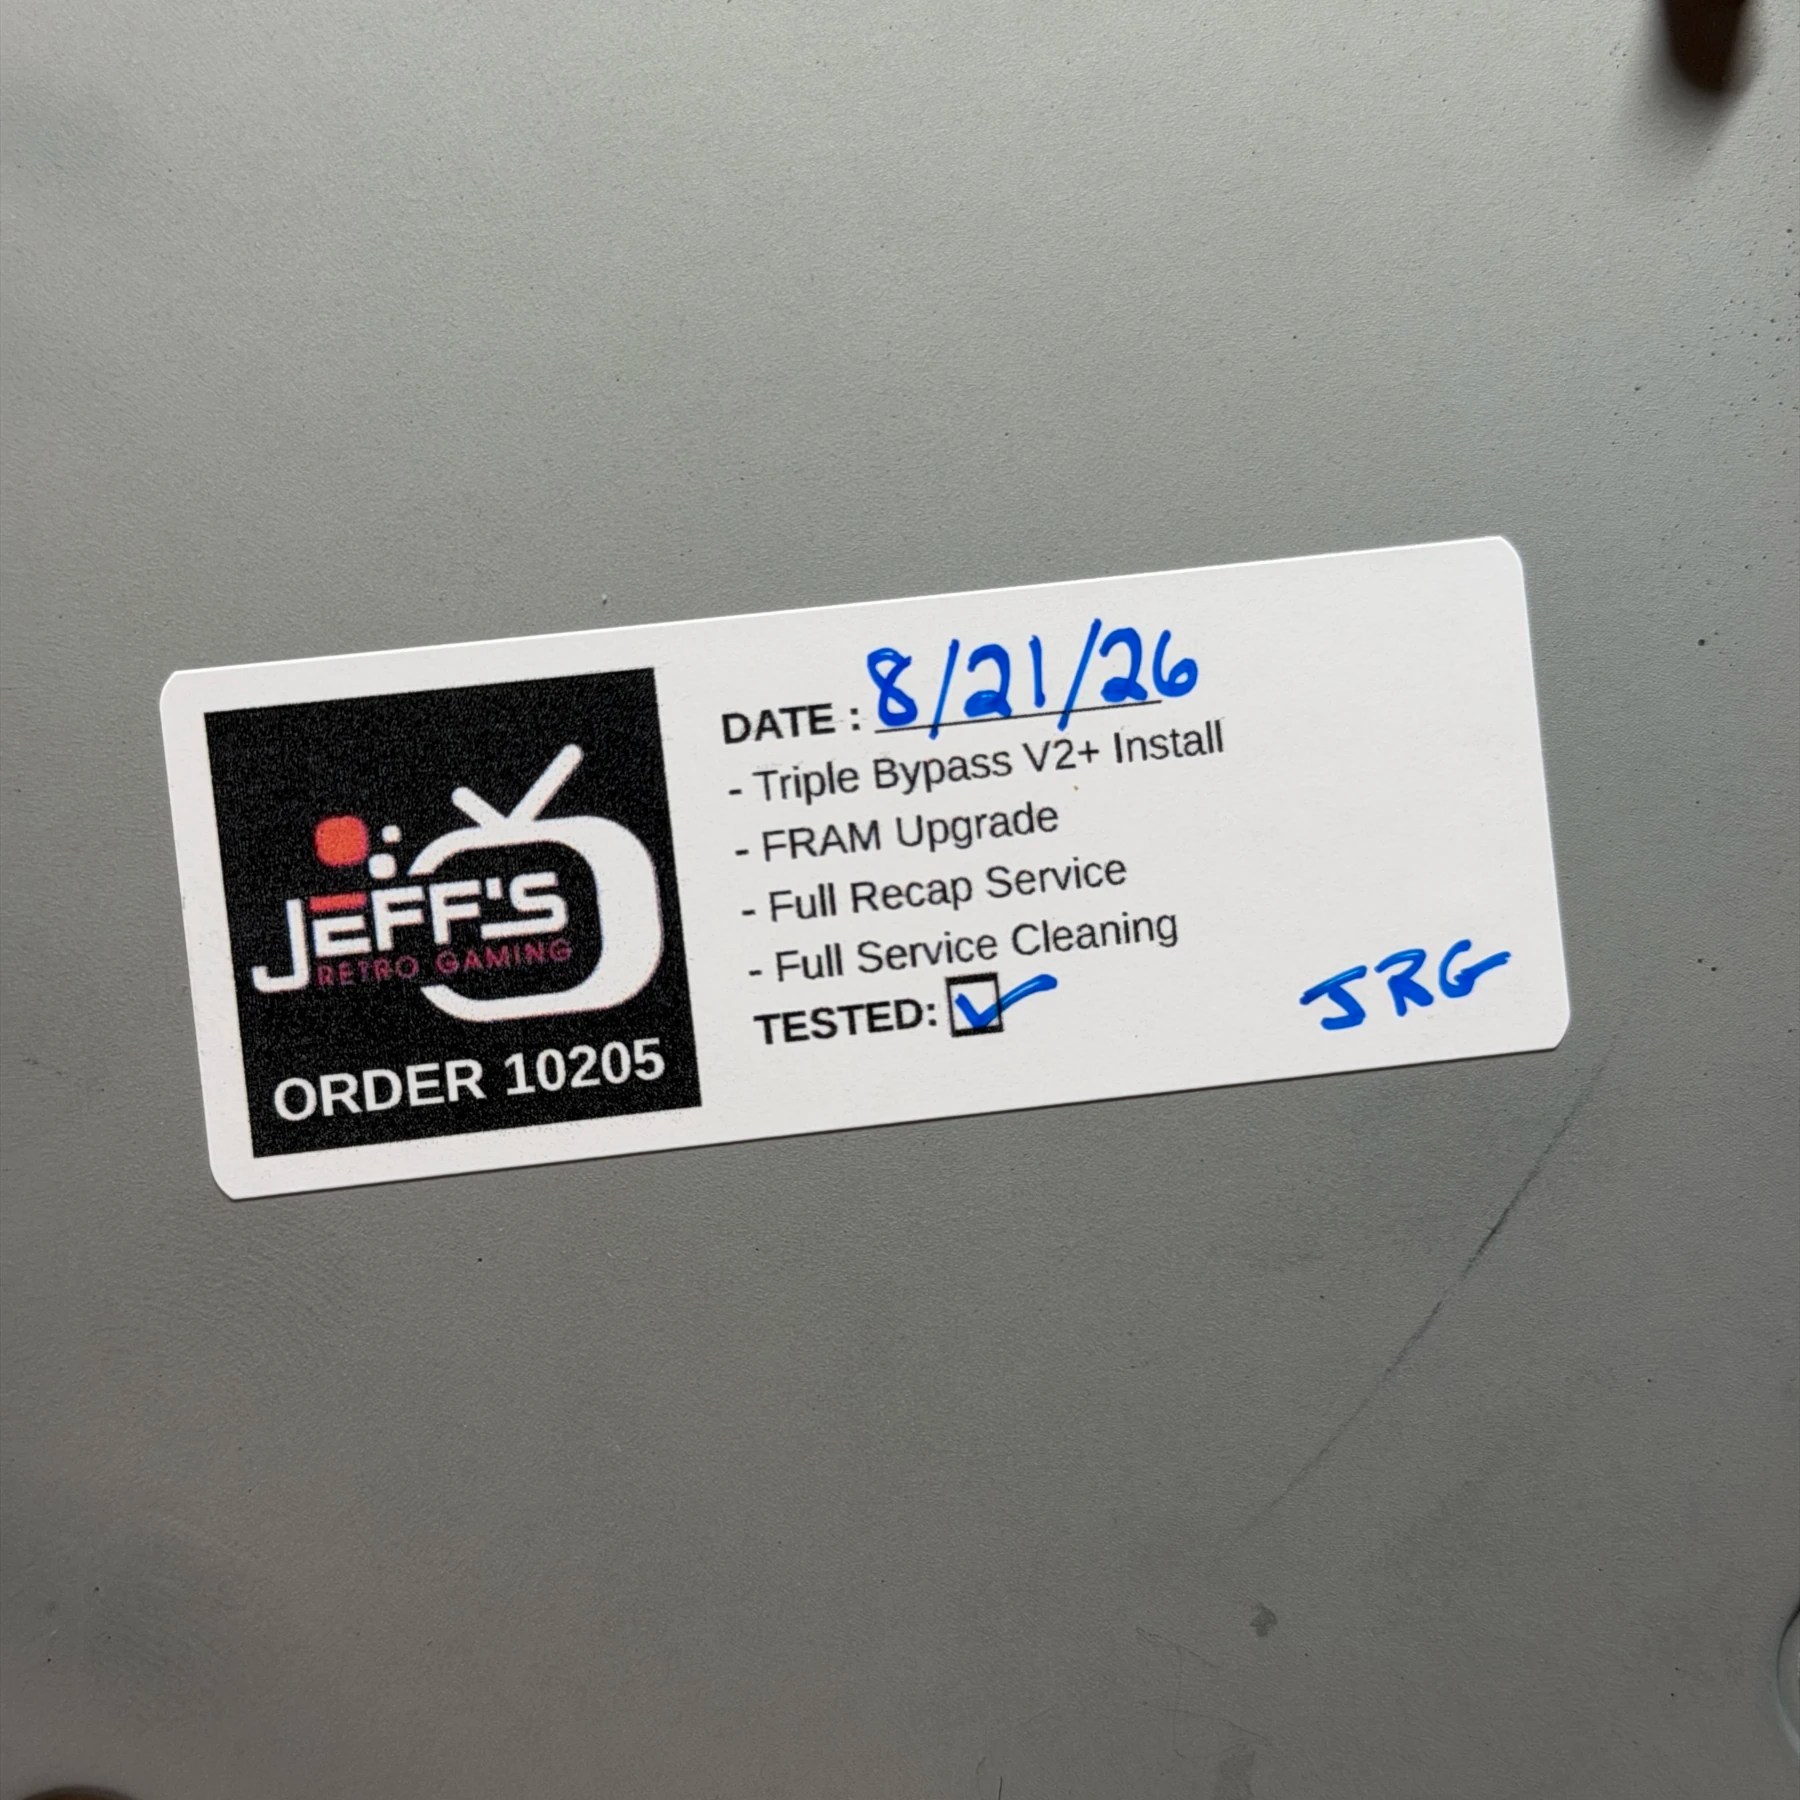
Another CDX entered the shop! This time not just for the usual refurbishment but also a FRAM upgrade and Triple Bypass Install. When it arrived I first tested its ability to read discs and carts as the customer had mentioned some infrequent issues but I could see visible debris inside the cart slot area and also a lot of hair/debris on the laser lens so I had high hopes that merely a thorough cleaning (which was part of the job) would resolve!
During my initial testing however I also noticed my RGB scart cable was loose and wobbly inside the port and this was causing the image to be flakey and audio to have distortion/cut out. The 9-pin din was incredibly beat up so I looked and luckily had brand new AV ports on hand including a few with the black plastic face which would match perfectly to the stock port and make for a great replacement.
So with all that planned, time to begin…
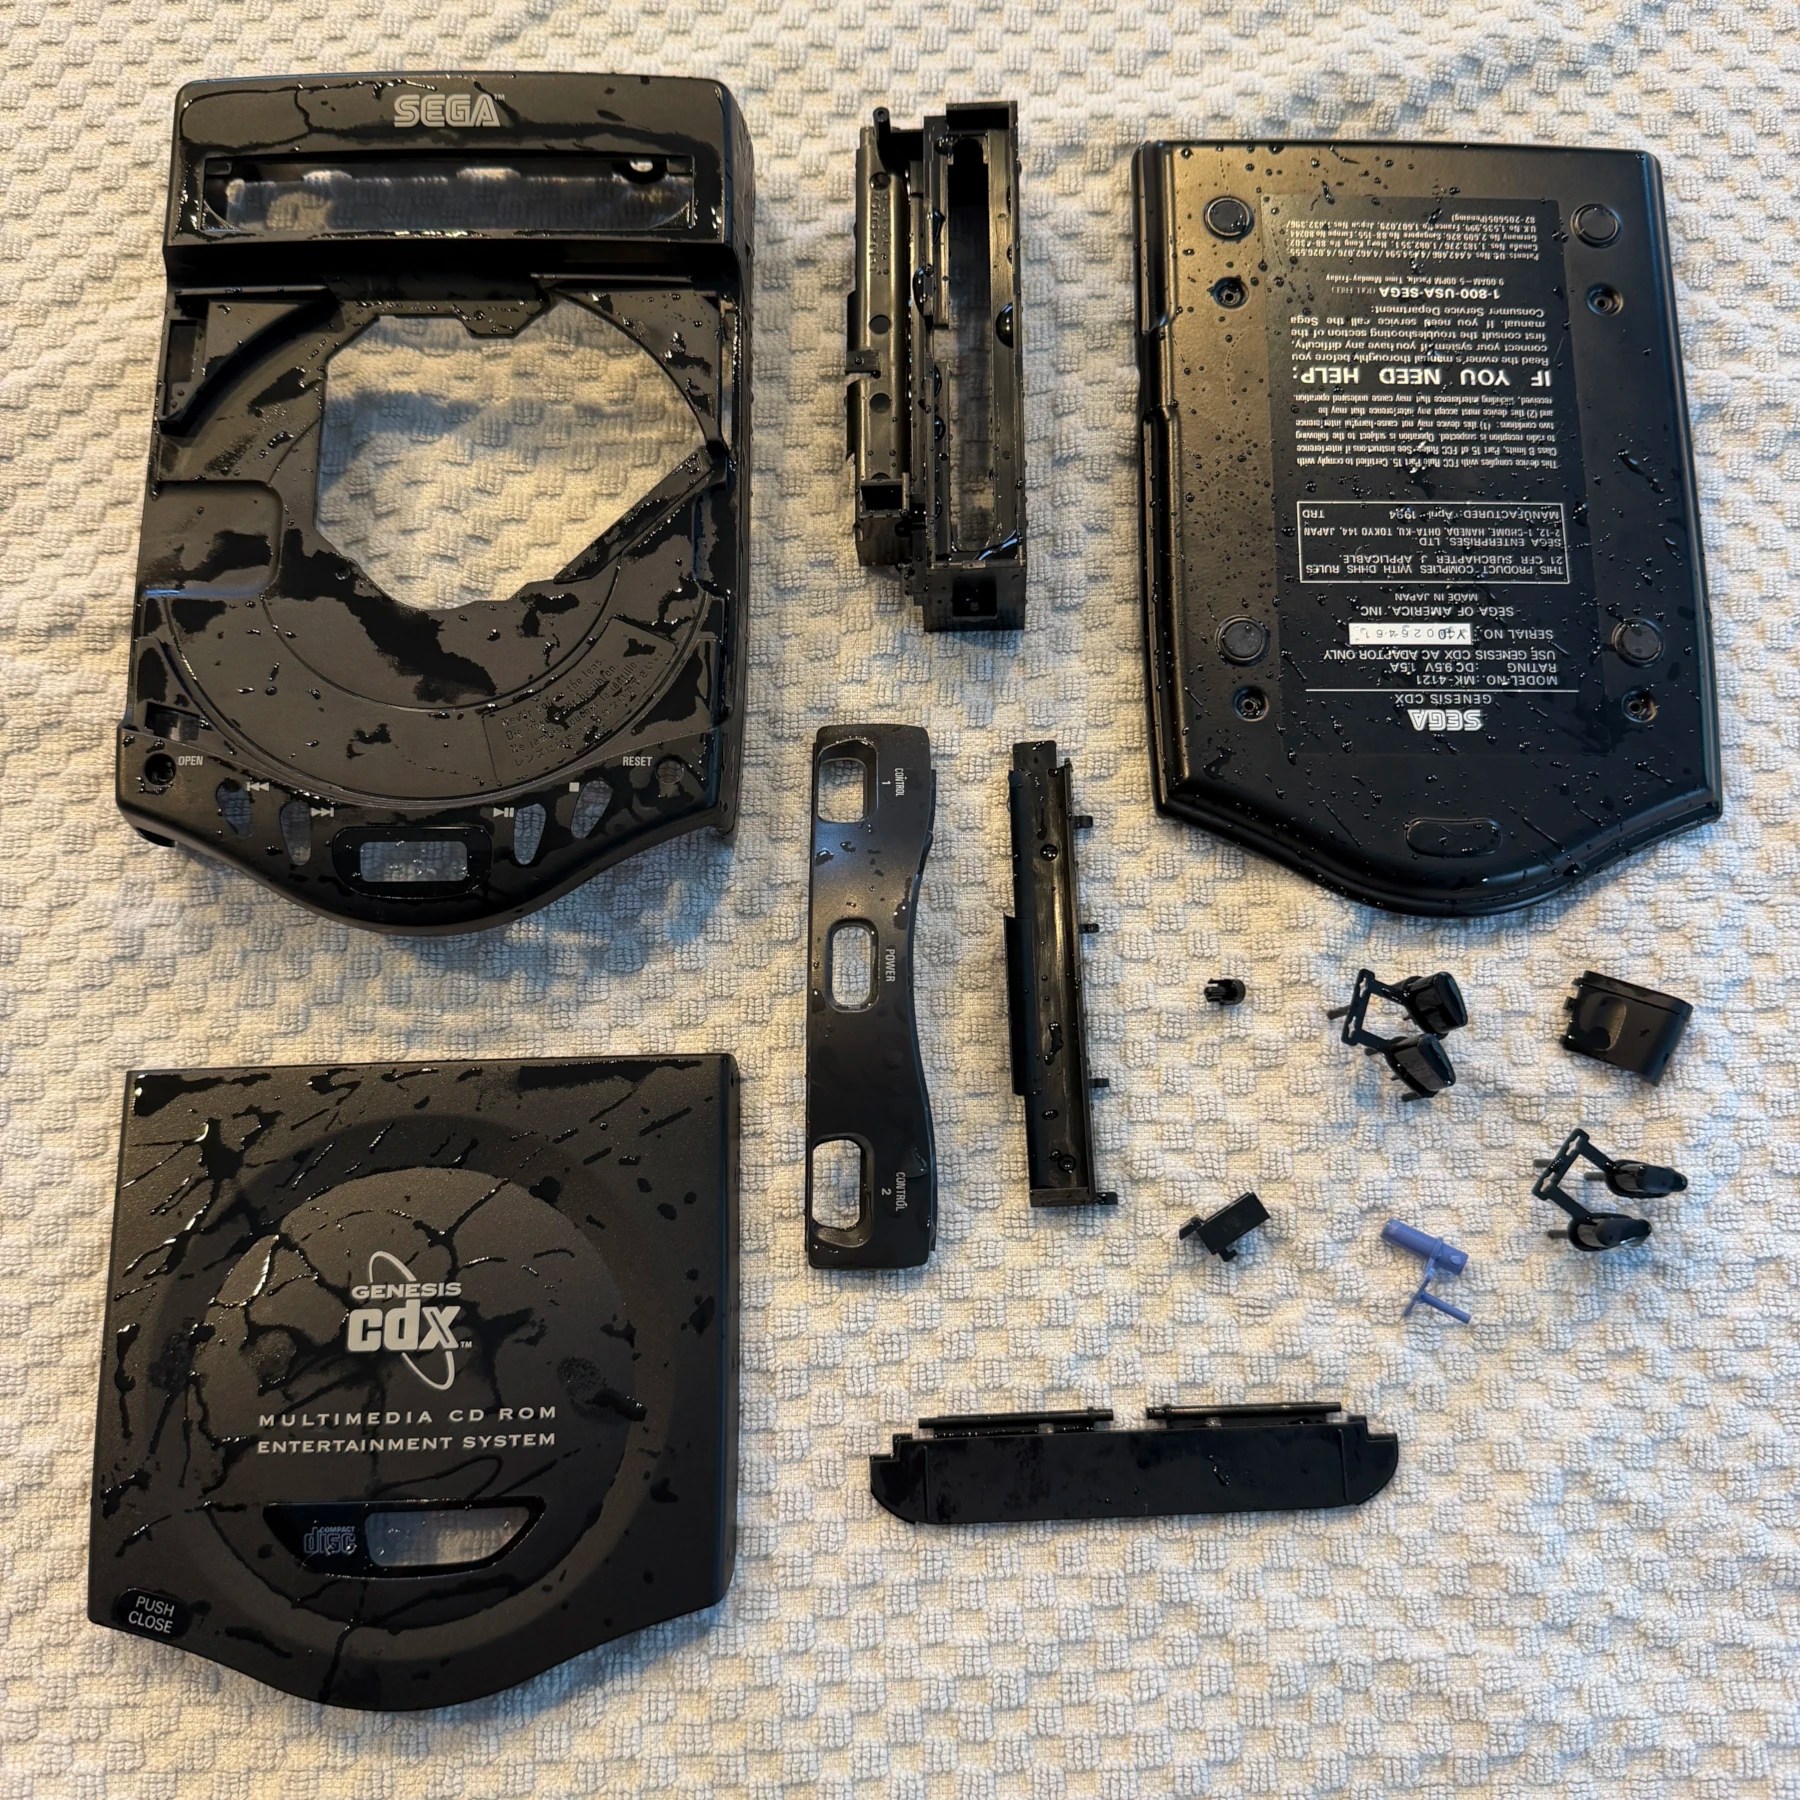
Began with a teardown of the CDX shell and all plastic parts including front panel buttons, cart slot flap, etc. All those parts were then soaked/scrubbed/washed and set to dry overnight while I moved onto the rest of the project.
I wanted to complete the refurbishment process and test reading both kinds of games and using the AV port before tackling the mods so I fired up my Hakko gun and worked my way first through the CPU and Power board removing all OEM caps and cleaning the board thoroughly, then soldered on all the new caps from the Console5 kit.
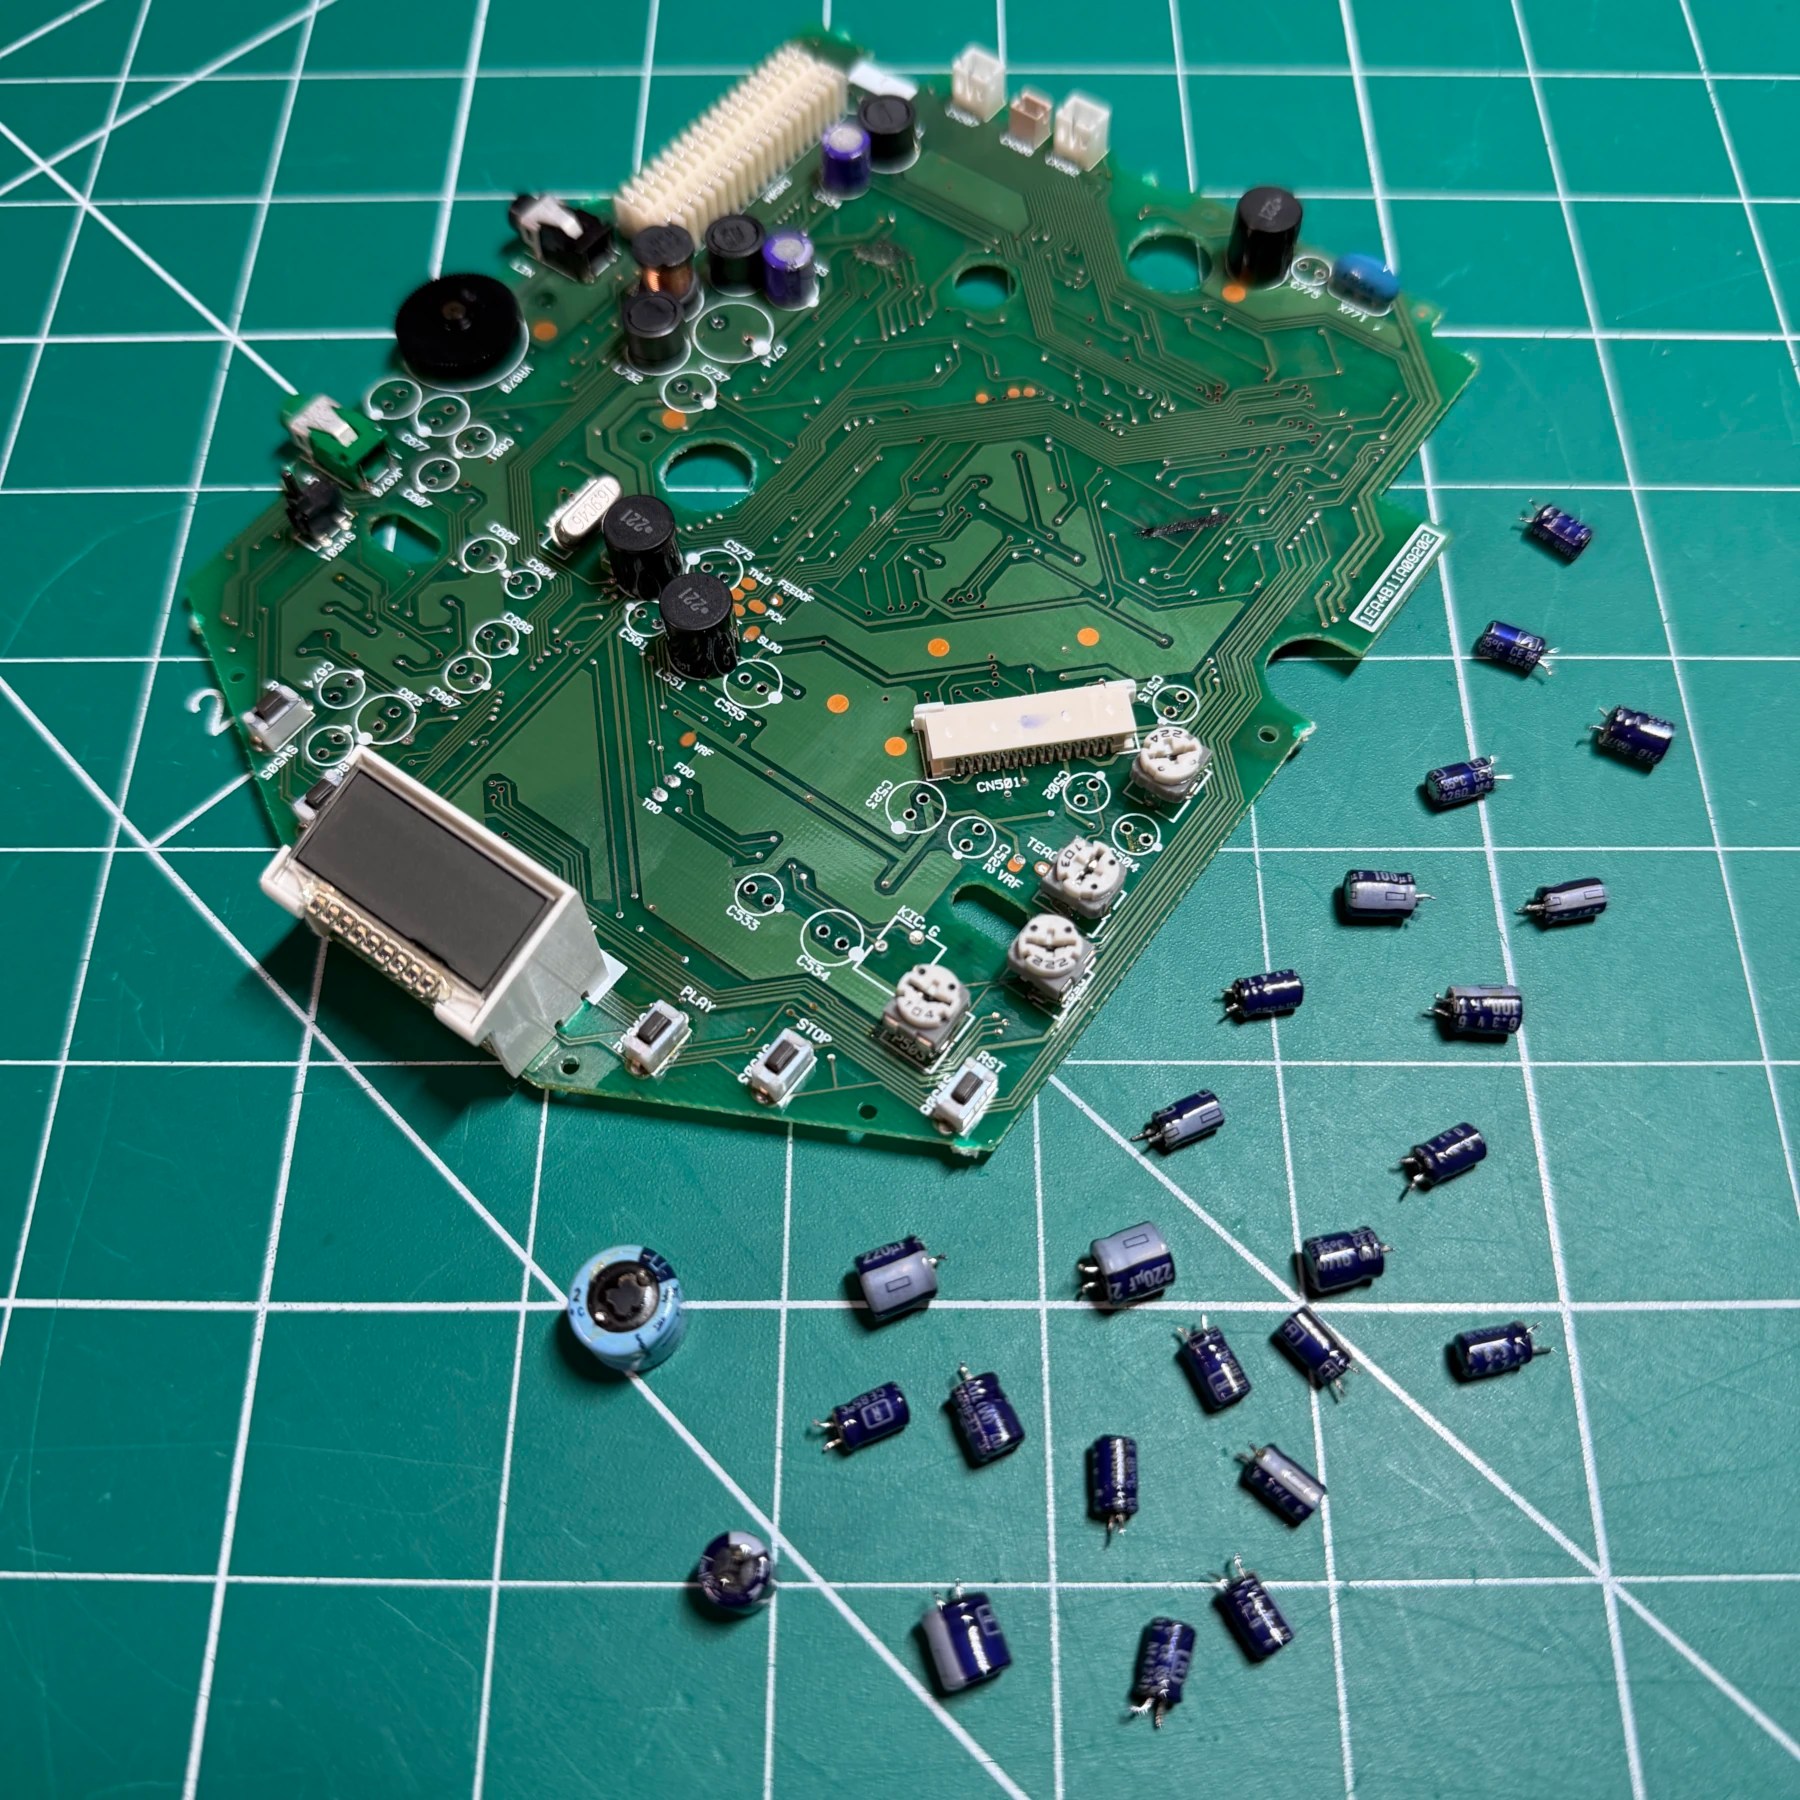
The CDROM PCB is a much more time intensive portion as it contains WAY more caps than the previous board. Once they were all removed (minus the 2 polymer caps which are lifetime parts and not included in the Console5 kit) I also deep cleaned the board since I had full access with those and the optical drive removed.
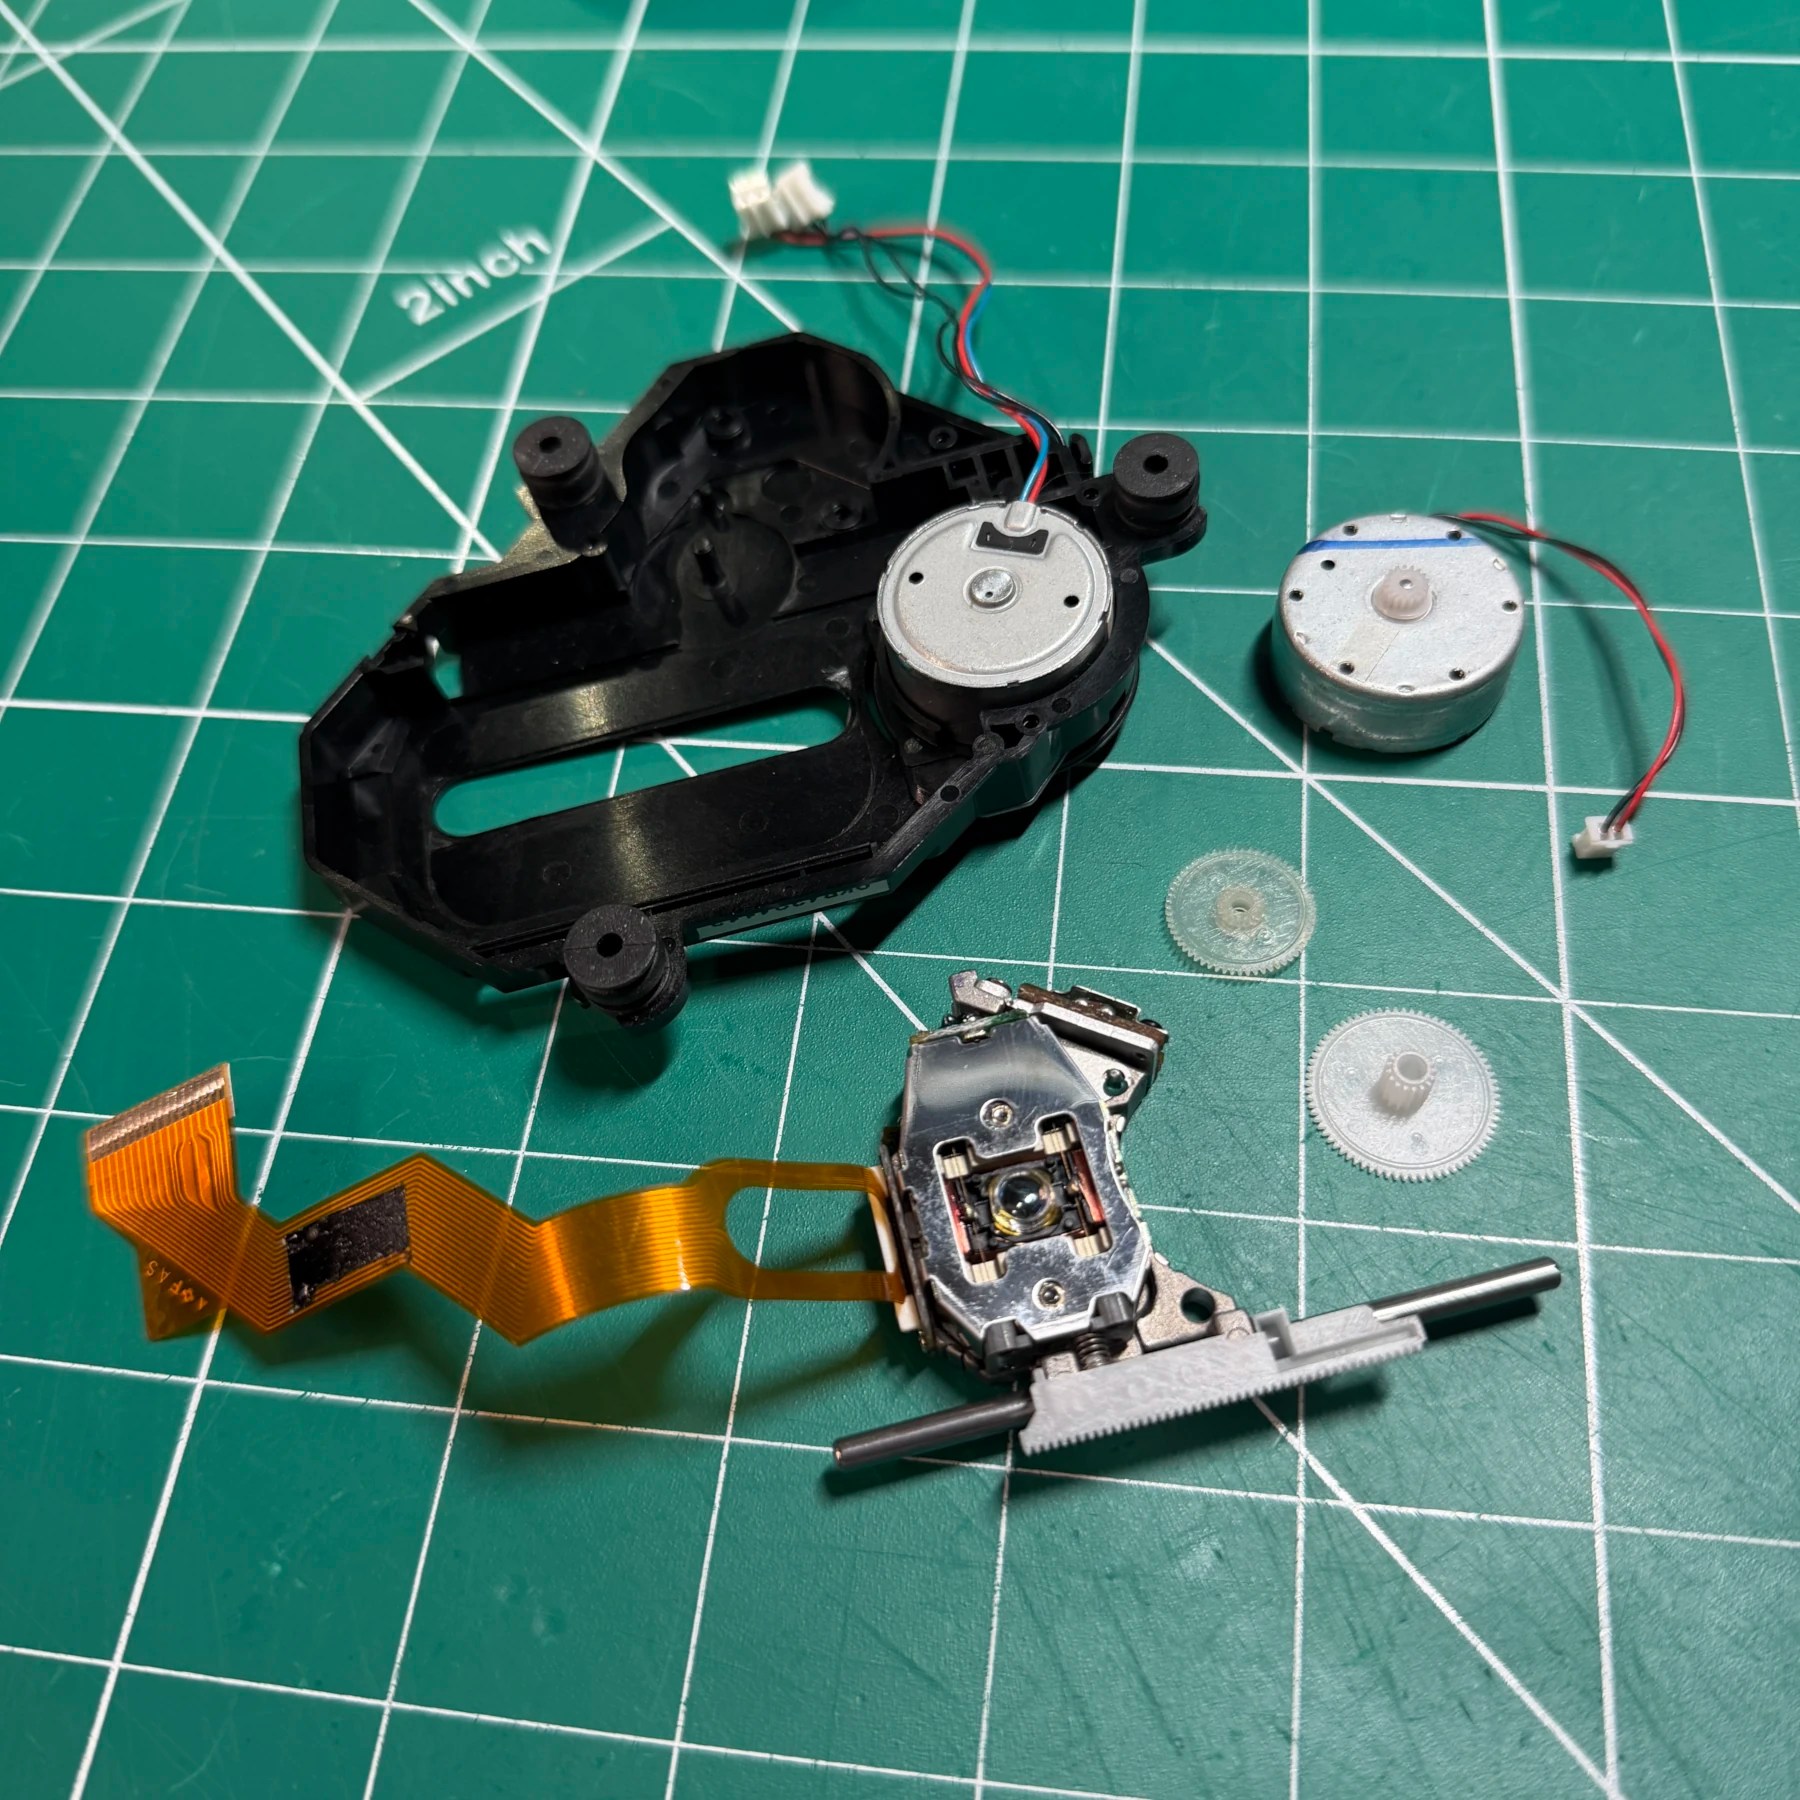
Once cleaned I soldered in all the new electrolytics and then moved focus to the laser/drive itself. I completely disassembled it and carefully wiped down and removed all the dirt/dust and old grease from the assembly, rails, gear etc. For the actual laser lens I used my microscope to get a good view and very carefully picked all the debris out from on and around the lens then gave it a quick and gentle wipe and reassembled while applying fresh grease throughout the moving parts. I then reattached the ribbon and flex since this board was complete.
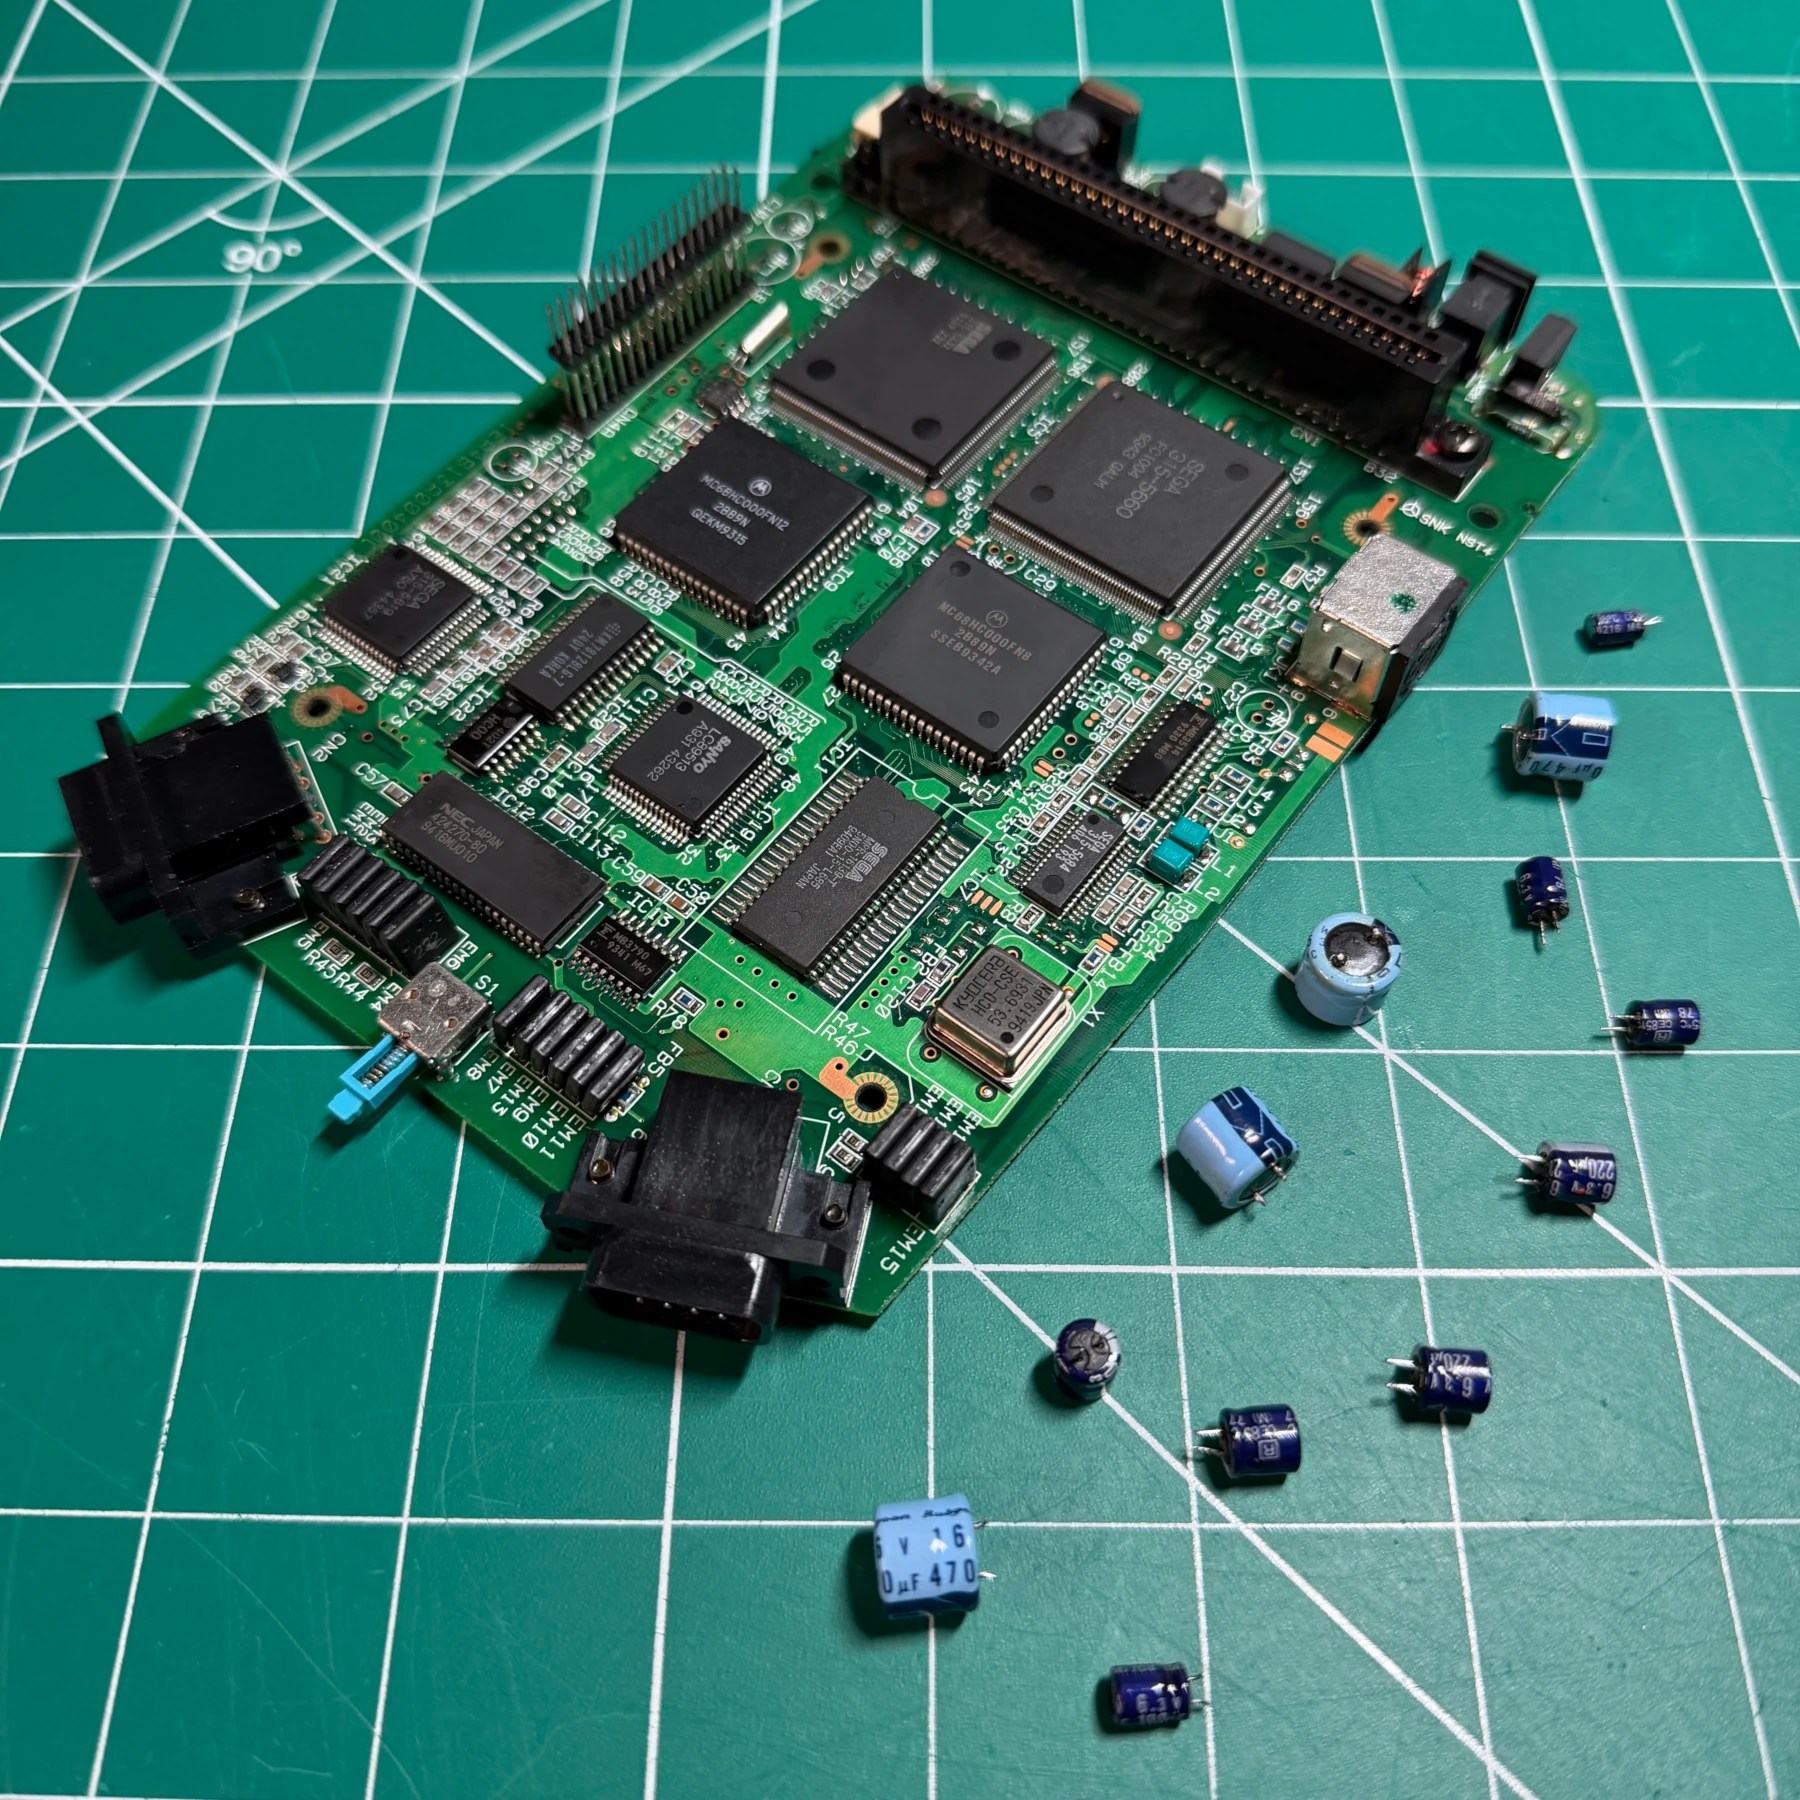
Back on the mainboard I blasted out and hand-picked the debris from the cart slot and ran an ISO-soaked piece of thick cardstock up and down in the slot to clean the pins. Next up I had to replace that 9 pin din so I flooded the legs with low melt solder and then gently heated up the underside while prying under the din with a painter knife (wrapped in Kapton) until it popped right out. I then cleaned out the plated through holes and inserted and soldered in the new replacement, testing continuity and ensuring it had a solid connection and would hold up to the cable being inserted and removed no problem.
With all the of the refurbishment work done I quickly assembled outside of the shell (cardboard as protection between the boards helps here) and confirmed that not only did carts read no problem now but it read my CD games great as well! I also observed no video or audio issues even as I moved and wiggled the cable around so that problem was also fixed!
Now on to the mods…
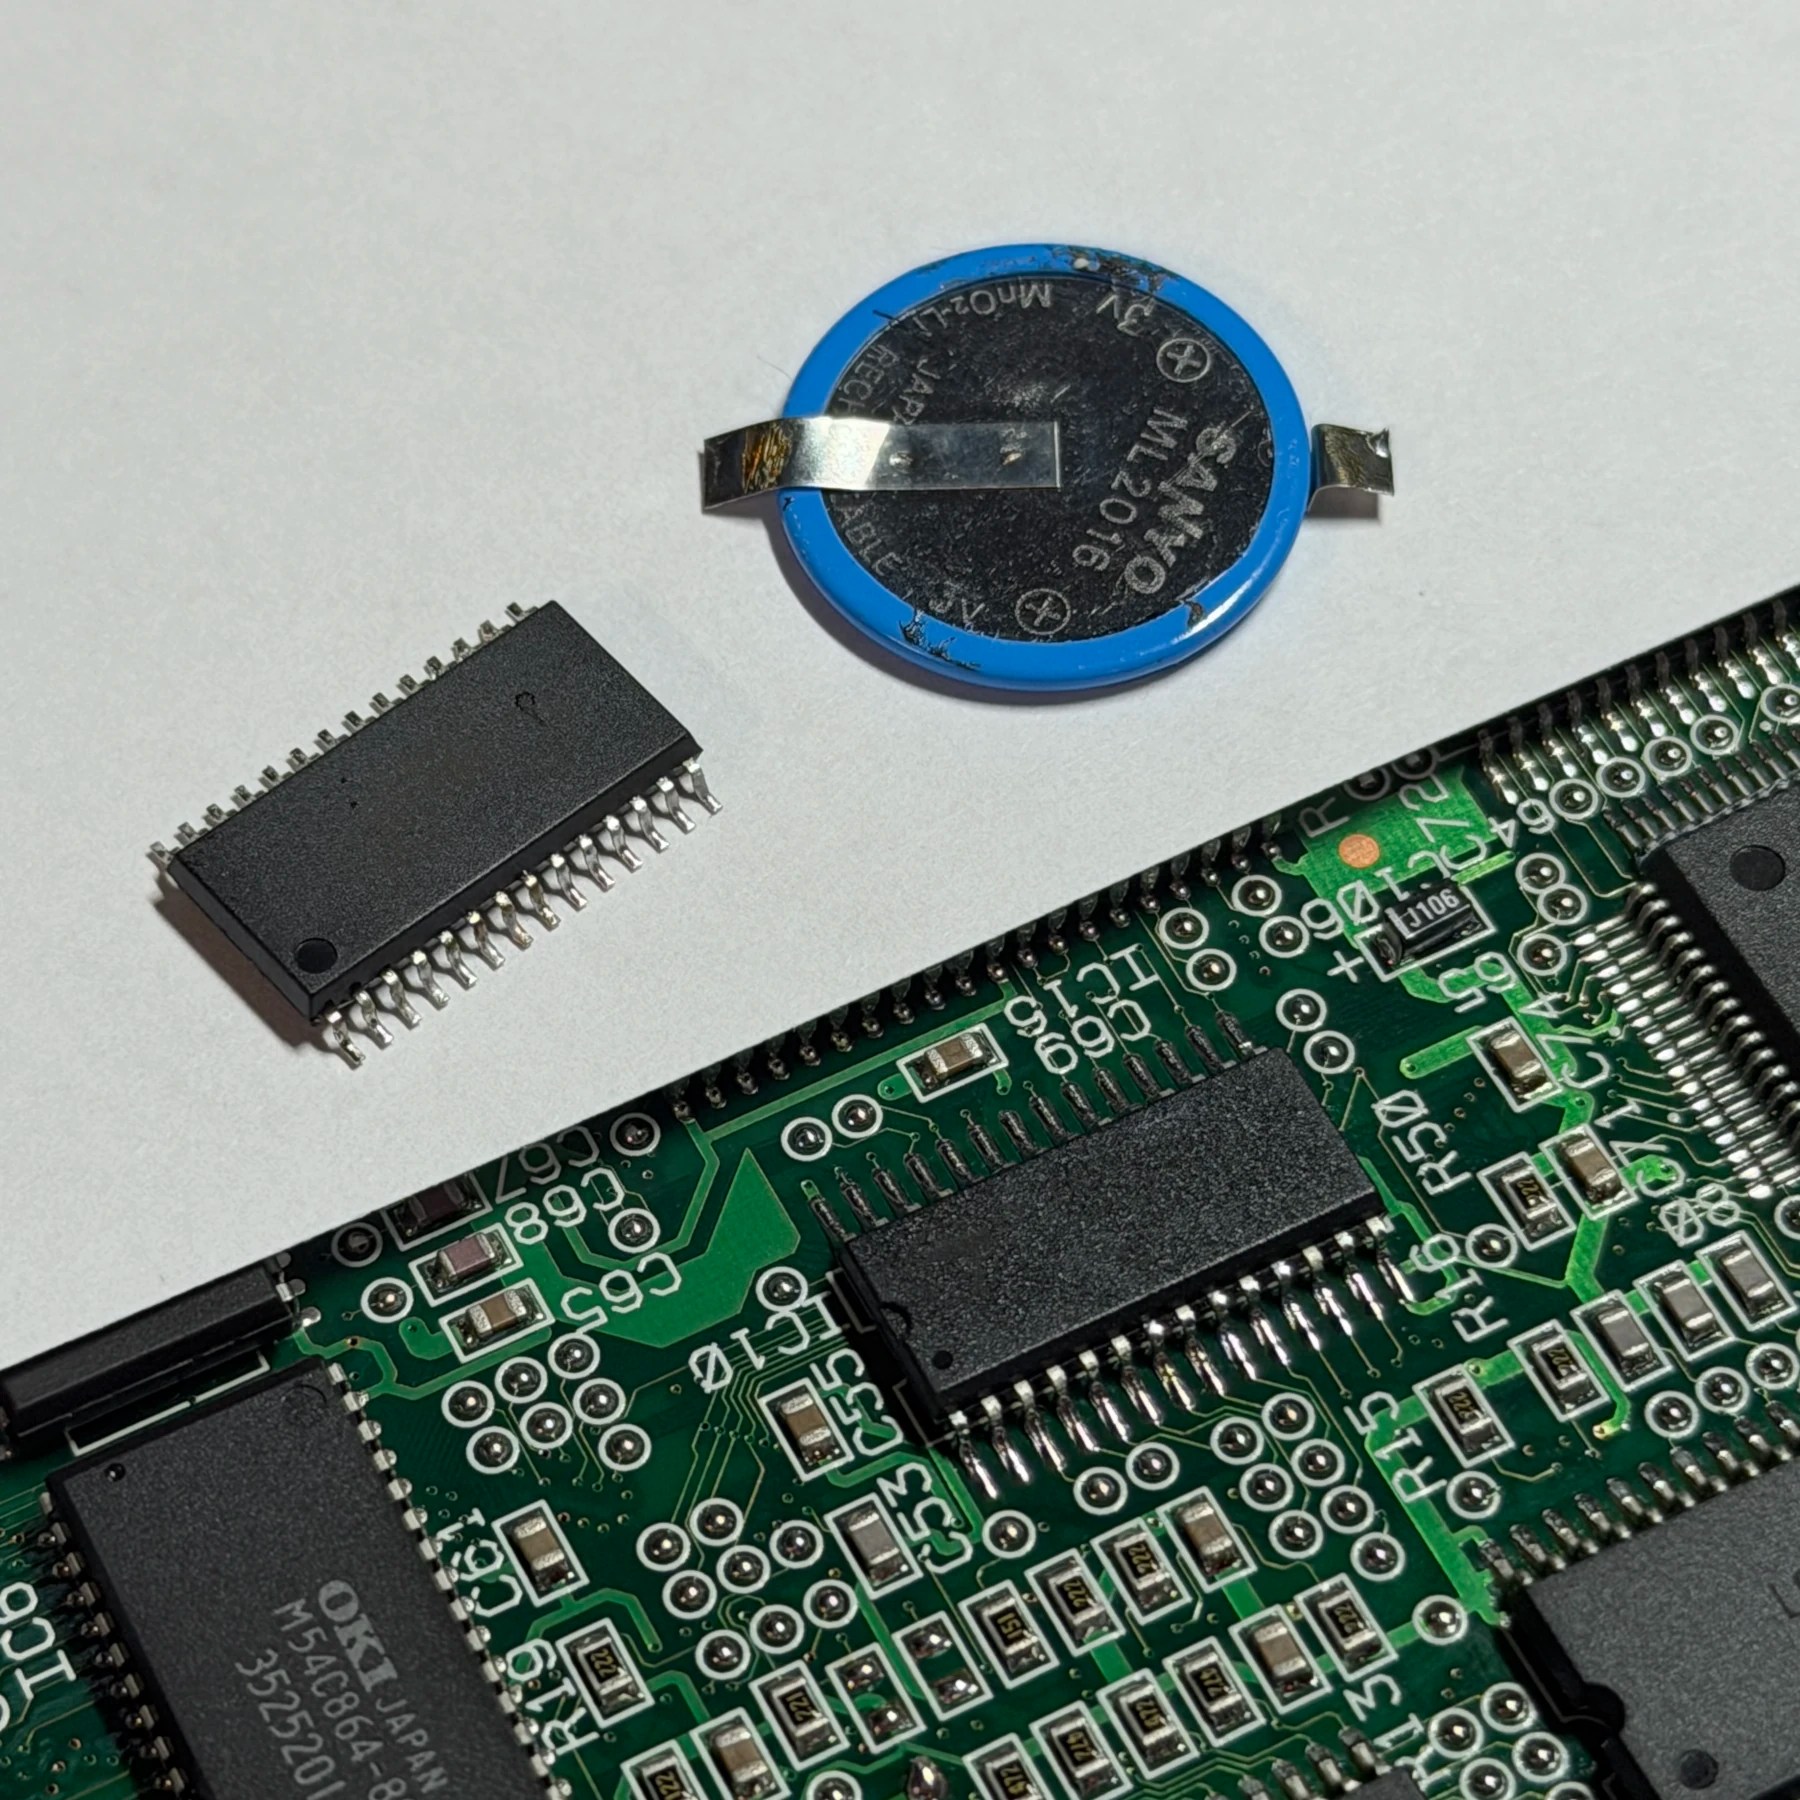
First up is the FRAM upgrade since it’s the easiest of the two. For this I find its best to tape off around the chip and I personally like to add a small dab of low melt solder (optional) just so I can keep the hot air nozzle on the lower end when heating up that area. So I reflow the legs with it and some flux and then set my nozzle to about 225C and moved around the SRAM chip in a circular motion until I could see the legs/pads turn molten and then I just gently lifted up one edge and slowly but surely lifted as I watched each row of pins carefully until the entire chip was removed. With that set aside I cleaned all the pads thoroughly and then scrubbed the board under where the chip was.
I grabbed an FM16W08 from stock, put down some flux and tacked down the 4 chip corners once my alignment was good. Then I just drag soldered up and down both sides until the legs were evenly flowed and secured to the board and then wiped down all unspent flux and the FRAM upgrade was done.
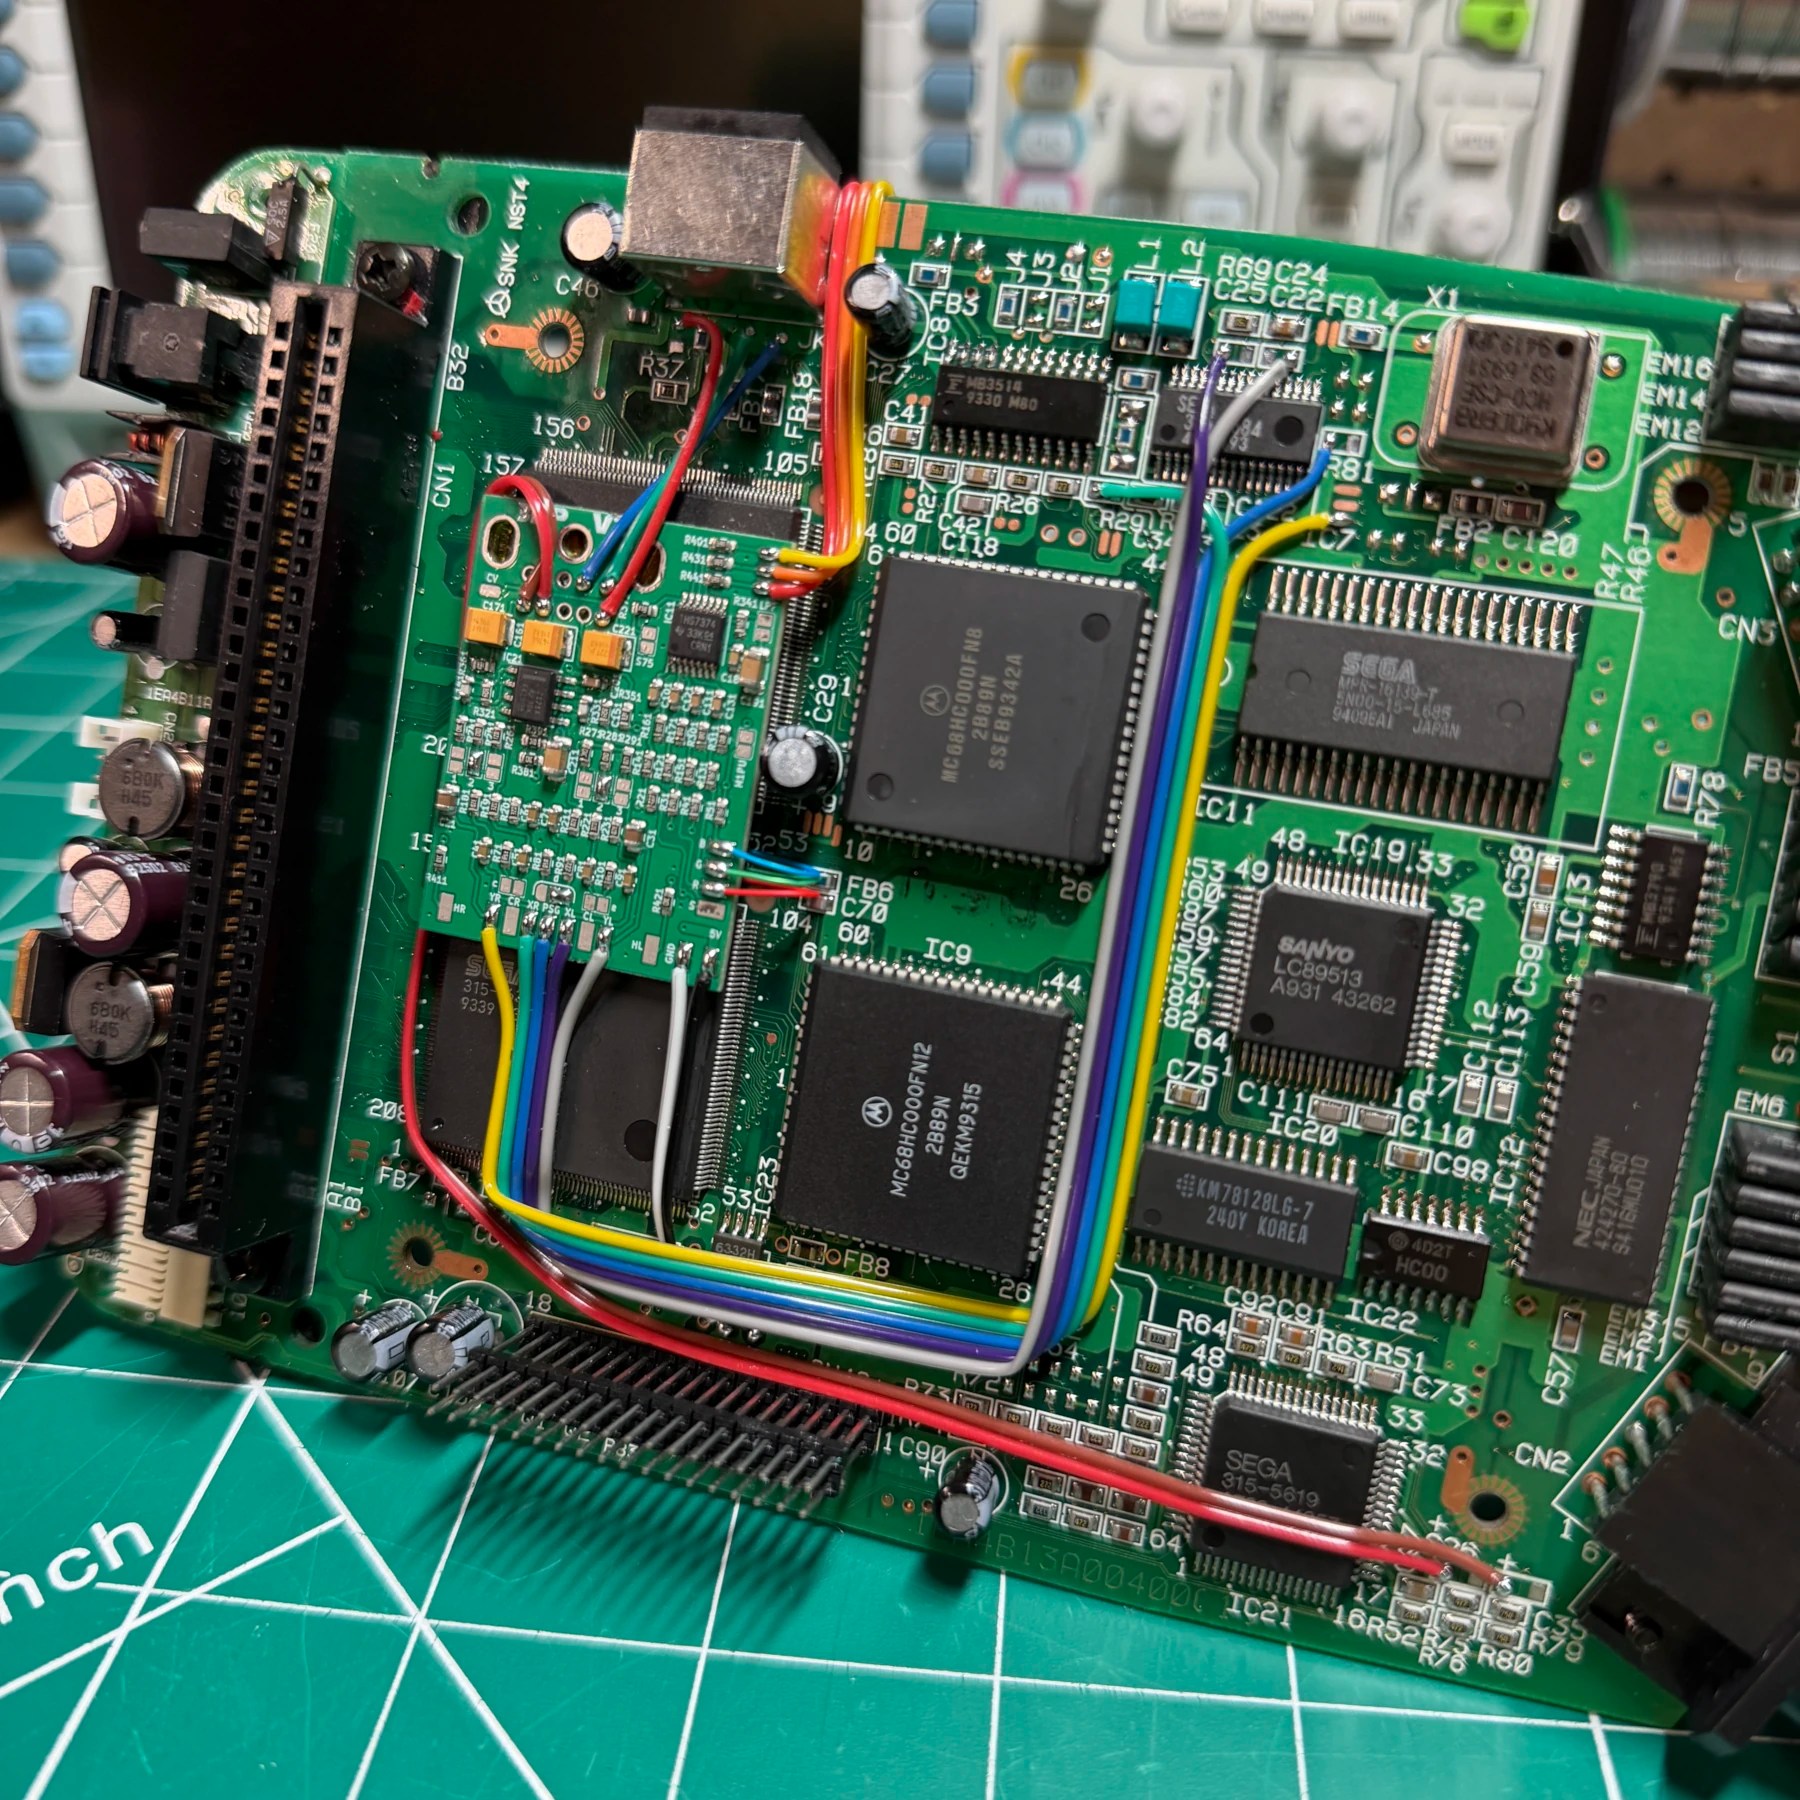
Now on to the time intensive portion of the order, the triple bypass! For this I just follow the excellent guide by Zaxour and remove all SMD components and lift the 3 pins on the encoder chip and clean/prep pads that will eventually have a wire soldered to them. For the CDX assuming you follow the guide and remove the components recommended you should also bridge jumper 2 (both) and D right which I like to do as well as tin all the needed pads and wipe the board down before its stuck down to the chips below.
It also makes sense to wire up R/G/B as those points are in between the 2 ASICs which you will be blocking with the bypass board so I just use some 30AWG Kynar and route those 3 connections out the side with some extra length and leave for a moment while I apply some 3M heavy duty tape to secure the board. Once the board is down at this point all that’s left is connecting the wires which is just a matter of following the guide and maps in the documentation for the V2+
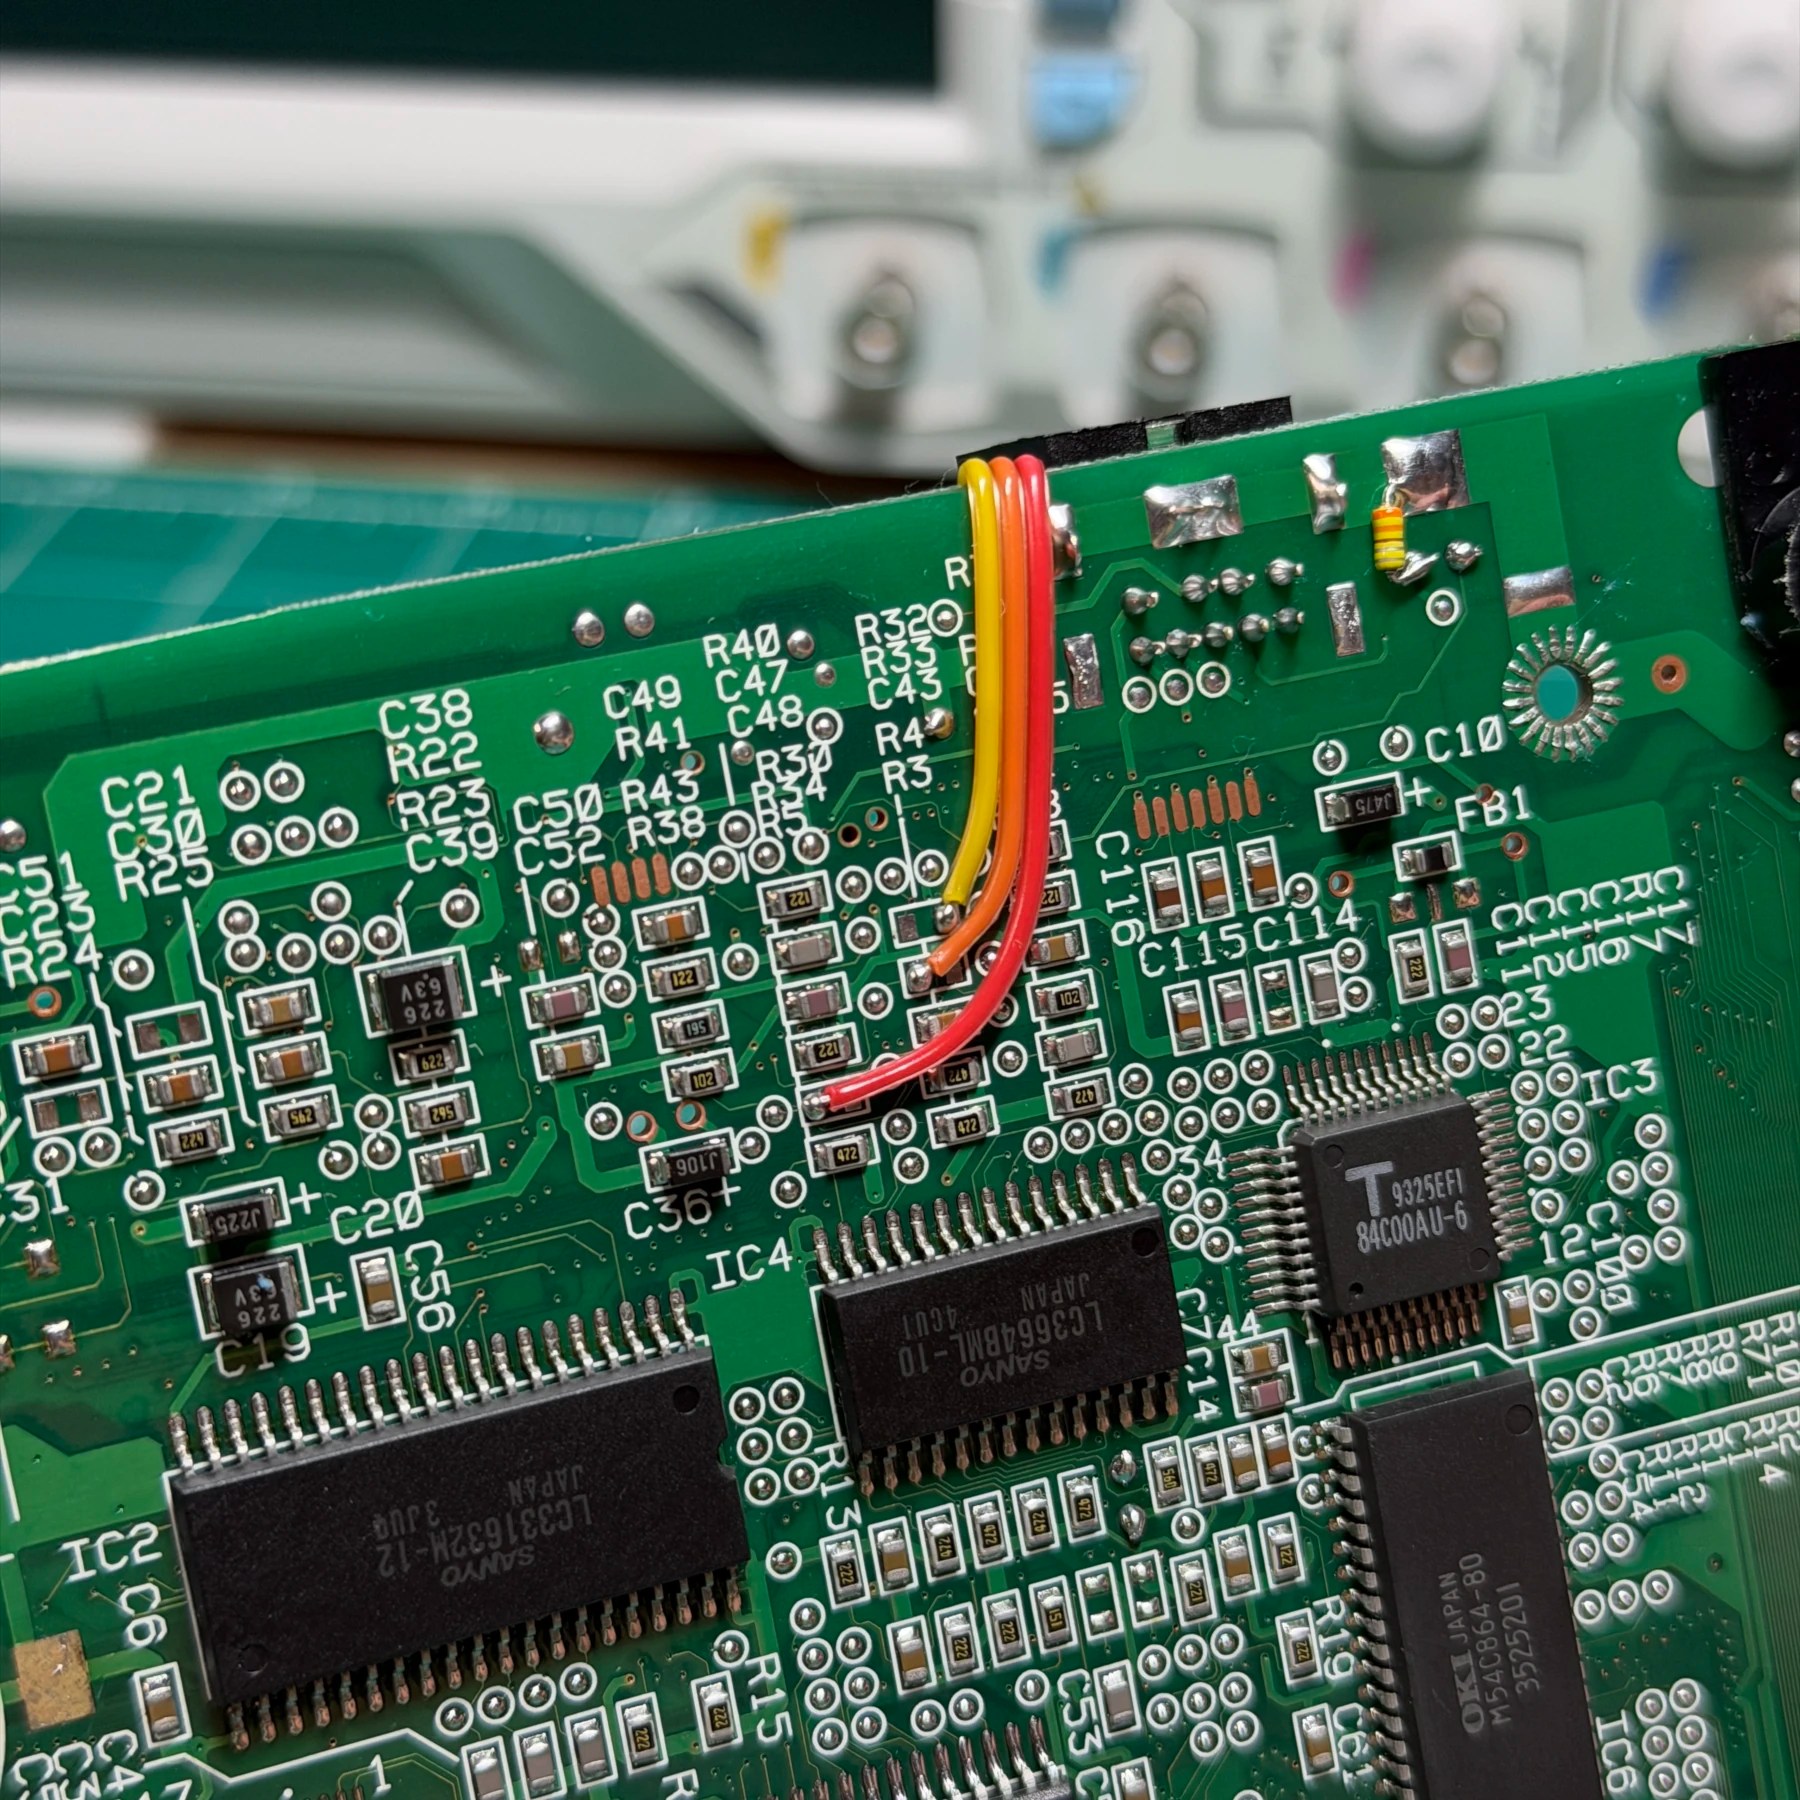
My only tips I always use is I like to keep the audio point wires bundled and I carefully separate, hold in place and mark the underlying pad beginning so I can then strip and tin and have the wires all terminate nice and even on the bypass board. Knowing that bundle will cover the area for 9V and GND I actually solder those in place first, then install the main bundle and finish with the wiring to the DIN points and CVBS restoration.
While you don’t HAVE to restore composite there is no reason not too and then the customer and any owners in the future will have flexibility on what cables to use, what display to use it on, etc.
With the 3BP install complete and final cleaning done I begin the somewhat painful process of the reassembly. In particular the trickiest part is installing the CDROM PCB with laser assembly which you have to do at an angle while also sliding on the front controller port panel of the CDX. You also REALLY don’t want to forget a screw and get this thing mostly back together so my handy screw trays come in super clutch on CDX jobs. With the shielding re-attached and system completely re-assembled minus the bottom metal plate, I quickly fire it up and run 240P test suite to confirm audio and video is good from the bypass mod and also that the FRAM chip accepts a format and quickly save a game to ensure it retains data after power removed.
Once I know both of those are good I then put my stamp of approval on it and close up the CDX for good.
Another one in the books and no end in sight, I have another CDX waiting for me right now in for a recap and cleaning and laser replacement 😮💨