
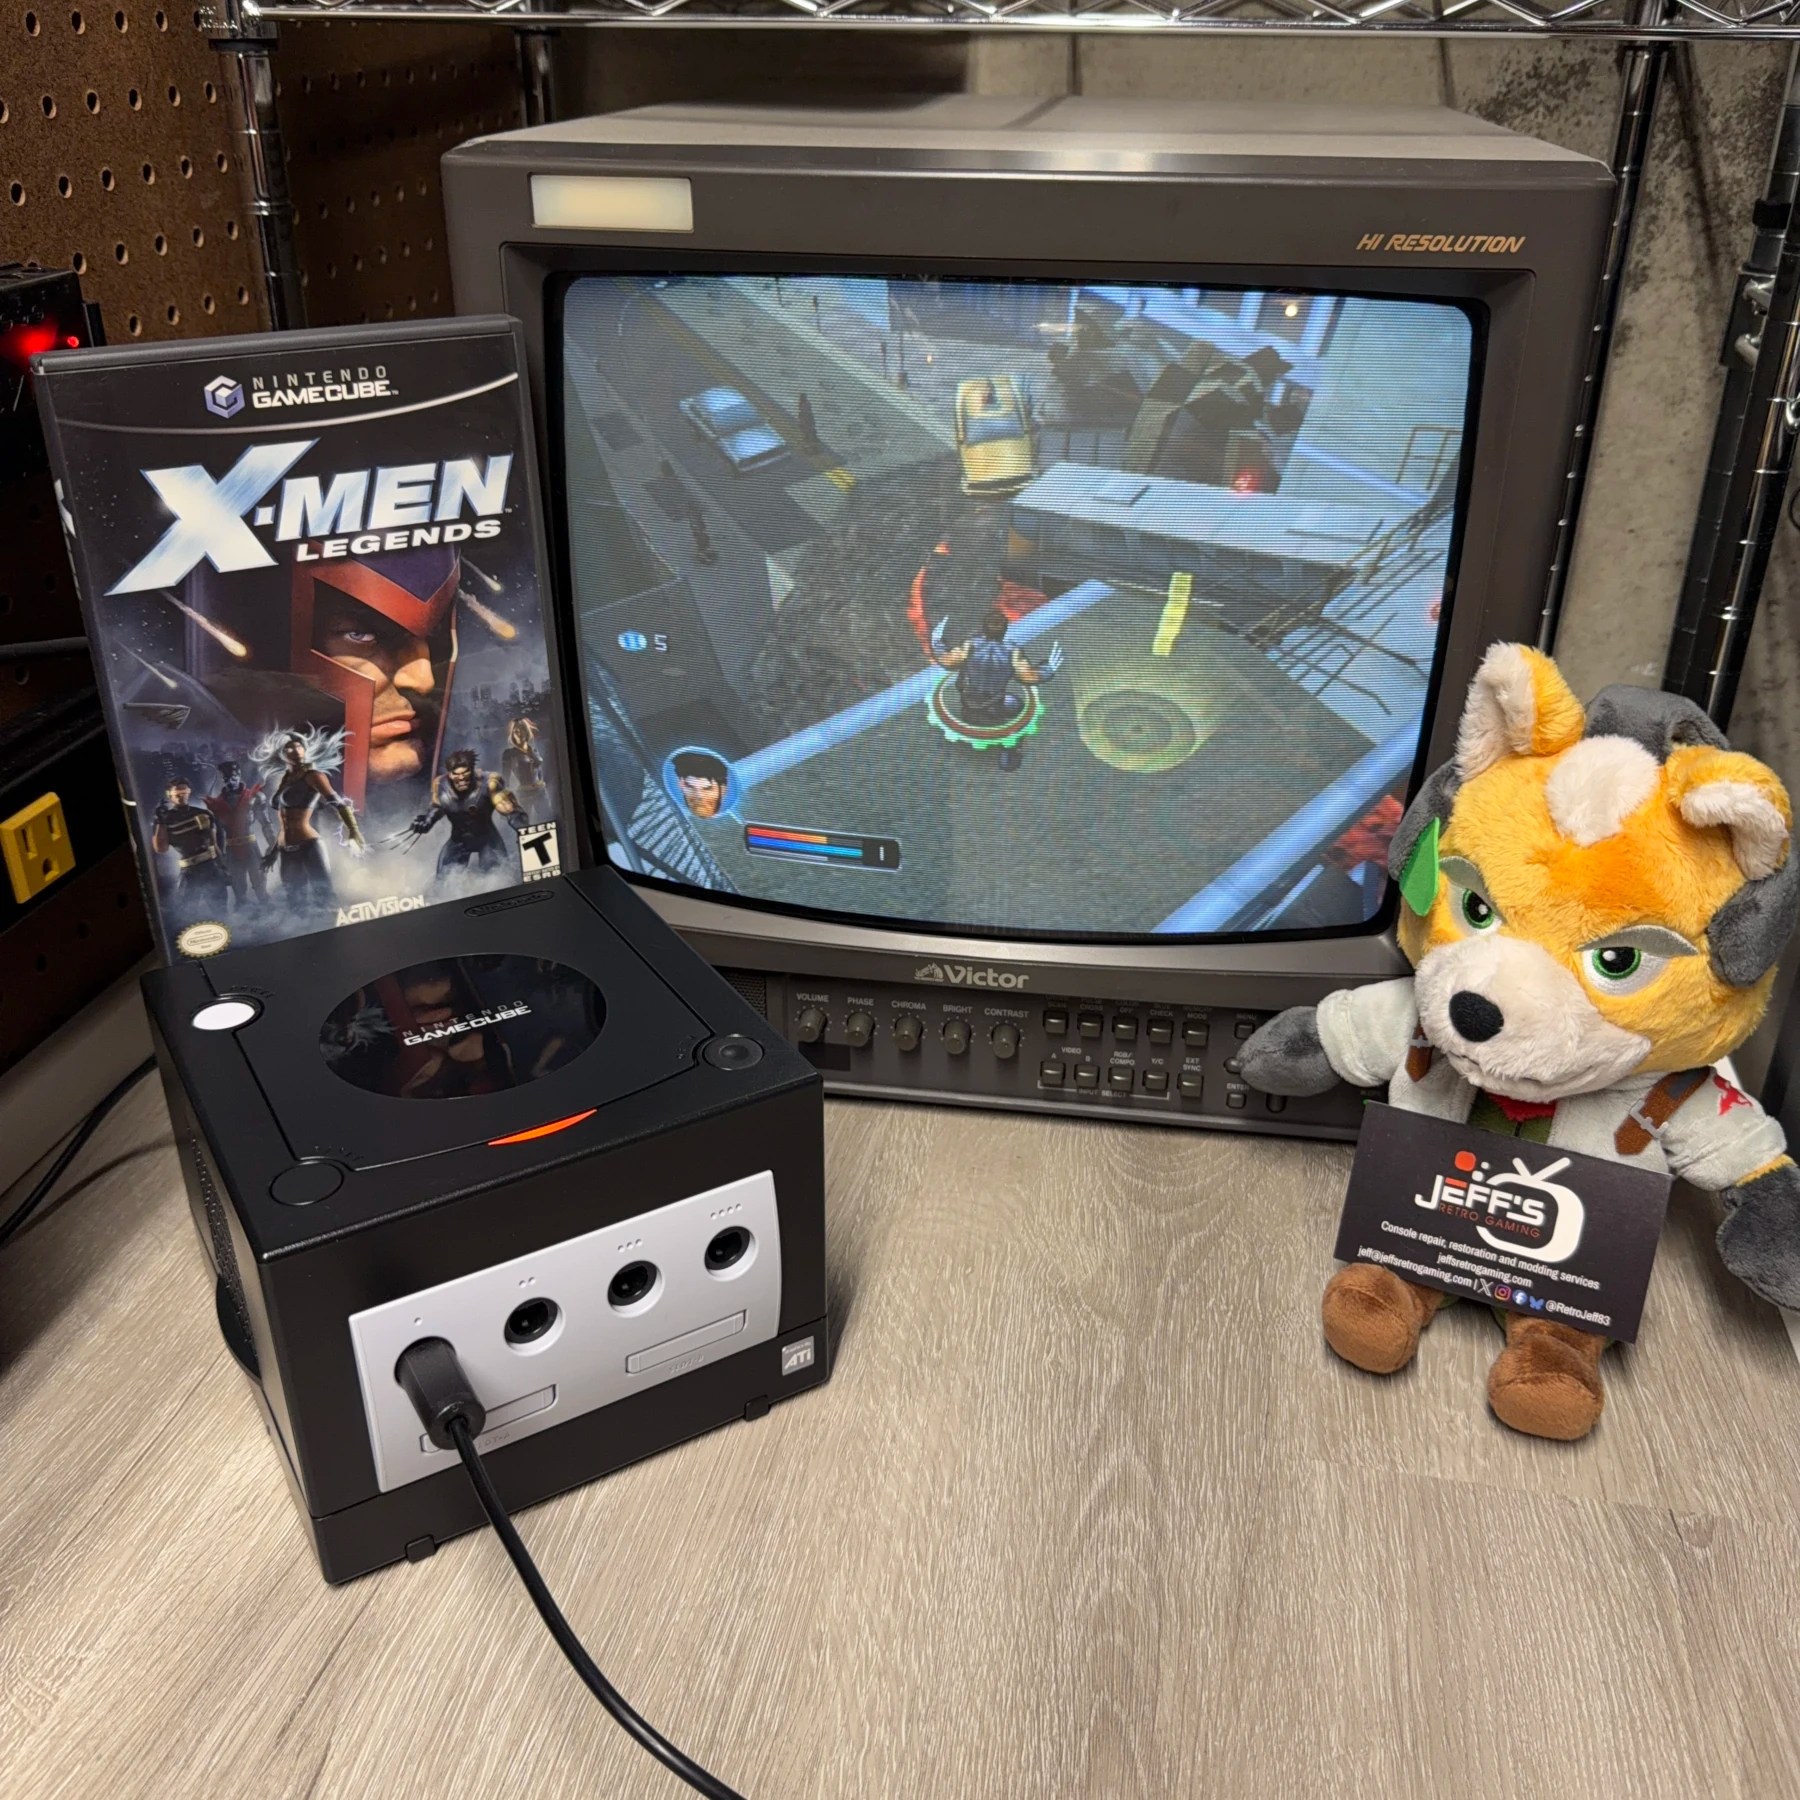
The third and final console in this order was another GameCube, this time a black model DOL-101. Same exact work as the earlier Platinum ‘Cube I refurbished except this one was reading discs from a cold start albeit perhaps struggling a tiny bit.
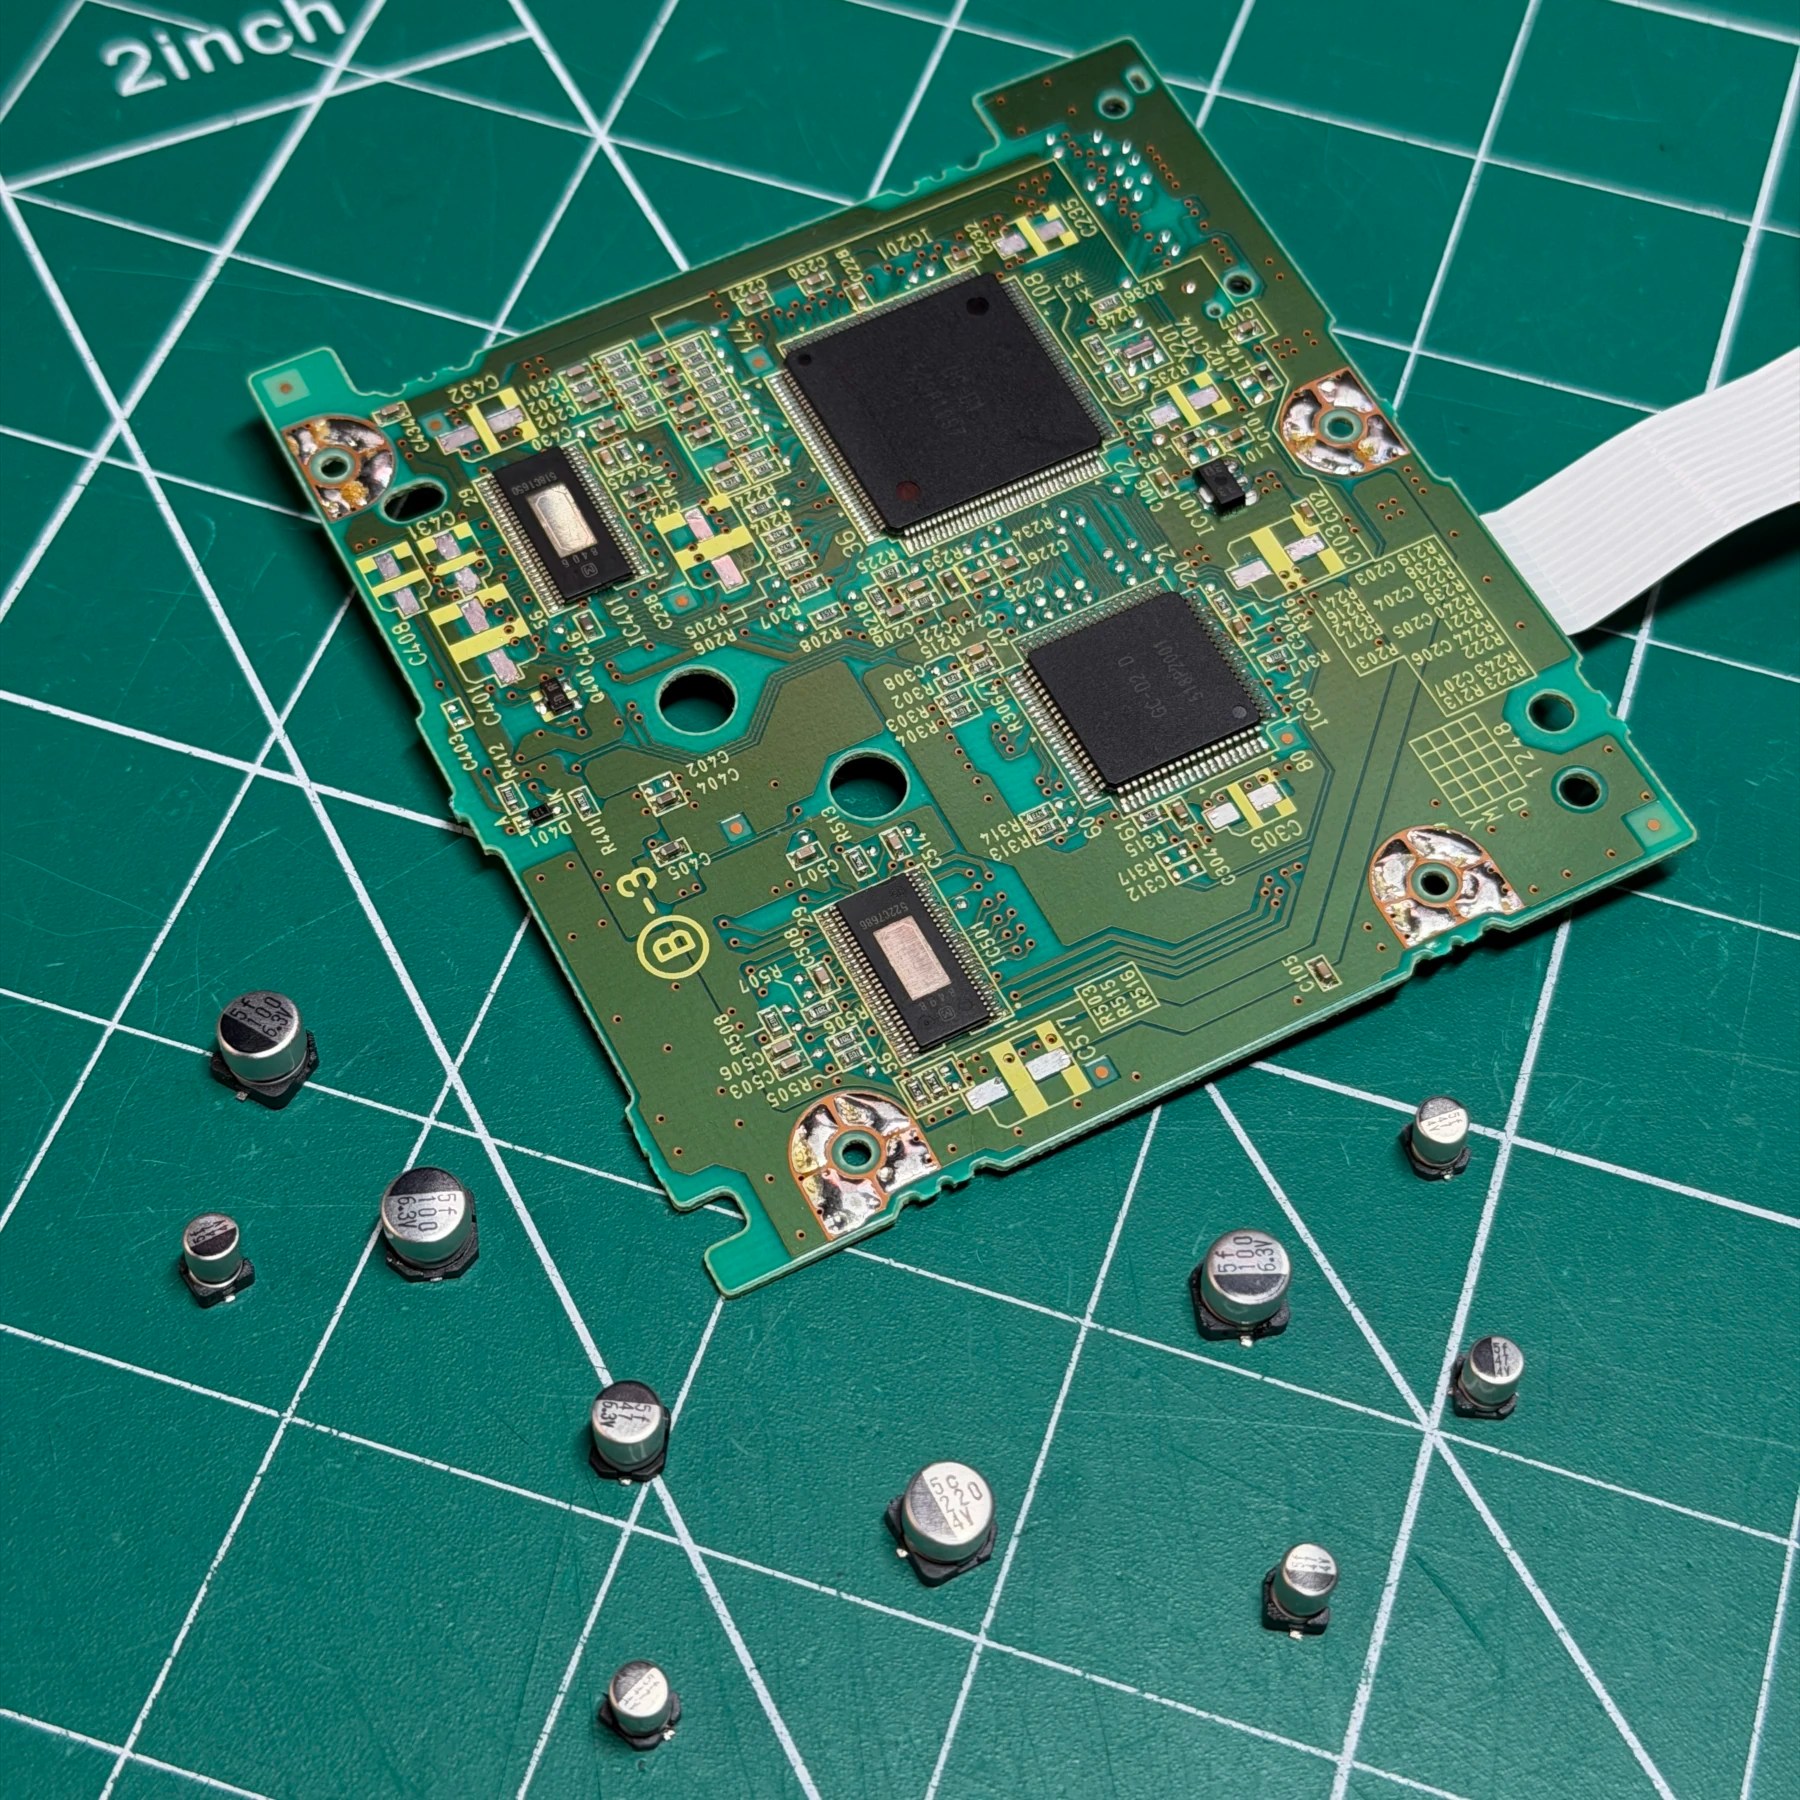
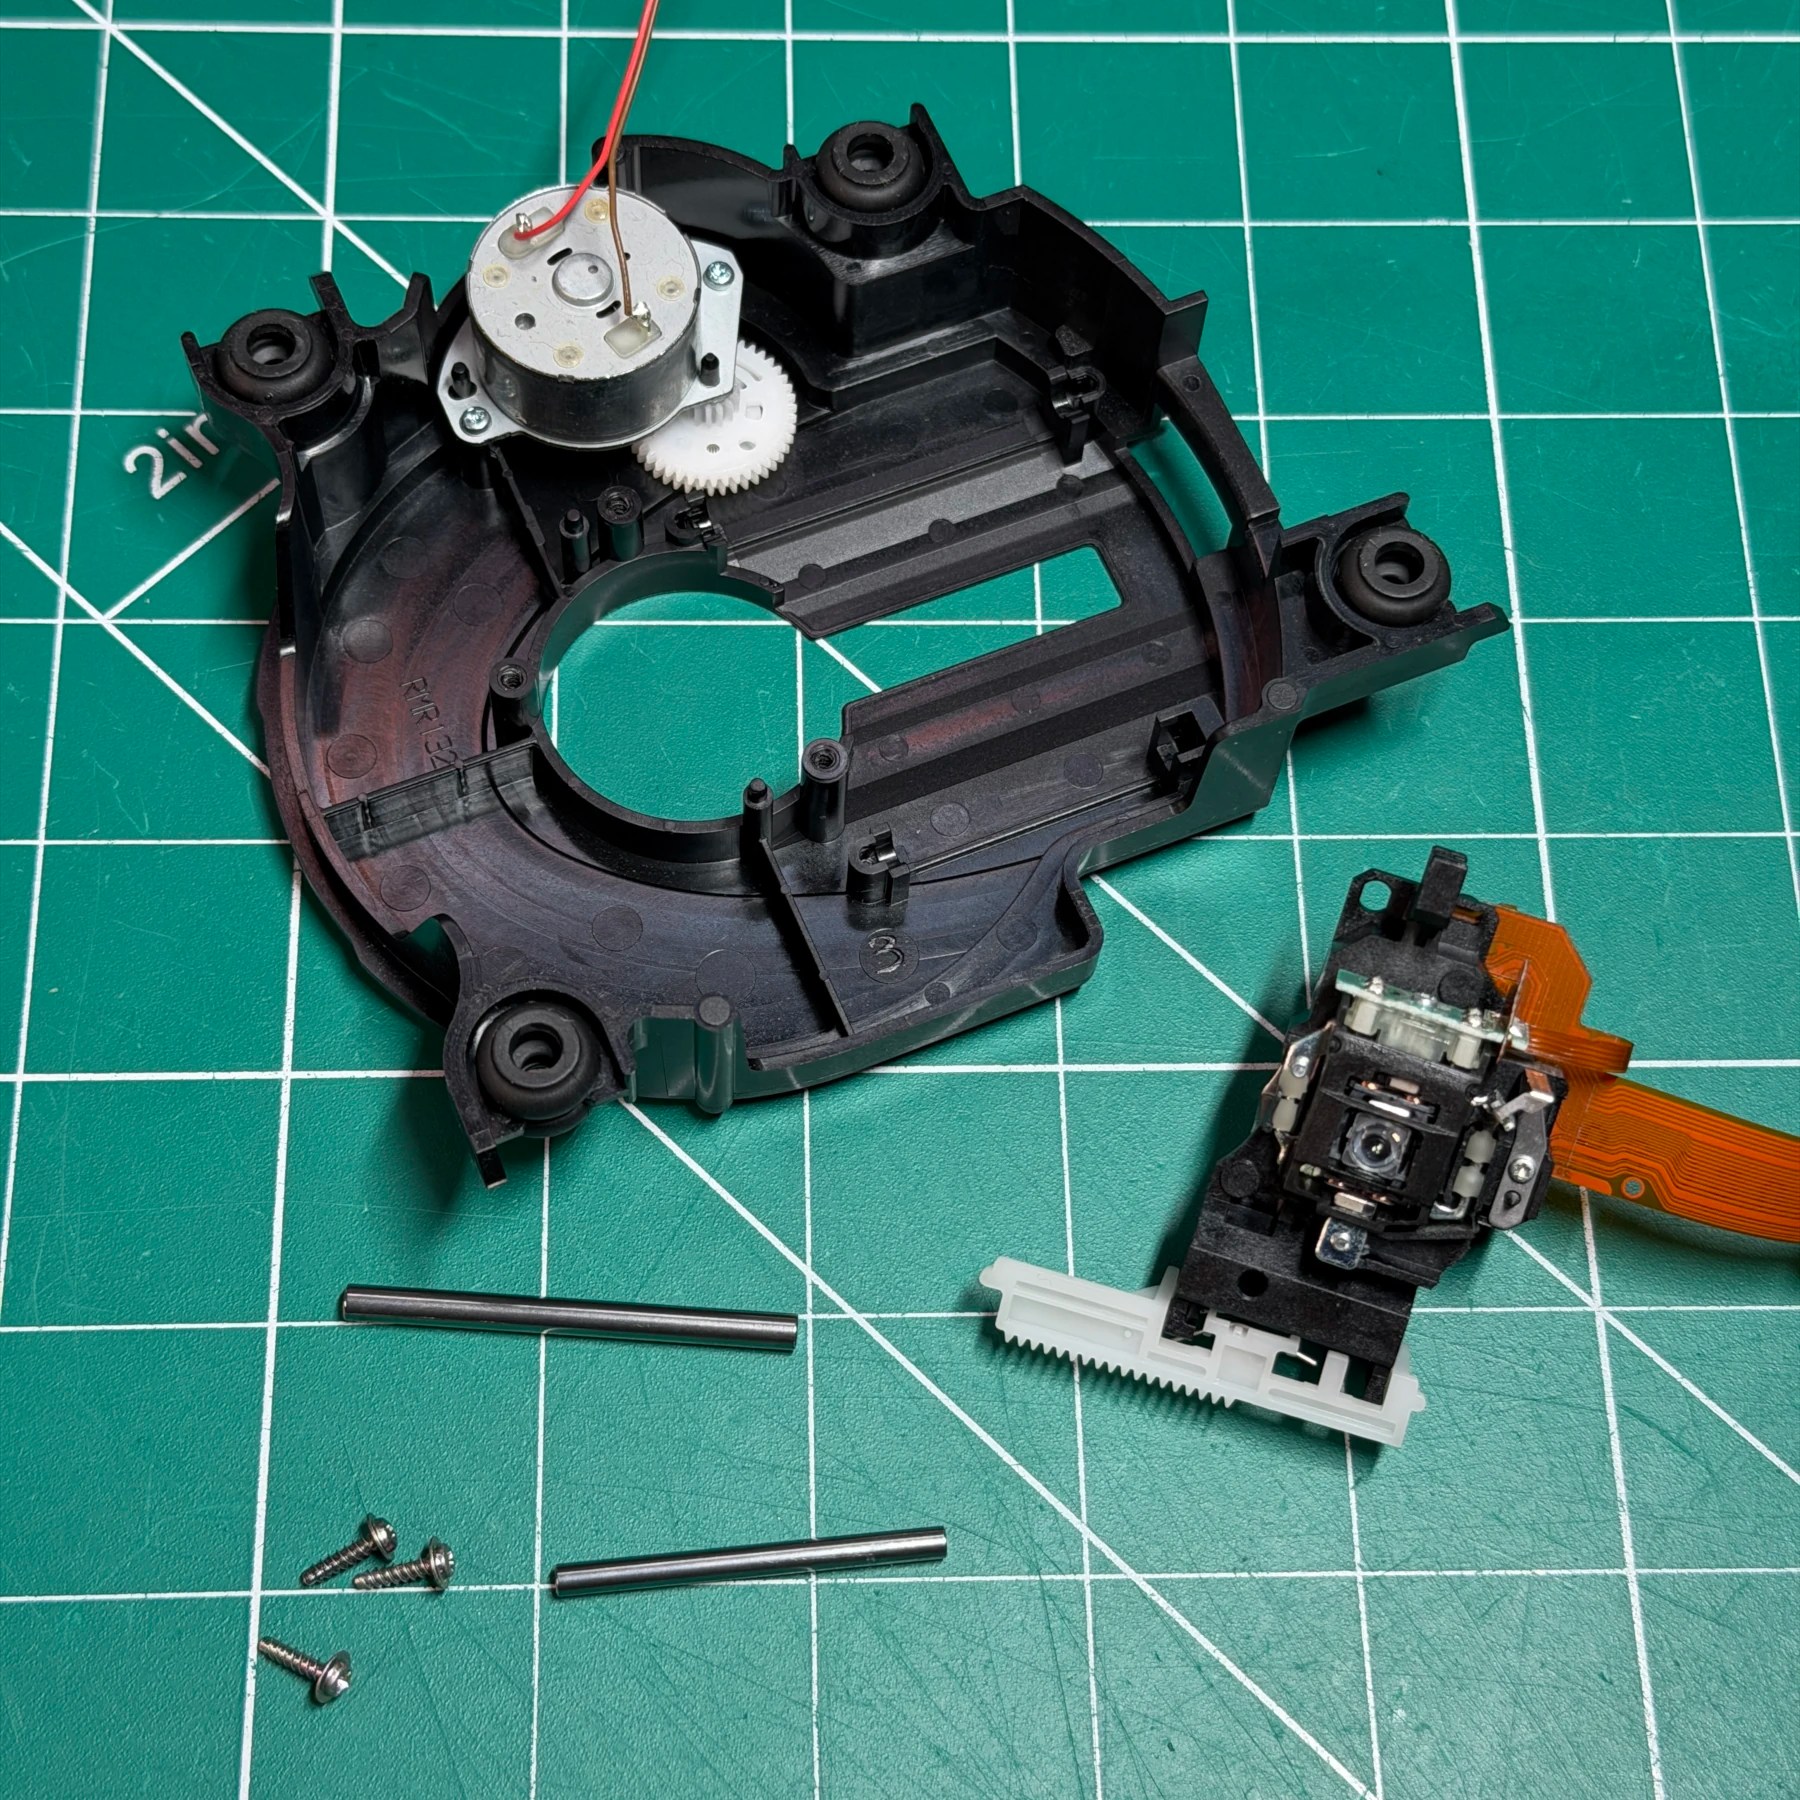
Nothing out of the ordinary on this refurbishment outside of the fact it was the first GameCube I have ever worked on that had the optical drive PCB flex soldered to both it and the spindle motor board? Meaning no quick and easy disconnect to separate the two. Not sure how common this is on the DOL-101 models? Either way, still a straightforward process, I just elected to detach the spindle motor from the shell and not risk trying to desolder the ribbon from either side.
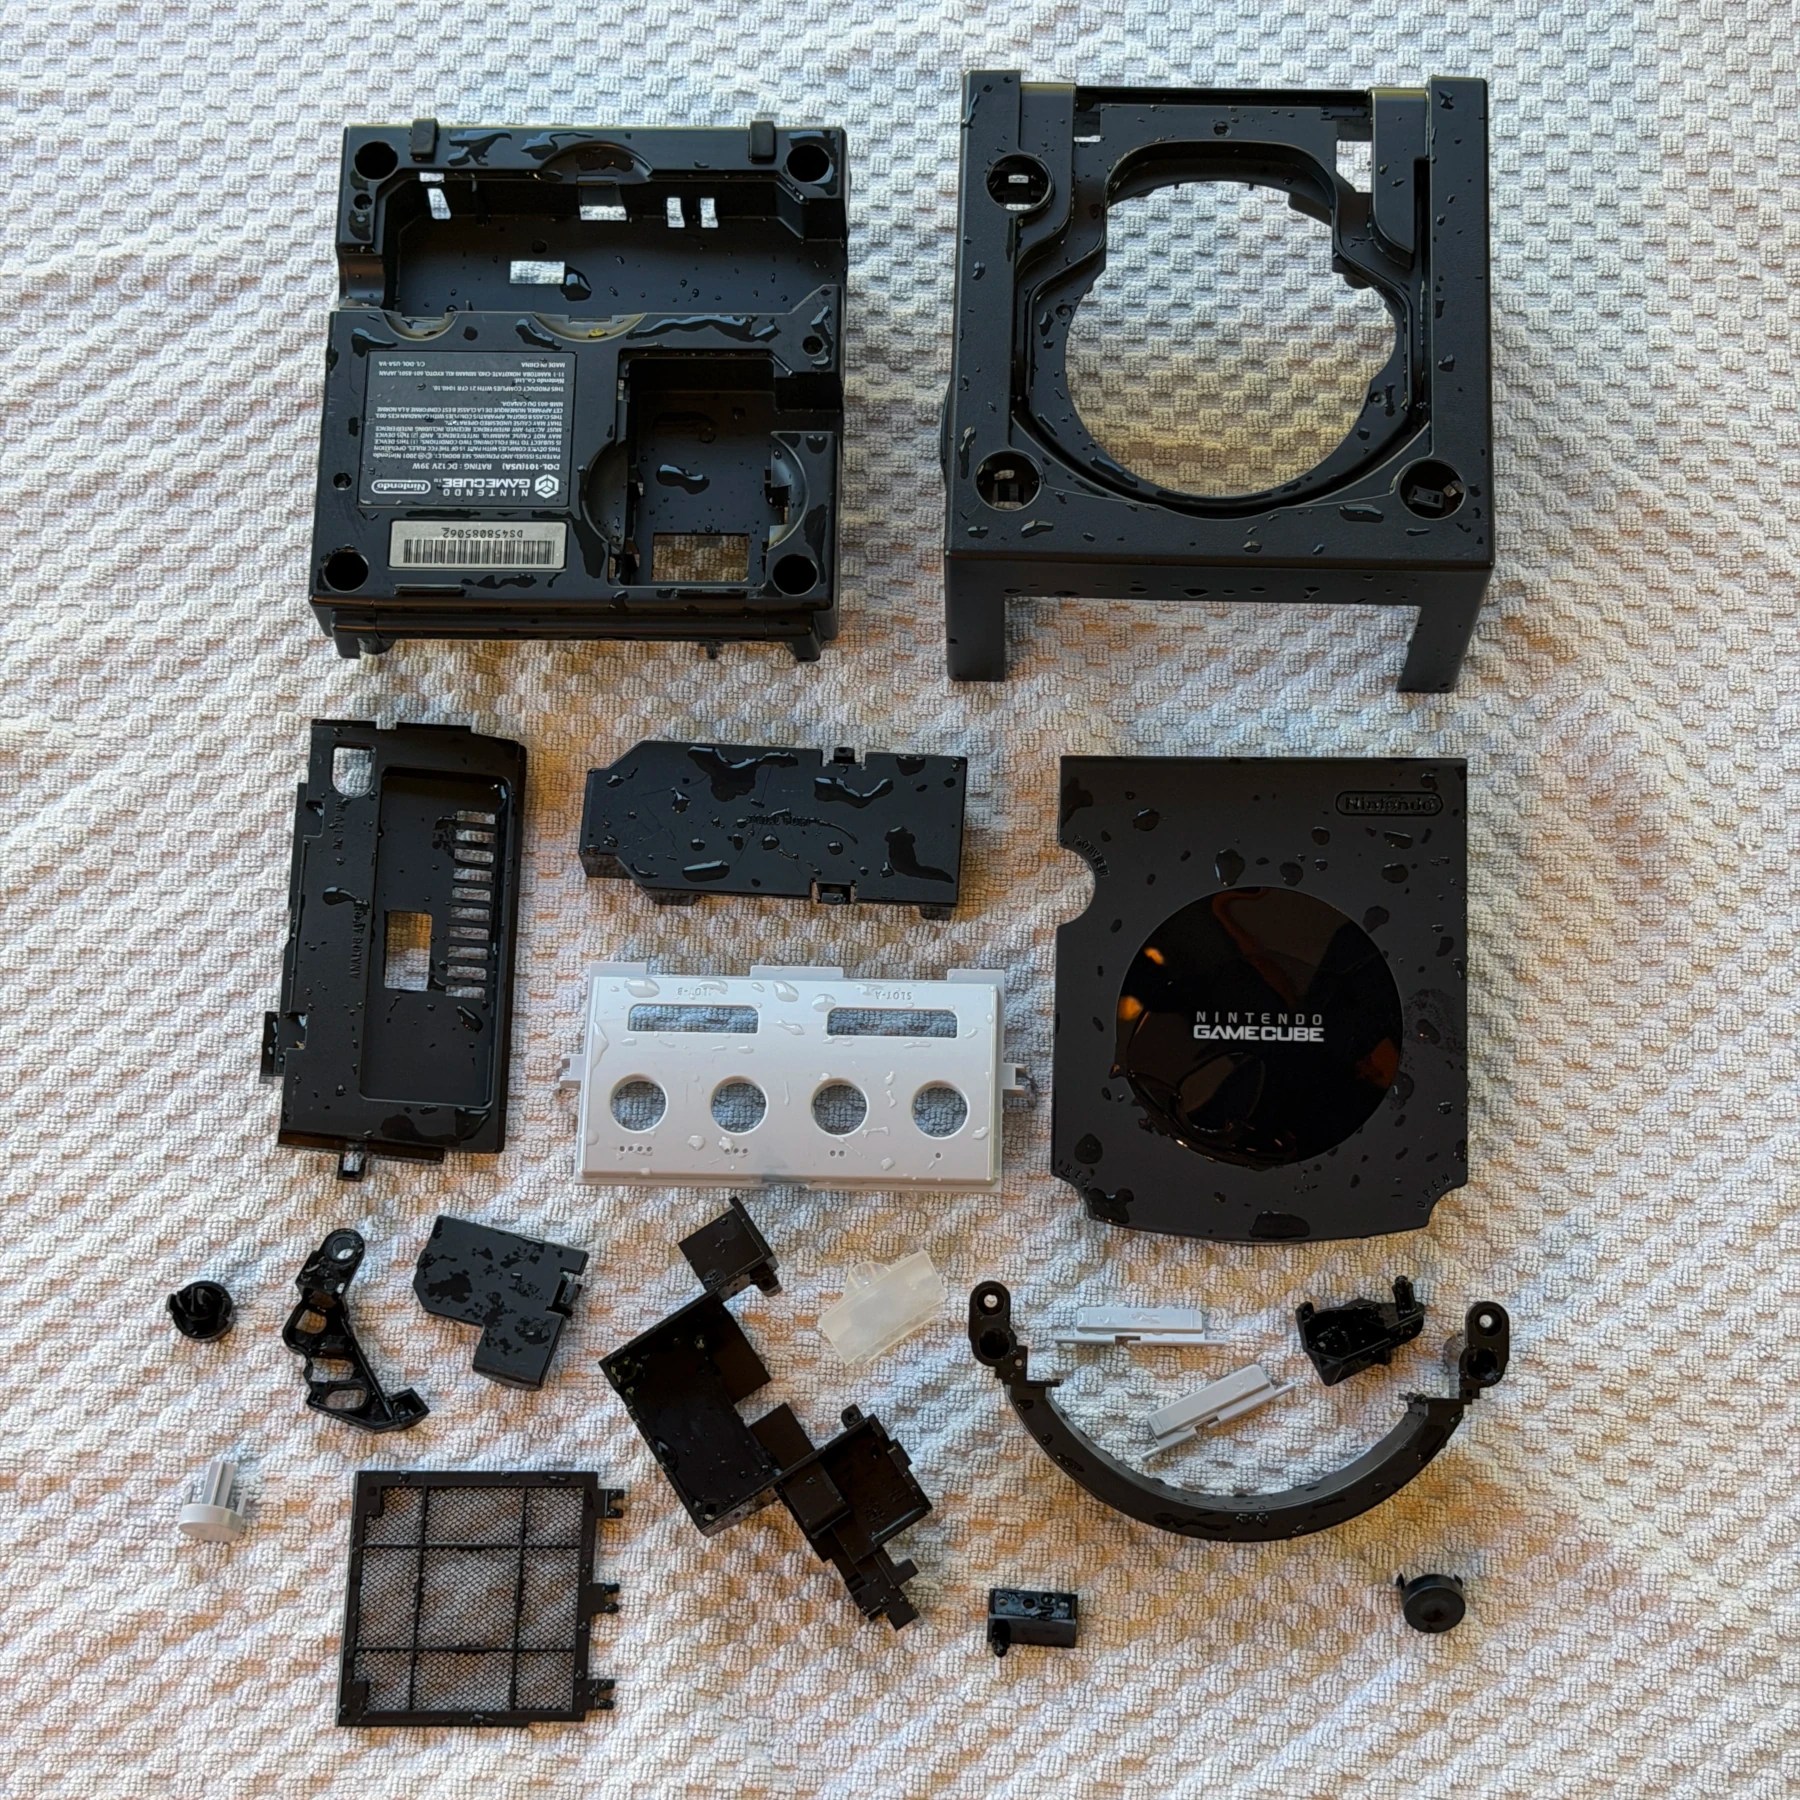
Cleaning service was elected and since I had previously taken off the front gray panel, power button and memory card flaps to RetroBright along with the Platinum GameCube, I tossed those back in the bin to wash a second time along with all the other plastic parts and shell pieces from this console. They were soaked, washed and set to dry overnight so I could move on to tackling the internal work.
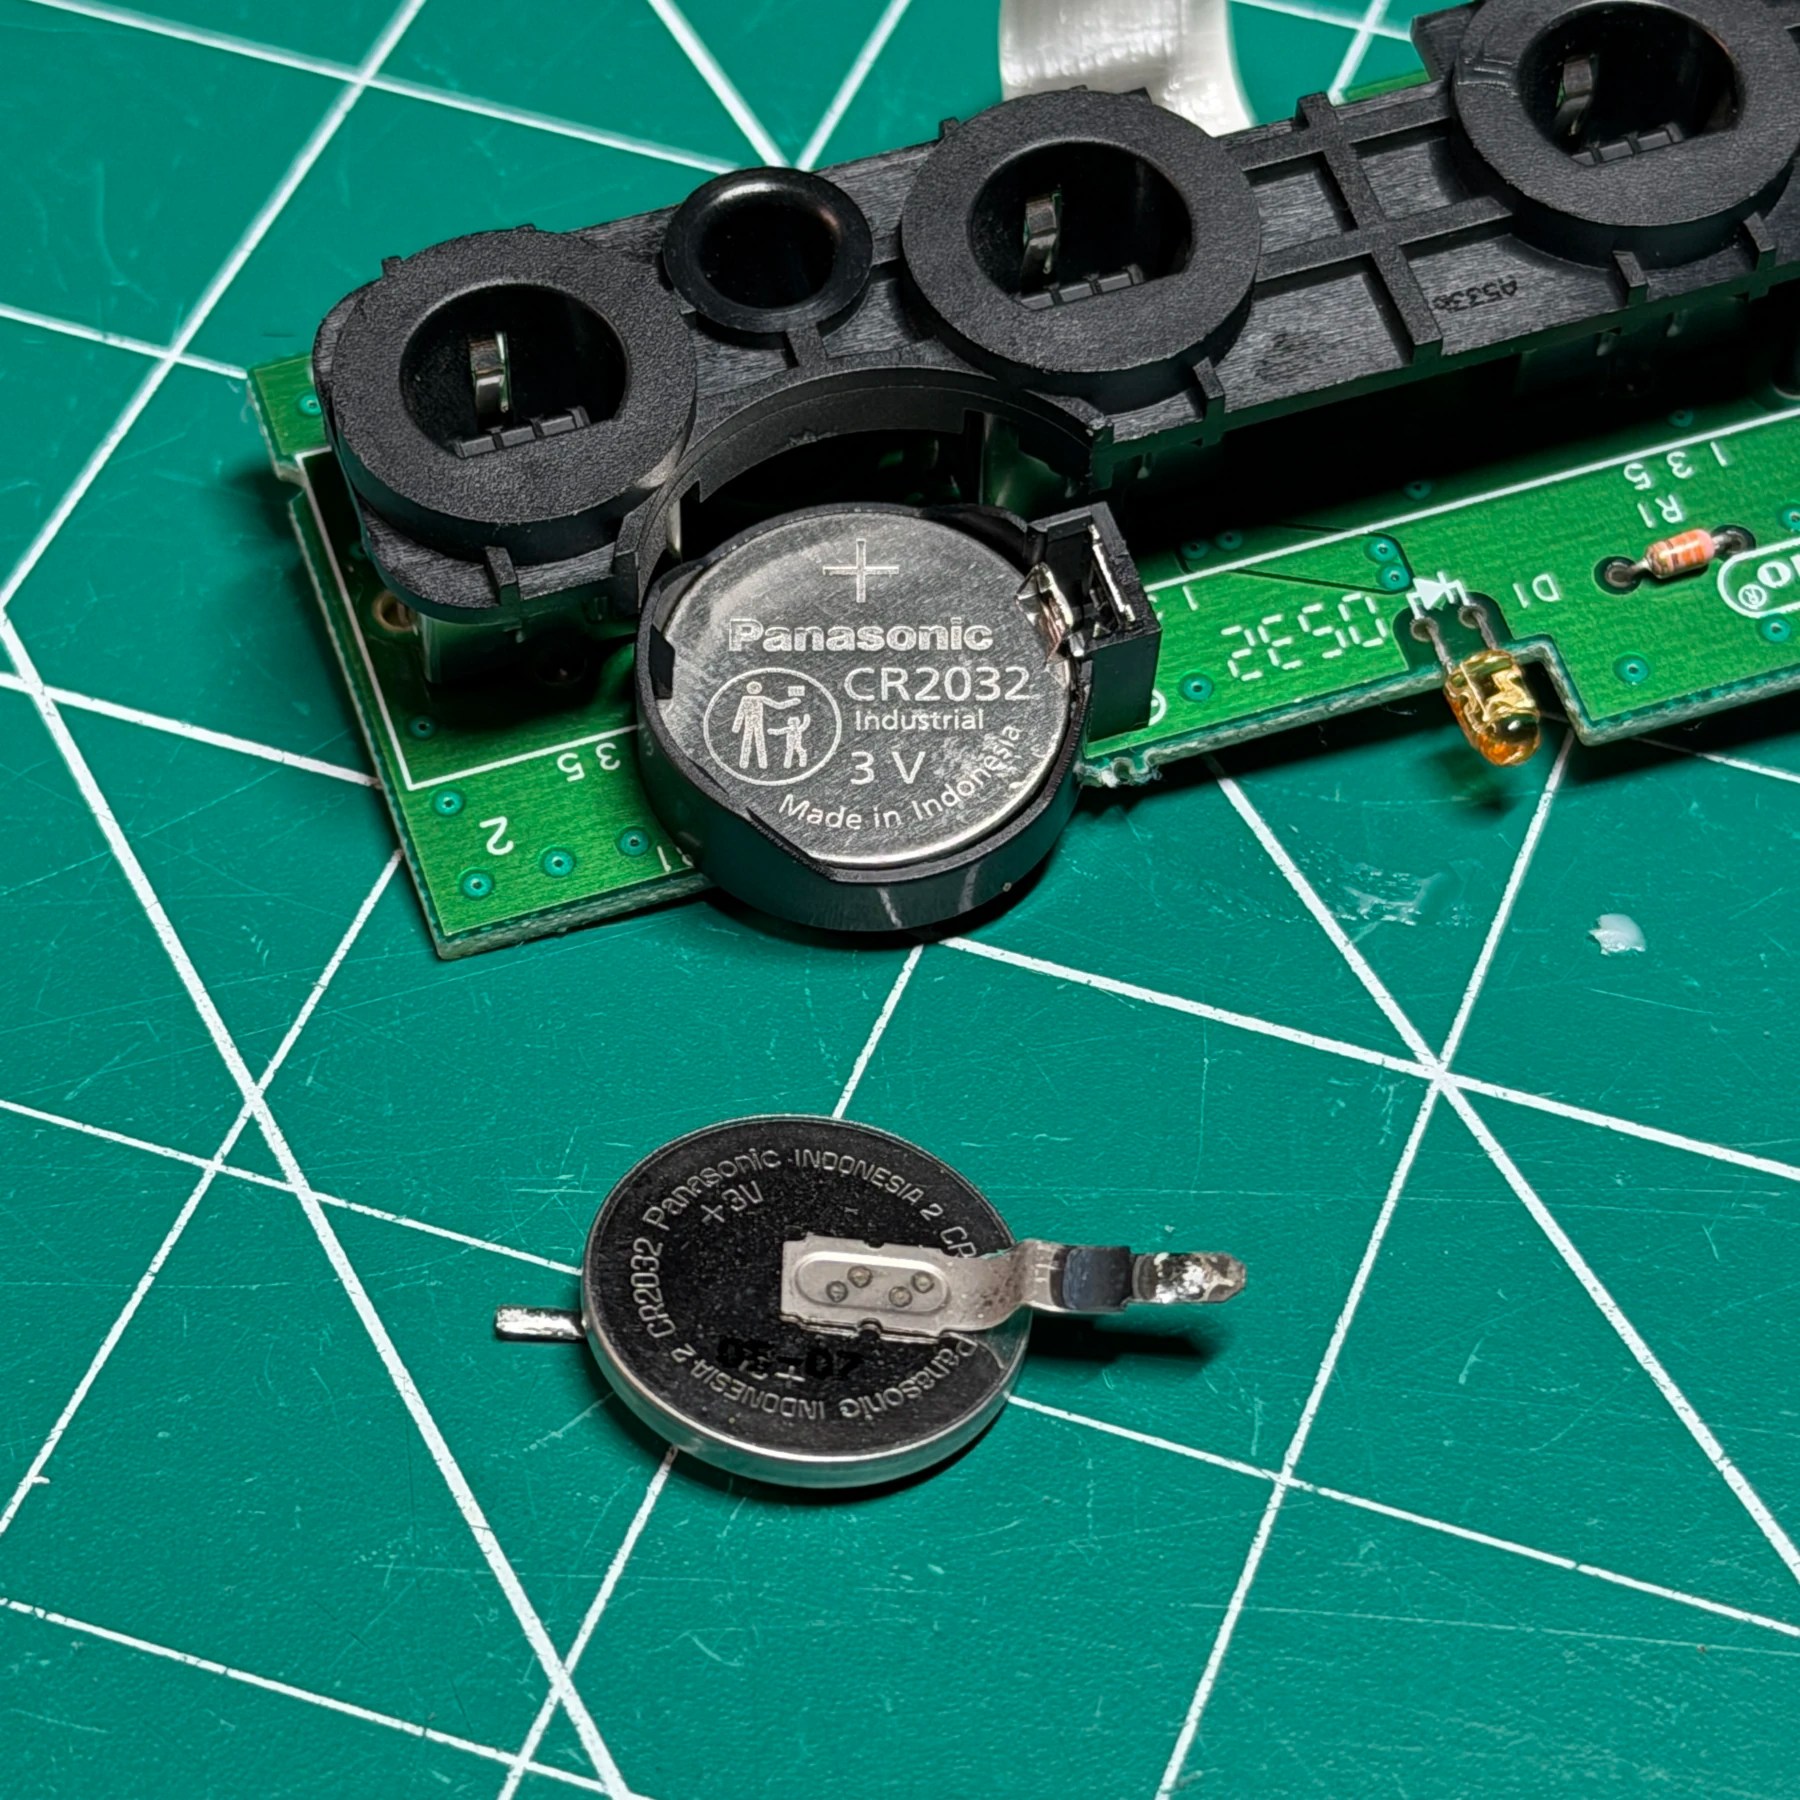
I decided to knock out the mainboard and controller board work first. On the controller board they had elected to have the battery replaced so I removed the stock tabbed CR2032 with my iron, cleaned the pads and soldered in a horizontal CR2032 holder then socketed a brand new battery (after testing) to complete that task.
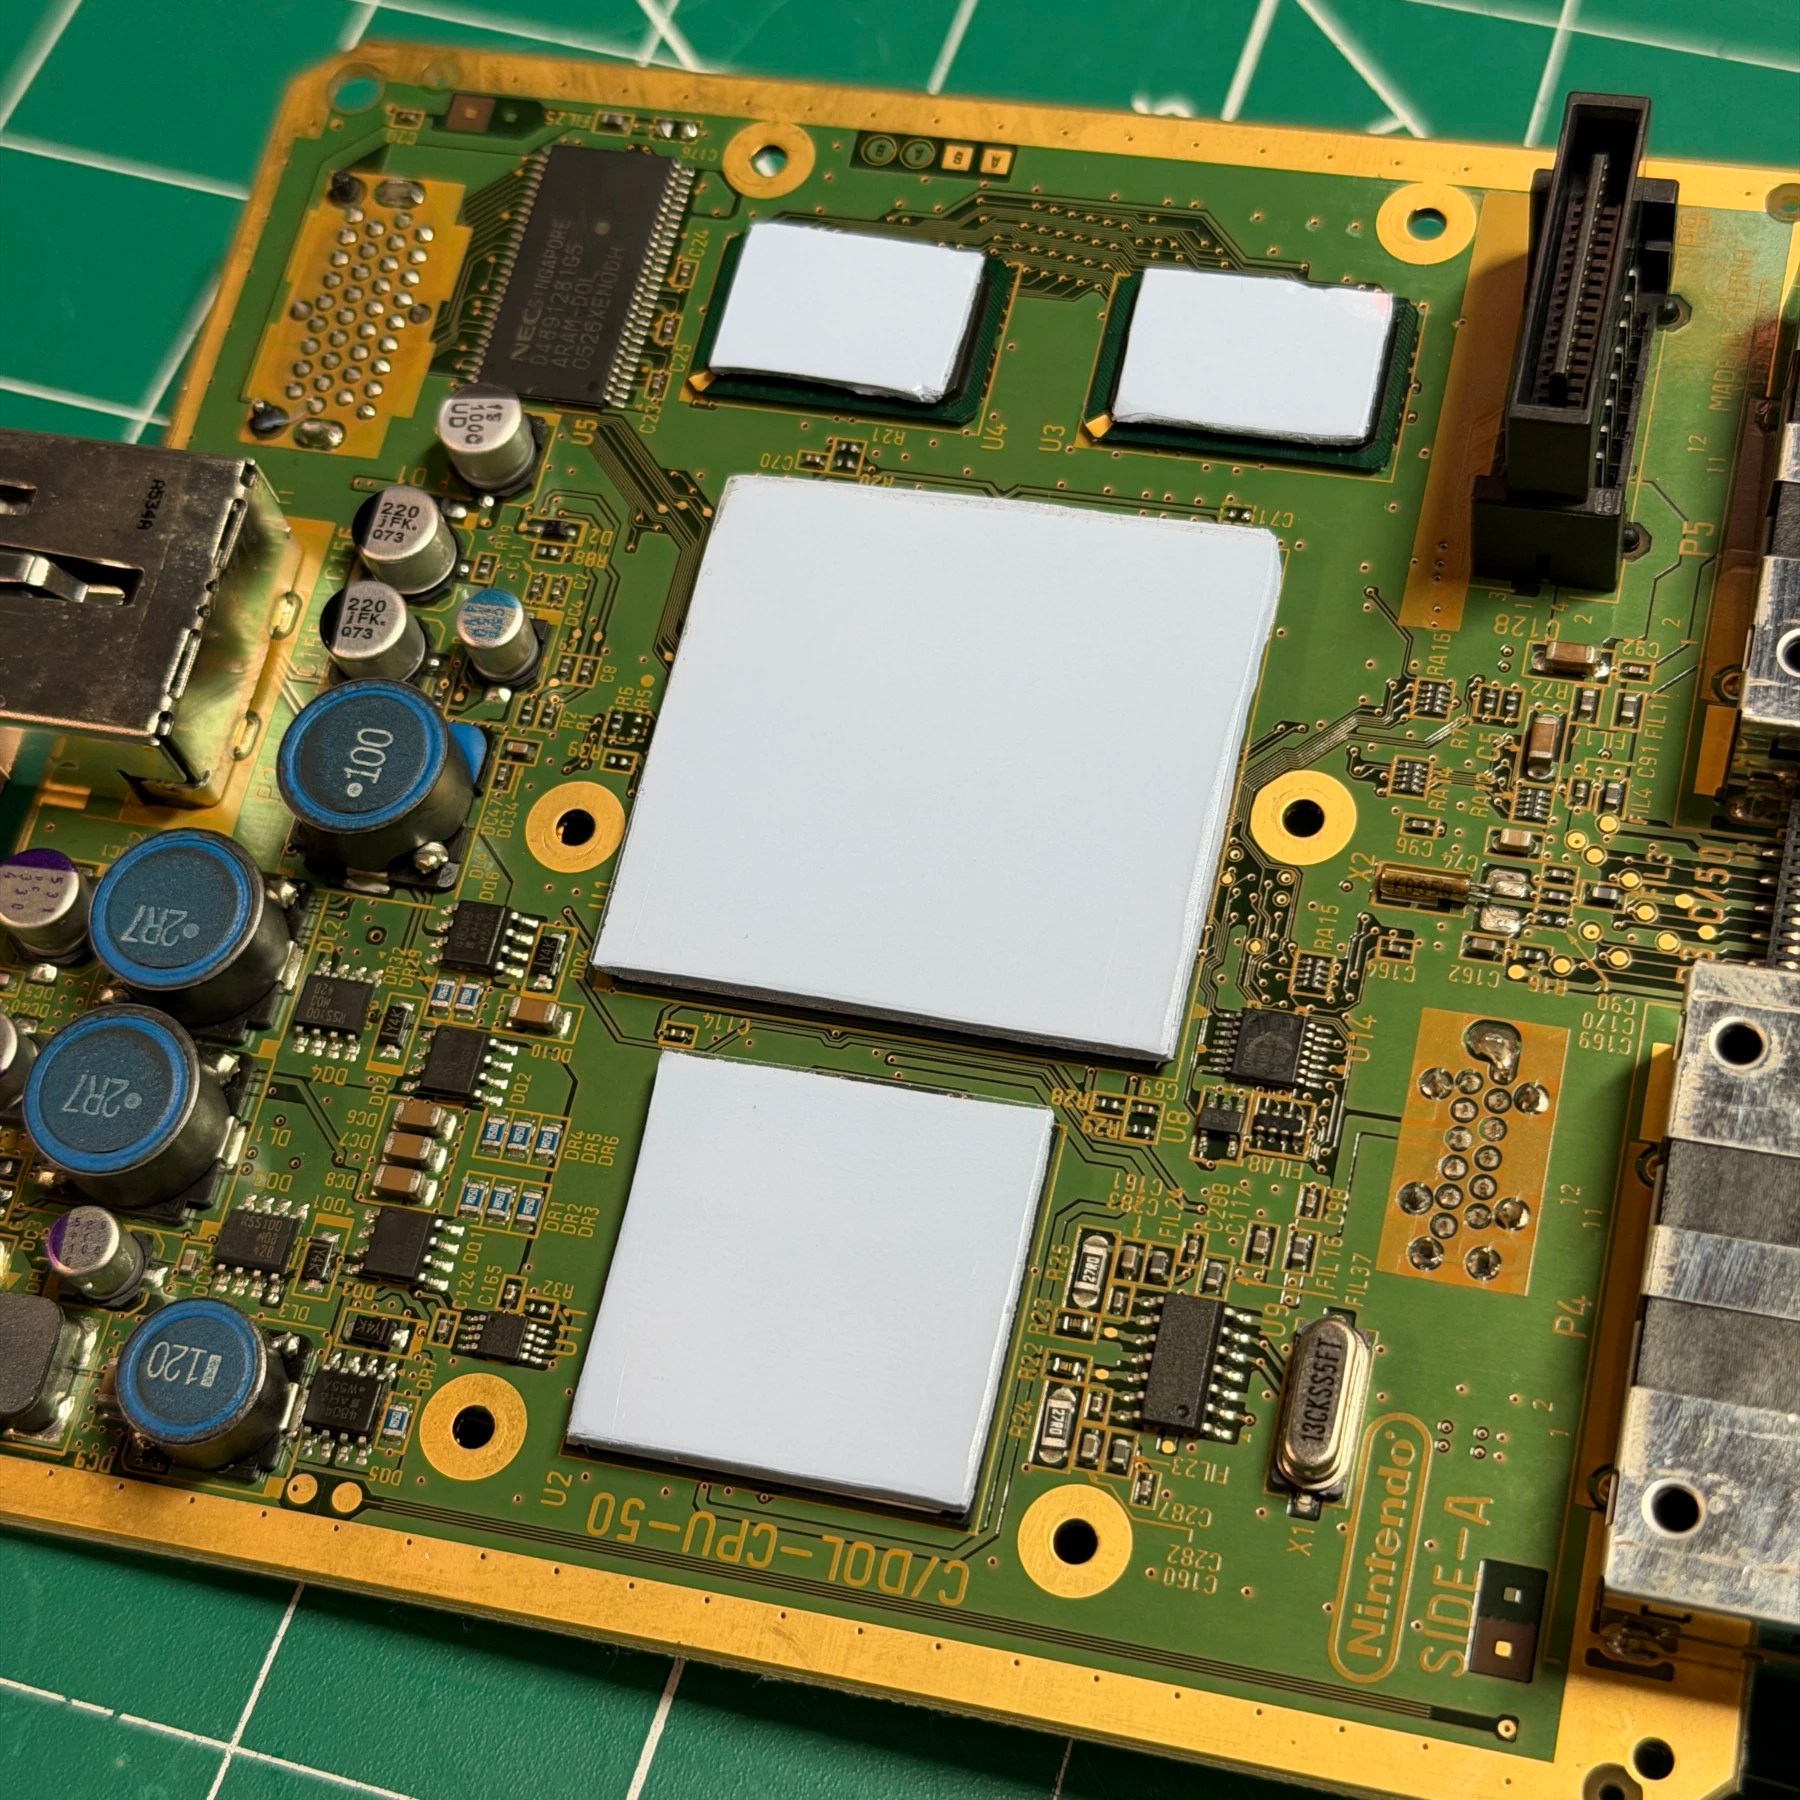
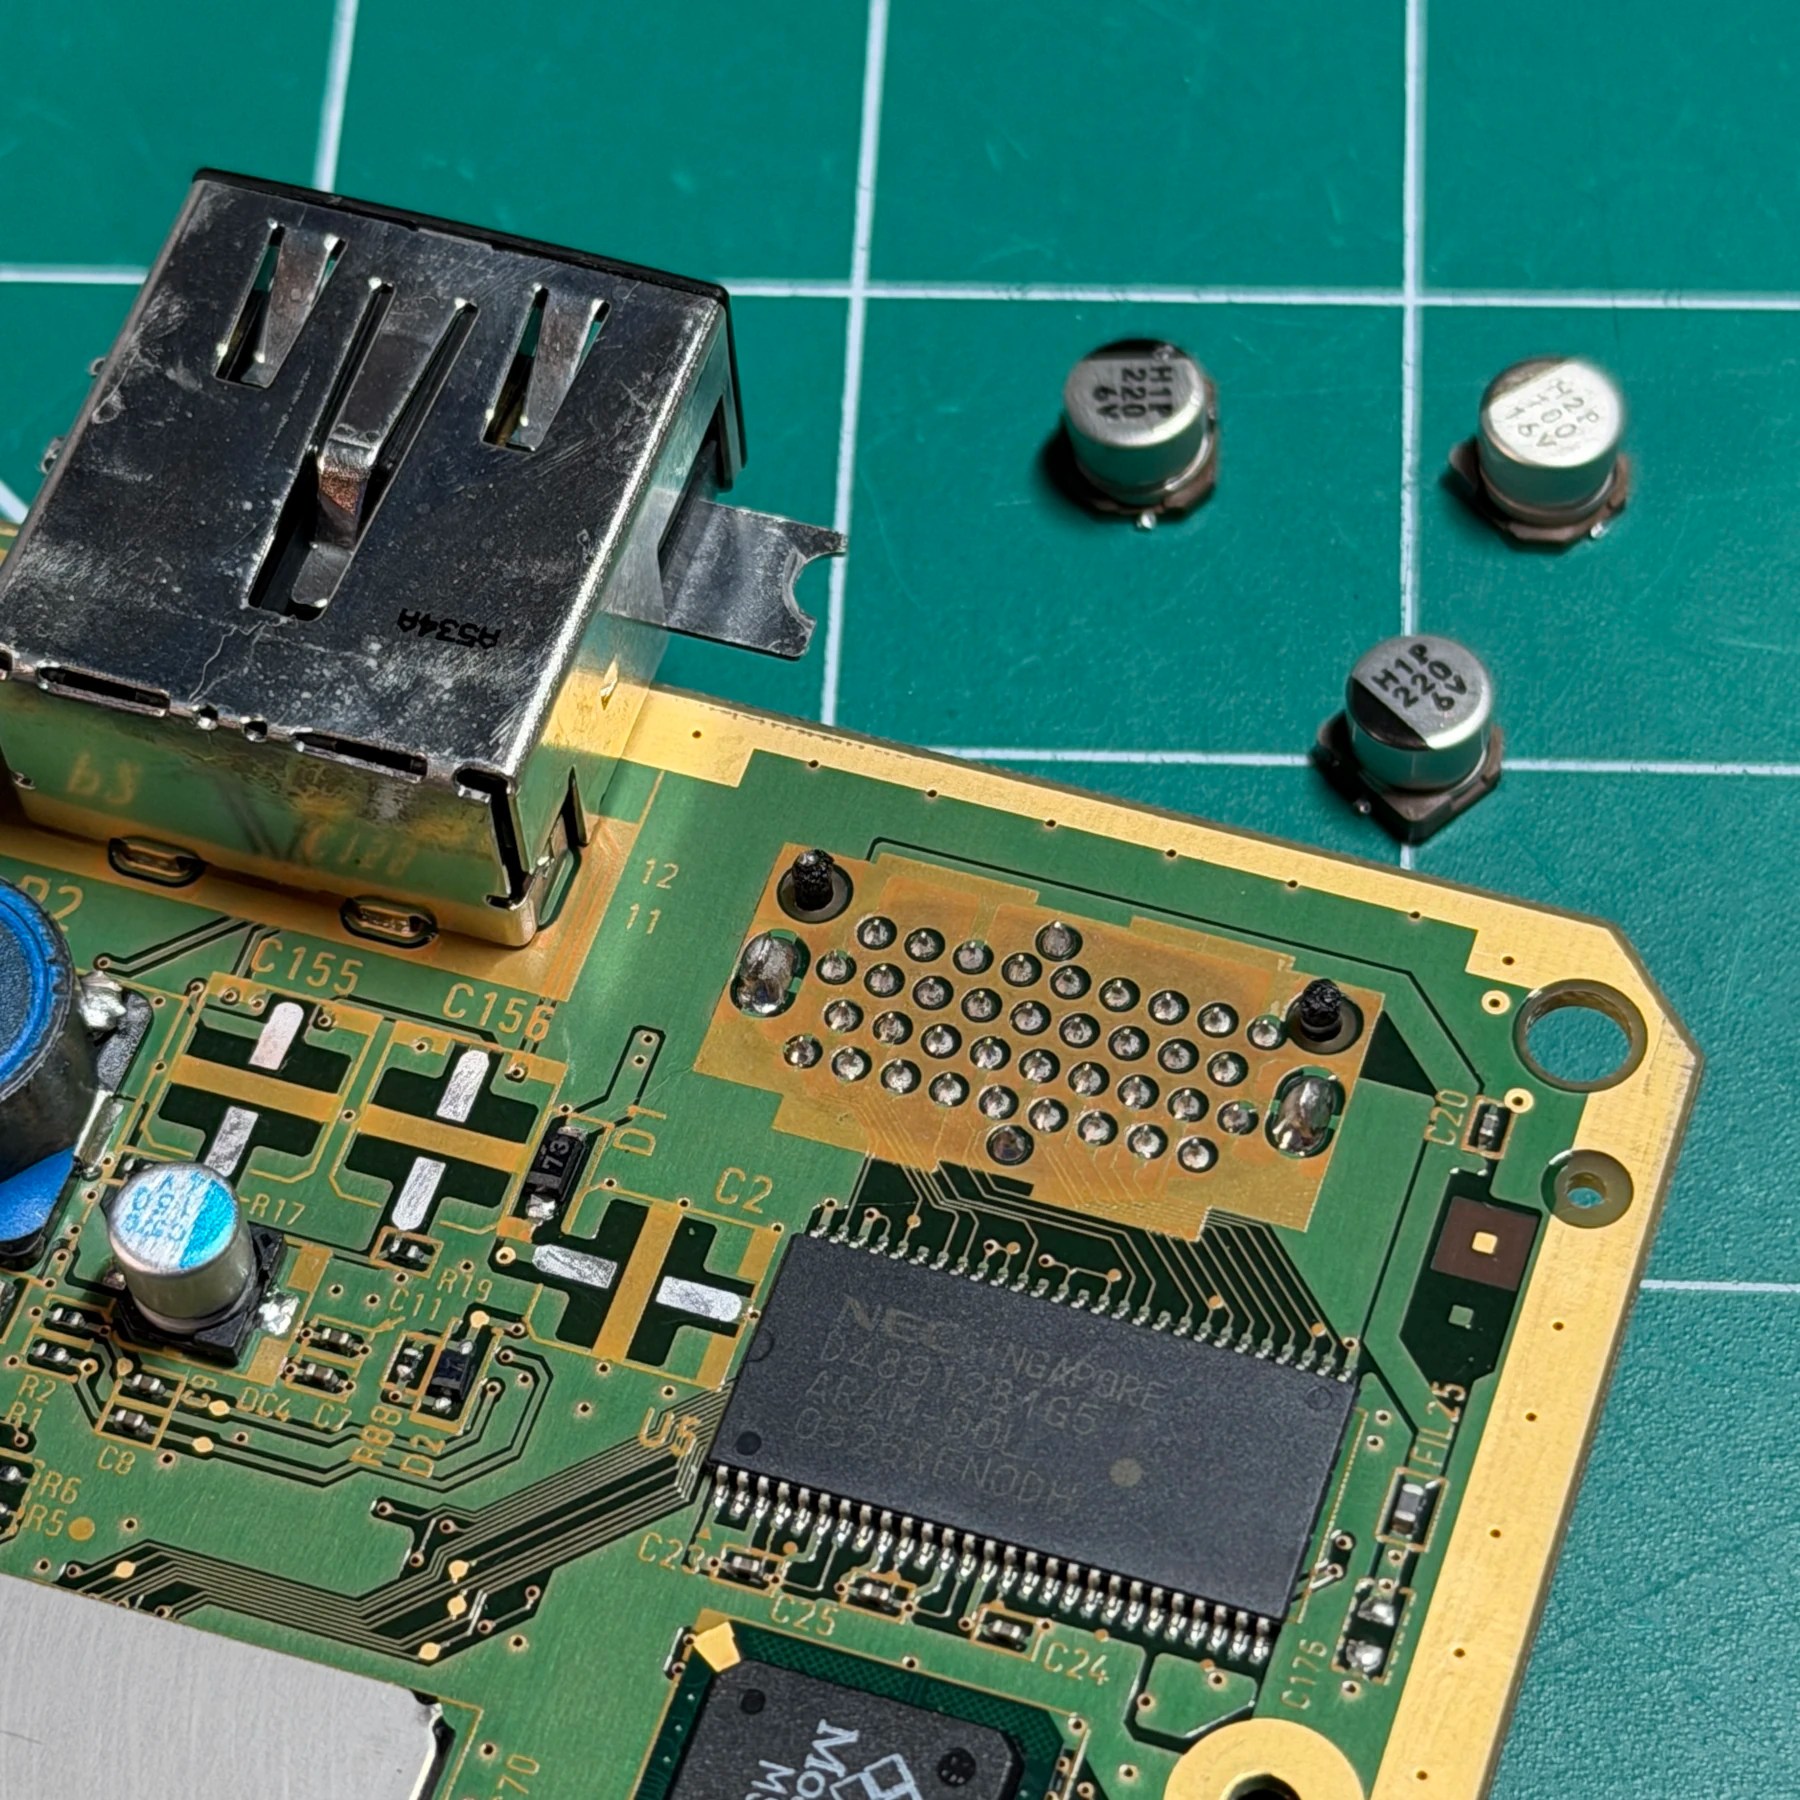
On the mainboard side I removed and deep cleaned the heatsink, then used my hot tweezers to take off the 3 electrolytic caps and clean/prep the pads. Once the new Console5 SMD caps were soldered on I cleaned up my flux and then used templates to cut and place 4 new thermal pads on the RAM, CPU and GPU.
I then re-seated the heatsink and the mainboard work was done so on to the optical drive!
The process for disassembling the optical drive is the same as the DOL-001 models but like I mentioned earlier this one had the motor spindle flex soldered direct to the board and not easily removable. Not sure if its only specific later revisions or I just haven’t happened to come across one yet.
Only change really was I did not want to deal with desoldering/soldering the flex so I carefully separated the two from the plastic bracket and then detached the spindle motor from the top assembly and kept it with the PCB. I just had to make sure I was careful as I moved it around during the recap to not pull or stress the ribbon out.
Recap process is the same as always, 10 SMD caps I removed with my tweezers then cleaned the board and prepped the pads and installed another Console5 optical drive kit. Putting the unit back together was a bit slower because again, I had to make sure I didn’t stress the ribbon out as I attached both parts but I got it done easy enough 💪
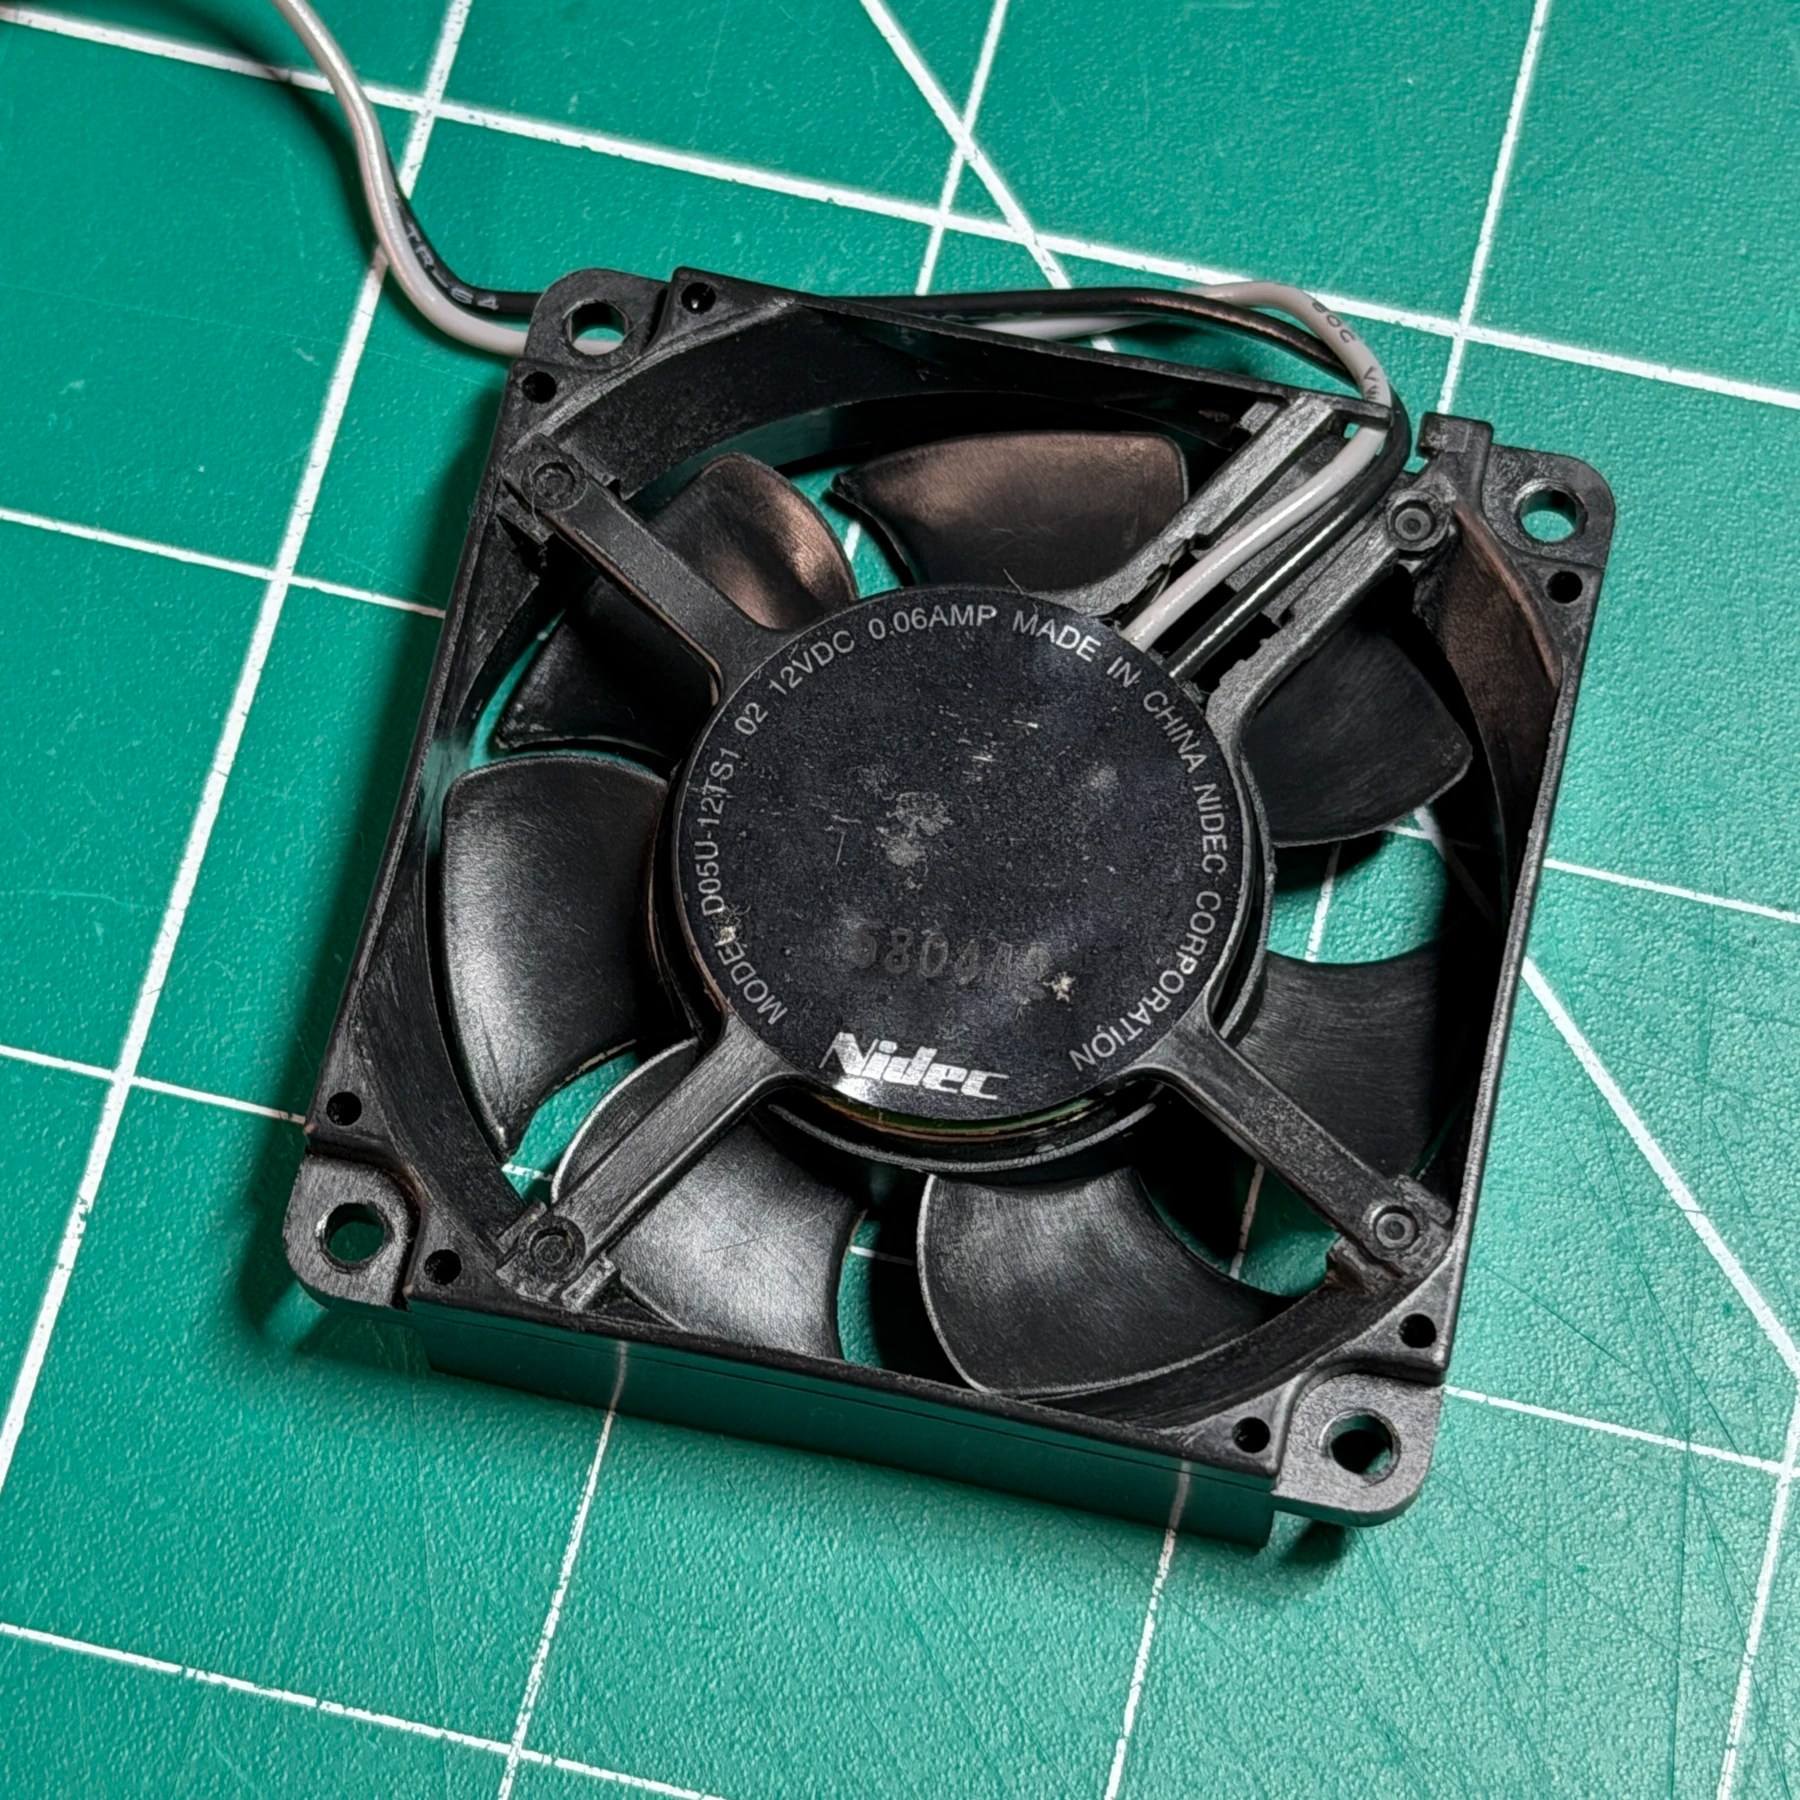
The last part of the GameCube needing attention was the fan. The bracket was already washed with the rest of the shell but I carefully brushed out the entire fan assembly and then deep cleaned with microfiber and some ISO. Once I knew the fan was all nice and clean I reattached it to the bracket along with the power switch and started on the assembly process.
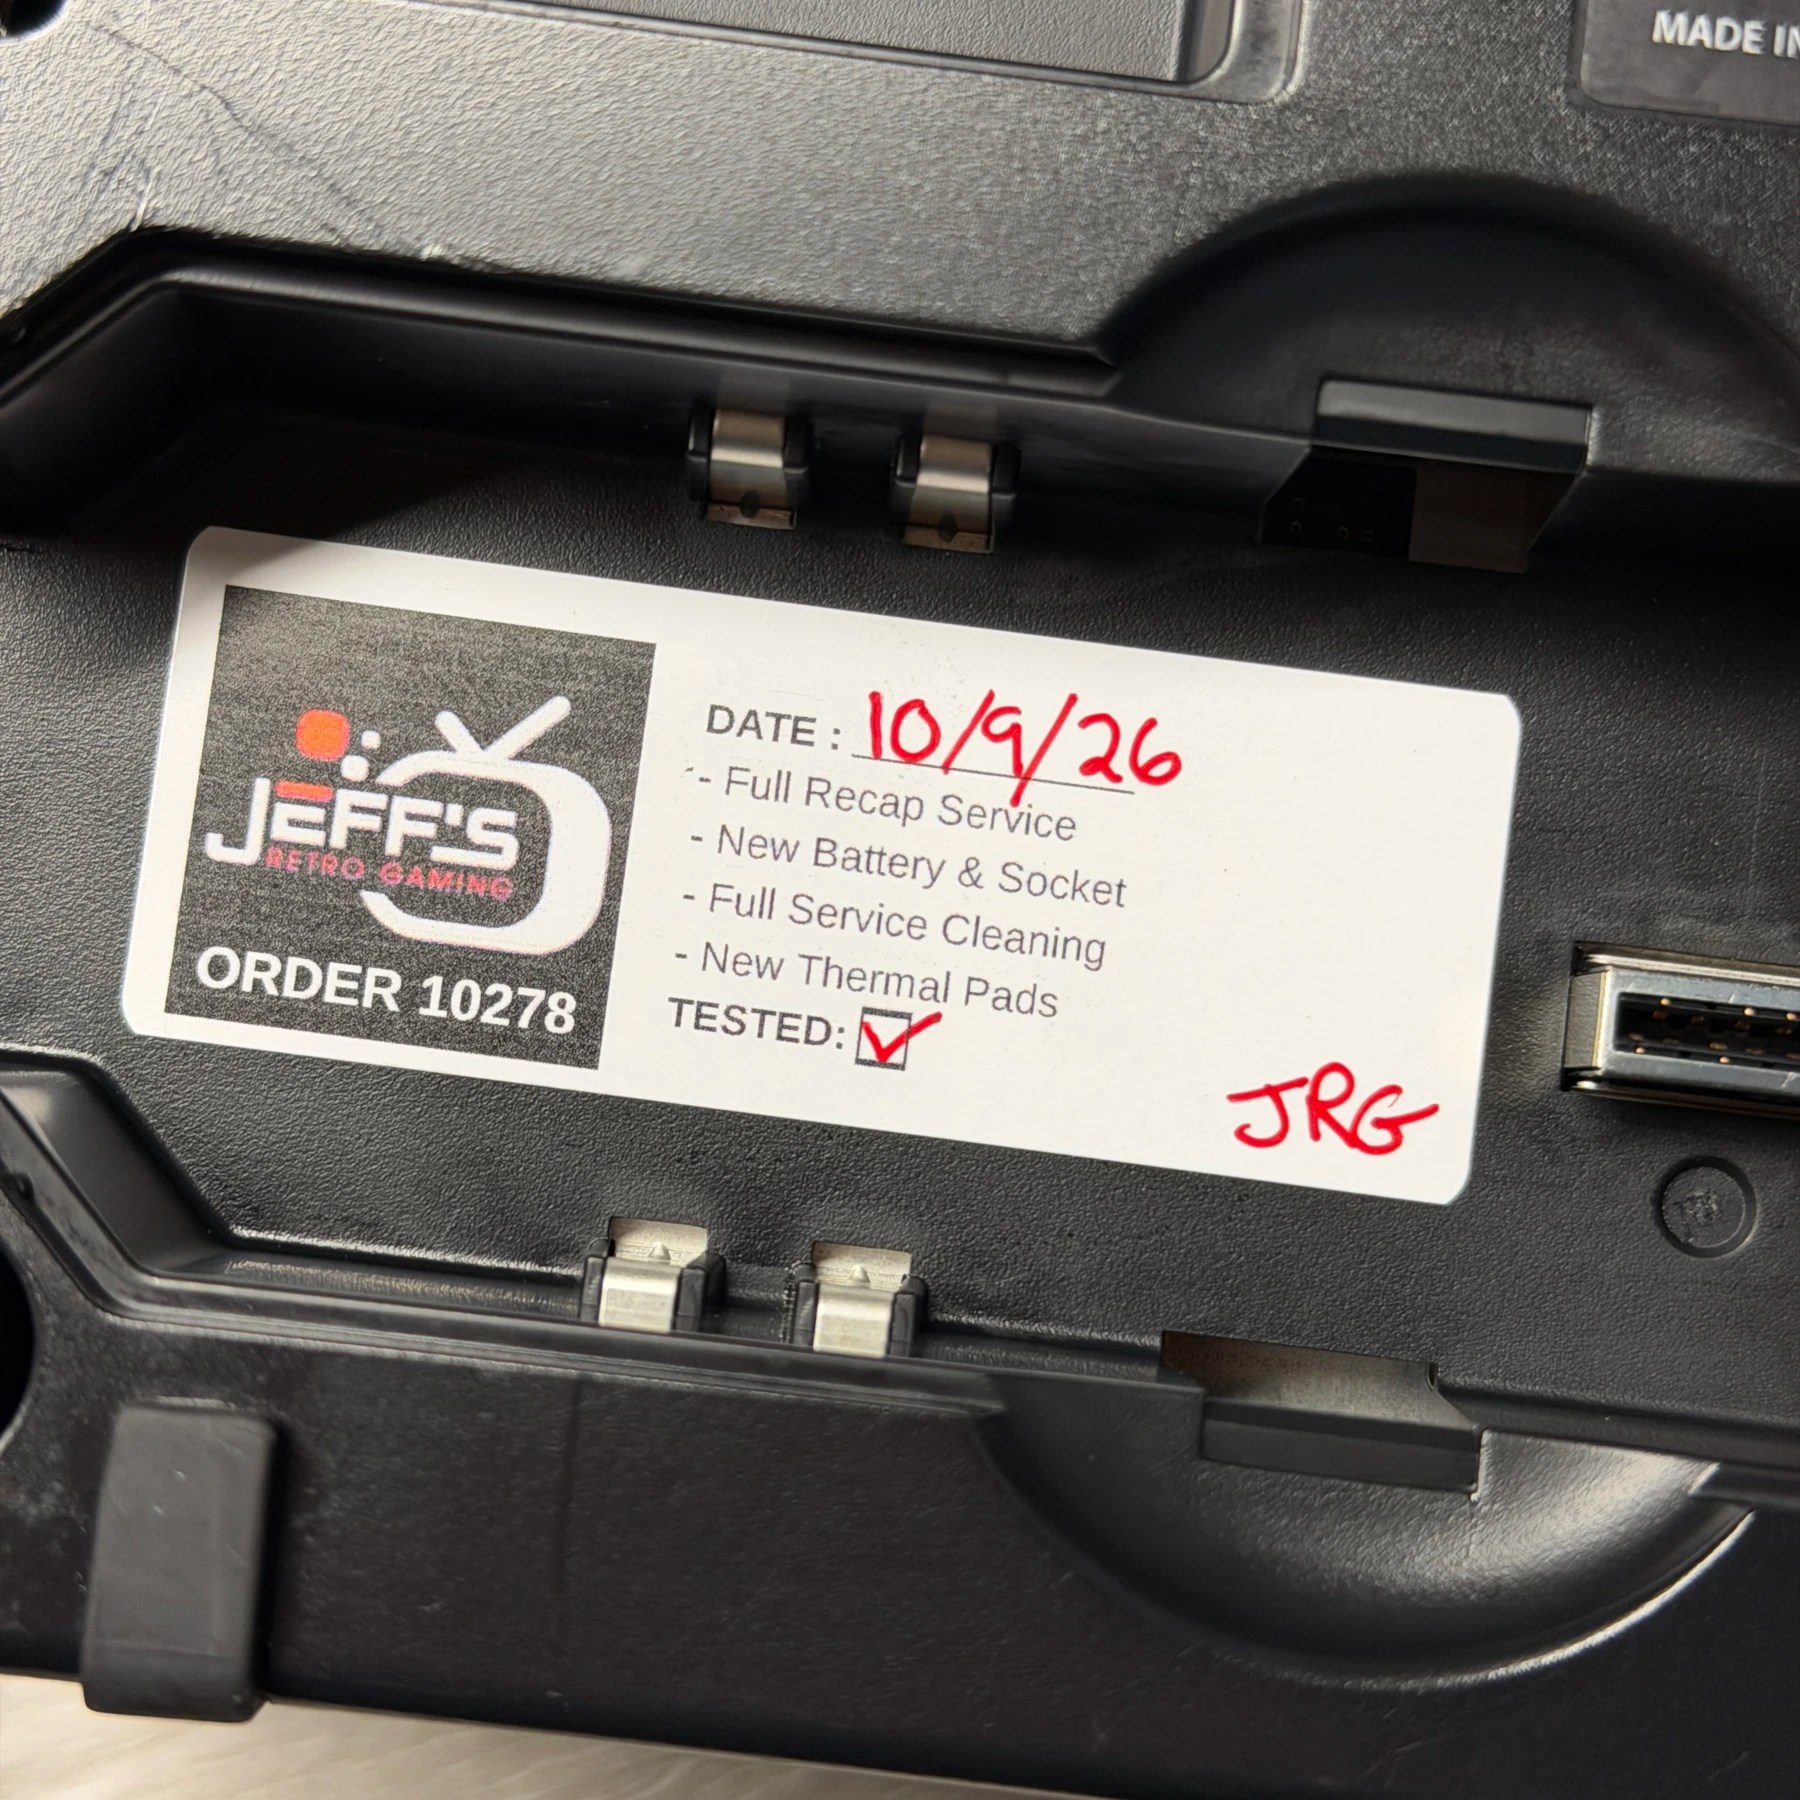
Once I got the entire system put back together including lid and top shell parts, I left it off and did a quick fire up test to confirm we had a booting system with audio/video, could set date/time and it was reading discs. All looked good so I shut down and added my sticker then closed the system up for good.
Did one final boot to stage a photo then let it run for a few hours to make sure the thermal pads and fan were operating well and we have one multi console order all finished and ready to return ship!