
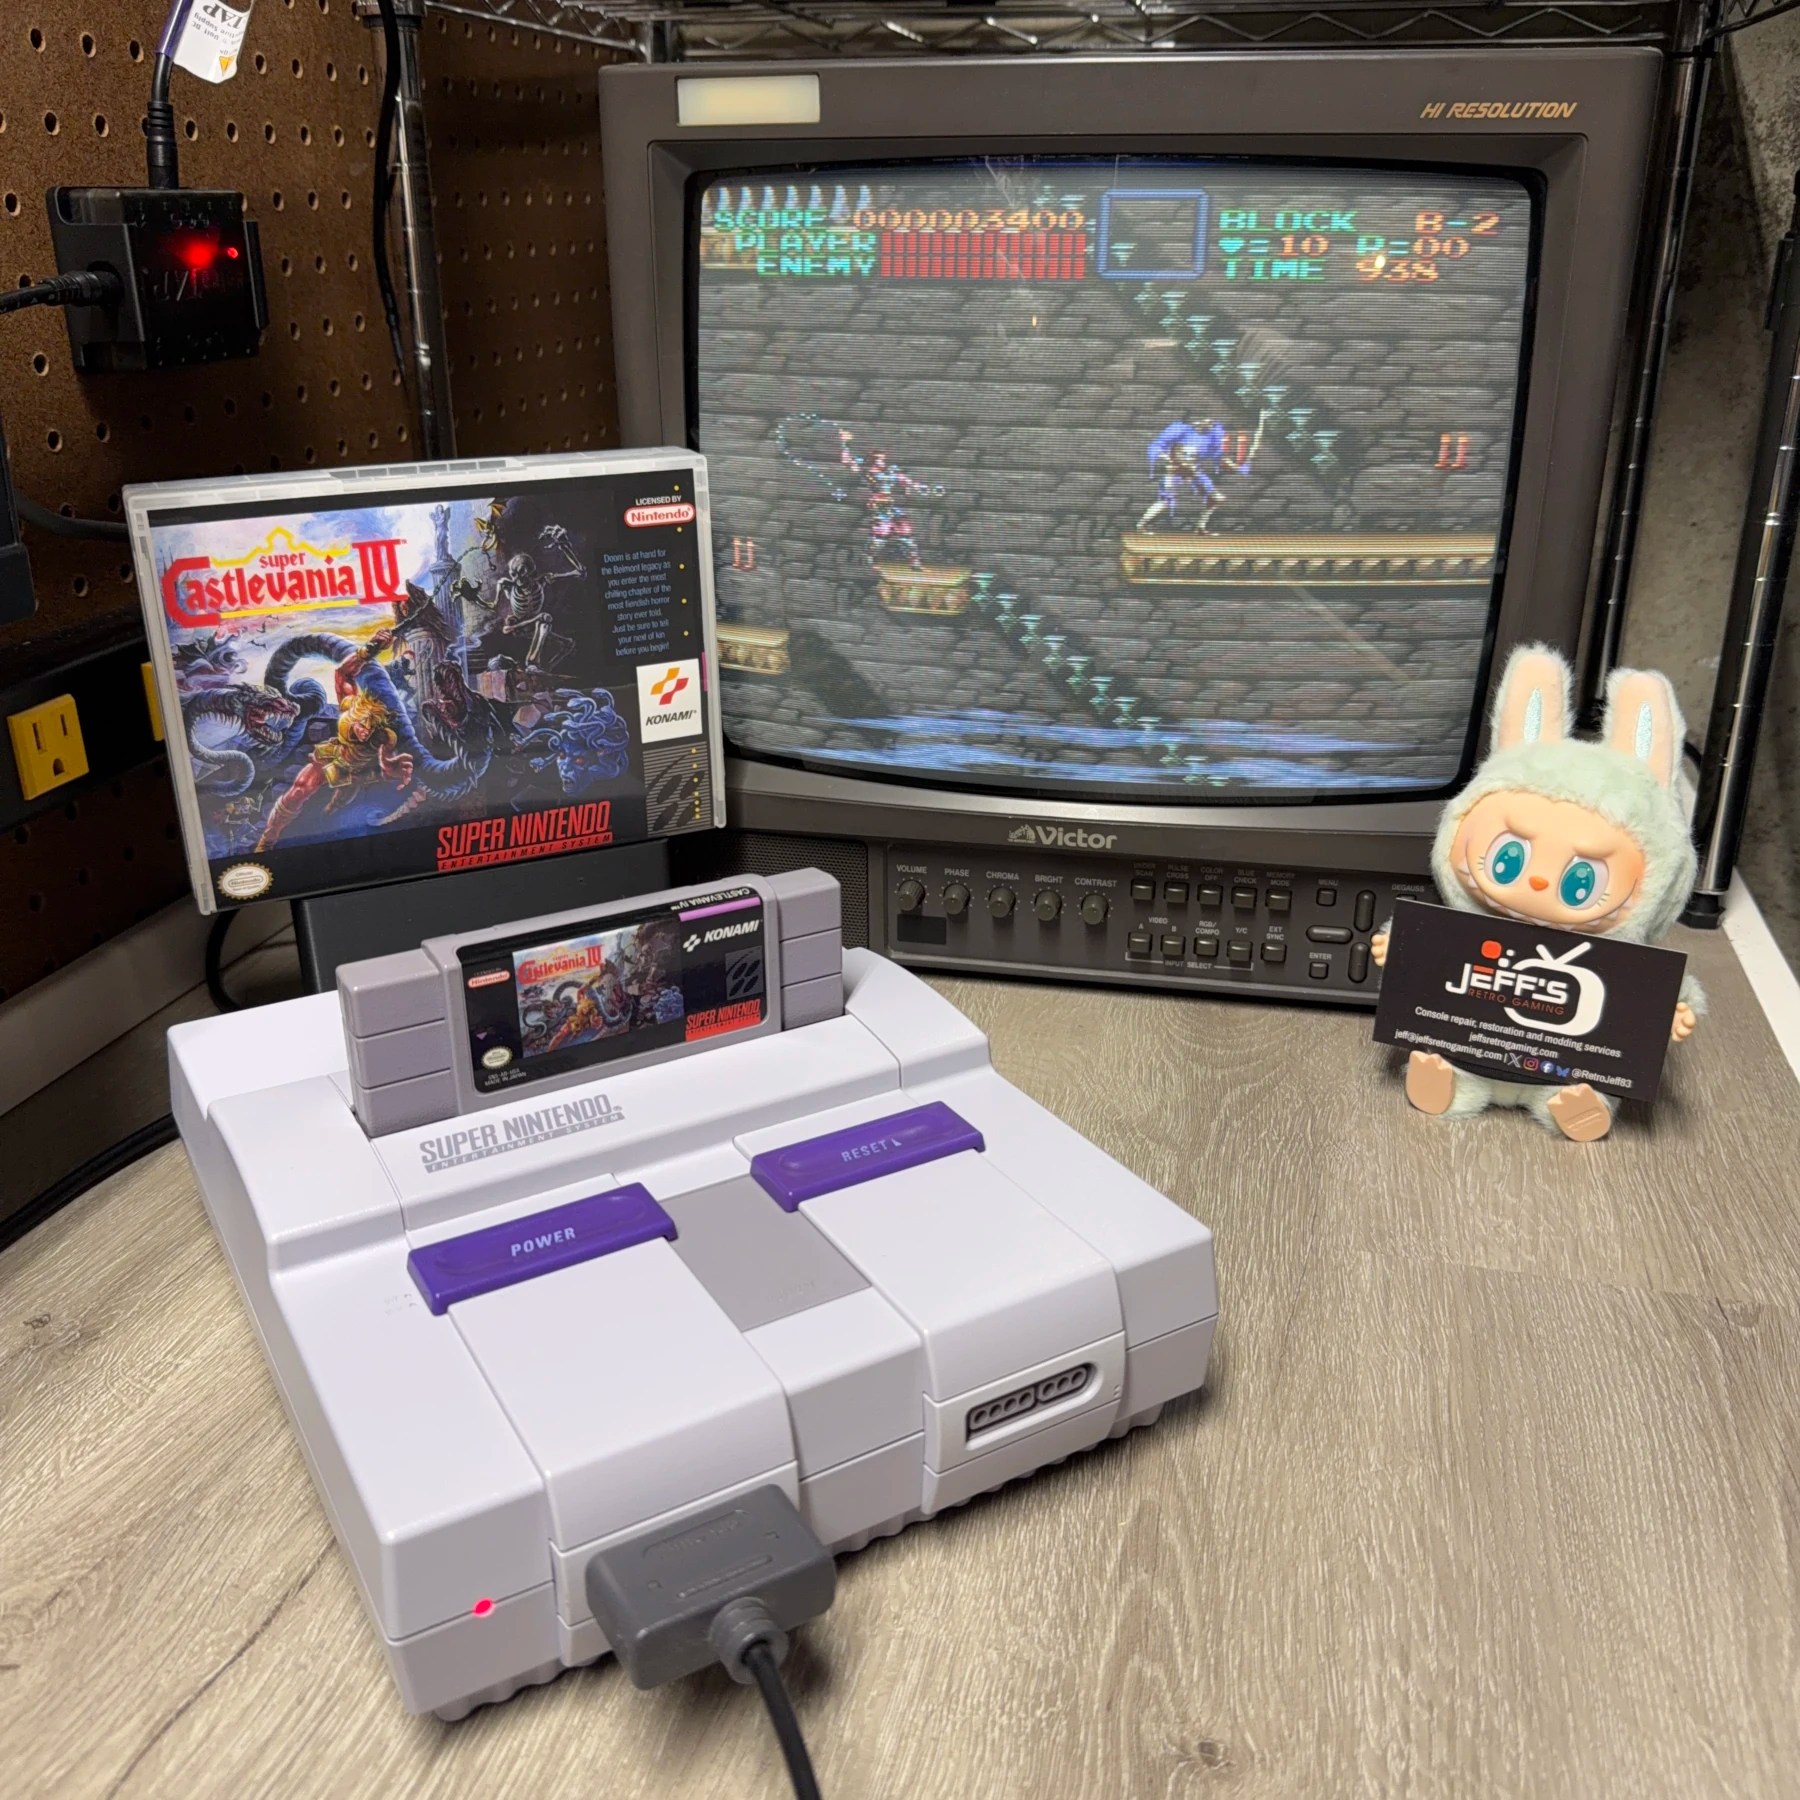
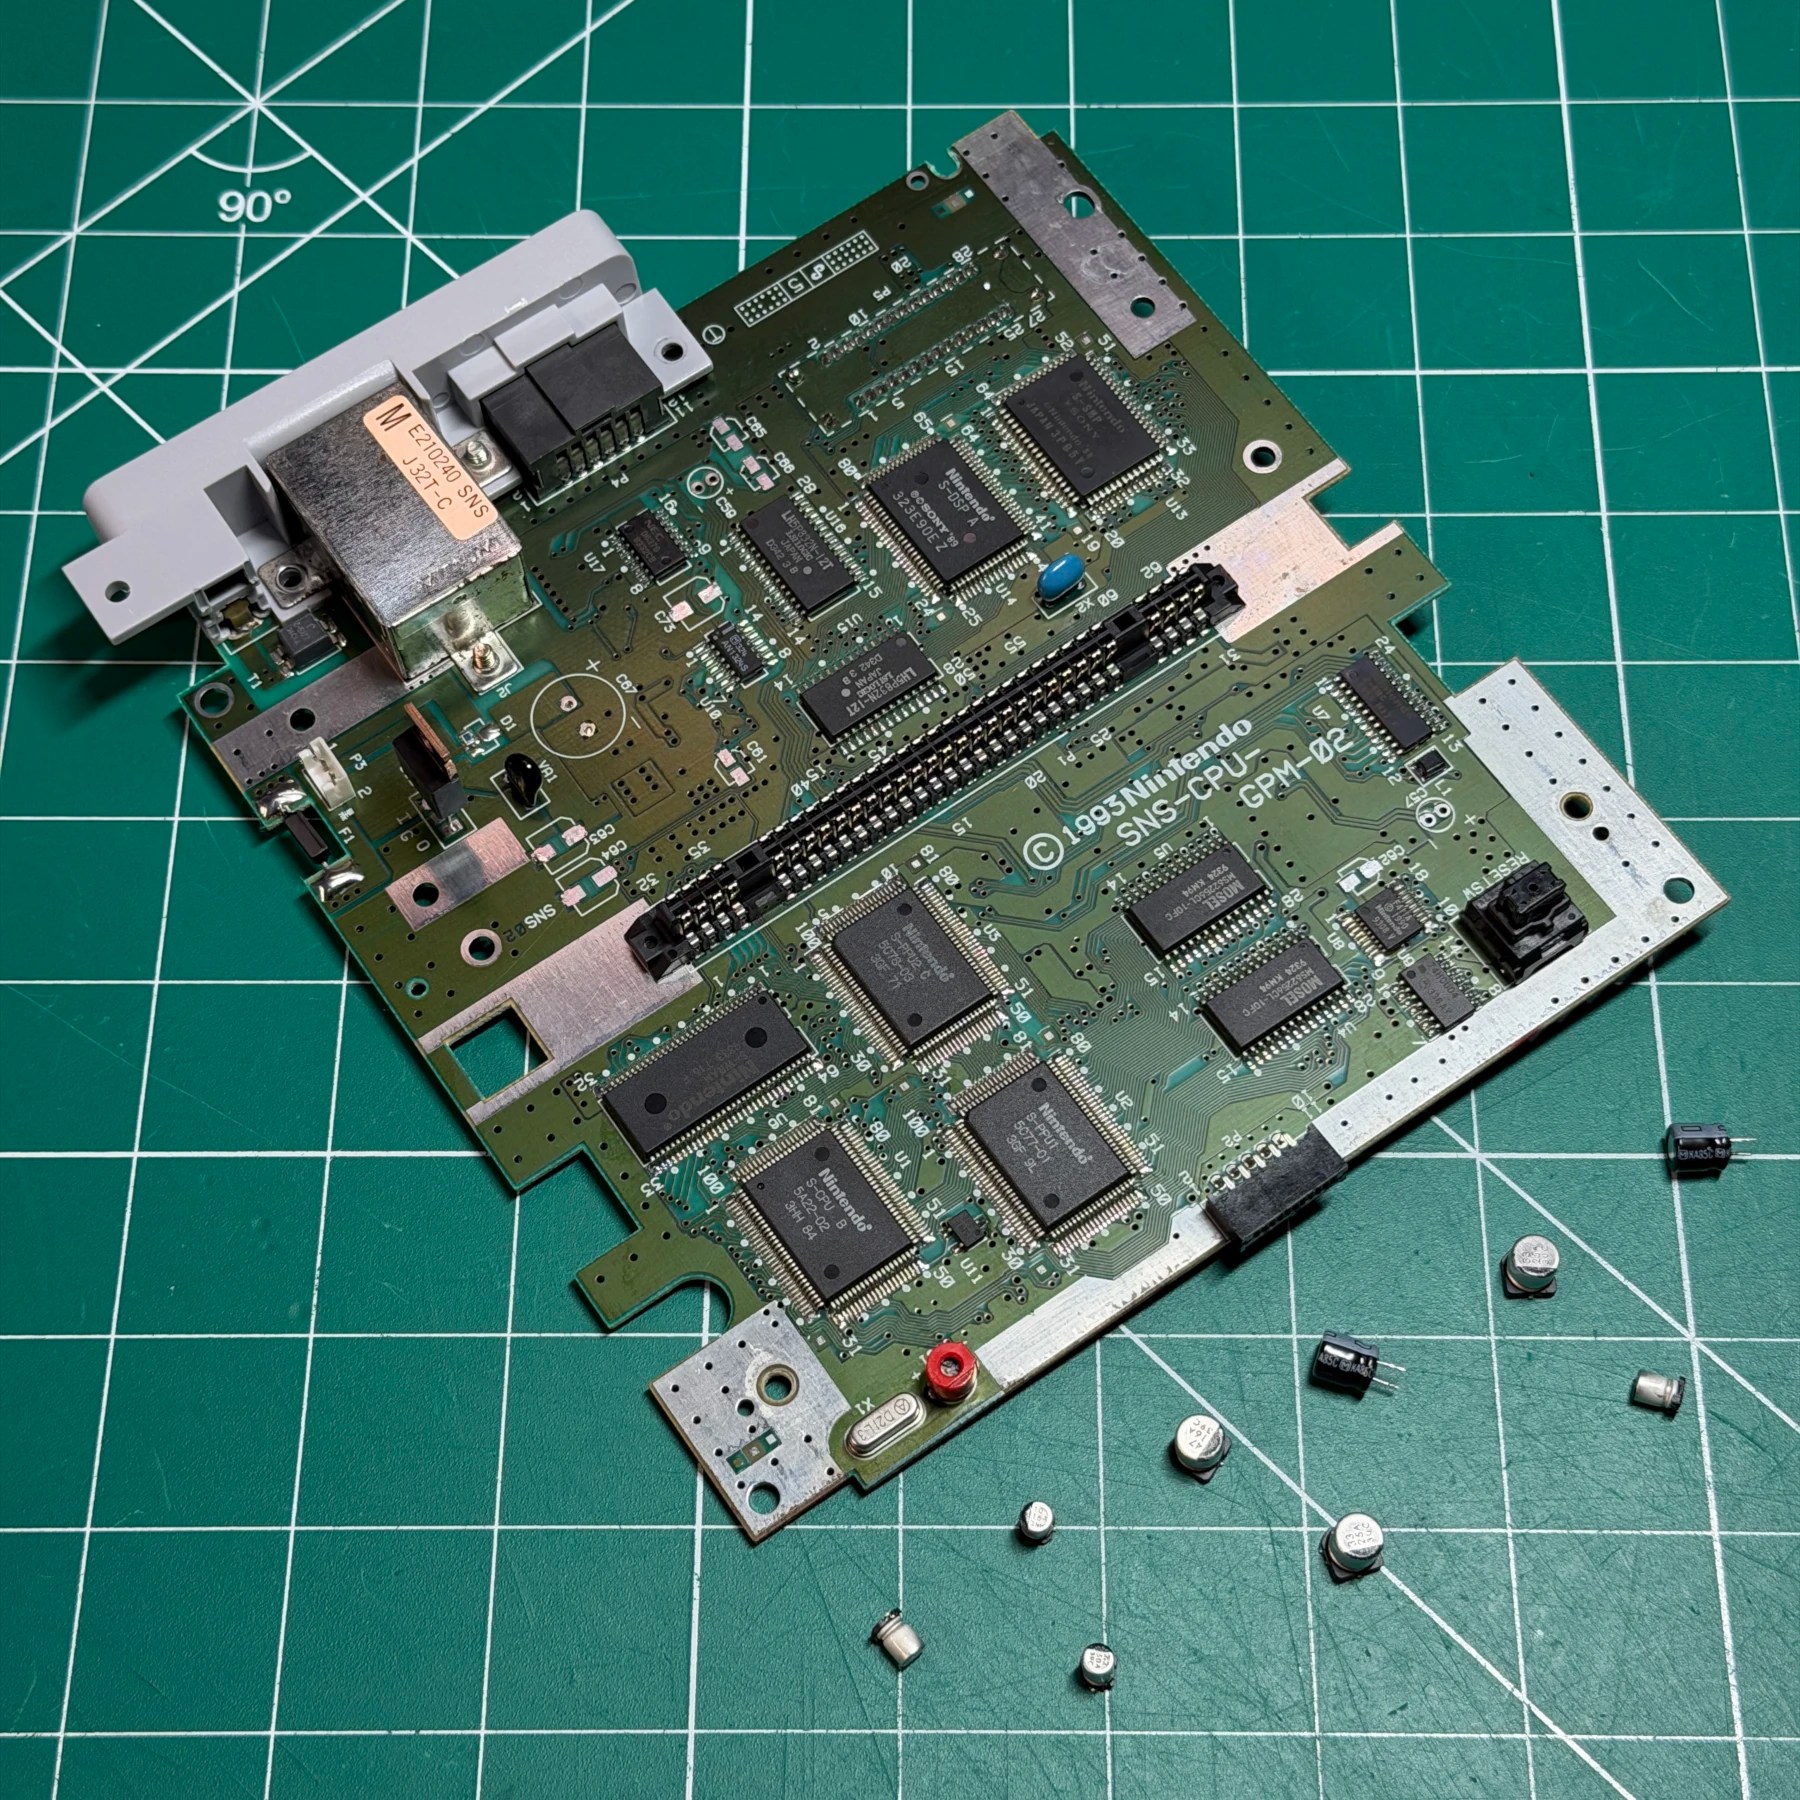
This 2-chip SNES (SNS-CPU-GPM-02) was sent in for a refurbishment including a full capacitor replacement and cleaning service. When it arrived it tested fine (a few of my carts seemed flaky, turned out to be some hair/debris in the cart slot) so this seemed to be mostly for preventative maintenance.
This is never a bad idea with these though as I have started seeing quite a few SNES with mainboard trace and solder mask damage from leaking caps!
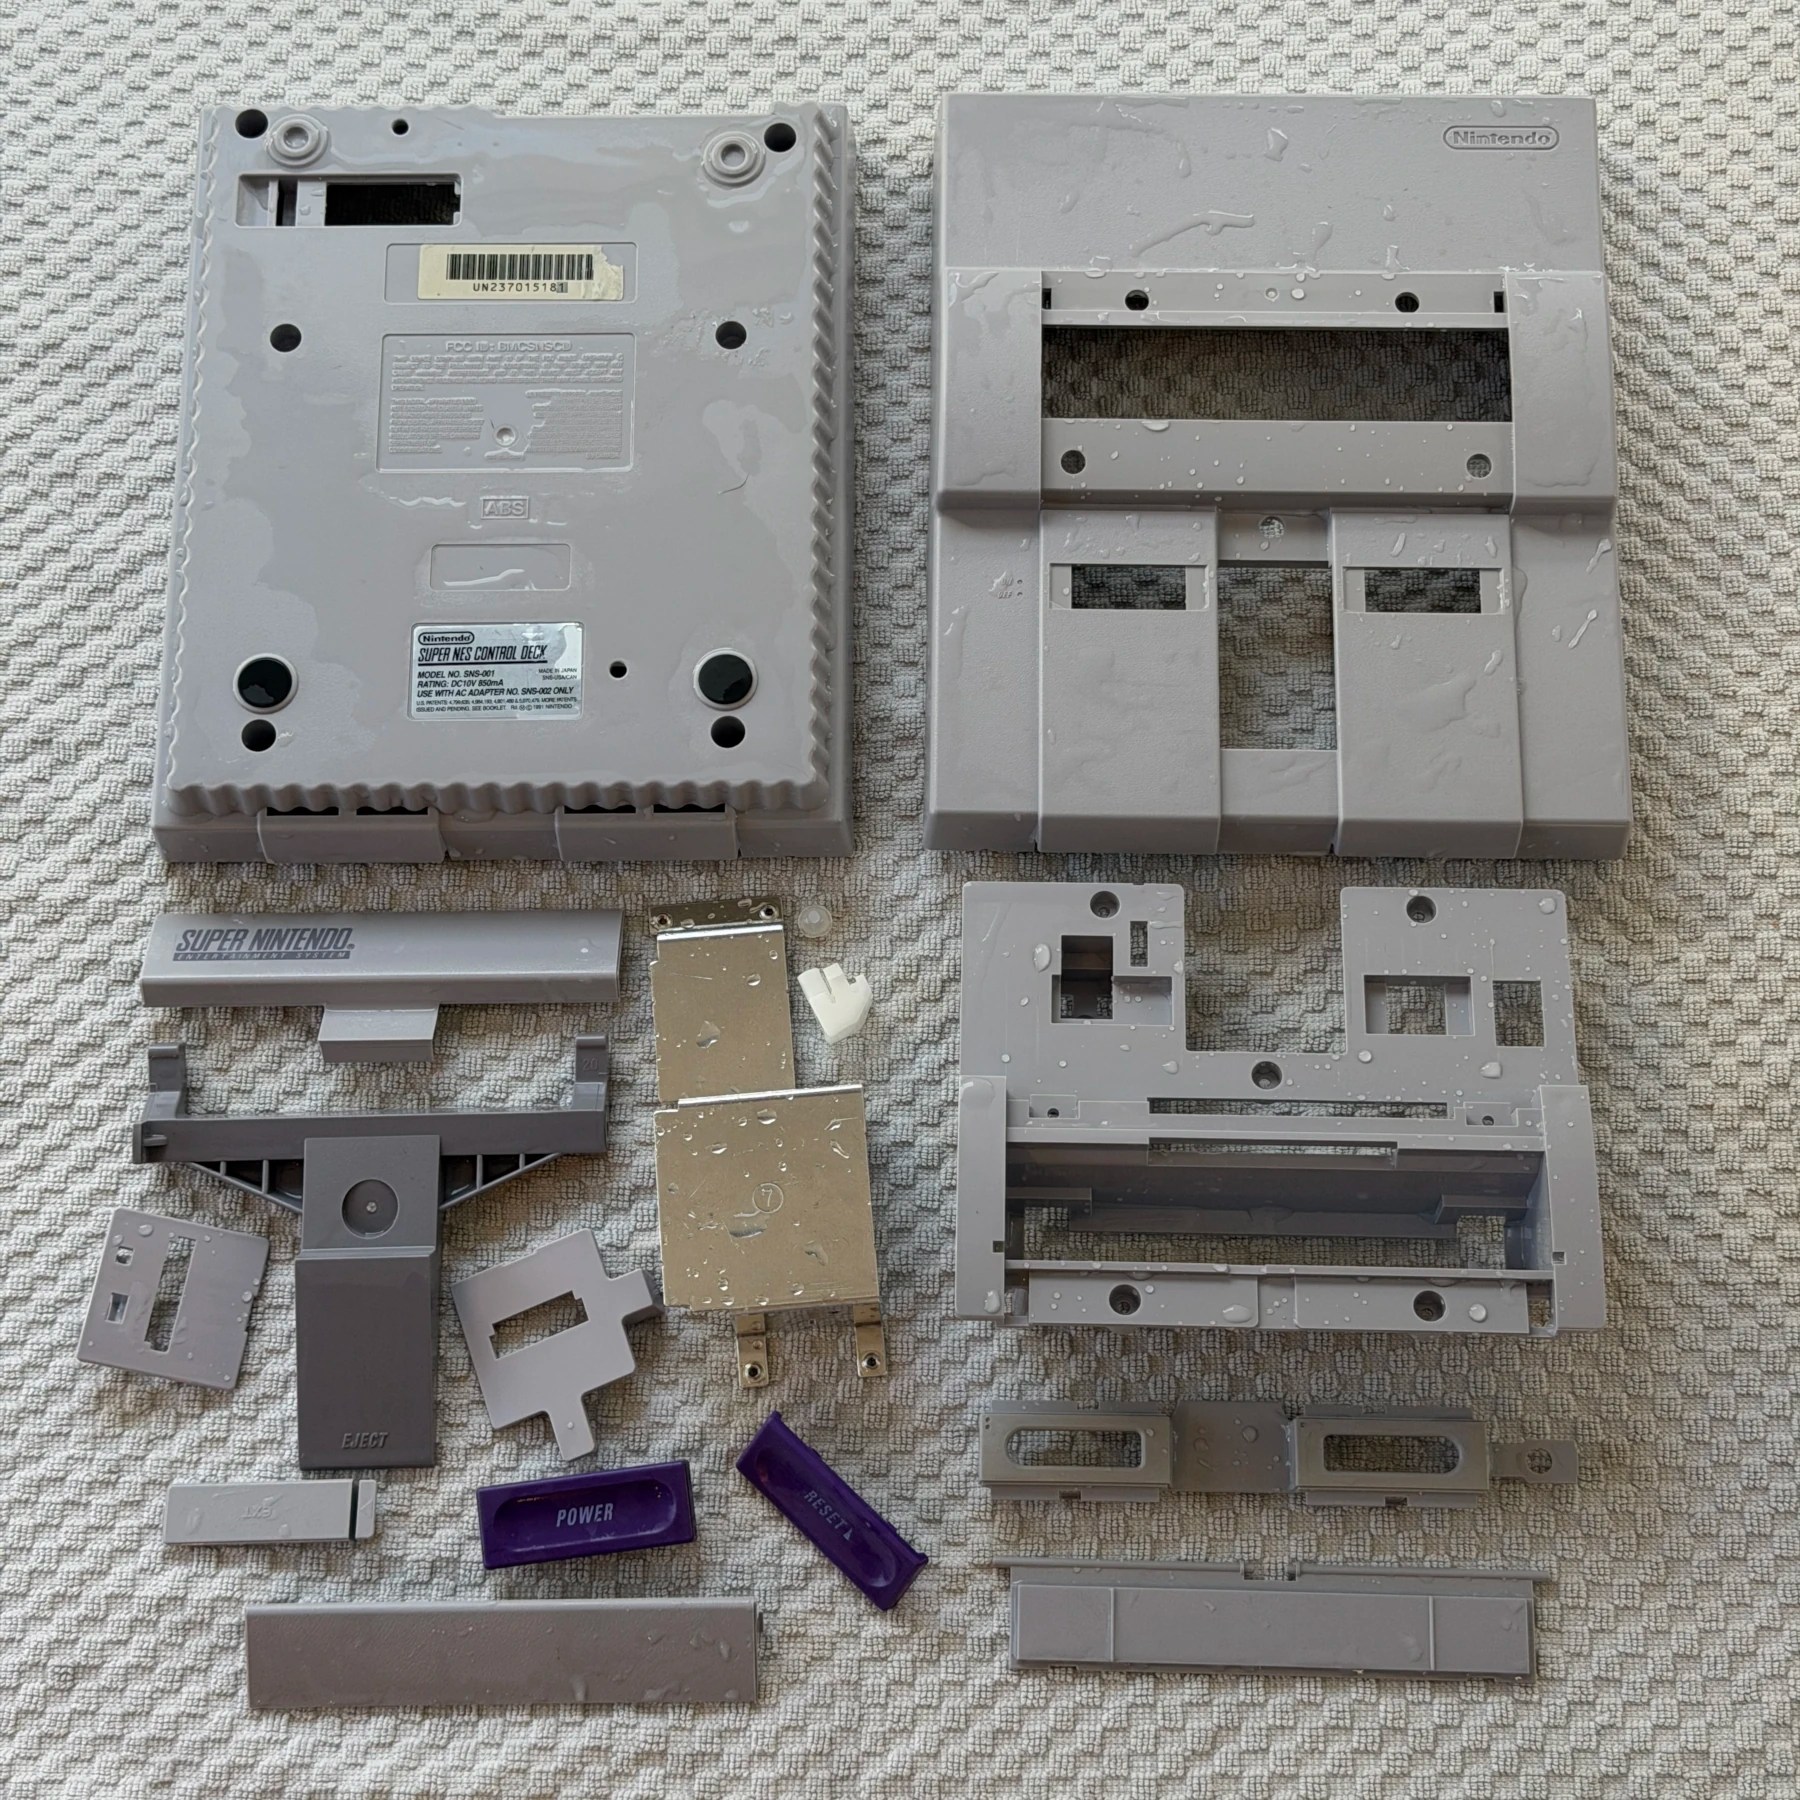

Compared to most SNES I see the shell was in great shape except some yellowing on the front controller panel so once the entire shell and all plastic pieces (and heatsink) were removed they were soaked, scrubbed and set to dry. I knew I wanted to throw the yellowed front panel in for a RetroBright but decided to throw entire shell in there to ensure any restoration to the original gray would be even across the plastic. With the cleaning done it was time to move on to the recap.
This revision has 2 through hole capacitors and 7 SMD capacitors so I used a combination of my Hakko gun and hot tweezers to get them removed from the board. I looked over the nearby areas and didn’t observe any signs of leaked electrolyte but thoroughly soaked and scrubbed the entire board with ISO to ensure it was completely clean. After installing the new capacitors I then cleaned up any leftover flux and then moved focus to the 7805 voltage regulator.
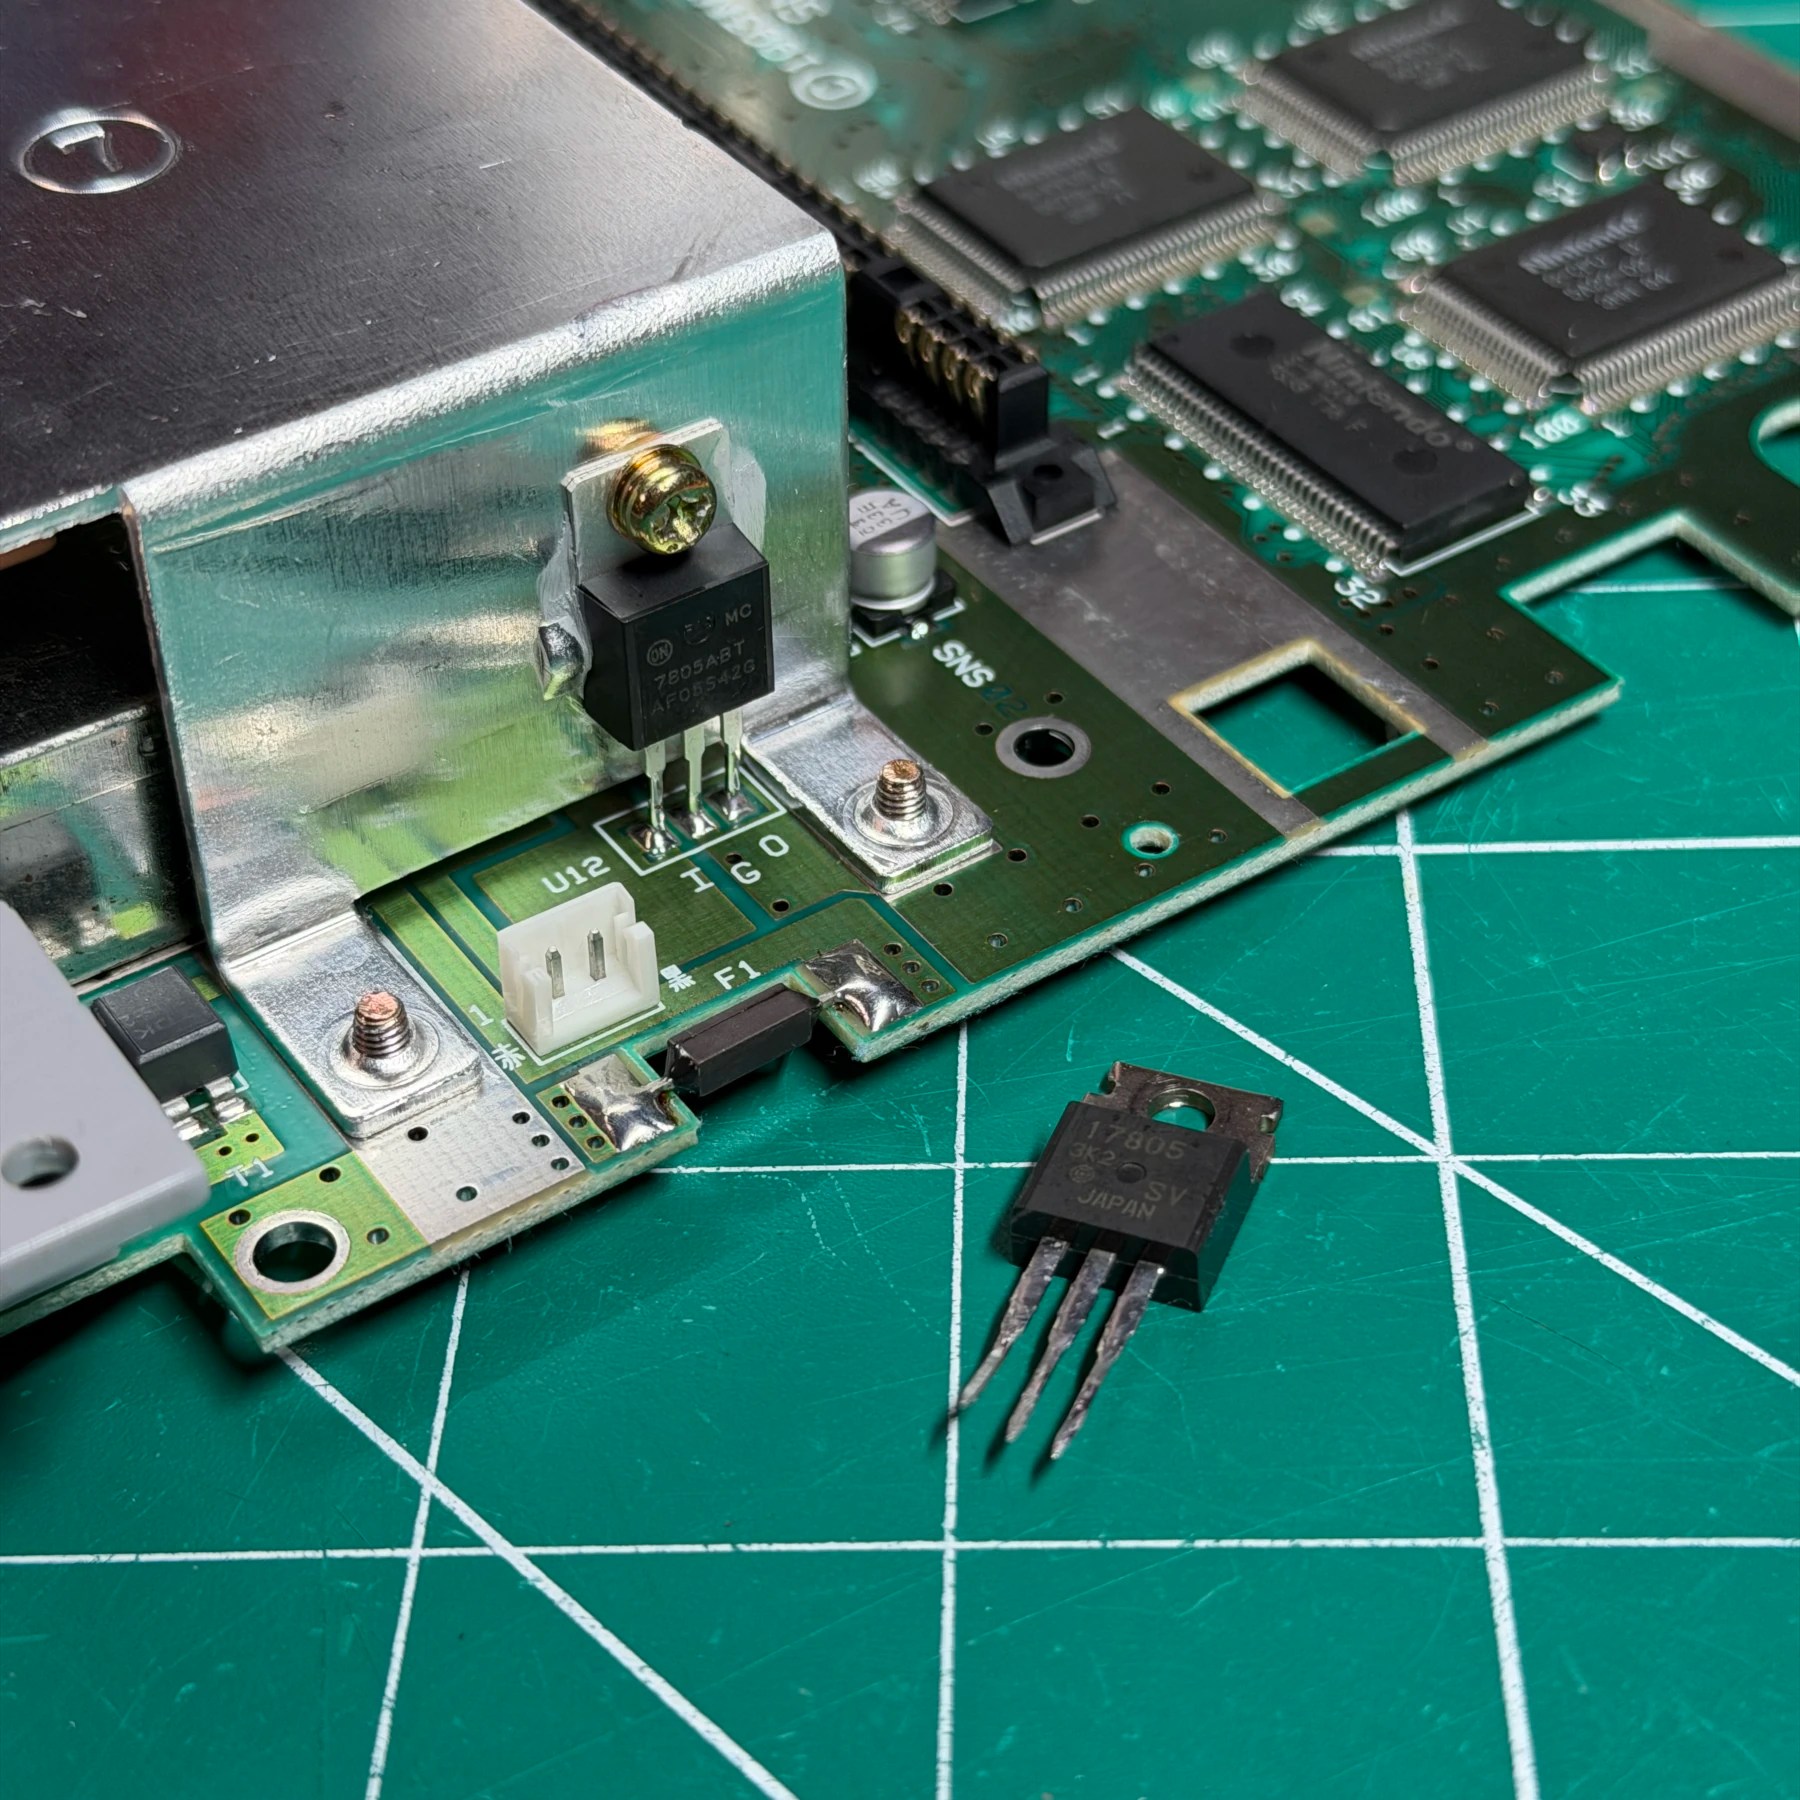
These don’t often technically “need” replacing but given its age and potential lifetime use and extremely low cost, I like to in systems (like the SNES) where you have to detach it from a heatsink for the other work anyways. In this case, I desoldered the original regulator, then installed the heatsink and dropped in a new regulator and screwed it in. This is the best way to install one as it ensures the legs are lined up correctly in the holes before soldering in. Once it’s soldered in I snip any excess length on the legs and then add some fresh Arctic MX paste to the back and secure to the heatsink once more.
Finally, before testing I ran my pick through the cart slot to pull up any hairs/fibers, blasted the cart slot out and ran some ISO-soaked boards into the slot to clean the pins up. I put the SNES back together minus top shell and tested and confirmed it powered on fine, read carts and displayed audio/video ok.
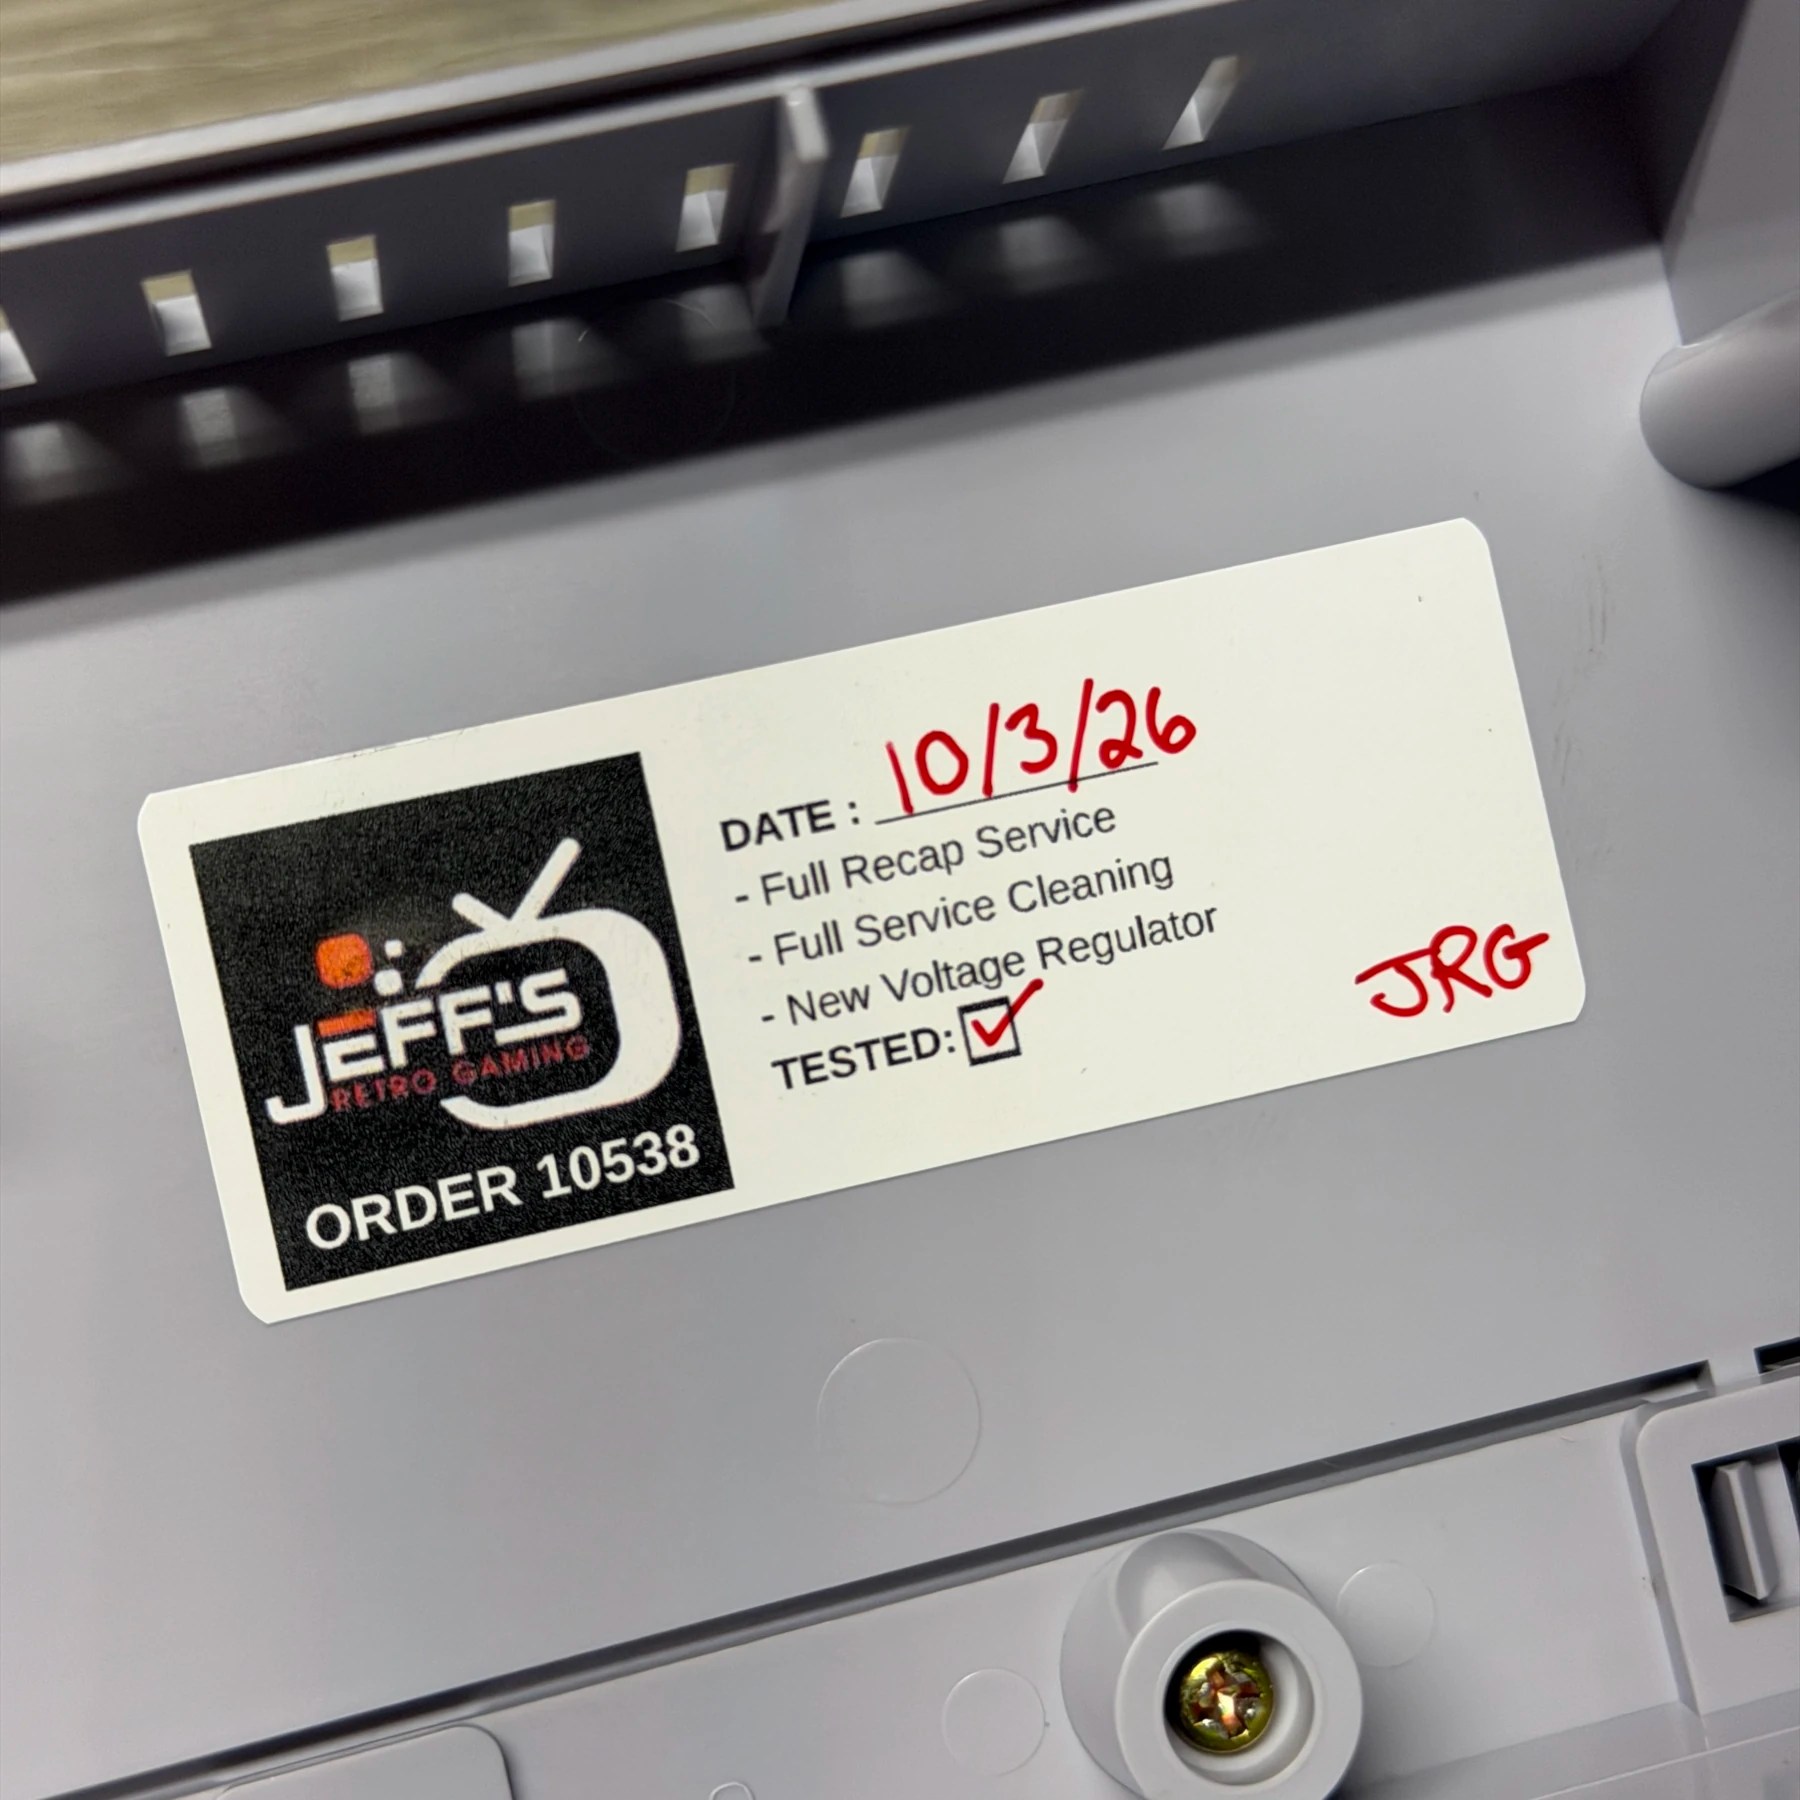
With testing confirmed I applied my sticker to the plastic shell, closed it up and applied some UV protectant. I then ran my SNES Burn-In Test Cartridge to confirm onboard components are testing ok and staged the SNES for one final shot.
Its looking super clean and working great, another order done!