
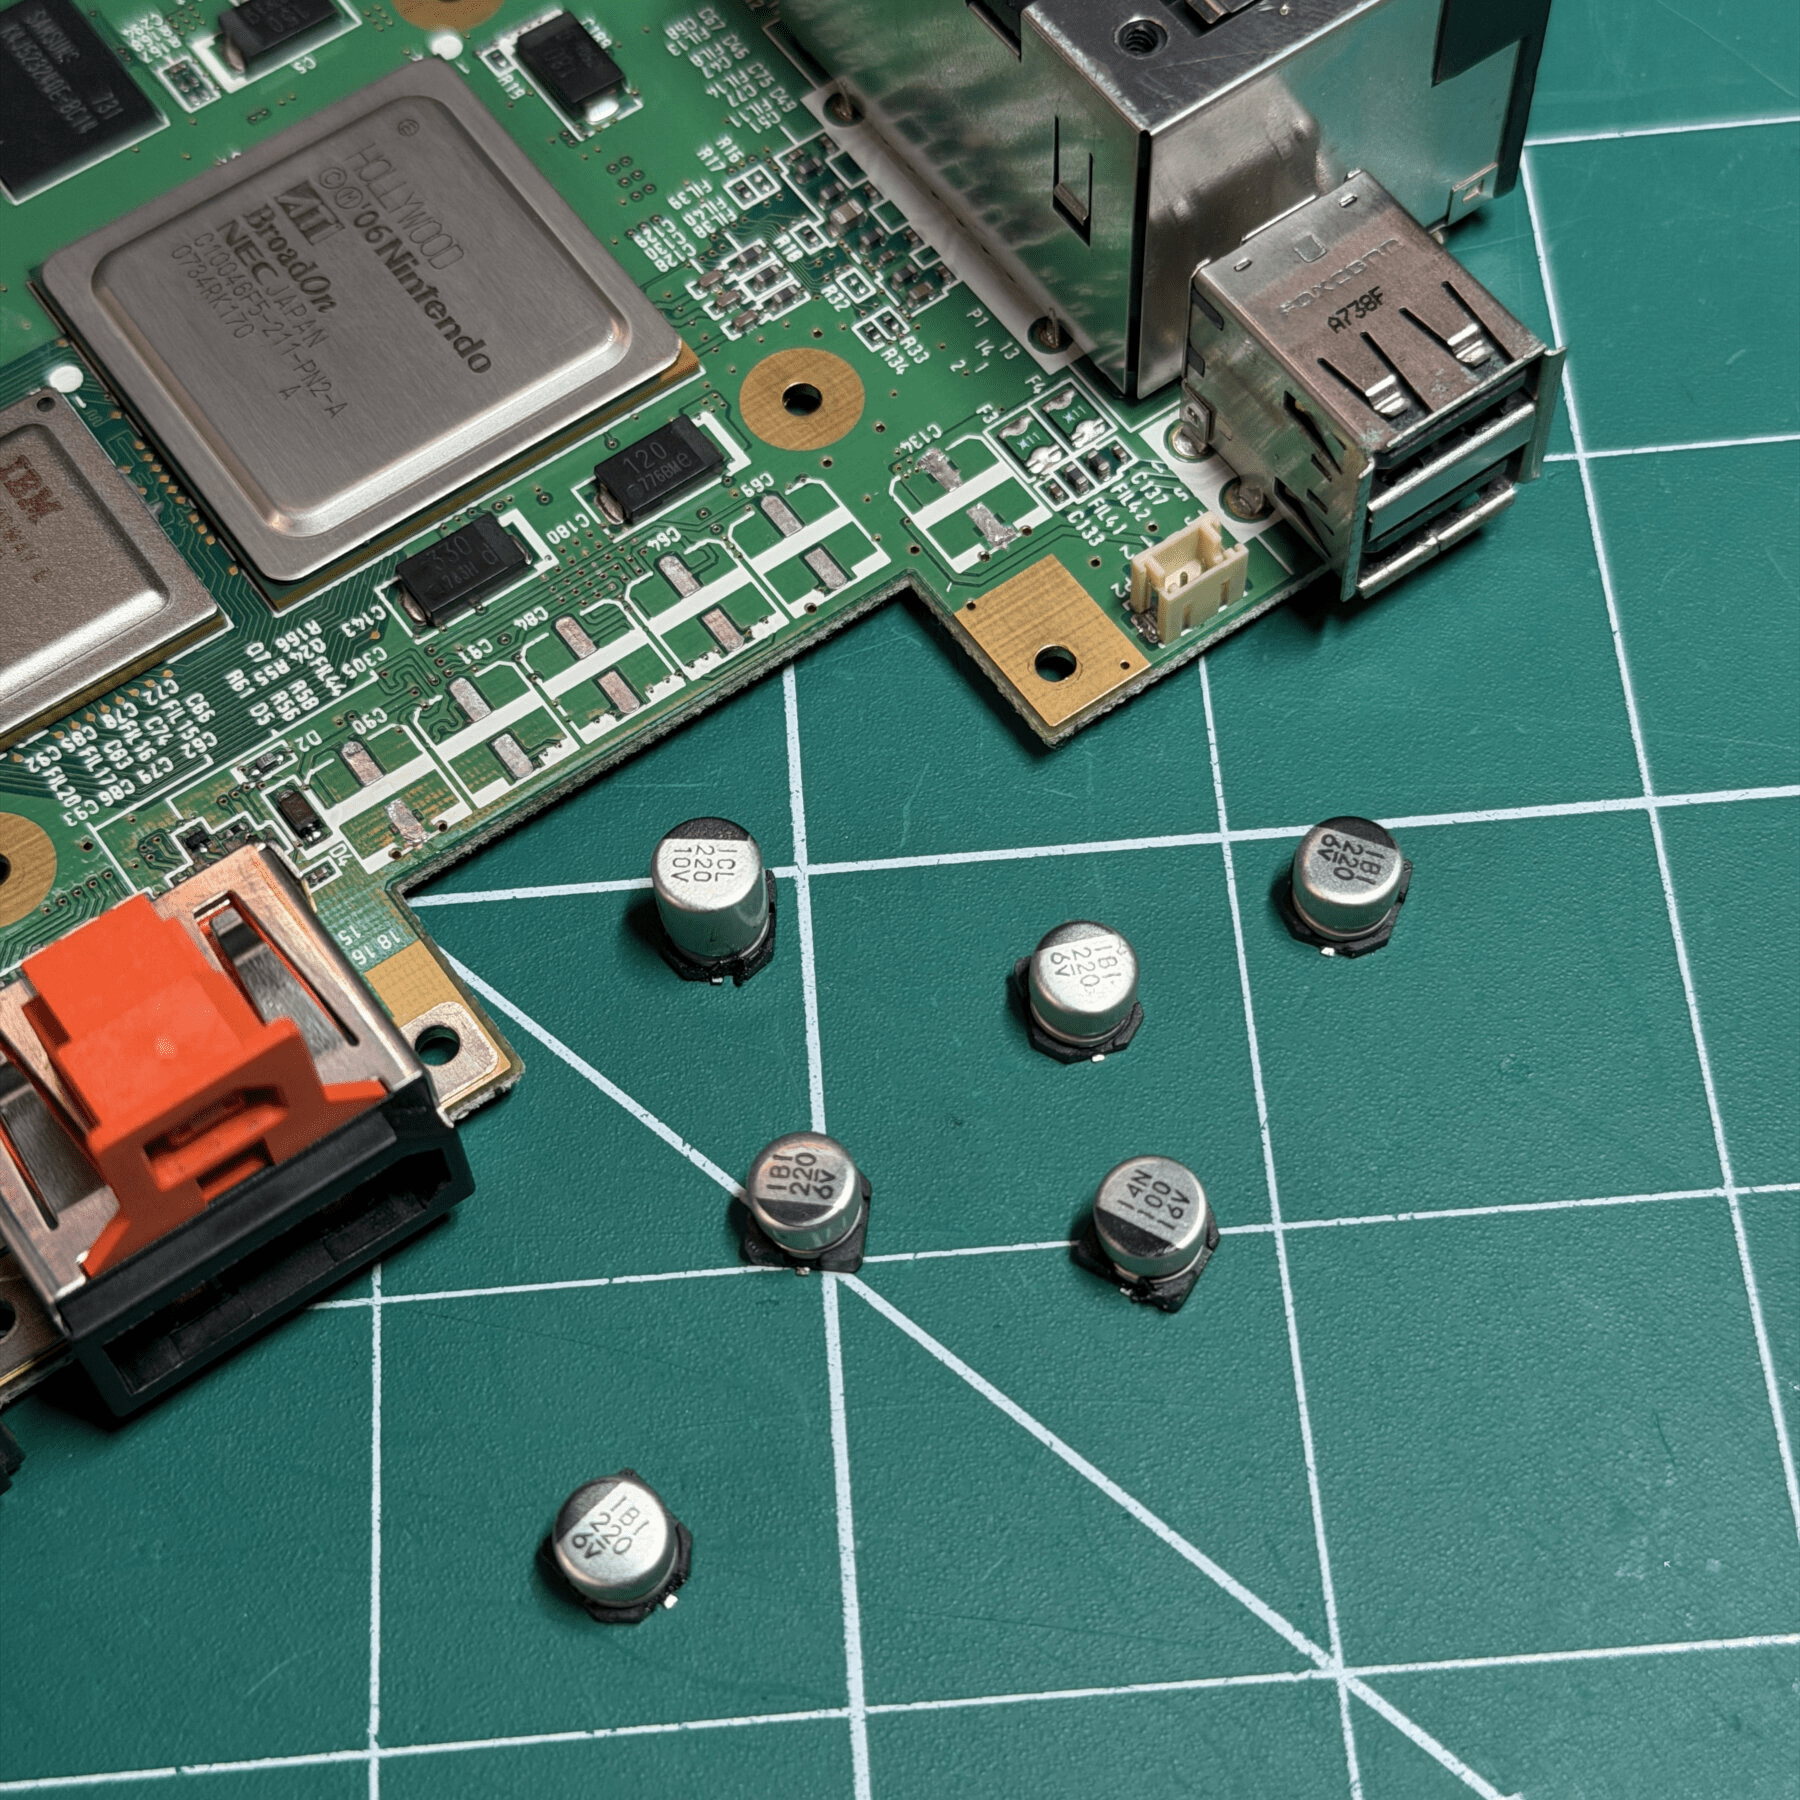
Had this Nintendo Wii come in for a straightforward and simple refurbishment. To be honest when it comes to the Wii the disassembly and reassembly is the most difficult part of a job like this as there are only 6 electrolytic caps to replace, once you have access to the board the fan and thermal pads are easy to access, etc.
But getting to the board takes the most time thanks to the various shields and plastic pieces that have to be reassembled in a certain order, different length screws used, etc. I have done enough though that I have this process down pretty well!
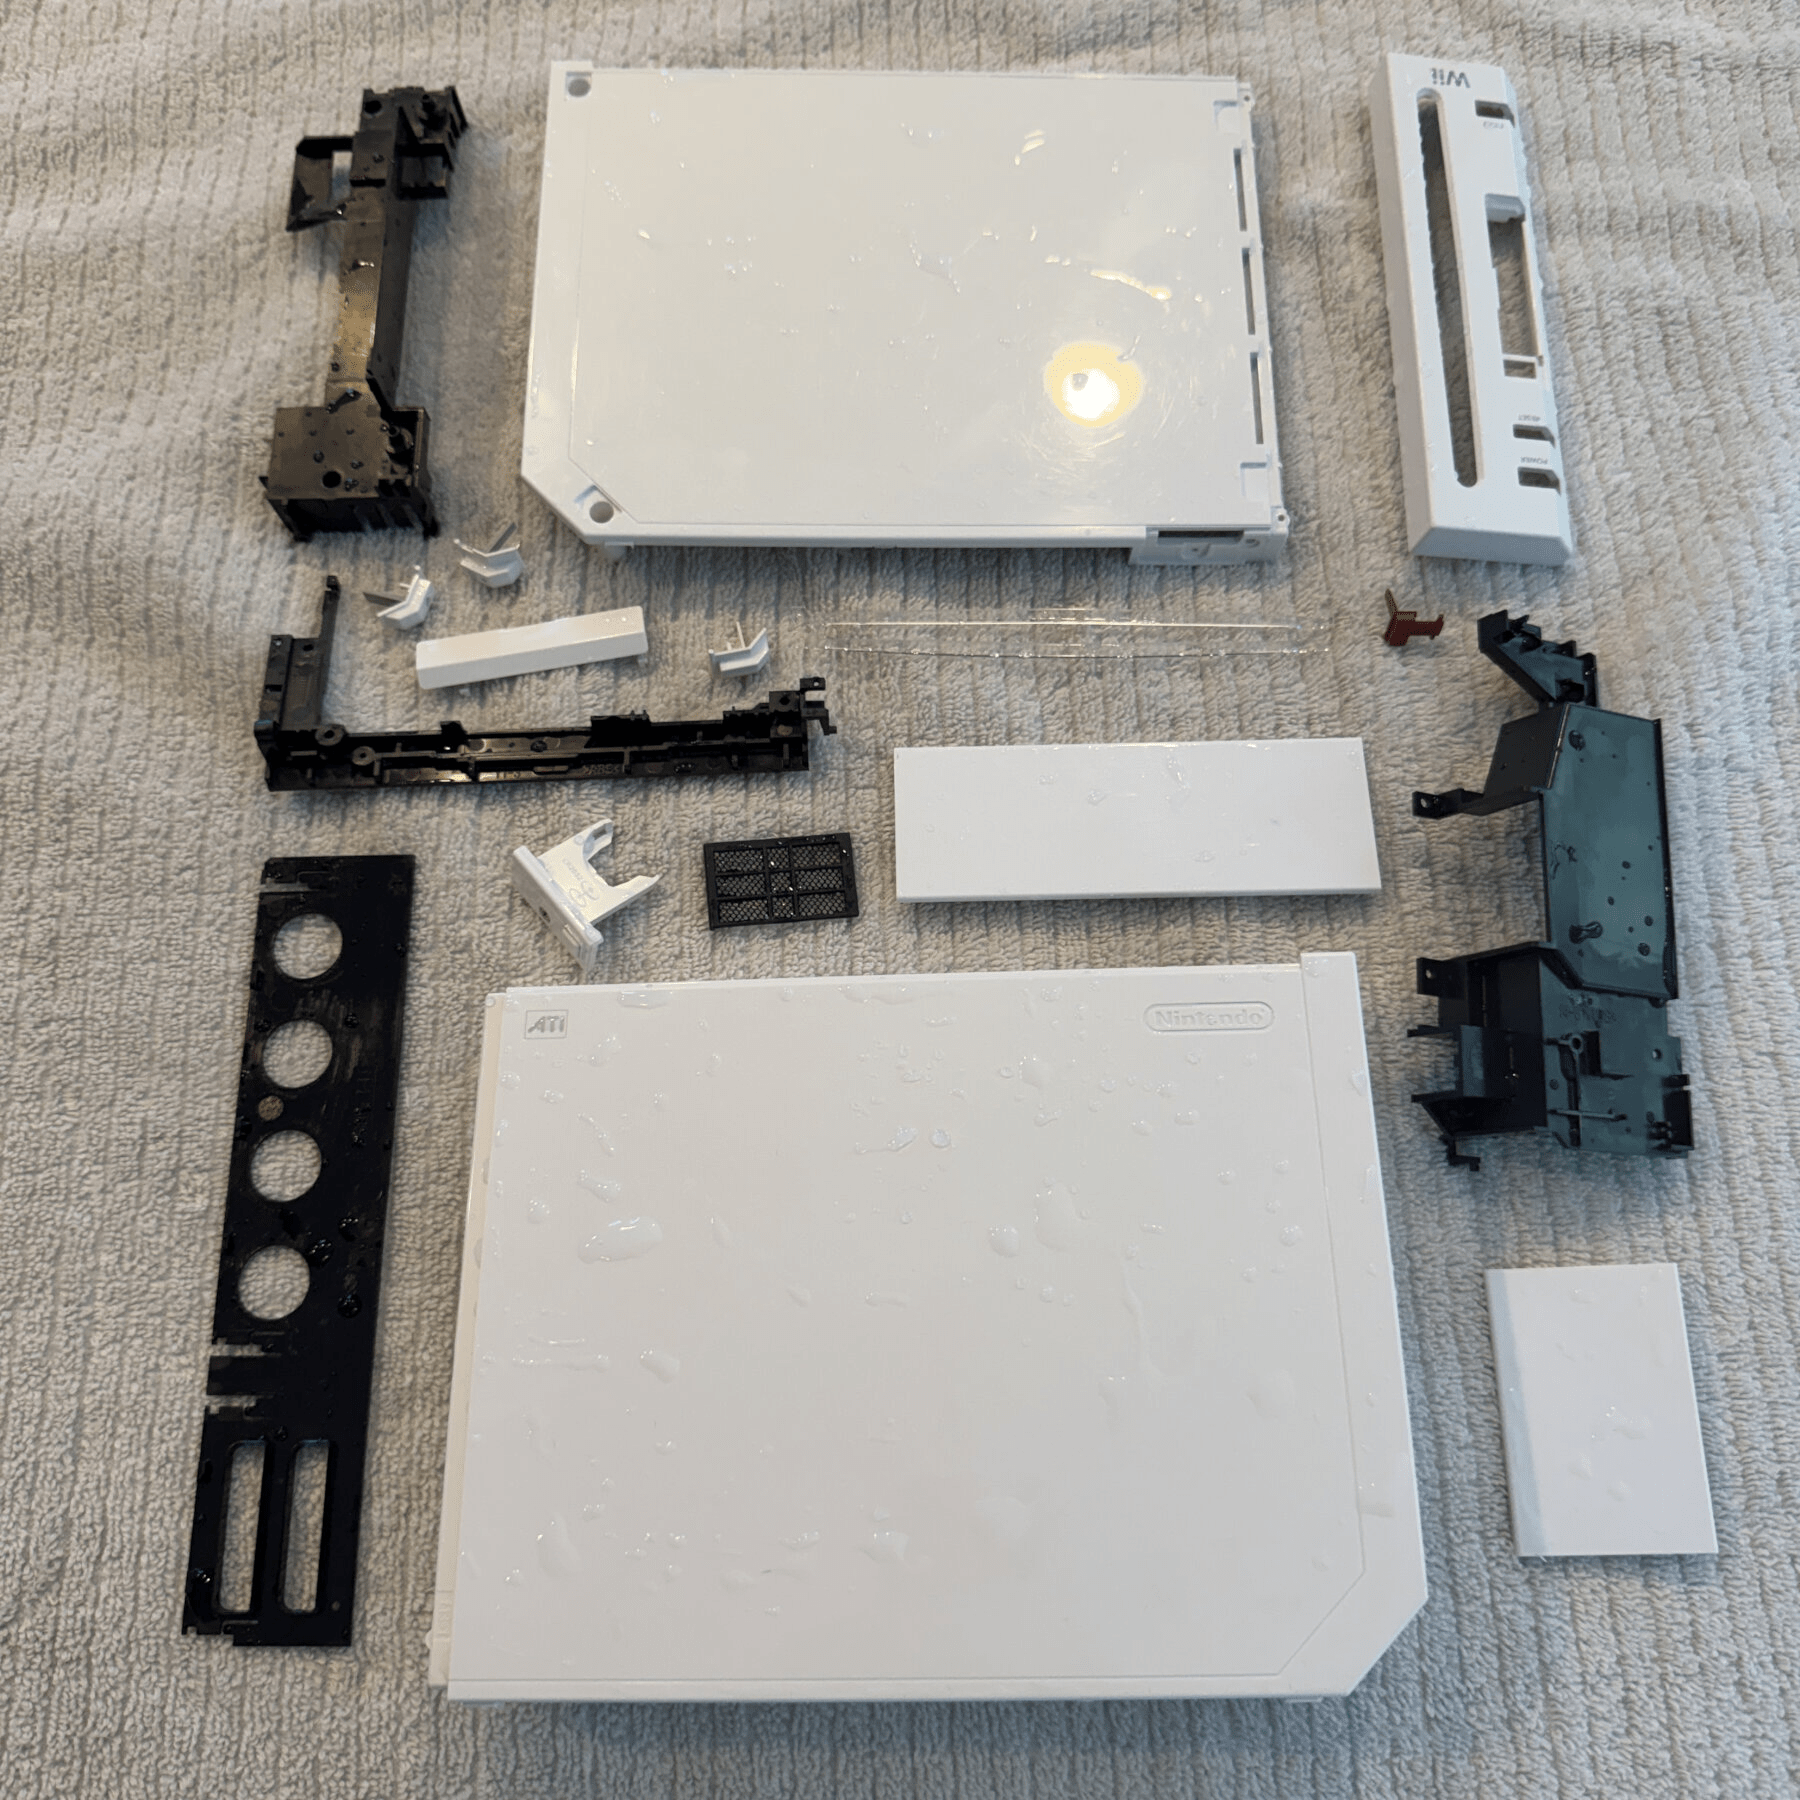
I began by removing the screws from the bottom, side and top under the GameCube port cover and carefully keeping each section screws together (as well as making note on which holes were tri-wing vs phillips. Once the faceplate came off, I removed the internal buttons and PCB and separated out the shell and all plastic parts like the optical drive light pipe surround and set aside in the cleaning bin. Next, I continued by removing the optical drive then the mainboard top shield and all related pieces again separating out the plastic parts for the wash. I noticed that there was a lot of dust built up inside the optical drive and signs of dust stuck to all vent areas quite heavily on the inside of the shell. Once all the shell and plastic components were separated I soaked, washed and setup those out to dry and then continued to the bare mainboard by removing the heatsink from the CPU/GPU area.
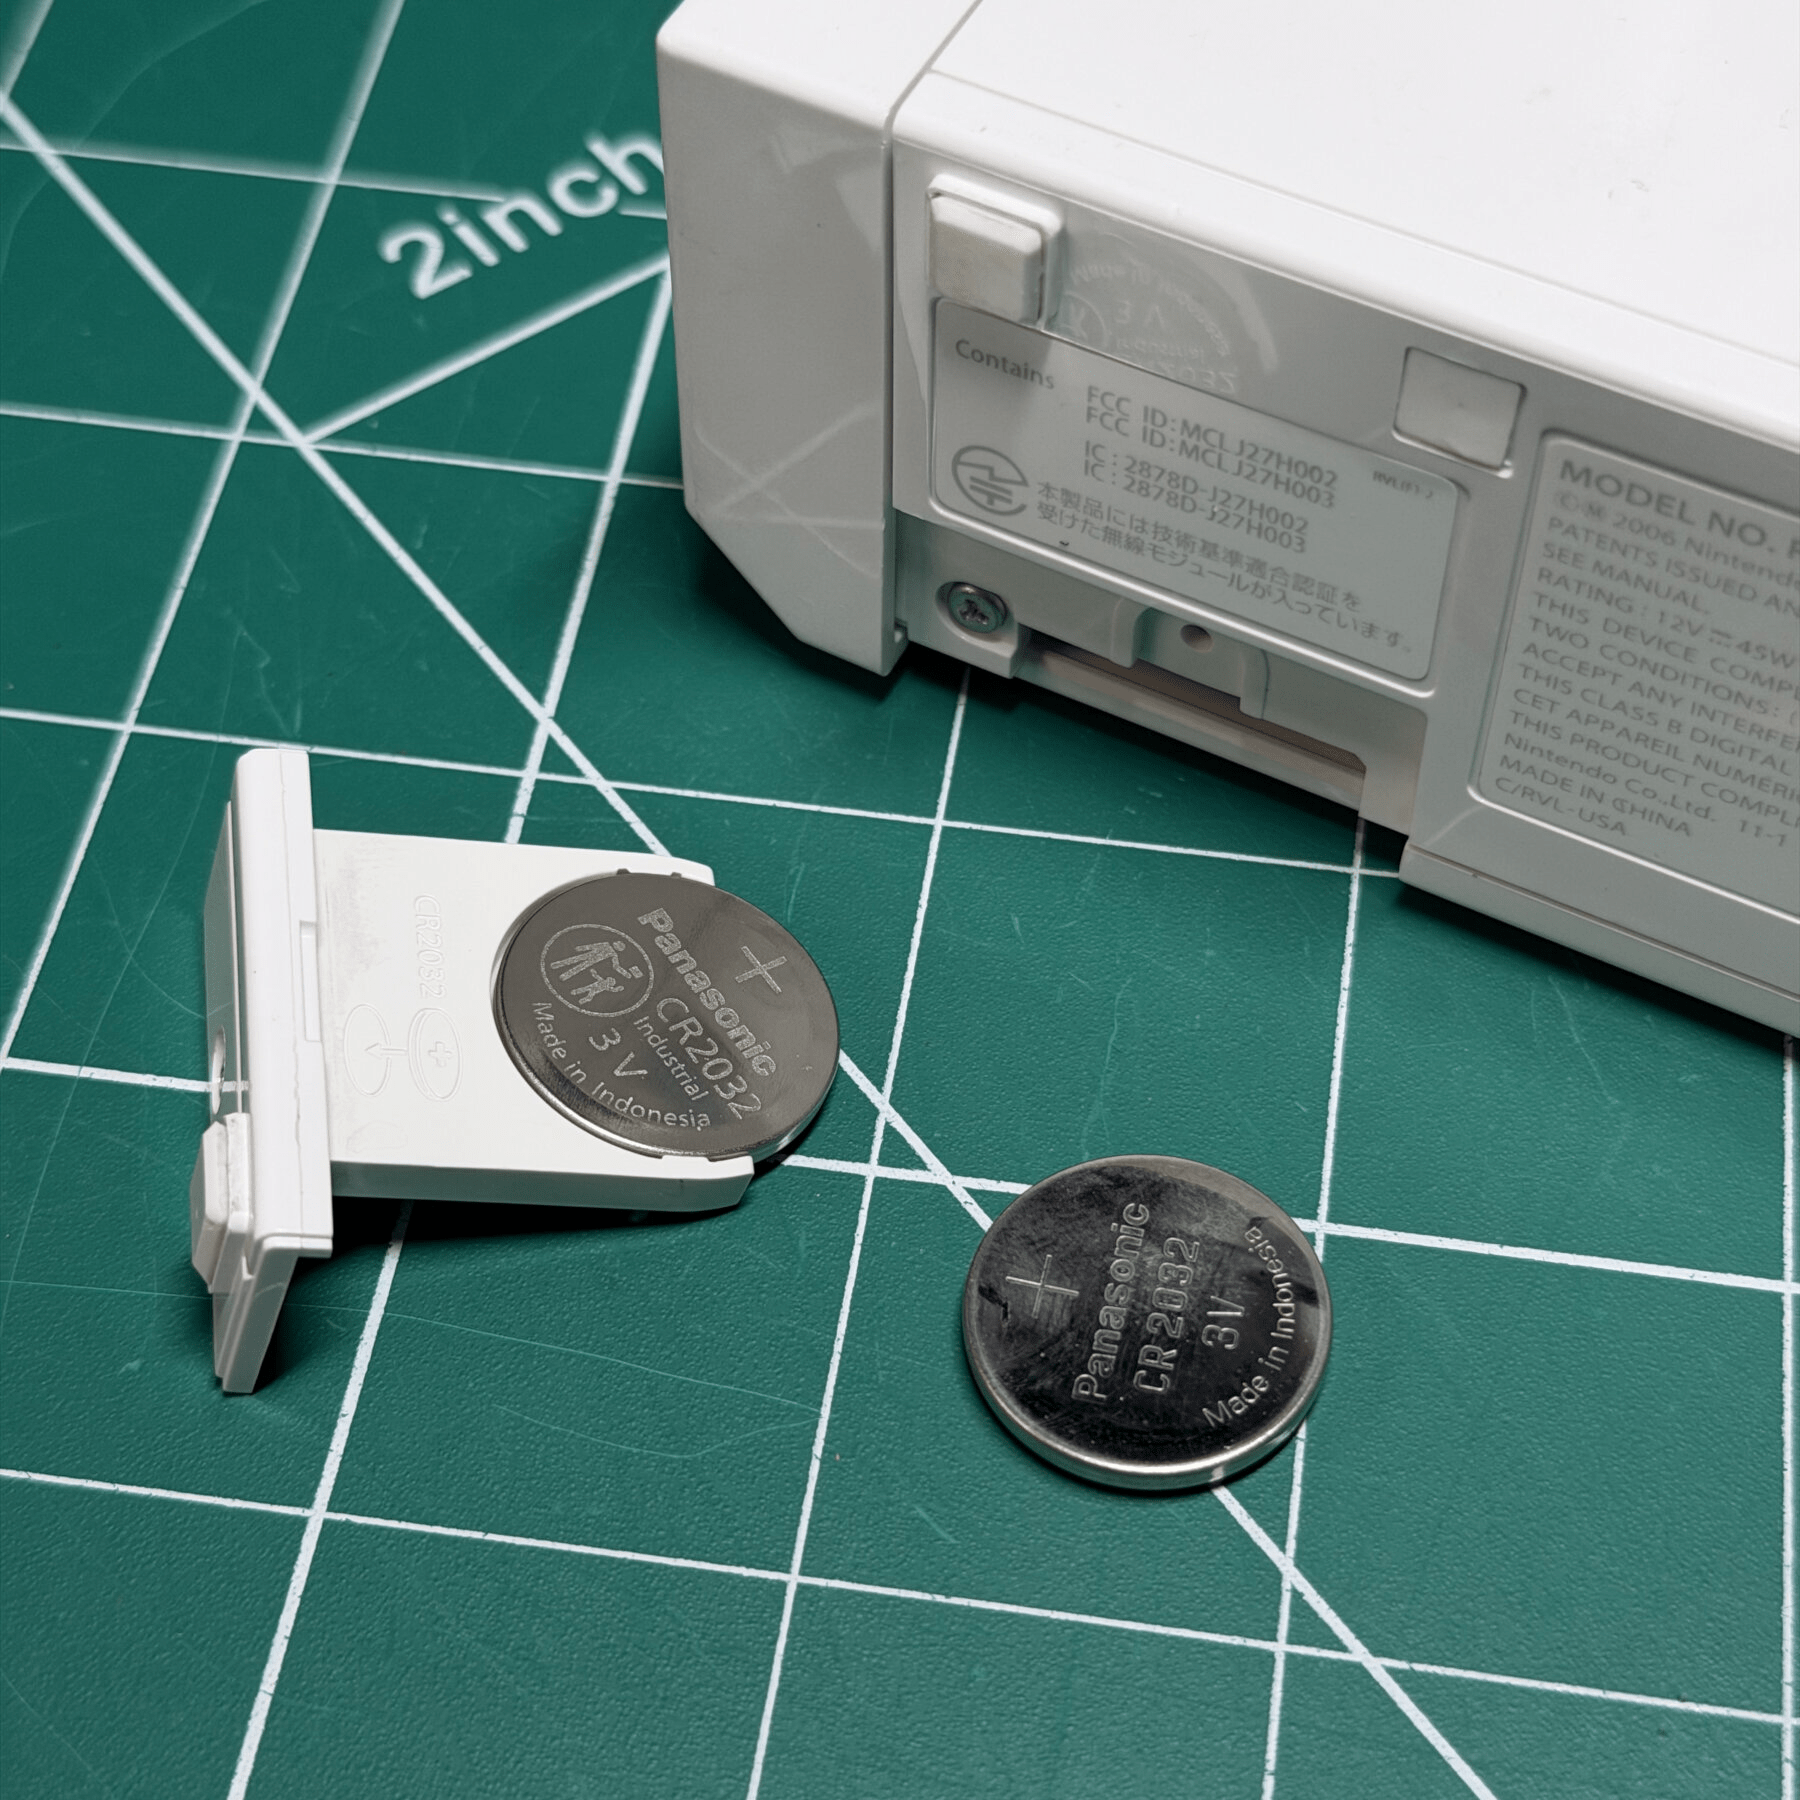
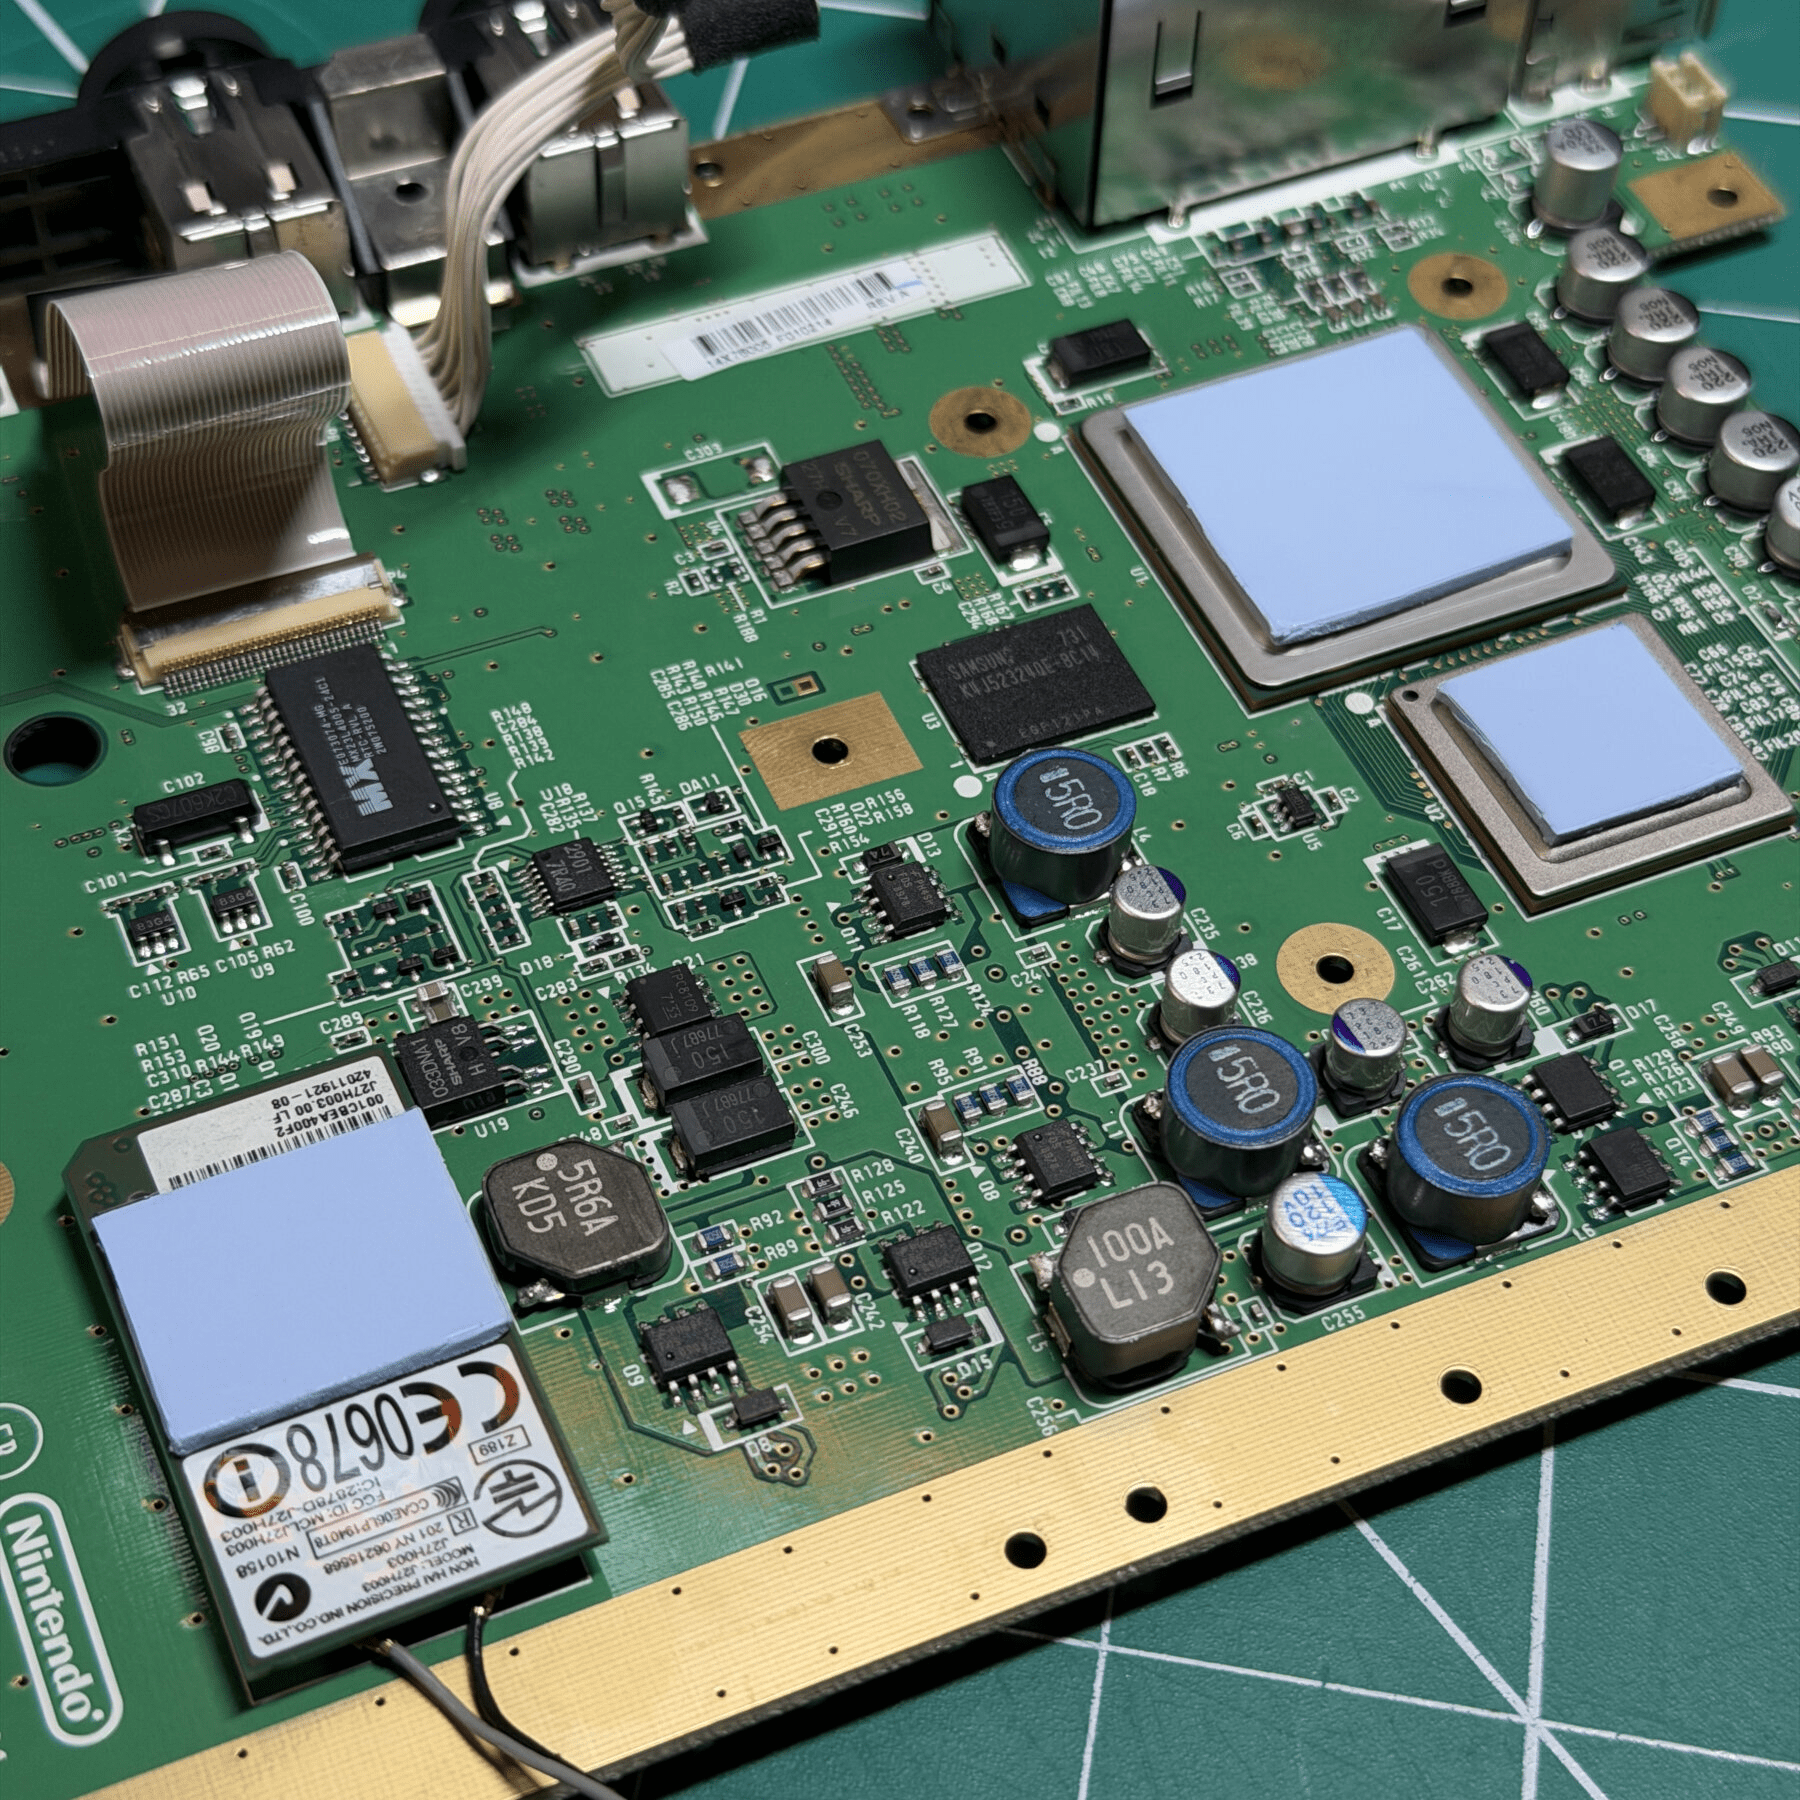
With the bare mainboard exposed I made quick work of the 6 electrolytic caps by removing them with my hot tweezers, then thoroughly soaking and scrubbing the board with ISO to prep for the new caps. Once the pads were fluxed I aligned the new caps from Console5 onto the board and soldered them on, then cleaned up any unspent flux in the area.
With the recap out of the way, I then moved focus to the new thermal pads. The Wii has 3 it uses – 2 under the large heatsink for the CPU/GPU and one over on the Wi-Fi chip. For all my thermal pad replacements I use Arctic TP-3 sheets and then cut them to fit (making them cover the entire chip usually, often times larger than stock).
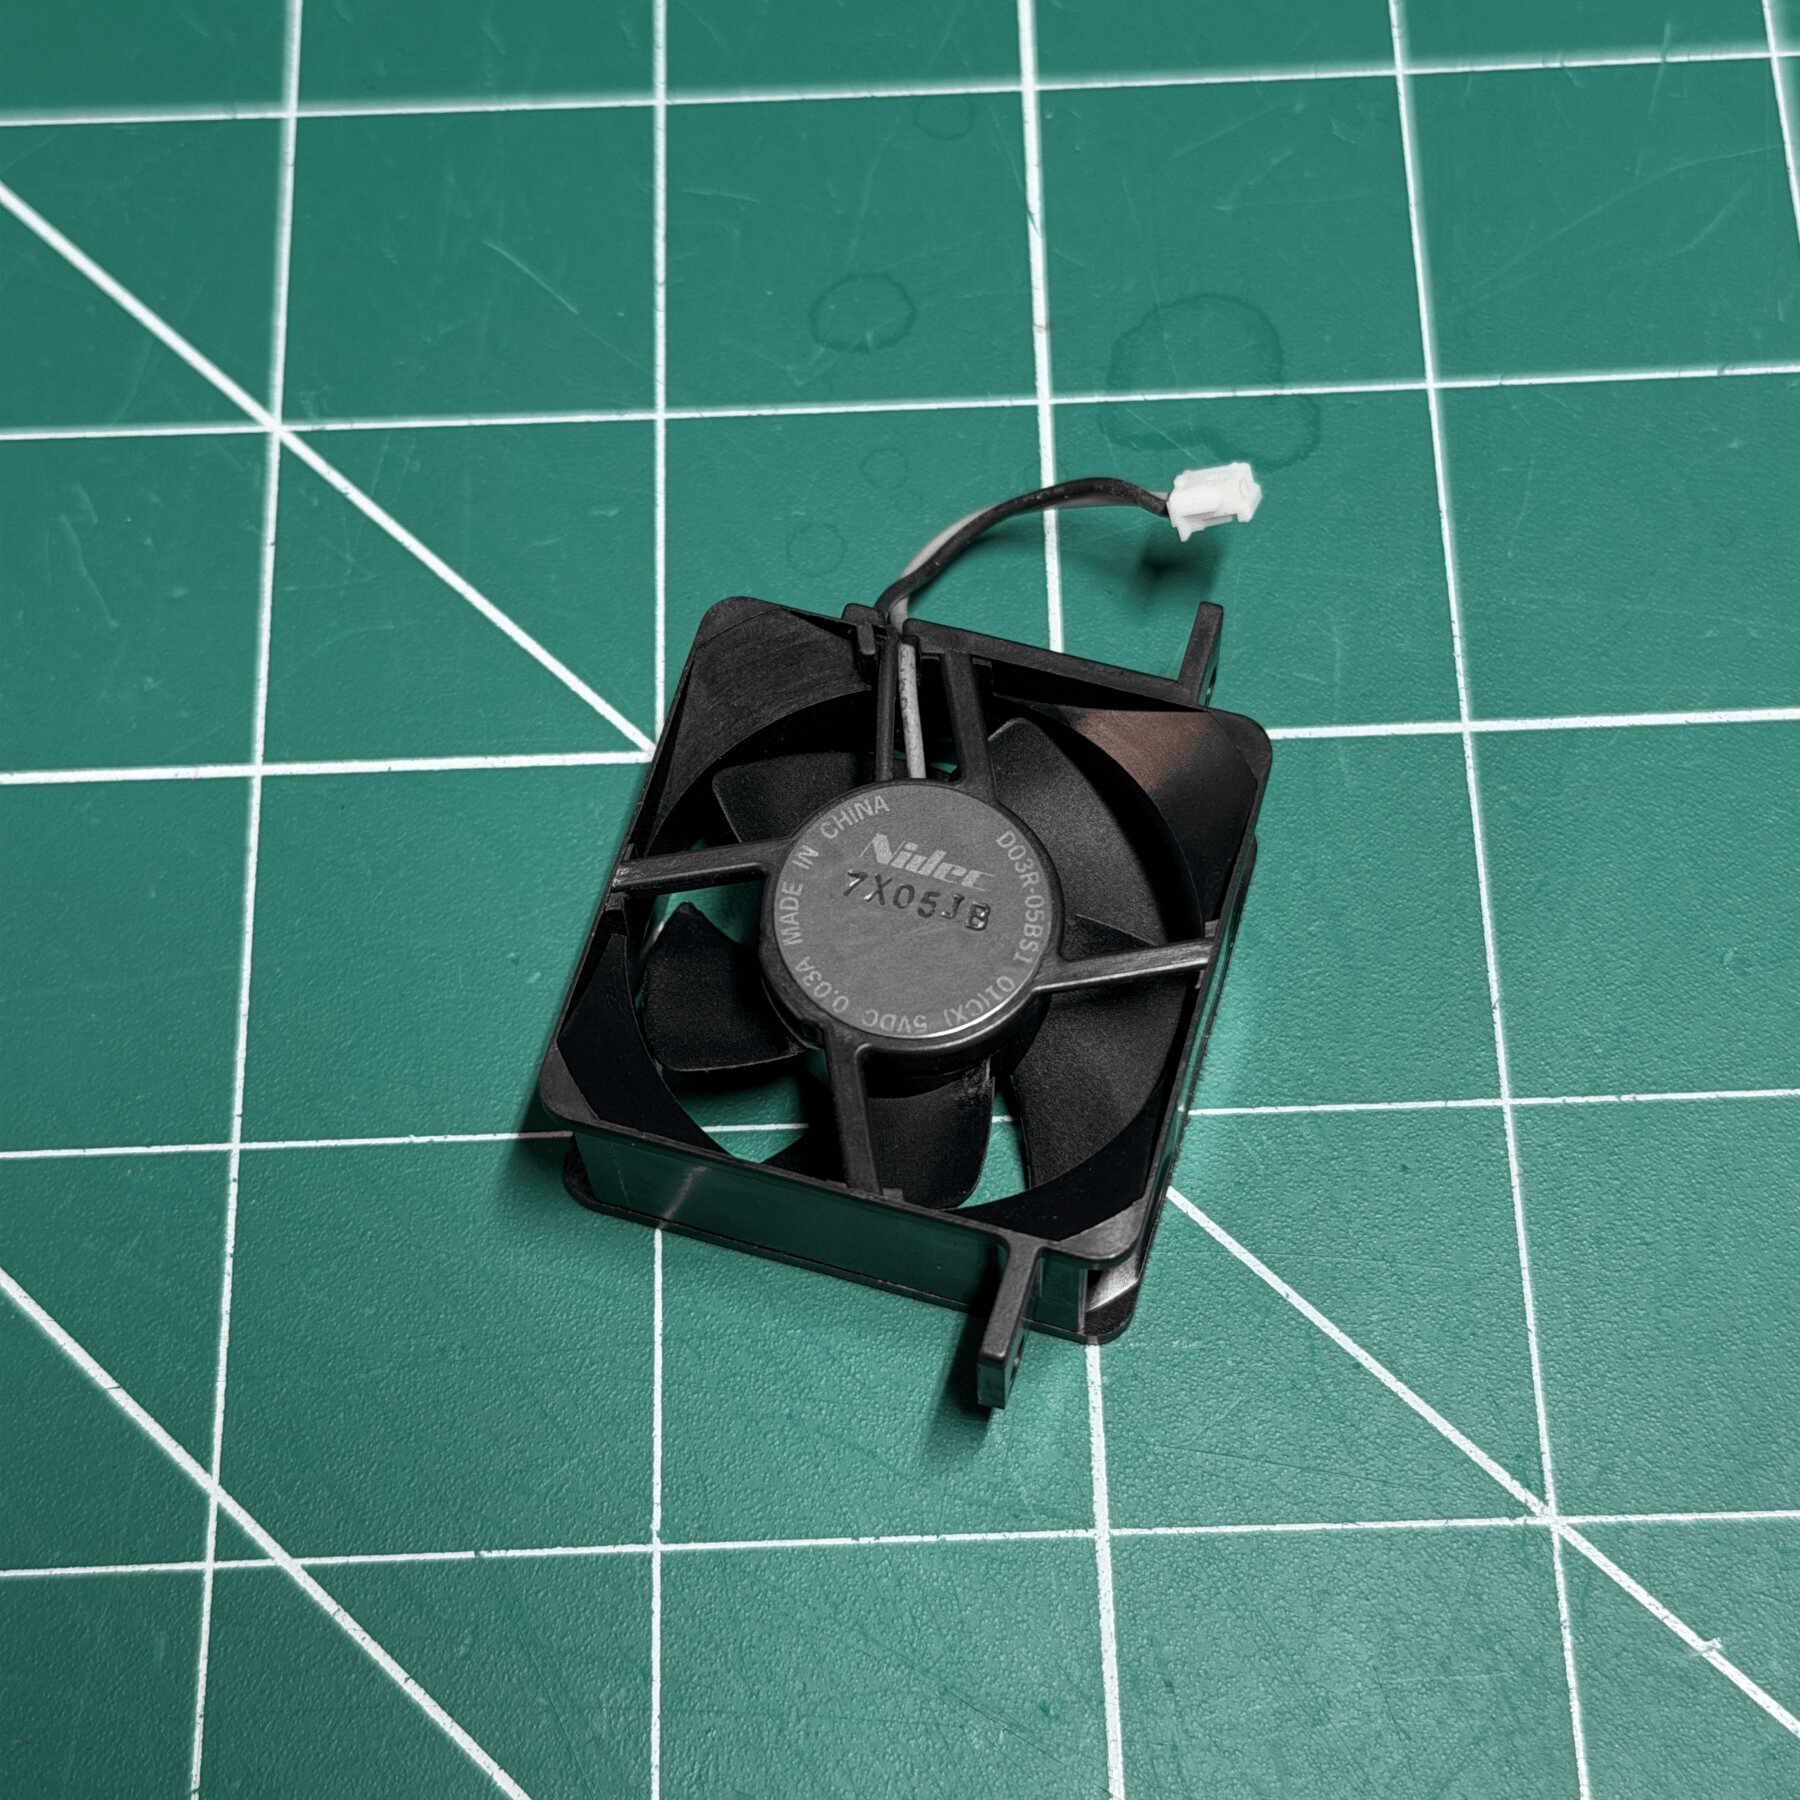
With that out of the way and the plastic shell components dry, I started reassembly by attaching the bottom shield to the shell, and building up from that side with the mainboard, heatsink, top shield, etc. I stopped at the fan re-install and pulled that aside for a much-needed cleaning. The fins were all coated quite heavily in dust so I worked each one and the shroud with my brush and then Q-tips with ISO until was completely clean and looking brand new!
With the fan cleaned that got reinstalled then I continued on by reinstalling the front plastic bracket and screws and installing the remaining top shield screws into their correct location.
When it came time to install the optical drive it was very dusty so I worked through the entire assembly with my duster and brush, wiped down all surfaces with ISO and also carefully cleaned the lens. Once the drive was cleaned I reconnected the flex and wire bundle, then closed up the top metal shield and attached the wire on the front panel so I could briefly test operation before closing the rest of the shell up.
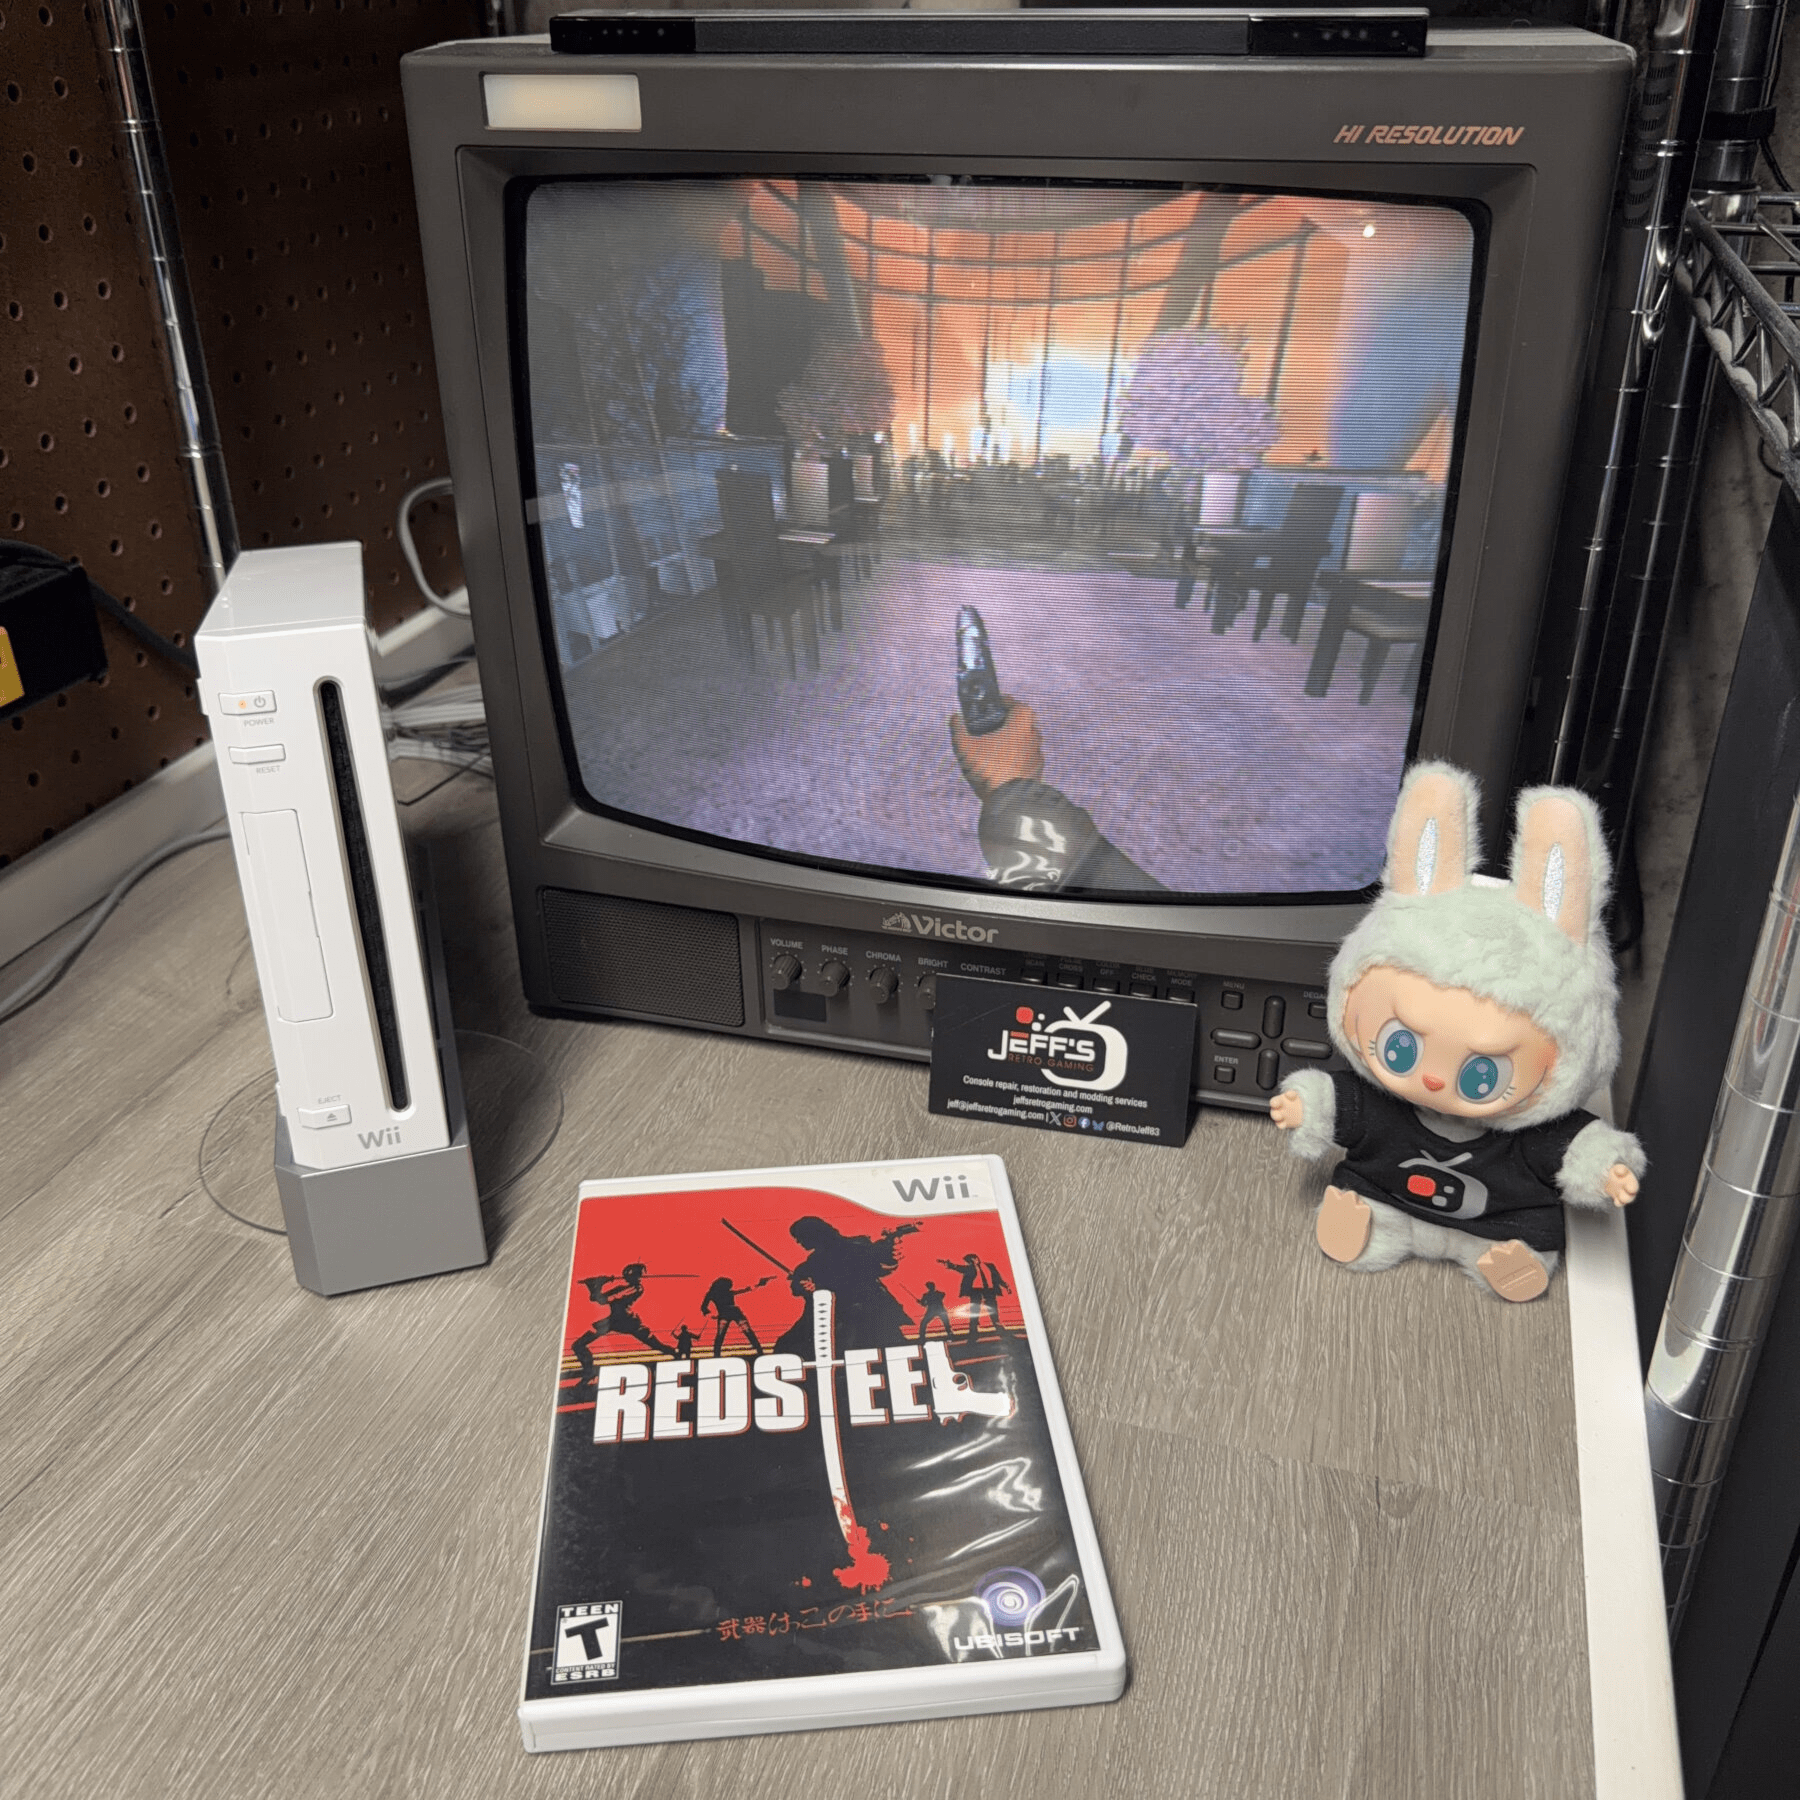
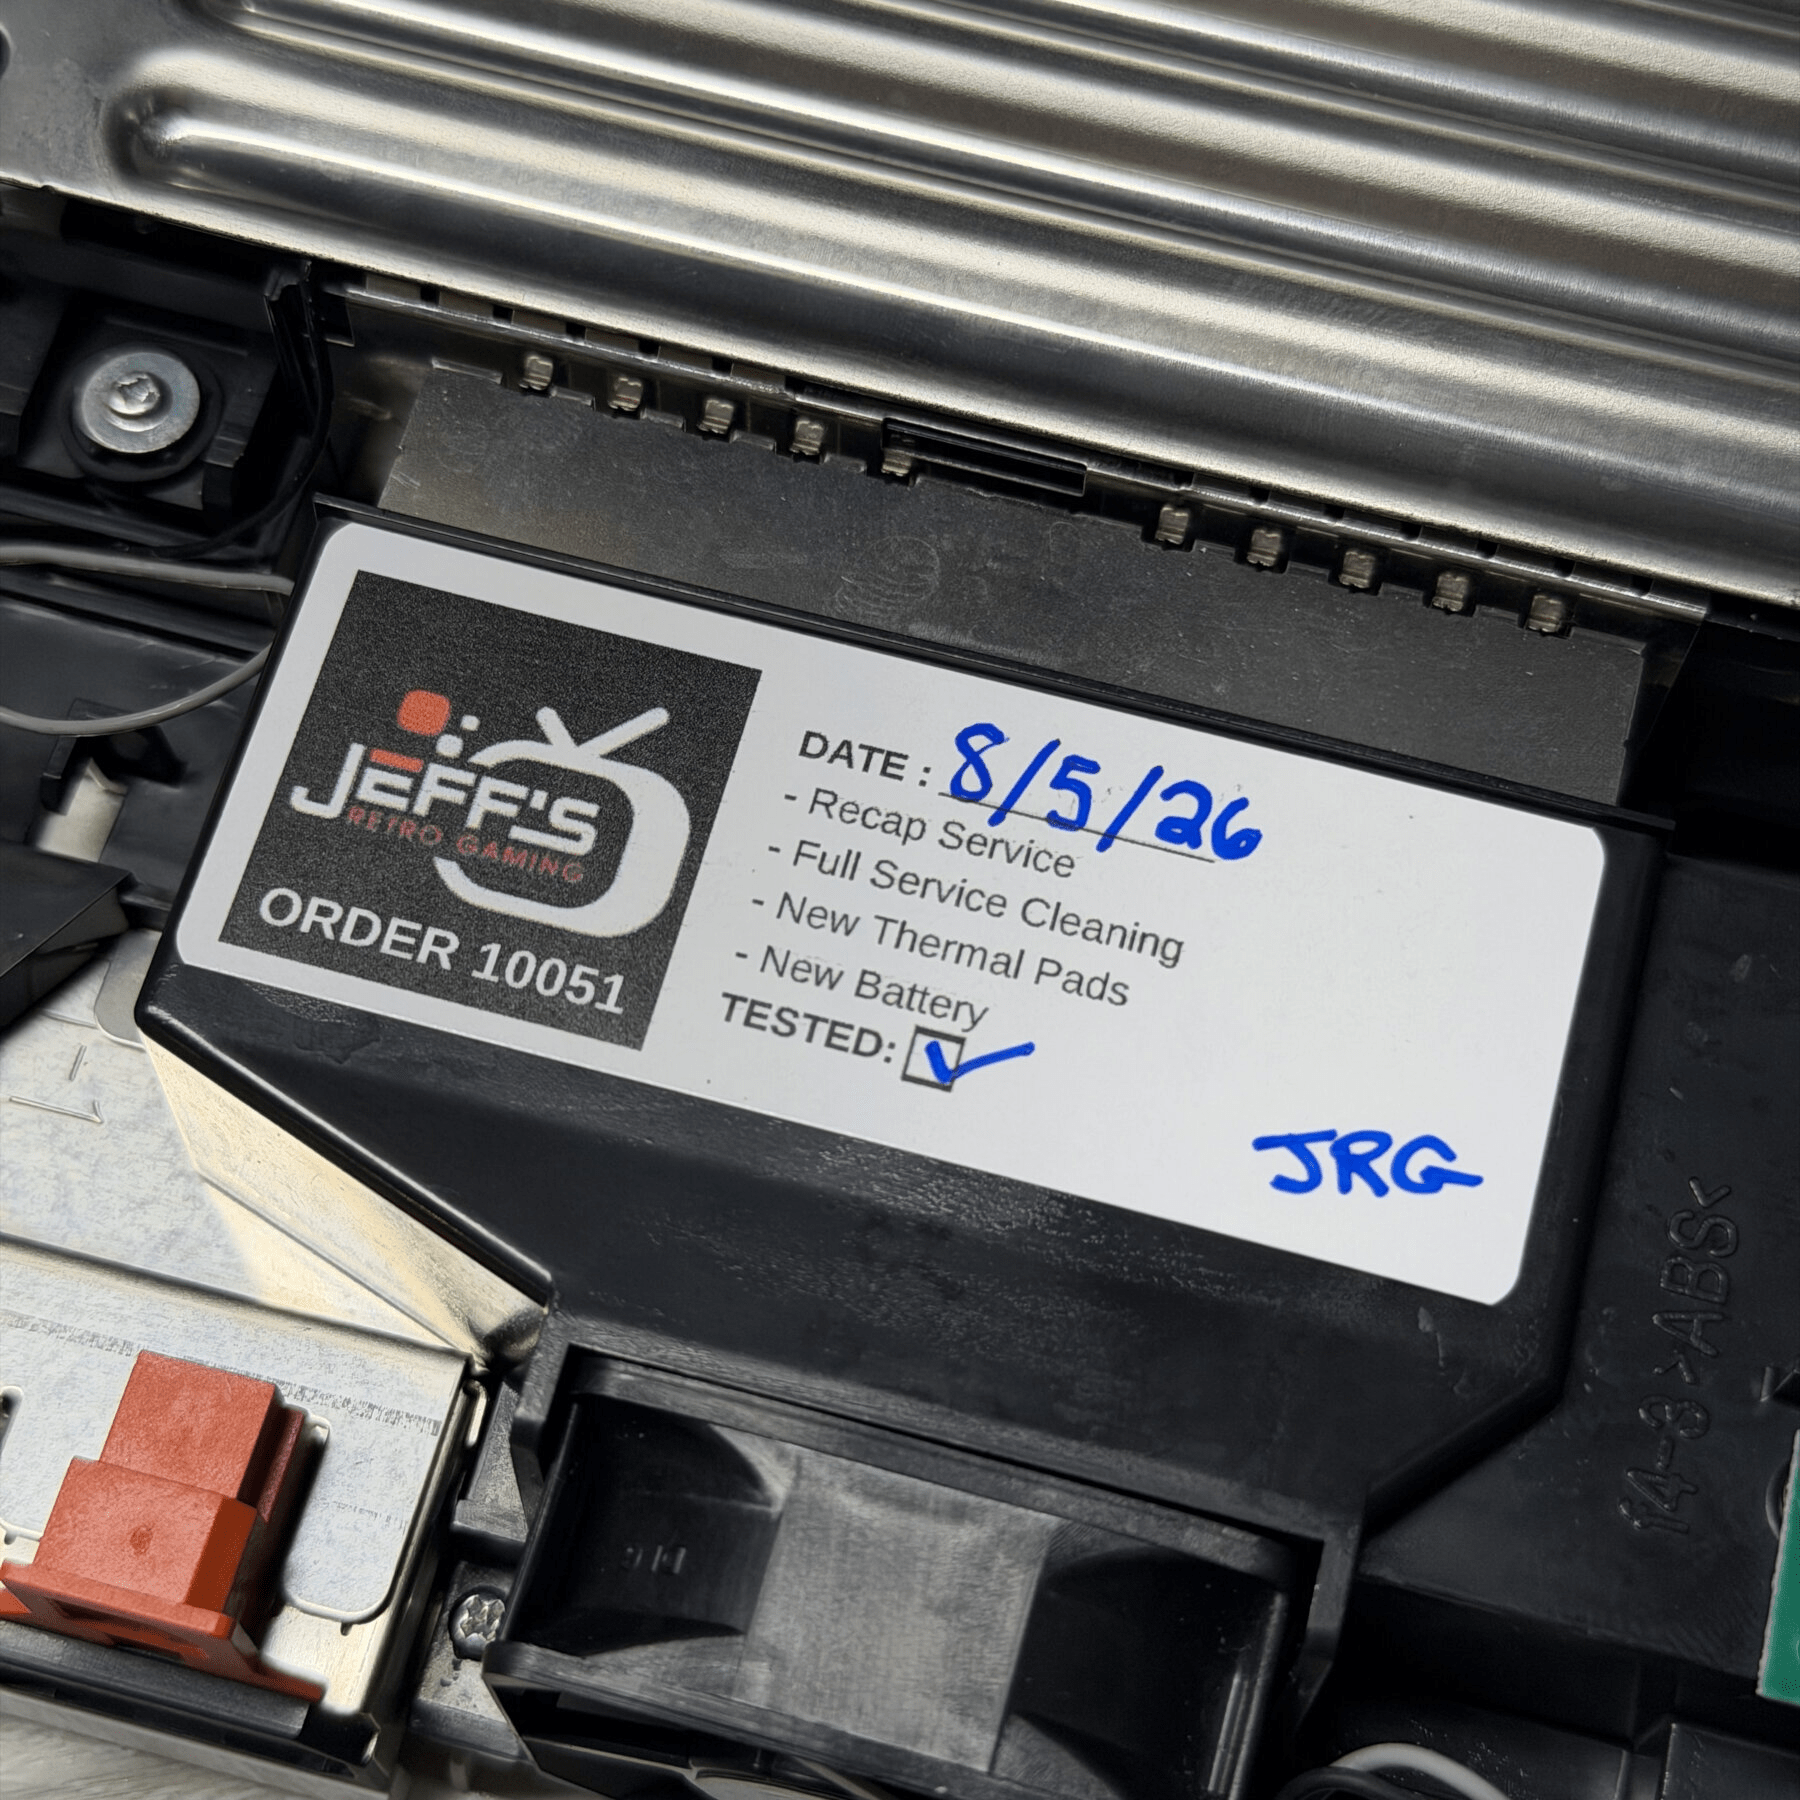
The Wii booted right up, synced to my Wiimote and booted my copy of Red Steel fine. I then added my work sticker, signed off on it and finished the top shell reinstall including the screws, all the screw hole stickers and rubber covers and the GameCube side cover and door flaps.
With it reassembled I staged it next to the CRT, let it run for a few hours and played some Red Steel! I’m not exactly a huge fan of the Wii but it does have a handful of games I like. This order was a 2-console request so time to call this good and move on to a PlayStation 2!