
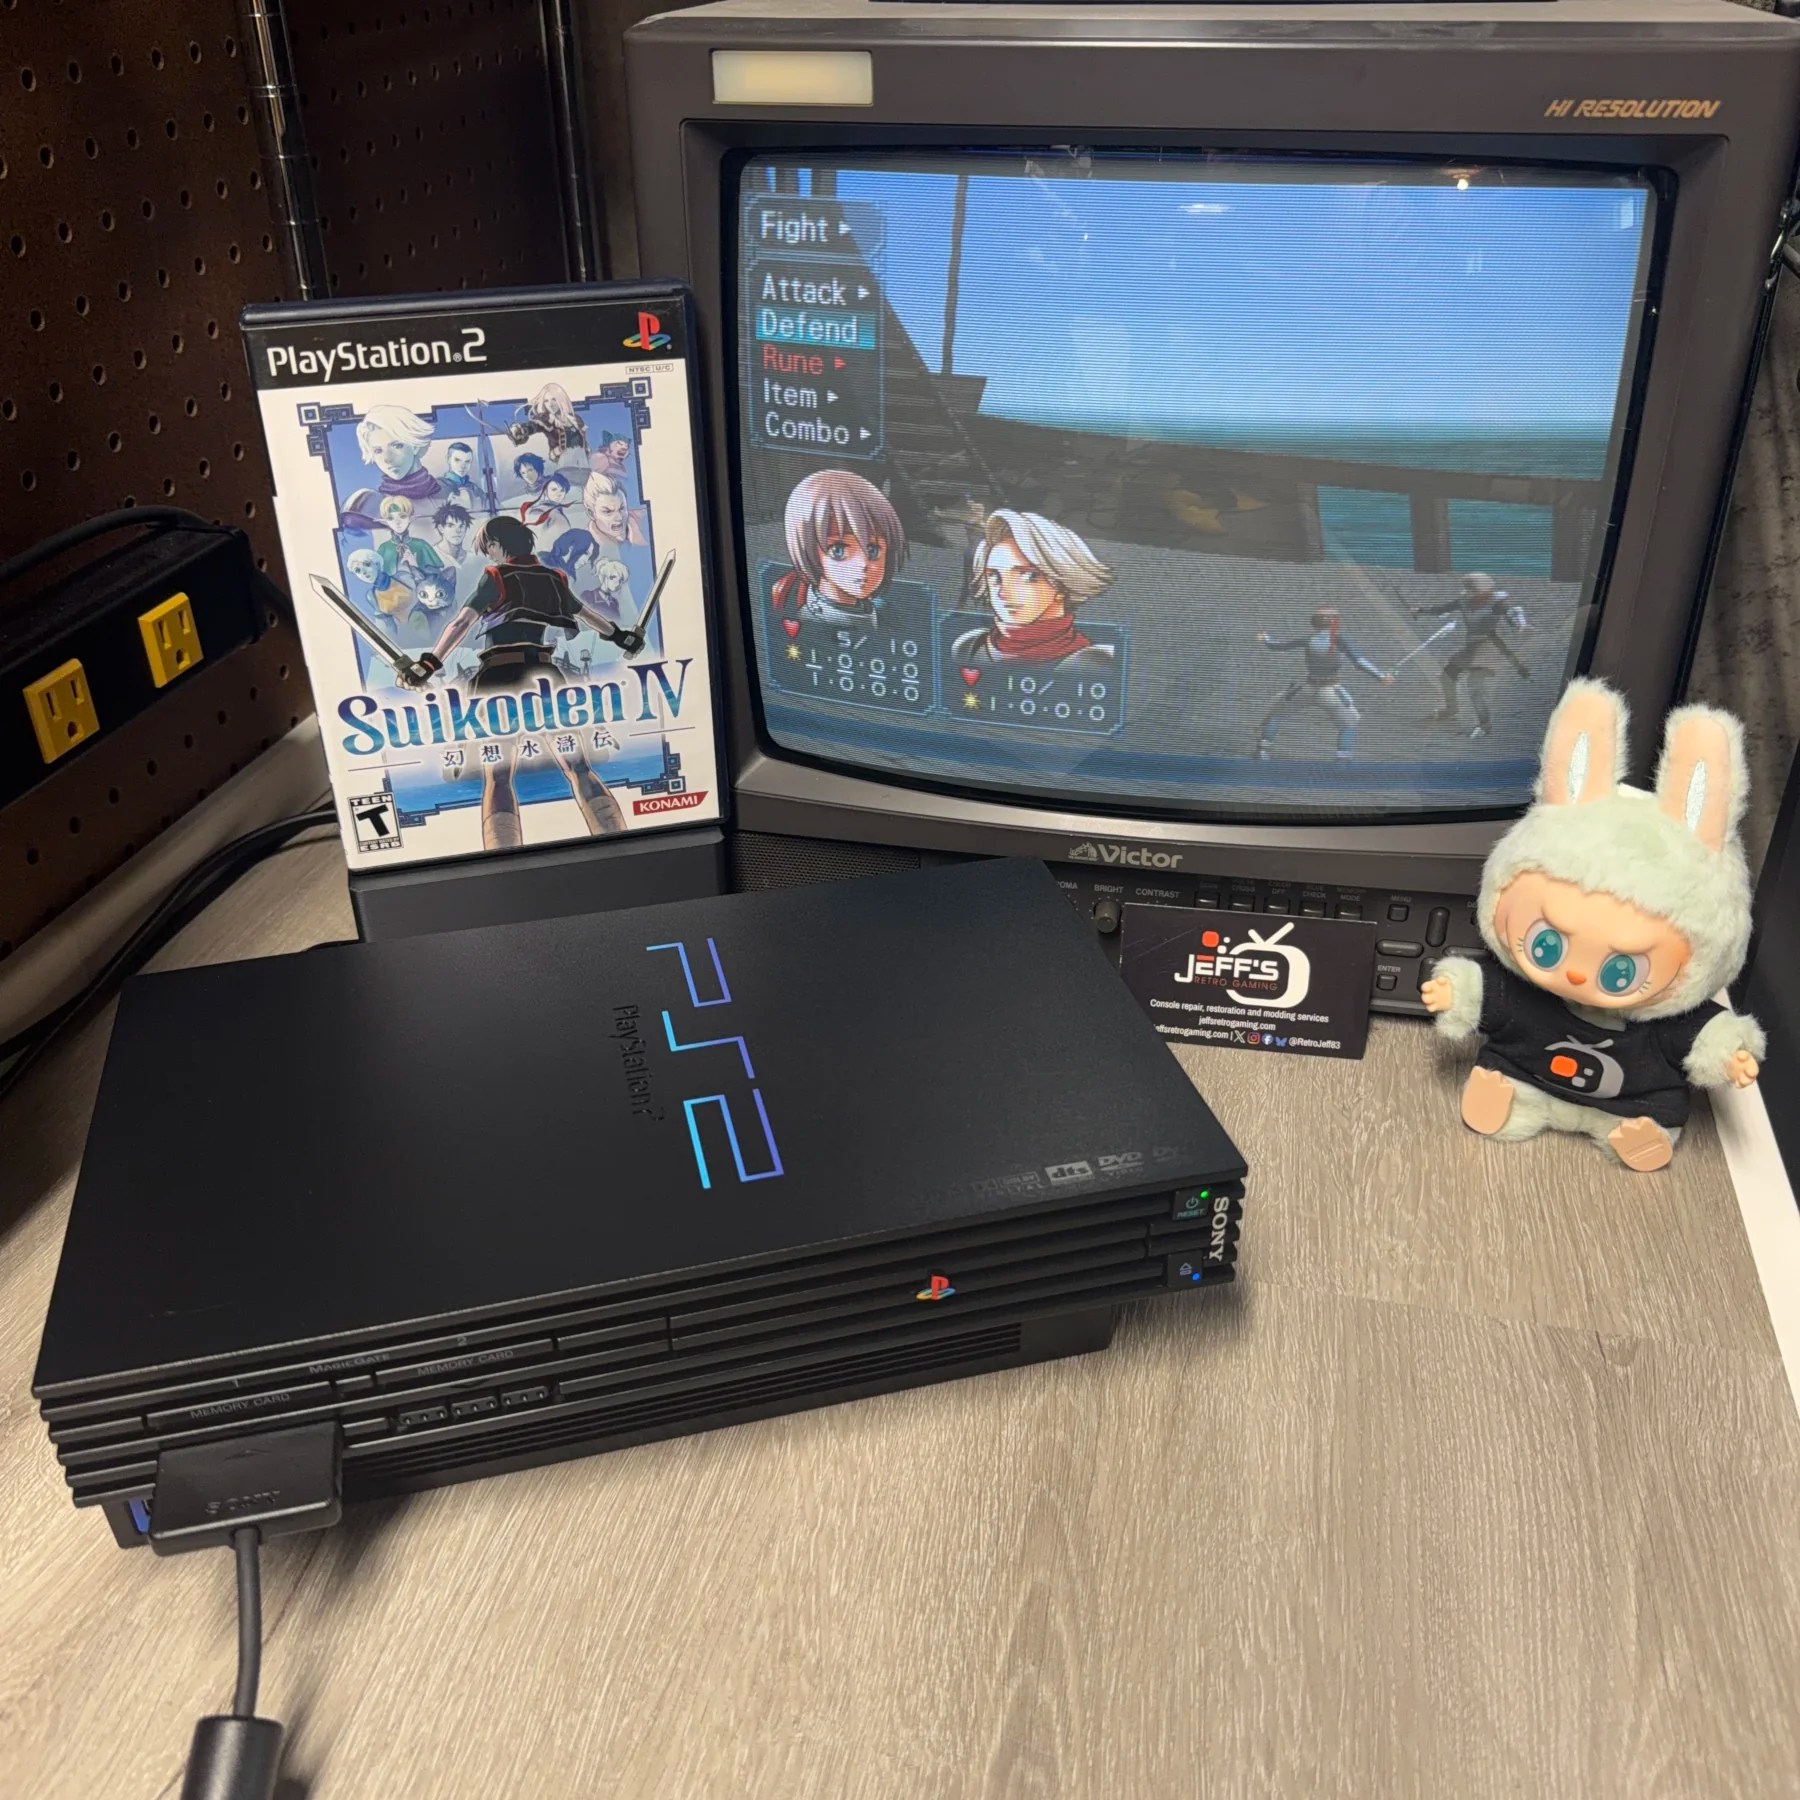
Had this PlayStation 2 enter my waitlist for just a standard refurbishment – Full Recap, cleaning, etc. but at some point during the onboarding the discussion came up around adding in a modchip. I’ve installed tons of modchips on other consoles like the PS1, OG Xbox, etc. but never been asked or taken the time to install one on a PS2.
So when the request came up I figured there is never a better time than the current moment! They have always seemed like a lot of work to wire up cleanly so perhaps that’s why I had been avoiding them for some time but I can say that while yes there are annoying things about the install (dealing with superglue and trying for a clean layout) it wasn’t nearly as aggravating as I was expecting and I foresee getting some cleaner and sharper runs on future installs!
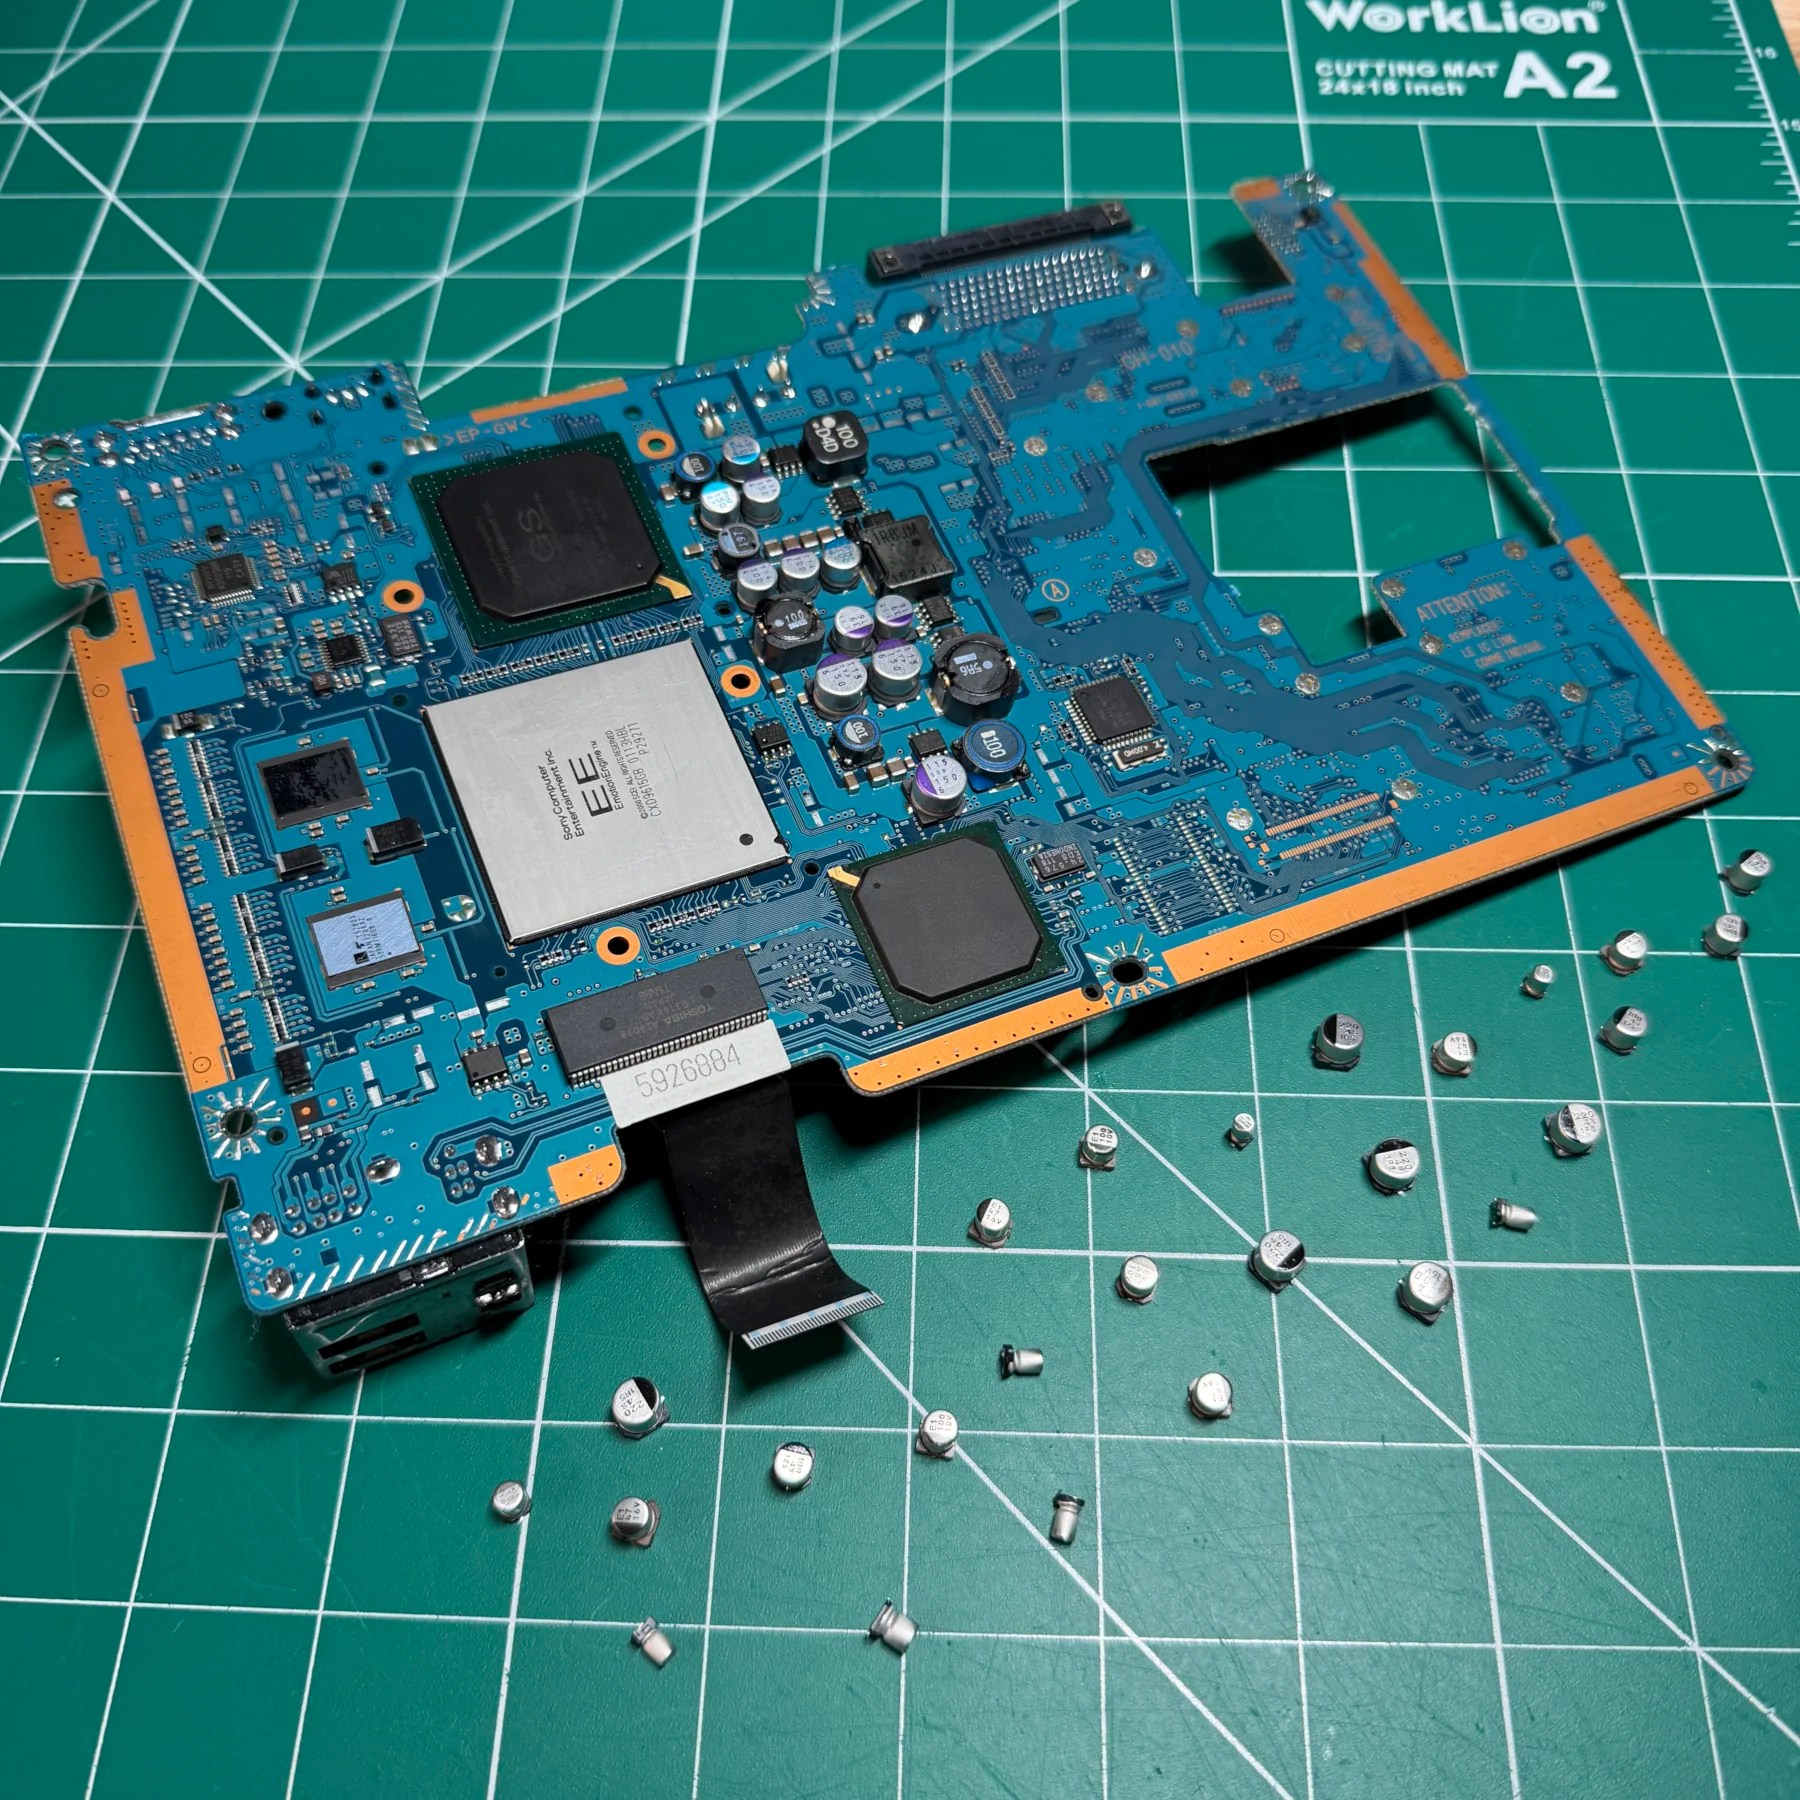
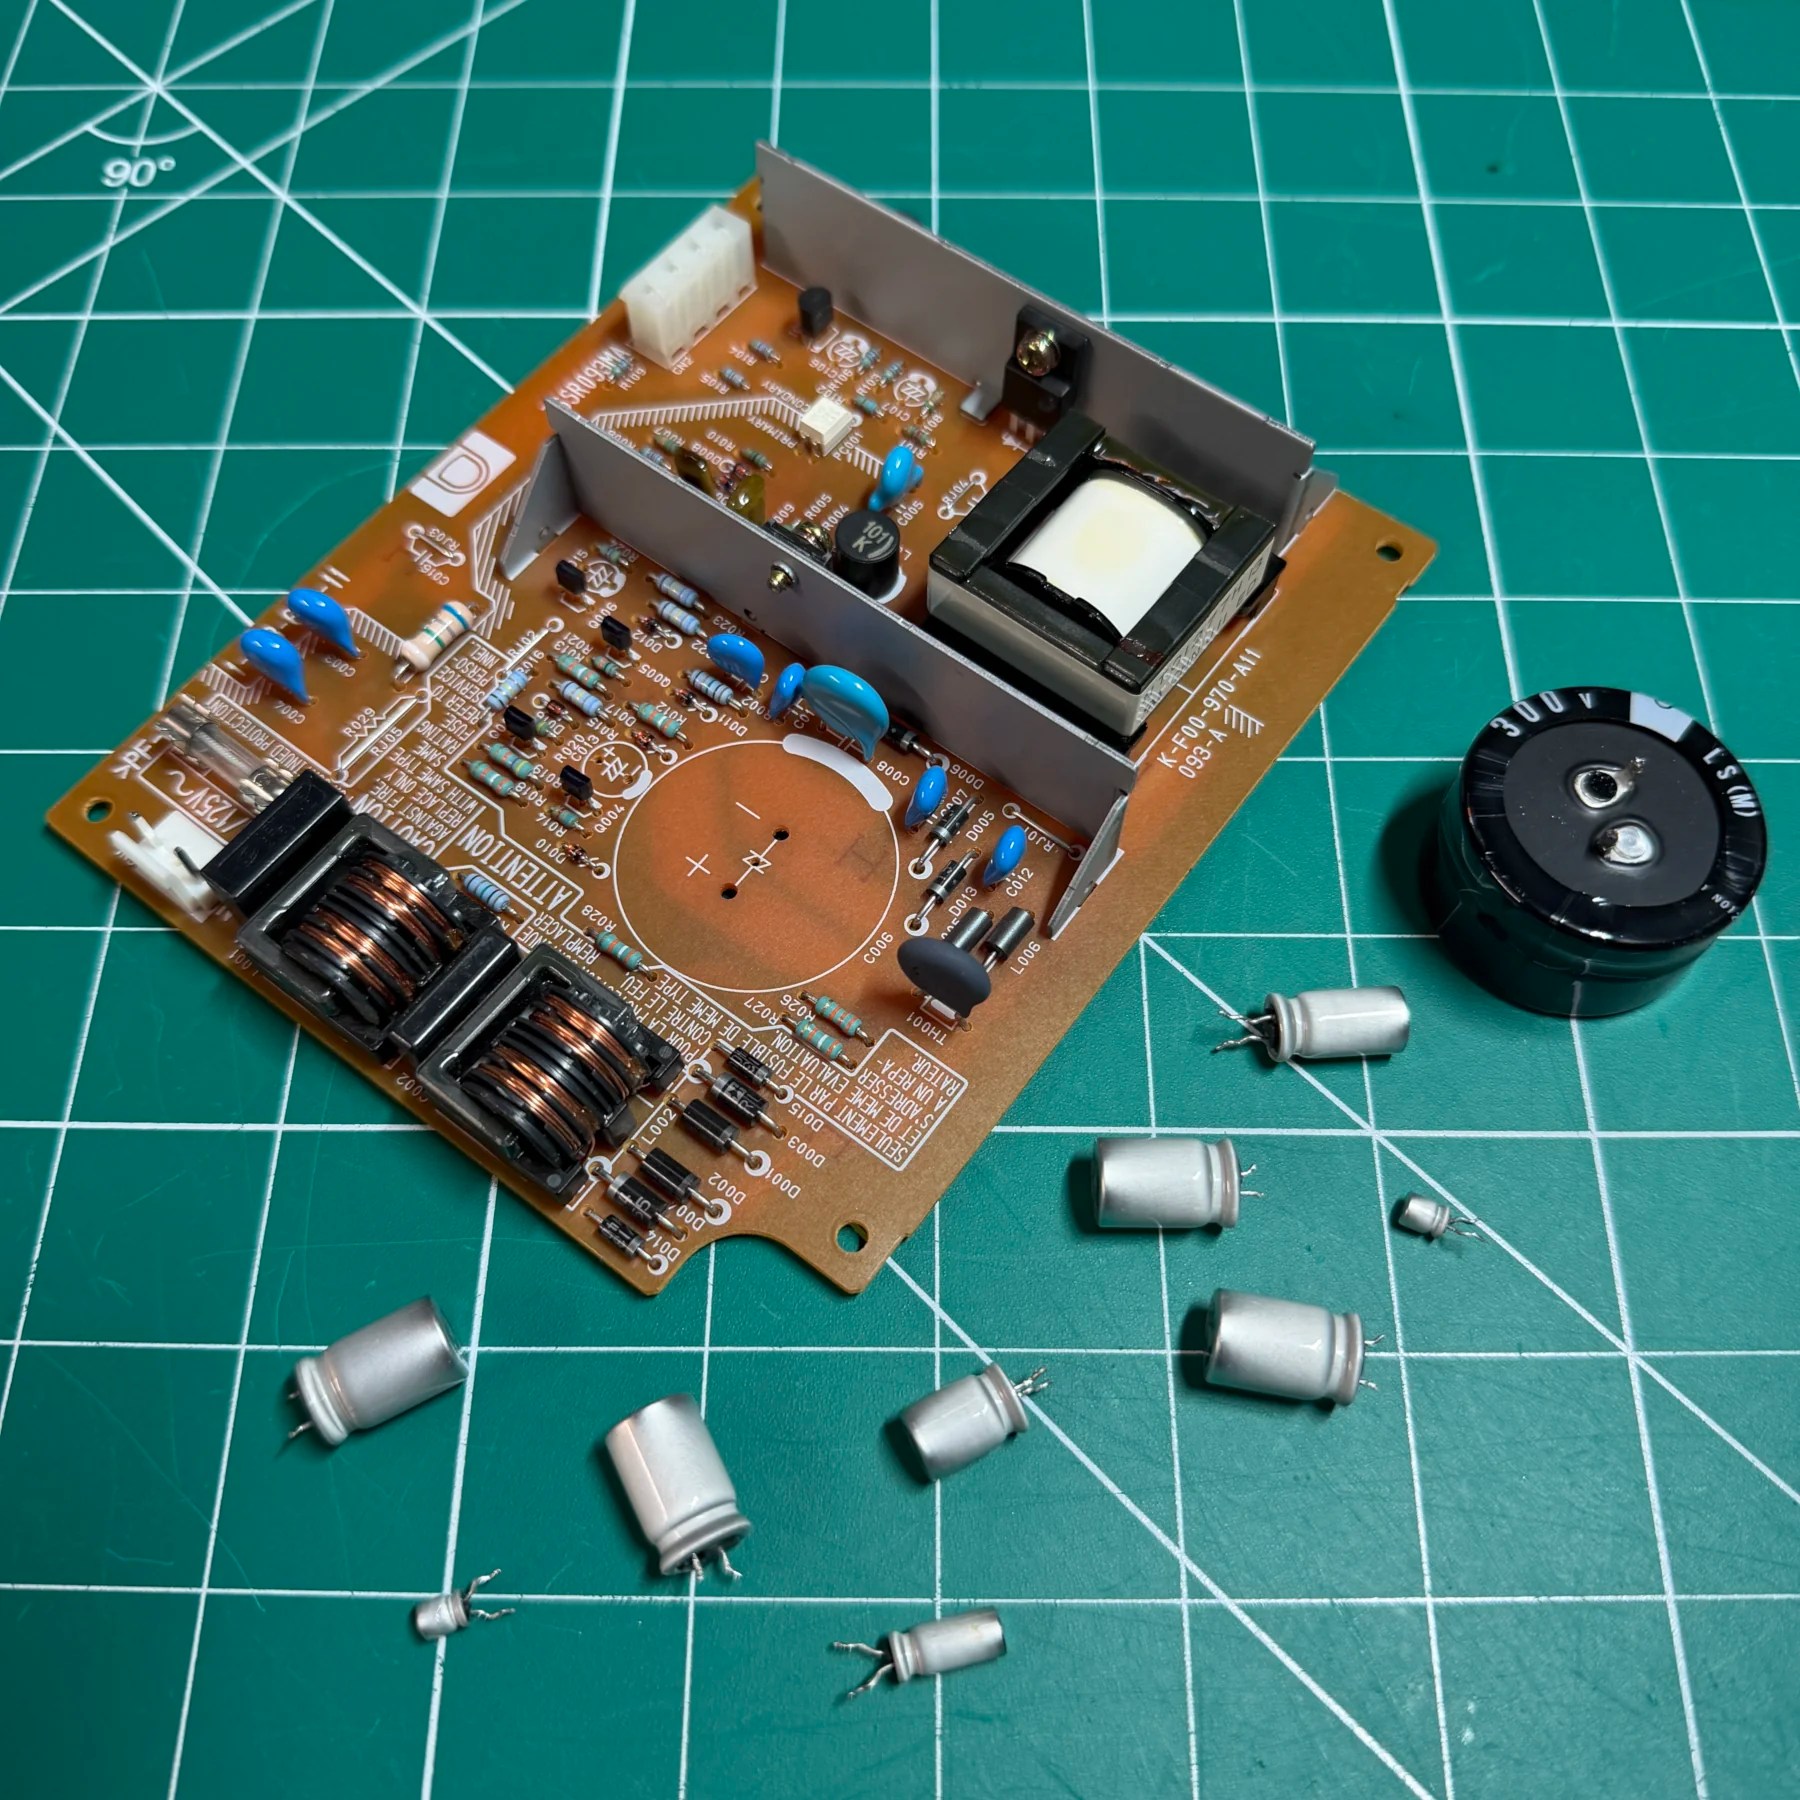
Like with several other consoles (PS1, Sega Saturn come to mind) there are many variants of the mainboard and power supplies in these so as soon as they come into the shop I need to pop them up and disassemble even if not ready to take on at the moment so that the correct cap kit can be ordered with Console5.
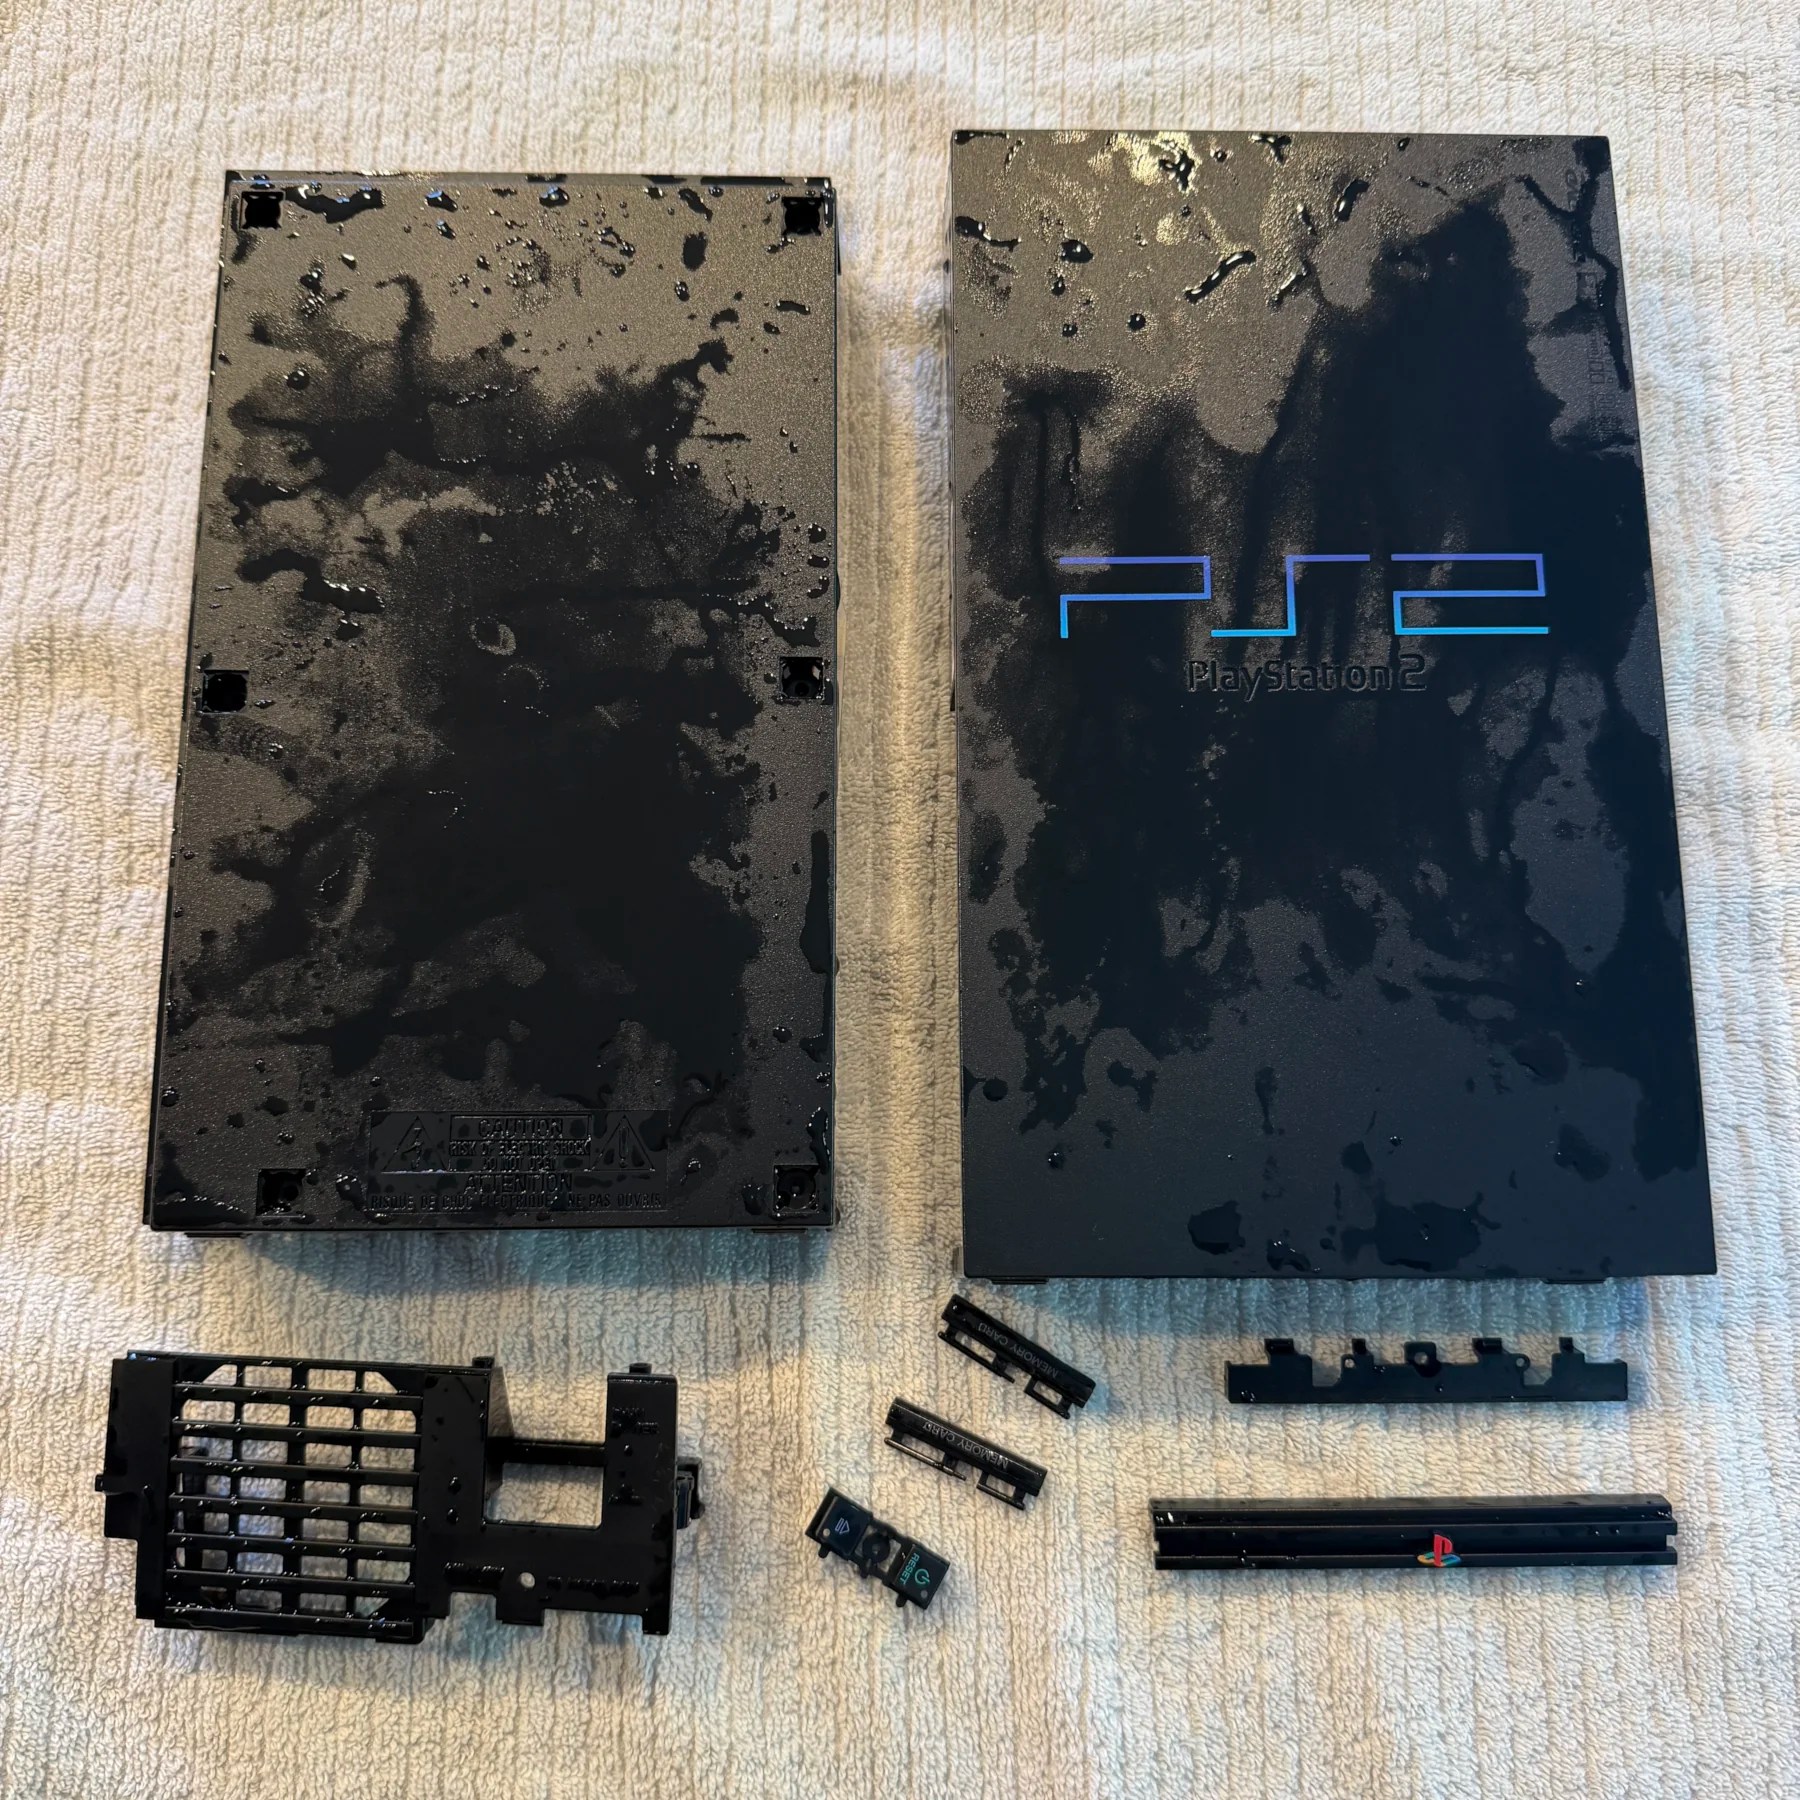
Since this had been opened for that reason once it was time to work on the PS2, I just had to toss the shell and plastic parts in the wash bin, give it a nice soak and scrub and set aside to dry. I do proactively dry the front vent mesh because I found if allowed to soak and be wet too long the bonding glue/tape can weaken and cause the mesh to separate from the vent area which is no good. With the rest of the parts set to dry overnight, I had to decide which order to tackle the job in.
Knowing I would not want all the wires and modchip being pressed against the bench and moved or exposed to any heat I decided recapping the mainboard should occur first, so with my hot tweezers and assistance from hot air station on low, I made quick work of all the mainboard electrolytics (polymer caps are lifetime parts and not included in recap kits) and then used some solder wick to clean all the pads and deep cleaned the top of the mainboard with ISO.
With a cleaned mainboard I fluxed all the pads and installed all the new caps from the Console5 kit including a handful of tantalums they now provide for some of the smaller/lower value caps. Once all the new caps were installed I cleaned up all unspent flux and then flipped the board over to start the most time-consuming part of the job…
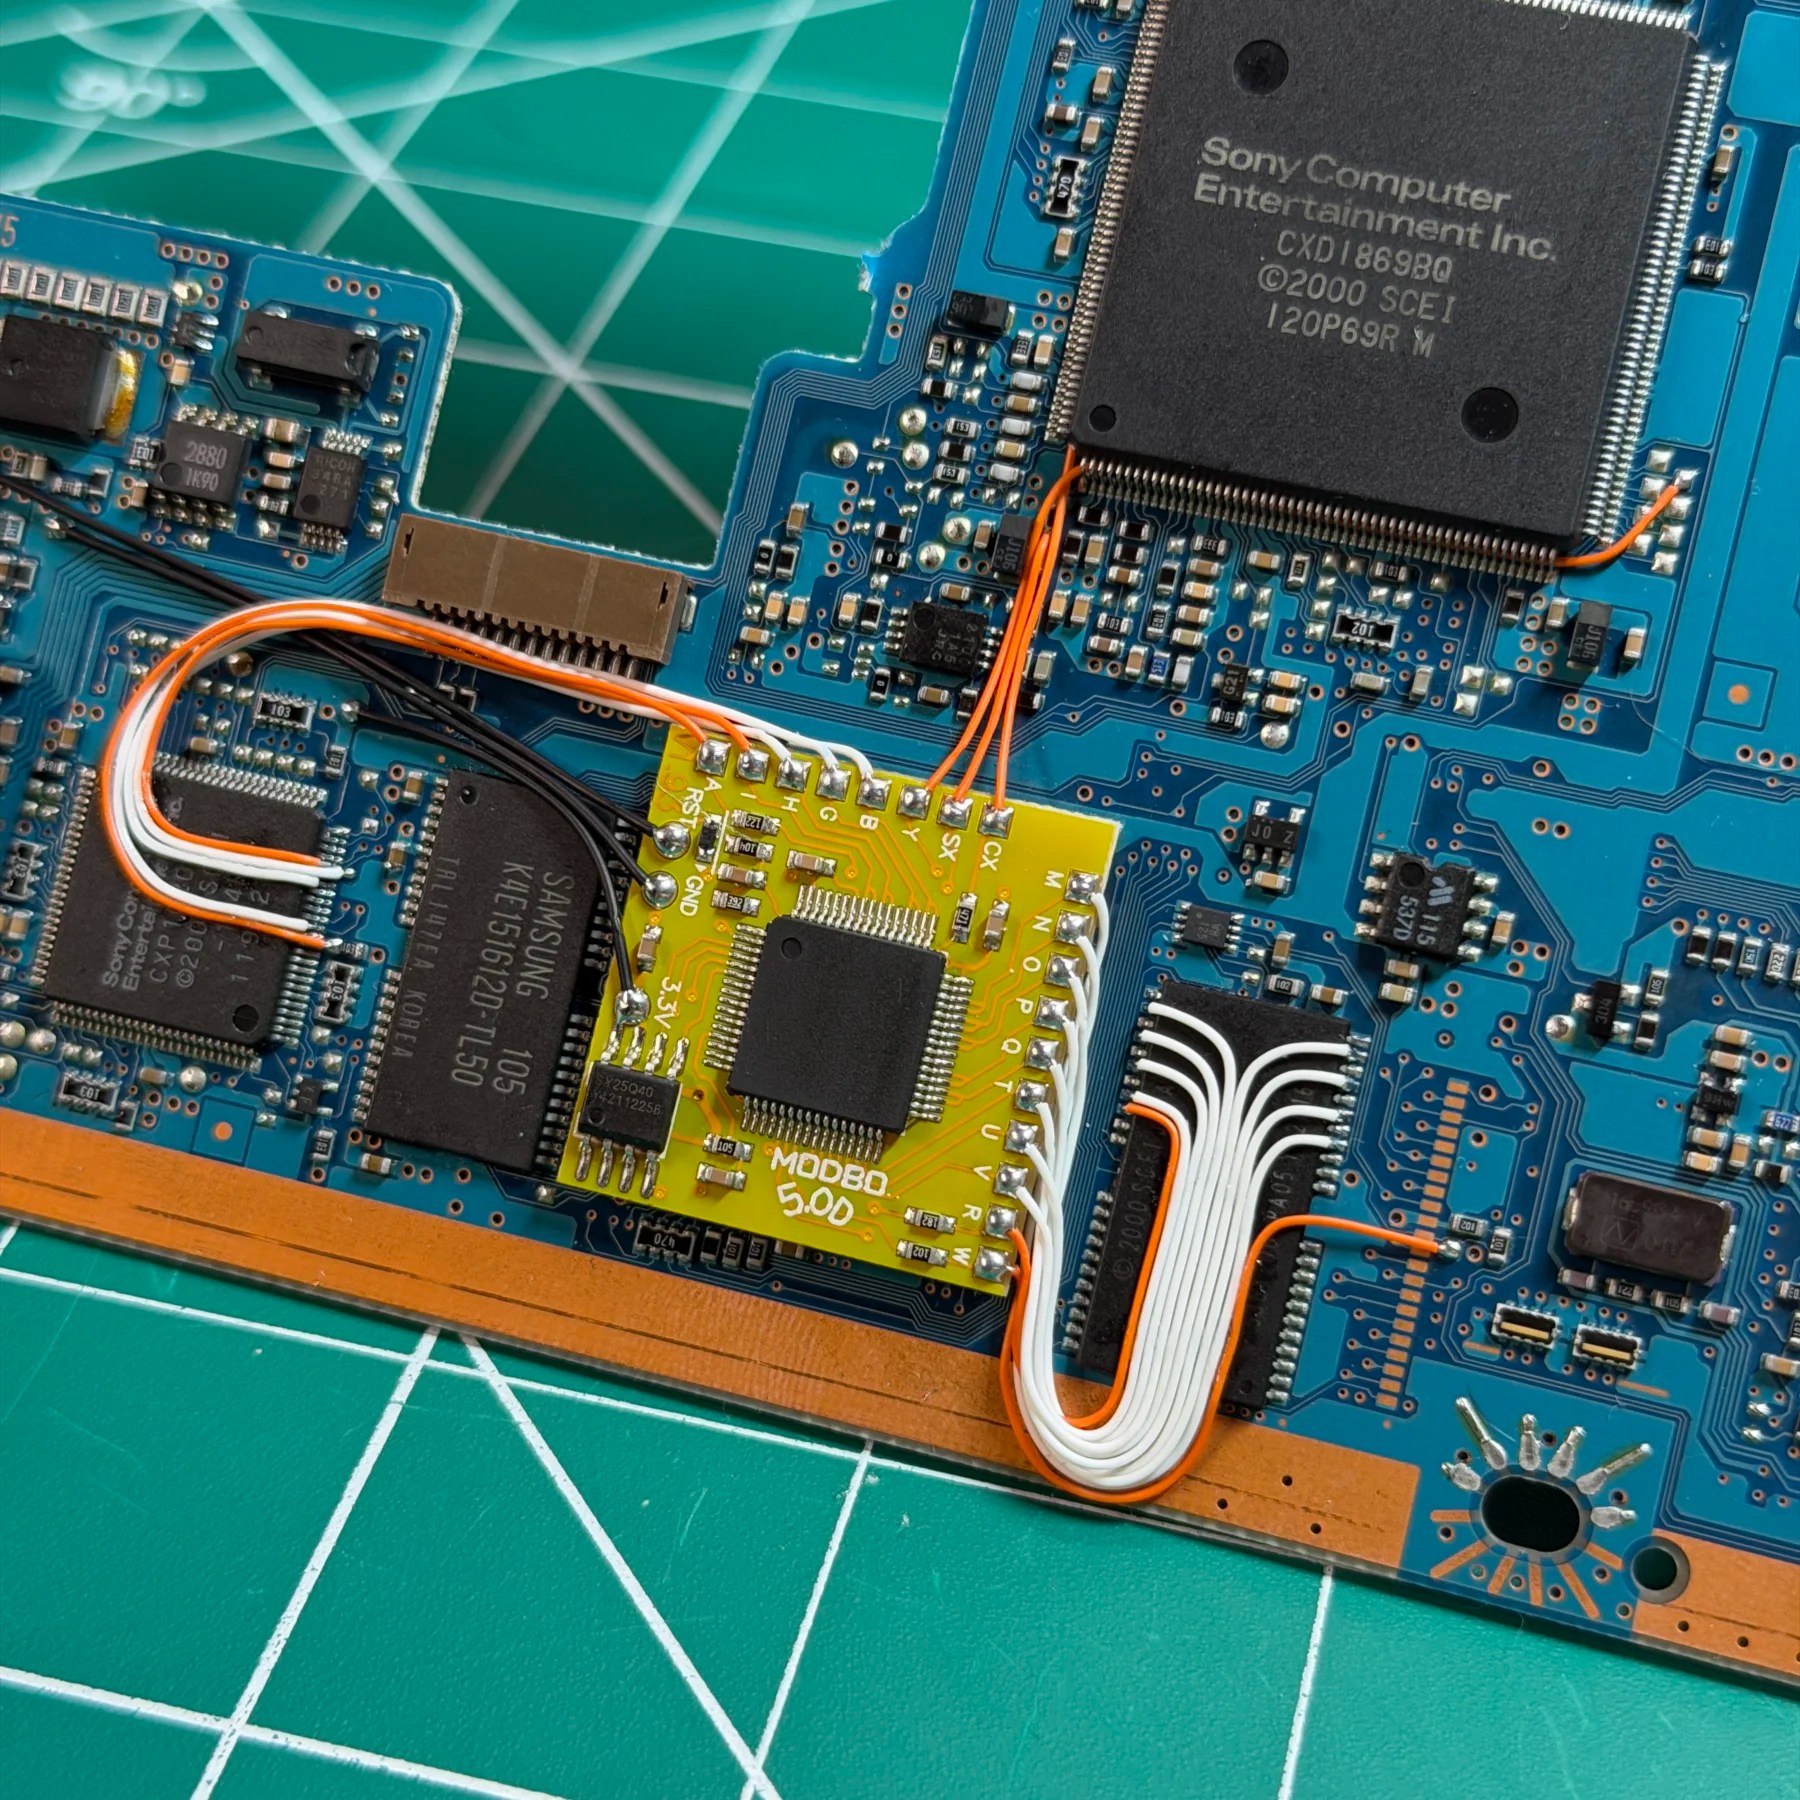
Diving into this I looked up the connection map for this board revision (GH-010) and also found some examples of how others routed wires on this board. I temporarily placed the Modbo chip down and made sure all the runs would make sense and then peeled the sticky back and set in place. Thanks to some helpful tips from IFixRetro (Ben Fong) regarding superglue and keeping the strands bundled, I started from the center of one bundle and worked out on both sides so it would end up mostly centered. It really is just a matter of tinning and soldering the wires to their respective points and then carefully bending and tacking down as you go and adding the next neighboring wire with its own small dab of glue. I chose to solder the wires to the mainboard in bundles then hold, mark and cut/strip/tin/solder to the Modbo once the main bundles were defined on the board.
Probably no wrong way to go about it but that worked well for me and overall while the curved sections are not the prettiest the runs were kept pretty short and I’ll continue to work on the technique and improve as I do more. Looking back on some of my first Triple Bypass installs they are nowhere near as clean as my current ones but that’s what practice is for 👍
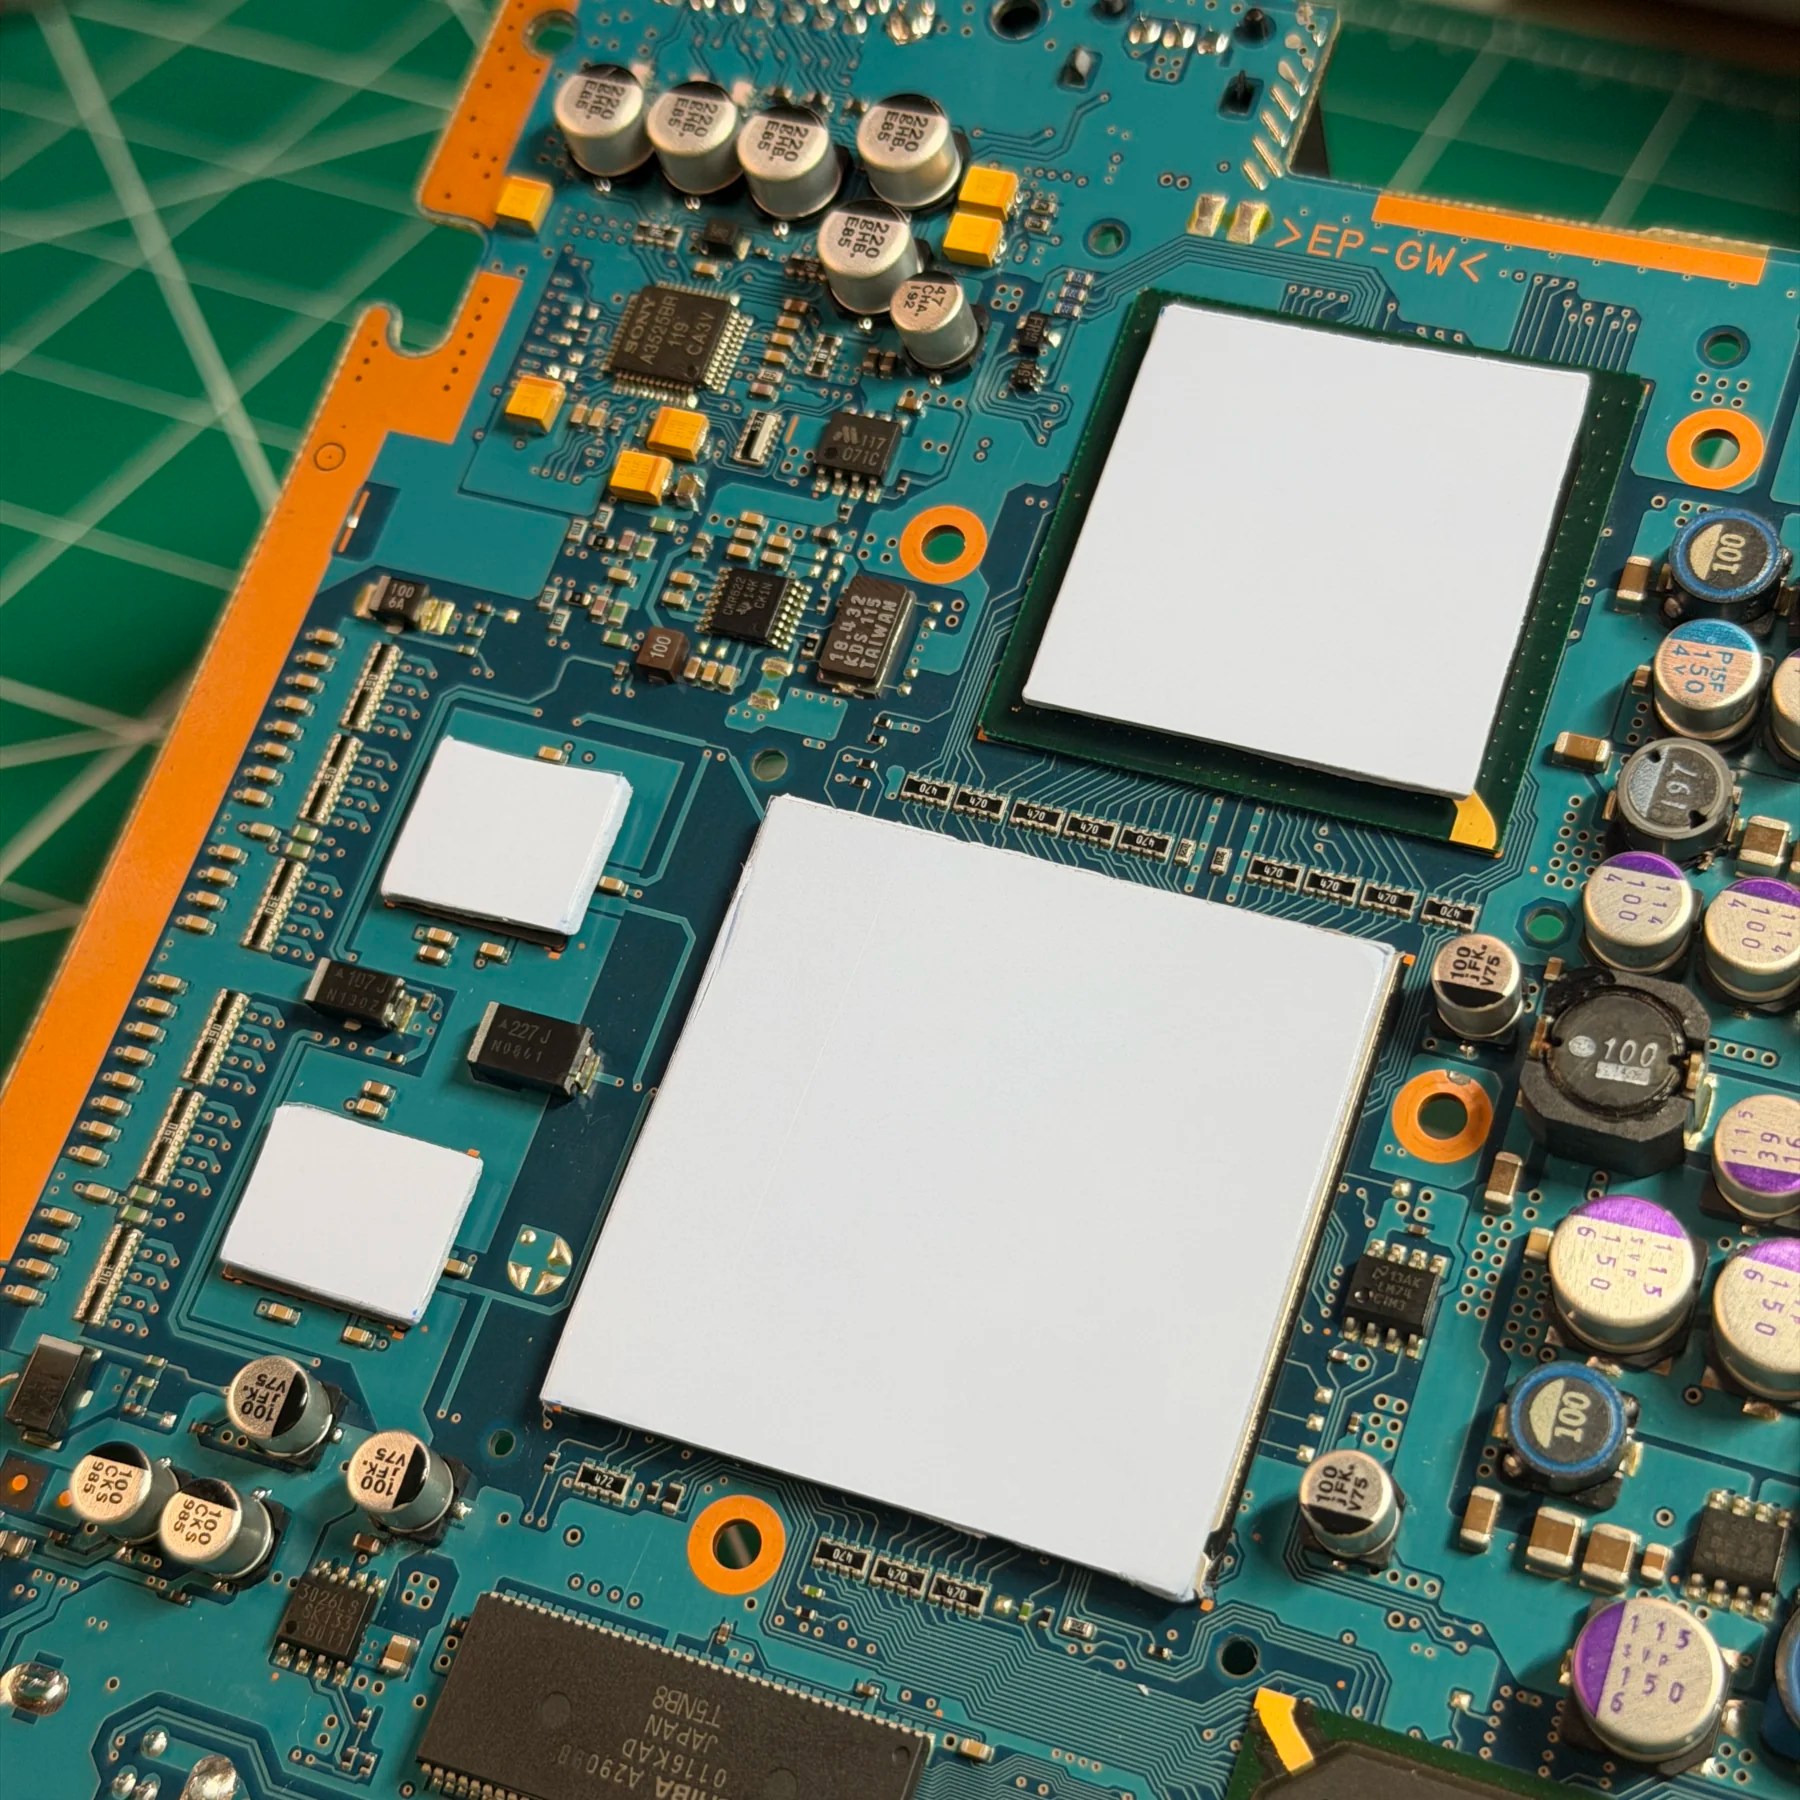
Once I had all the wires soldered on for the Modbo and confirmed I could place the metal shield over it without issue I then flipped the mainboard over and cut some new Arctic MX pads to size and placed on the chips. Once the thermal pads were installed I sandwiched the board between both top and bottom shield and installed all mainboard screws to secure the bundle.
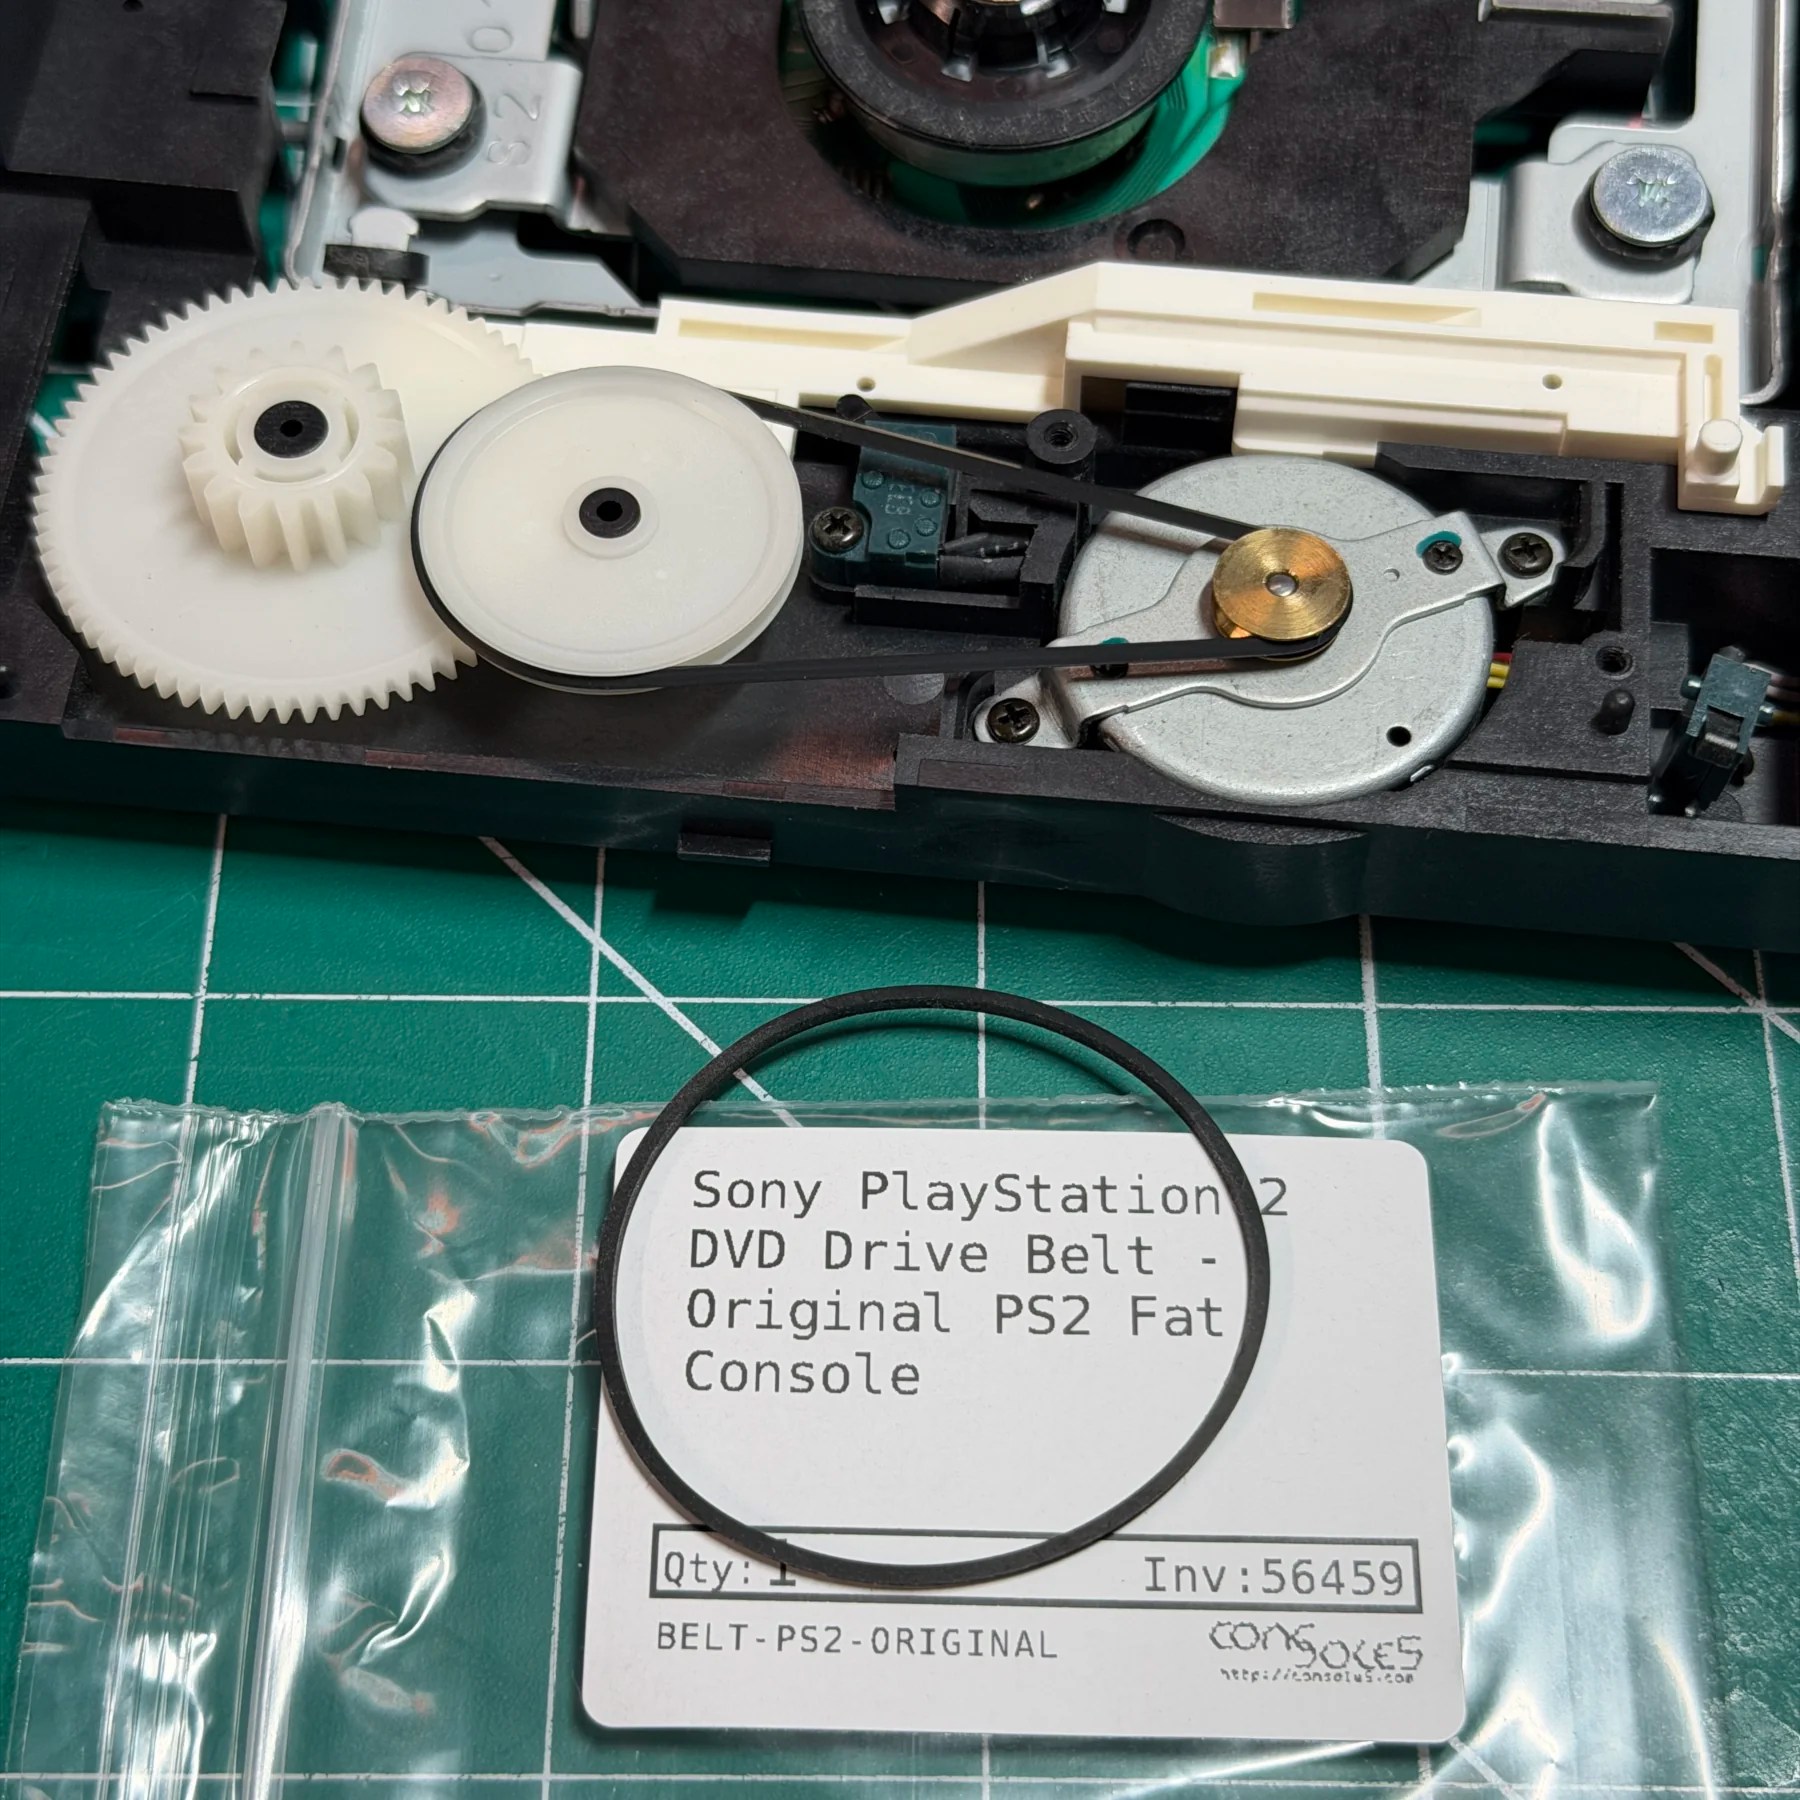
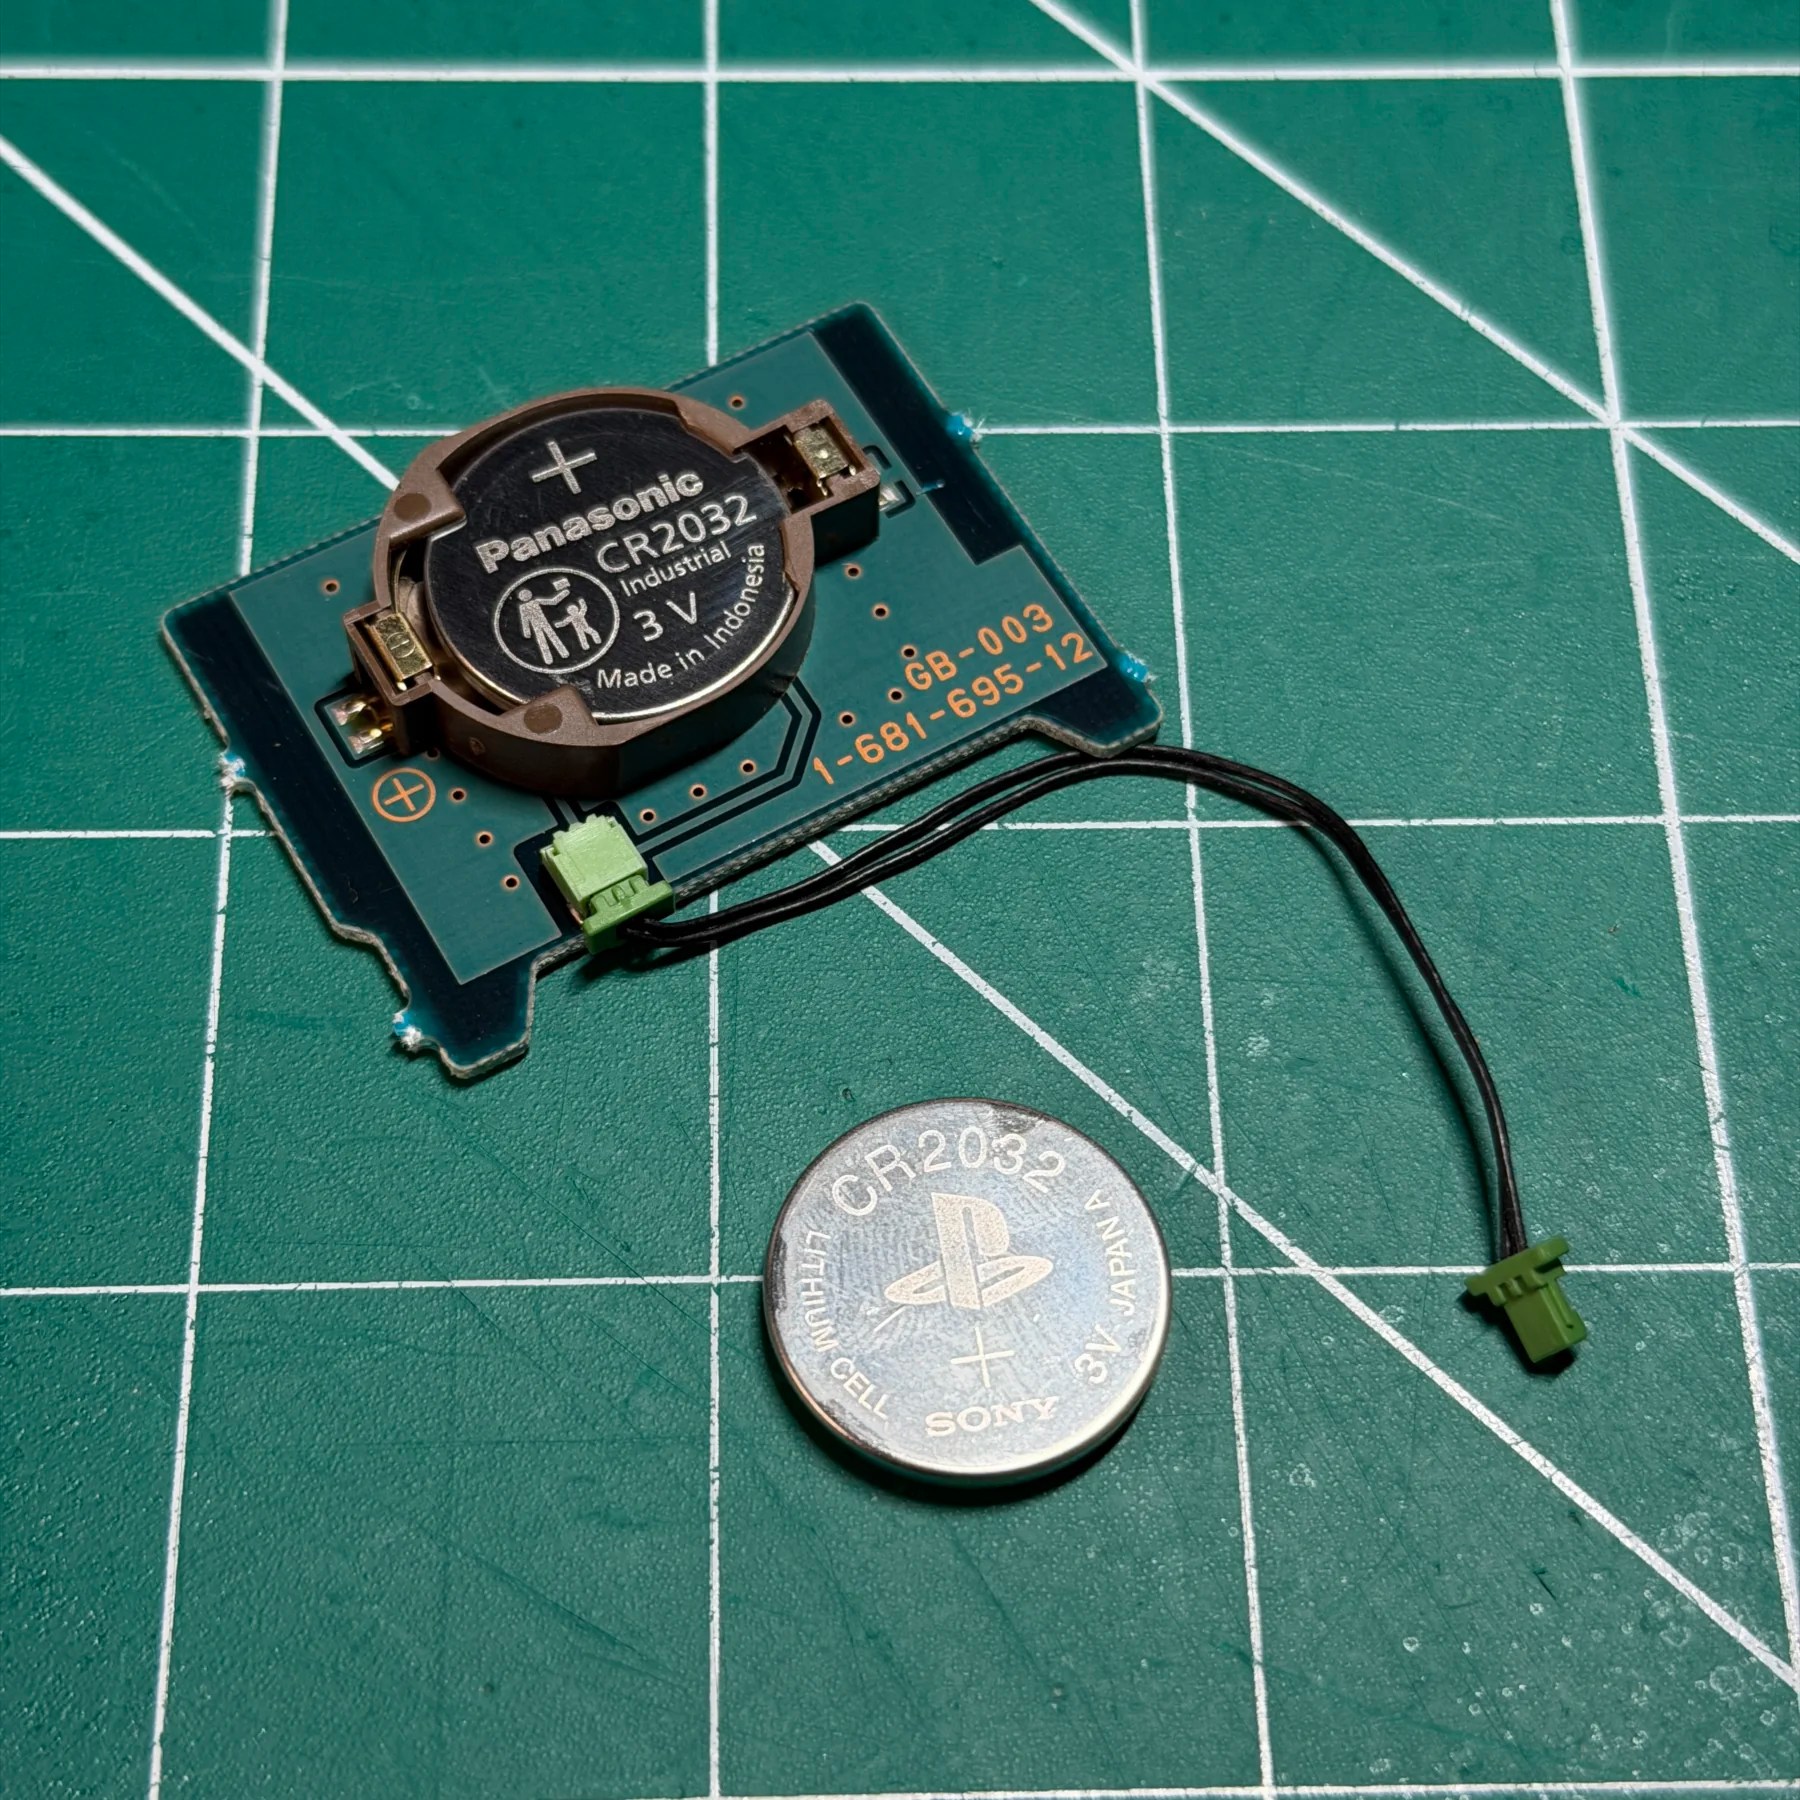
The next step was to service the DVD drive which included a cleaning, fresh grease and new drive belt from Console5. This revision also has the CR2032 battery holder mounted to the side of the drive unlike others where its socketed direct on the board so that got replaced too, so I could then re-attach the drive and its connectors and flexes back to the mainboard and snap it in place.
I put the plastic shield back under where the PSU goes and then removed OEM caps, cleaned the board and installed all new caps on the PSU from a Console5 kit. Once done I reinstalled the PSU and connected the fan and prepped the system for a quick test before final assembly…
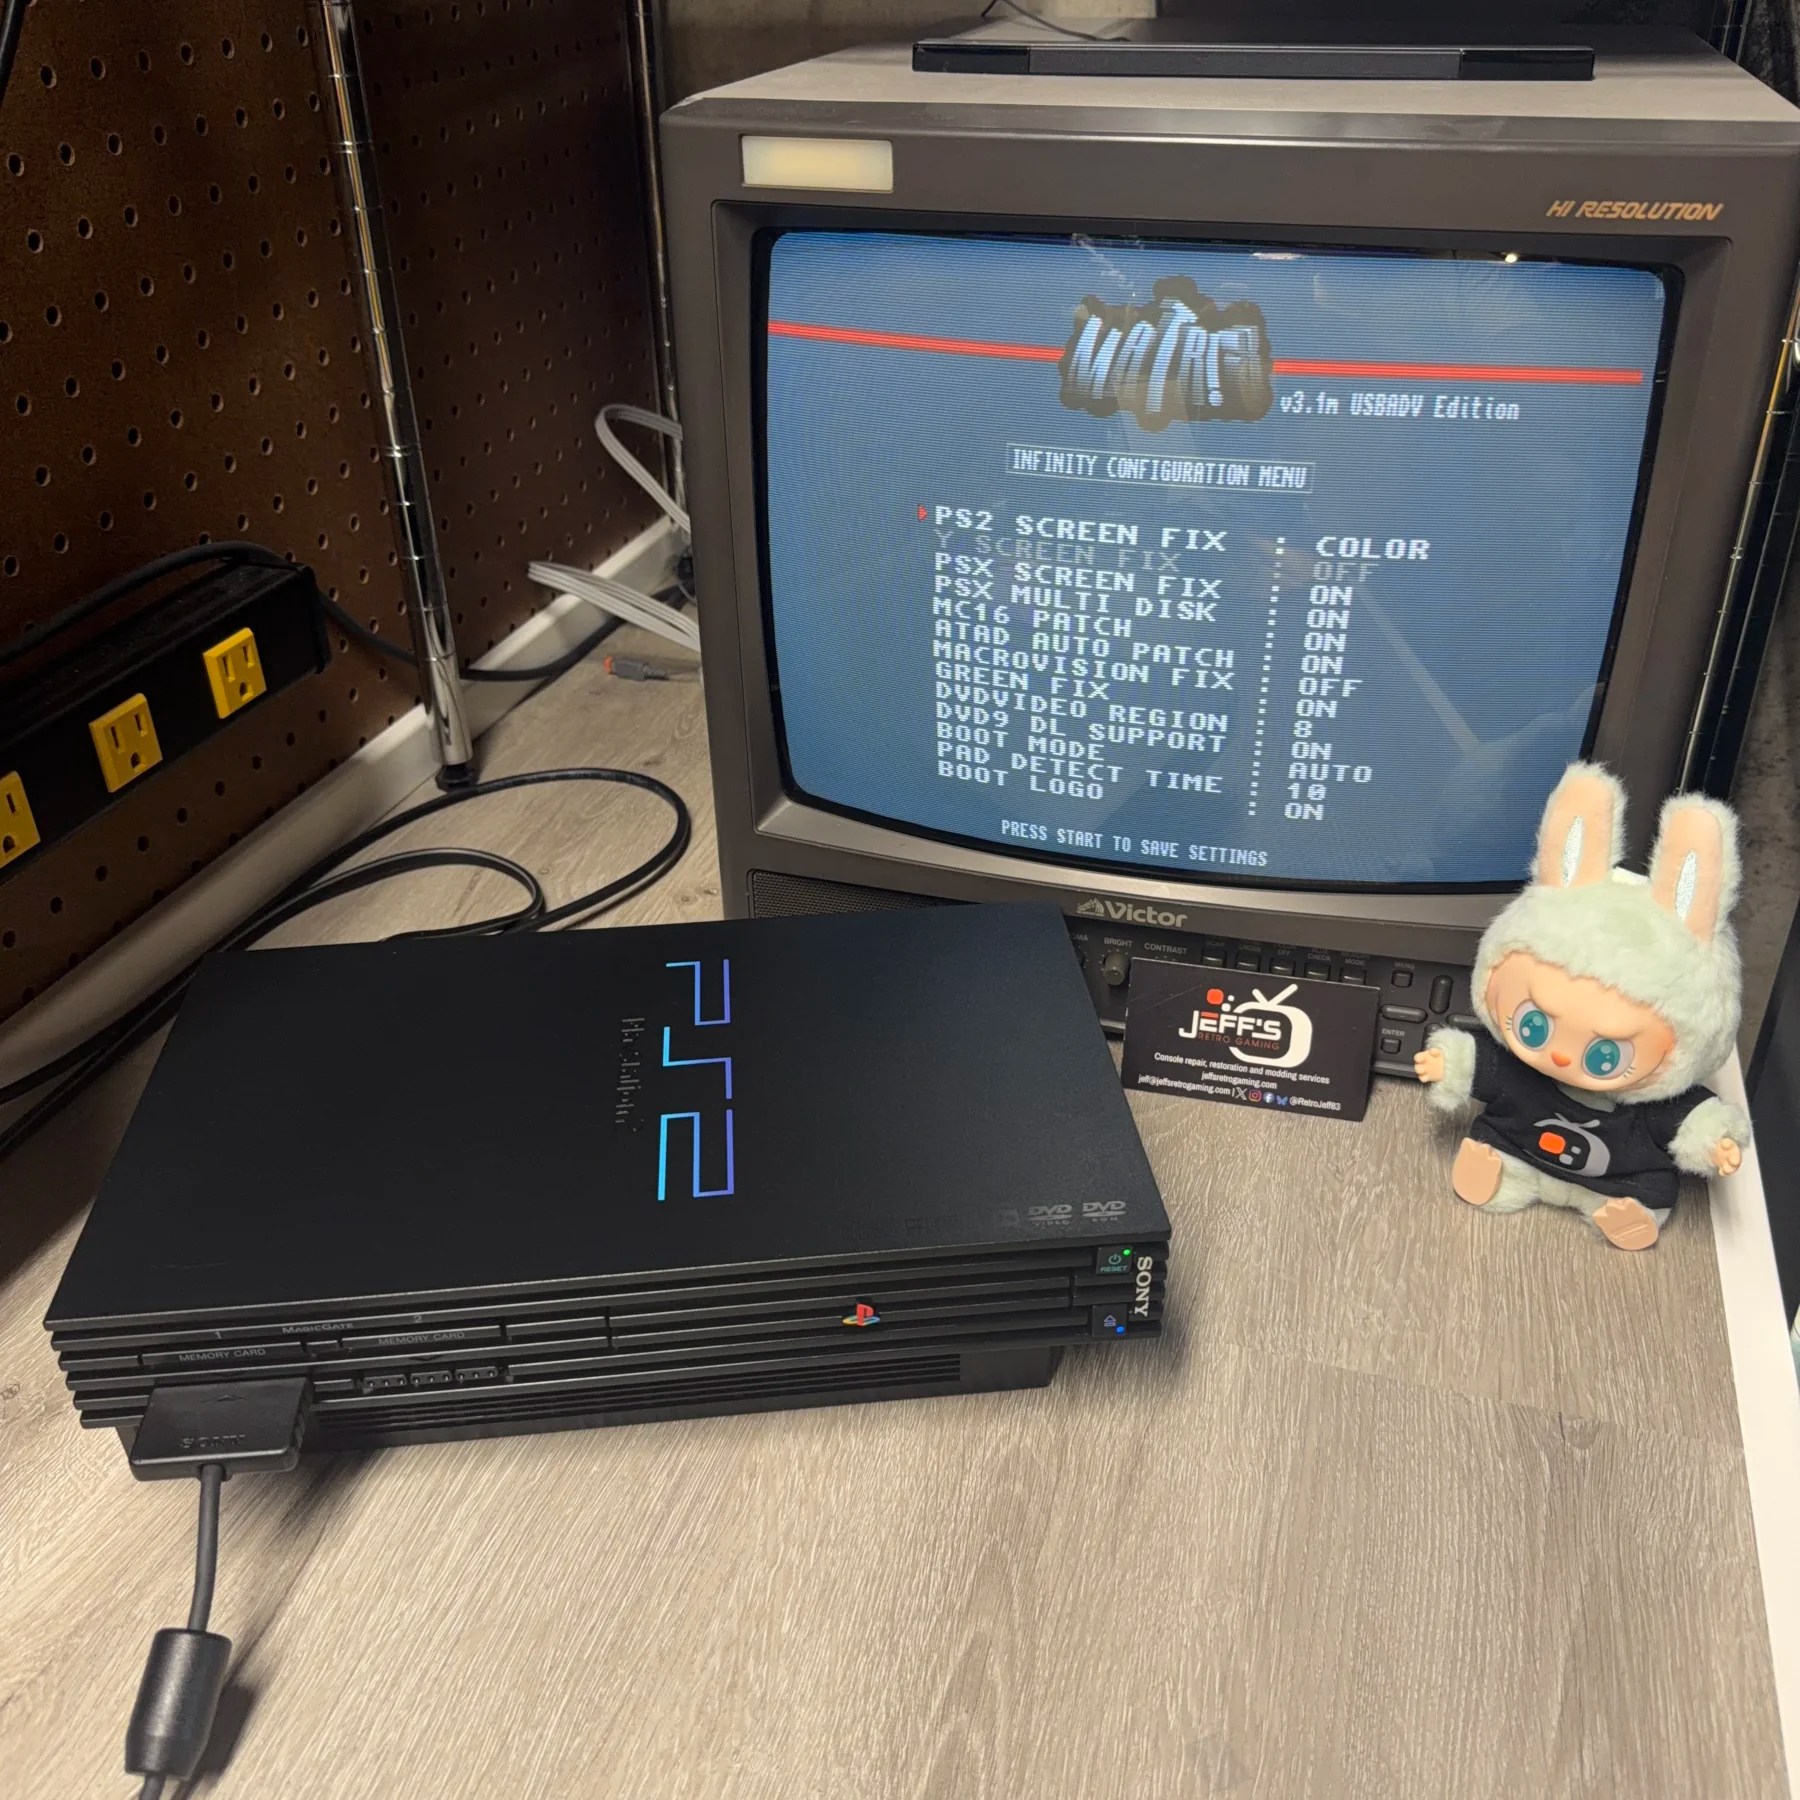
Upon firing it up I was greeted with the Matrix boot logo and then it booted into some screen with an error about a configuration file. Worried something was wrong with the chip I again reached out to IFixRetro and he confirmed it was simply a case of the default config looking for MASS storage on boot and not finding it attached (which is true I did not have a USB stick or drive installed) so I figured out holding Triangle and Circle brings up the menu and you can then change boot mode to “AUTO”. This will boot the stock PlayStation screen unless you hold a certain button during boot to load USB or another option, which seems like the ideal scenario for most users. At the very least, it allowed me to confirm the drive worked and system was fully operational and the customer can always access the menu and change it later if they like.
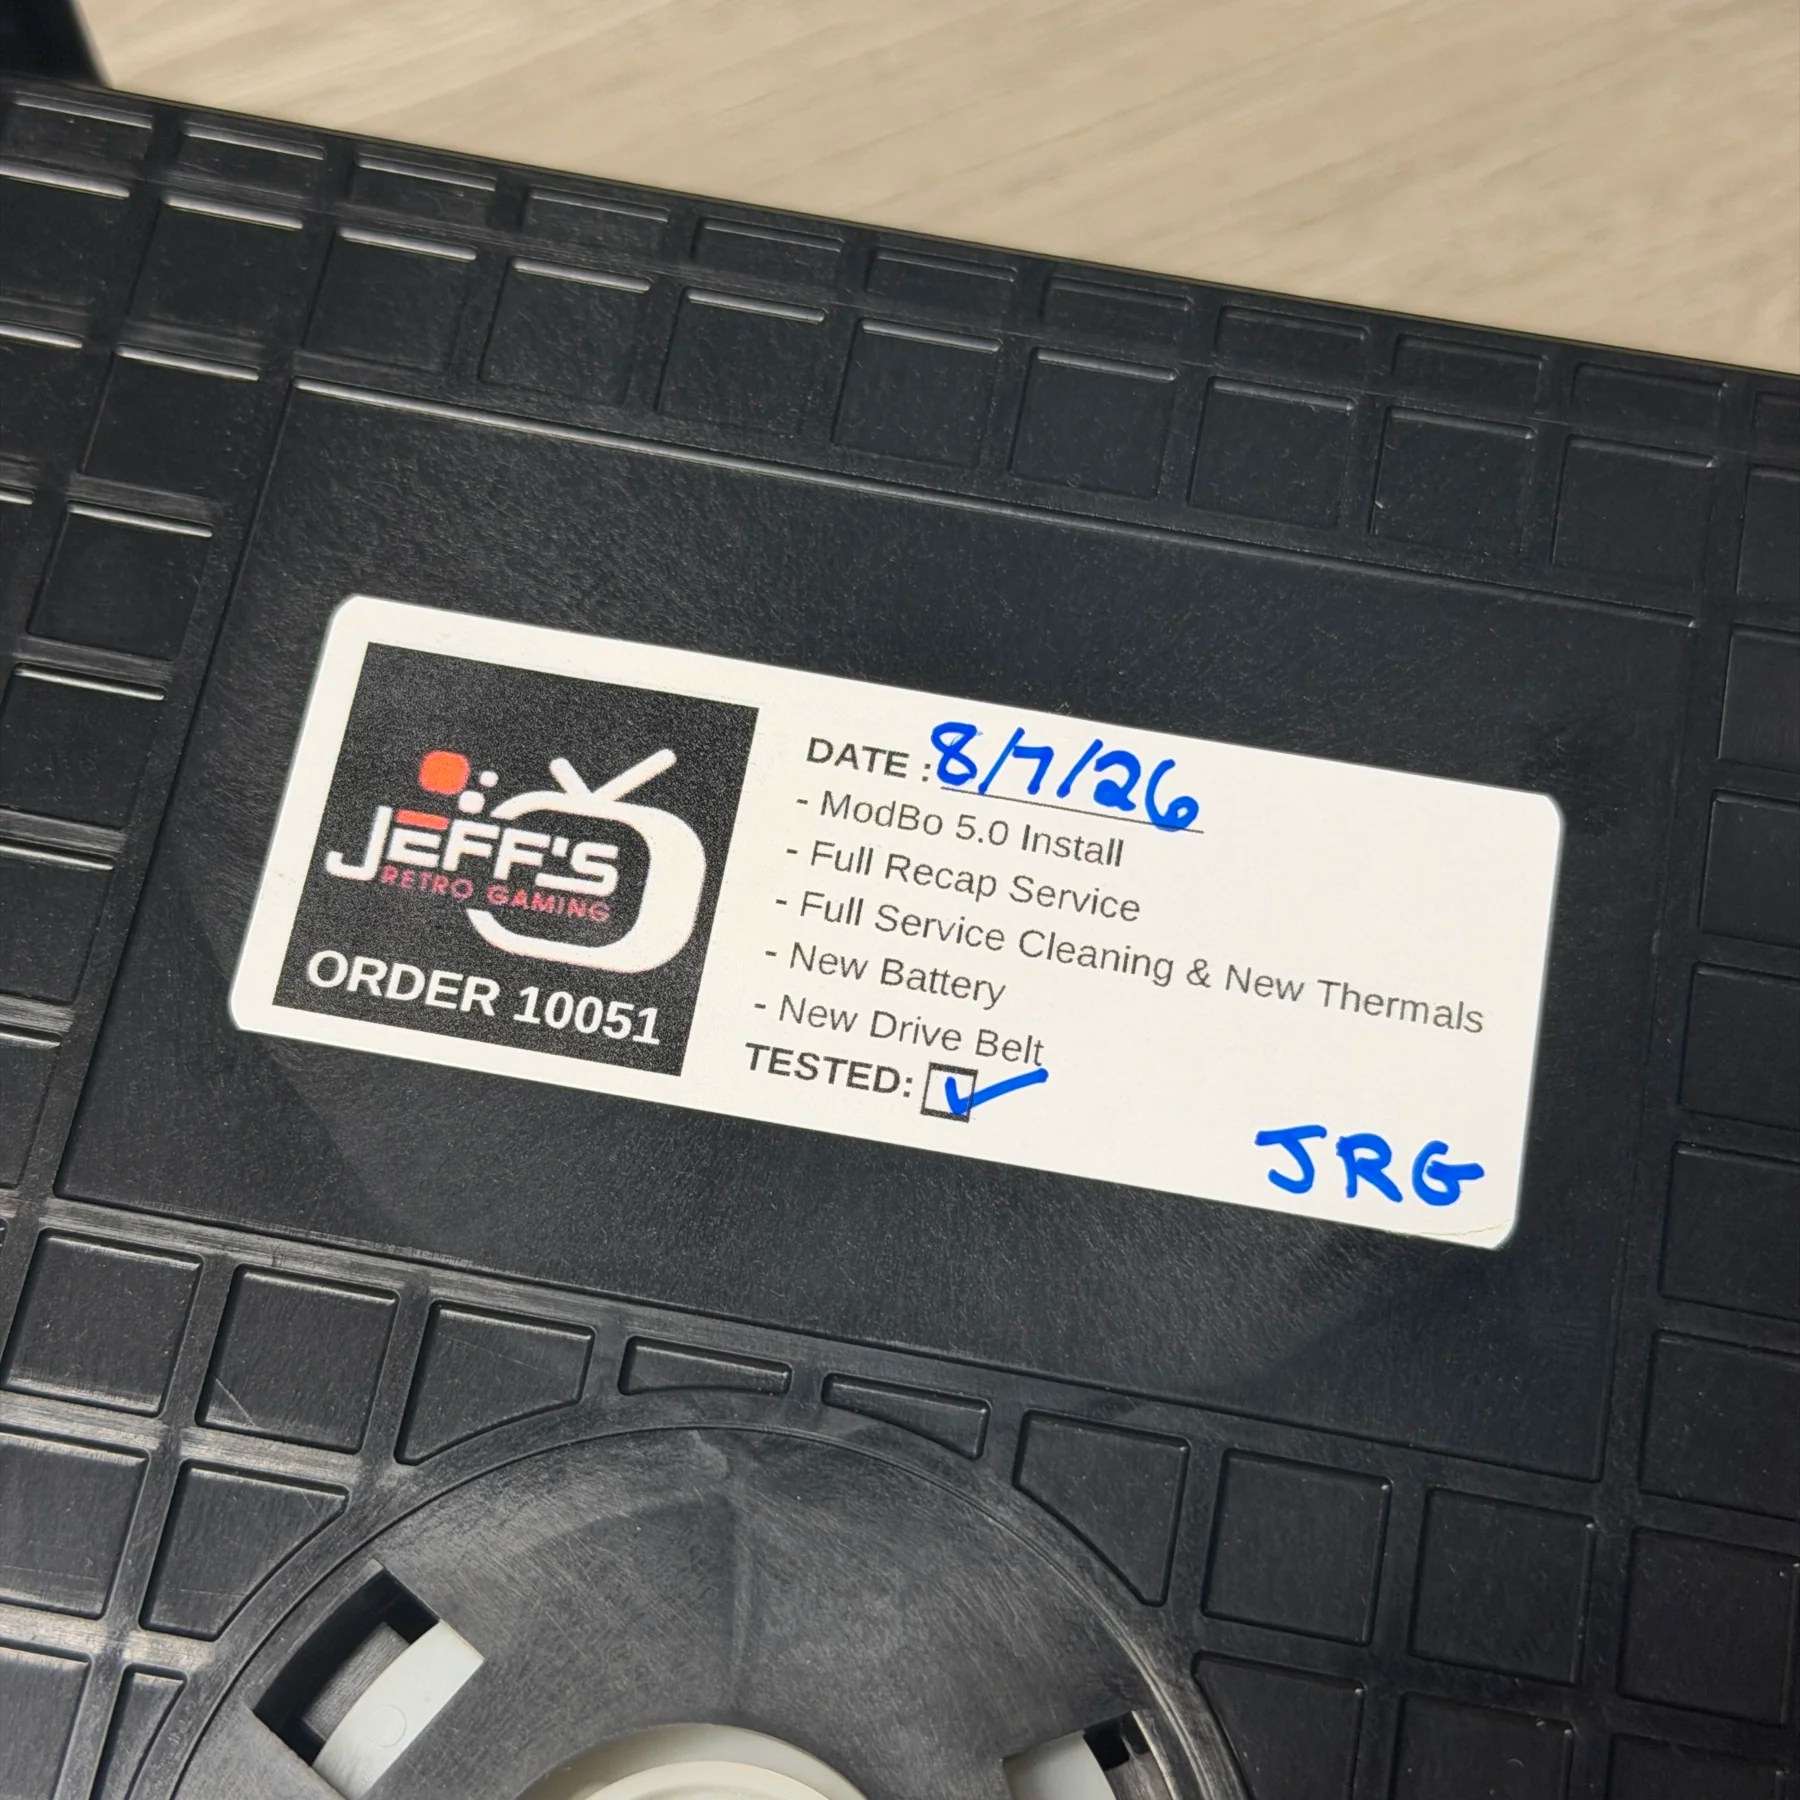
With operation confirmed I put my sticker in place, hooked up the controller board and eject/reset buttons and finished the fully reassembly. I then powered it on, let it run for several hours and played a few games, as well as ejecting/inserting the tray over and over with the new grease as I had observed it struggling prior.
System was running great so I wrapped it up and that’s a successful first Modbo install in the books!