
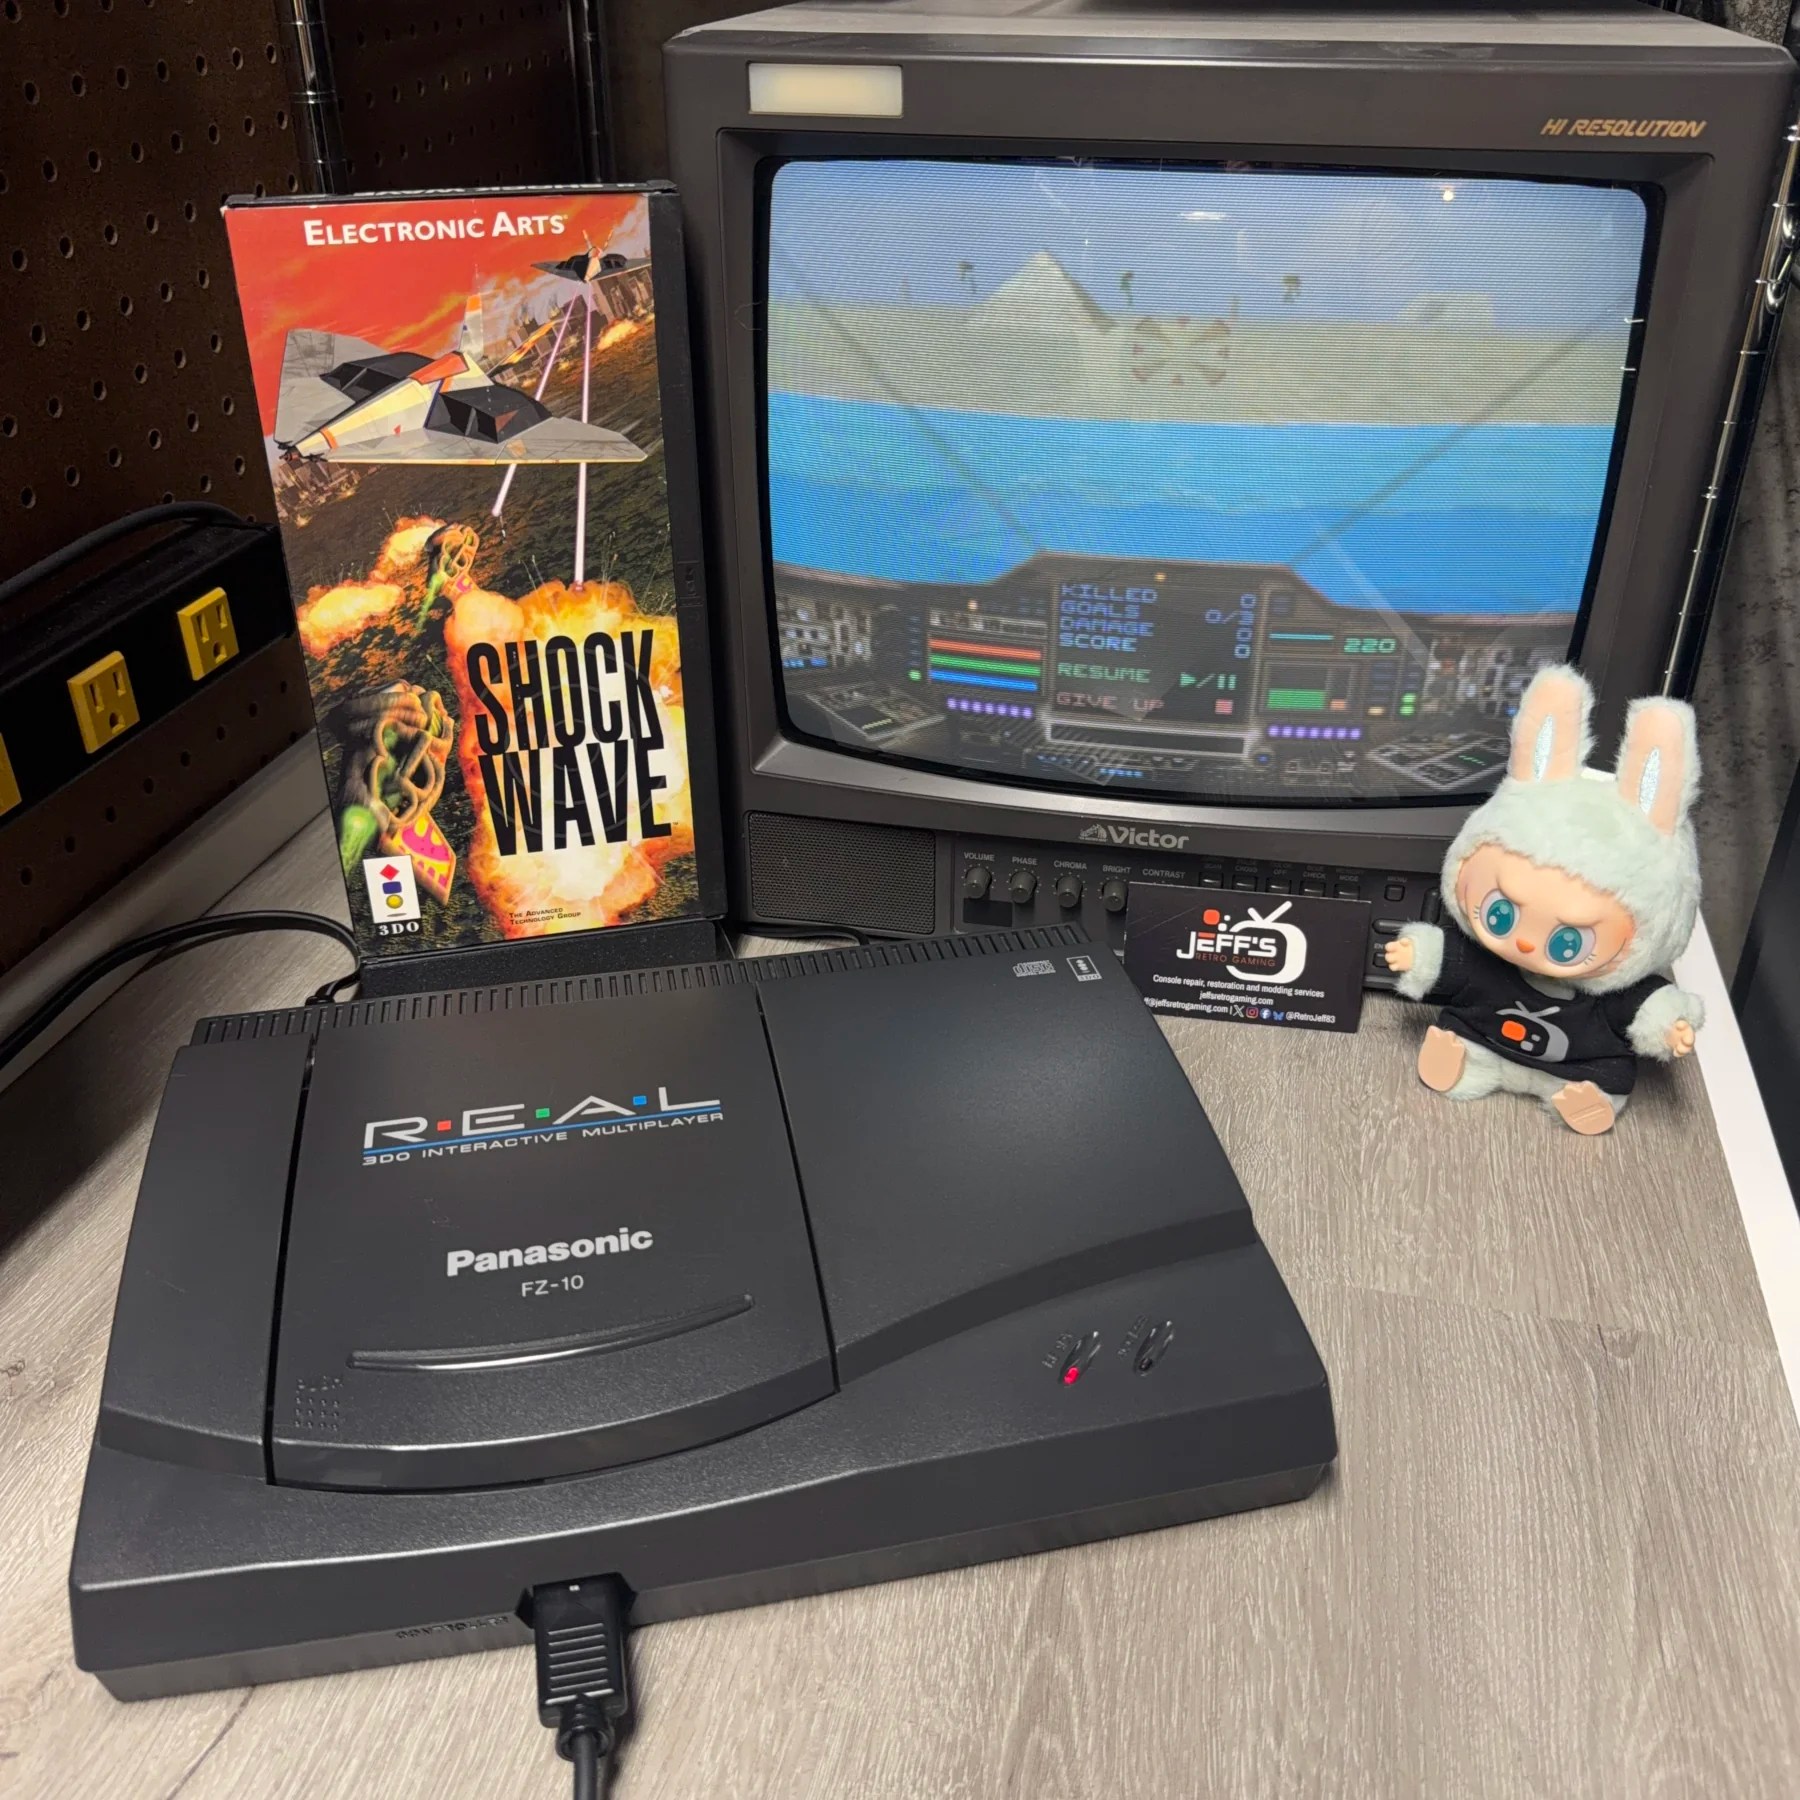
I don’t get 3DO service requests all that often compared to a lot of the other systems but It’s a personal favorite of mine so I’m always excited to see one show up in the waitlist!
Customer was looking for a recap, battery mod and cleaning but also mentioned the drive was not operational. We discussed a few options not knowing what to expect with the original drive but the agreement and plan was to try and salvage it at all costs, then if we had to install an ODE we would go down that road. Since I didn’t want to then have to wait for shipping from AliExpress on the ODE I went ahead and ordered the best solution I could find so it would be here if needed.
I work on enough of them I will absolutely find a home for it at some point either way! Luckily in the end the drive was reading ok and it was a mechanical issue, read on for more…
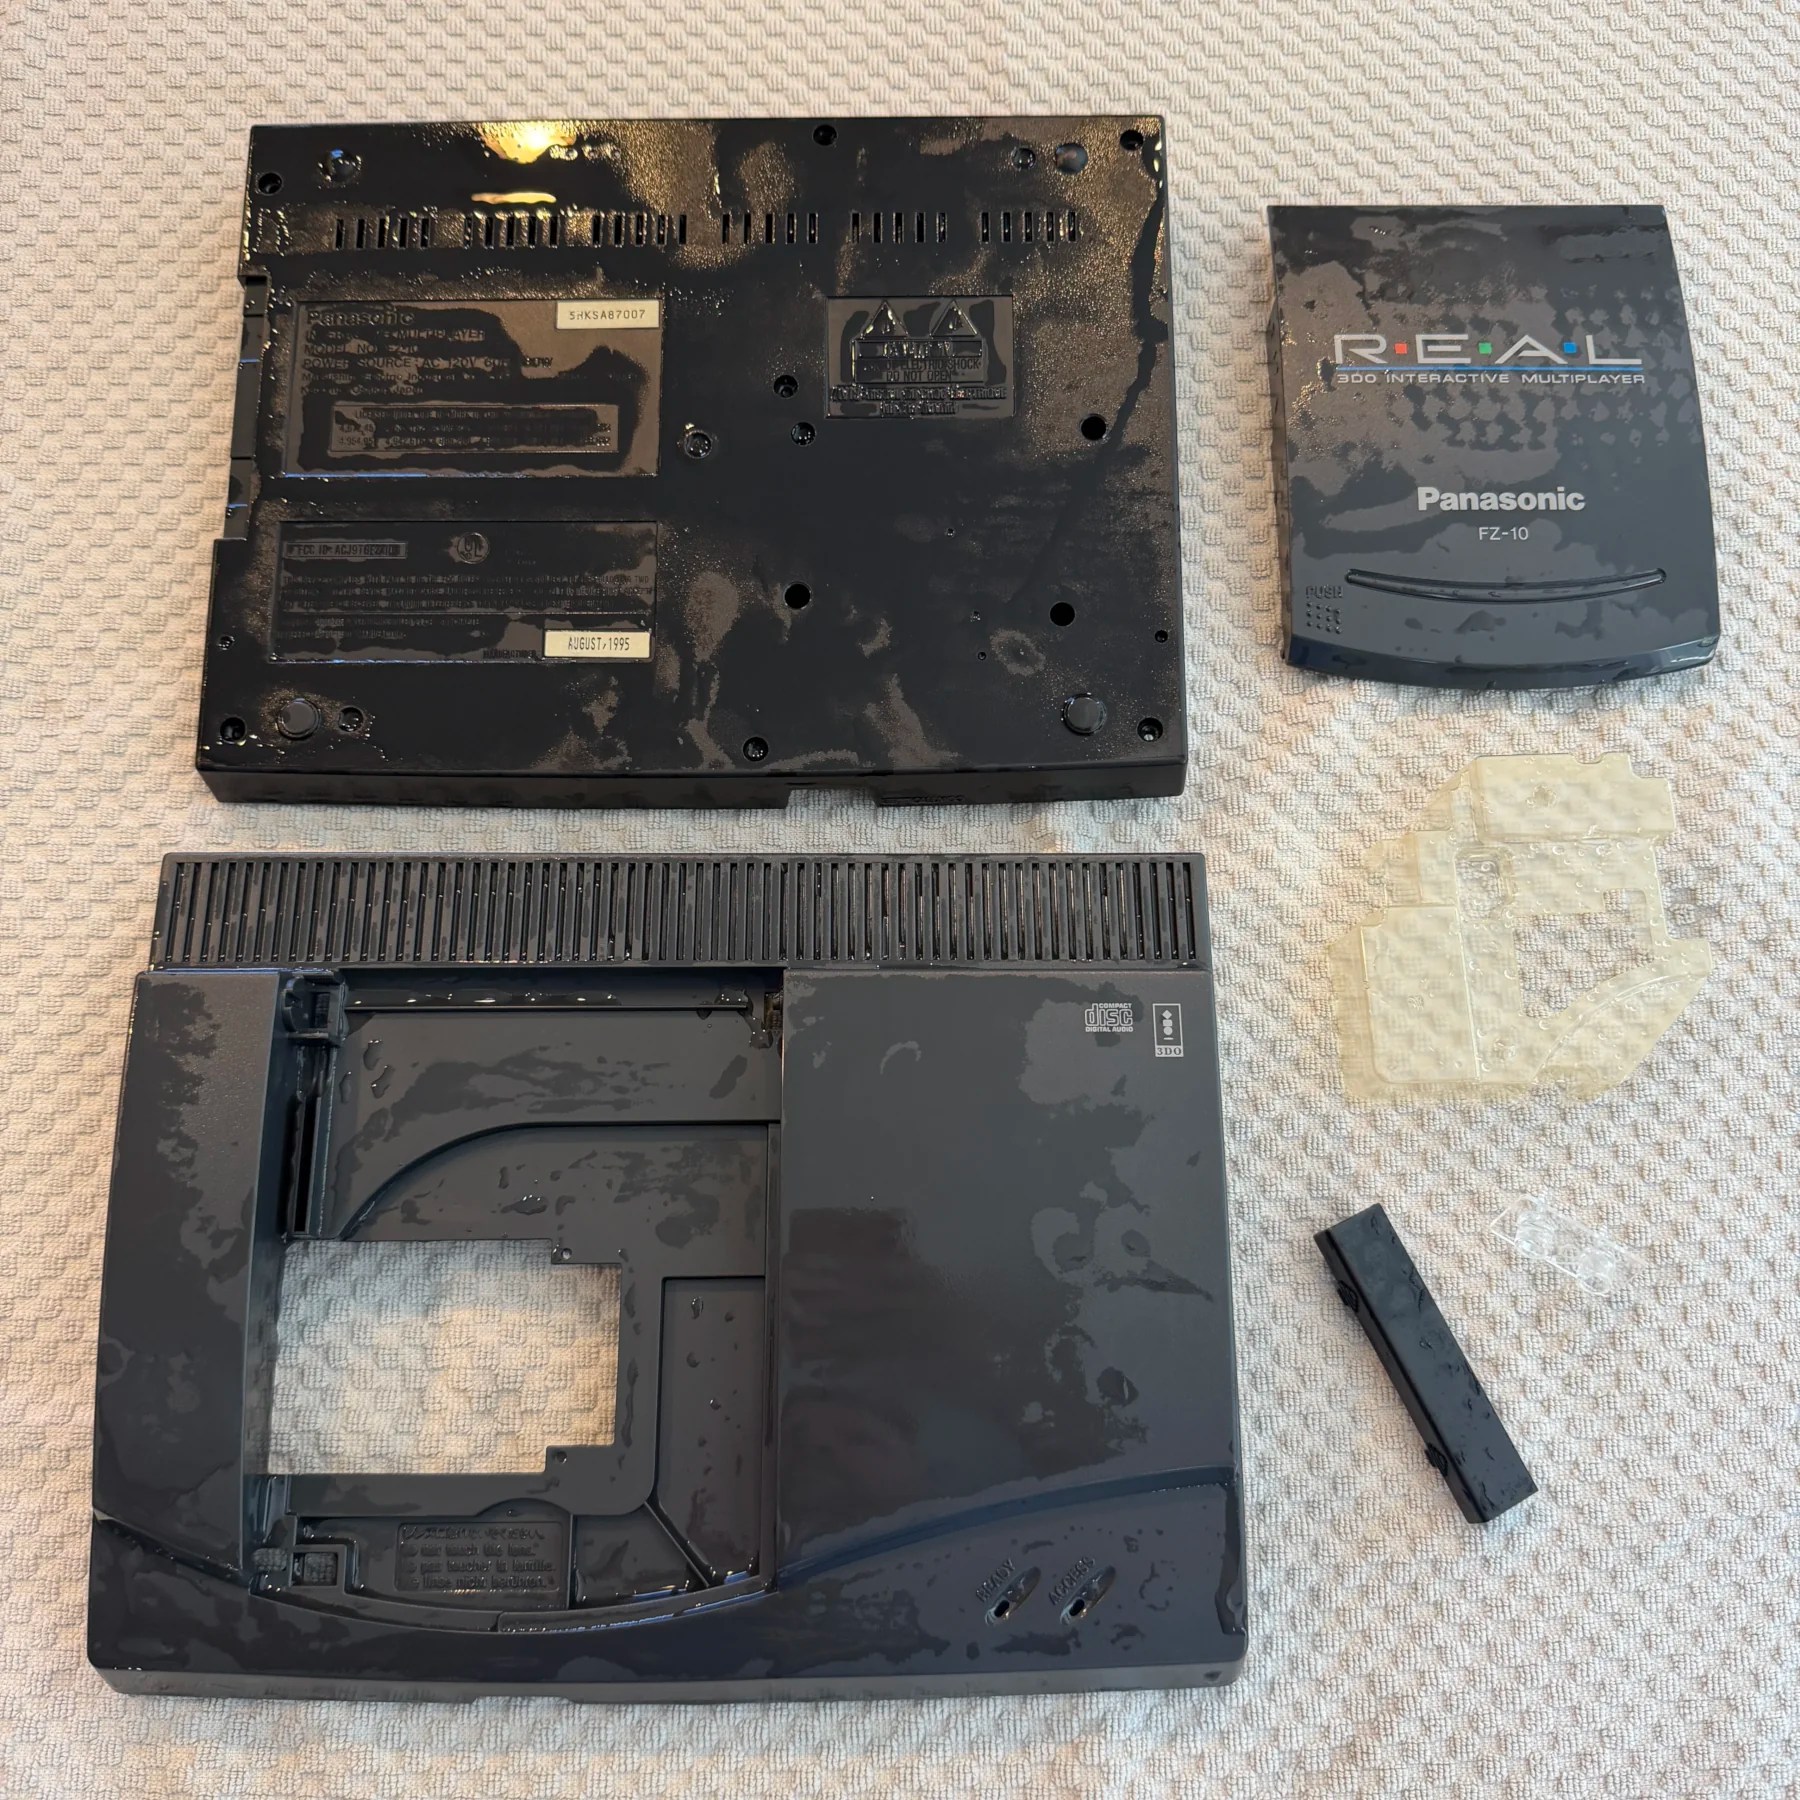
Since we were going to come out of this with a working 3DO either way and no matter what completing all the other work requested, I treated the job like any other and started with a full teardown of the shell and plastic parts to get them soaking, washed and set aside to dry overnight.
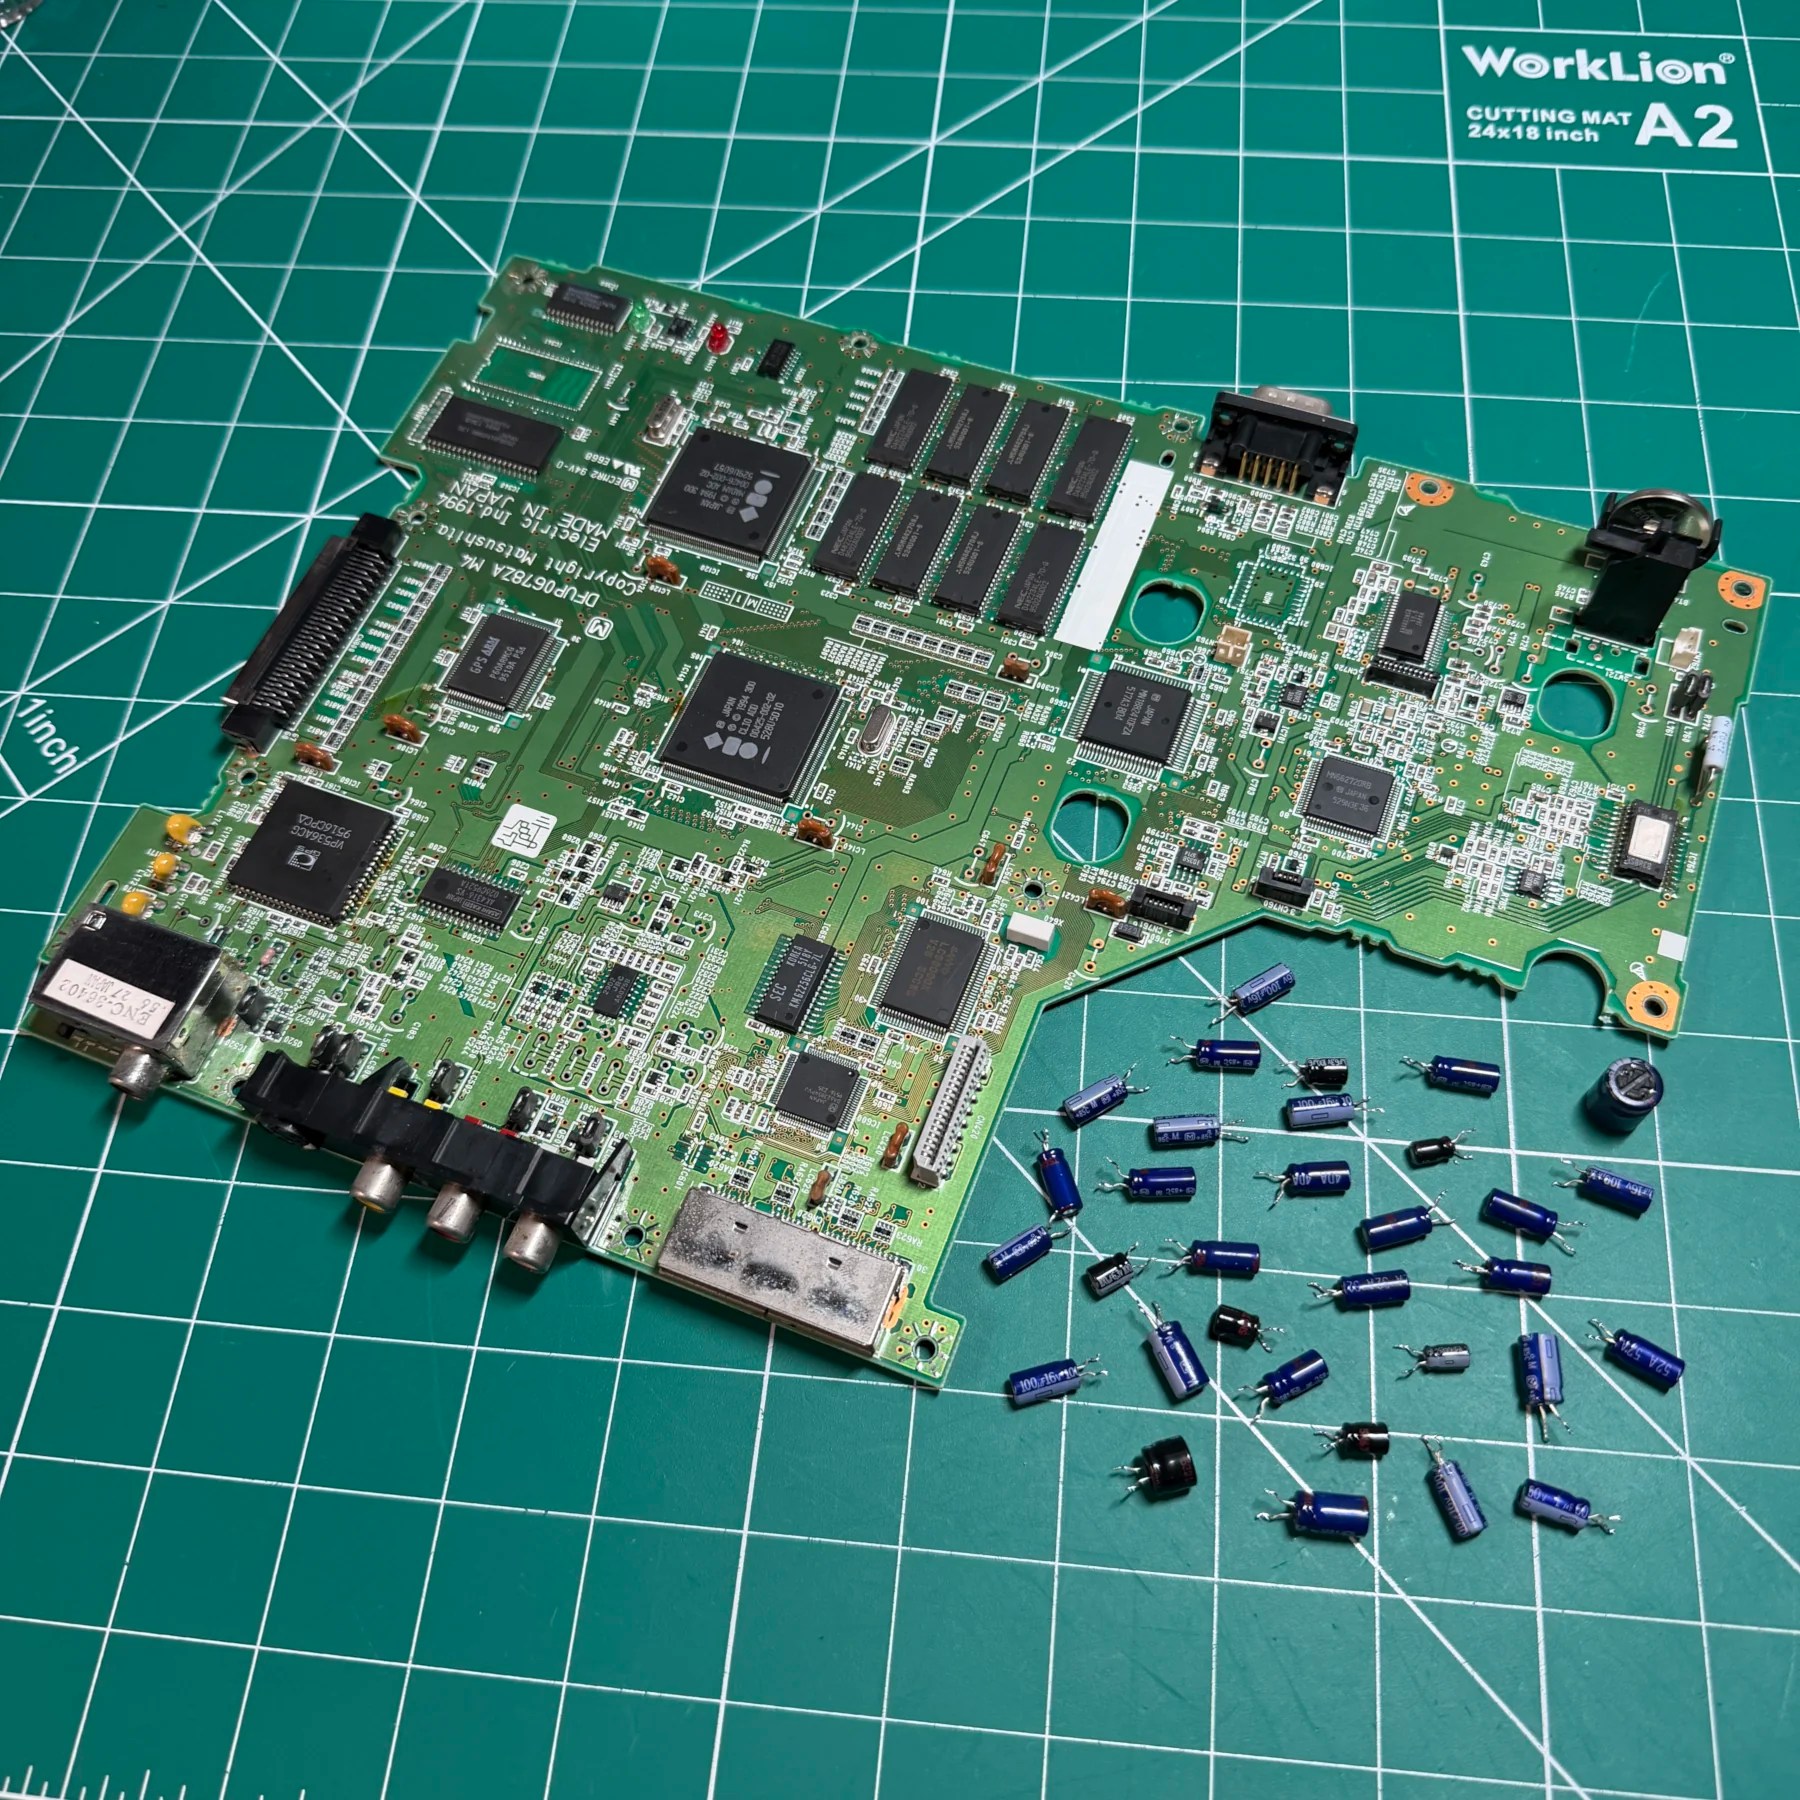
Once the innards were removed and separated (optical drive has many connections and PSU is also a separate board unlike the FZ-1) I took a quick assessment of the mainboard to ensure no major issues and started the recap.
The FZ-10 has a decent number of caps on the board but all are through-hole so quick and easy to remove with my Hakko gun. With all the caps removed I deep cleaned the board top and bottom and then opened the Console5 cap kit and installed all the new caps.
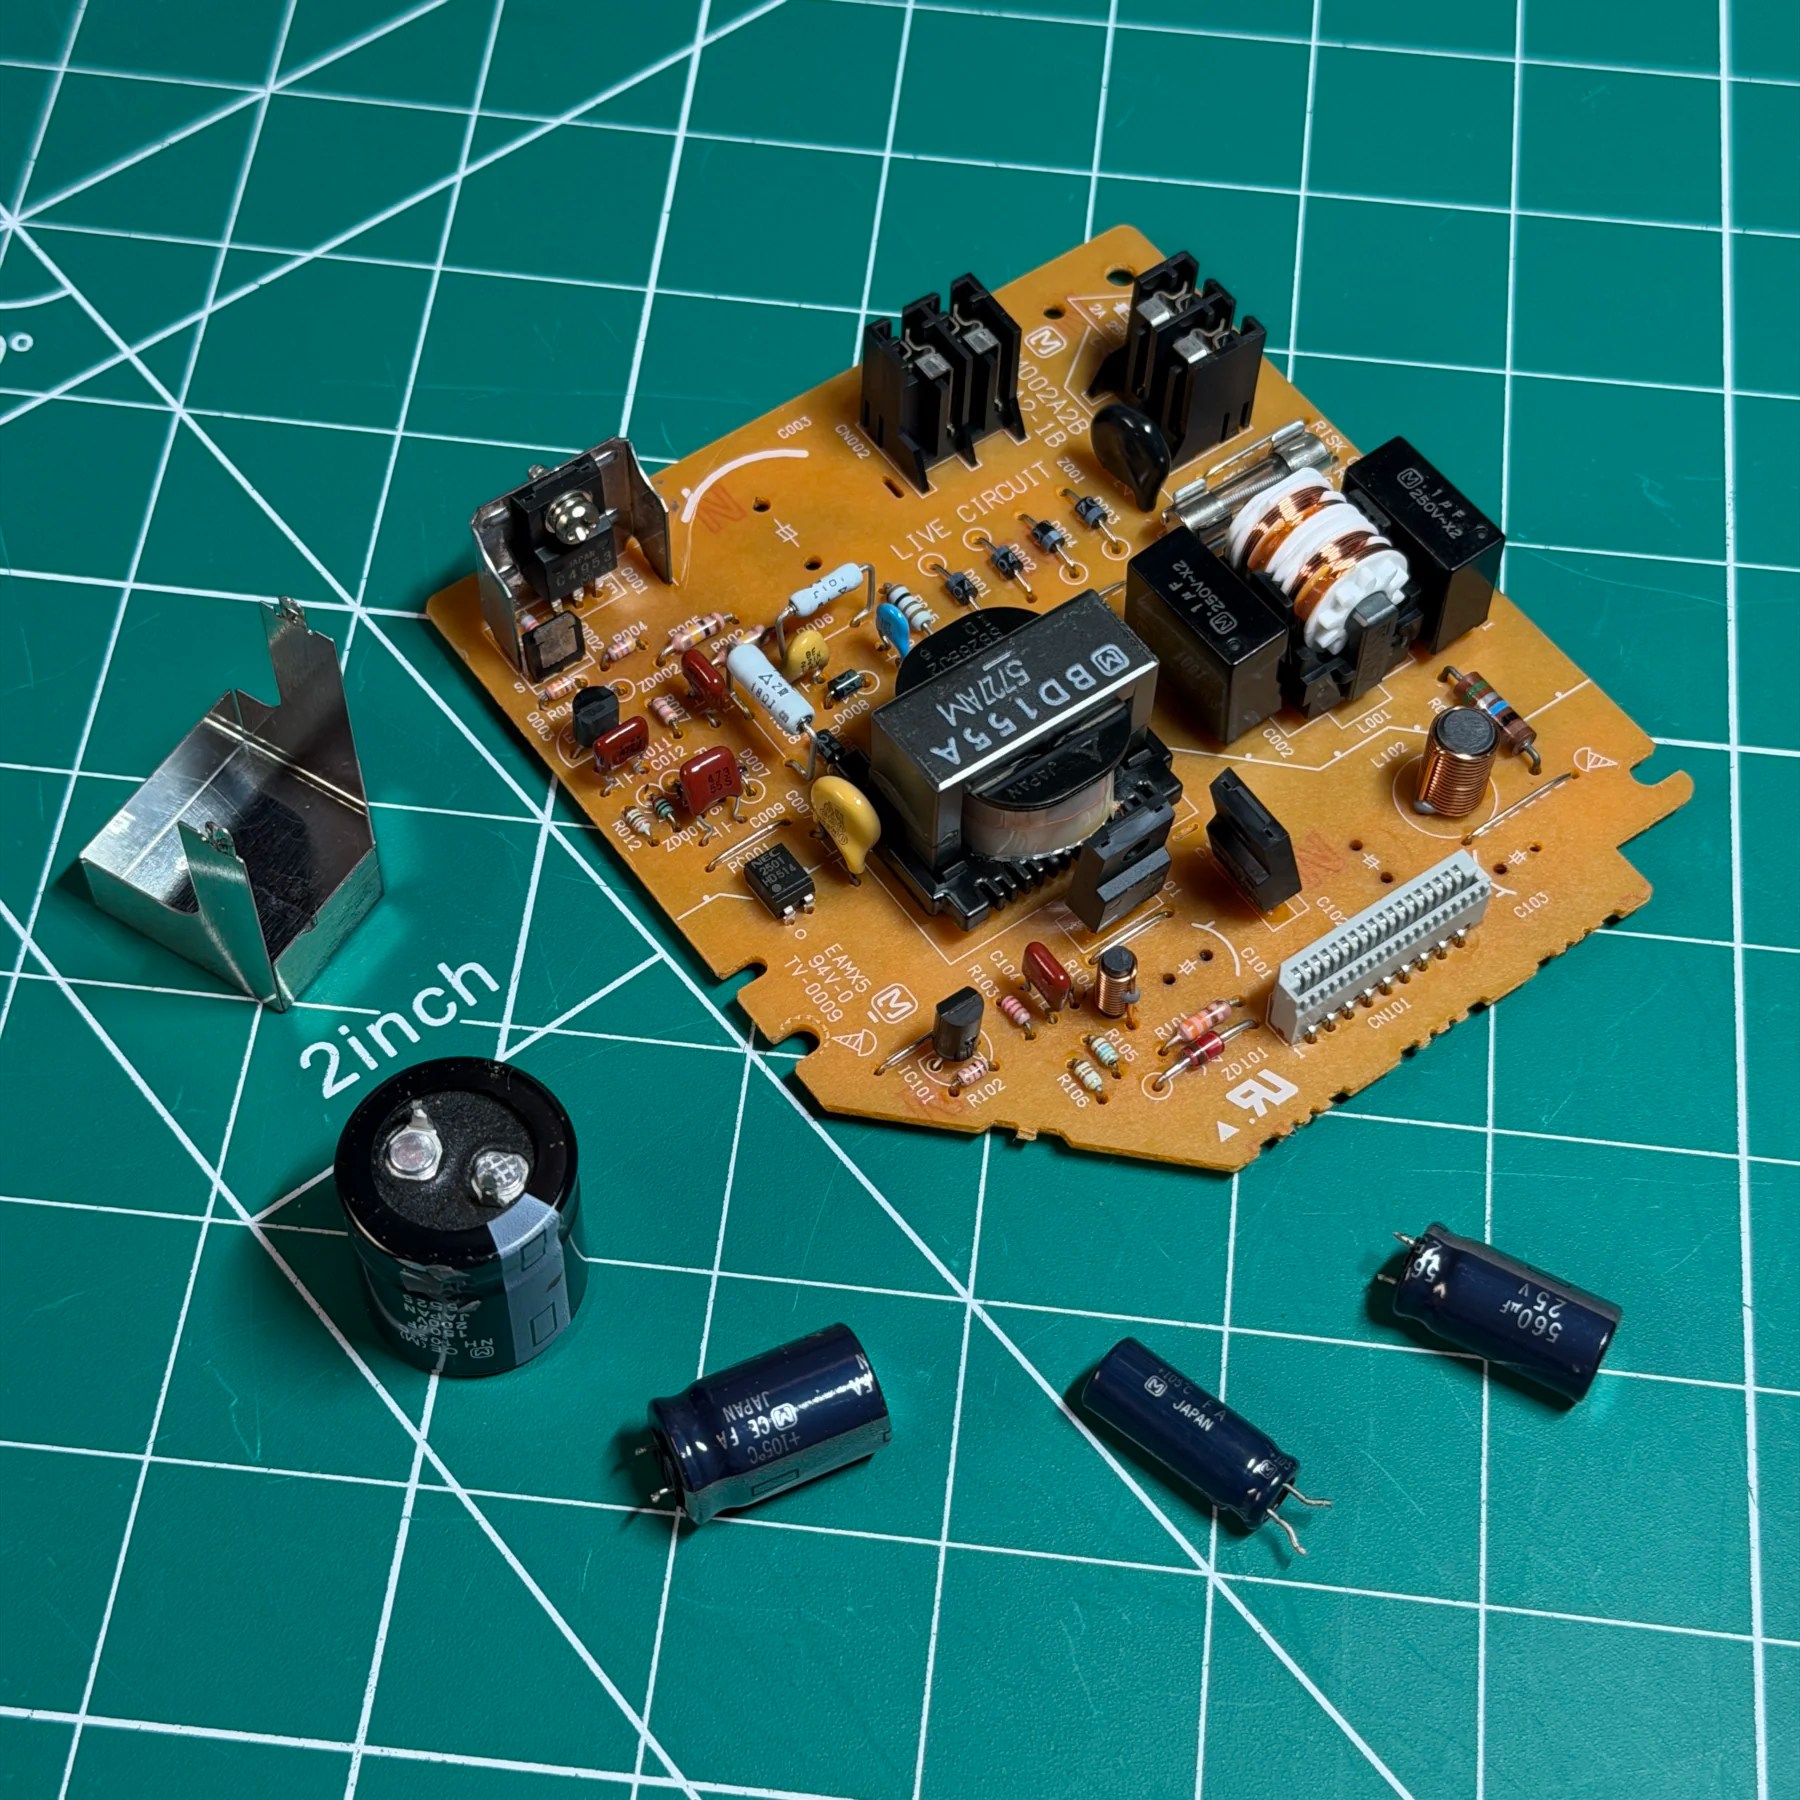
I then moved over to the PSU board which is a small board in the corner and only a handful of caps to deal with. I was again able to make quick work of them with the Hakko, cleaned the board and then soldered in the remainder of the cap kit and set the PSU board aside.
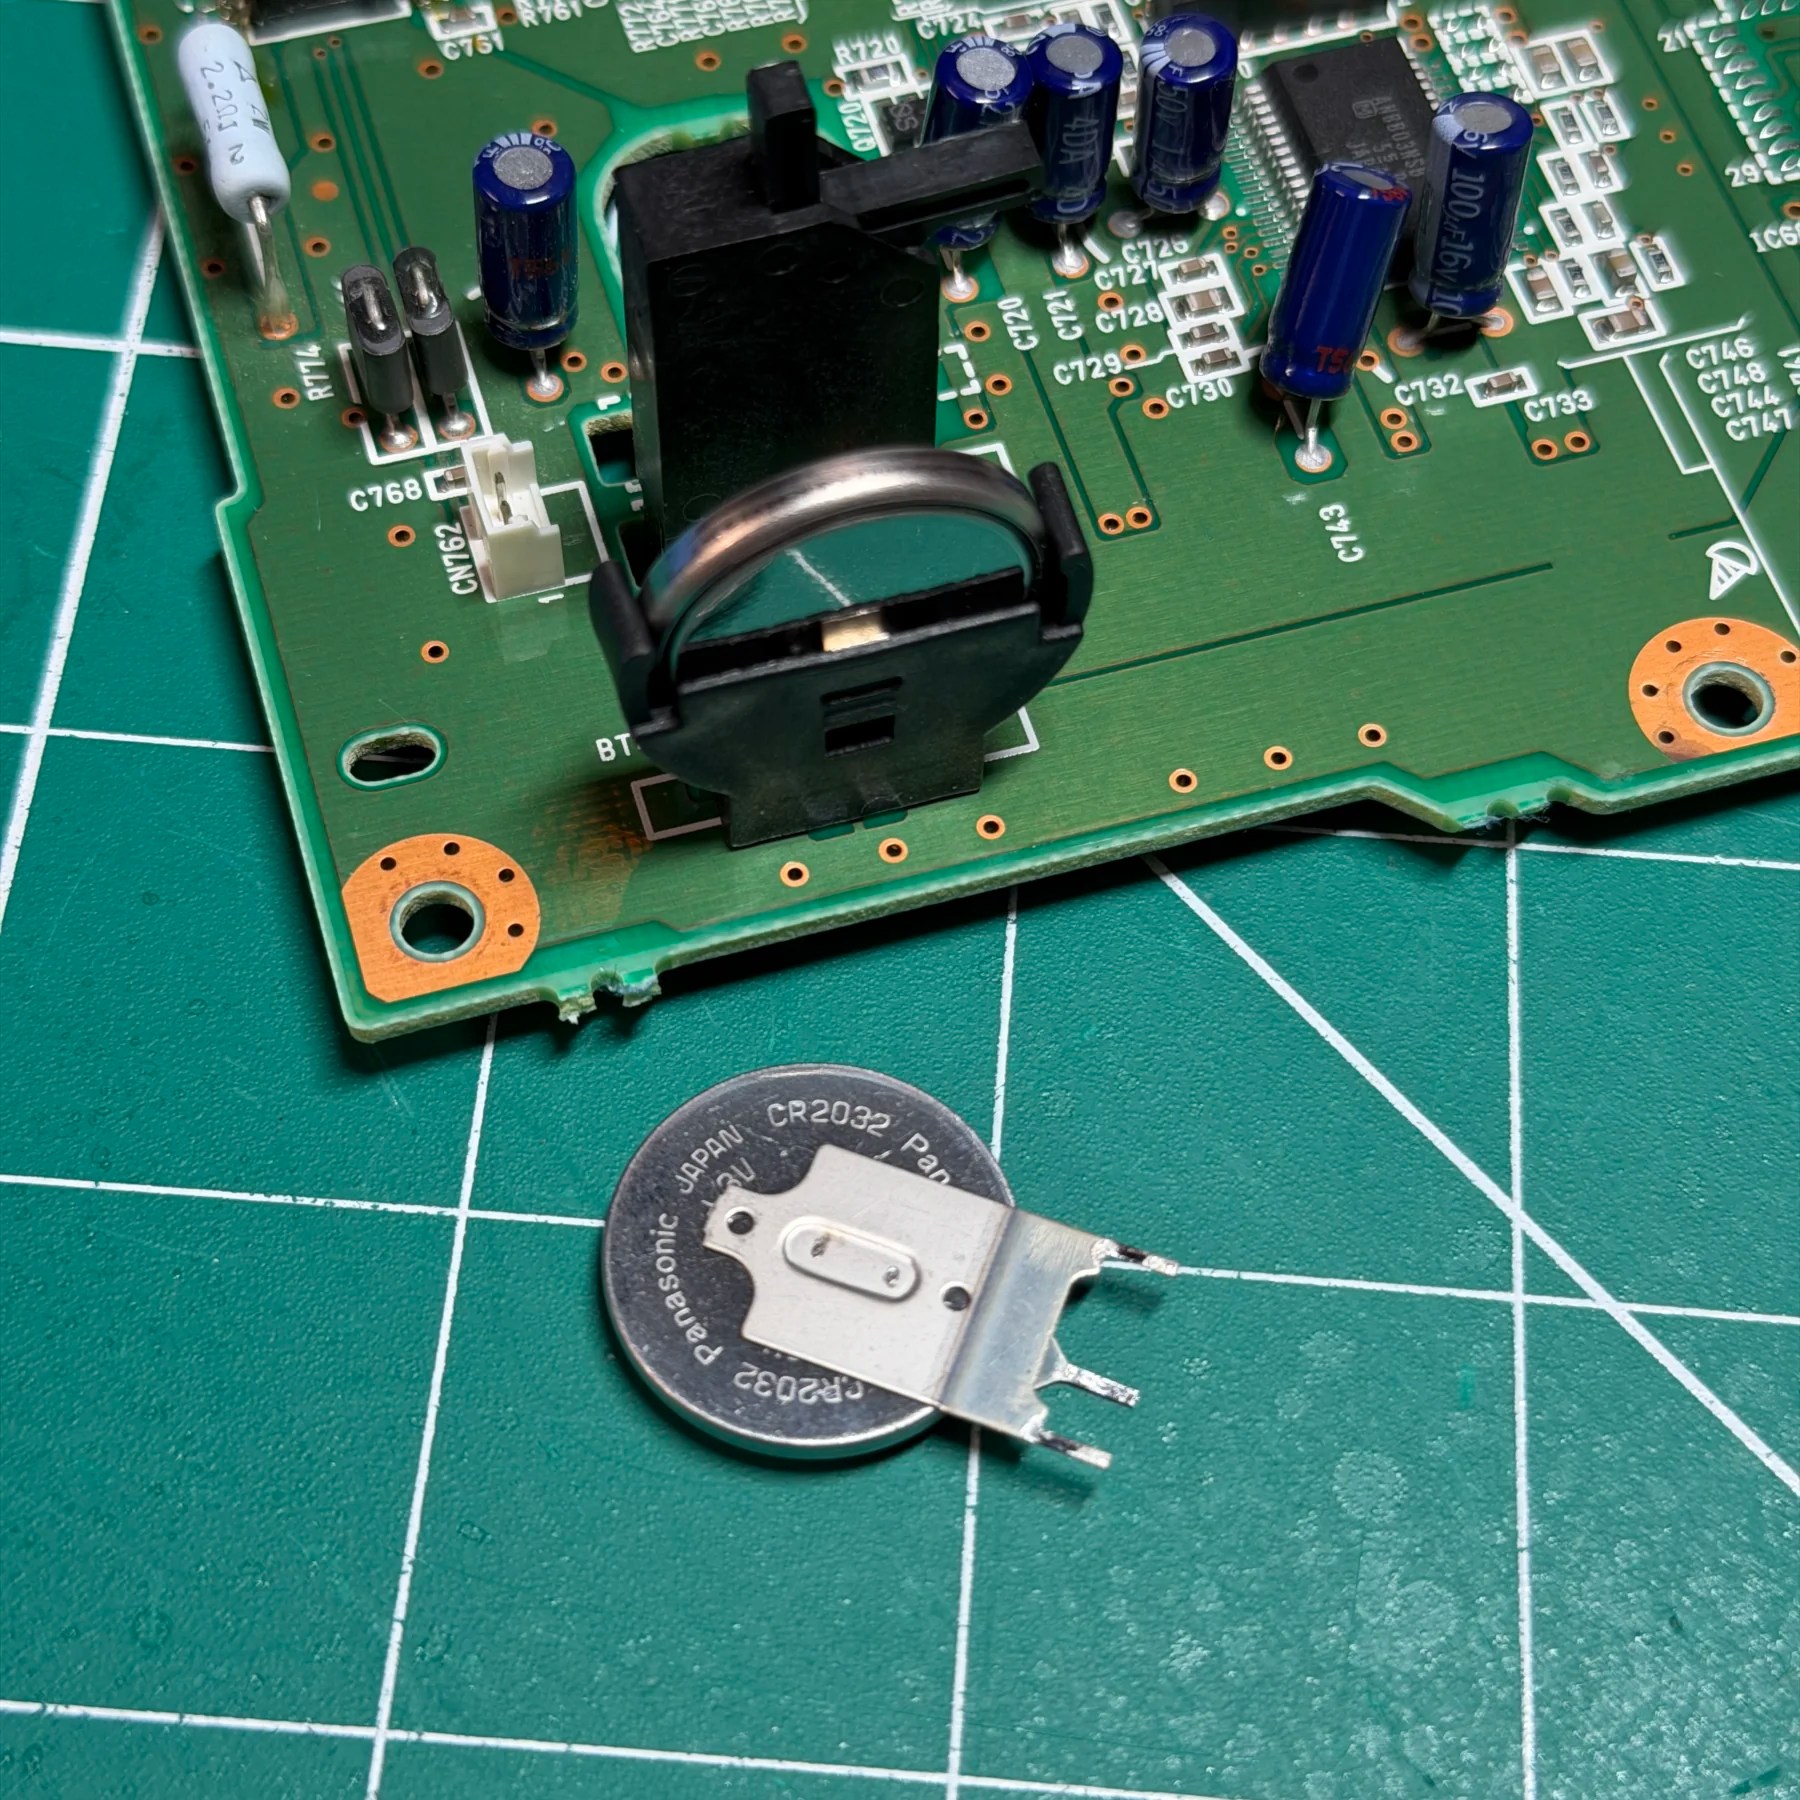
Now it was time to tackle the battery mod and optical drive. The battery mod is easy, the original is a tabbed CR2032 soldered in vertically so I just remove it with my Hakko gun and install a vertical coin cell holder, identical to the ones I use on the Dreamcast battery replacement! After it’s installed in goes a brand-new fresh Panasonic CR2032 and that part of the job is done!
Next up was the optical drive so I started looking around to see if there was anything obvious, and at first all looked ok. I spun the laser sled rail and it was moving up and down “freely” and the homing switch was working. It was quite dirty but that usually wouldn’t be a full stop on operation so since the rest of the console was completely done I reassembled it minus the top shell and reinstalled the optical drive to try and see it in action. When doing so, starting away from home the first order of operation is it should move along the rail until it reaches the limit switch and be “homed” then start the focus operation to detect if a disc is present. I noticed immediately that while I was able to spin the rail with my fingers earlier it was not moving at all when assembled and being driven by the motor/gears.
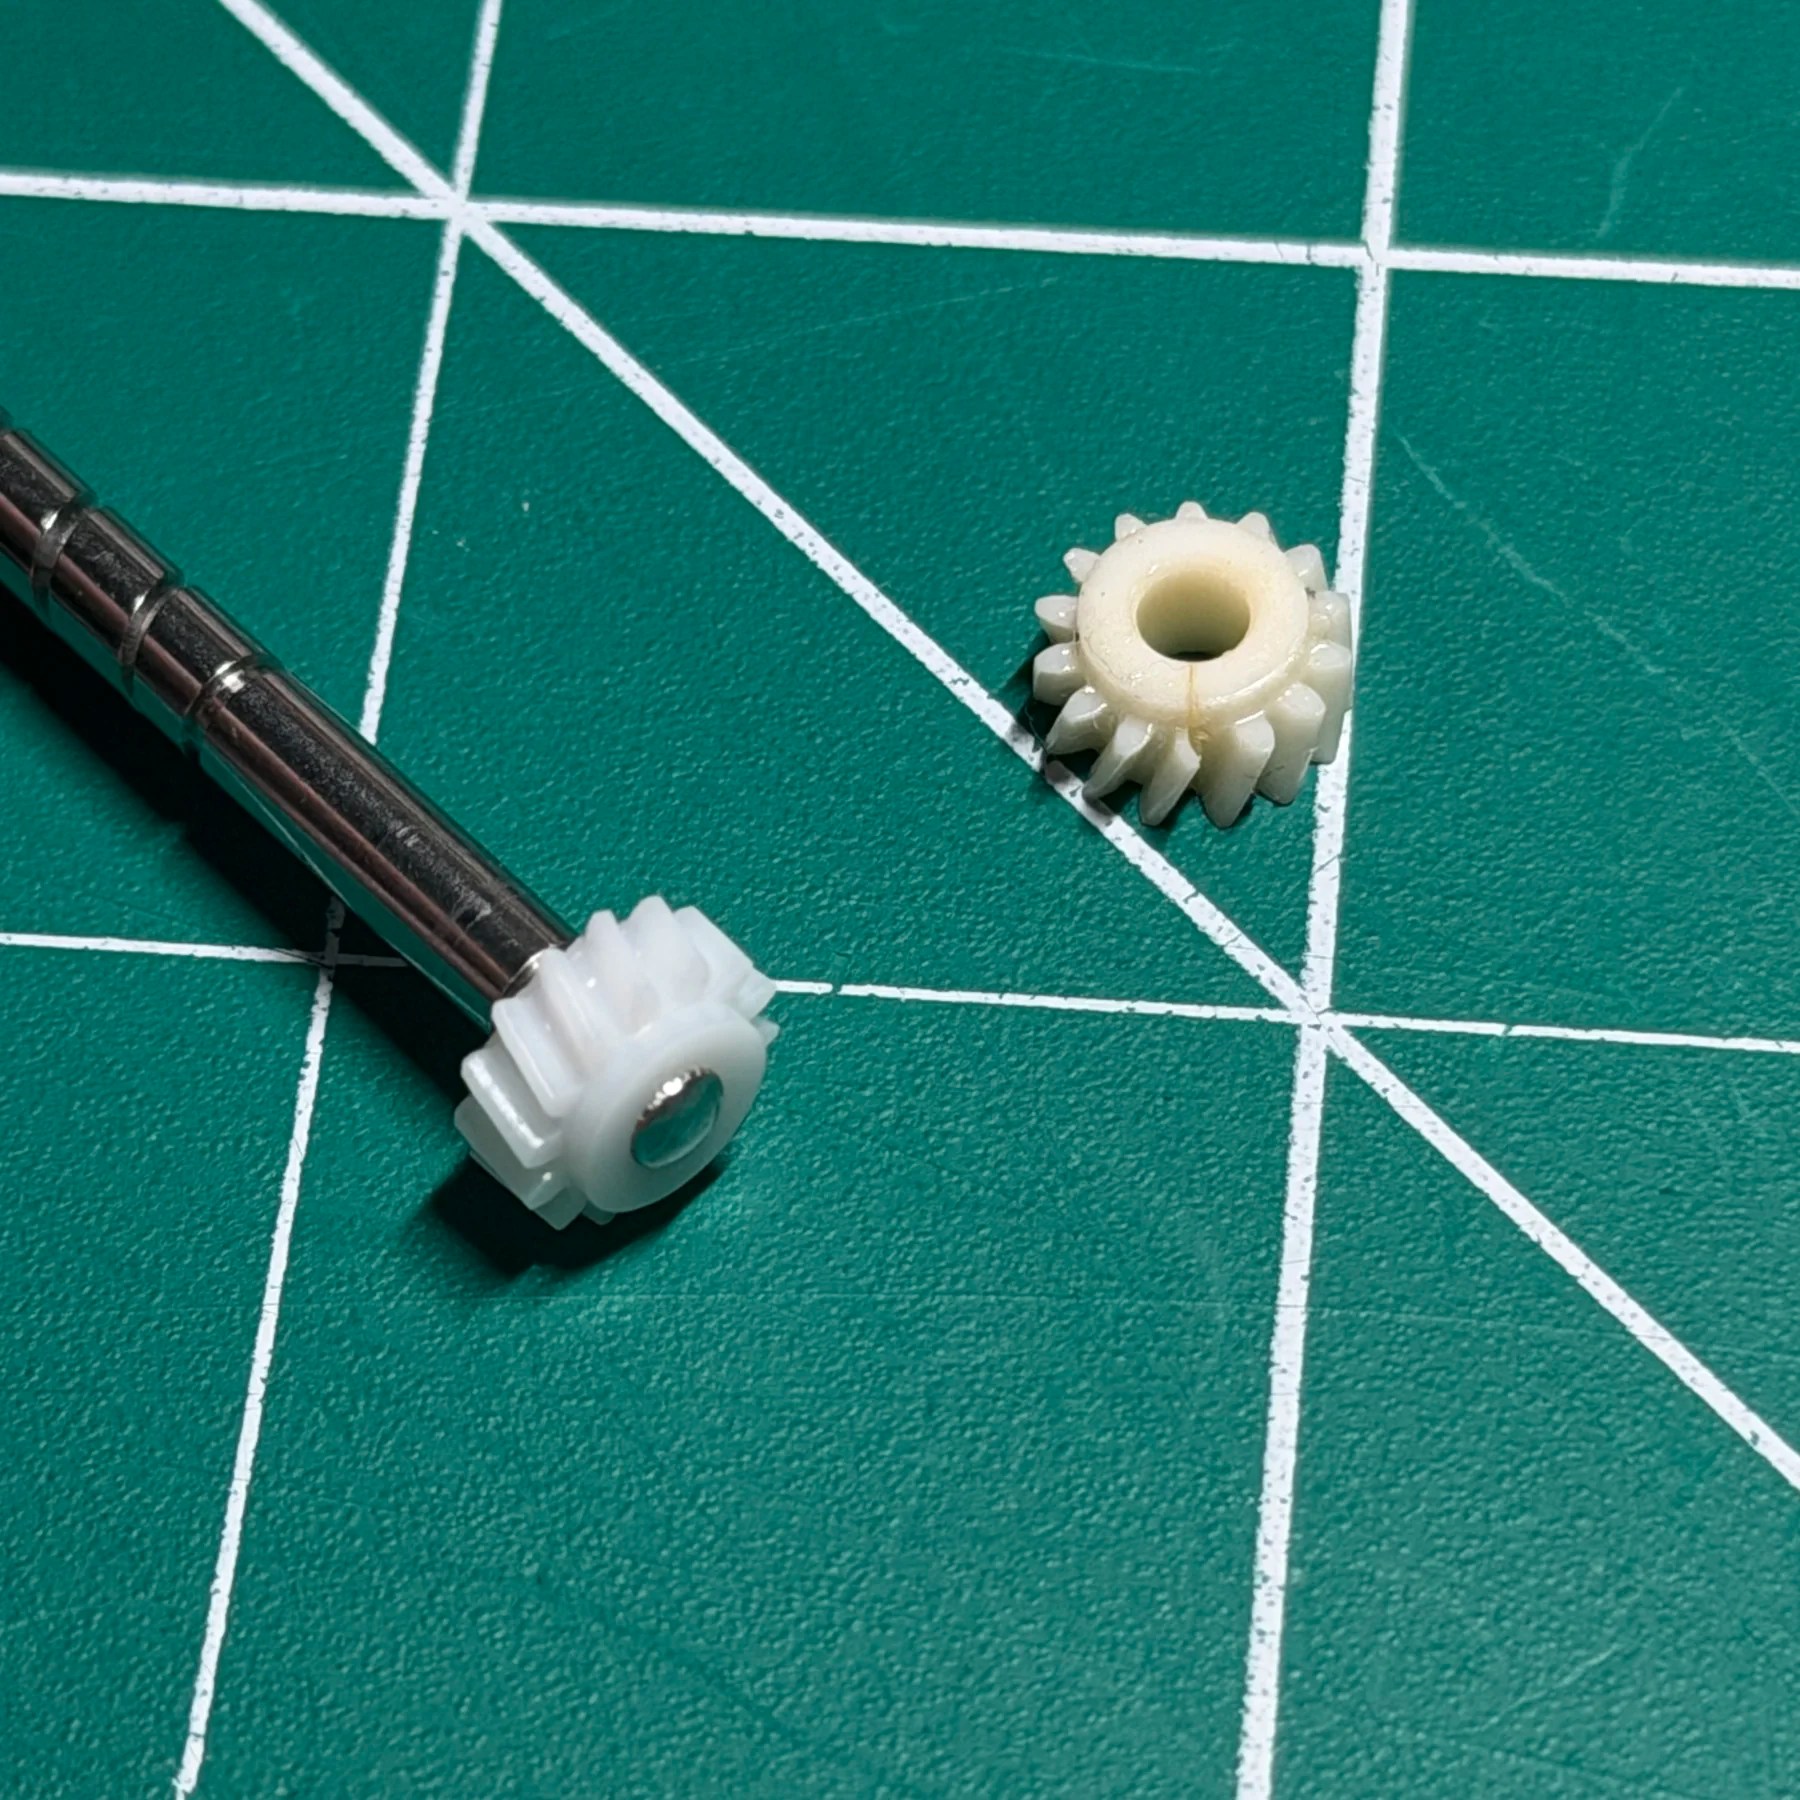
So I took the drive out and this time removed all the components and looked near the rail motor and immediately spotted the likely suspect… a complete break/crack through the gear from one side clean to the other! This is apparently a pretty common occurrence on these models so I was able to find some STL files for 3D printed replacements and began that process…
After finding an STL on Printables for this from Robert Dale Smith (https://www.thingiverse.com/thing:5327942) I set my printer to the finest layer setting and quality and printed off a batch of 6. Picked the best one from that batch, cleaned up some small burrs on tooth edges and got it pressed onto the axle and lubricated. With the drive back in place I noticed the motor wouldn’t want to seat as tight to the screw posts as it should and I could not spin the rail freely. I took a closer look at the gear and worked to shave some of the faces/edges off and sand them down the best I could. Got it to fit a bit better and be able to spin but it still felt tight.
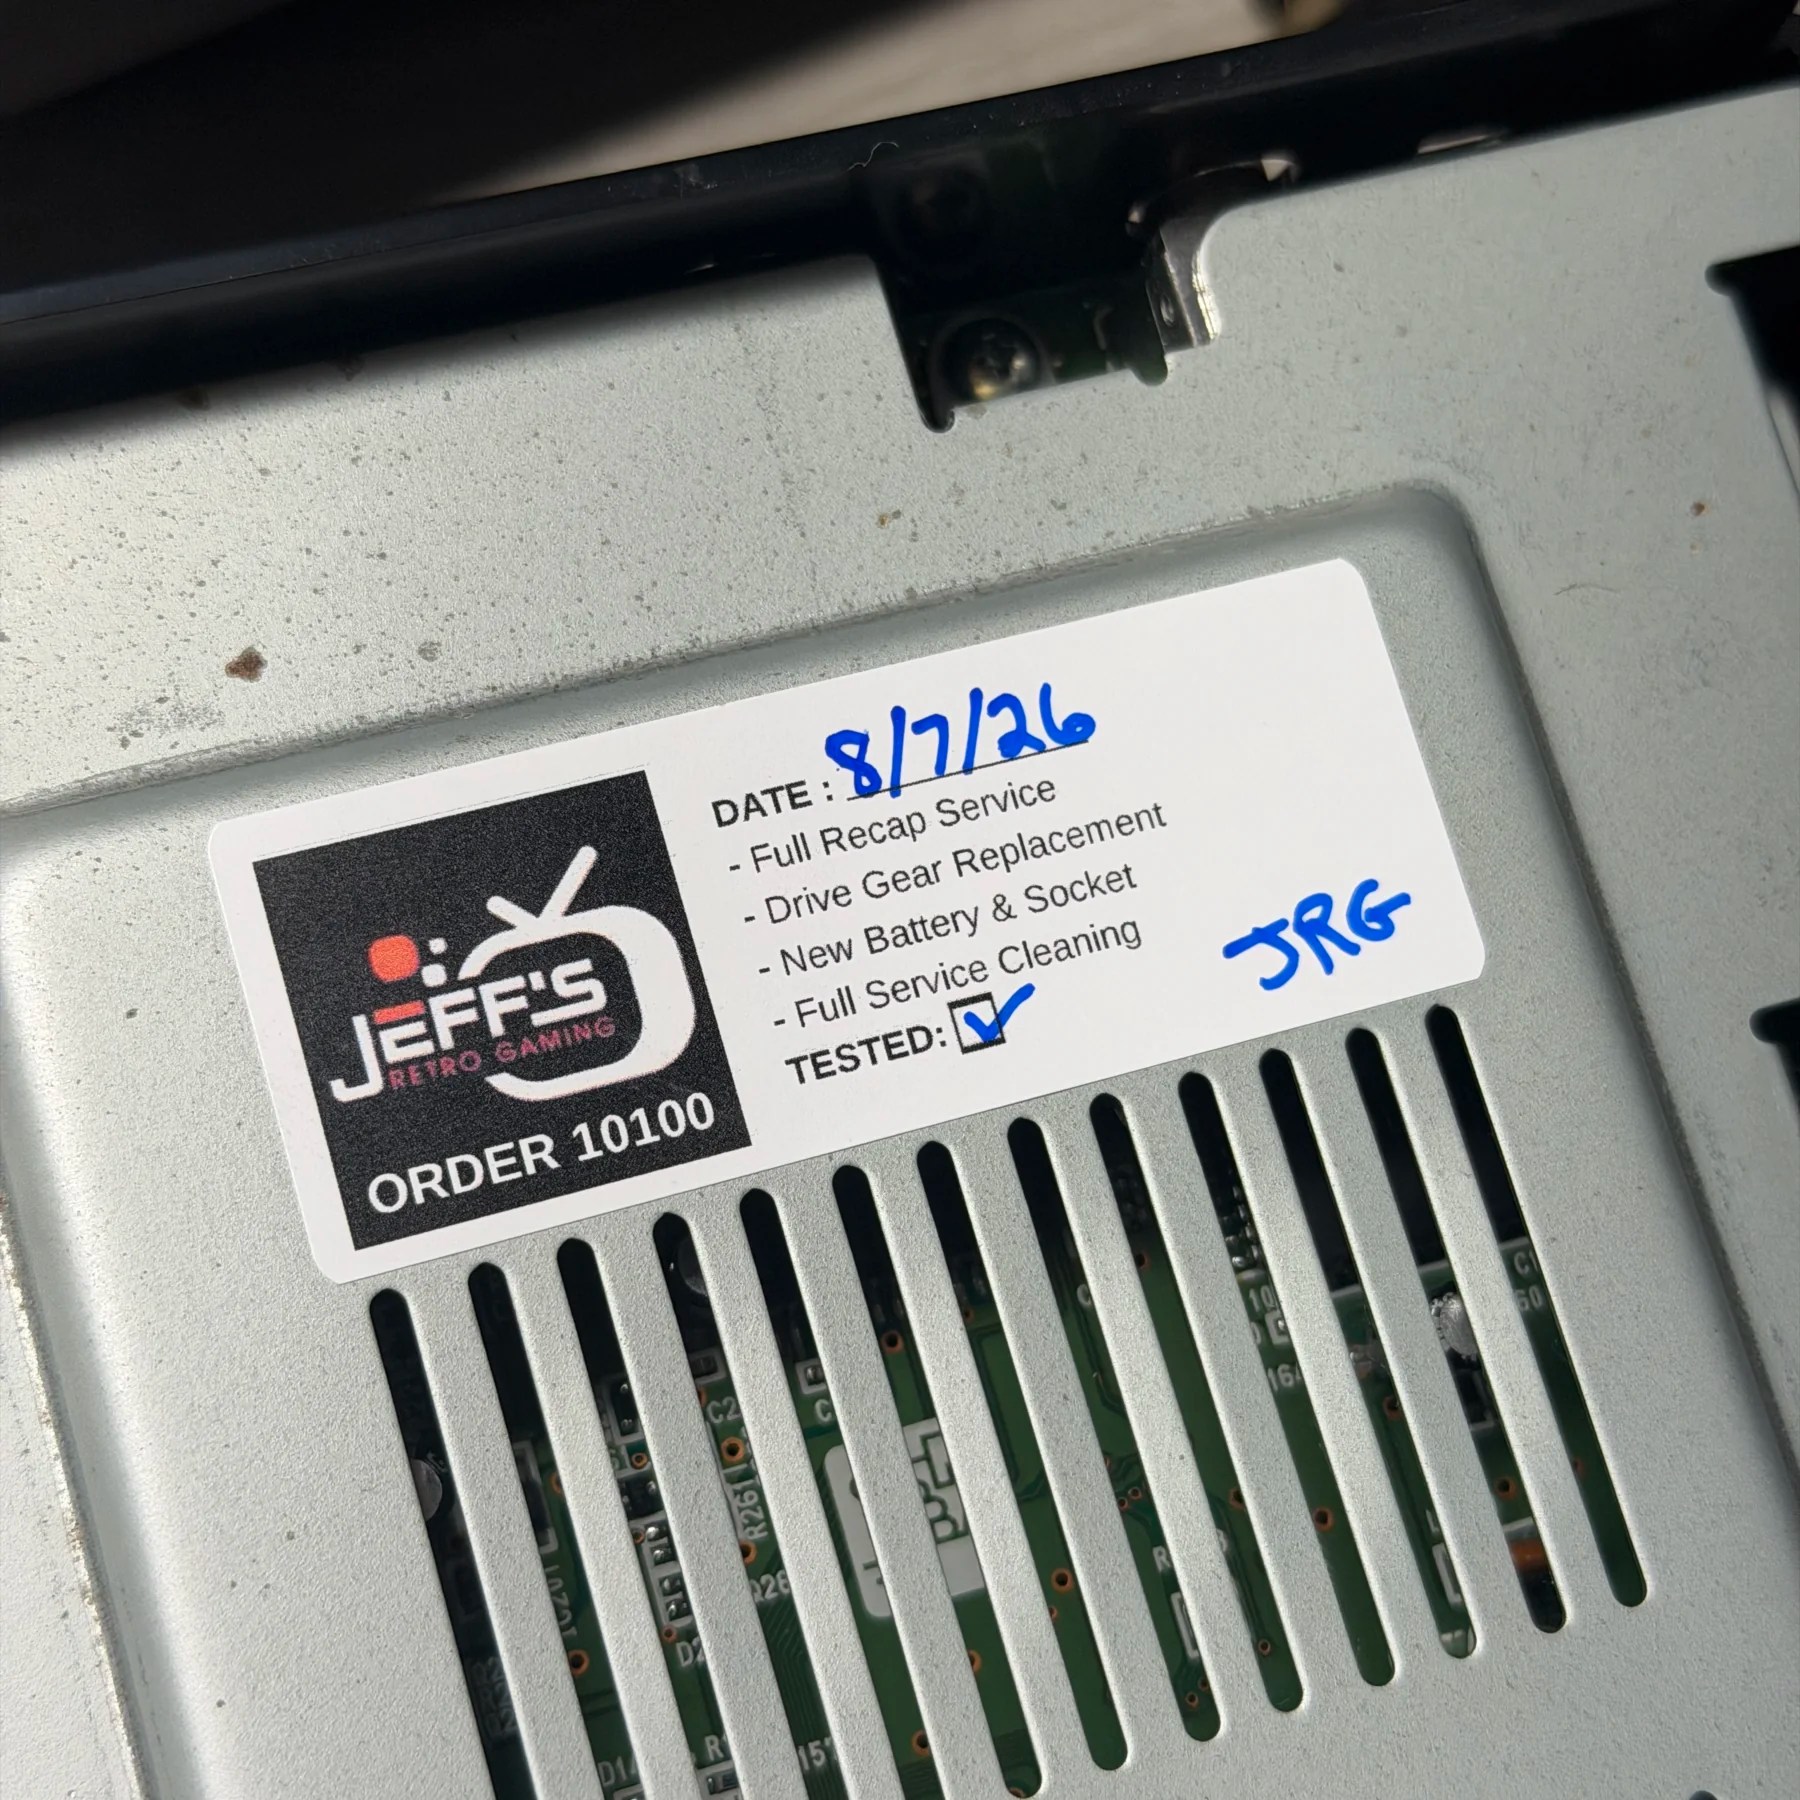
Put the drive back together and fired it up and… it homed! and then focused and booted the game I was testing with. The only issue is that during any laser movement it was very noisy, almost grindy like something with the gears were rubbing, it didn’t sound quite right. I assessed continuing to mess with these prints vs an eBay seller that was offering professionally printed resin gears which dont have the layer lines and are usually far more detailed/clean. Customer agreed another small wait was ok so ordered 2 and once they arrived, they fit perfect and the drive sounded much quieter like I would expect a 3DO drive to sound. It was fixed! So I greased everything and put the entire system back together and then signed off on the work with my sticker and let it run on the bench for a few hours and played some Shock Wave!
Happy to save this 3DO but told the customer no way of knowing how much life is left in the laser so if it ever dies down the road at least the rest of the console is serviced and I’m always available to replace with an ODE if they desire. If you have a 3DO and are looking for an ODE, I have a brand new one here on hand already so hit me up!