
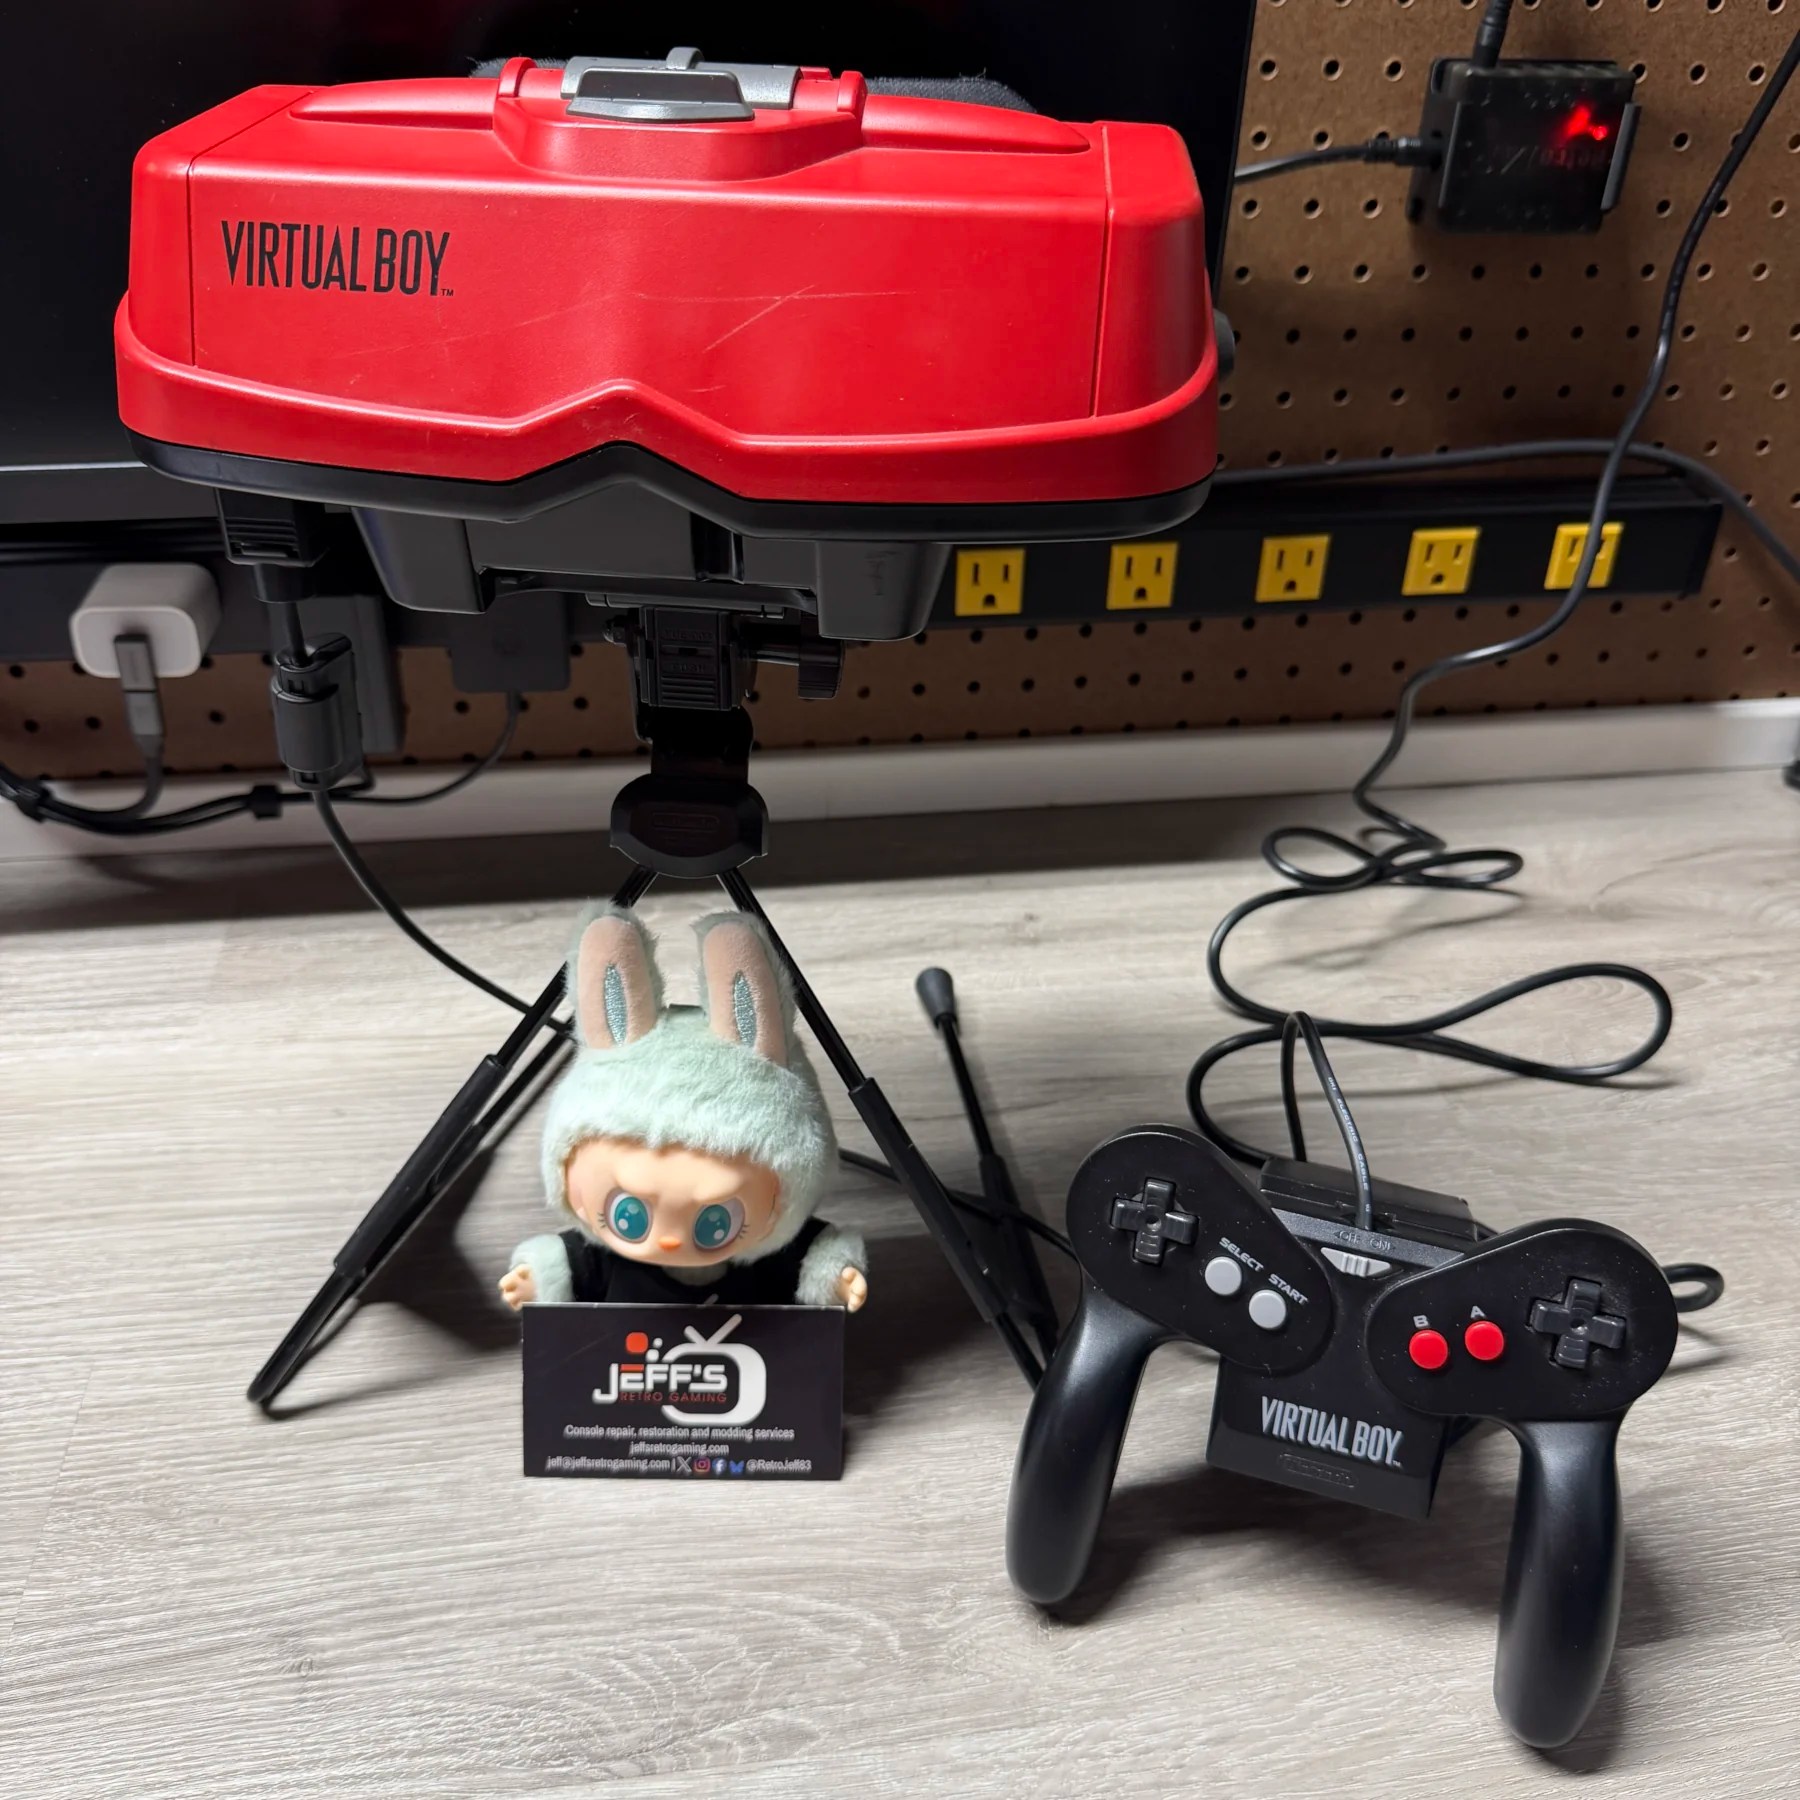
It’s been the busiest year for Virtual Boy here at JRG, just over the halfway mark and this is the 7th unit that has come in so far for repair. A very quick and easy one though as the customer did not want cleaning service, recap, or Virtual Tap just a straightforward ribbon repair! I’ve done enough of these now I have the process down and can get those new ribbons soldered quickly.
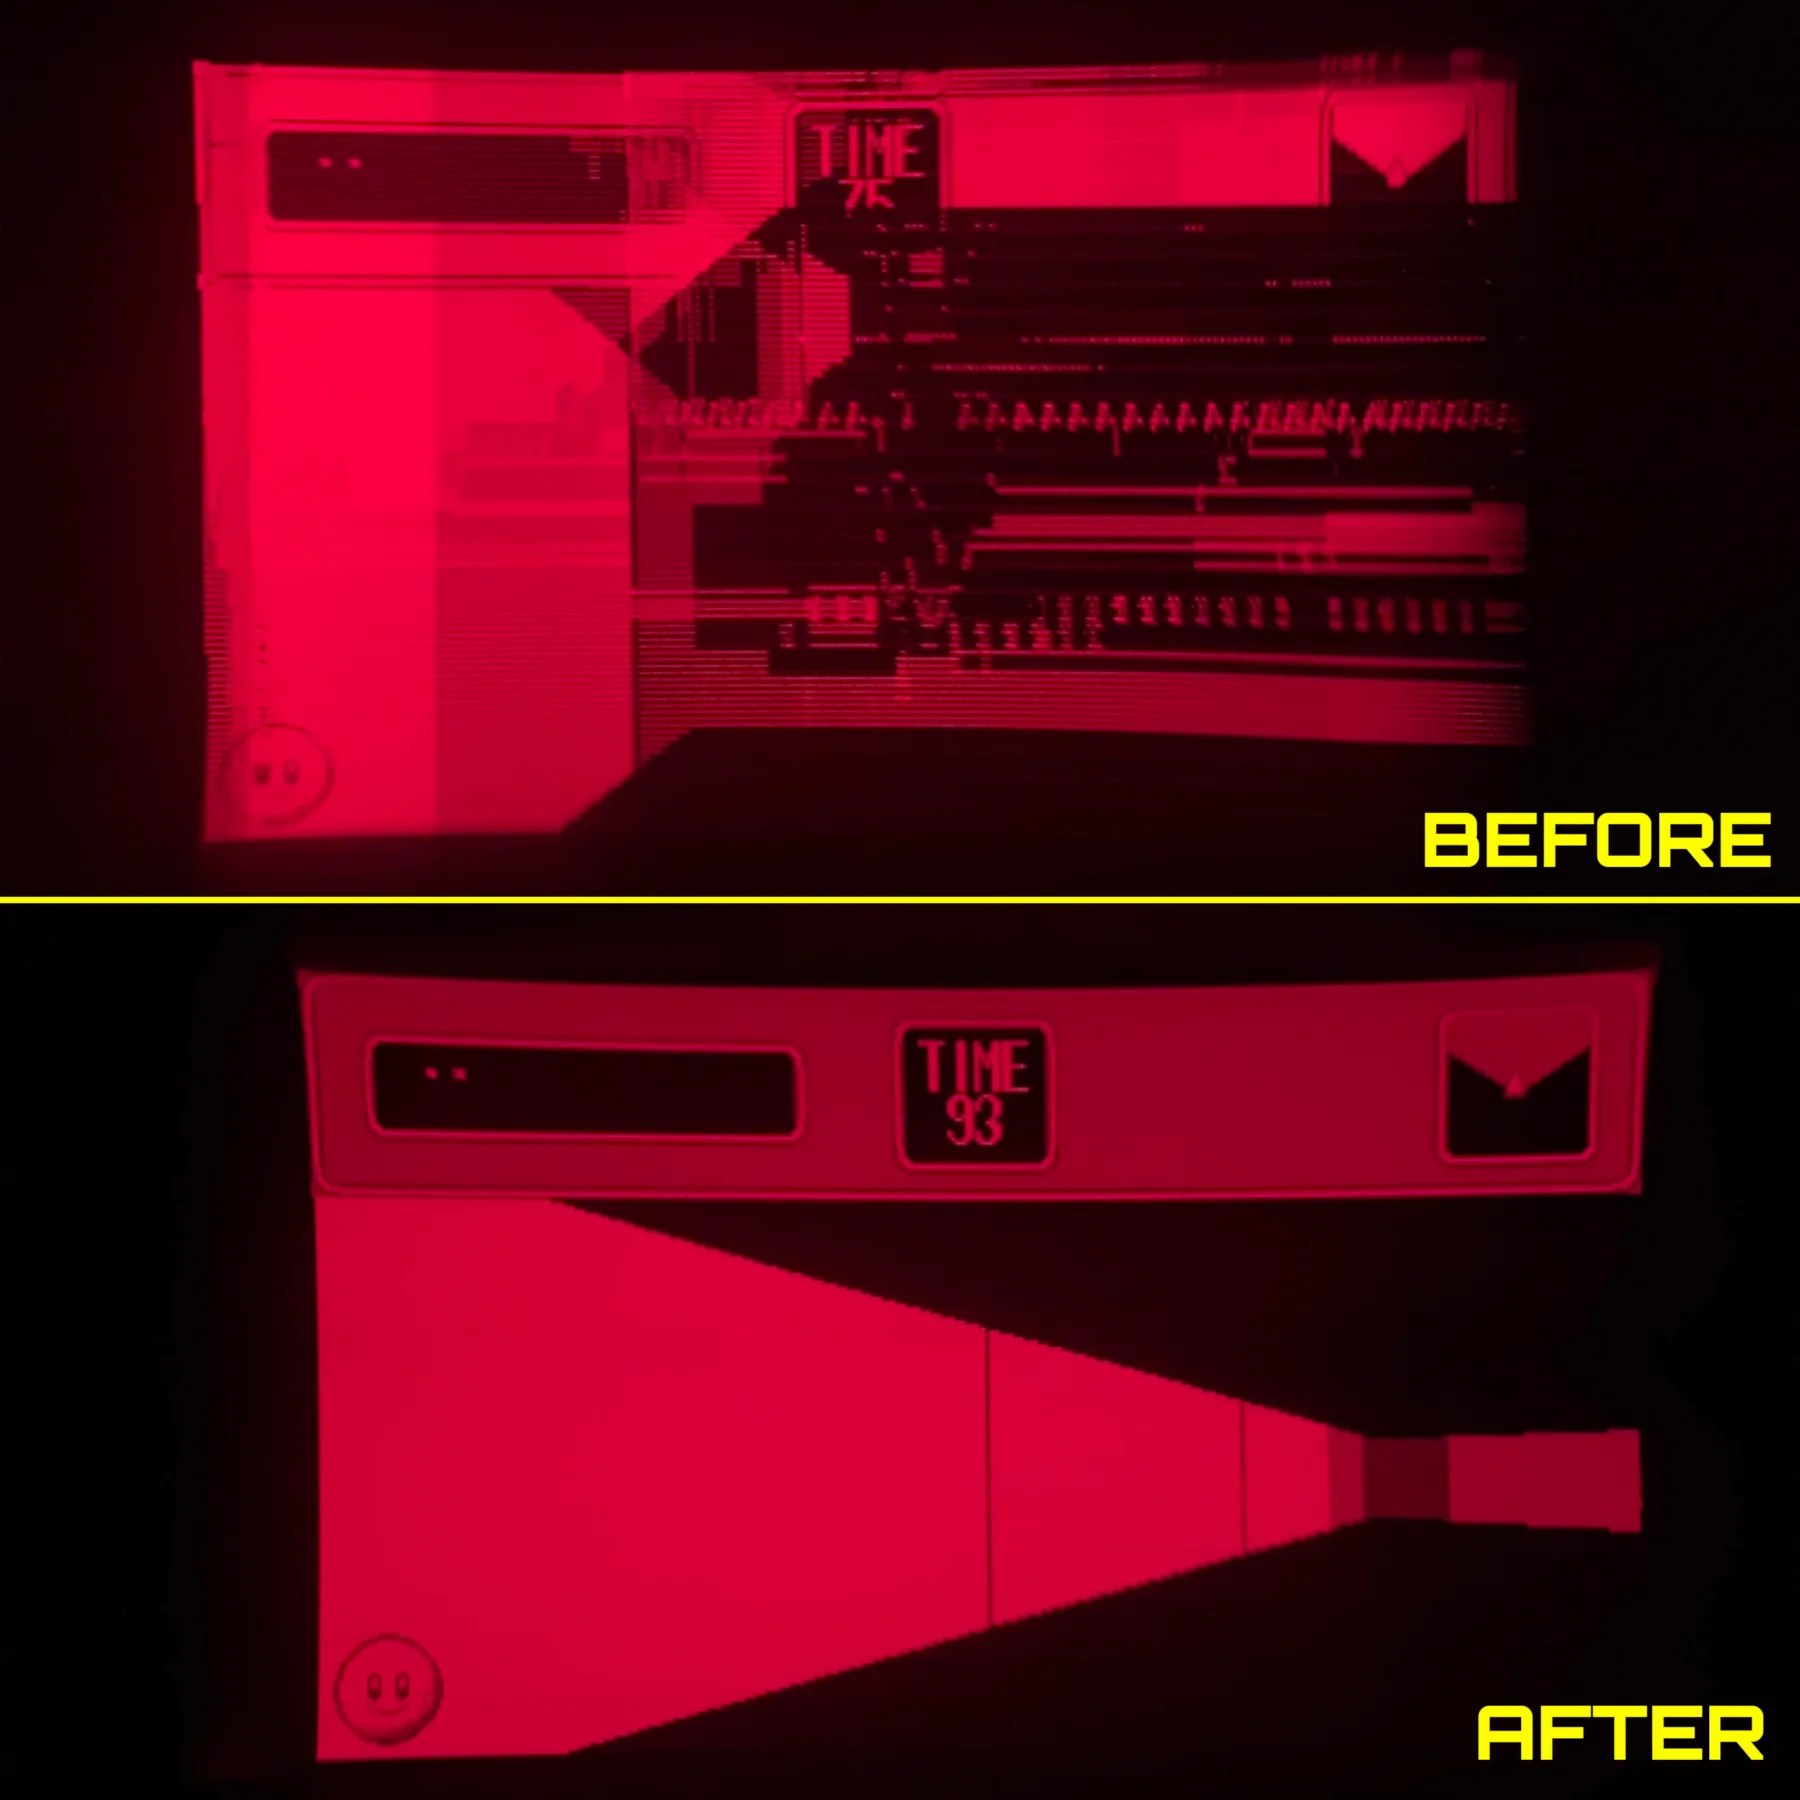
As with all other units sent in, I always fire it up first just to see expected behavior (customer had been clear there were garbled/messy pixels and lines in the order form). I did have one unit previously worked on that even after new ribbons it was missing 3 rows of pixels on one of the eyes. I had a brief discussion with Cardosi Customs about this and he confirmed that sadly, while most can be fixed with new ribbons there are some that have failures in the LED itself which are not repairable so now that I’ve seen that once, I always get nervous the next one will not be fully fixed by those service… not news I ever like having to give to a customer ☹️
As the customer explained both eyes had the issue especially as it was powered on and displaying for longer the symptoms got worse. Check the earlier photo to show what the customer was seeing before… unplayable!
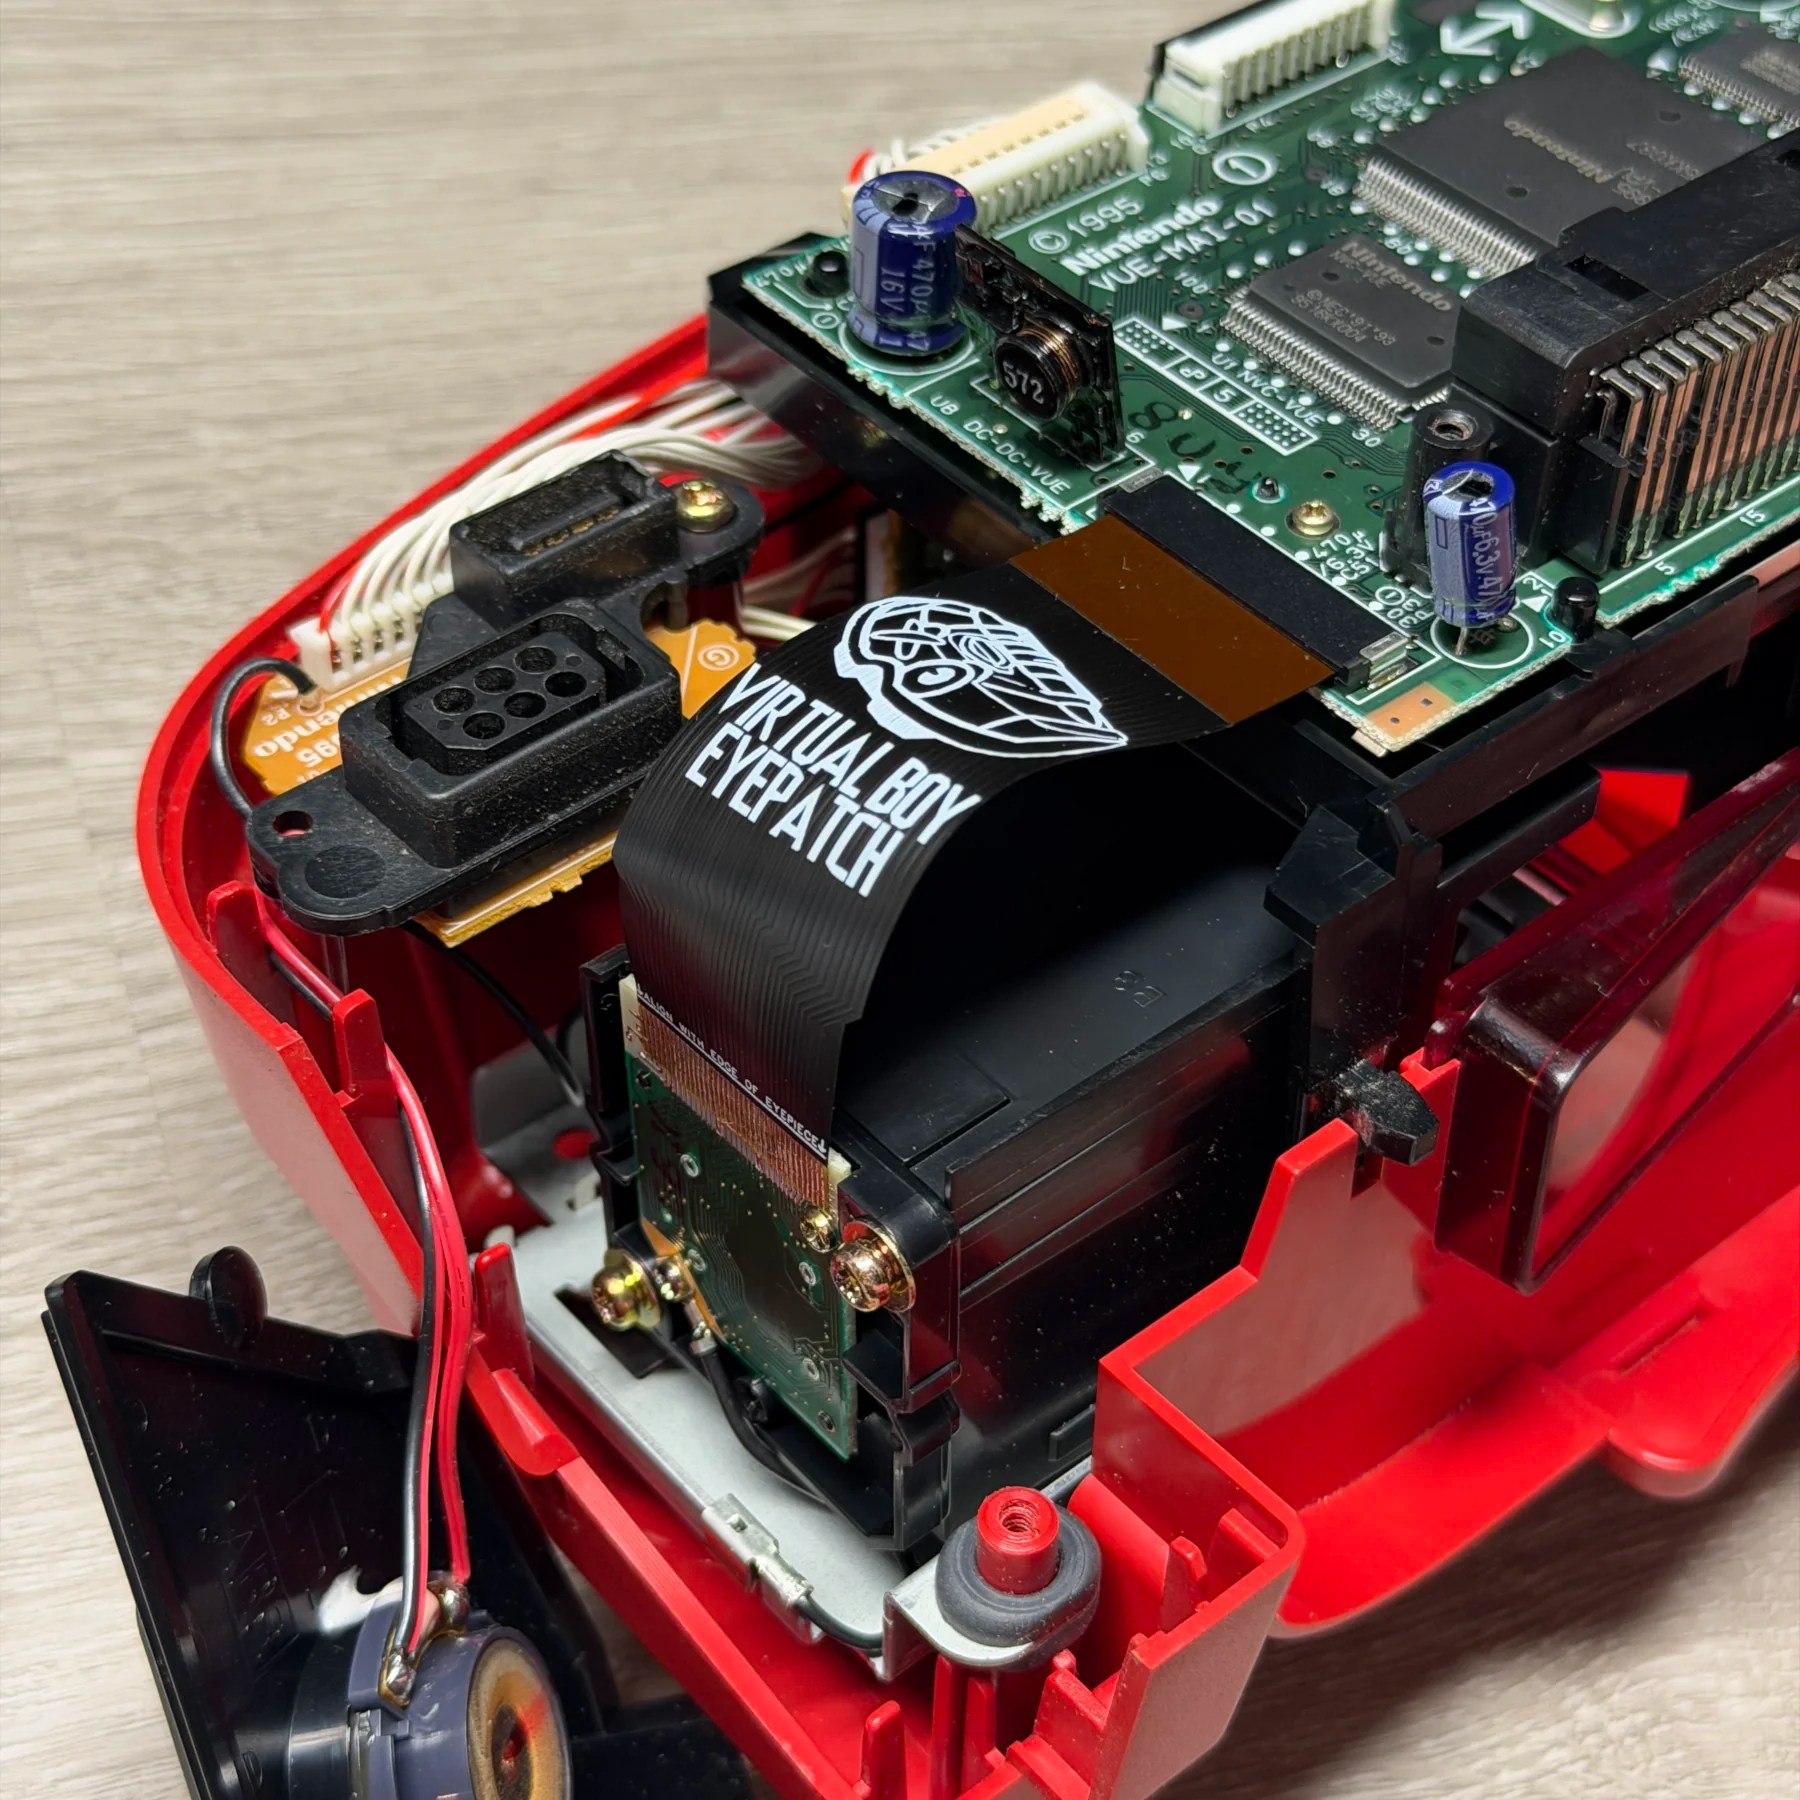
So, since the cleaning service was not selected and I didn’t have to fully teardown the unit to the adjustment knobs and extract parts from the shell you can actually do the ribbon replacement by only removing the gamebit screws from the bottom plastic shell piece and cart slot area. With that piece removed and the speaker plates pulled outside you can gain easy access to pull the ribbons from the VUE board and unscrew the two small Phillips screws holding the lenses in.
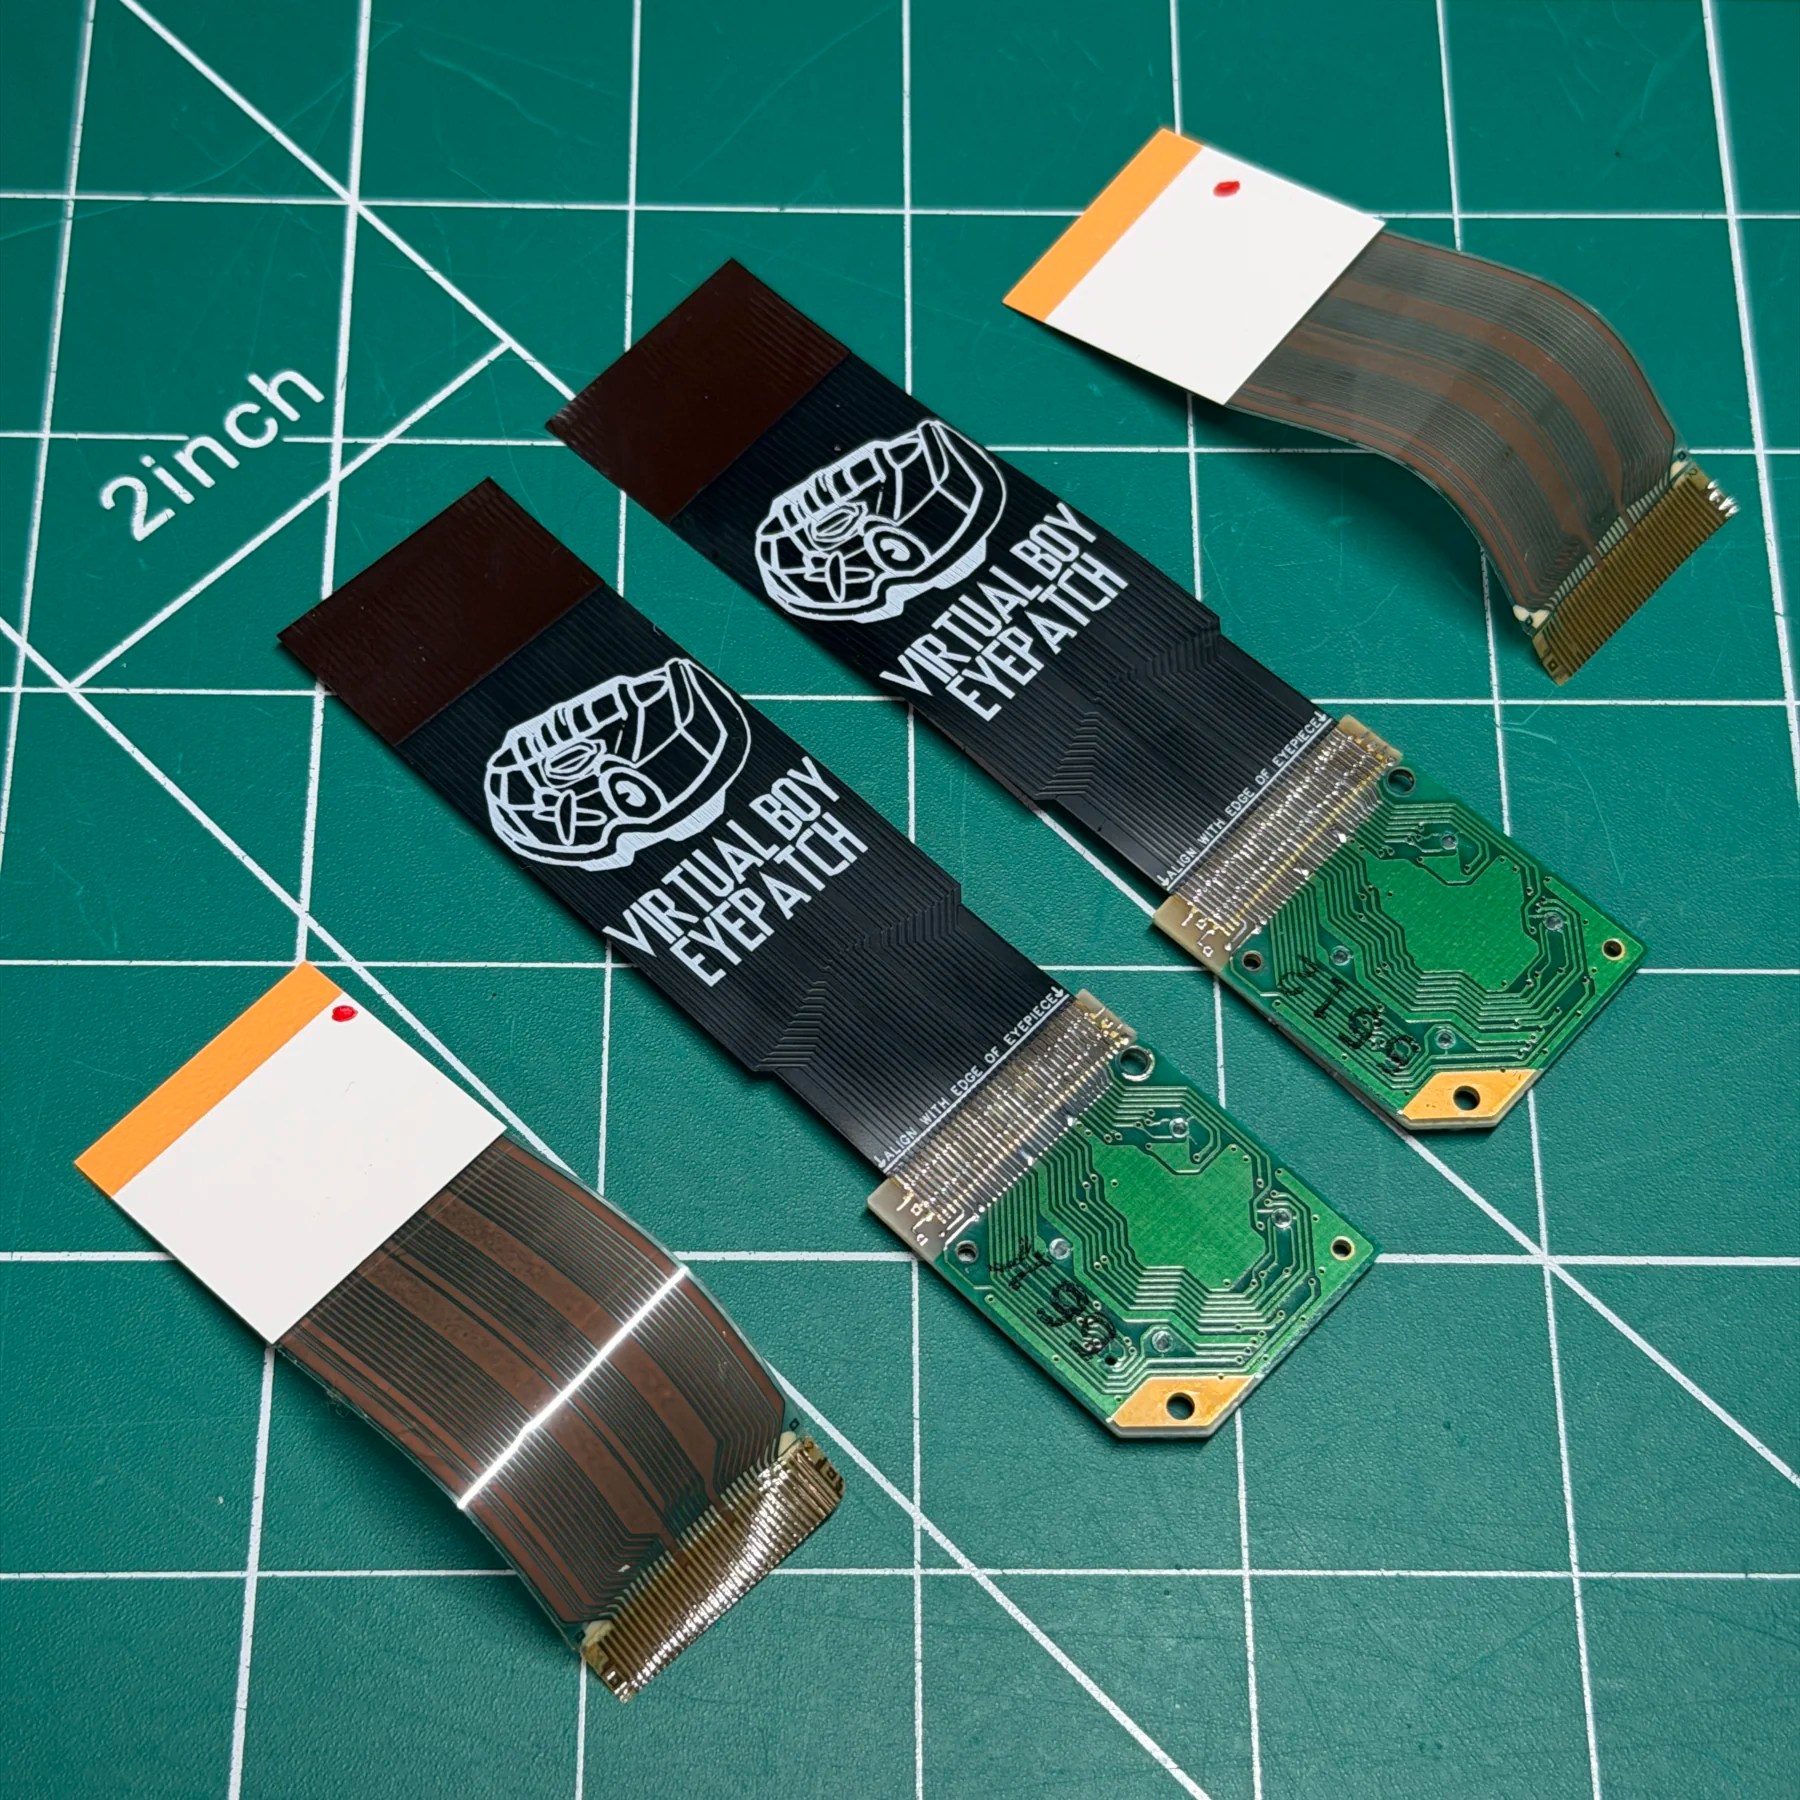
With those removed I separated from the stock ribbon by carefully cutting along the glue line with an XActo knife and then peeling the ribbons off the lenses. Once removed, I drag my K tip iron across the pads/fingers with a nice large blob of fresh solder and lots of flux which not only burns off the old adhesive residue but tins the pads for you in one step!

With both lenses cleaned and tinned I tinned the Cardosi ribbons themselves and then used kapton tape to secure the ribbon in place once i dropped them on the fluxed lens pads and had a nice even perfect alignment. The tape in the center allows me to drag solder on both edges and secure the ribbon without it moving, I then remove the tape, add more flux on op and continue drag soldering across the entire connection until all plated vias are secured and it has nice even clean joints.
It does help to hold the connector side of the ribbon up in the air and give it a slight “bend” so the solder end is pushed flat against the board you are soldering to.
With both ribbons done, I cleaned up all residual flux, screwed back into the eye enclosures and inserted the connector end into the Vue board. Even though they didn’t choose cleaning service I still gave the lens covers a quick dusting and cleaning as they were quite dirty and there is no point in having nice working eyes if you can’t see them well!
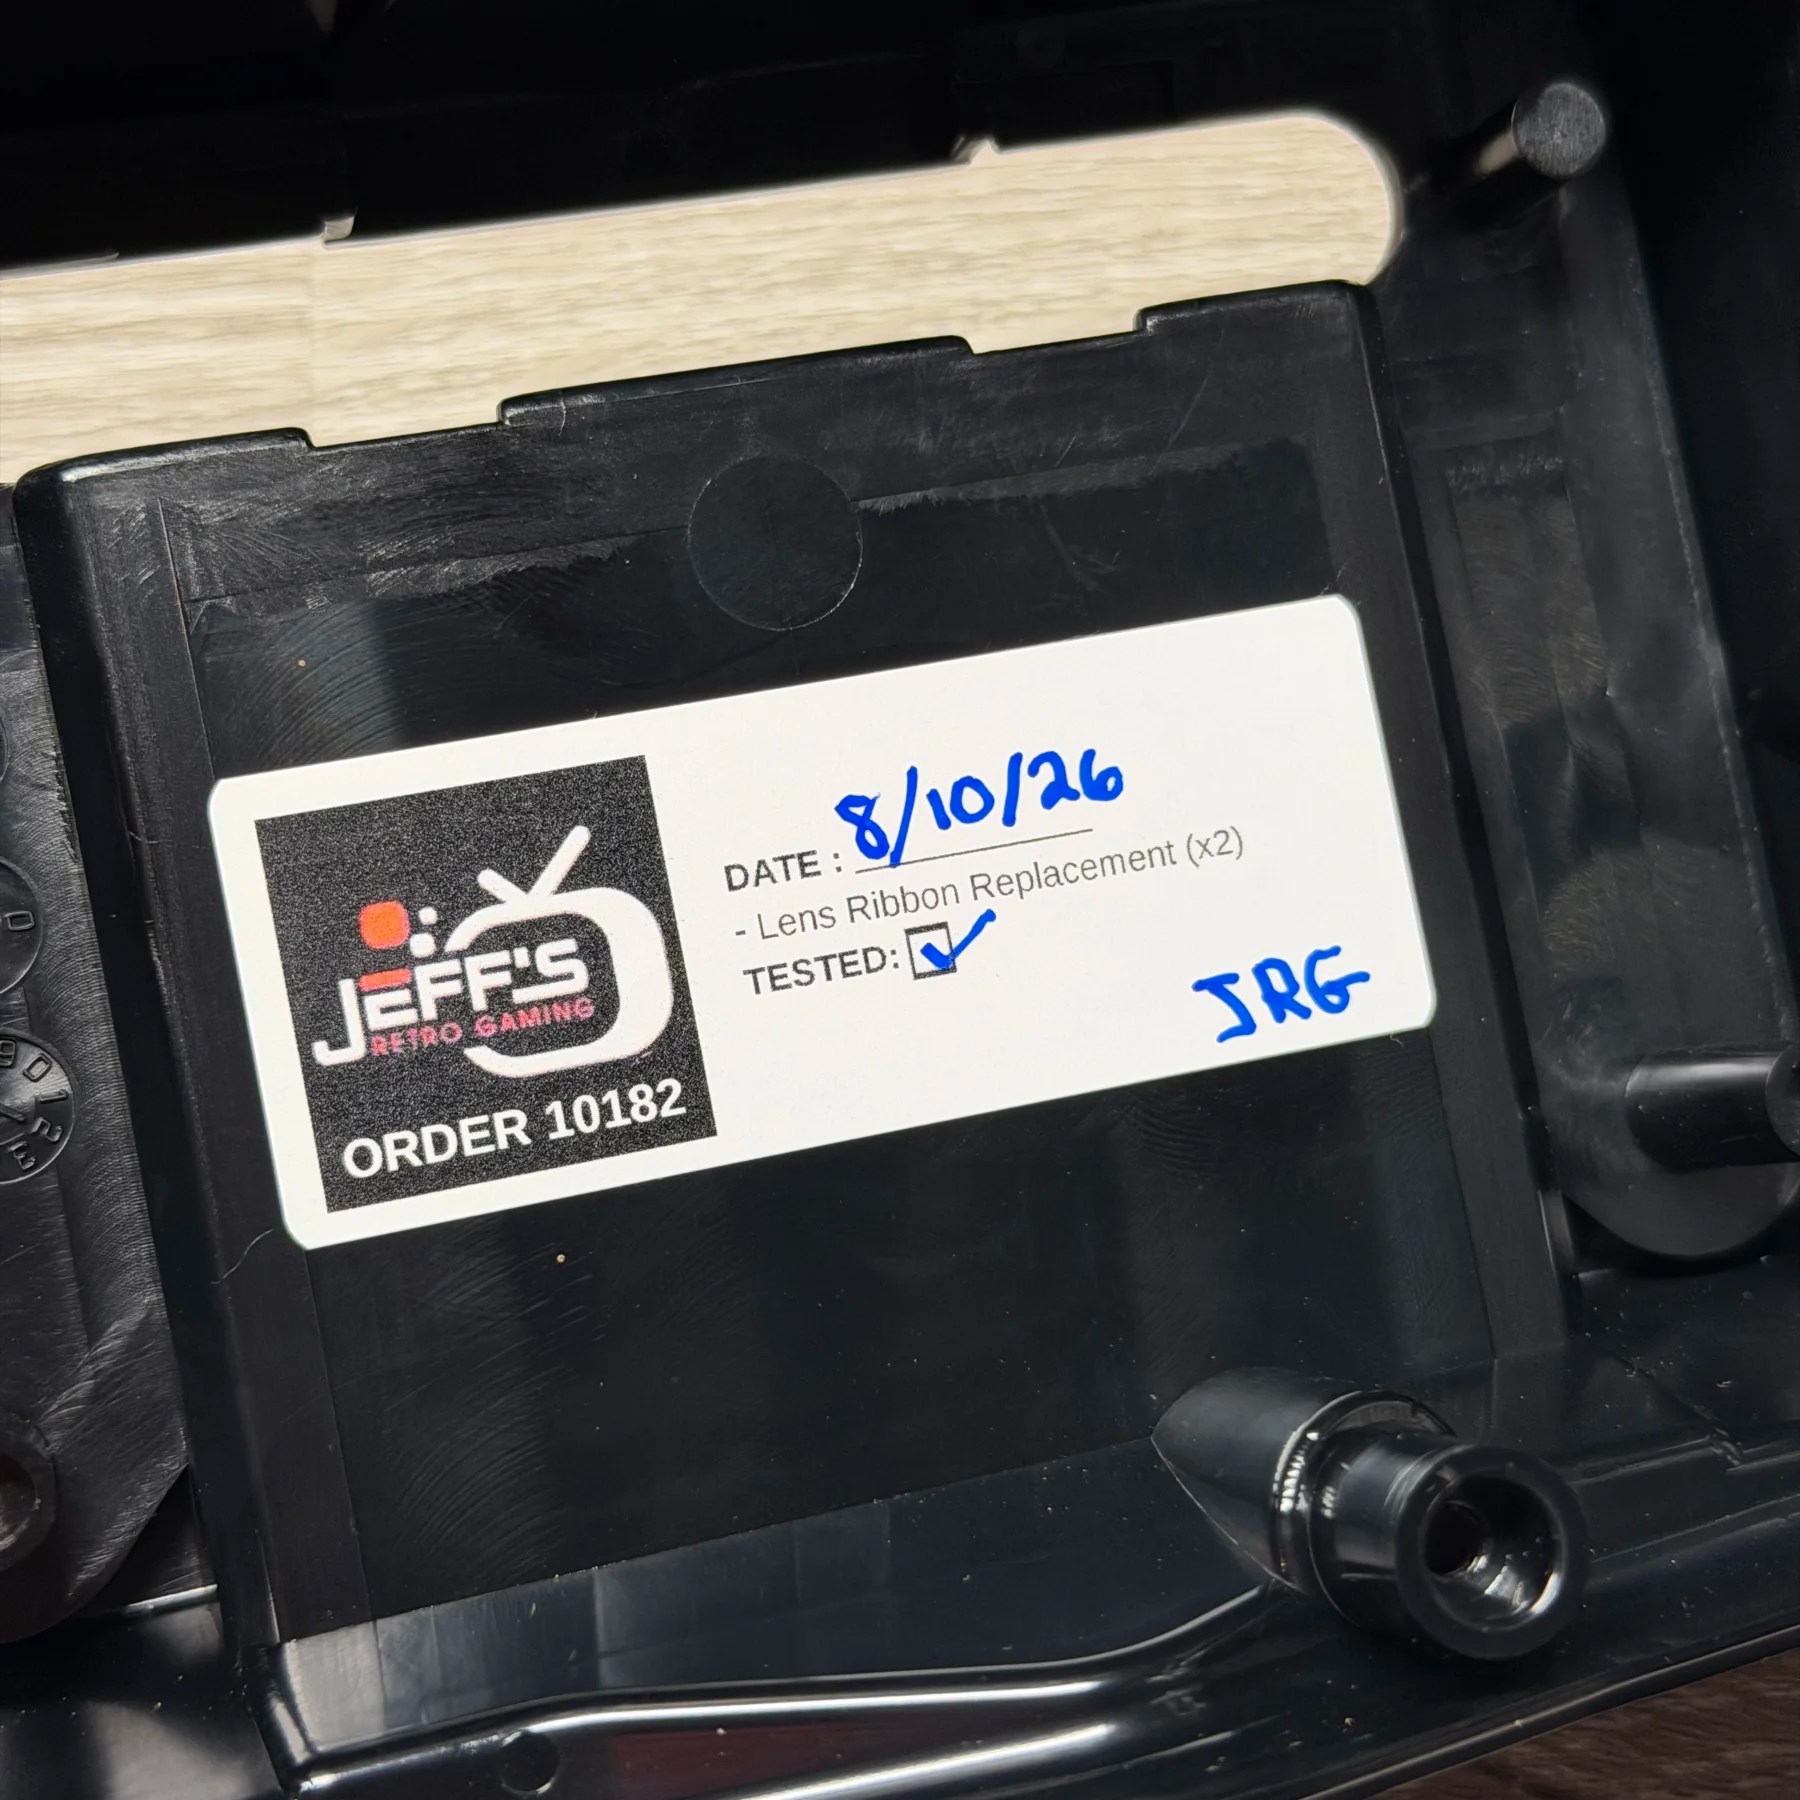
Fired it up and confirmed both eyes were working perfectly, so I then signed off with a sticker and closed the unit up fully. Left it running on the bench with some Faceball for a few hours and then considered this another successful Virtual Boy save!