
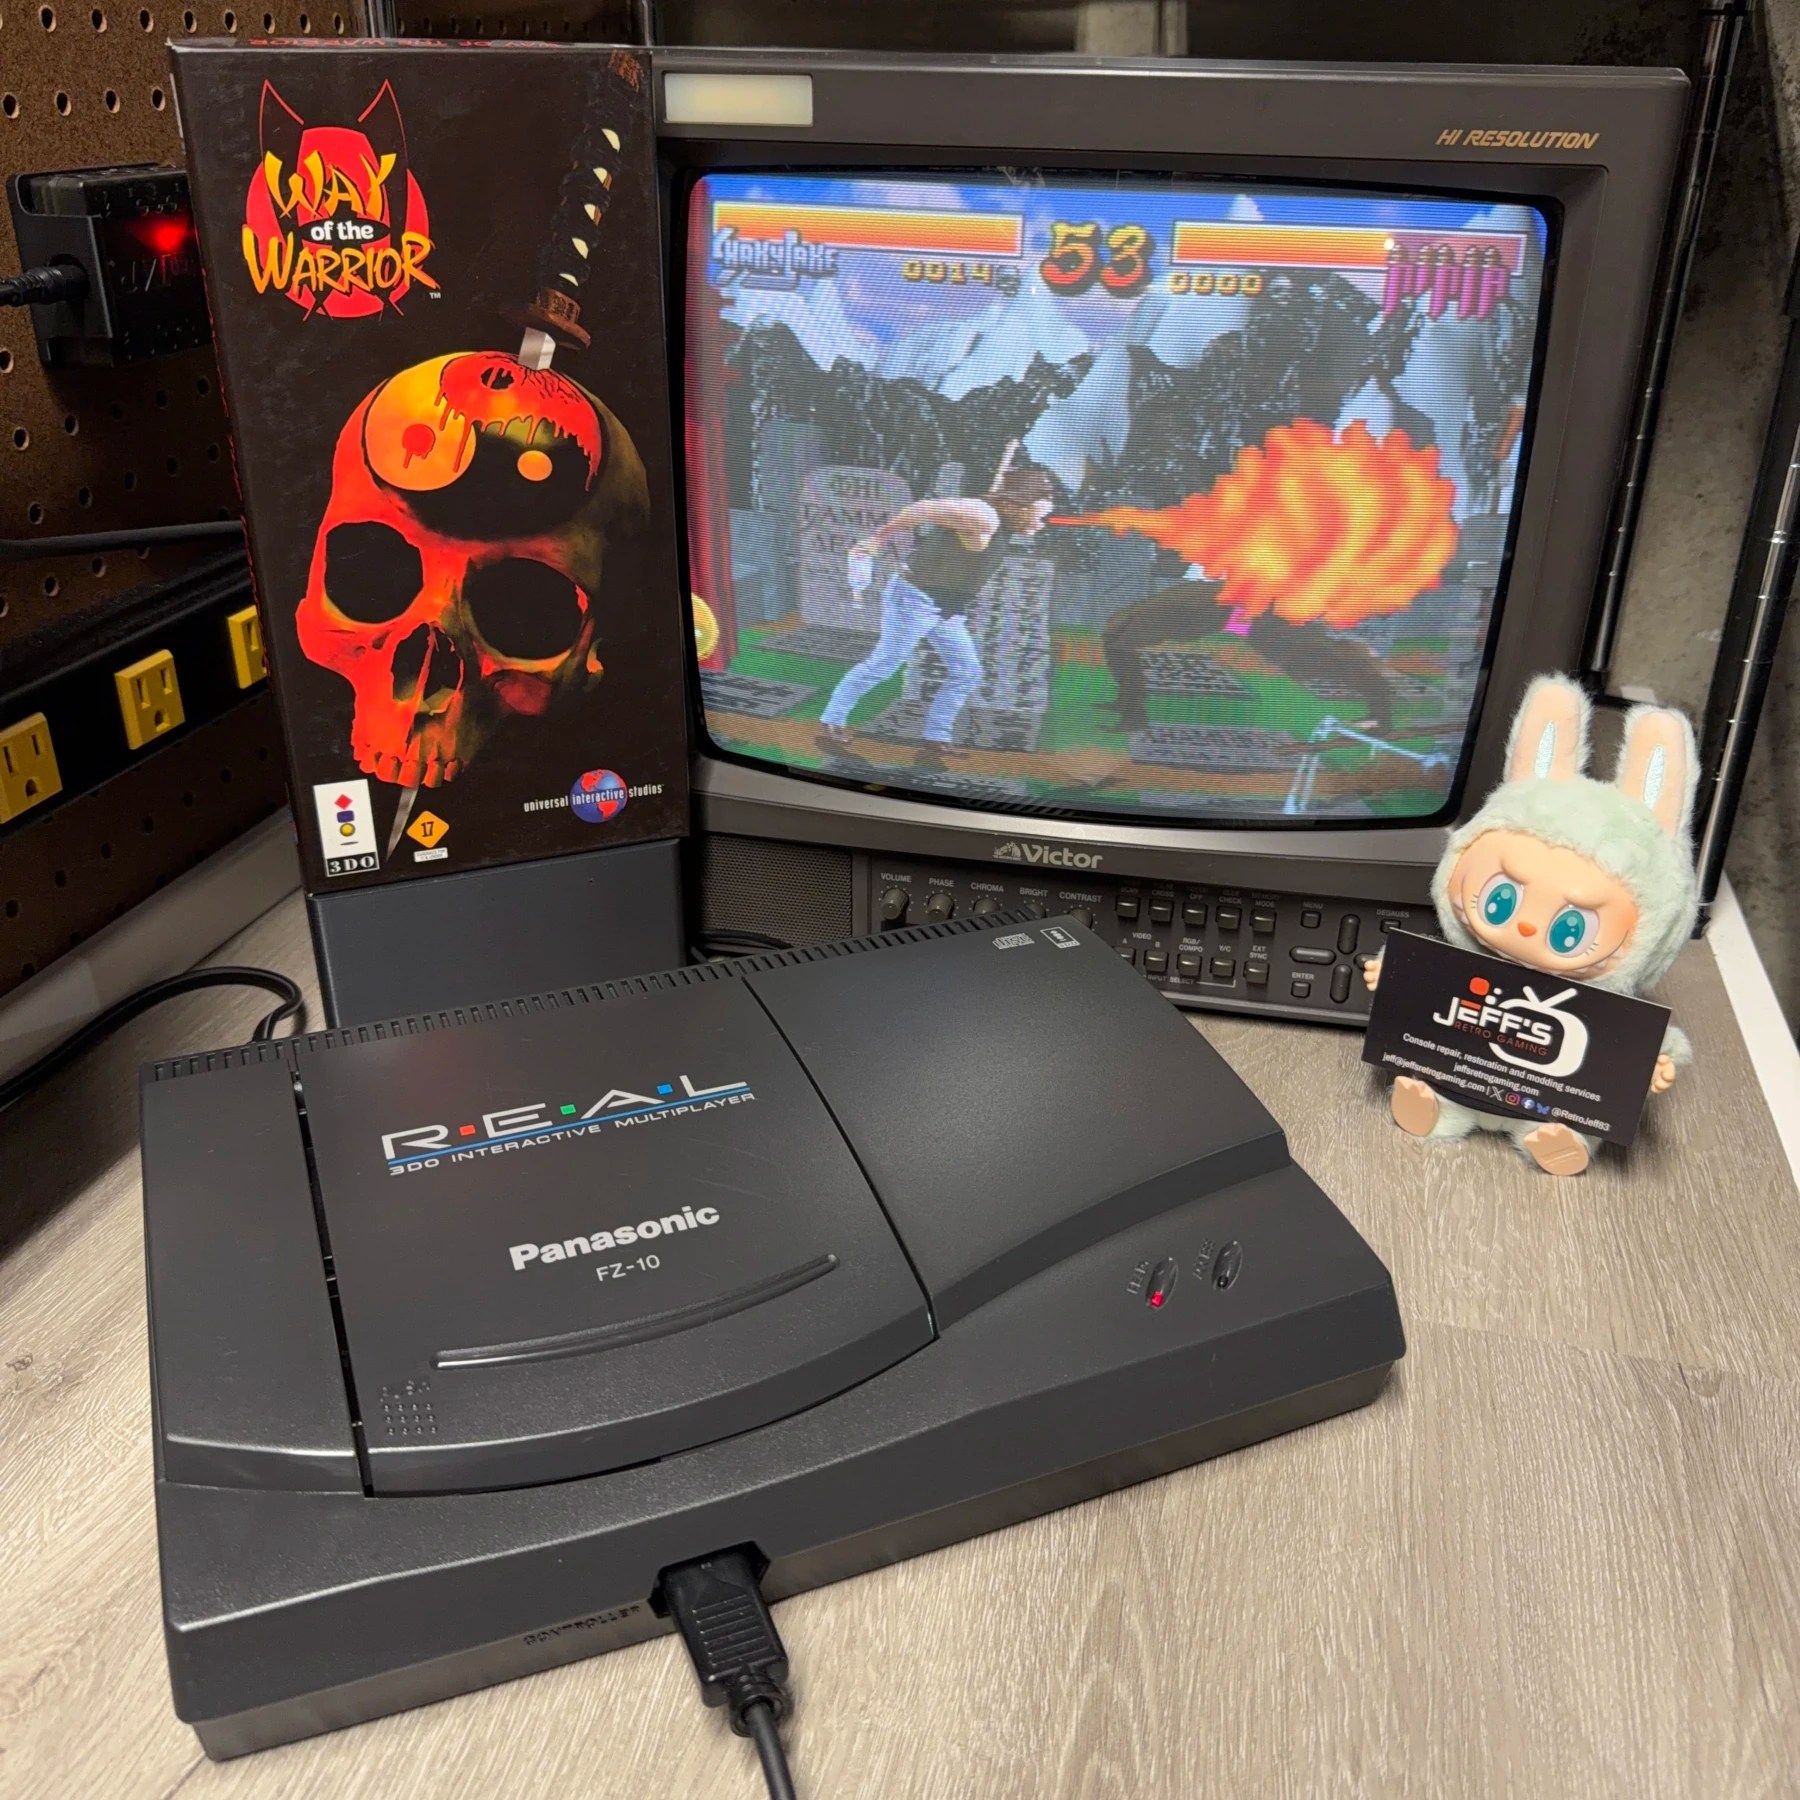
I don’t see a ton of 3DO consoles here in the shop so when a regular customer of mine wanted to send their FZ-10 model in for a refurbishment I was more than happy to give it some TLC!
Just a straightforward cleaning and recap service was all that was requested. I brought up the idea of a battery replacement while in there but the customer did not want to lose save data and unfortunately outside of installing an ODE (not practical only temporarily on an FZ-10) and using NVRAM backup tool I’m not aware of any way to do this so I agreed to leave the current one intact.
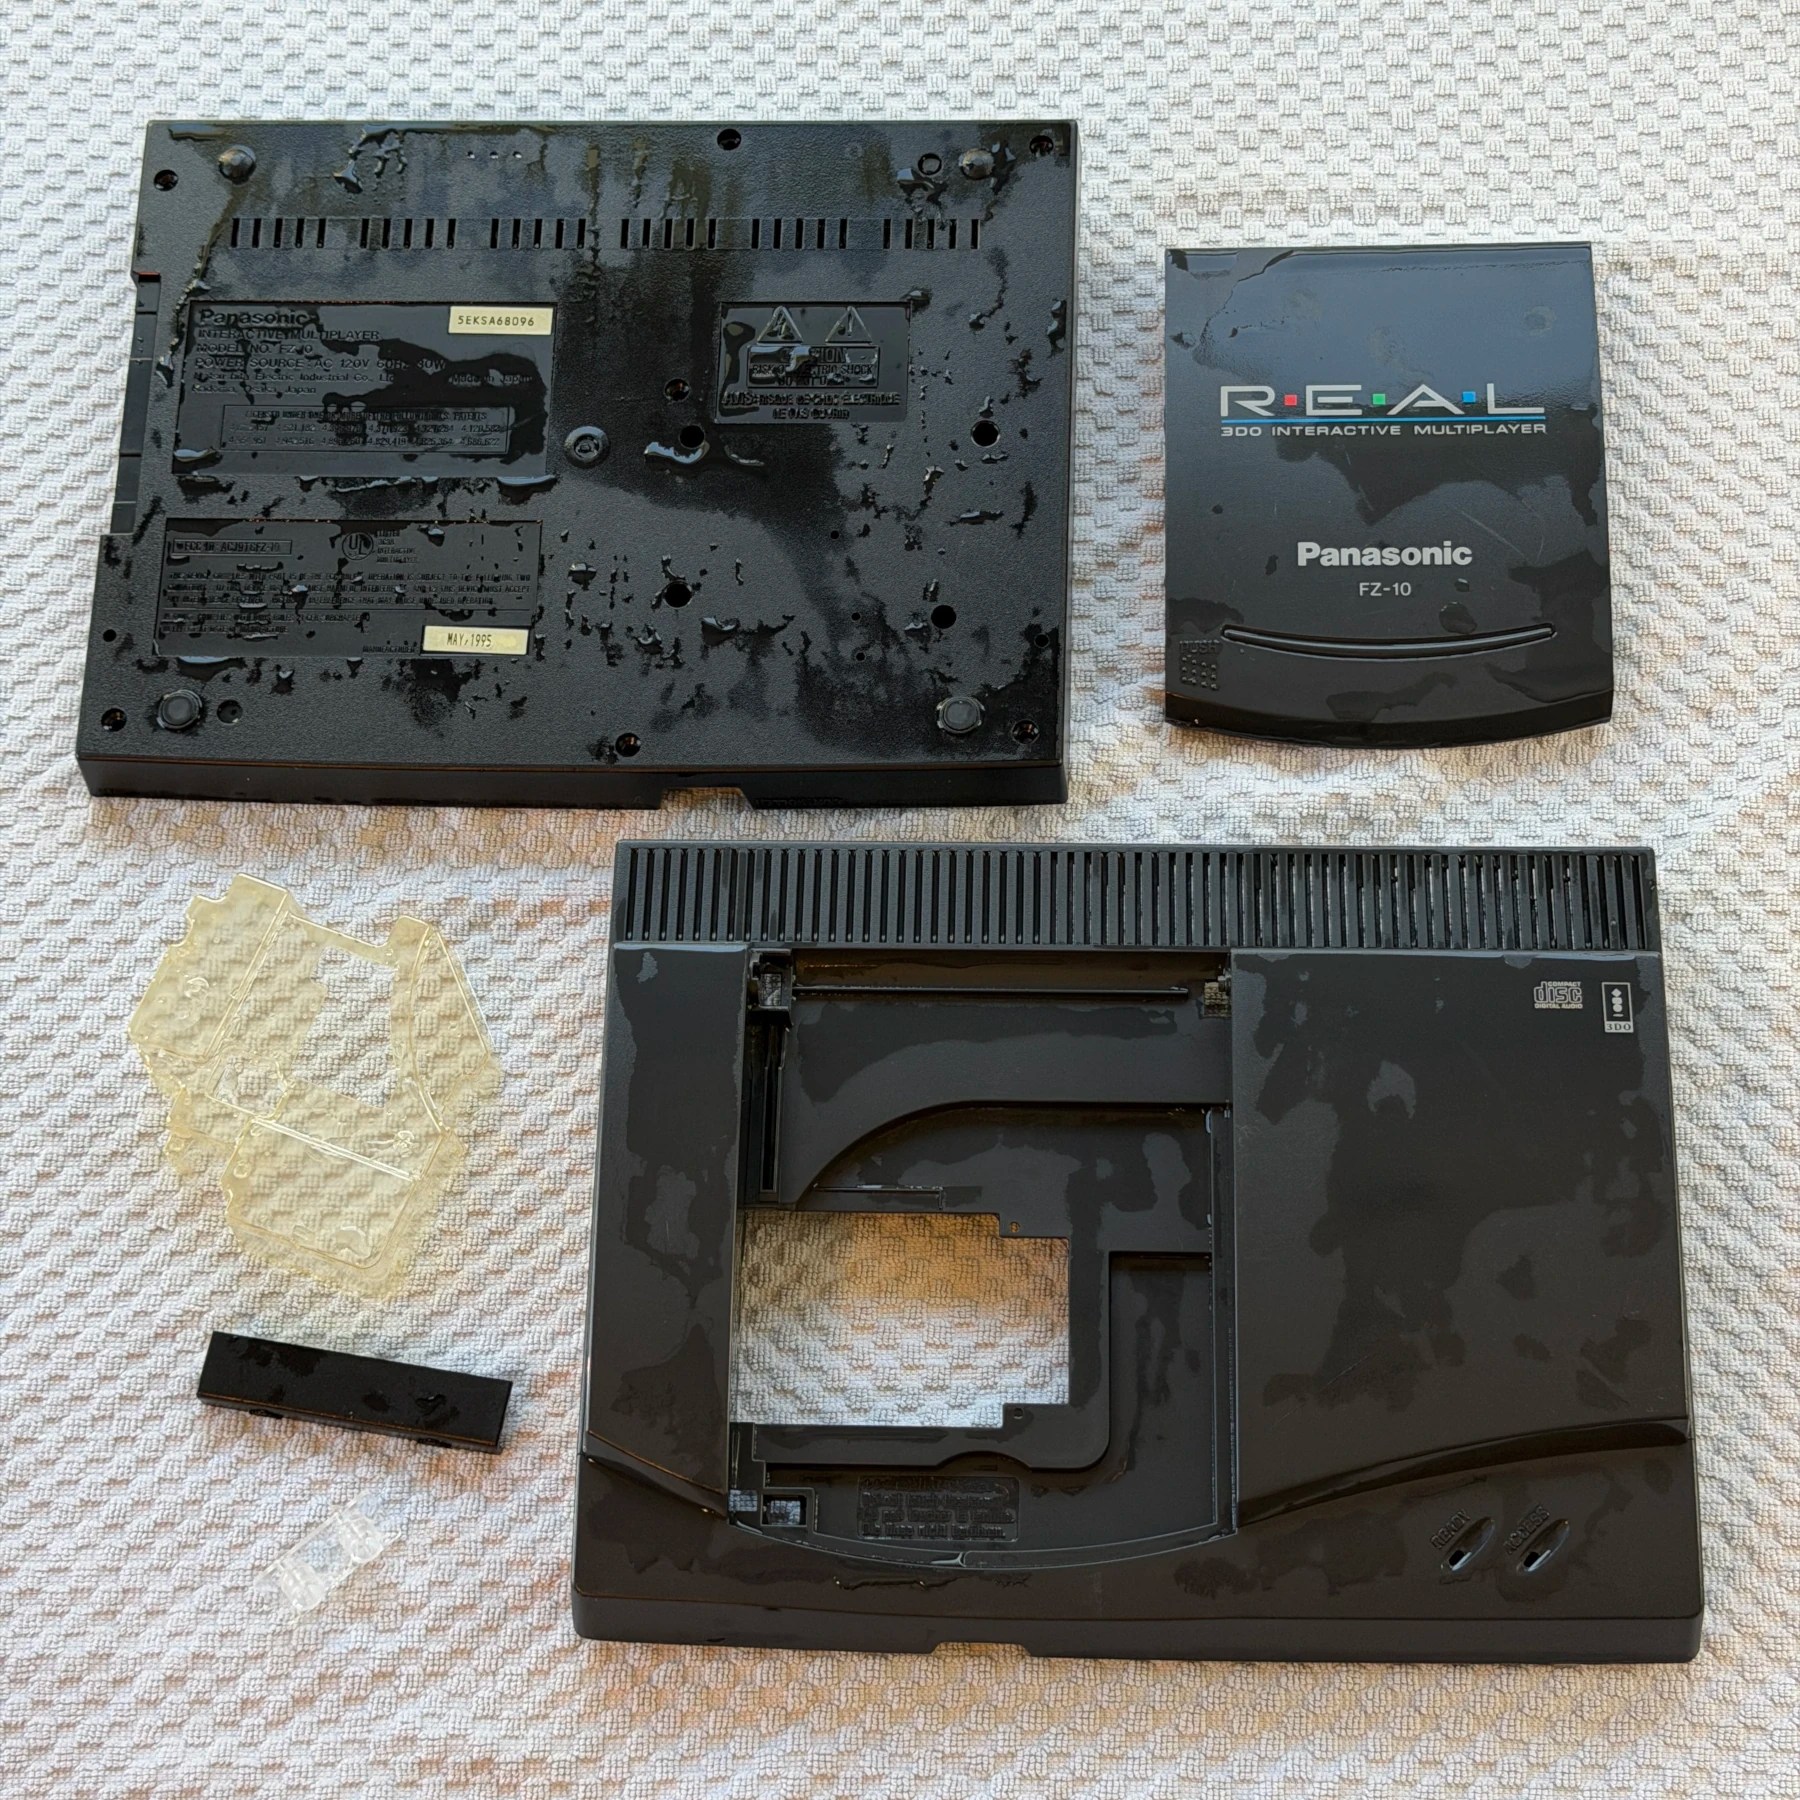
Since the cleaning service was selected I began by tearing down the outer shell, carefully removing the CDROM tray lid, light pipe and other plastic parts and setting them in the wash bin for a good soak then scrub and dry.
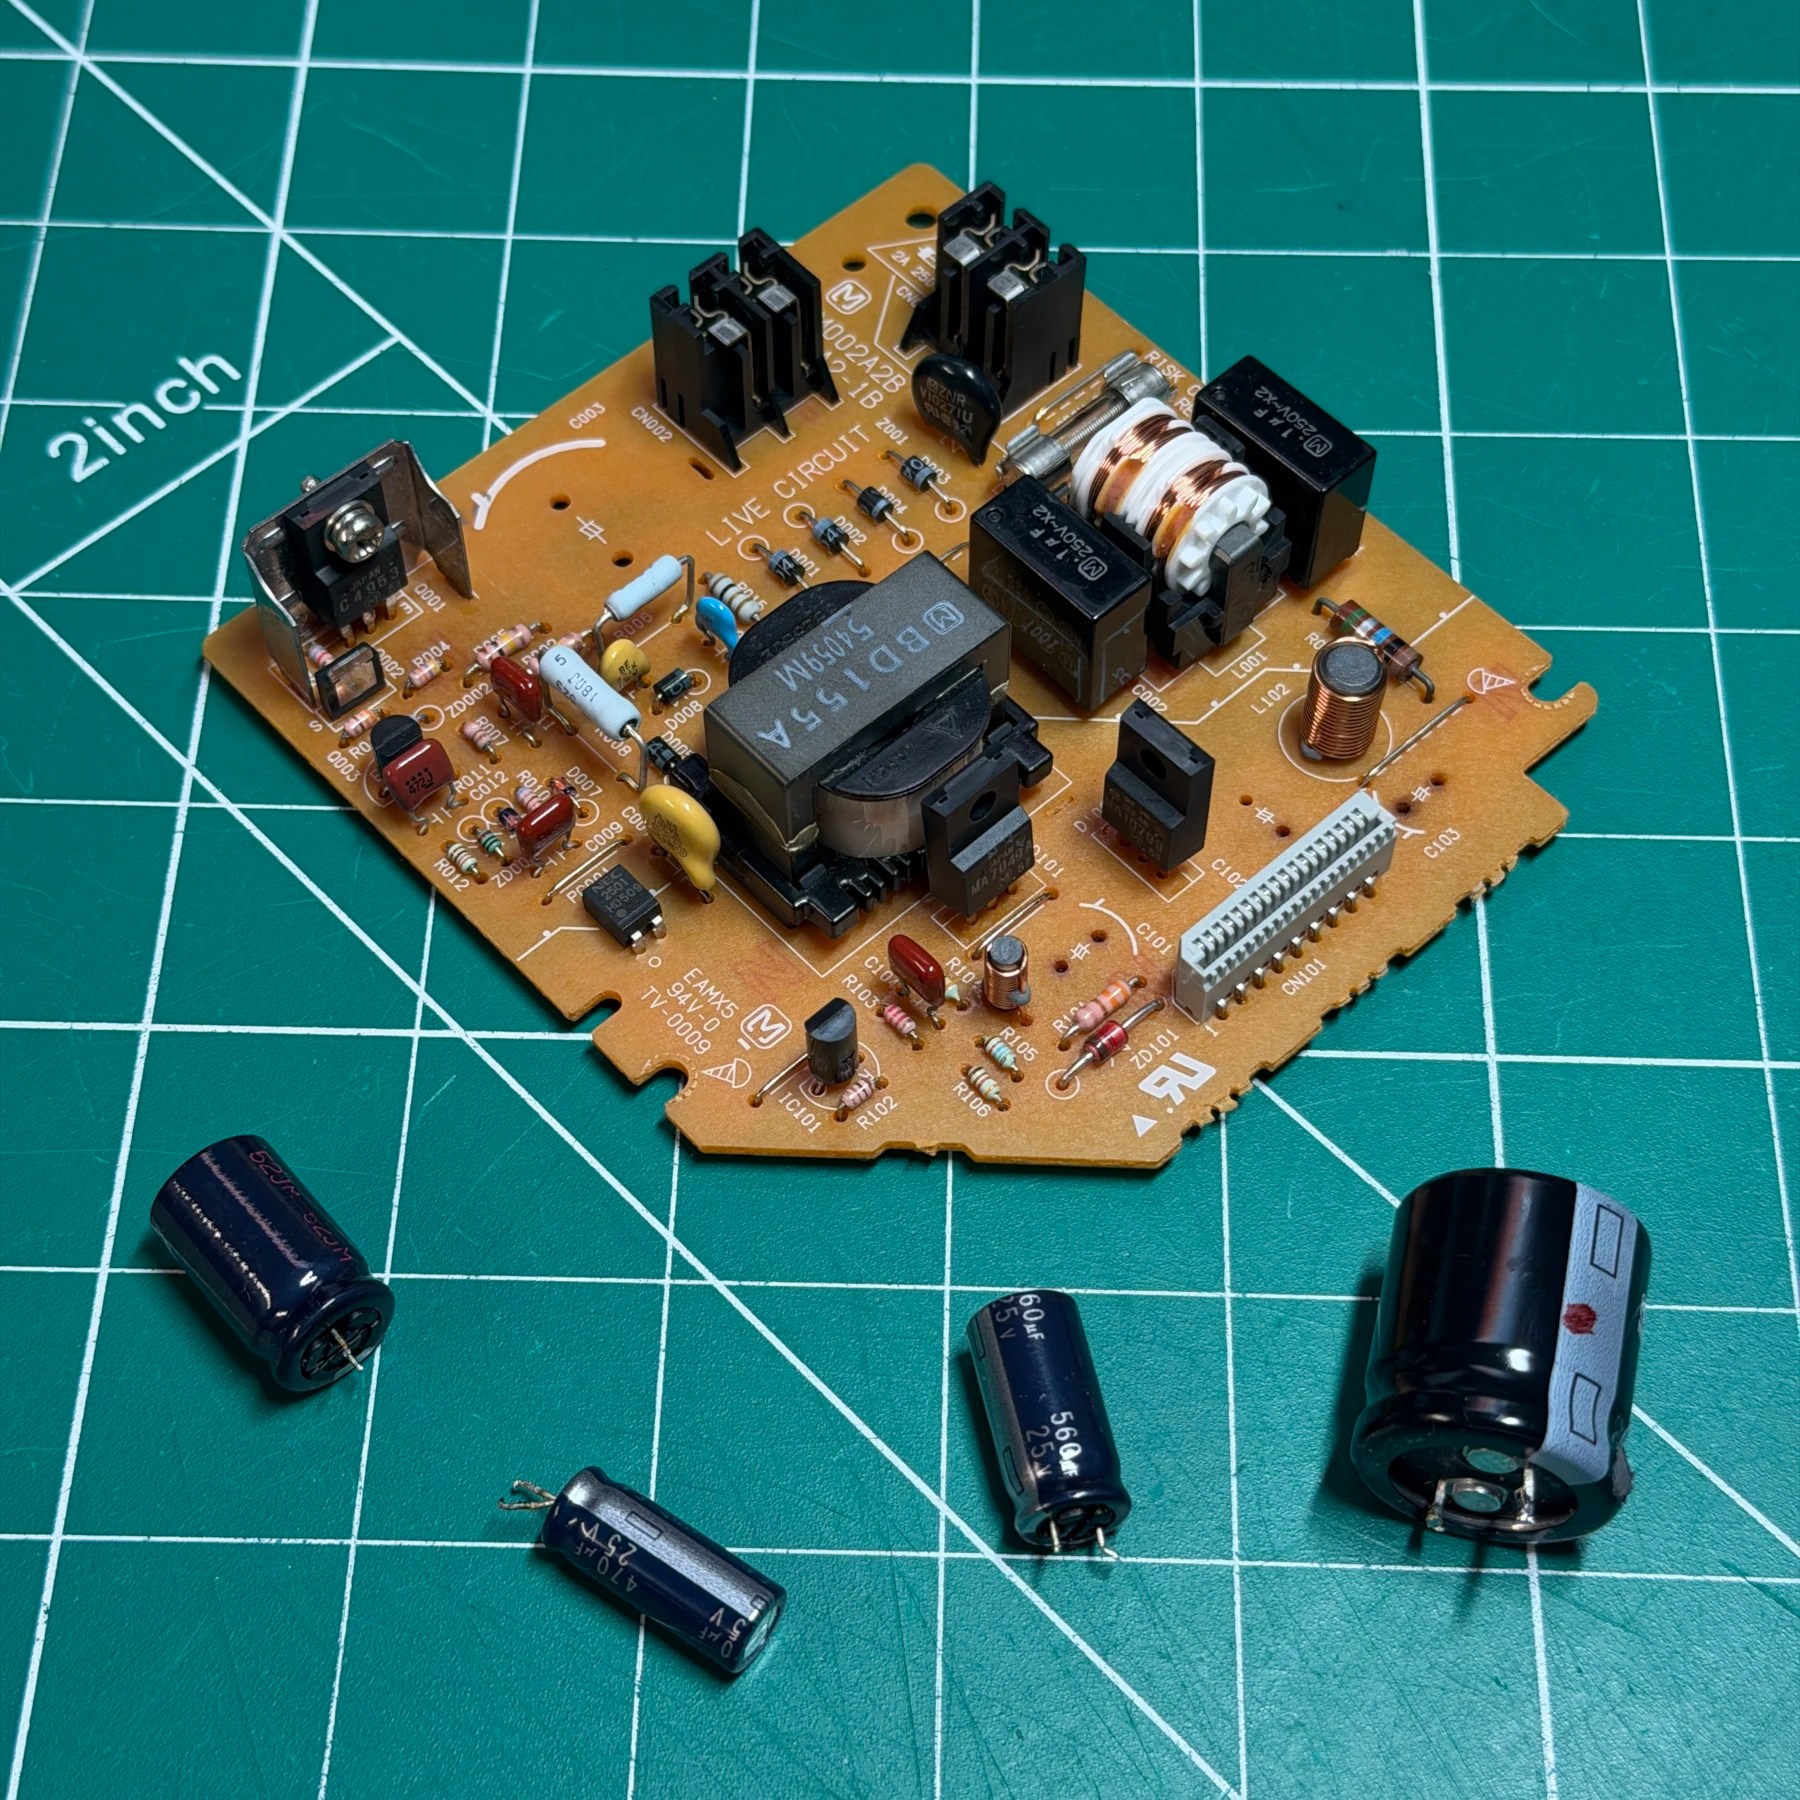
There are 2 boards needing a recap in the FZ-10 so I begin with the PSU first. There are only 4 caps on here plus a small metal shield covering one but I can make quick work of them with my Hakko gun. The board is deep cleaned before installing the new caps from the Console5 kit.
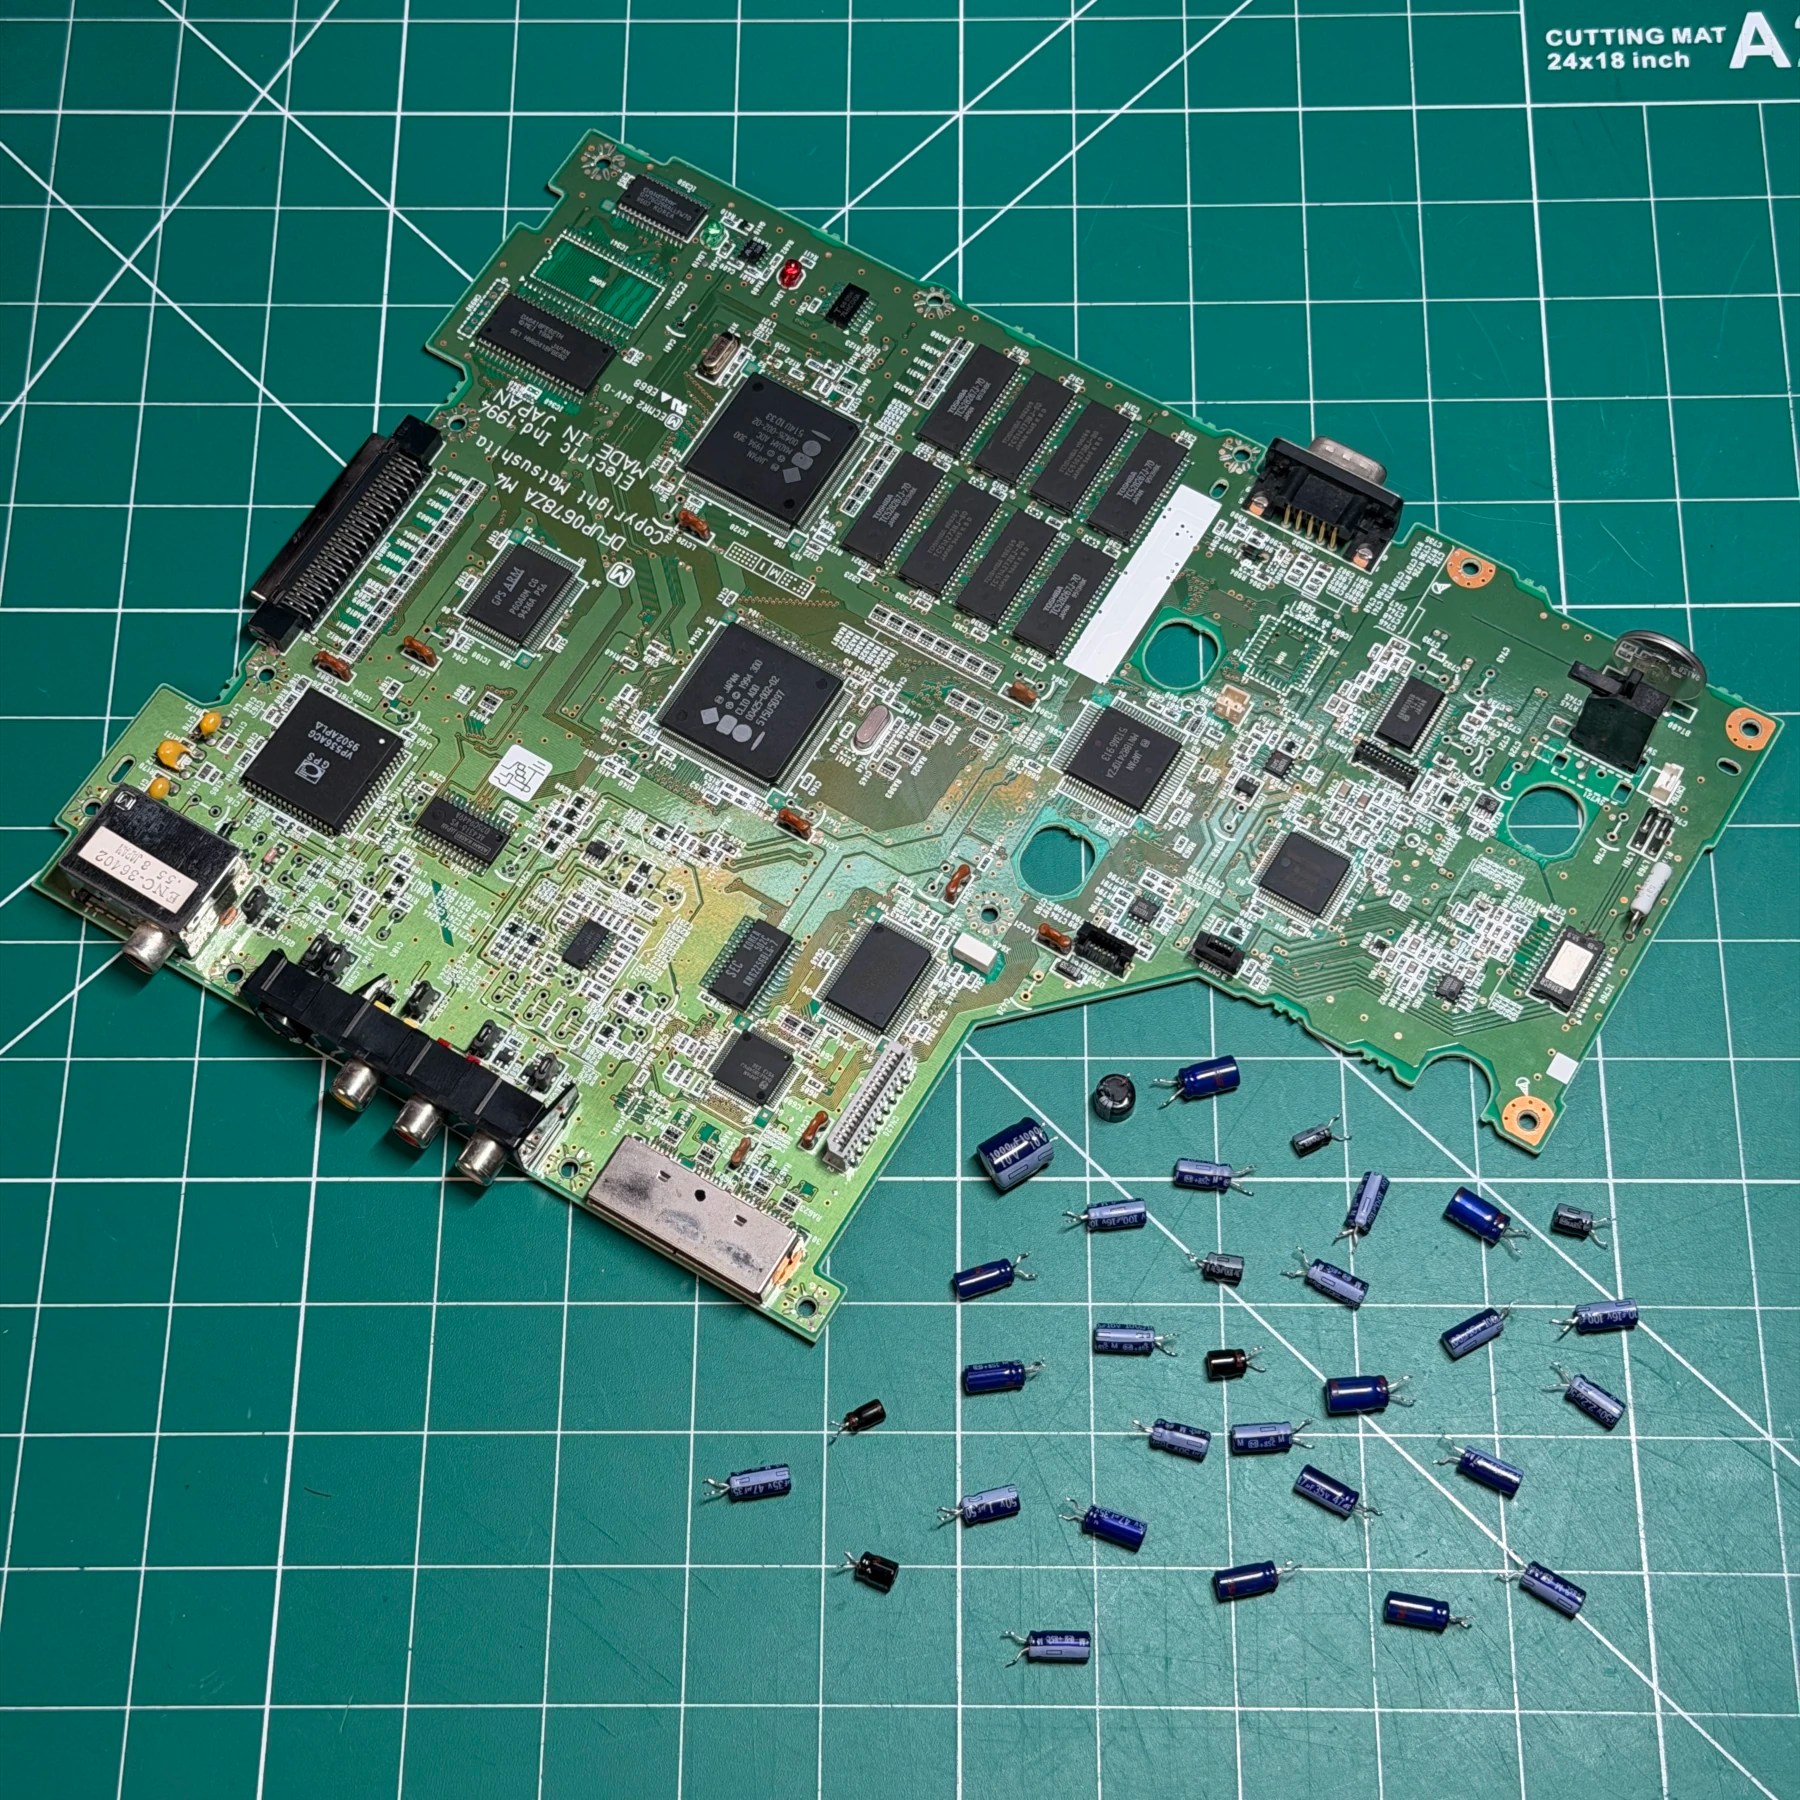
The mainboard has quite a few comparatively and the silkscreen can be a little tricky to read in the areas that many caps are very close so the process is a bit longer on this board for sure. I desolder all the original caps, deep clean the board and then solder the new ones on and clean up any unspent flux.
With the recap done I just need to do the optical drive refurbishment and I’ll be ready to test!
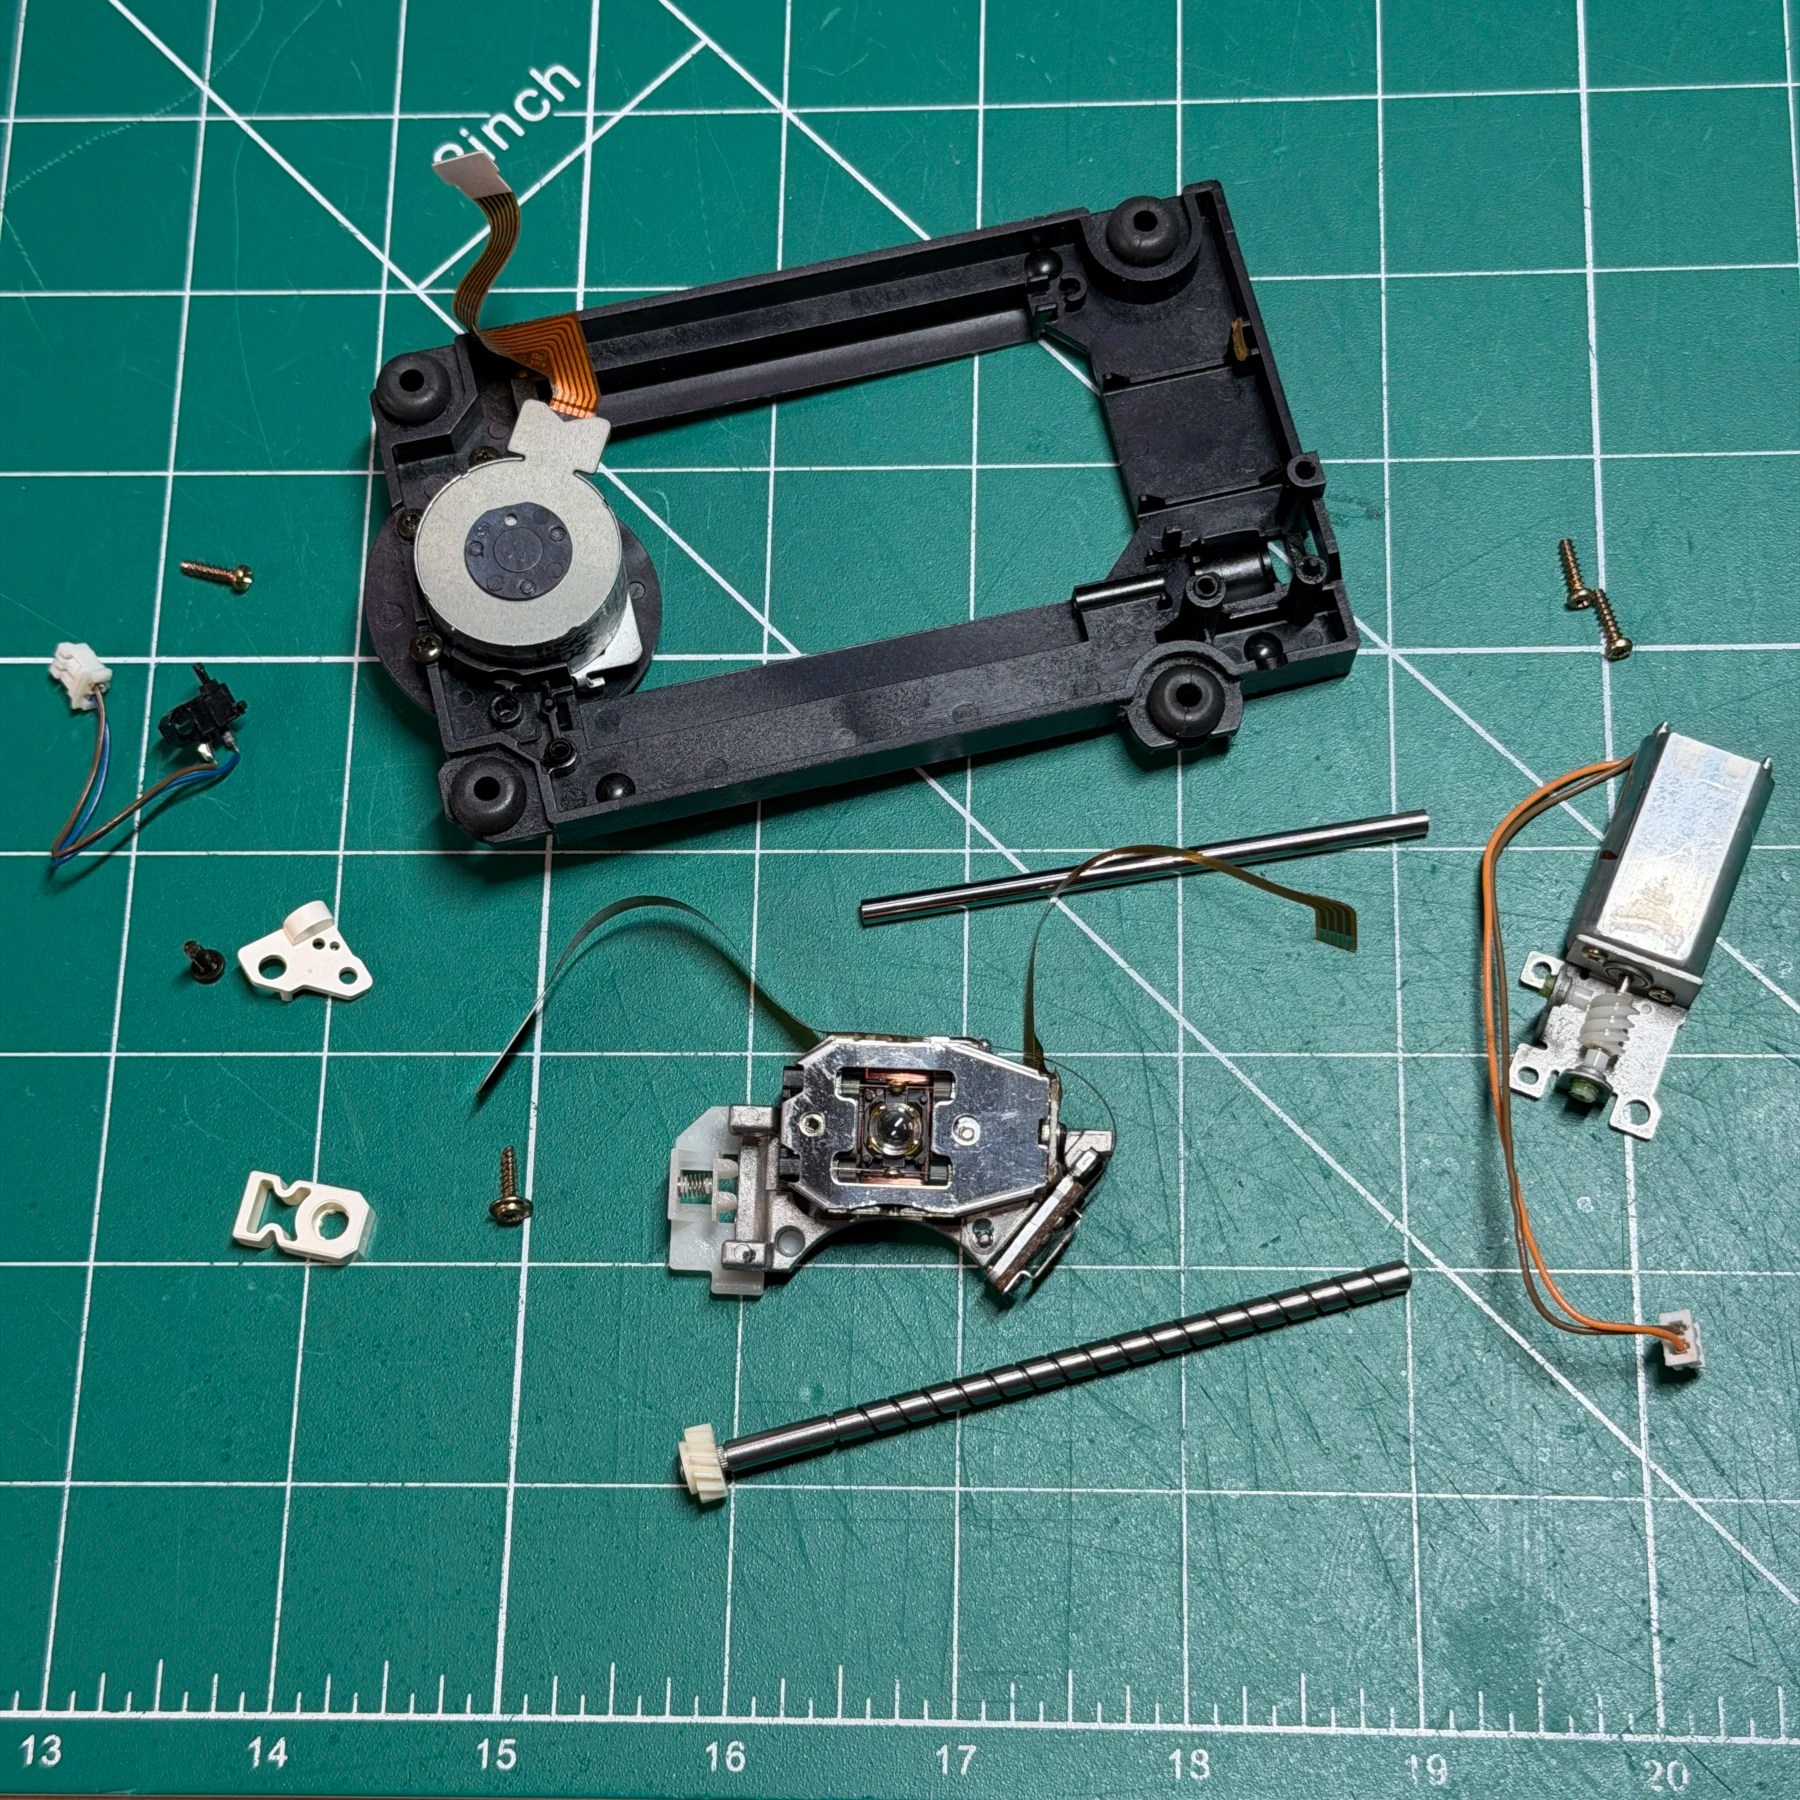
The optical drive on these have some quite delicate flexes connecting to the mainboard so its very important to take these apart and reassemble carefully. I remove the main rail, limit switch and sled motor and individually clean every part. This one in particular was quite filthy with lots of dust and hair clogged up in the areas of the old grease especially on the rail. With all the parts fully cleaned I then carefully applied some fresh grease and reassembled in reverse order, then connected back to the mainboard.
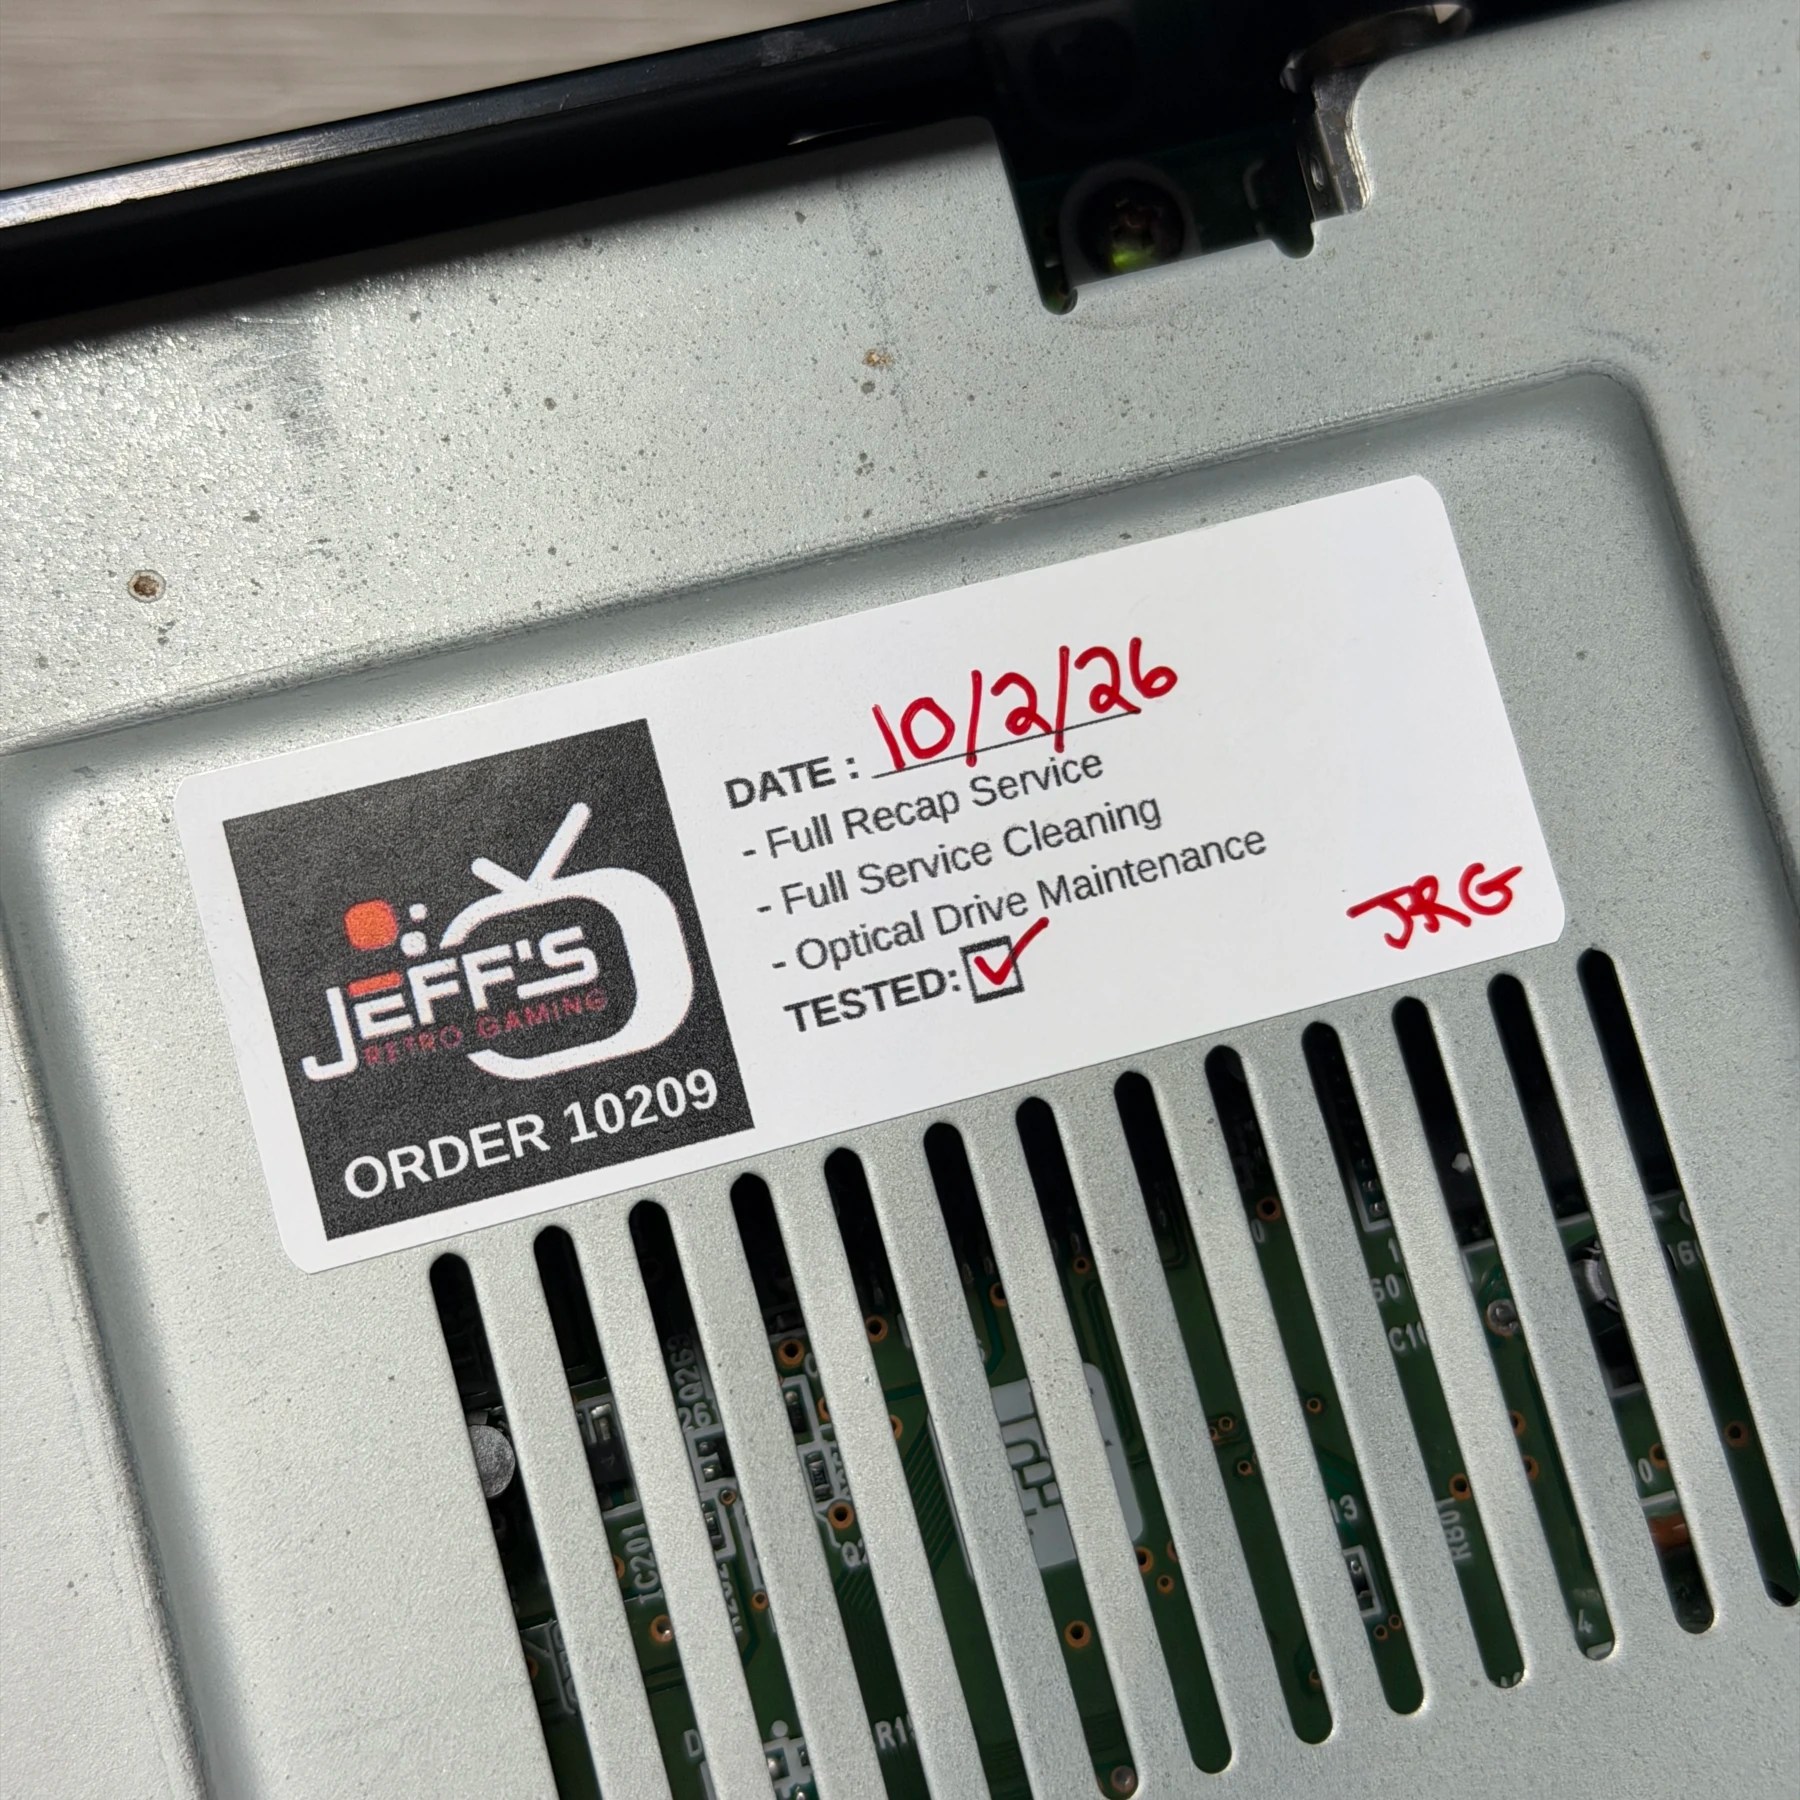
After reassembling the console up to the top metal shield I fired it up to confirm it booted ok, video and audio worked and it detected and booted a test disc. After a successful first test I then applied a JRG sticker to the top shield and finished putting the shell together. Once closed up, I gave the shell another wipe down and then 2 coats of UV protectant to restore some of its shine.
This 3DO luckily didn’t have a cracked gear which is common, the drive reads fine and everything is in good shape so this is one 3DO that will hopefully be running for a long time!